Bra Making: How To Sew A Hook and Eye
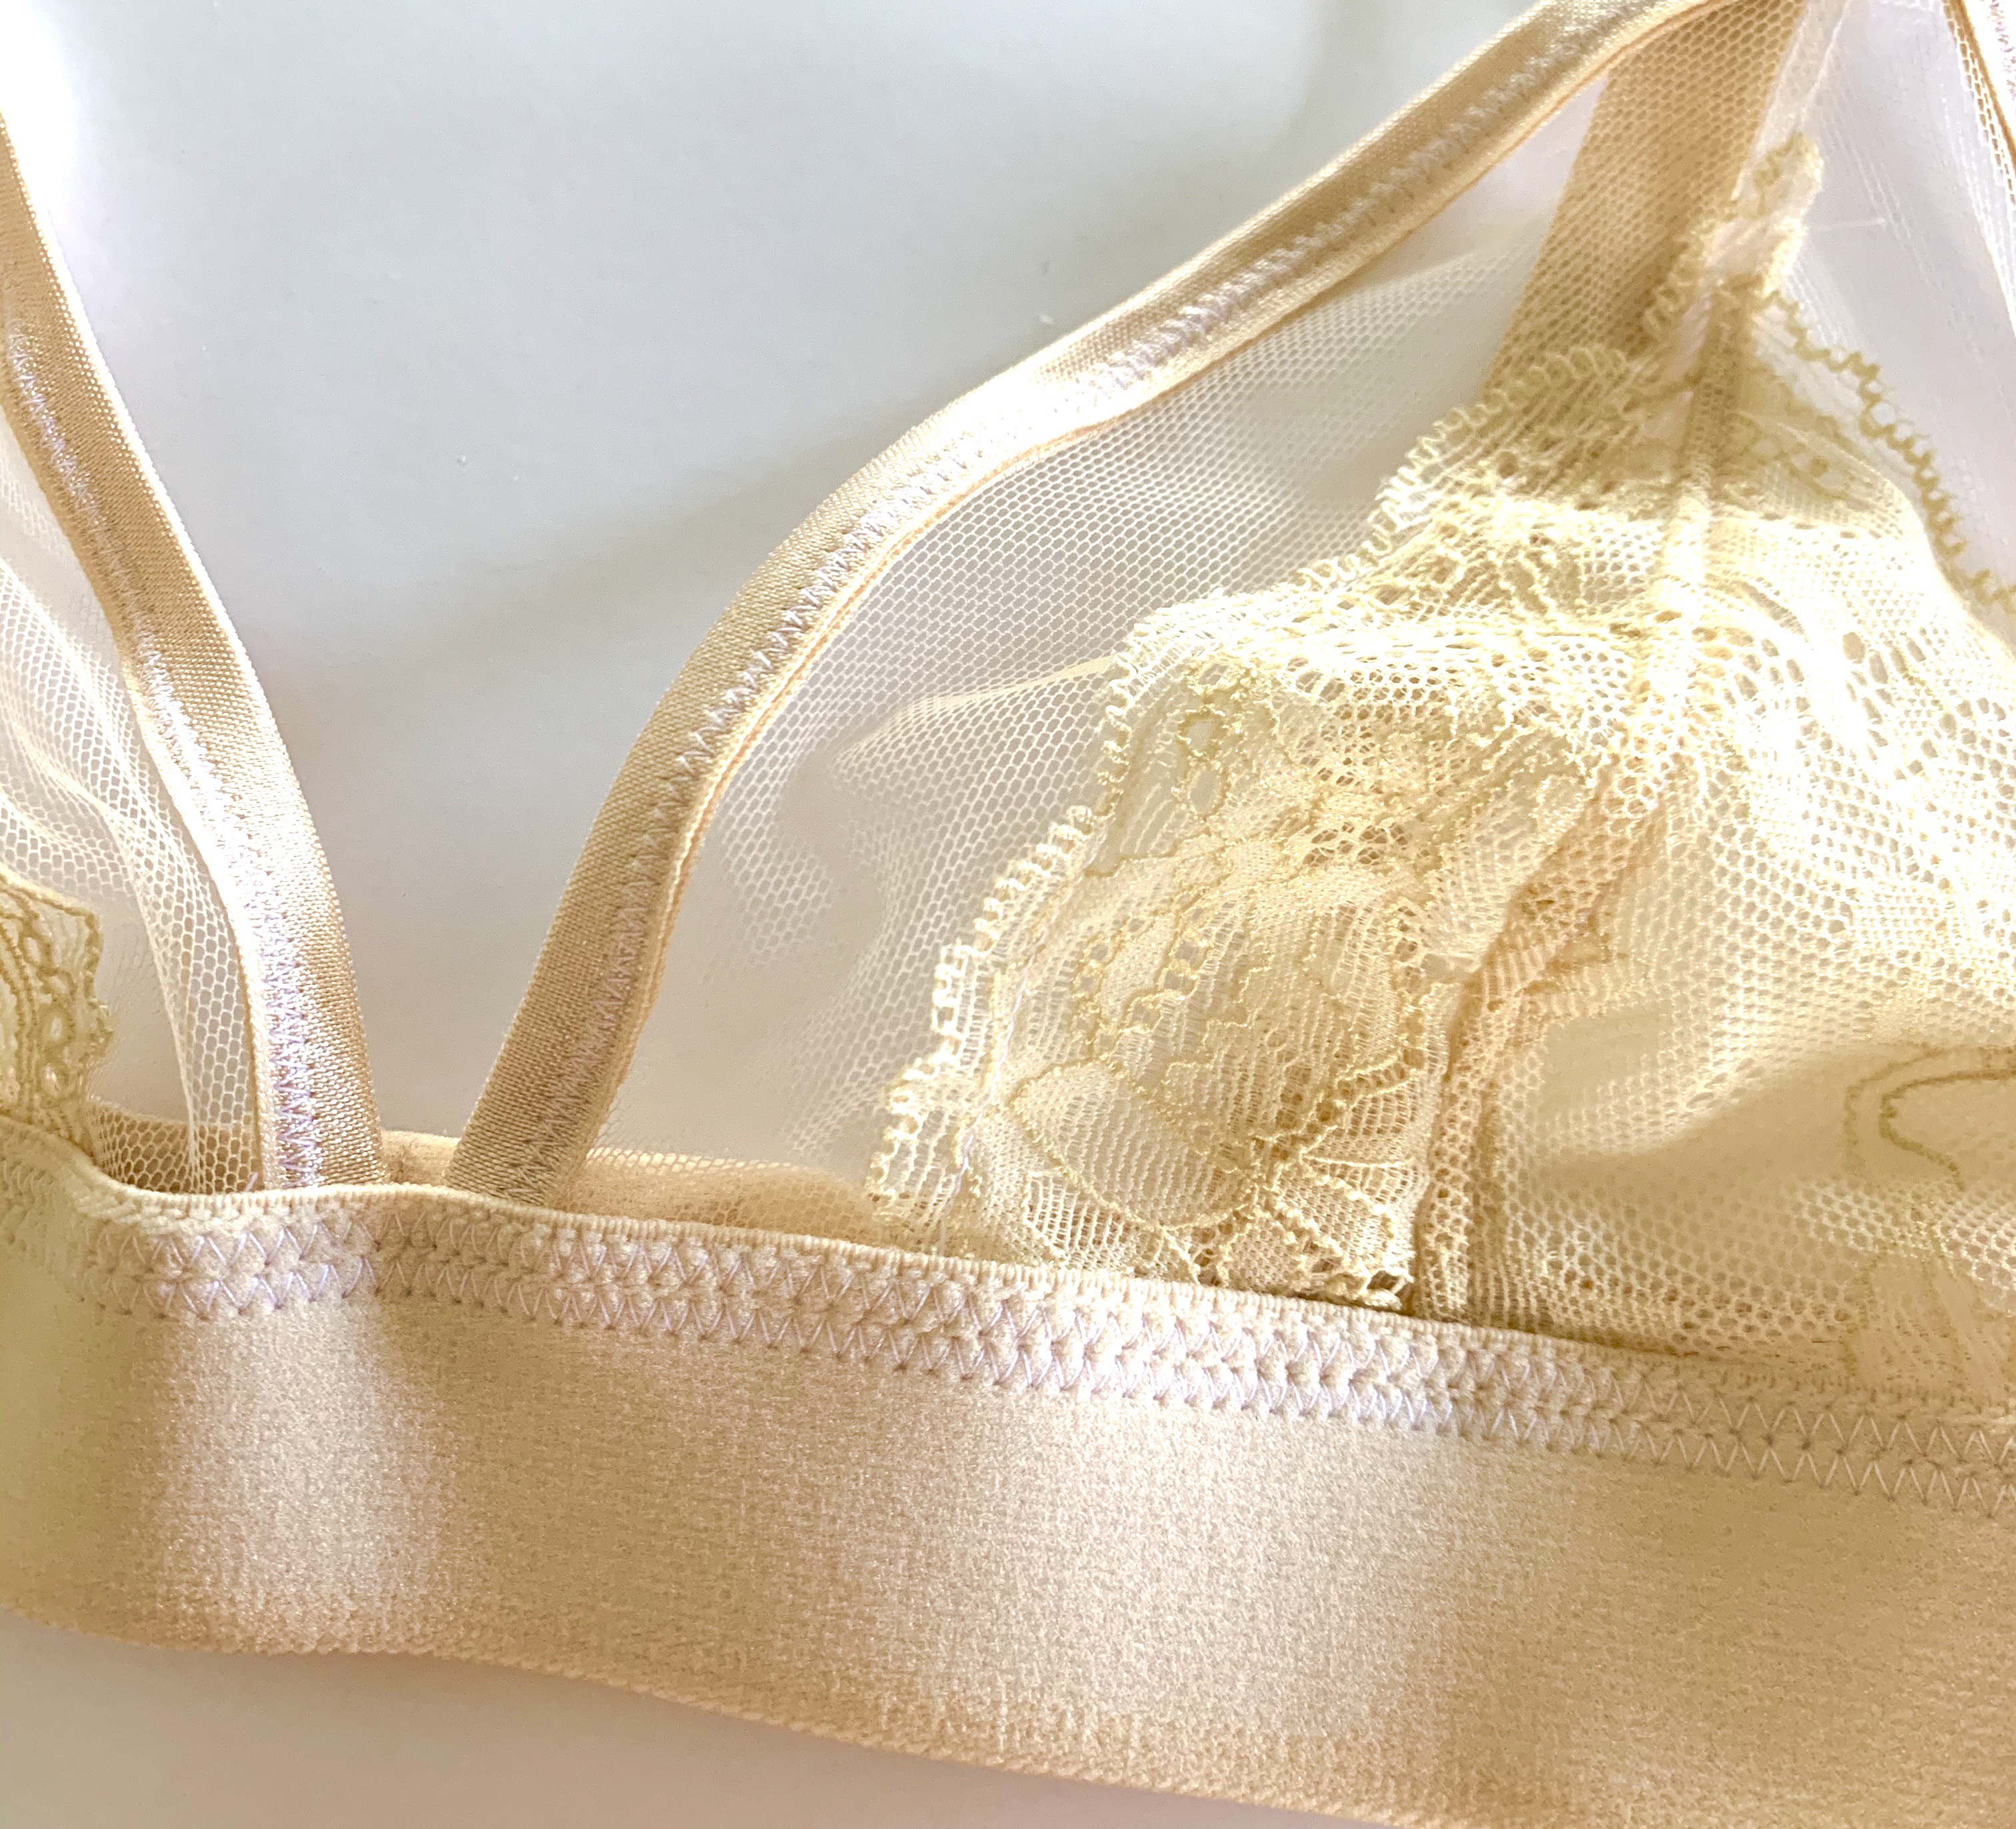
You’ve almost completed sewing a bra—all you have left to do is attach the hook and eye. Even though the finish line is in site, a lot can go wrong in the final step. Ask me how I know! Below, I share with you my tried and true method, including a few tips and tricks, to make completing that beautiful bra come sooner rather than later.
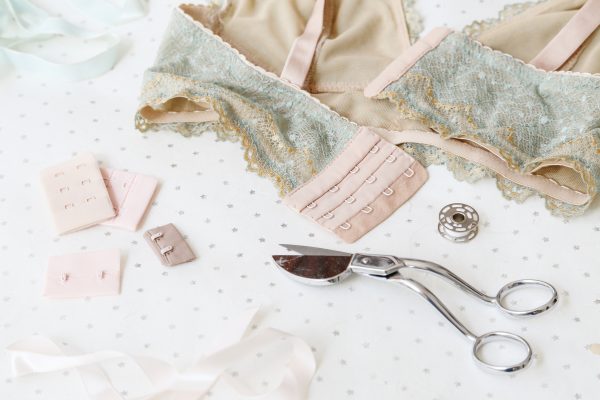
Before I get started, there are two types of hooks and eyes most commonly used for bra making. The first is a continuous length that can be bought by the yard or by the meter. The tape is trimmed to fit the length of the center back and needs no finishing, but I prefer to zig-zag the top and bottom edges. The second is a precut length, usually 1×3, 2×3, 3×3 or 4×3. I use this type the most because it is heat sealed along the top and bottom edges so it won’t fray or look ragged after it is washed (do not put your bras in the dryer!). Which precut hook and eye you choose depends on the height/length of the center back. A 2 x 3 hook and eye measures 1.5″ high, so your center back must measure the same in order for it to fit. A 3 x 3 hook and eye measure 1.875″ high, so again, your center back must measure the same.
Materials to attach a hook and eye:
- A Bra that is fully sewn except for hook and eye attachment
- A hook and eye suitable for your bra
- Temporary spray adhesive (I like Odif) or a washable glue stick
- Size 16 universal needle
STEP ONE:
You can attach either the left or right side first— it doesn’t matter—but the eyes always go on the left side. An easy way to remember this is the word eyes has 4 letters, and the word left has 4 letters.
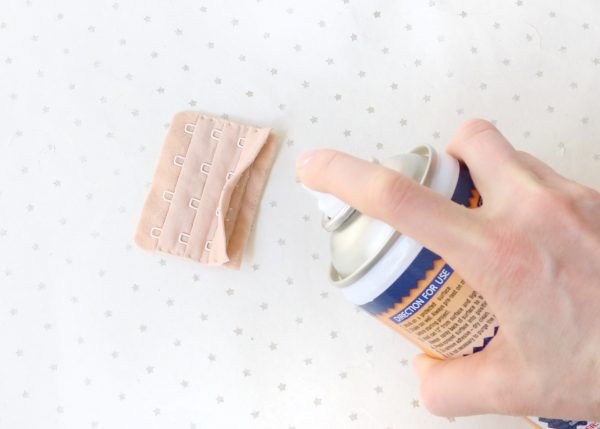
Open tape of the eyes and spray adhesive to the inside (or use a glue stick to apply a light layer). The glue is super helpful with keeping everything in place while sewing and way better than using pins (I rarely use pins for bra making).
STEP TWO:
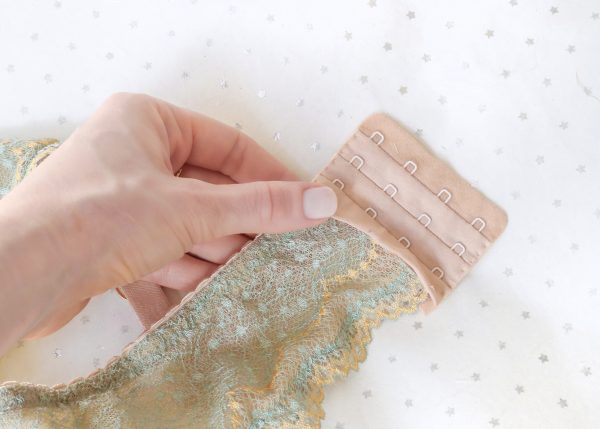
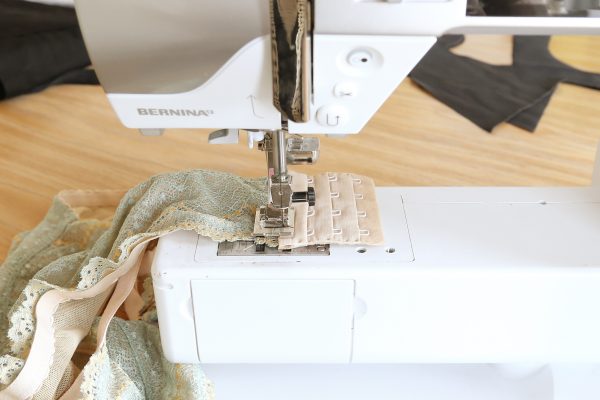
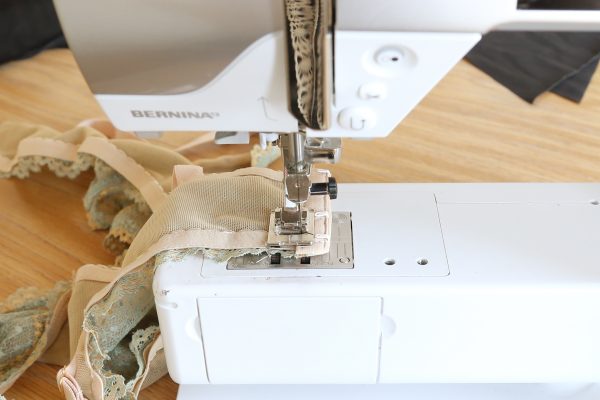
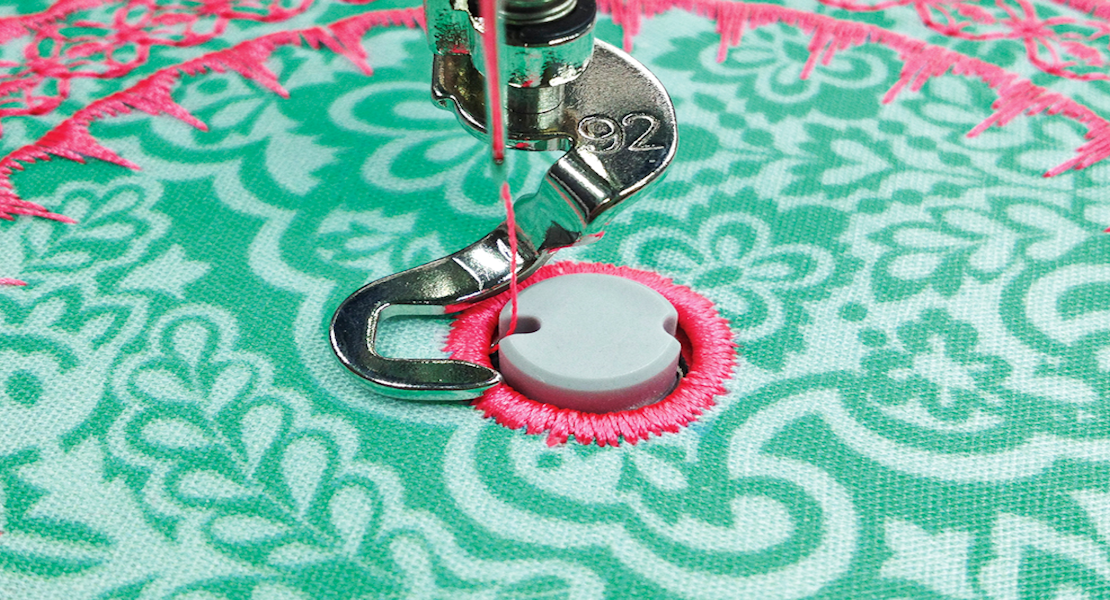
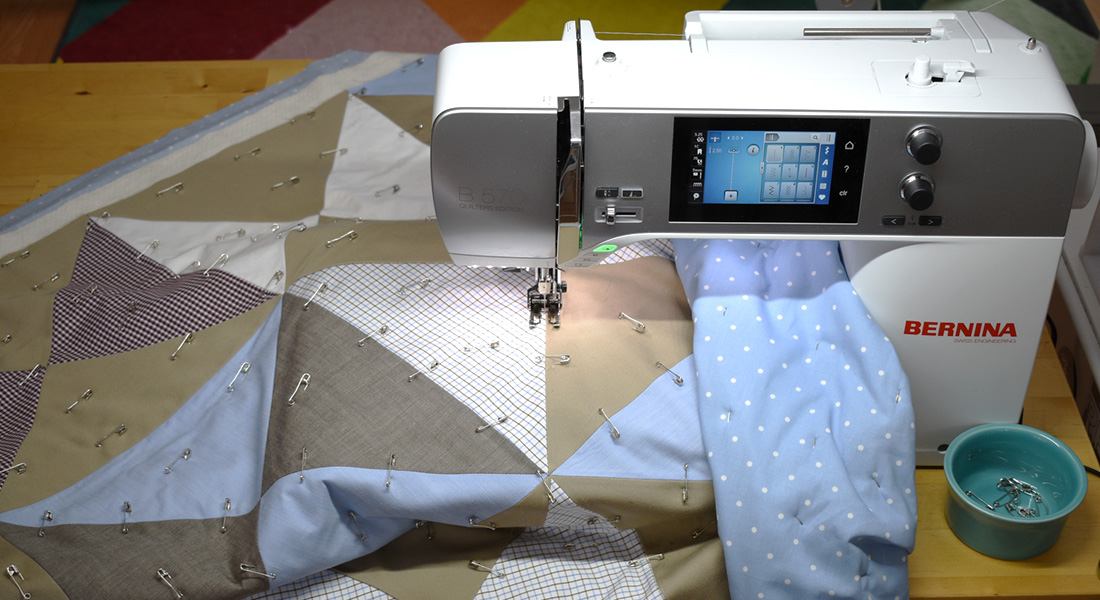
Next, wrap the eye over the raw edge, press in place, and then sew using a straight stitch 1/8” from the tape’s edge. I switch needles at this step, from a ballpoint to a universal. Because a hook and eye is super think and doesn’t contain spandex or lycra like the rest of the bra, I use a different needle or else I’ll get skipped stitches. I don’t use a special machine setting at this step, nor do I use a special presser foot. For this tutorial, I am using BERNINA’s Reverse pattern foot 1C, which is an all purpose foot that works well for forward-feed and multi-motion stitches.
STEP THREE:
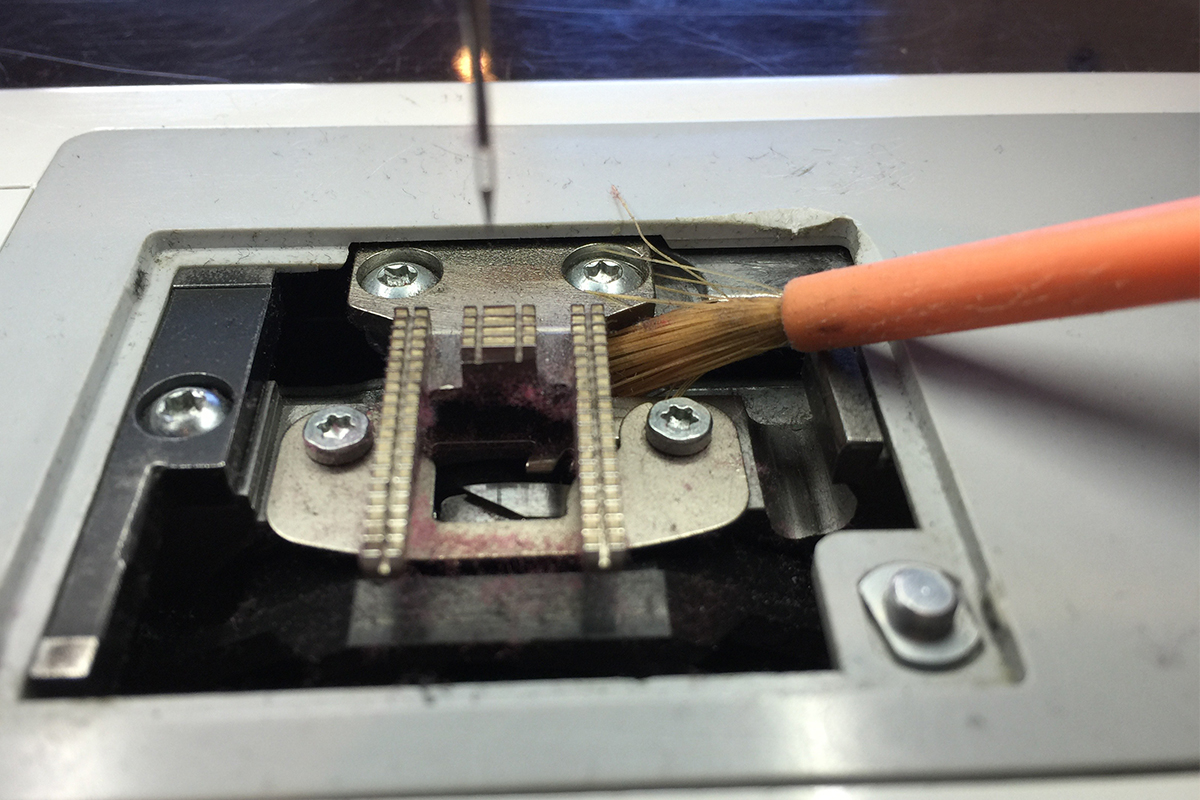
For the hook side, I open the tape, apply adhesive/glue, wrap the tape around the edge, and sew 1/8” from edge tape’s edge with a straight stitch just like I did for the eye side. For this step, you MUST sew with the hooks facing up (see photo above). You can’t sew with the hooks facing down as it will damage your machine. Also note that I change the position of the needle to be all the way to the right so the needle is 1/8″ from the edge. Just like step 2, I use an all purpose presser foot to sew.
See, isn’t that easy? I told you so!
Read more details about this bra on my blog, Madalynne.
What you might also like
3 comments on “Bra Making: How To Sew A Hook and Eye”
-
-
Thank you for this photo tutorial. I have not sewn a bra yet but here’s my question: If I only need to replace a hook on a ready to wear bra, what size is standard? I’ve seen hook sizes 1,2 and 3 online but I don’t know which to buy.
-
Hi! Maddie here, the author of this post. Great question!
There is no standard hook and eye. As a sewist, you get to make the call as to which one to choose – 1×1, 2×2, 3×3. The determining factor is the width of the back band at center back. A 3×3 hook and eye measures 2.25″ in height, so you would choose that one if the height of your back band also measures 2.25″ at center back. If it doesn’t, but you still want to use it, you can change height of the pattern so that it would fit.
-
Leave a Reply
You must be logged in to post a comment.





Thanks for the tips, and tutorial (especially the position of the hooks when sewing) !