Cosplay Costume
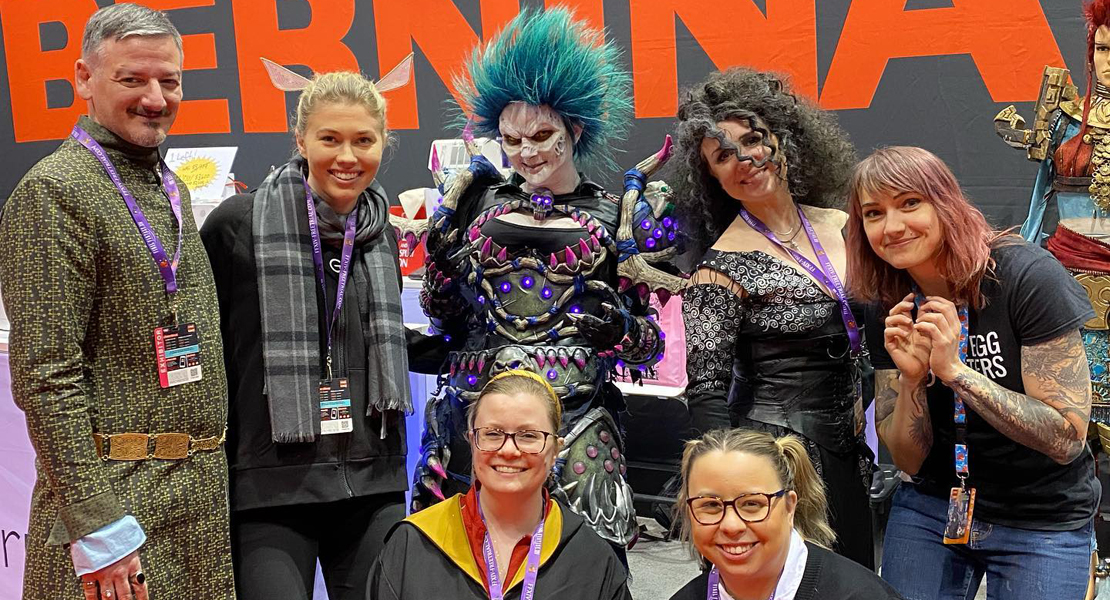
My name is Gayle Schliemann and I am the Marketing Manager at BERNINA responsible for National Promotions and Sponsorships. Although I do not sew for a living anymore, I still dabble in quilting, garment sewing home dec, and now- CosPlay. My most recent assignment is to represent BERNINA in the booth at New York Comic Con. I suppose my BFA in Theatre makes it an easy thing for me to take on, but until this project I was only making the yearly Halloween costume and themed party ensembles. When we decided to have a booth at the upcoming convention, I knew I wanted to dress up. It would be an opportunity for me to wear my project since when I make quilts I tend to have to bring people into my office, home or Etsy shop to see my creations.
I wasn’t sure who or what I wanted to be until I sat down to watch a movie one Saturday night. I am not a big Sci-Fi fan but it was recommended to me that I needed to watch Luc Besson’s 1997 cult hit, The Fifth Element starring Bruce Willis, Mila Jovovich and one of my all time favorite actors, Gary Oldman. If you are not familiar with the movie, Bruce Willis plays Korben Dallas, a cab driver in 2263 New York City, who reluctantly gets involved in the search to prevent evil from destroying the earth. The central key to stopping evil, Leeloo, smashes into Korben’s taxi while escaping the scientists who helped create her. It’s a suspenseful movie with funny moments and endearing characters. The movie costumes have great style, thanks to designer Jean Paul Gaultier. You may remember Gaultier for his famous cone bra corset for Madonna’s Blond Ambition Tour.
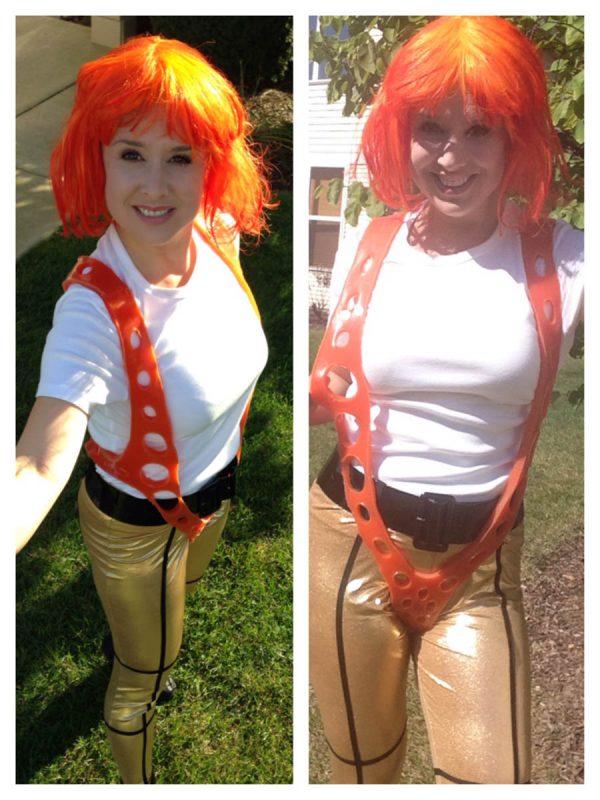
I decided to make Leeloo Dallas’ iconic Multipass costume. After I made this decision, I made a list of all of the things I was going to need to purchase and all of the things I would have to make. Luckily, I work for a sewing machine company and I have been able to stock up on various machines through the years. I sew on a BERNINA 880 with DesignWorks and BERNINA Embroidery Software, B 730, 1300 MDC overlocker and now an L 220 coverstitch only machine.
Things I would need to purchase to create my CosPlay costume:
- 1 hip hugging wide black belt: $2 at Goodwill
- 1 T-Shirt (Unlike Leeloo’s I wasn’t interested in baring my midriff): $7 at Savers
- Boots (I have quite a collection and decided on a pair in my closet. Wedge heeled, black high top sneakers): $0
- Orange wig: $5 on Amazon
Things I would need to make:
- Orange Suspenders
- Gold Pants
- Wig
- Multipass holder
- Multipass identification card
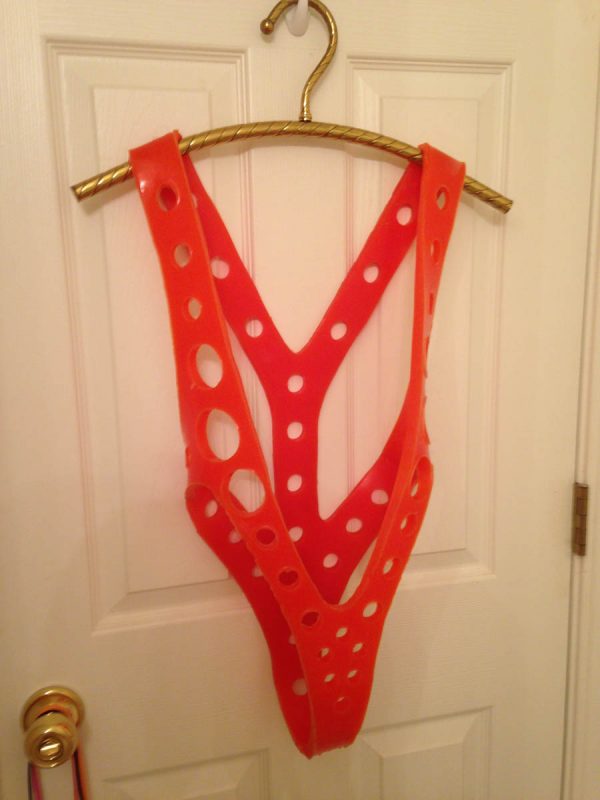
First a foremost the hardest thing to make was going to be the orange suspenders. I did an Etsy search to see if there were any available for purchase. I found everything from suspenders made of felt to leather in a wide range of pricing, but I really wanted the satisfaction of making them myself. Luckily I came across Jia Jem’s tutorial on how to create your own Leeloo suspenders using thick insulation foam sheets as a mold and liquid silicone. On Jia’s tutorial, she provides a pattern to print out, which I did. She also provides a list of sources for the materials that she used.
- 2 trial size packs of Smooth-on Dragonskin: $30.10 a pack
- Opaque orange Smooth-On silicone dye: $13.60
- I would also highly recommend using the release agents from Smooth-On: $7.64-$14.91
After reading through Jia’s tutorial, I needed more supplies, because now I needed to make the mold. Jia mentioned some issues that she had using the insulation board, so I made my mold from 4’x4’ ¾” MDF and 4’x4’ ¾” Laminated particle board. I also purchased the following supplies:
- Blue Painter’s Tape
- PVC pipe in various sizes
- 2 quart plastic containers (for mixing the silicone
I was excited that my boyfriend was willing to help me. Being a theatre professional that specializes in fabrication and rigging, he had all of the tools necessary to cut the MDF with precision, plus the shop area to do all of the “dirty” work. So, in a nutshell, we cut out the pattern I downloaded from Jia’s site, traced the pattern with a Sharpee® onto the MDF, marked and placed the 1″ cut pieces of PVC pipe and then taped everything down using frog tape. We mixed the silicone and poured it into the molds. Good news, it was self leveling, making the suspenders a consistent thickness when they were finished. We left the suspenders to dry overnight, and then we pulled them out. I spent about 45 minutes trimming up the edges, but otherwise they looked great. Bad news was that I didn’t have a drop of the silicone left over to join the seams; this meant that I had to sew through the 3/8″ silicone with a hand sewing needle and thread. Regardless of that little snafu, I am really happy with the result.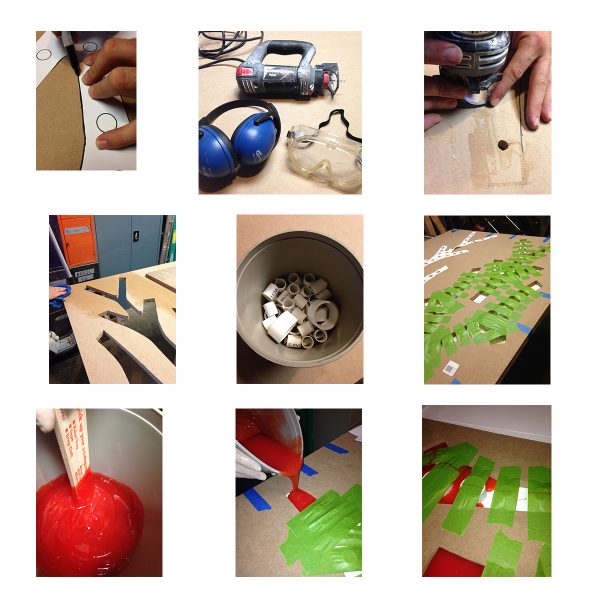 Next project to tackle was the gold pants with the black strips down the center of the leg and around the top and bottoms of the knees. At first, I used a commercial pattern, but these did not fit like I needed them too. I went through my pile of workout clothes and traced a pair of leggings, transferring the 5/8″ seam allowance to the traced edges. I purchased stretch metallic gold lycra from the local fabric store and cut my self-made pattern. Before I added the strips of black bias, I basted the seams with stitching that would be easily removable to test the fit and placement of the black strips. They looked perfect.
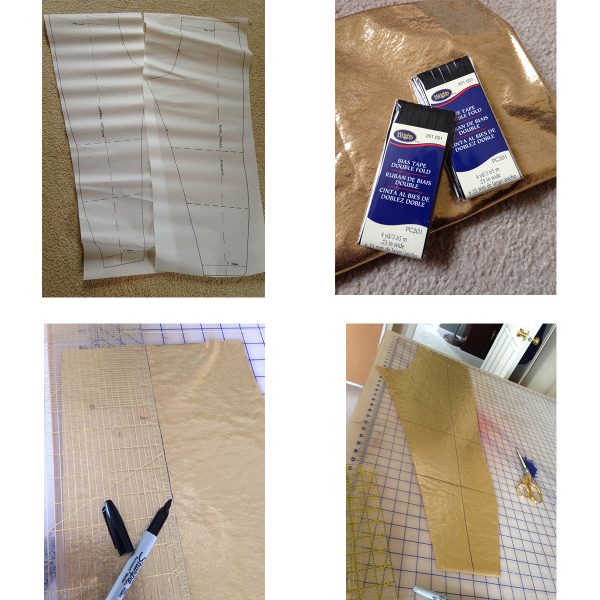
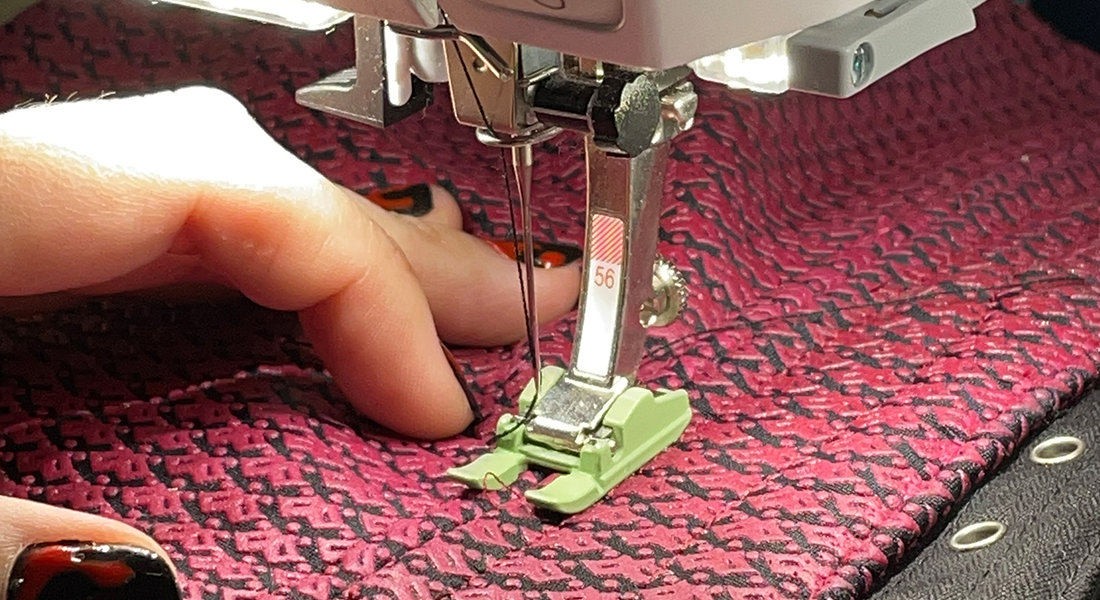
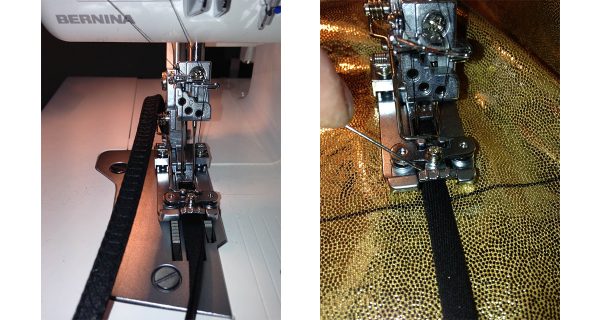
The 1300 MDC overlocker and L 220 coverstitch only machine were perfect for stitching the stretchy seams of the pants together and sewing on the bias strips. I made my own bias strips from solid black cotton fabric I had in my stash. I cut the strips ¾” wide on the bias and then turned the edges under using a ¼” bias making tool from Clover. You can also use double fold ¼” bias tape from Wrights, but you have to be very careful that you sew perfectly down the middle of the bias tape. Some of you may think that I am very brave, but I could not find a vanishing marking tool that worked on the metallic stretch lycra, so I used a long ruler and the Sharpee® to place my sewing lines for the strips. Once I made these marks, I stitched the bias down with the L 220. The L 220 can do a 2, 3 and 4 thread chain or coverstitching. I removed the center needle, only using the right and left needles plus the lower looper. I am serious when I say sewing on these 12 strips only took me thirty minutes!
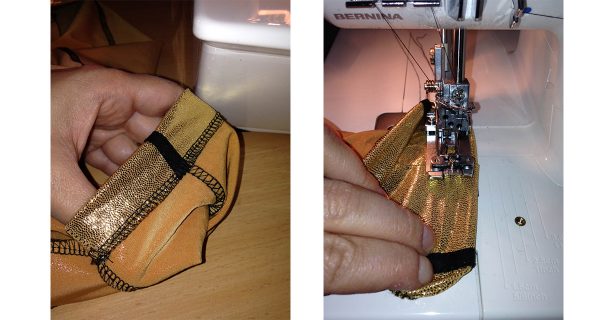
After the strips were sewn on I serged, cutting off the excess seam allowance, using my 1300 MDC (4 thread overlock stitch). After the inseams, outer seams and crotch seams were sewn, I serged along the raw edge of both ankles. I turned up the ankle hems an inch and used the L 220 to hem them (very professional looking).
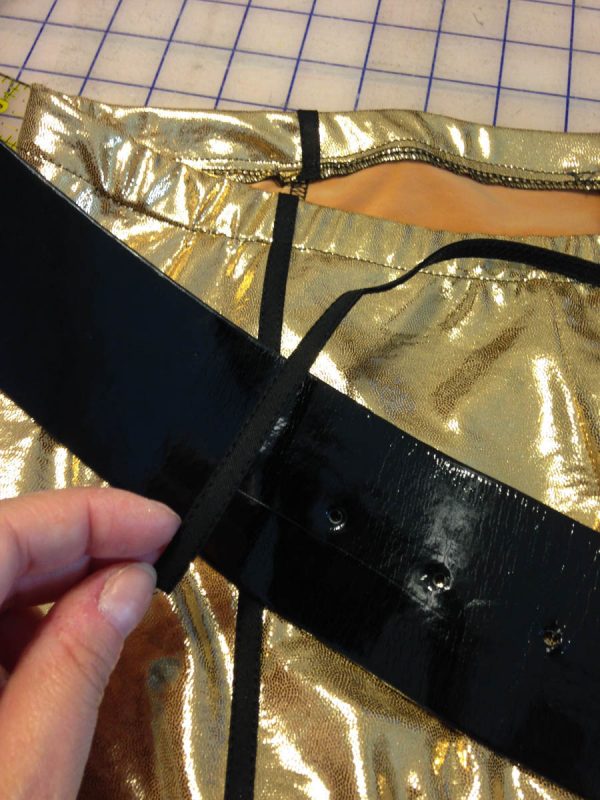
For the waist band, it needed elastic, I measured my waist (not my natural waistline but about 4″ lower than my belly button and subtracted an inch), using that measurement to cut my 1″ elastic. I formed a loop with the elastic sewing it together with ¼” seam allowance. Then I folded it in half to mark the centers, then in half again to mark the sides. Using pins, I matched up my registration marks to the seams on my pants and sewed the elastic, wrong sides together, to the waistband with the 1300 MDC overlocker. I made sure to stretch the elastic just a little bit, evenly distributing the elastic around the waistband.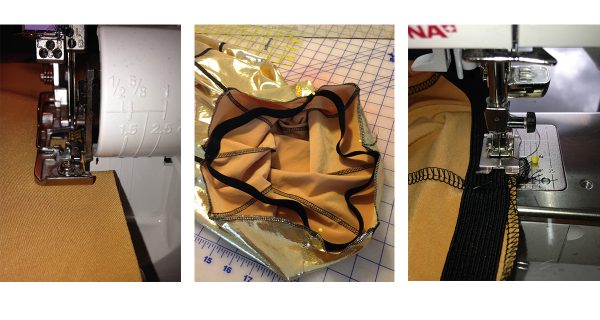 Finally, I turned the elastic over and pinned in place, using a straight stitch on my B 730 machine, stitching about a ¼” away from the serged edge. The pants were complete except for some belt loops which you may not wish to add.