Cupcake Birthday Runner, Part One
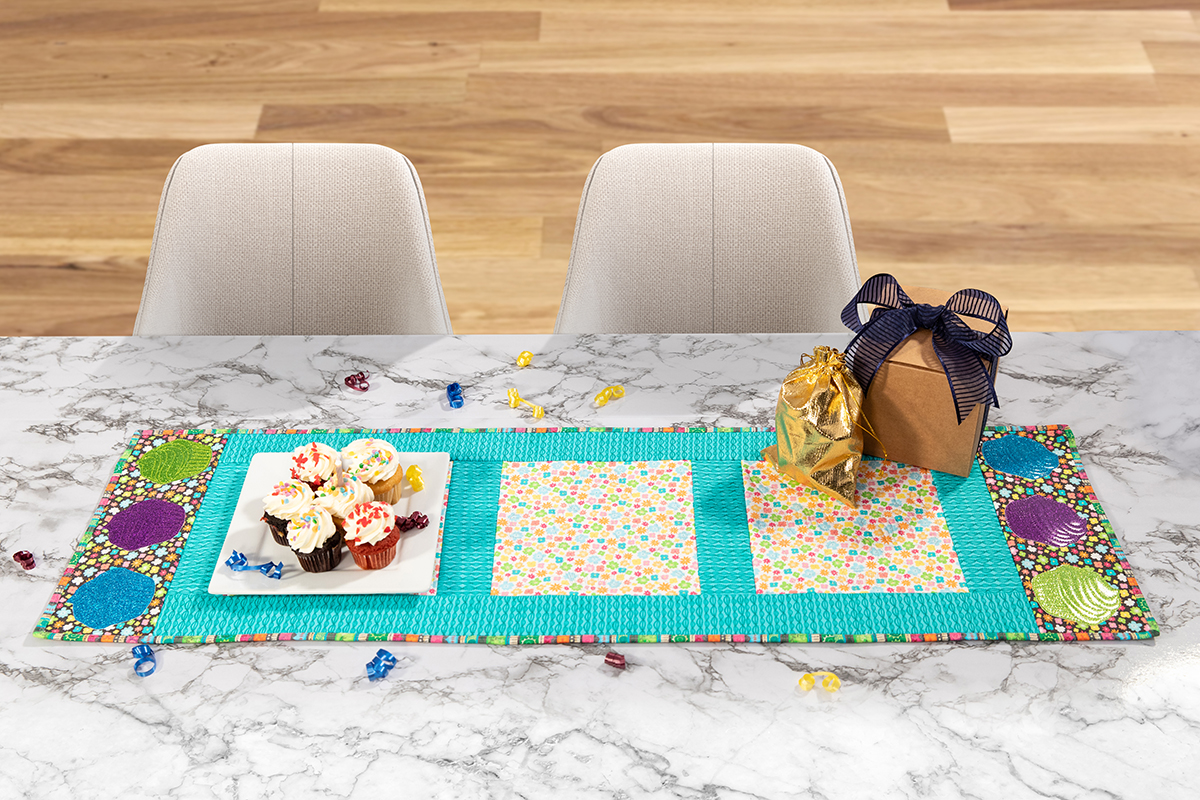
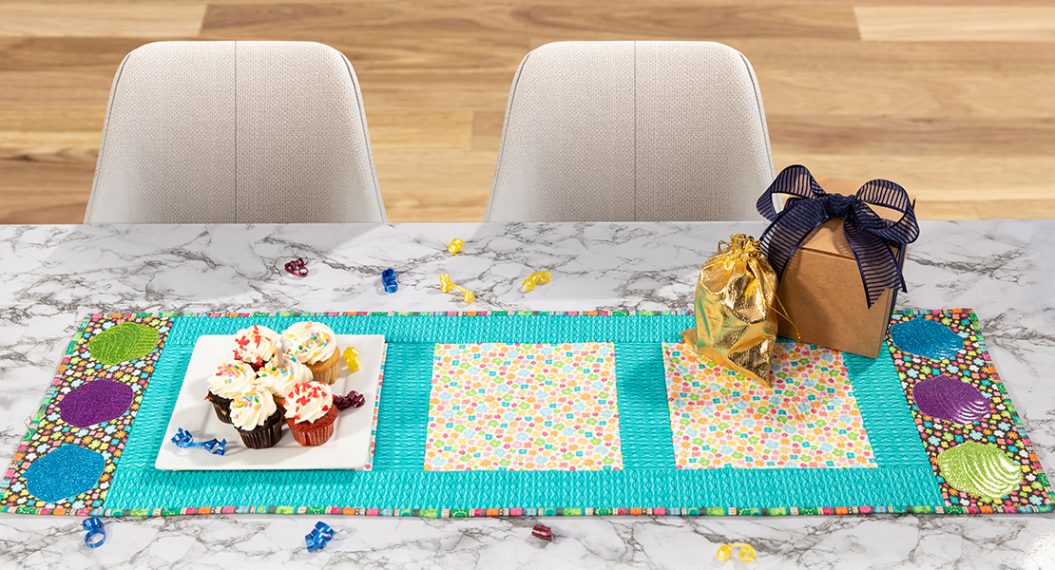
Birthdays are fun to celebrate! Make it festive with this cupcake table runner. The serger ensures it is quick to piece while sparkly thread and vinyl appliqué make it extra special.
Join me on this two-part adventure as I show you how to quilt-as-you go on the serger and quilt and appliqué with embroidery.
Let’s get started!
Finished Size
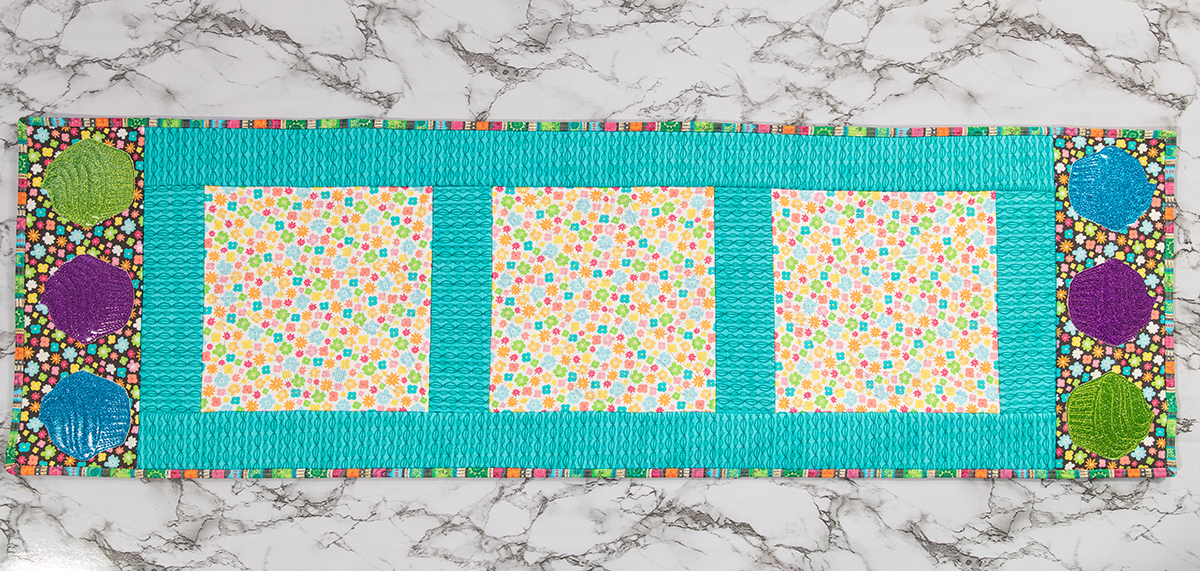
12 x 40” (seam allowances are 1/4″)
Materials for Making the Table Runner
- BERNINA L 890 Combo Machine
- BERNINA 790 PRO
- Standard Overlock/Combo Foot #C11
- Cover-/Chainstitch Foot #C13
- Coverstitch Compensating Foot #C12
- Embroidery Foot #26L
- Medium Clamp Embroidery Hoop
- Maxi Embroidery Hoop
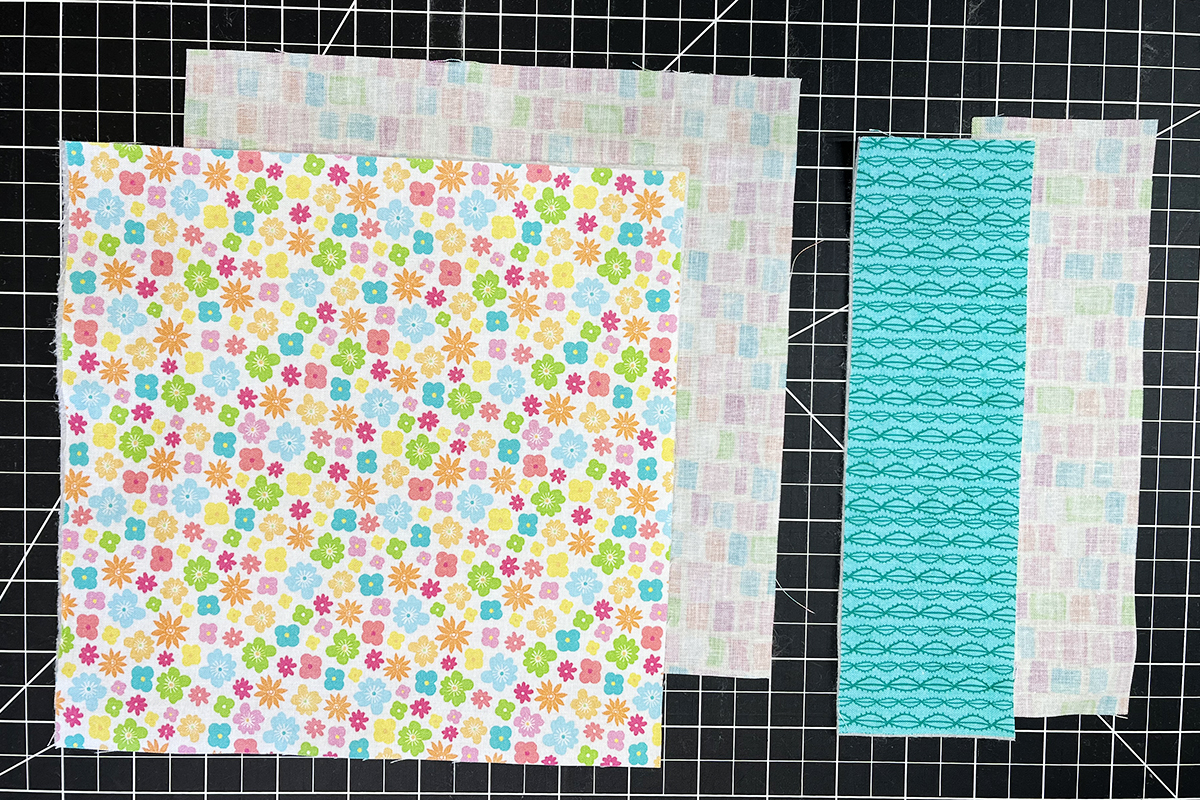
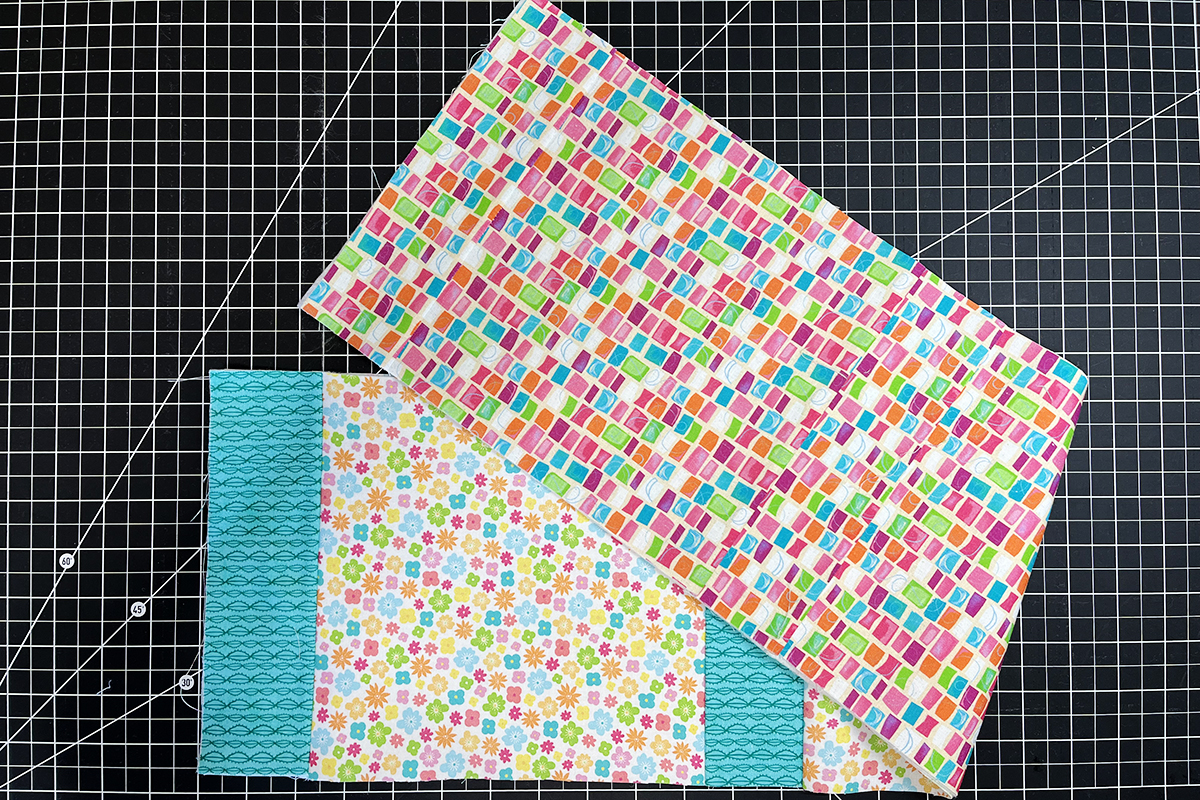
- Fabric, cut as directed (I used Awesome Owls by Jessica Flick from Benartex)
- White floral print—1/4 yard
- (3) 8 1/2″ squares for center
- Teal—1/4 yard
- (4) 2 1/2 x 8 1/2″ rectangles for sashing
- (2) 2 1/2 x 32 1/2″ rectangles for side borders
- Gray floral print—1/4 yard
- (2) 4 1/2 x 12 1/2″ rectangles for end pieces
- Multicolor print—3/4 yard for backing
- (3) 8 1/2″ squares
- (4) 2 1/2 x 8 1/2″ rectangles
- (2) 2 1/2 x 31 1/2″ rectangles
- (2) 4 1/2 x 12 1/2″ rectangles
- Stripe—1/4 yard for binding
- (3) 2 1/4″ x width of fabric strips
- Fusible Fleece—3/4 yard (cut pieces to match white floral print, teal and gray floral print pieces)
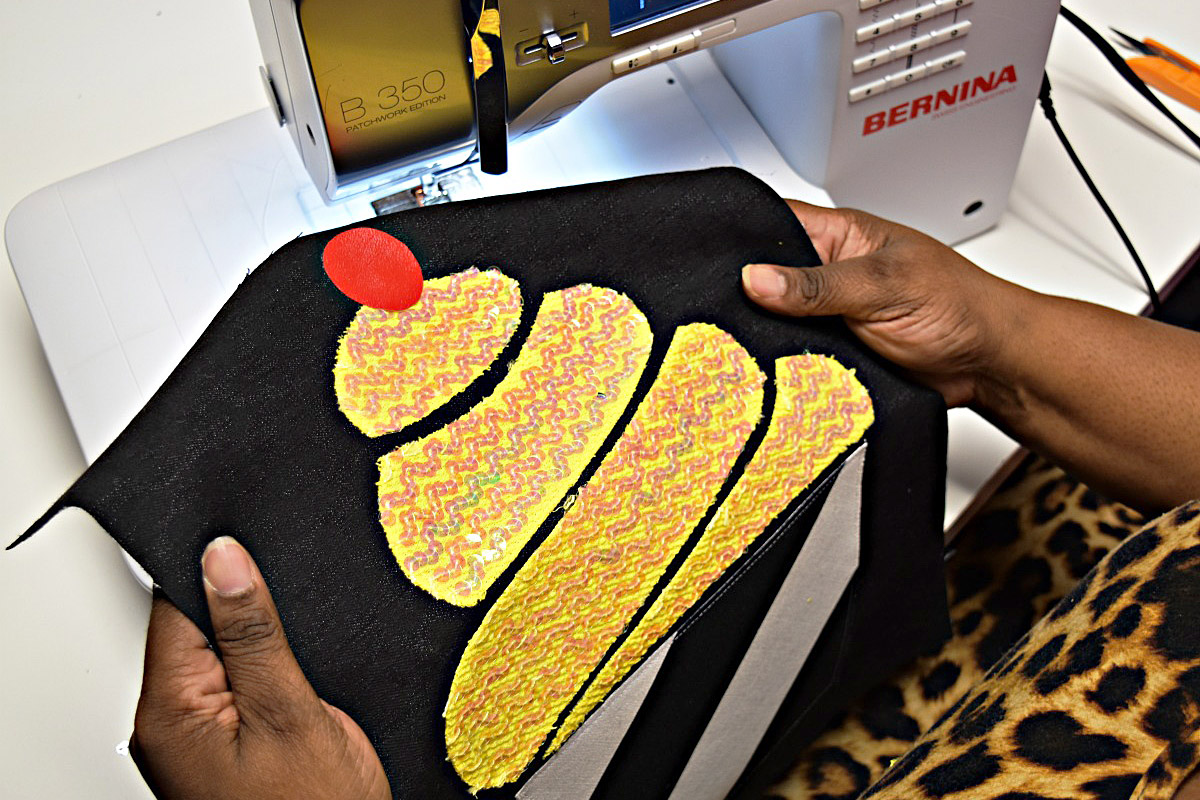
- (6) 4″ squares of Luxe Sparkle Vinyl by OESD in colors to coordinate with runner (I used three colors)
- Cupcakes Quilting by Amanda Murphy, OESD 80251
- White serger thread (I used four spools of Seracor by Mettler)
- Embroidery thread for quilting in the hoop (I used Silver Hologram thread by WonderFil)
- Bobbin thread (I used Deco-Bob thread by WonderFil)
- Embroidery thread to match vinyl (I used Isacord)
- OESD Tear Away Embroidery Tape
- Fusible thread
- Basic serging and embroidery supplies
- White floral print—1/4 yard
Make the Table Runner
The quilt-as-you go technique means that the runner is pieced and quilted in the ditch all at the same time. Carefully follow the steps below.
Step 1
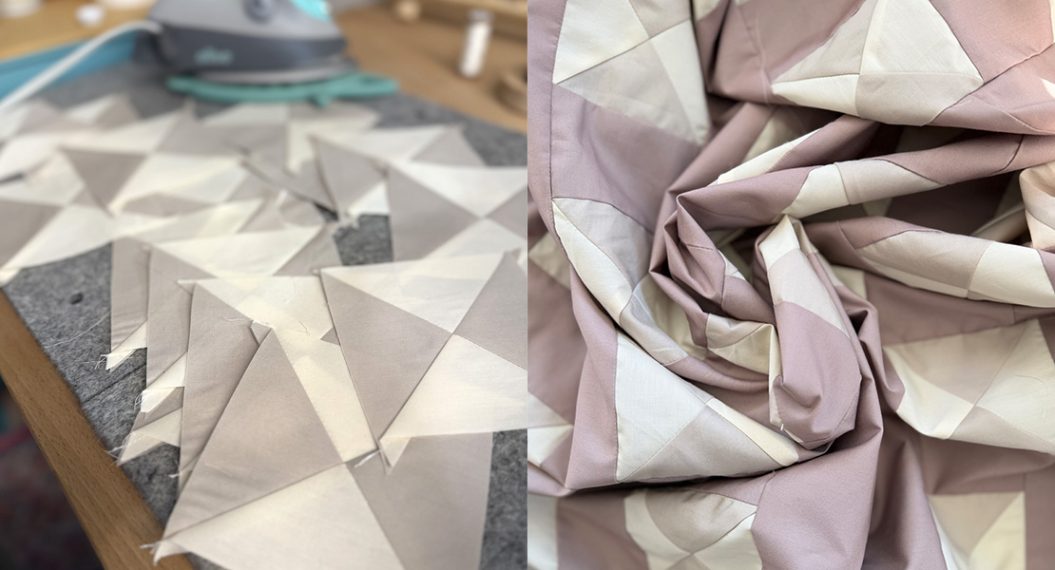
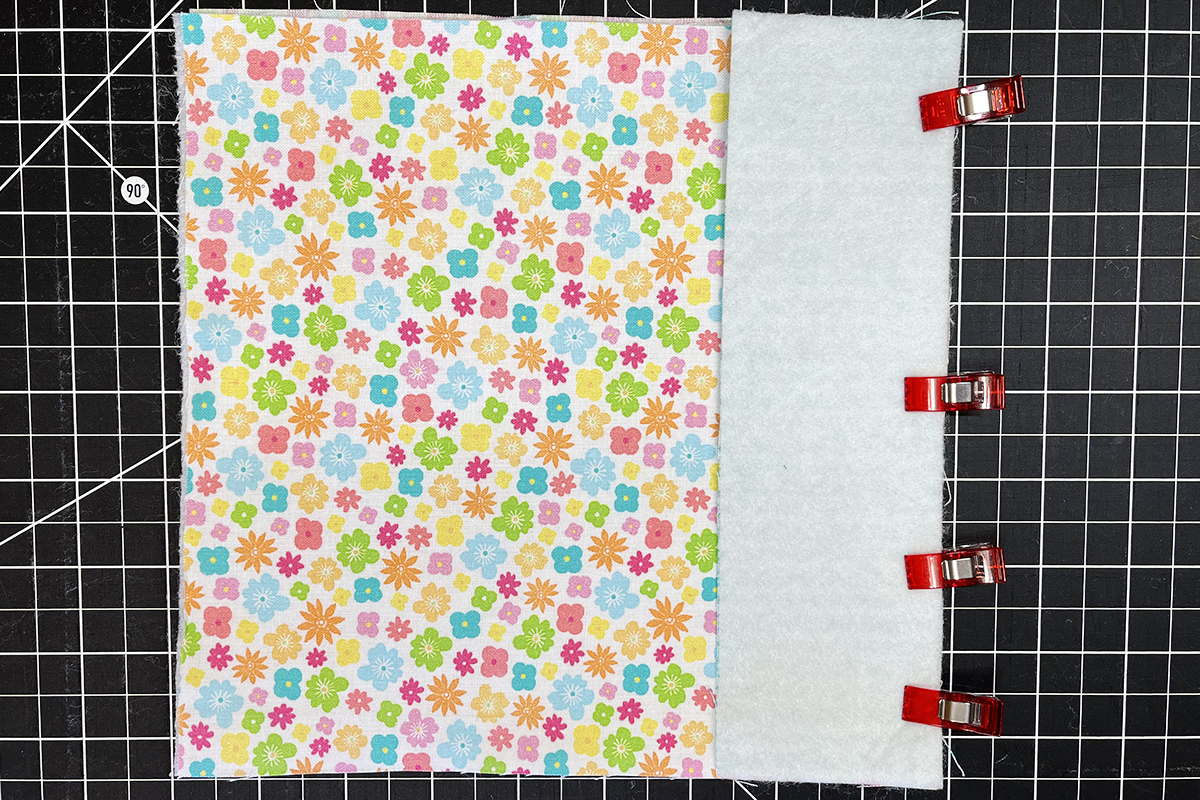
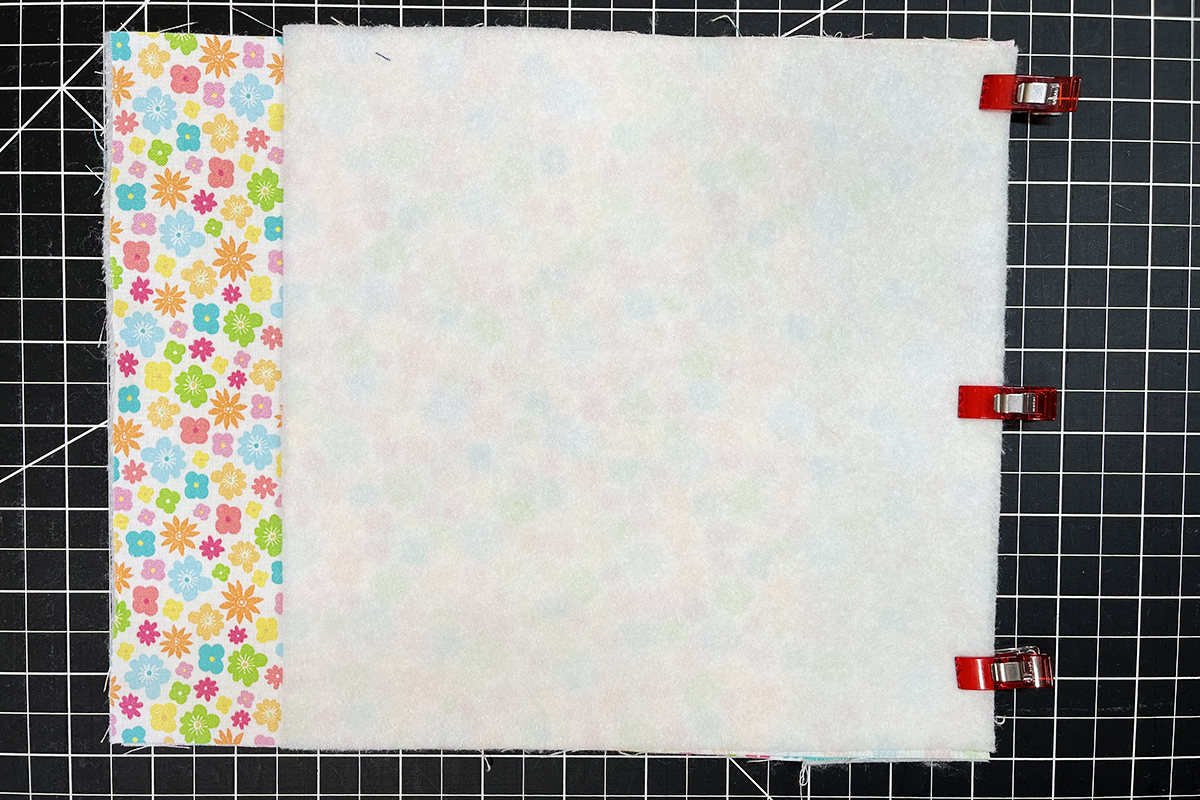
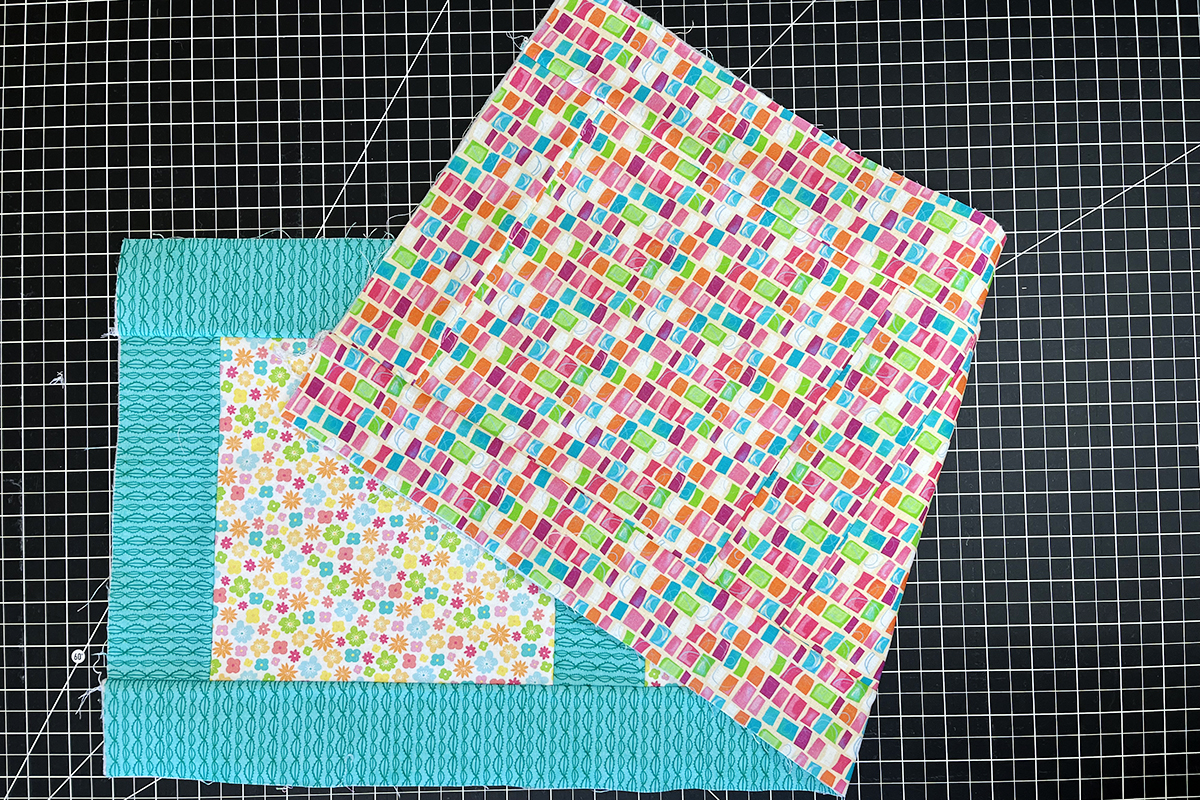
Fuse the fleece to the wrong sides of the fabrics cut for the top (white floral, teal, and gray floral). Make a quilt sandwich with one of the fused squares and one backing square. Make a quilt sandwich with one of the fused sashing rectangles and one backing rectangle. I have offset the top and the back in the photo so that you can see that they are wrong sides together.
Step 2
Flip the teal sashing piece right sides together with the top square. Flip the backing sashing piece so that it is right sides together with the backing square. Align the edges and clip.
Step 3
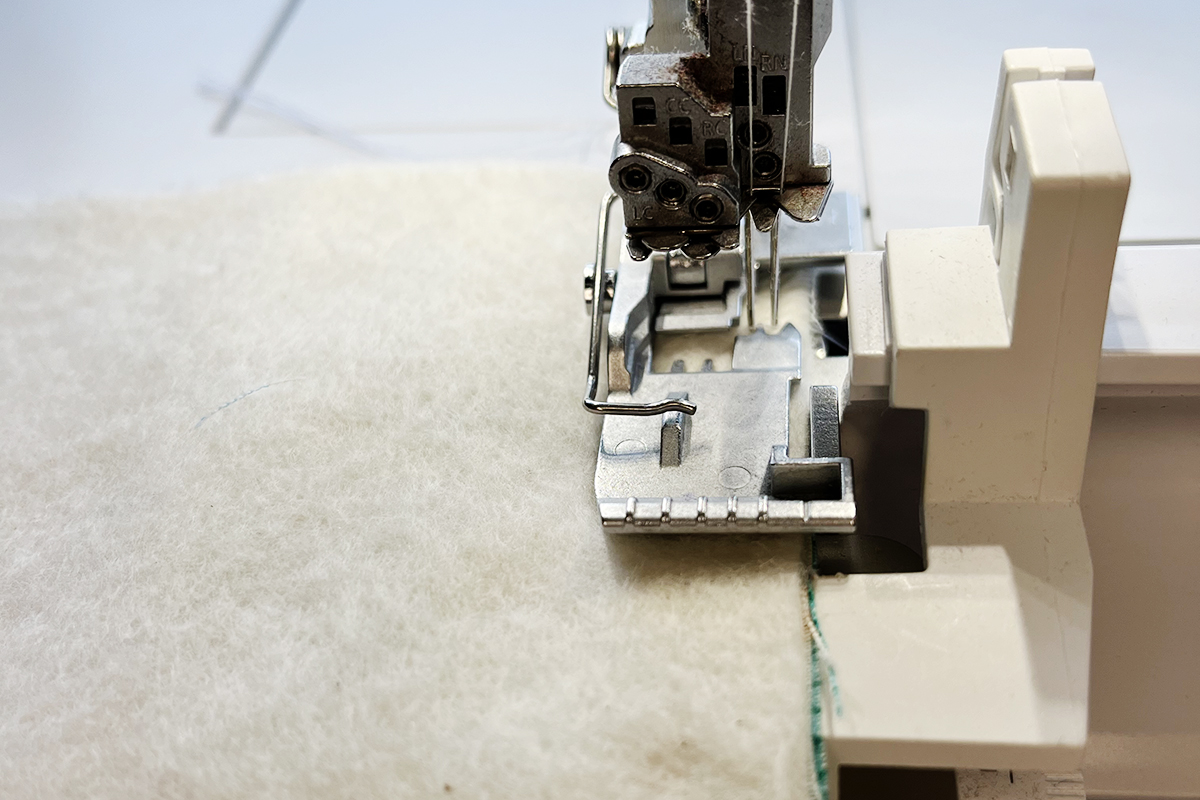
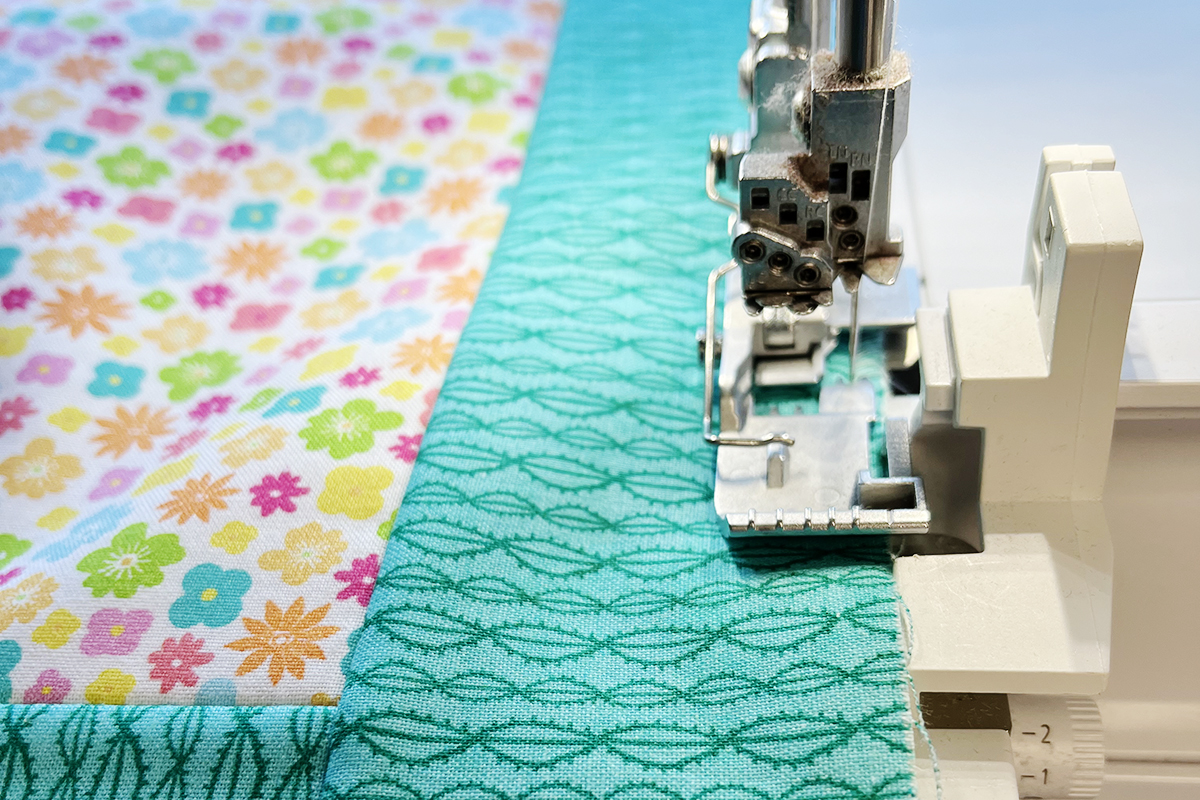
Serge the pieces together using a 4-thread Overlock stitch. Because of the bulk in the seam allowance, I adjusted the Cutting Width to 5 and the Presser Foot Pressure to 2. I also aligned the seam guide even with the knife so that I would just skim the blade as I serged.
Step 4
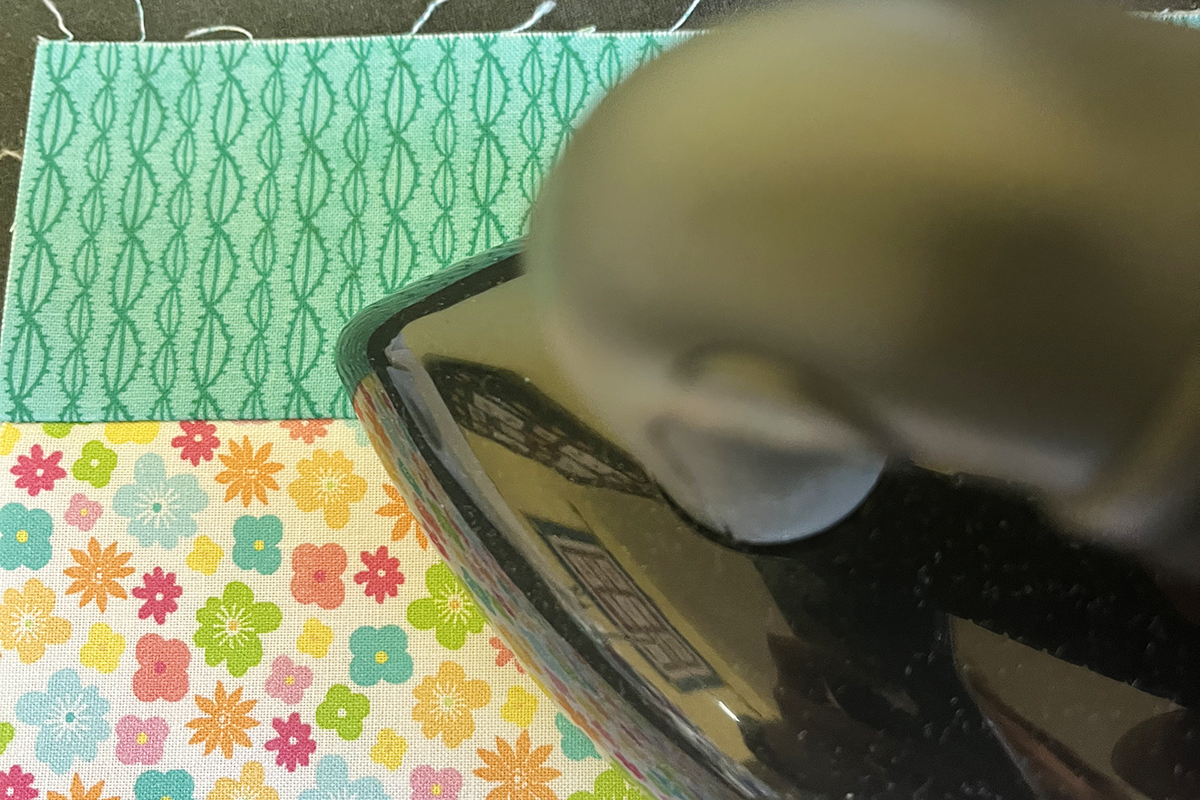
Press the sashing on the front and back, away from the squares. I like how the serger compresses the seam and everything lays flat.
Step 5
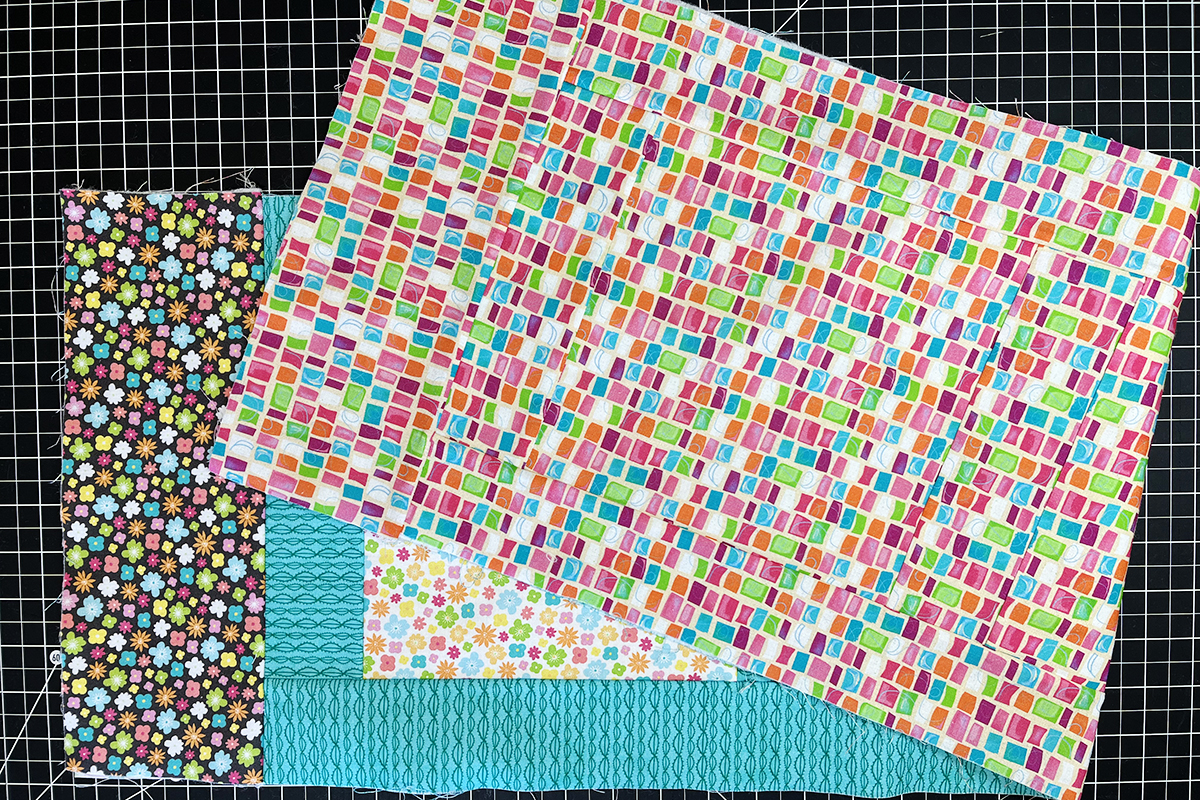
Repeat this process to add a square next to the sashing.
Step 6
Continue serging in this way until you have sewn three squares with sashing in between all the squares and at each end.
Step 7
Add the side borders in the same way.
Step 8
Add the gray floral print and matching backing on each short end. Press well. Because the runner was quilted as you serged, you don’t have to stitch-in-the ditch!
Step 9
Use a 3-thread Overlock Narrow (RN) #4 to serge around the edges. Avoid trimming as you serge. This will keep the fabrics in the right place during the quilting part of the project.
Step 10
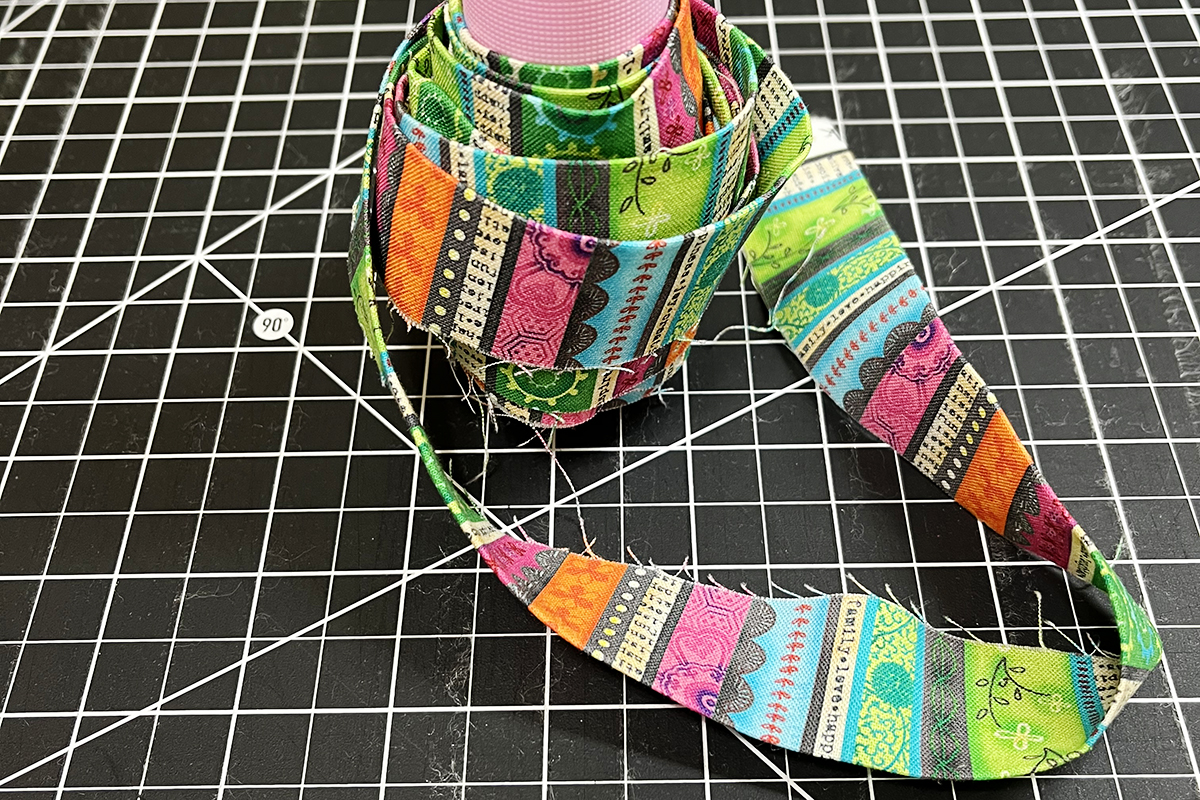
This is a good time to make the binding. Use the 3-thread Overlock Narrow (RN) #4 again to join the short ends of the binding strips, making one long strip. For an accurate 1/4″ seam, change the cutting width to 8. I found a handy use for one of my spent serger spools!
That’s it for this post! Join me next time to learn how to quilt and appliqué in the embroidery hoop and attach the binding with the overlocker!