Diamonds 2 Quilt Along, Part 3: Quilting Row Two
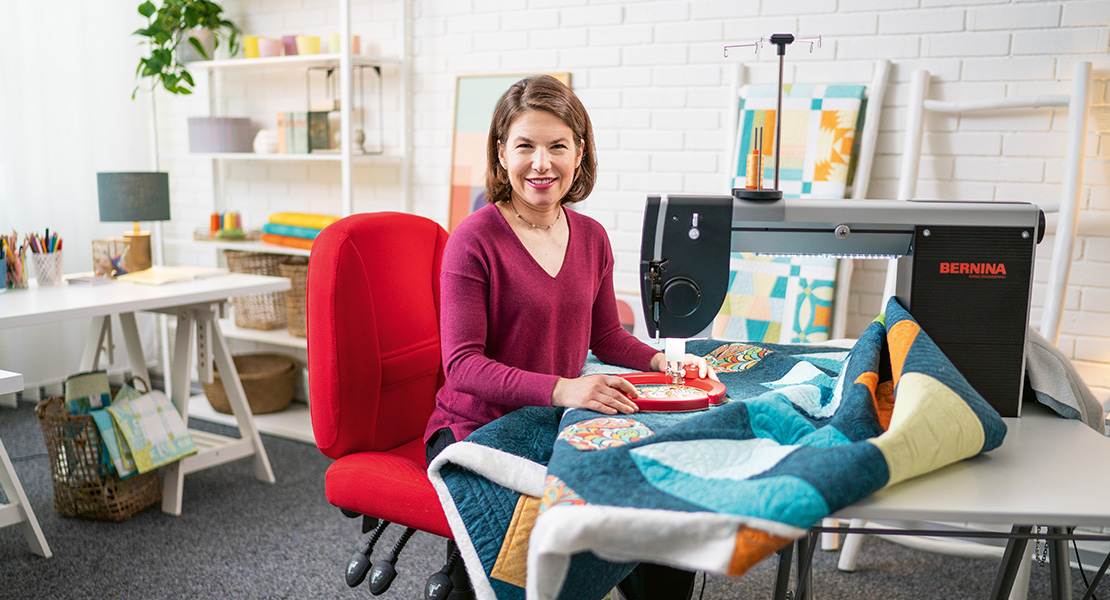
Happy 2022 and welcome back to the Diamonds 2 Quilt Along! I’m BERNINA Expert Amanda Murphy and this month I’ll show you how I quilted the second row of the Diamonds 2 Sampler.
Diamonds 2
If you missed the first two parts of the Diamonds 2 Quilt Along, you can find them here:
- Diamonds 2 Quilt Along, Part 2: Quilting Row One
- Here you can find general directions on handle quilting order on both a longarm and sit-down or domestic machine.
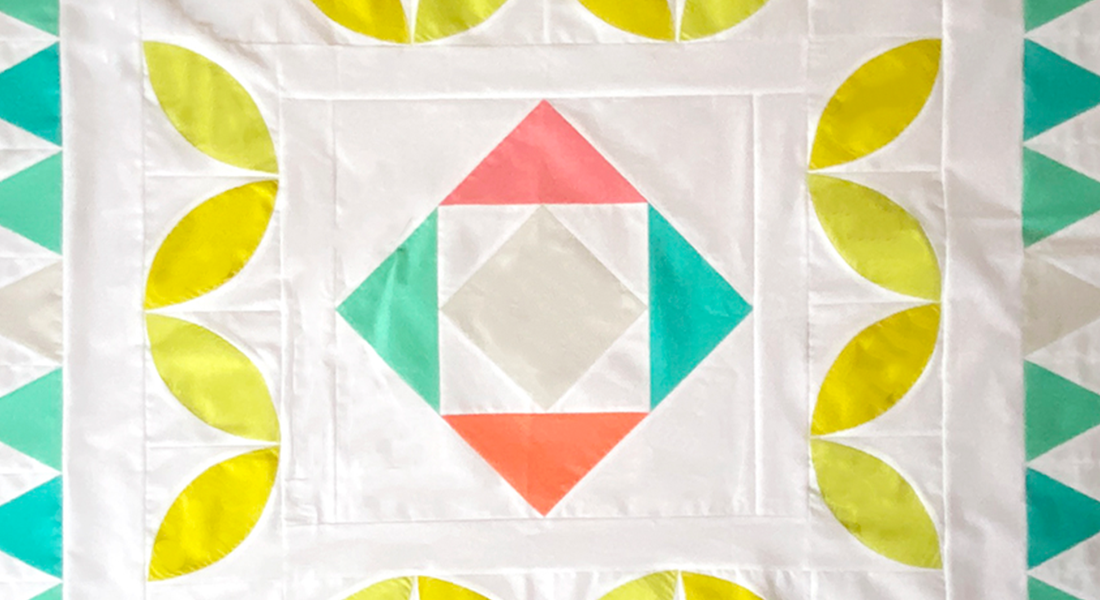
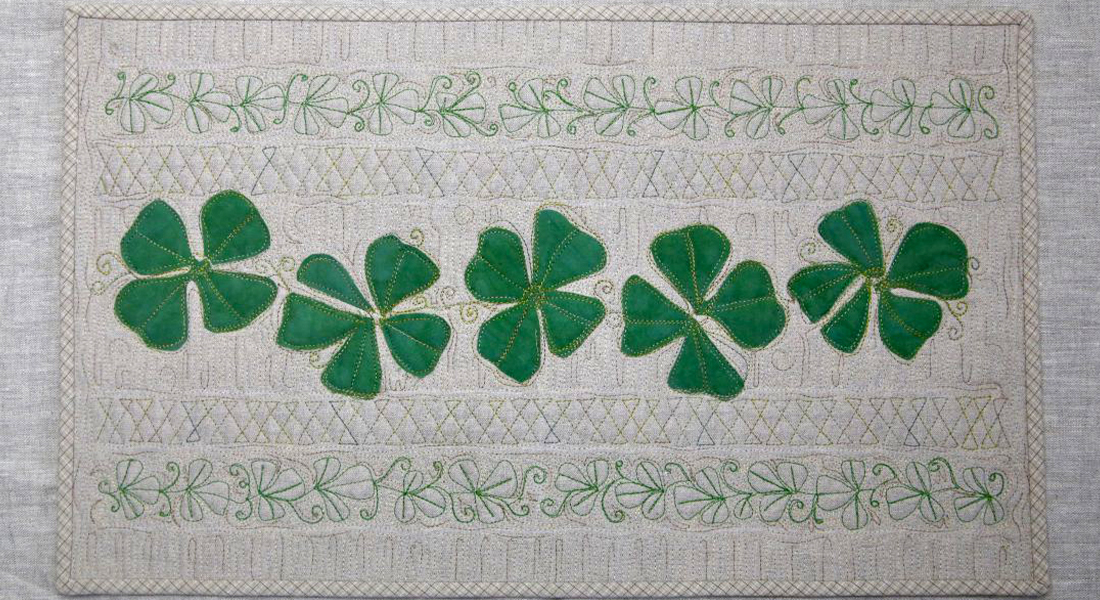
The Diamonds 2 Area B Design

Download the PDF instructions and watch this video:
If you are on a frame, you’ll want to first stabilize this area by quilting along the seam between it and the colored diamonds below it. (If you are on a domestic you have probably done all your stitch-in-the-ditch work already, as described in the previous post.)
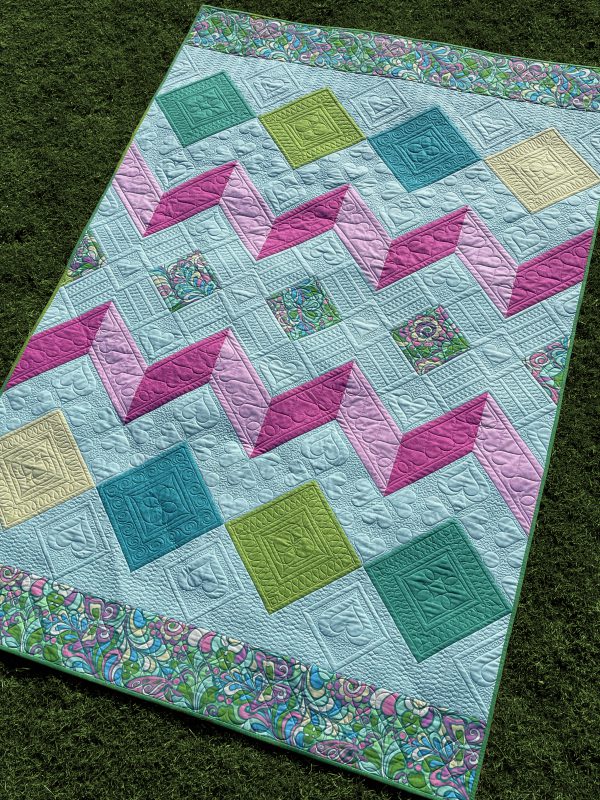
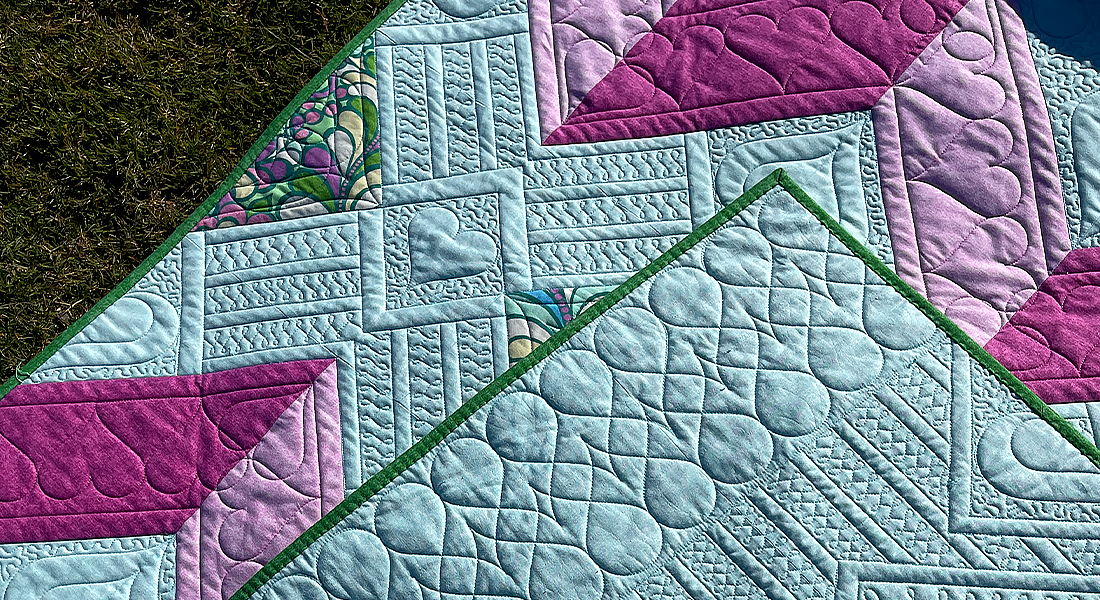
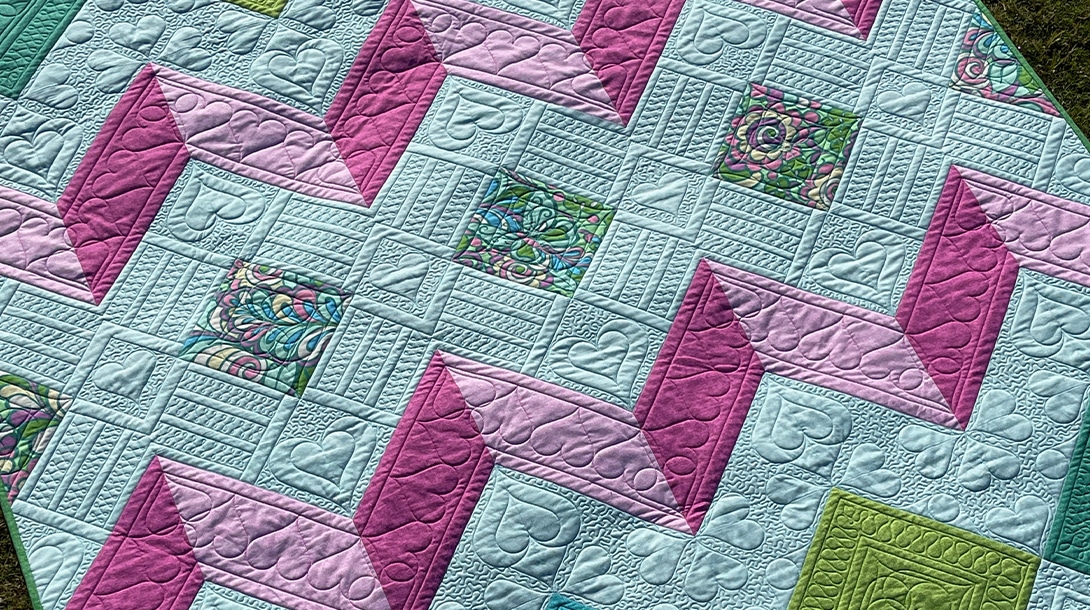
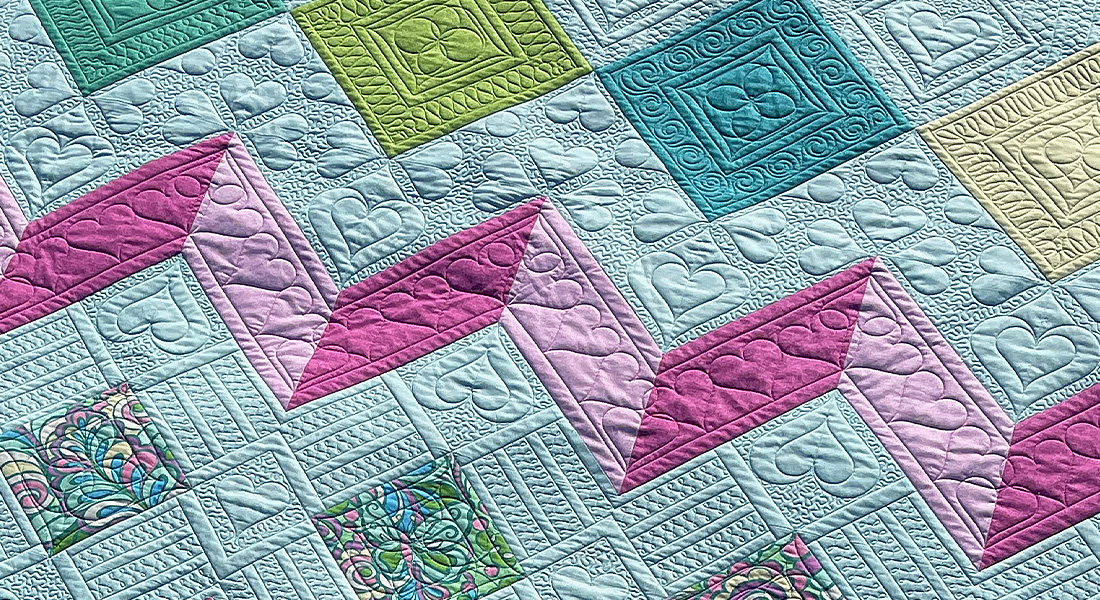
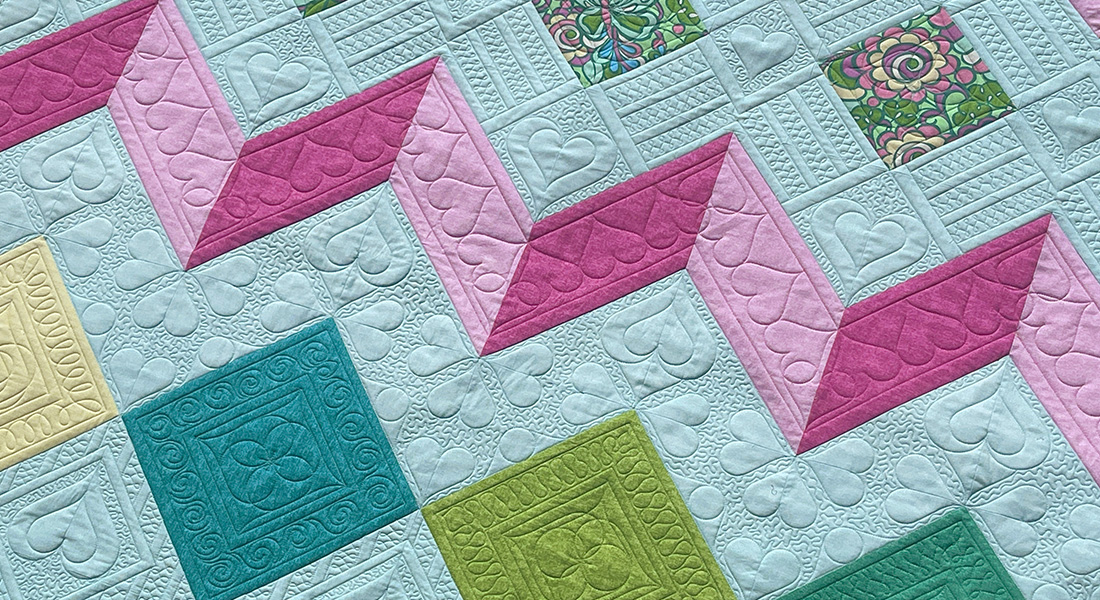
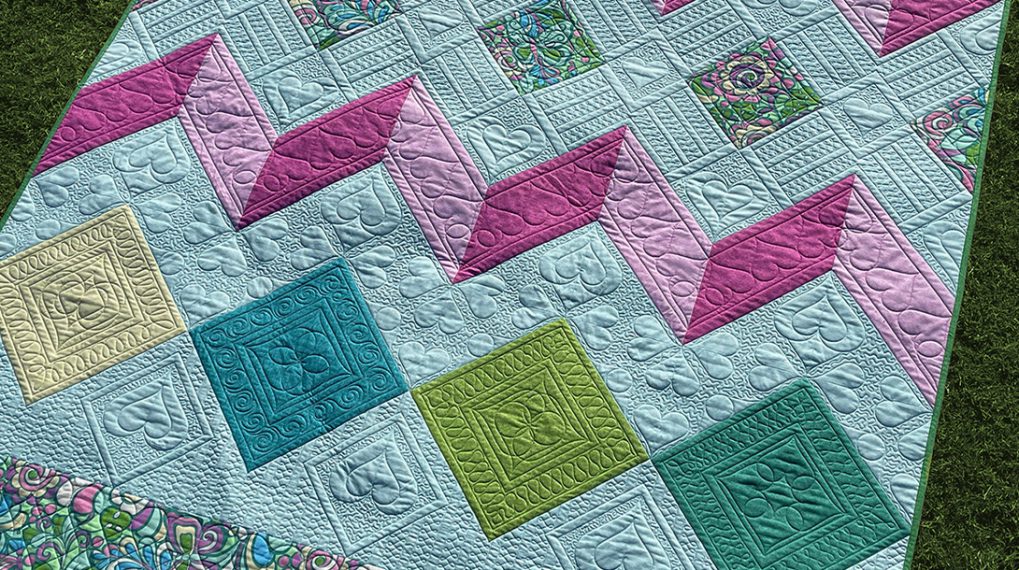
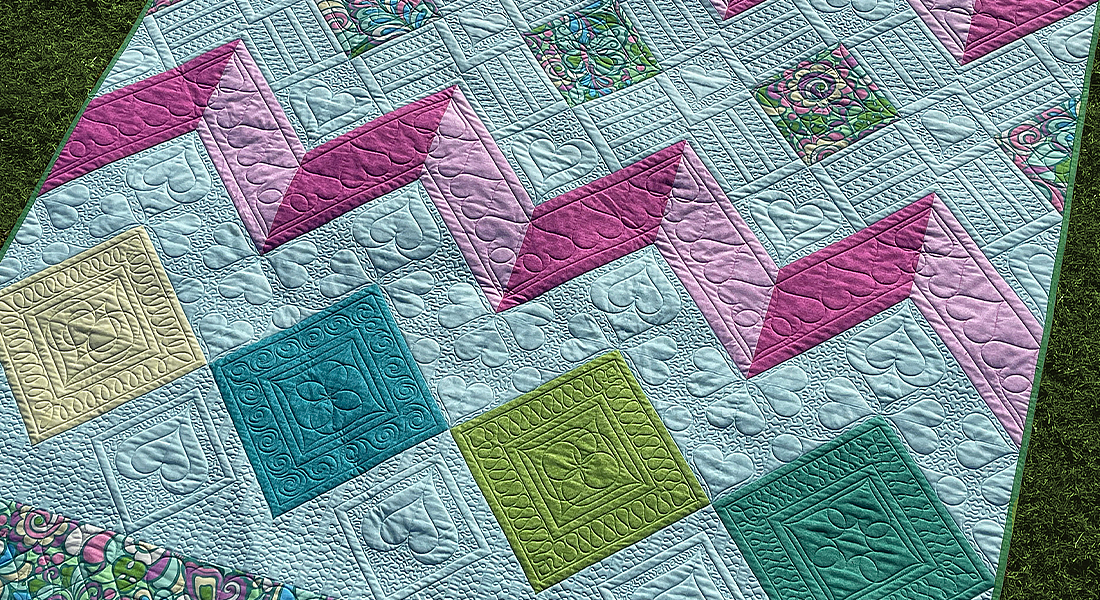
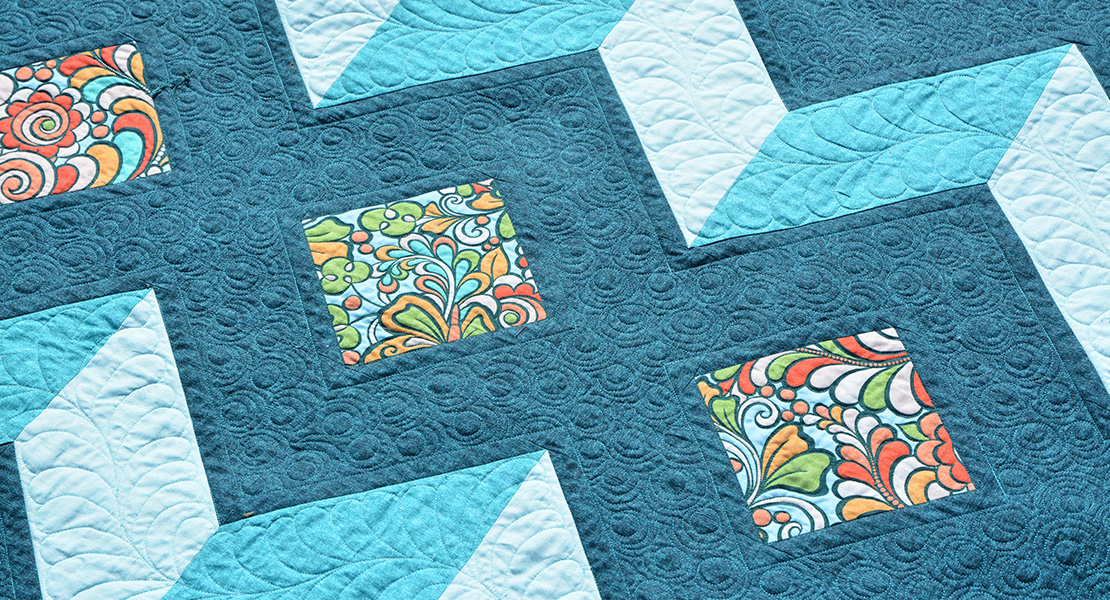
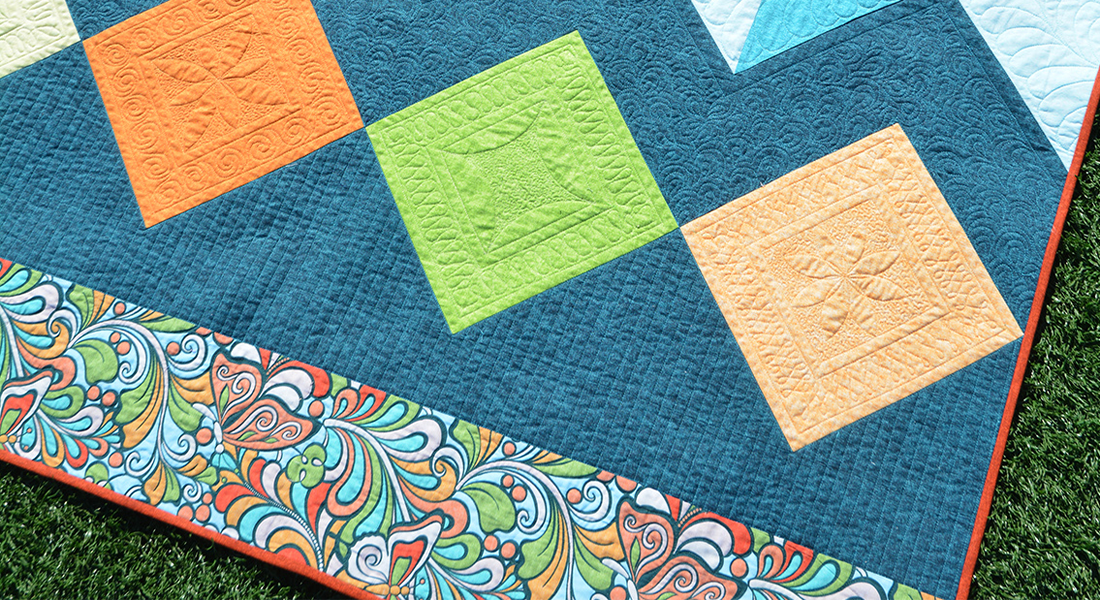
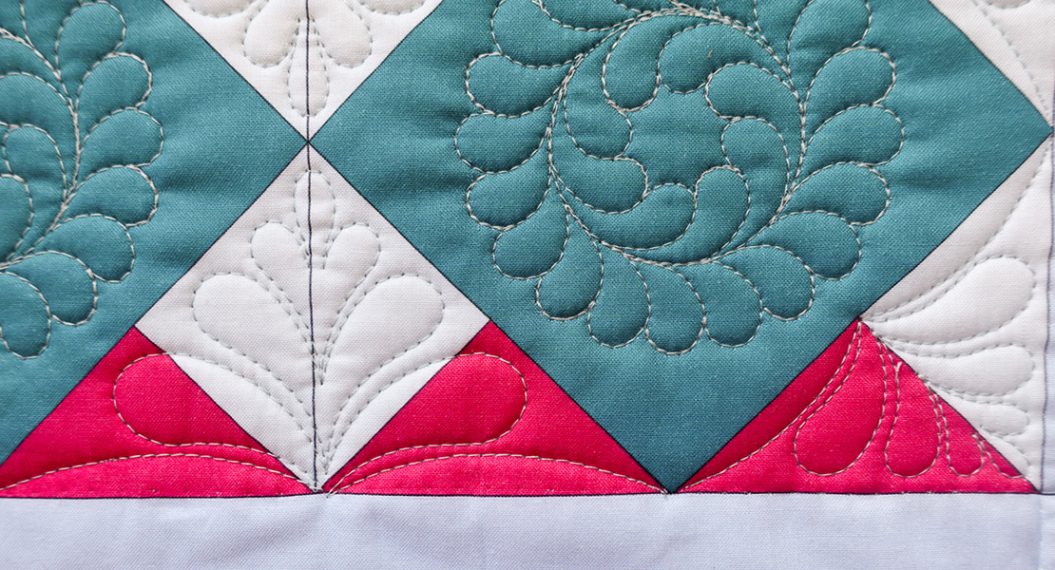
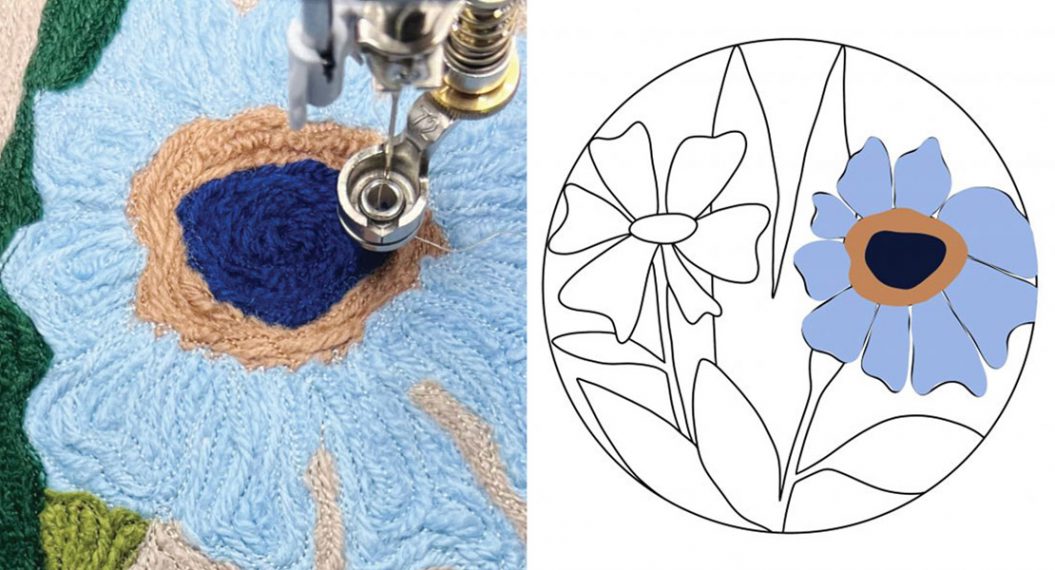
We’ll begin to quilt this area by breaking it down into shapes. In a structured piece with large negative spaces like this one, I like to emphasize the shapes that appear in the piecing in the quilting. So I quilted diamonds at specific points to fill up the space. Then I echoed inside the diamonds to further set them apart and filled them with a beautiful heart-within-a-heart motif using my Good Measured Heart Set 2 templates. I free-motioned around the rulerwork to make the hearts appear puffy. Don’t worry about the free motion being perfect—it is simply there to create a textural contrast with the rulerwork!
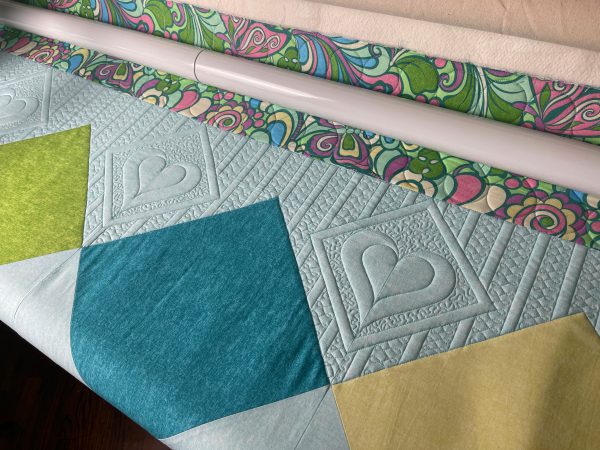
Area B on the Diamonds 2 quilt on the lovely BERNINA Studio Frame!
Last, but not least, I quilted a structured background of vertical lines 1/2” and 1” apart behind the diamonds. I free-motioned fishbone designs down the wider channels to give even more texture, but you could also use loops or ribbon candy if you prefer. Again, the thing is to add texture so feel free to make the piece your own!
Happy quilting and I’ll be back here on February 9th to show you more!
Amanda
Used Products


What you might also like


3 comments on “Diamonds 2 Quilt Along, Part 3: Quilting Row Two”
-
-
It is in the piecing entry listed at the top of the post.
https://weallsew.com/diamonds-2-quilt-along-part-1-piecing/?utm_source=weallsew&utm_medium=blog&utm_campaign=diamonds2_qal_part3
-
-
This is a LOT of quilting! I love it and have learned so much. Thanks!
Leave a Reply
You must be logged in to post a comment.

I’m looking forward to learning! Where can I find the materials list please?