Elegant Monogram in the Mode of 3
3-Letter Monograms are a classic. That is all you would have to tell me to make me want to try non-traditional variations.
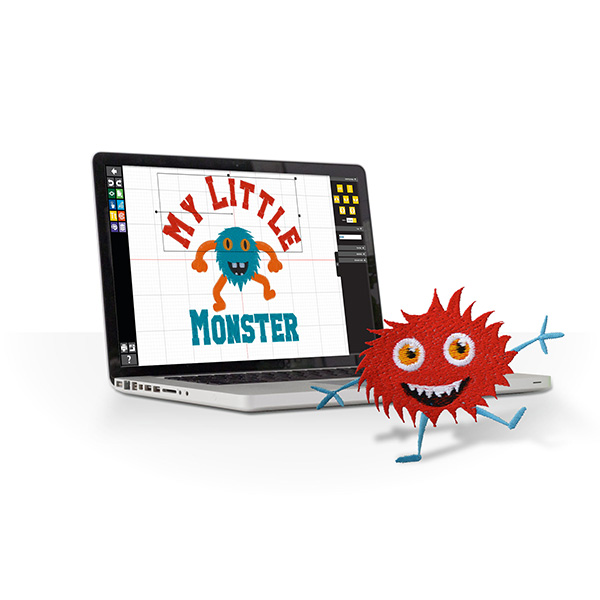
When creating a 3-Letter monogram, my goal was to come up with something simple, elegant and contemporary. With BERNINA Toolbox Software that is not only possible, but very simple.
To get my monogram designed, all I need is the Monogram Tool in Toolbox where I quickly put together a monogram with 3 letters.
For general instructions on how to set up your workspace in your Toolbox software (hoop, template, origin lines, etc.), please refer to the Life’s a Beach blog: Creating an Embroidery Motif with BERNINA Toolbox Software.
General Tips for Creating Monograms
When creating monograms, consider the following:
- Chose an alphabet style that works well with your actual letters.
- Some letters may be closed on one side and open on the other (e.g. C). This can affect how a monogram forms up, closed or open.
- When adding a decoration, it adds to the final size of the monogram, including the spacing between decoration and the letters.
- Good news!: Toolbox automatically resizes the decoration if you change the height of the letter(s)
- 3 and 2-Letter monograms are classic. 1-Letter monogram have maximum punch!
- Finally: there’s only one way to make the perfect monogram for your personal style and letter combination: play with your Toolbox. It’s easy to try out variations and there’s only three steps to creating a monogram.
So without further ado…
Open your Toolbox software and 3… 2… 1… Go!
Making the 3-Letter Monogram
Start with a New design file.

- Type the file name: ABC Monogram
- Click OK
The main workspace screen of Toolbox will now open up.
- Click on the Monogram Tool.
- In the Choose Alphabet section:
Select the Seal – 3 Letter alphabet
- In the Enter Letters section:
Type the letters A, B and C (or initials of your choice).
Set the Height of the letter to 3 inches.
- In the Choose Decoration section:
Select the curved branch with leaves
Note: Toolbox will automatically size the decoration to your monogram letter and change the thread color.
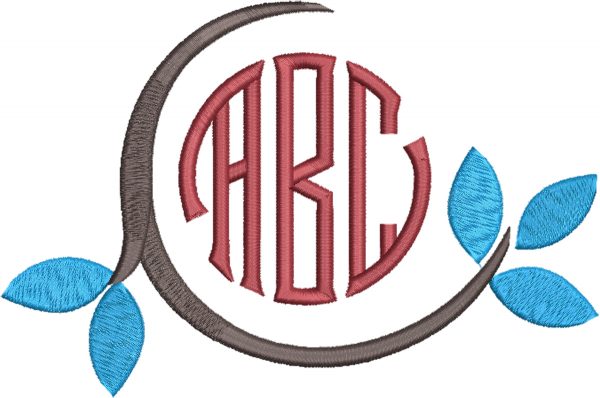
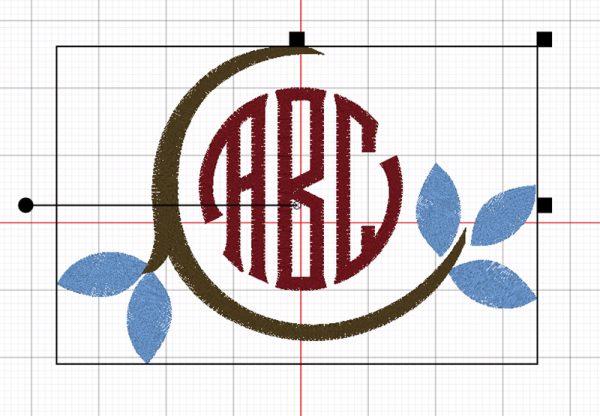
Your monogram should now look like this:
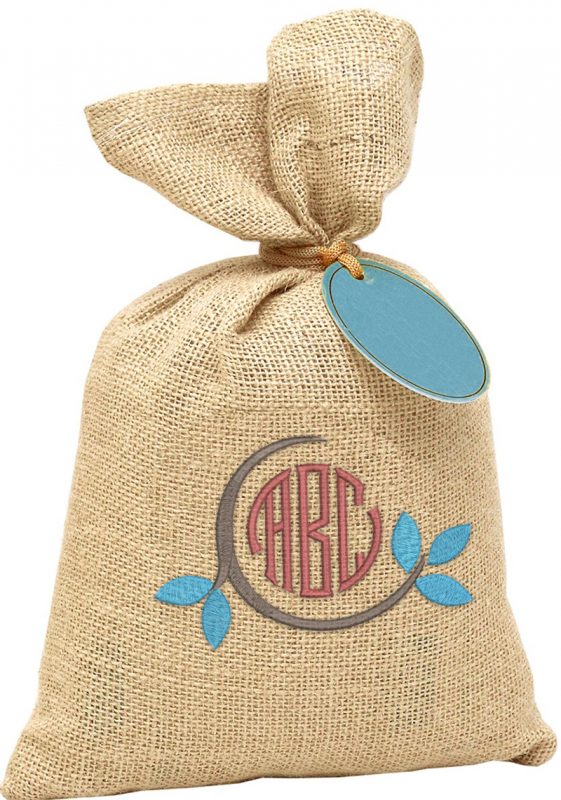
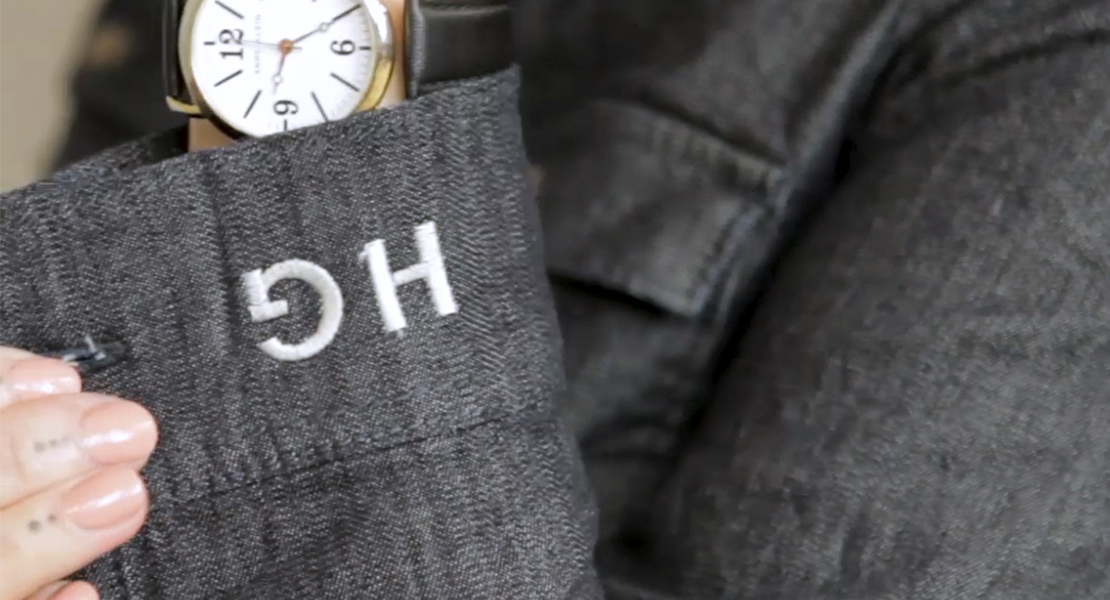
That’s it! You now have a 3-Letter monogram… with decoration.
- The first color is for the lettering
- The second color is for the leaves
- The third color is for the branch that wraps around the letters
What you might also like
4 comments on “Elegant Monogram in the Mode of 3”
-
-
Hi Sewweall,
when it comes to stabilizers, I consider the following three factors:
1. Density of the stitching/design (here, i’d say it’s medium)
2. Size of the design (when a design is enlarged it tends to pull more on the fabric)
3. Fabric base on which the design is stitched.For this project, I used two layers of OESD Ultra Clean & Tear since the monogram was not too large. Note that if a project is to be washed, any tear-away stabilizer will disintegrate in the wash. In such a case I would opt for a cut-away (medium or heavy).
For a good review of stabilizers I recommend that you download our eBook on stabilizers at:
https://www.bernina.com/en-US/Experience-en-US/Embroidery/Embroidery-ebooks/JEIAllAboutStabilizersI hope this helps 🙂
sylvain
-
-
Very nice do you ever use designer v8 to do the same thing ? It would be nice to see some designs using the expensive software thanks Nile Remsing
-
here’s a YouTube playlist for our V8 series of videos. Hopefully you’ll find ideas to help with your projects.
http://www.youtube.com/playlist?list=PLfT1DJU1aEloiXEB1KEZPjh22yuJG0IYb
-
Leave a Reply
You must be logged in to post a comment.





What stabilizer did you use?