Embroidered Dish Cloths Tutorial
Hello everyone! Kymona here and I’m so excited to be back. I’ve missed all of you. 2020 has been a year to remember for sure. I hope all of you are safe, healthy, and sewing to your heart’s content.
A couple of weeks ago my mother and I were talking about being more cost-effective with the products we use in our homes. Starting with the paper towels. When she dries the dishes, she reaches for paper towels instead of dishcloths, so do the kids. So, I told her I would make her a set to use.
Let me show you some embroidered dish cloths!
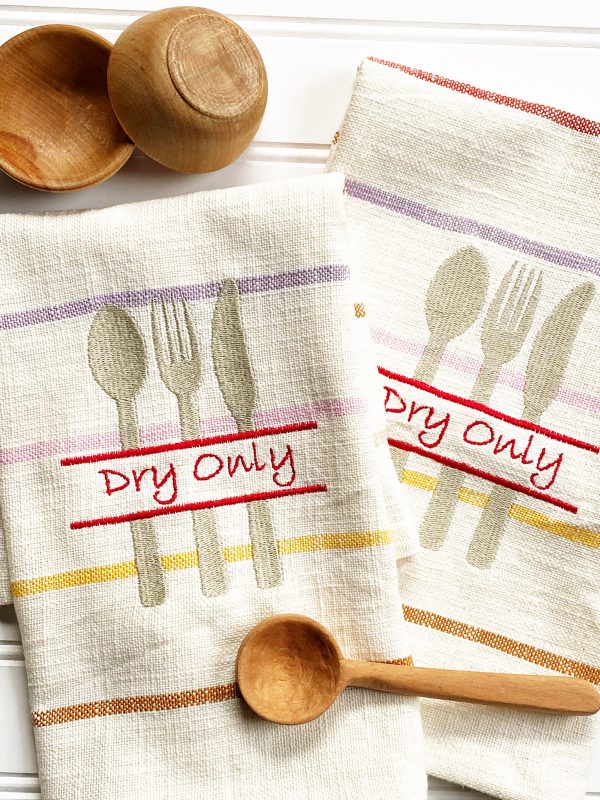
Materials to Create an Embroidered Dish Cloths
- 1 yard of toweling fabric
- Rotary Cutter and Mat
- White Thread
- Scissors
- Straight Ruler
- Pins
- Embroidery Thread
- Tearaway Stabilizer
- Washaway Stabilizer
- Your sewing machine. I sew on a BERNINA 570 QE
- Embroidery Design
Instructions to Sew and Embroider Dish Cloths
Step 1 – Cut the fabric
Cut (2) 22 inches x WOF
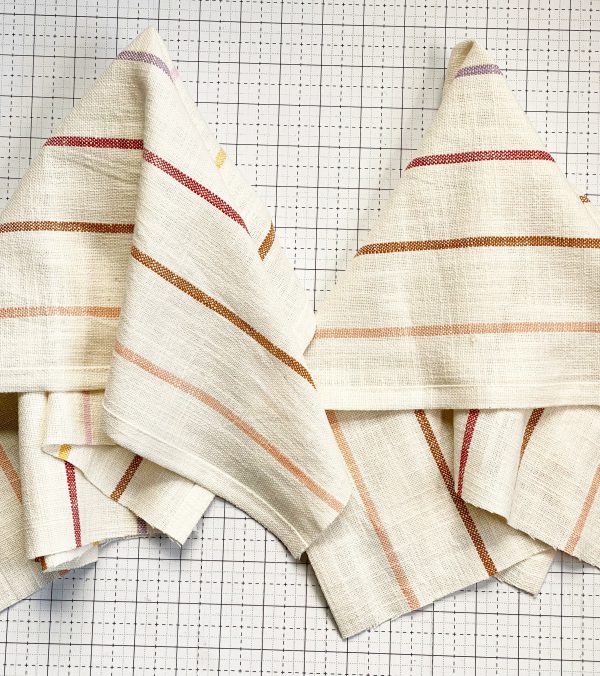
Step 2 – Prepare the fabric for sewing
Fold the unhemmed side of the fabric a half an inch to hide the raw edges.
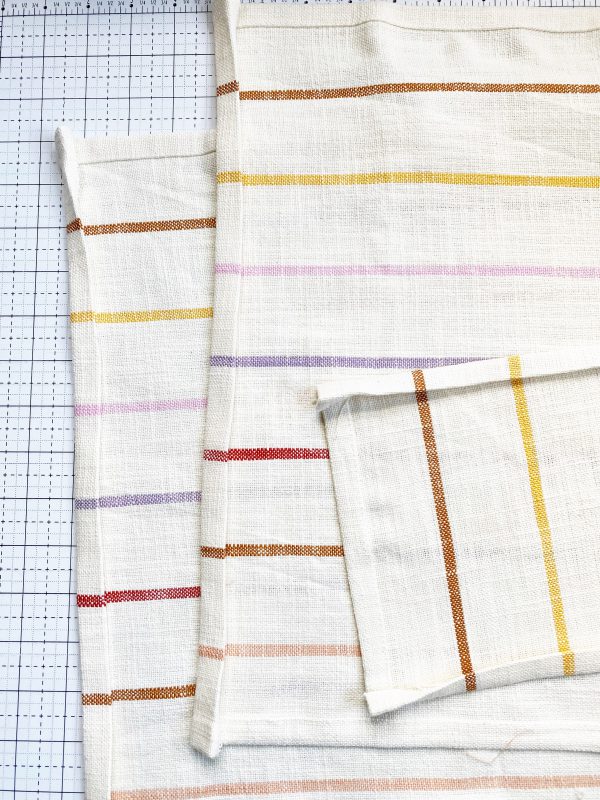
Press to set the fold.
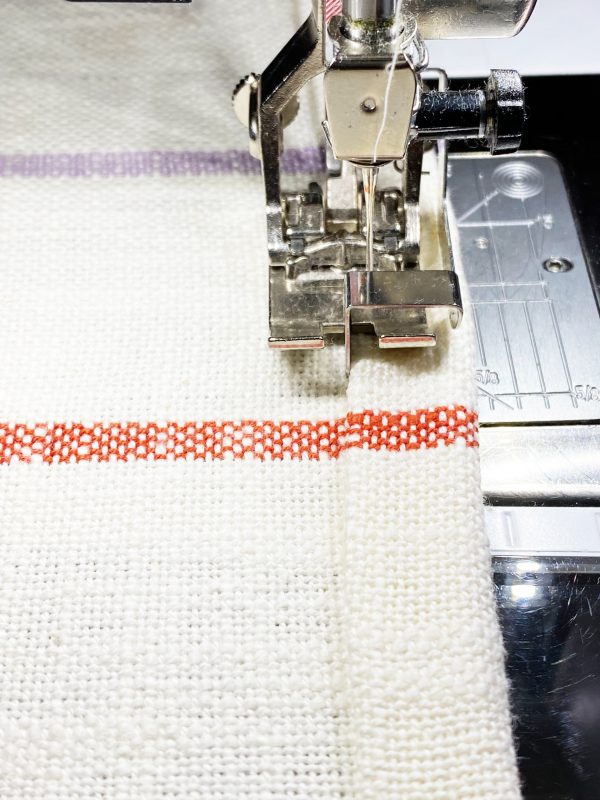
Step 3 – Sew the edges
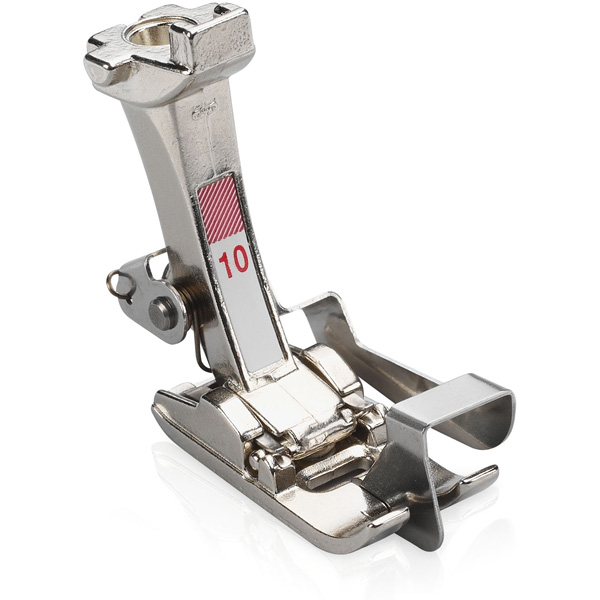
With the #10D foot, on the 570 QE sewing machine, sew 1/8 inch from the inner hem. Repeat on the opposite side.
Step 4 – Prepare the fabric for embroidery
Cut (1) piece of tearaway stabilizer that is bigger than the hoop to ensure you cate it when you hoop everything.
Cut (1) piece of wash-away stabilizer to the same size as the tearaway.
Fold the fabric in half and mark the center where you want the design.
Step 5- Hoop the fabric
Place the hoop back on the table, then the tear-away stabilizer, then the fabric, right sides up, last the wash away stabilizer on top of the fabric.
Place the hoop top on top of the wash-away stabilizer matching the center with the center mark on the fabric.
Take your time, pick up the fabric and hoop and press it in the base.
Tighten.
You’re on your way to embroidered dish cloths.
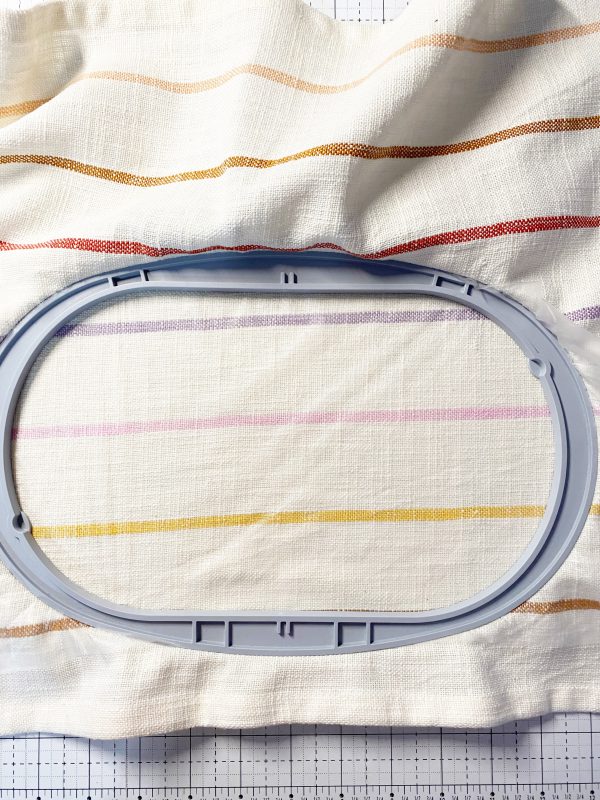
Note: Do not pull or stretch the fabric.
Step 6 – Embroider
Step up your machine for embroidery.
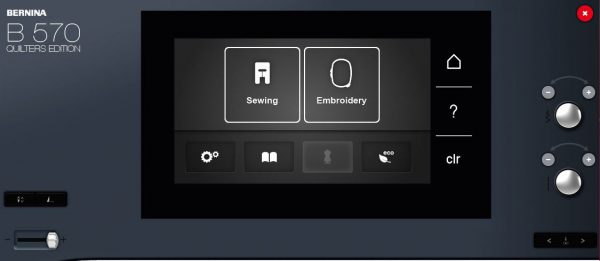
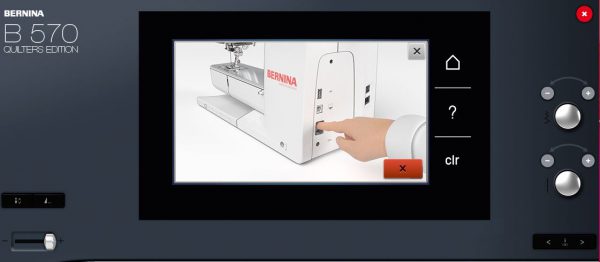
Lower the feed dogs.
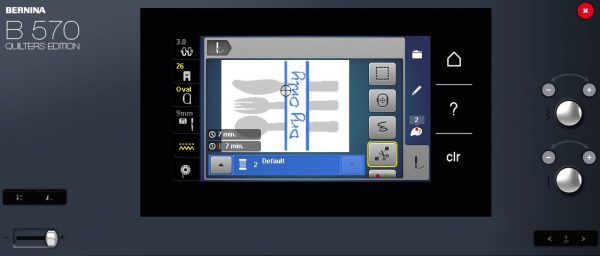
Upload the image onto the machine.
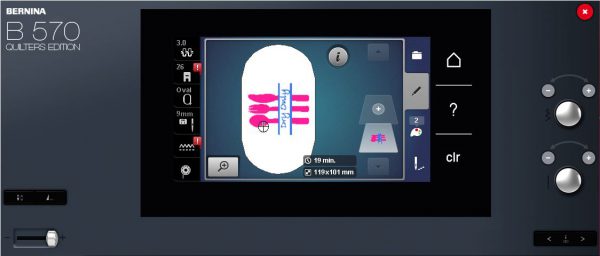
Address the red exclamation marks on the panel.
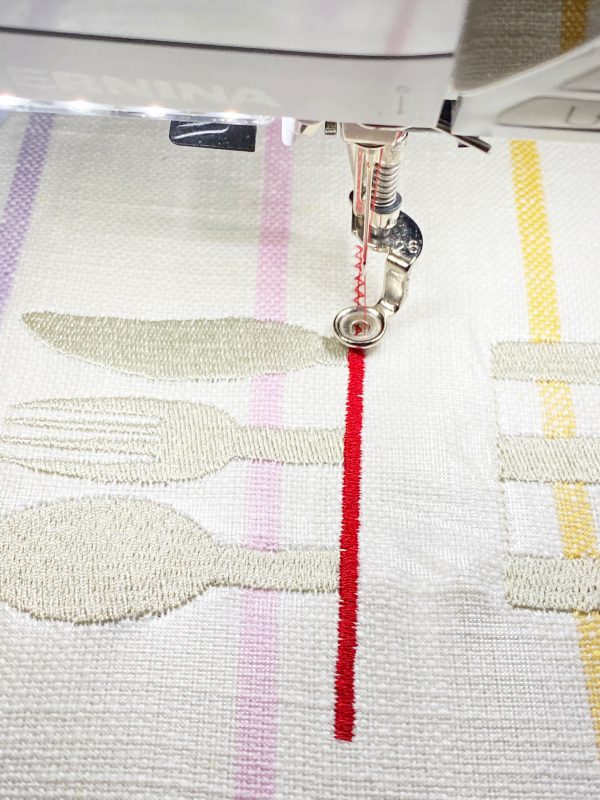
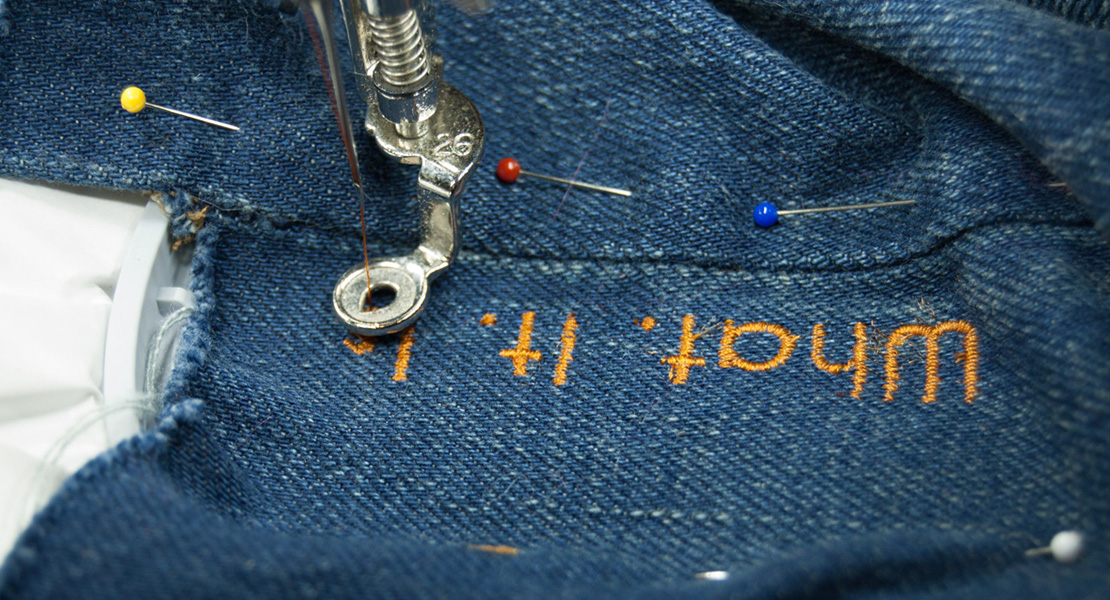
Change the machine foot to the #26 drop-shaped embroidery foot.
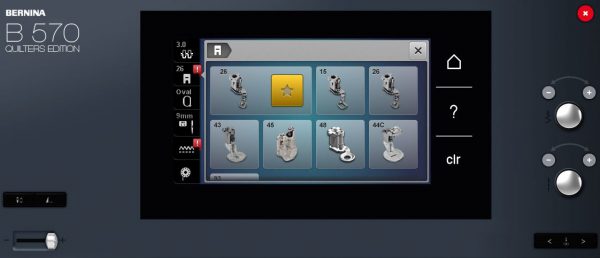
If you forgot to lower the feed dogs the machine will remind you.
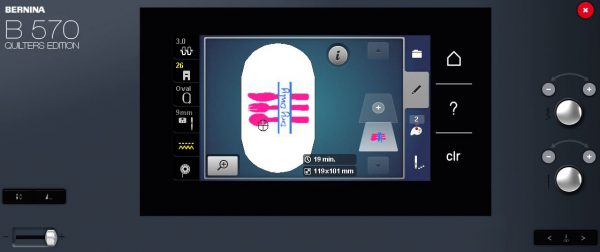
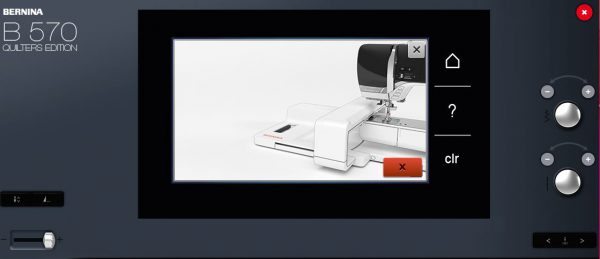
Attach the embroidery module M.
Trace the image to make sure the needle will not hit the hoop.
Begin stitching the first color.
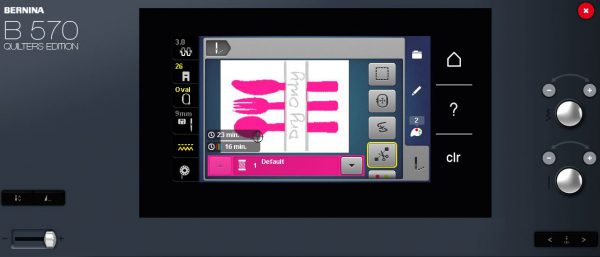
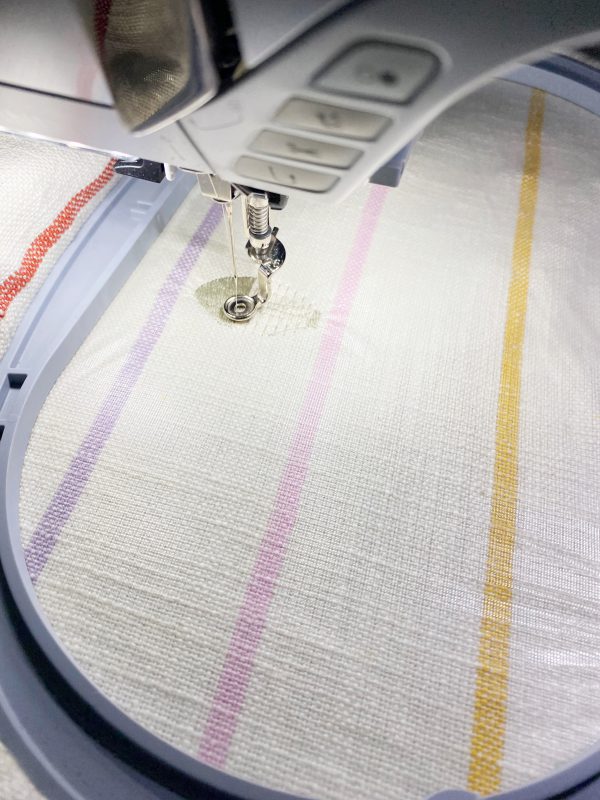
Change the thread and begin stitching the second color.
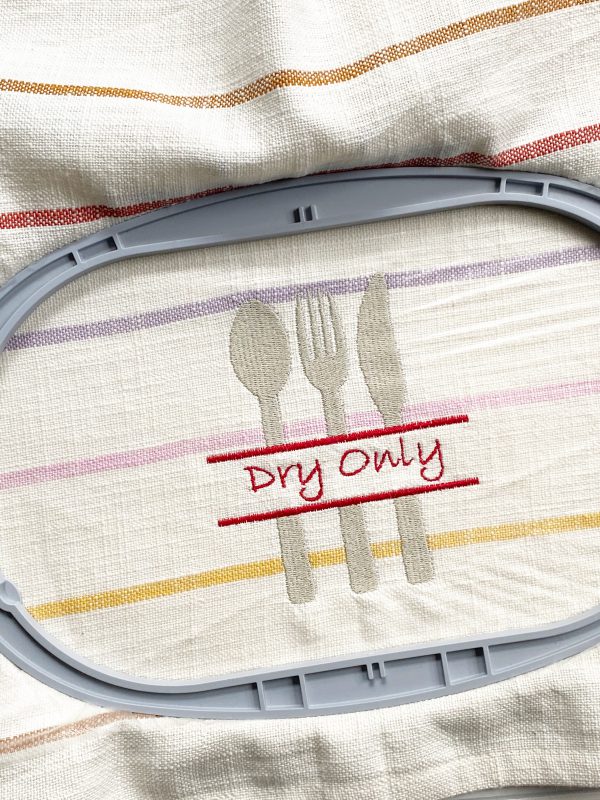
Finished embroidered dish cloths!
Step 7: Unhoop and clean up the embroidered dish cloths
Detach the hoop and inspect the project.
Gently tear the wash-away stabilizer off of the front of the project. What doesn’t come off will wash away.
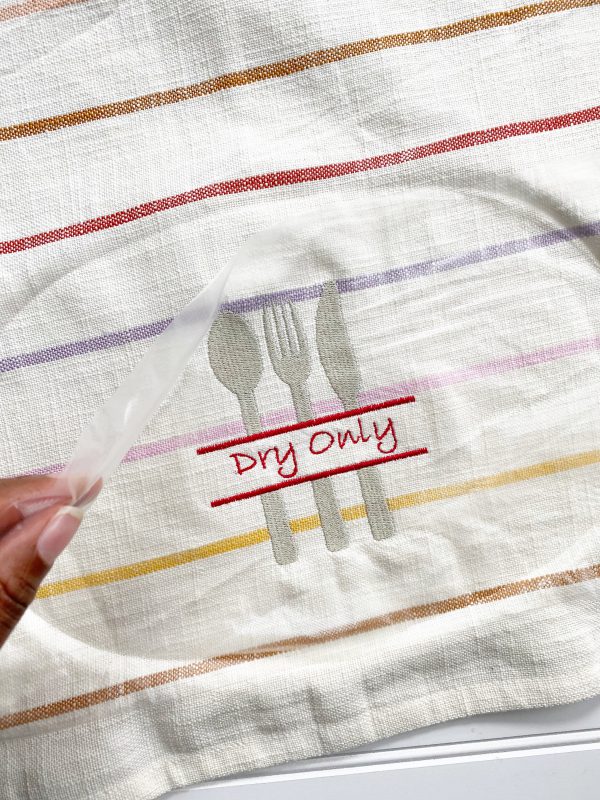
Turn the project around and tear the tear-away stabilizer from the stitches.
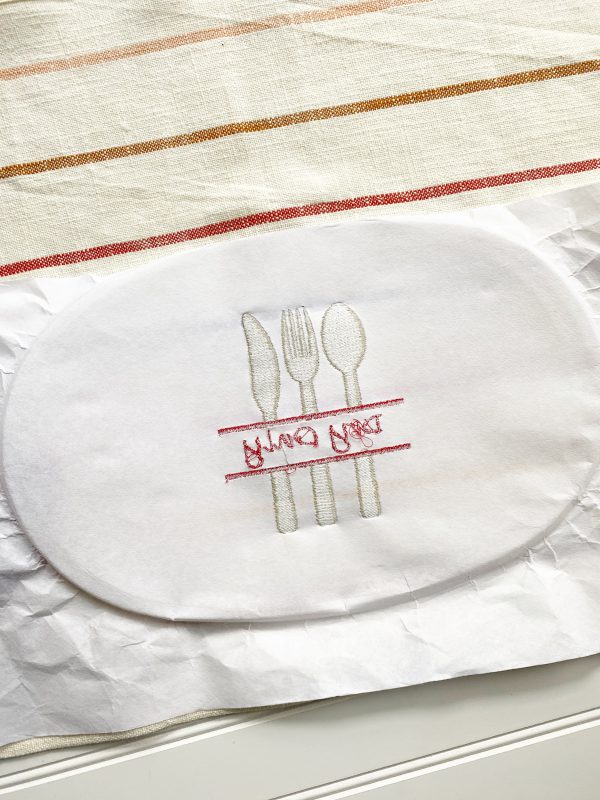
Use a small scissor to get into areas that your finger can’t reach. Gently lift the stabilizer with the scissor then pull it off.
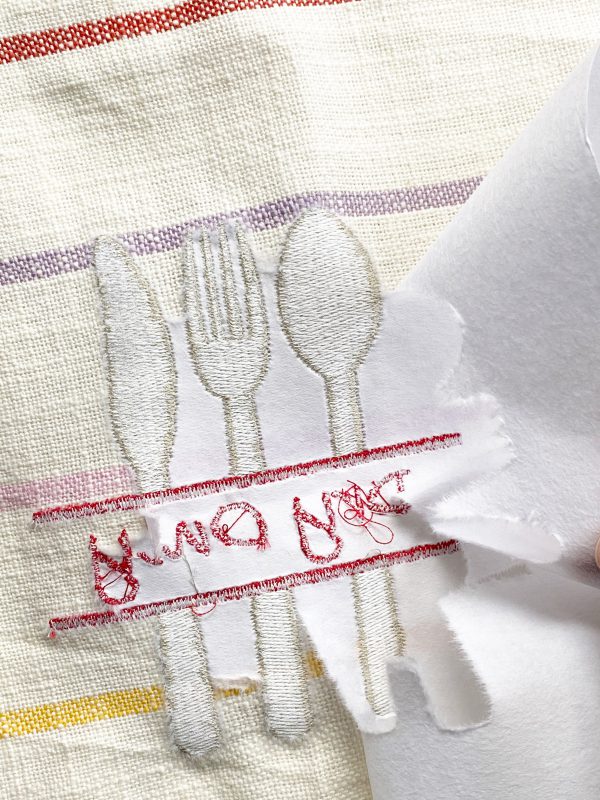
Cut the excess threads away for a clean and finished look.
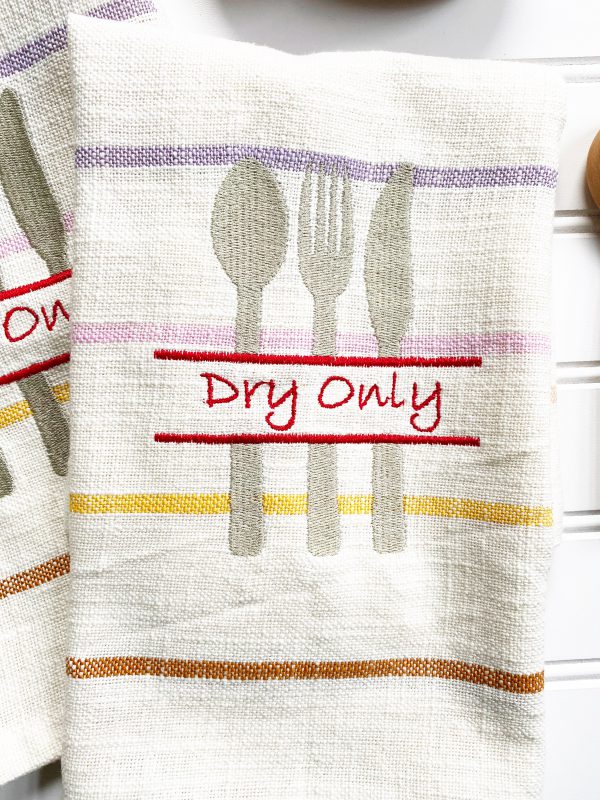
Beautiful embroidered dish cloths! Nicely done. Very easy to complete as well.
These towels are machine washable and can be used over and over. Such a great way to save on buying paper towels. The big plus is they are cute too!
What you might also like
68 comments on “Embroidered Dish Cloths Tutorial”
-
-
Hello Wolfemoo! Thank you so much. It was a free design called Split Silverware Trio I found online. I can email you the link if you like.
Kymona-
Would you email me the design link? Thank you
-
Hello Njswhite,
Here you go:
Enjoy
-
Help! I would like to make this but I don’t think the design is available. Any ideas for how to obtain this design?
Thank you.
-
-
-
Me too for the design file.
Great idea!
Thank you,
Kryn -
Would you please email the link for the free design also…
[email protected]Thanks
-
Hello Kymona, This is so cute I know I have seen this but can’t remember who it is could you send me the link as well. Thank You So Much!
-
Hello Sewkrazy55,
Thank you so much.
Enjoy!
-
-
This towel is so cute! Would you please email me the link also?
-
Hello Ndpam,
Thank you so much!!
Enjoy!
-
-
Would you please email me the link for the design? Thank you
[email protected]-
Hello Djah2,
Thank you so much!!
Enjoy!
-
-
Hi Kymona, This is a great gift project. Would you please send me the link as well? Thank you.
-
Hello Sheilaoz,
Thank you so much. Yes, this would be great to give as gifts.
Enjoy!
-
-
I would love to have this pattern too. Please send it to me at
-
Hello Dhagerman,
Thank you!
Here you go:
Enjoy!
-
-
I too would appreciate knowing where you found the designs if you could please send the link.
-
-
Here you go Wolfemoo:
-
Would love to have link for design!
-
Hello Stitcheeintn,
Enyoy!
-
-
-
Where cannI find the file?
-
Hi Kymona. This is so cute. Could you email me the design also please.
Thanks-
Hello Linda,
I hope you like it.
Kymona
-
-
Looked up Split Silverware Trio on Google, and it came right up. A really, really cute design.
-
May I please have the link to the design also? Thanks!
-
please post the site for the design. thanks!!
-
OOPS [email protected]
-
Hello Sewkrazy55,
Here you go:
Enjoy!!
-
-
design is here https://embroideres.com/free-embroidery-designs/individual-free-embroidery-designs/kitchen-theme-free-machine-embroidery-collec
-
Thank you!!
-
-
Kymona, I love the embroidery design, can you please share?
-
Could you send me the link to design please. [email protected]
-
Could you please email me the link? I am so excited about trying this. Thank you.
-
I found the link for the split silverware trio design here:
https://embroideres.com/free-embroidery-designs/individual-free-embroidery-designs/kitchen-theme-free-machine-embroidery-collection/split-silverware-trio/
But have to ask… 1 yard is 36″ but you want to cut two 22″ WOF pieces. That’s 44″ I think, in order to make these you would have to buy 1.5 yards of fabric unless I misread the instructions and was supposed to split the fabric in the other direction? If that was the case, the towels would be 36″ x ~20″-
Hello Heartandhoney!!
Yes, you are correct. I double-checked my order and I purchased 1.5 yards of fabric. So, that I could have two.
I hope you enjoy creating.
-
-
Why do you need washaway on top of a woven linen/cotton towel. I can understand using it on a looped towel. Please explain. Thank you.
-
Hello Tkitty,
It’s a rule of thumb for me. Anytime I embroider on towels, I always make sure to add that topping so that my threads do not sink back in the material.
-
-
I, too, would like the design. Just to cute!
Sueanne -
Hopefully, I can get this design. Could you email me the design, please?
-
Where do you go to download this design?
-
Please email me the design.
Thank you!-
Hello Cadbury,
Here you go:
Enjoy!!
-
Hello Cadbury,
Here you go:
Enjoy
-
-
Adorable towels Kymona! Do you do this all on your machine or do you use your computer with Bernina Software . Hope you are doing well.
-
Hello Marybeth!!
Thank you so much! The design is already digitized for me, so I just download it into the BERNINA Software vs8 to see what it looks like on the hoop. I do my resizing if needed, then save it to my flash drive. I then take the flash drive over to my BERNINA 570 QEE and embroider from there. I hope this was helpful. Let me know.
-
-
Hi, I love the towels. What is your source of the fabric?
Thanks,
Joanne-
Hello jlattrell,
I used Chore Coat Toweling in Jolie by Alexia Marcelle Abegg from Ruby Star Society. I bought it from Hawthrone Supply Co.
Thanks,
Kymona
-
-
When I was married (many many years ago), my Aunt hand embroidered a set of kitchen towels for me – One for each day of the week. This would be a cute way to carry on that tradition!
-
Hello skgerhard,
Yes, it would be a fantastic idea and tradition to carry on. I hope you did.
Thanks,
Kymona
-
-
What wash-a-way stabilizer did you use on the top? it looks like the see through plastic type, not the wash-a-way mesh.
-
Hello jwascher,
I used Solvy water-soluble stabilizer that is a lightweight, translucent topper and can be used on the bottom as well. I hope this helps.
Thanks,
Kymona
-
-
Would it be possible for me to receive the link for the silverware design? This looks like a cute gift for a bridal shower. Thank you for such clever and easy projects that I can practice on my new machine.
-
Hello sbuckmaster,
Absolutely. You are more than welcome. I can’t wait to see what you make.
Here’s the link:
Kymona
-
-
Can you please email the trio design as well.
-
Hello Jmalone,
Here’s the link:
Kymona
-
Leave a Reply
You must be logged in to post a comment.






Where would the design be located? It’s cute design