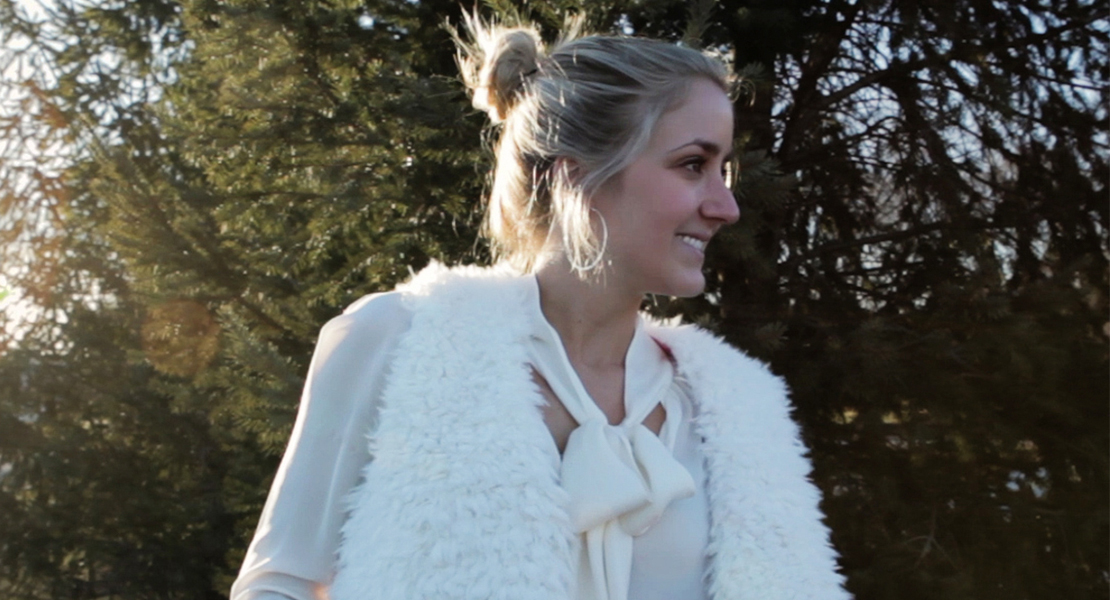
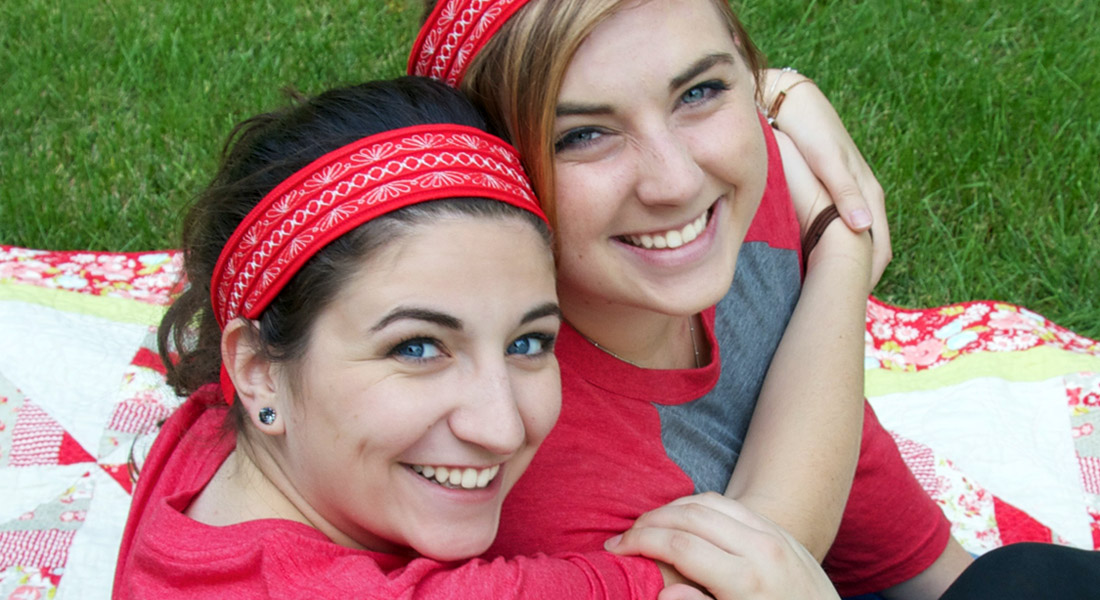
Faux Fur Headband with Style
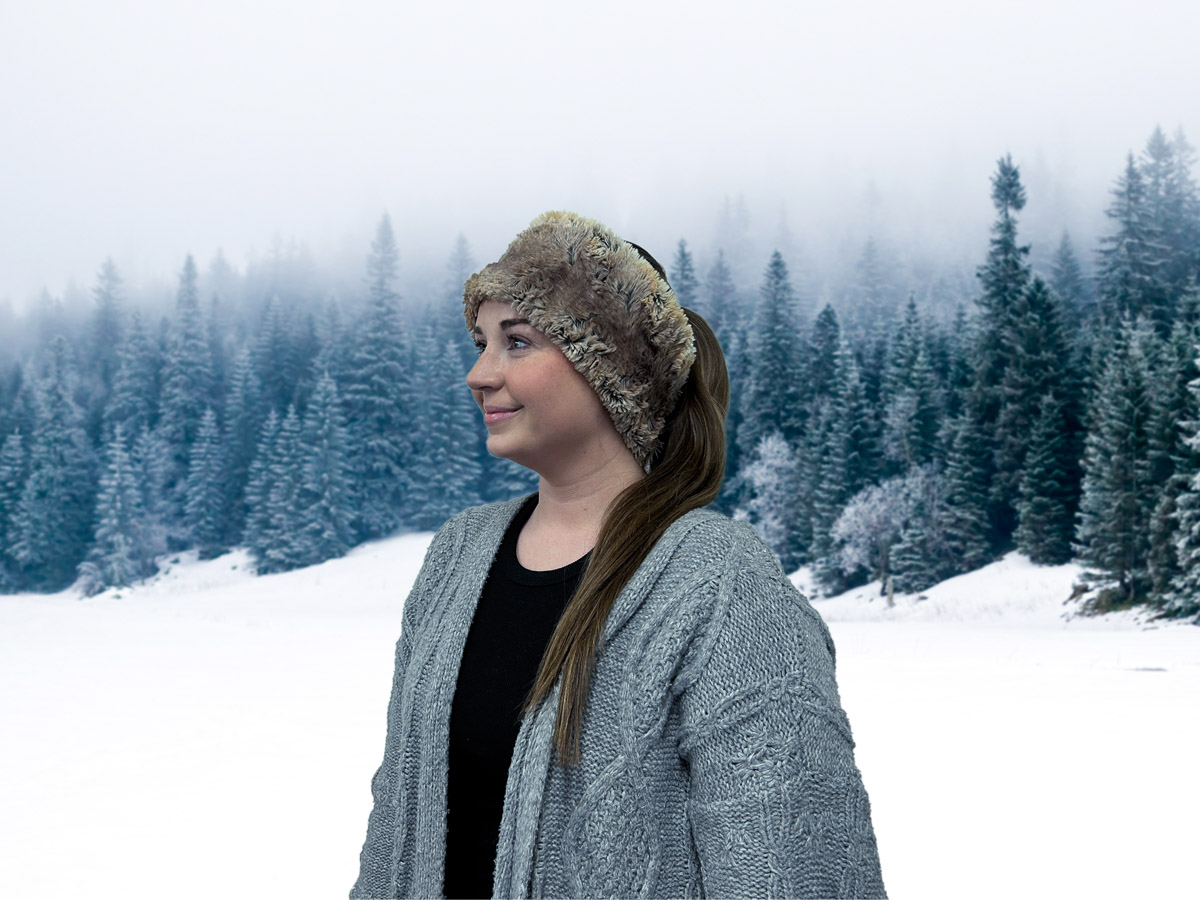
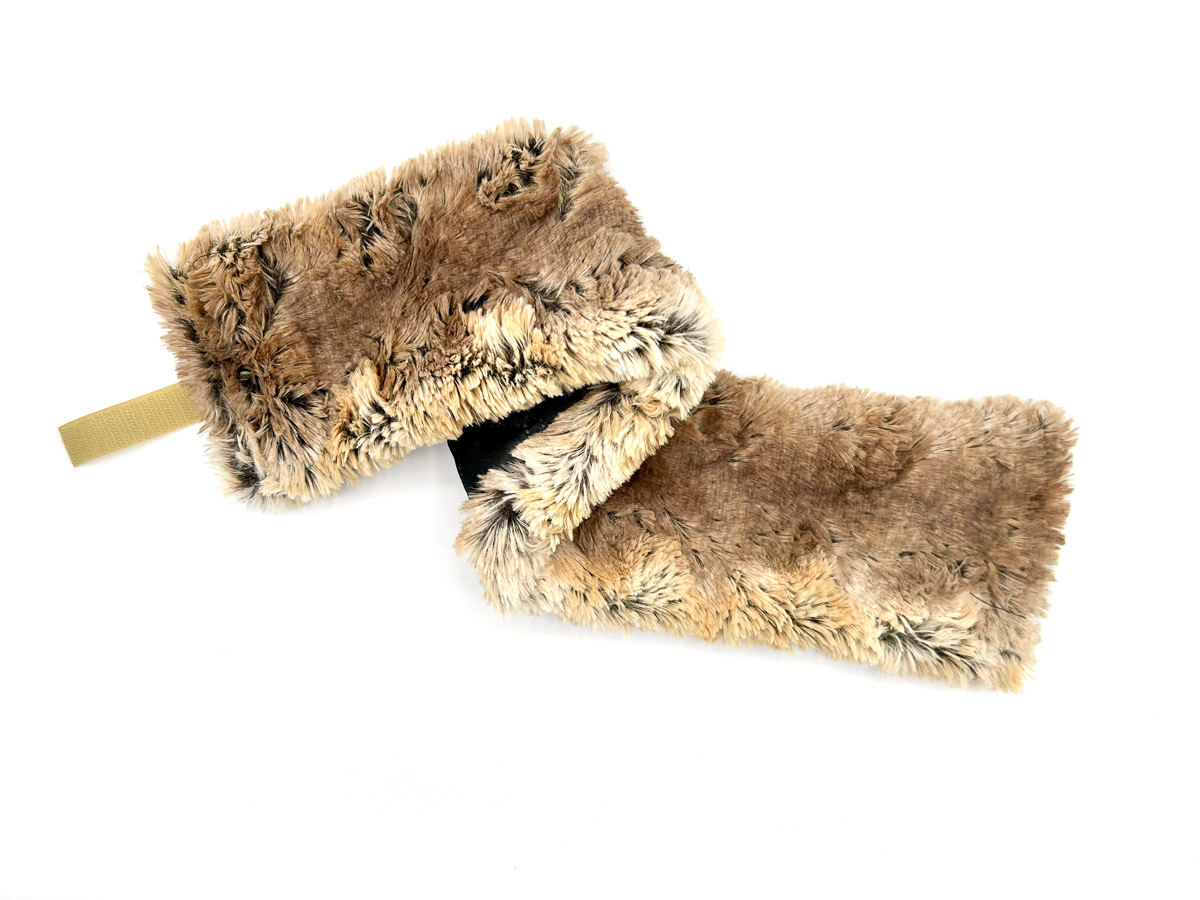
Have you seen the beautiful faux fur headbands this winter? Not the kind that gives you a headache, but the soft ones that gently wrap around your head. Not only is it warm and stylish, but it also doesn’t mess up your hair! Now that’s the headband I want!
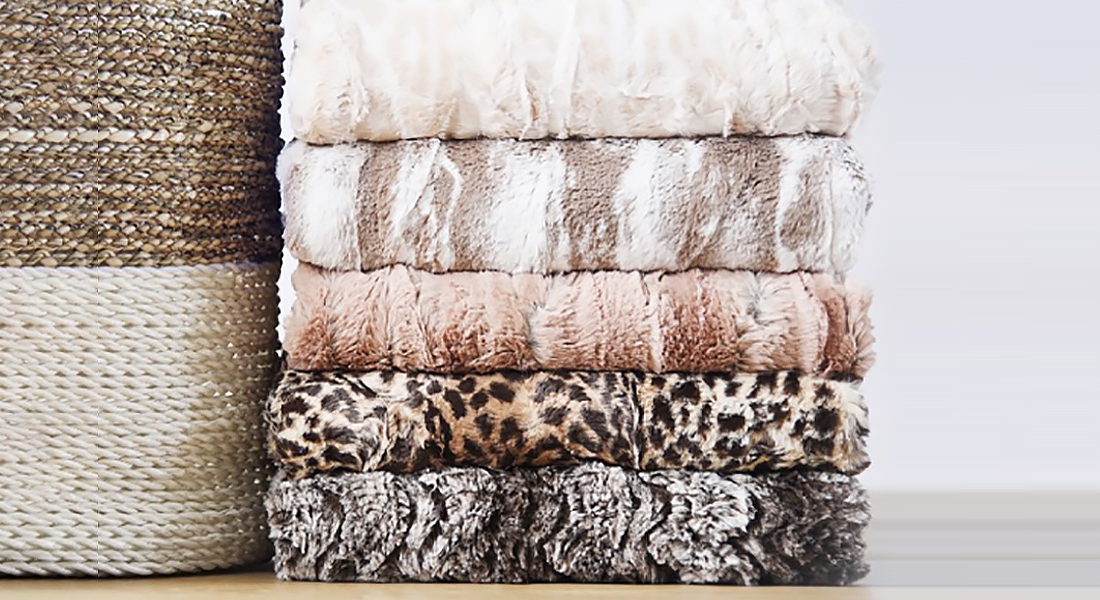
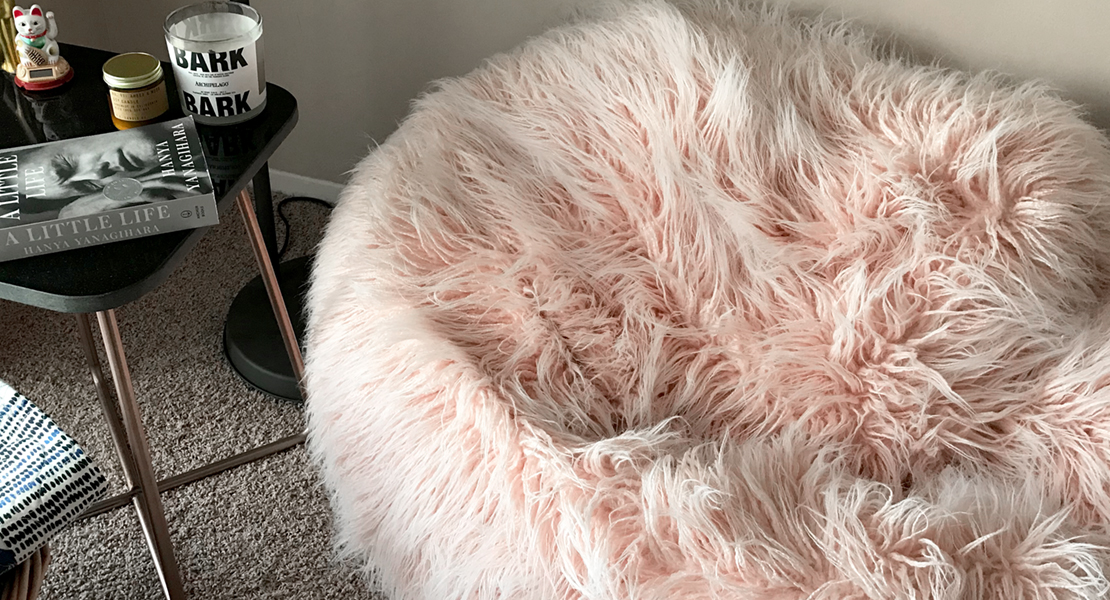
And the cool thing is, it’s so easy to make! This project is all about the fabric, so we’re using Luxe Cuddle® by Shannon Fabrics. If you haven’t had the luxury of owning any Cuddle fabric, check out their website. It’s the best faux fur fabric I’ve ever seen and felt!
Materials for Sewing a Faux Fur Headband
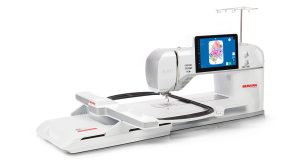
- BERNINA 990
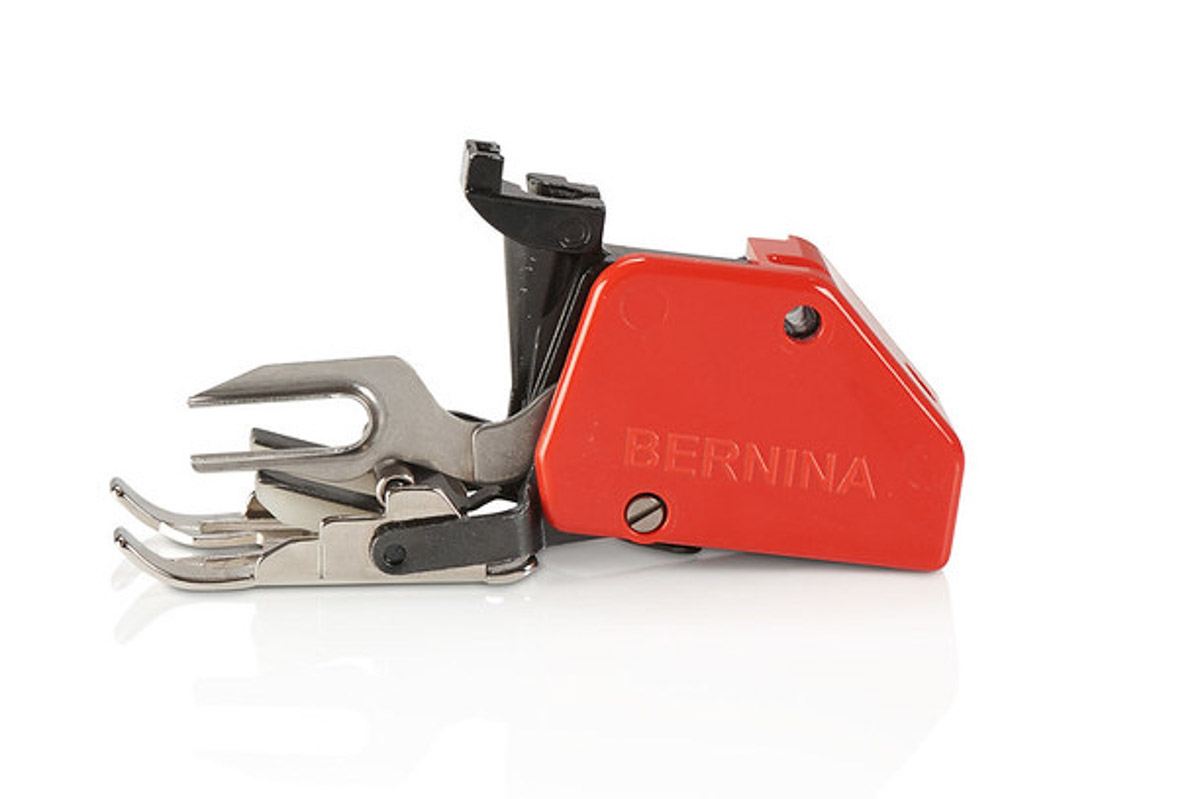
- Walking Foot #50
- Piping Foot #38
- Fabric:
- Main – Luxe Cuddle: 6 1/2” x 24”
- Lining – Quilted Padded Fabric: 3 1/2” x 24”
- BERNINA Jersey Needle, 80
- Mettler Metrosene Thread
- Velcro – 4” hook tape and 6” loop tape
- Clover Wonder Clips
Note: All seams are 1/2” seam allowance.
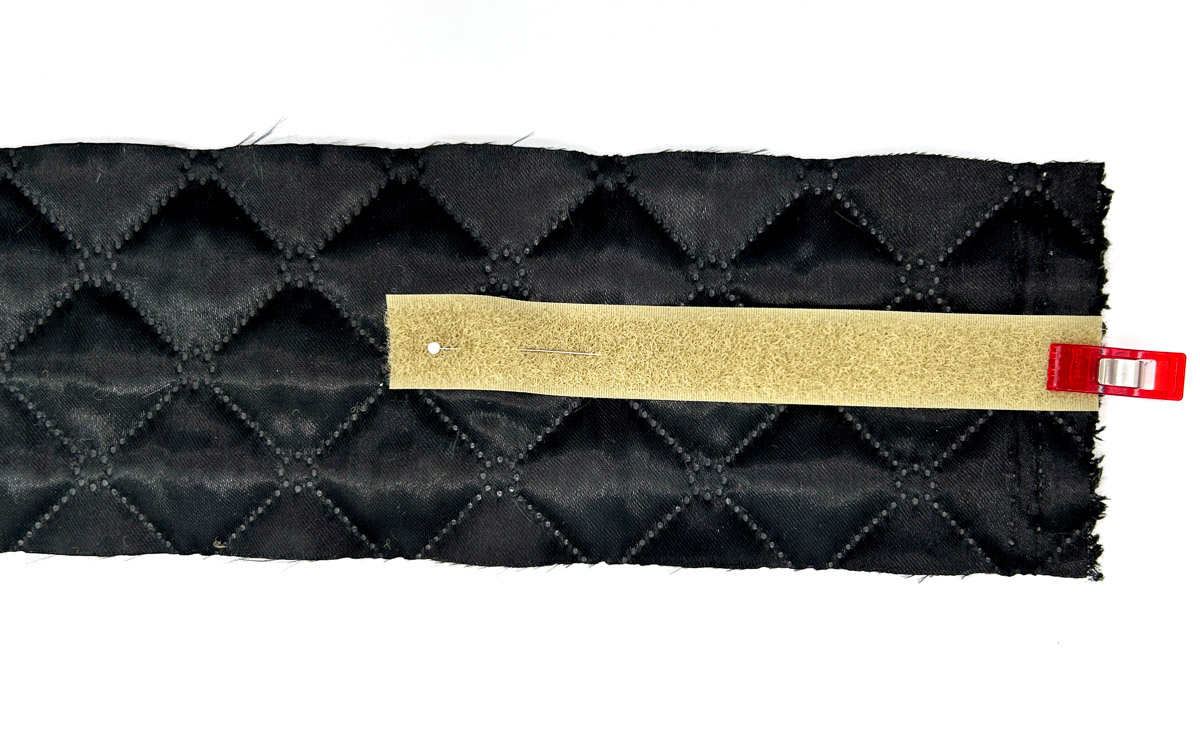
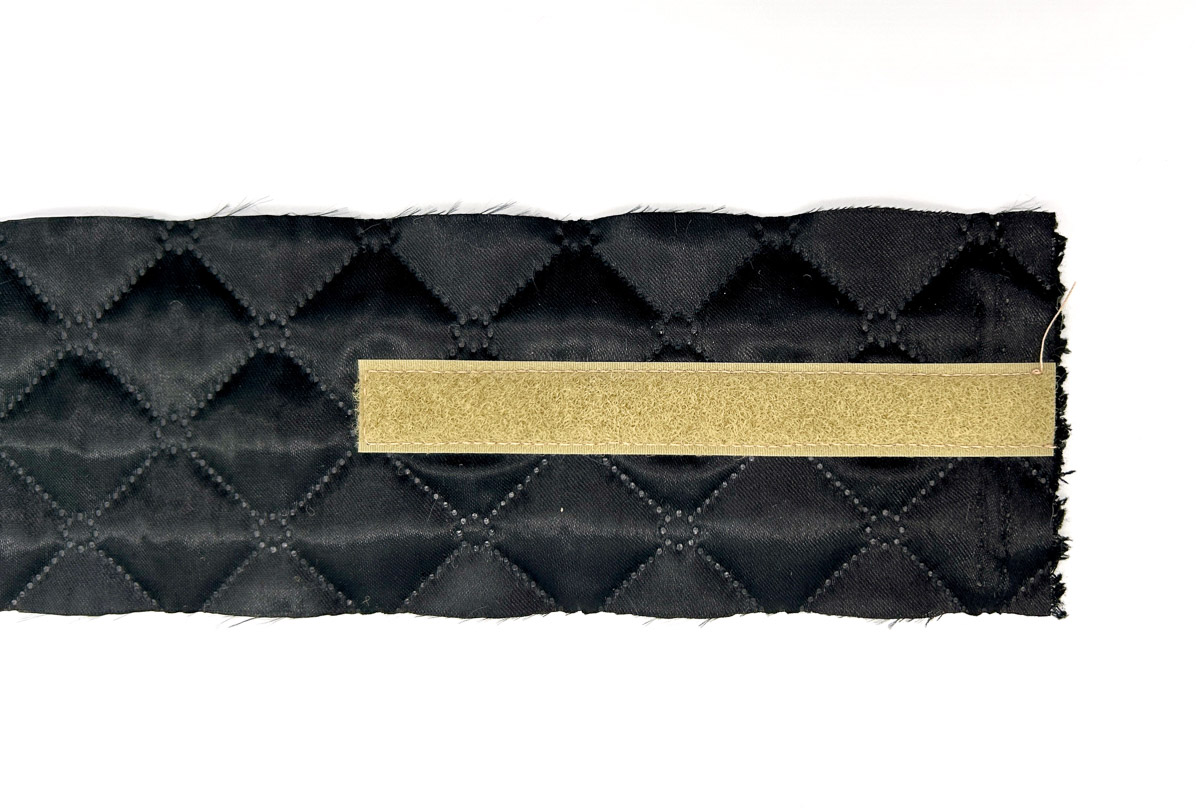
Step 1: Sew Loop Tape to Lining
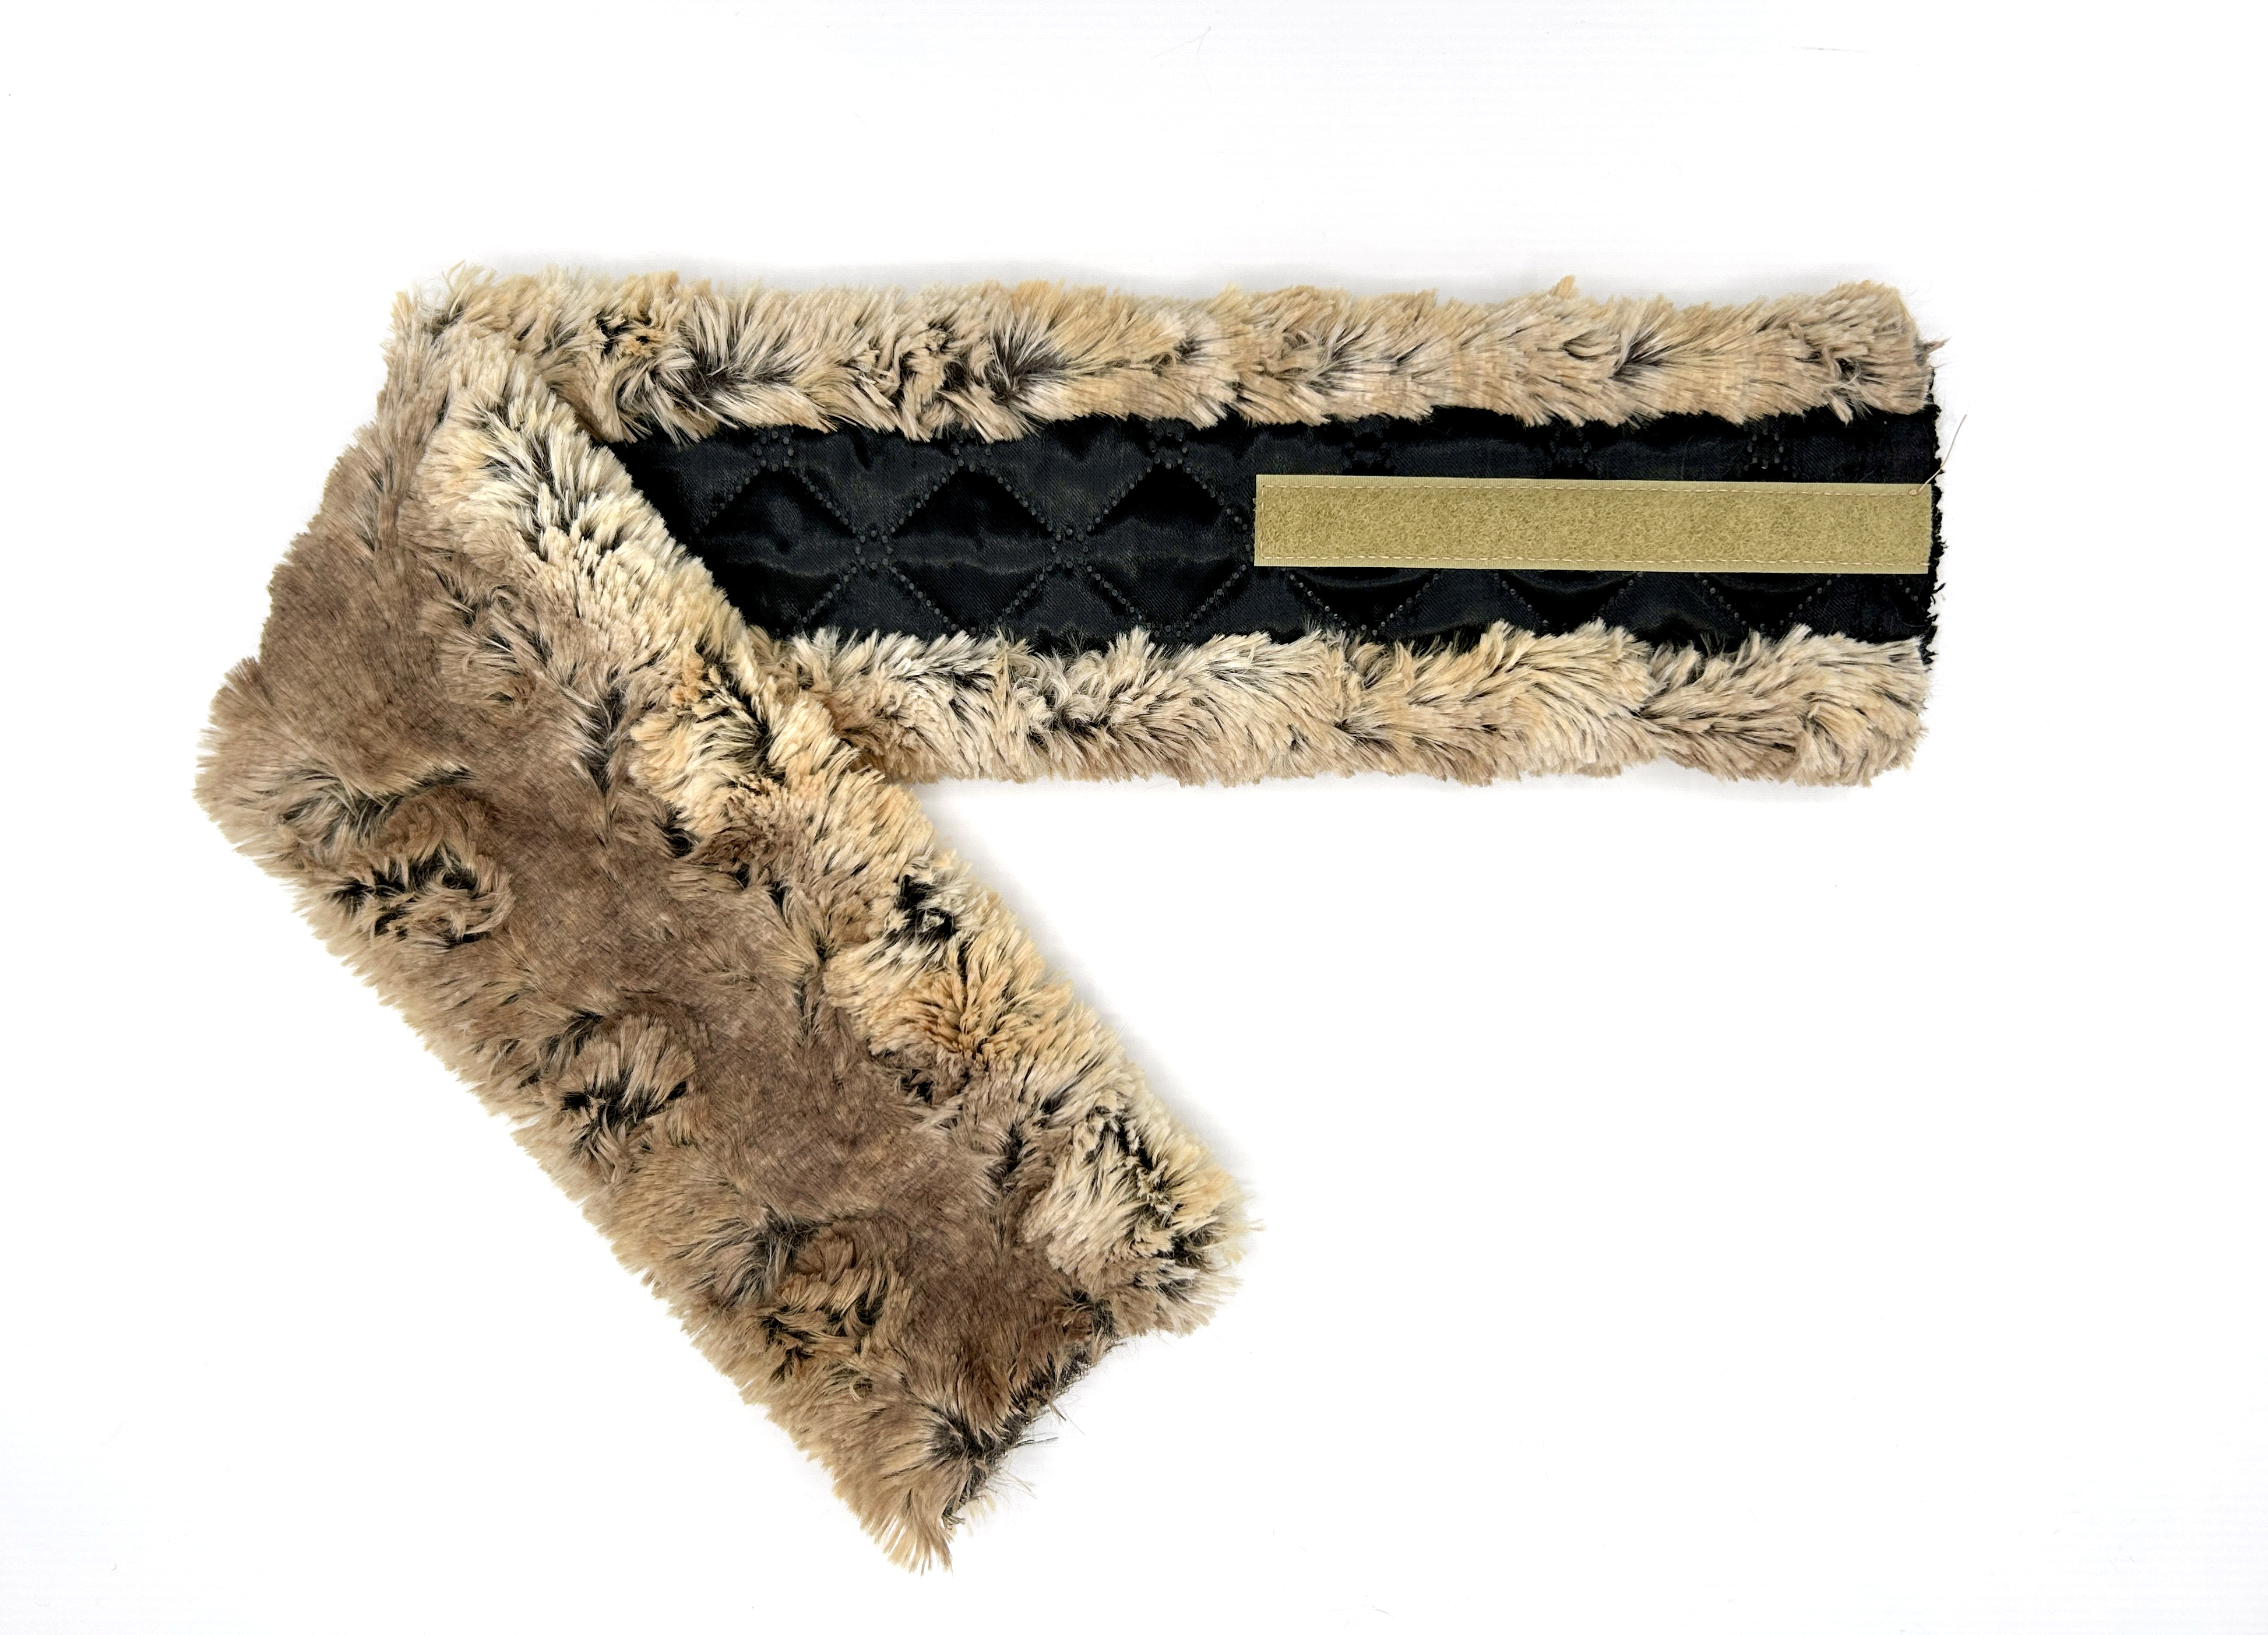
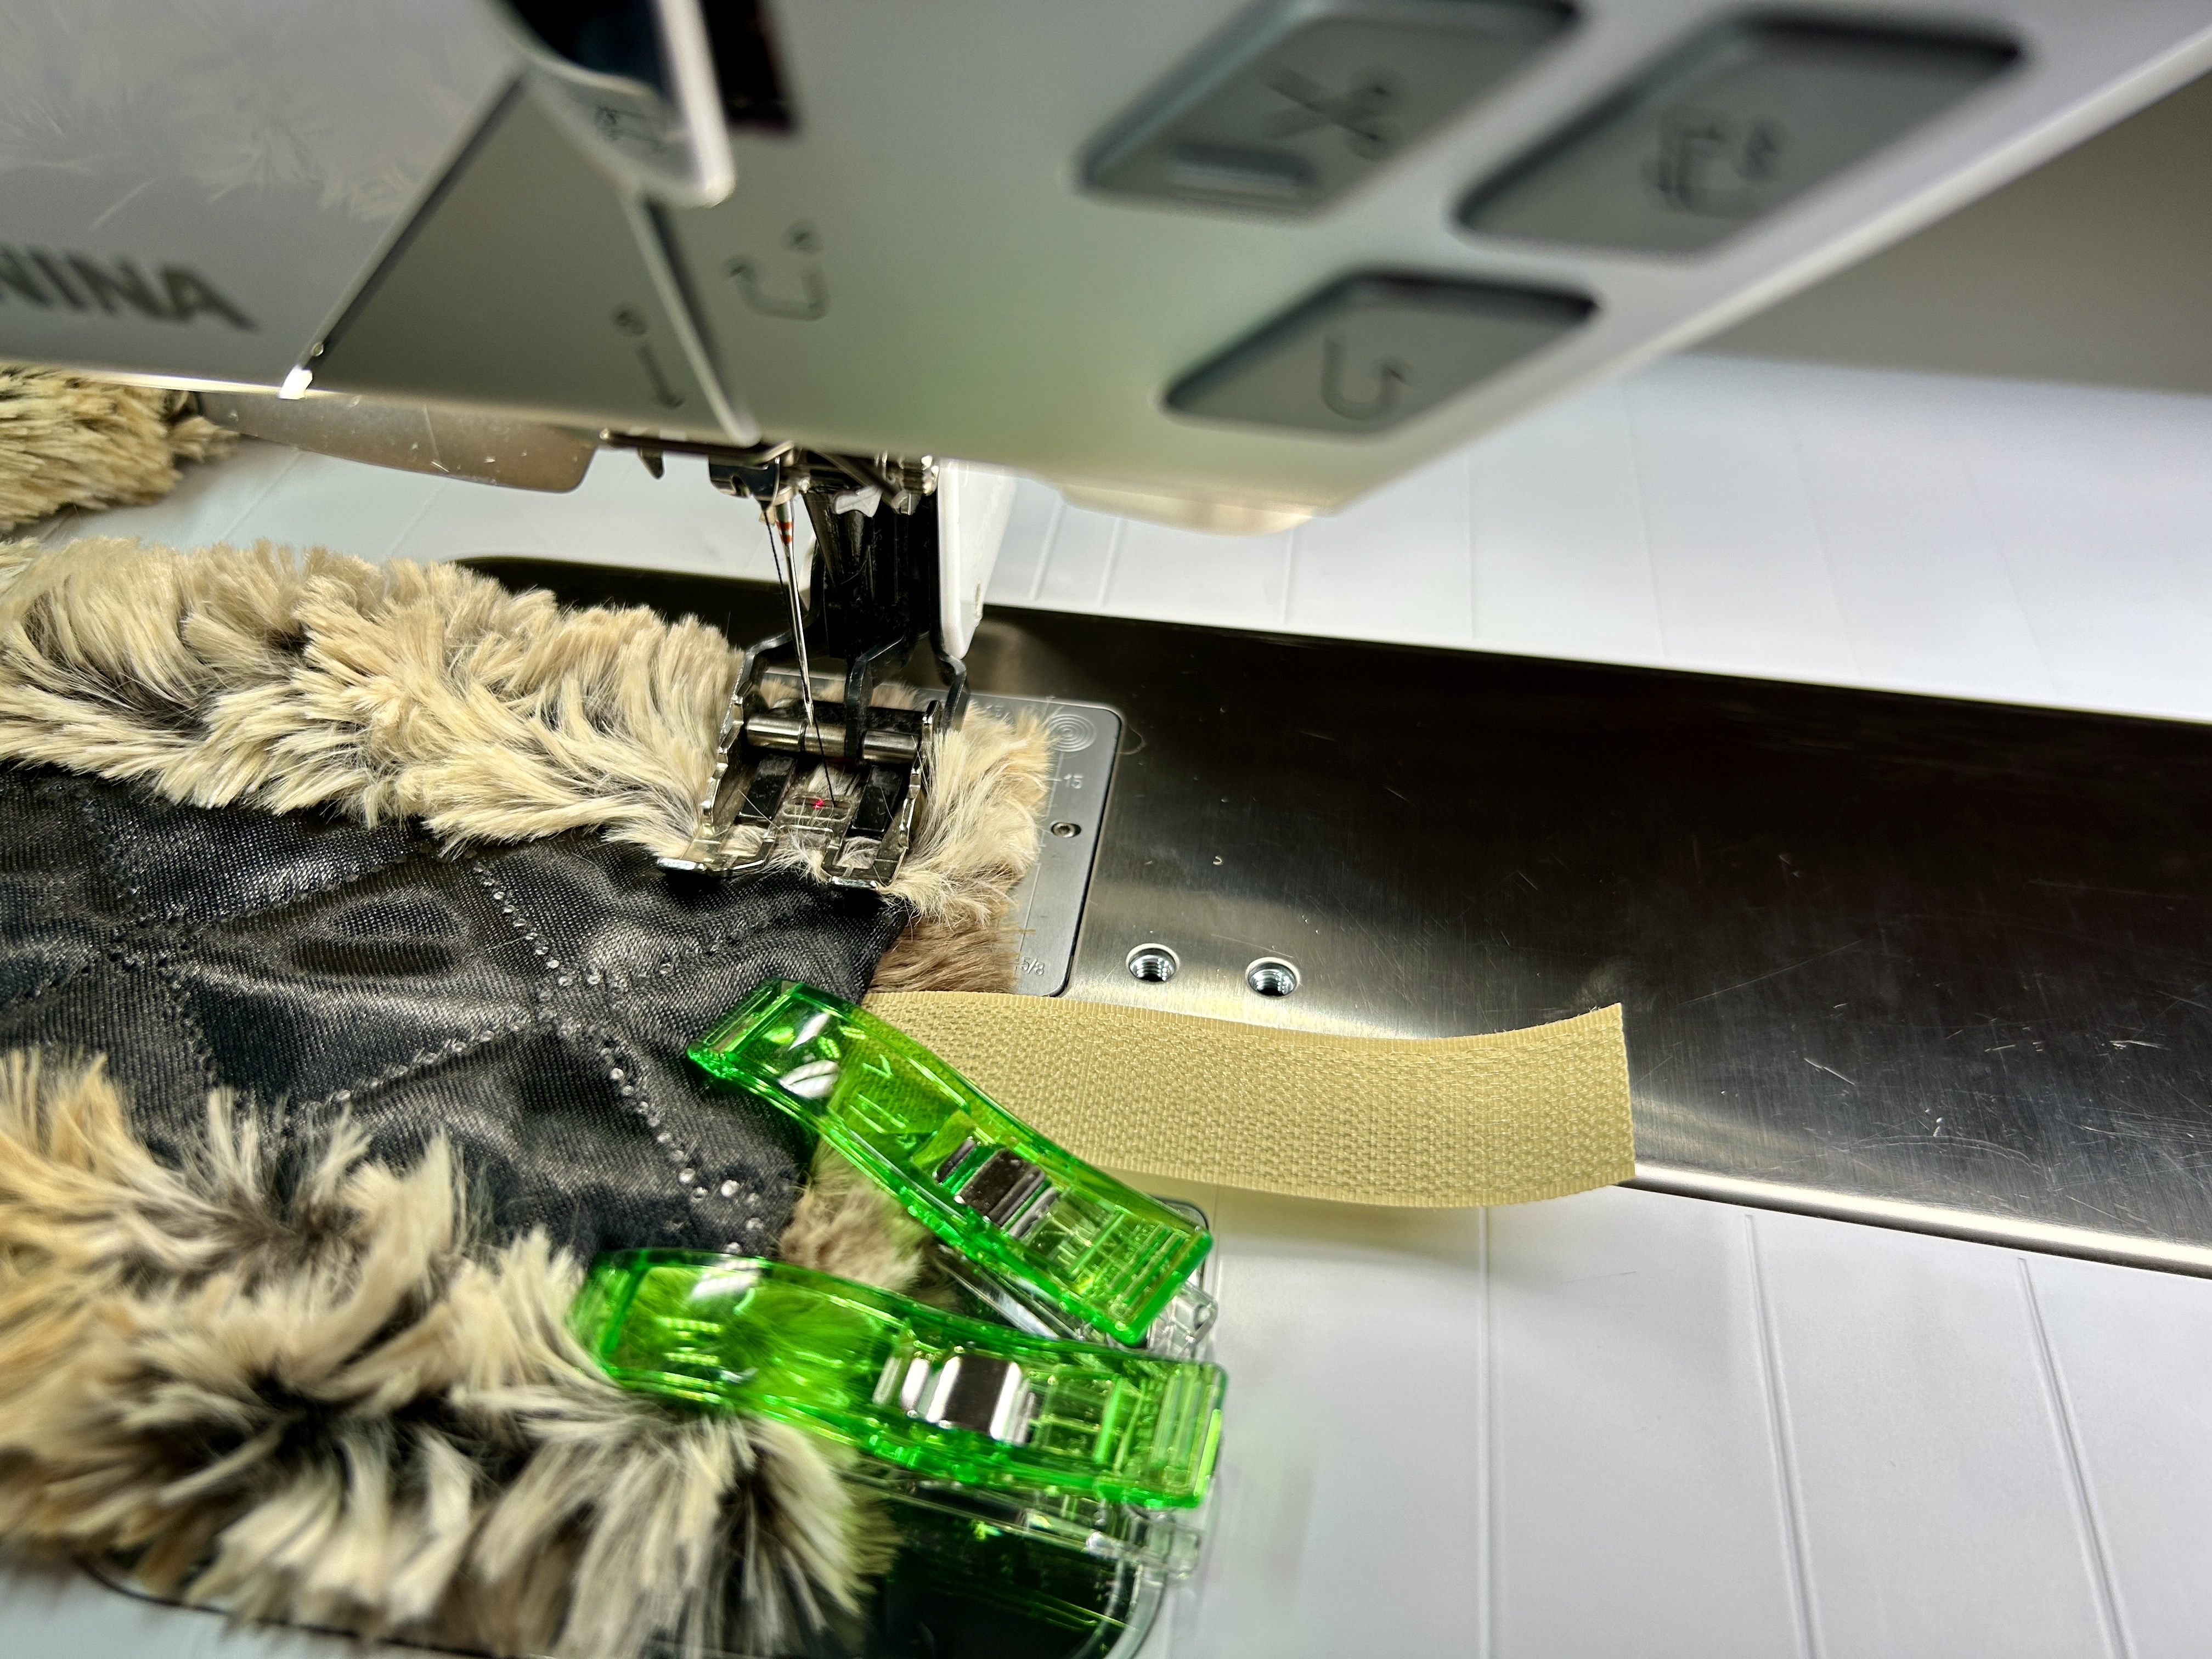
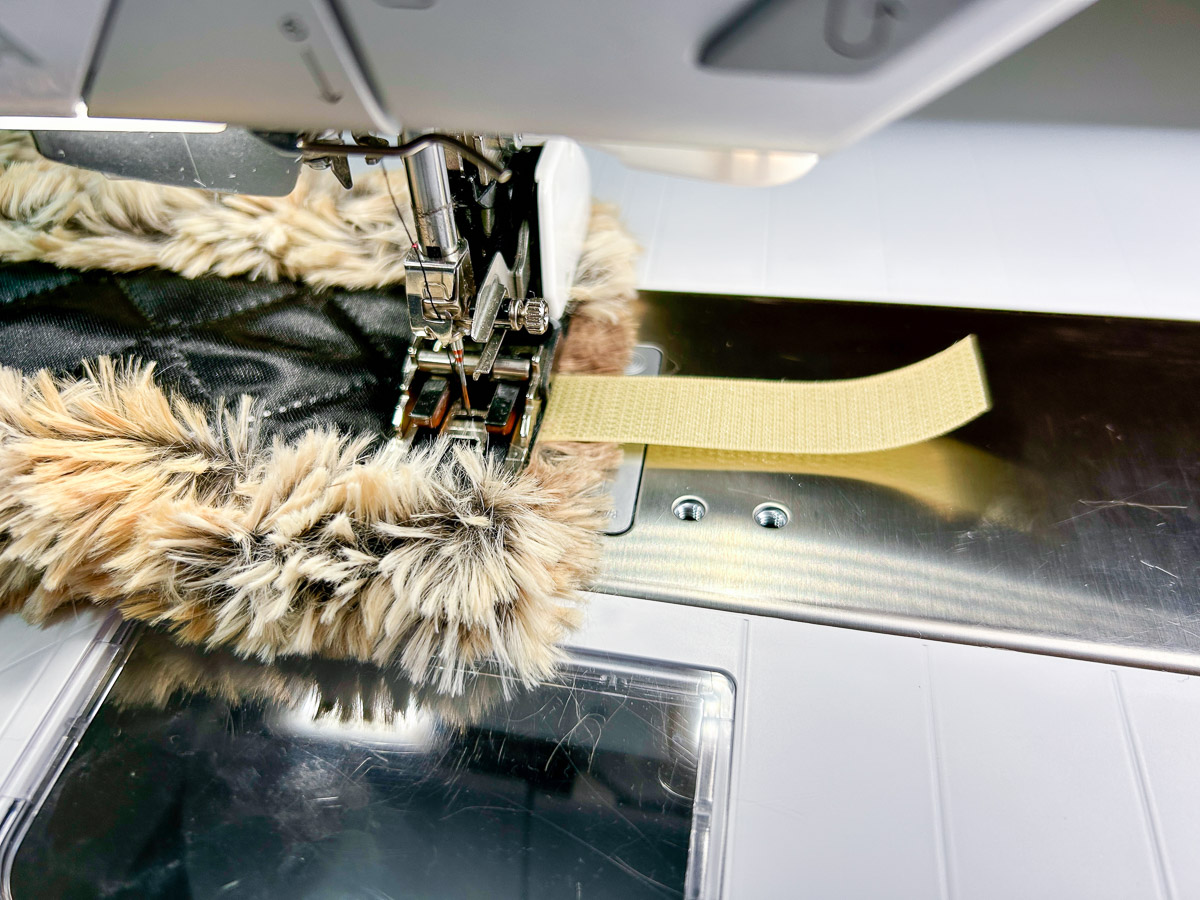
Place the loop tape on one short end of the quilted fabric, as pictured below. Secure with pins and/or clips.
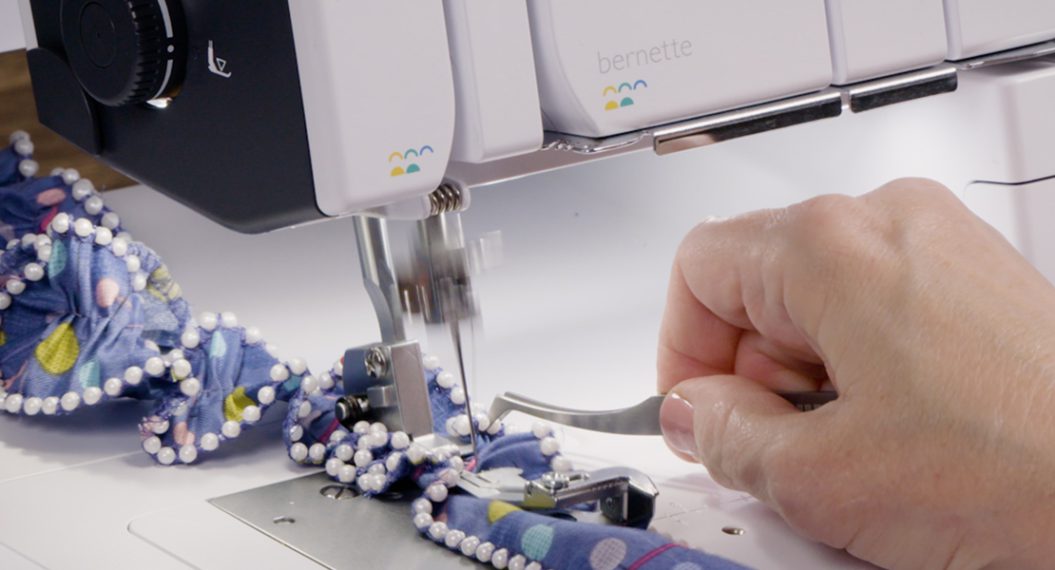
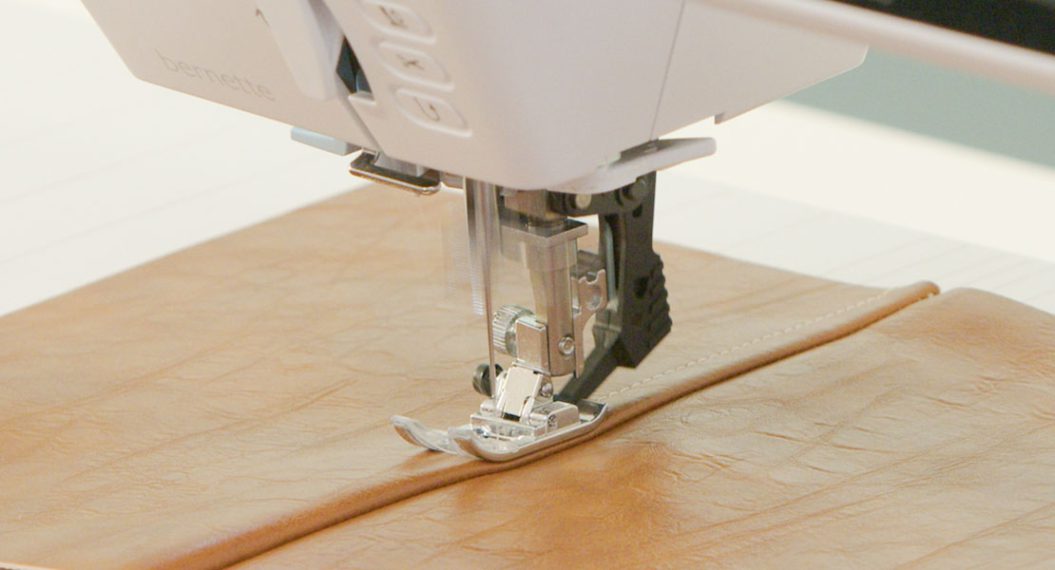
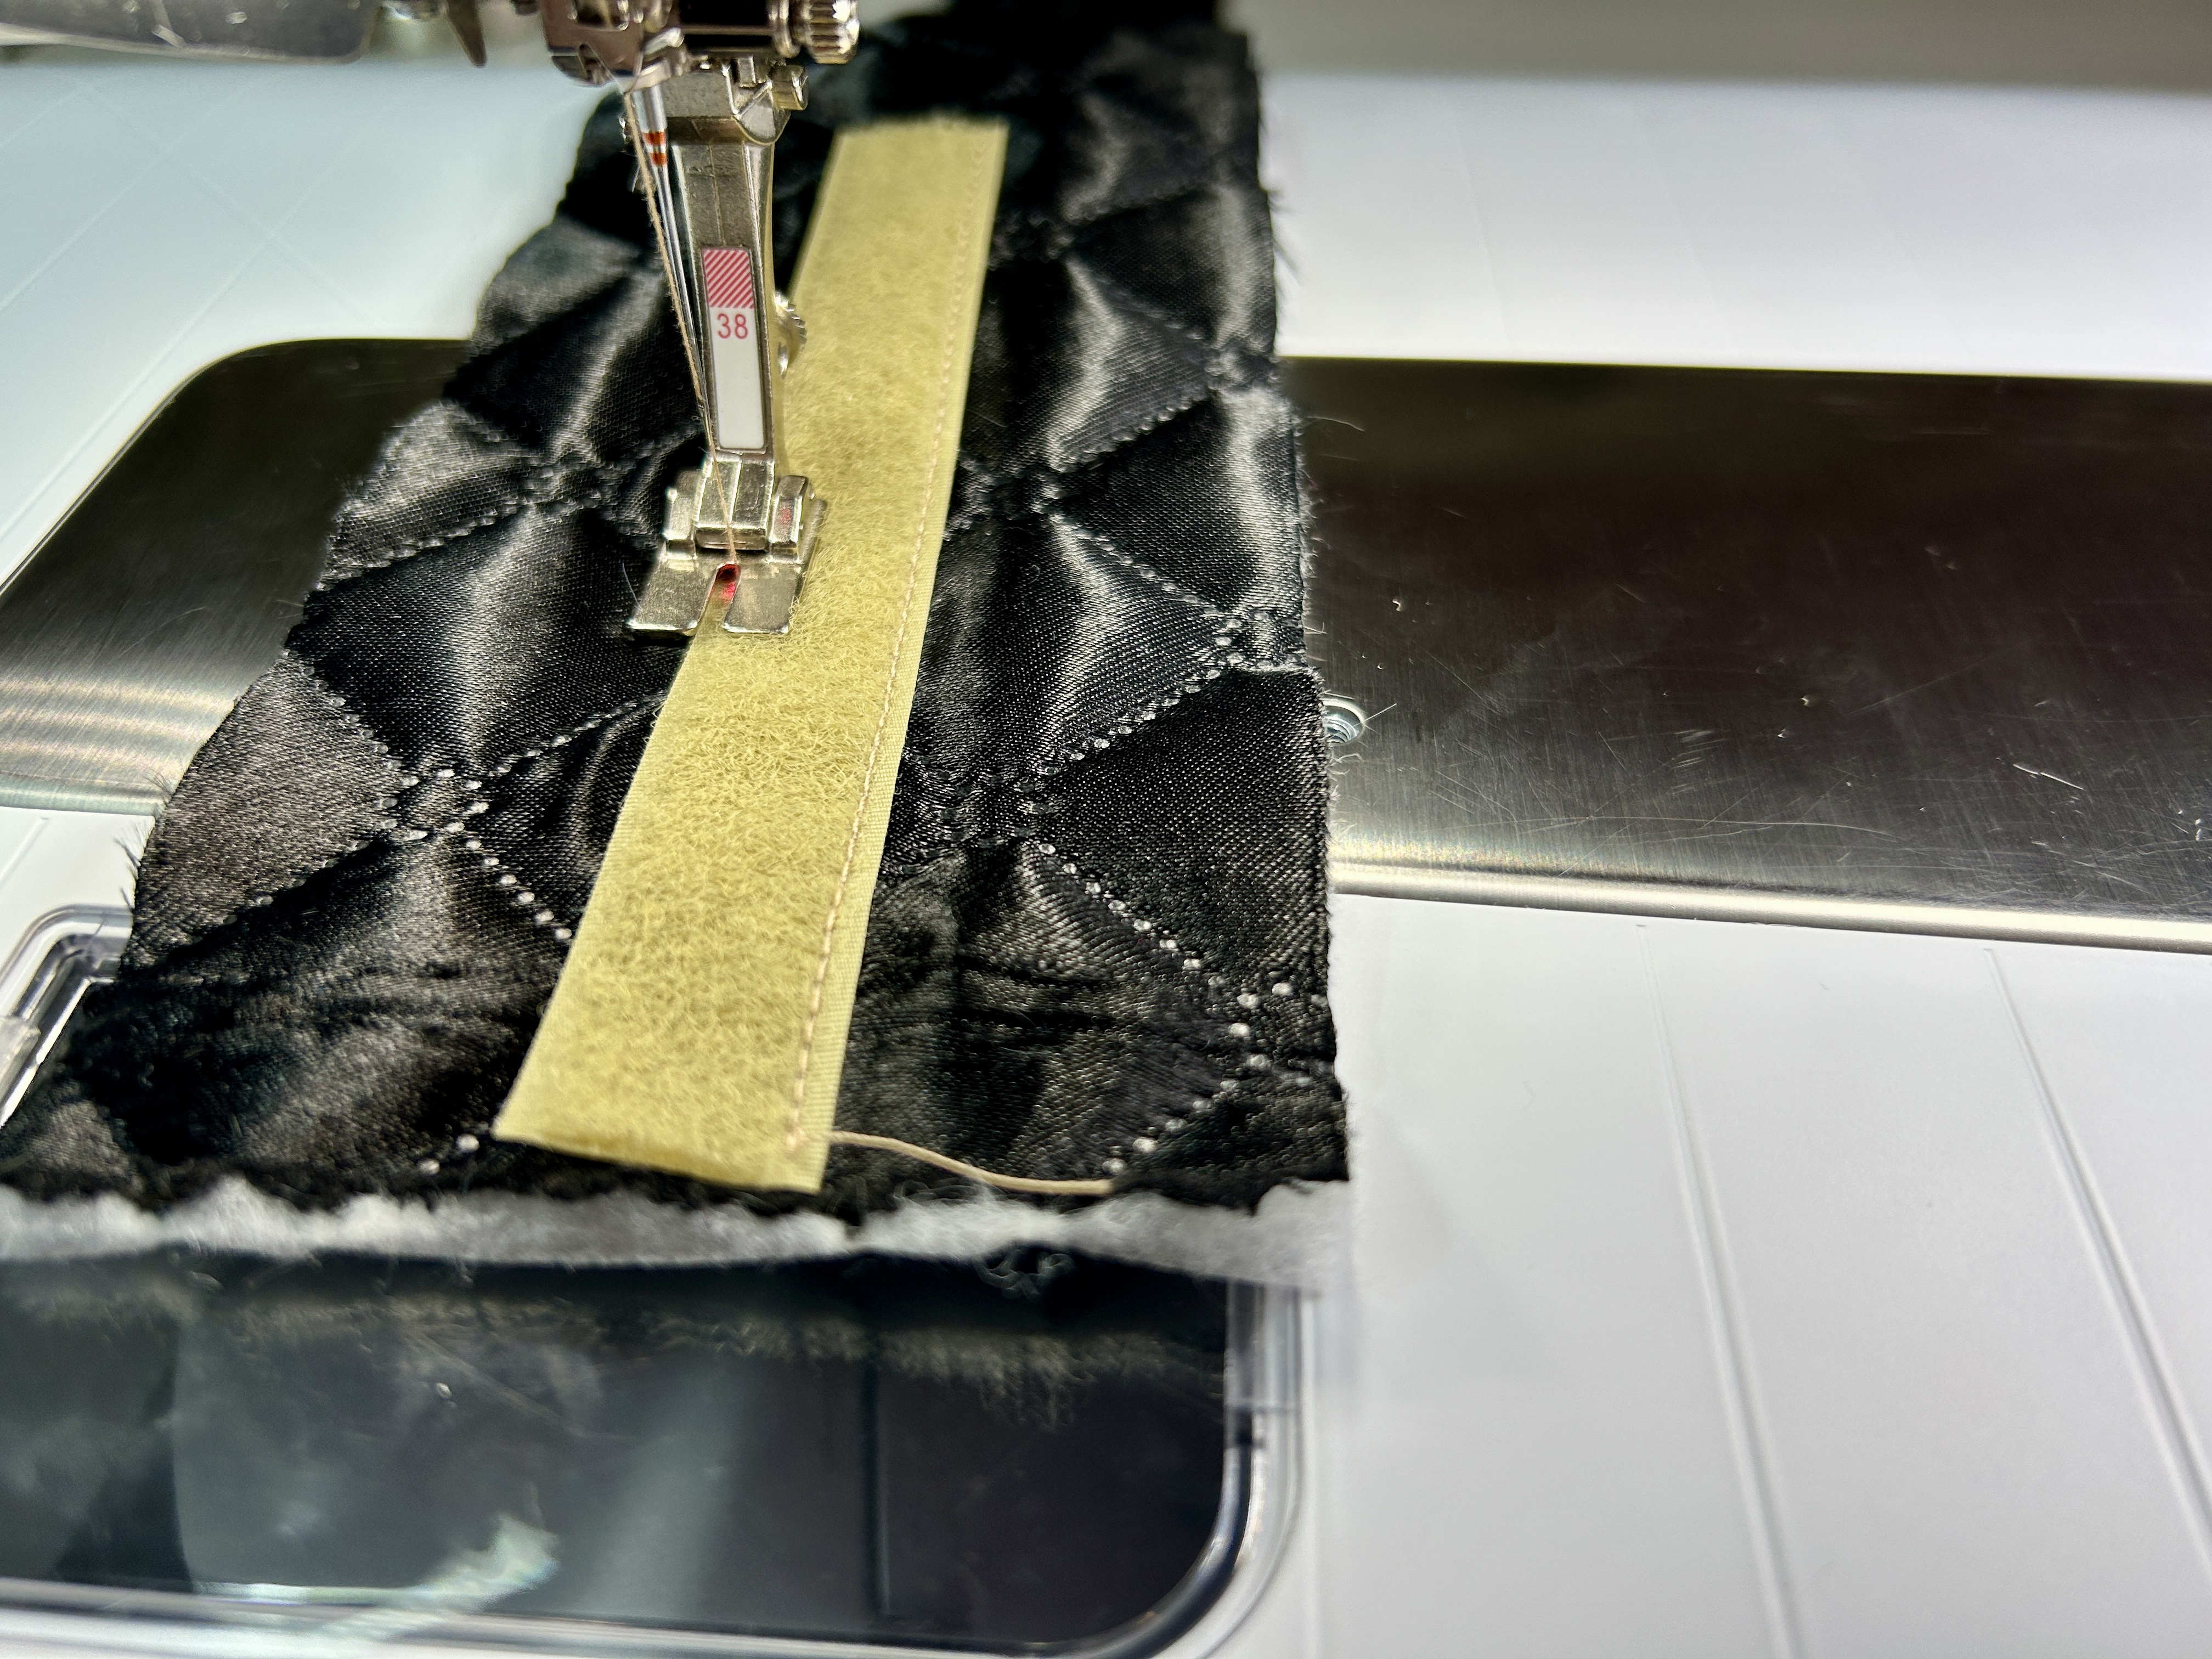
Select Straight Stitch #1 and increase the stitch length to 3 mm. Activate the Pinpoint Laser. Attach Piping Foot #38 to the machine. It’s also called the uneven foot because one side is thicker than the other. This makes it perfect for uneven sewing surfaces. Place the lining under the foot with the right side of the foot on the tape. The left side is only on the quilted fabric, not on the tape.
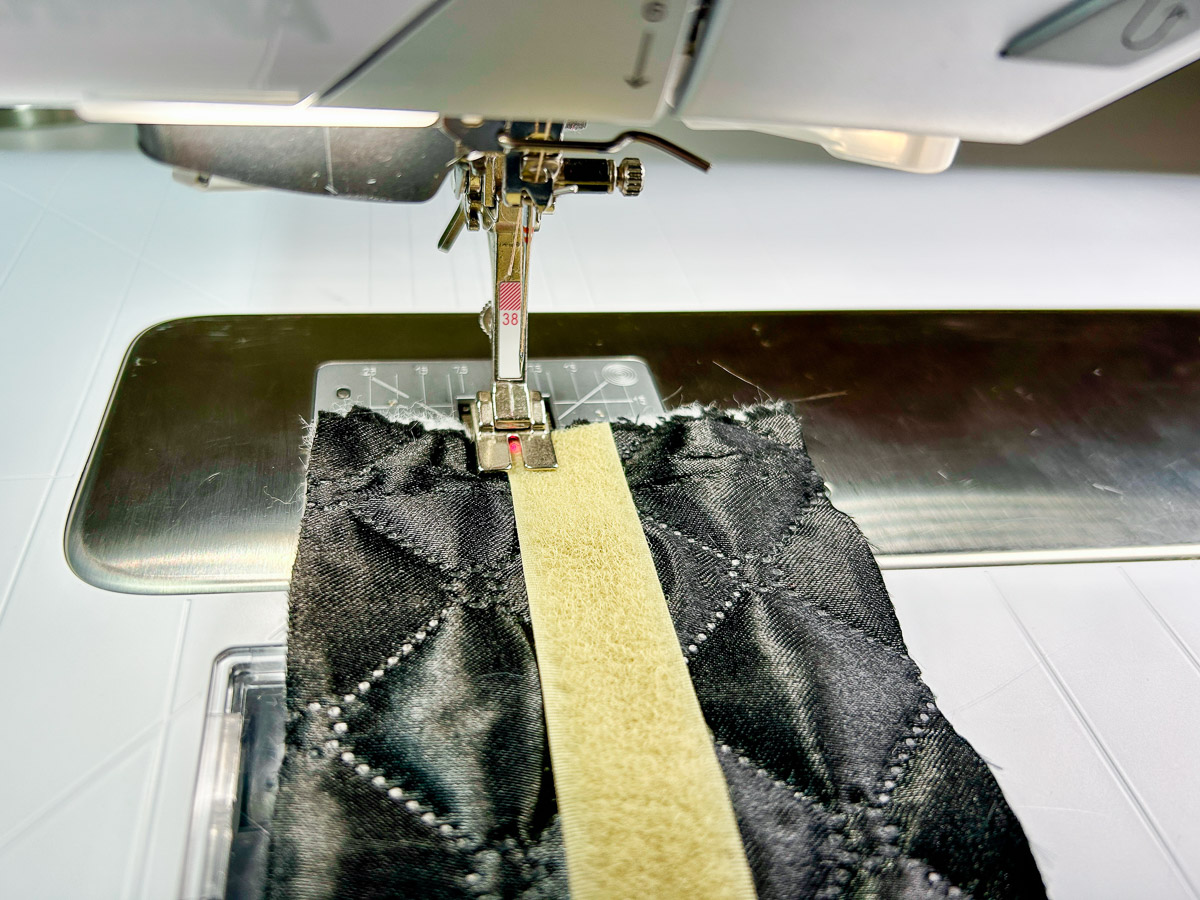
Notice where the Pinpoint Laser is on the tape. Is it on the edge of the tape? Stitch around the tape on three sides. You don’t need to stitch along the raw edge of the lining. We’ll tuck that in later. Isn’t the stitching so much easier with Foot #38? This foot should be in every sewing room.
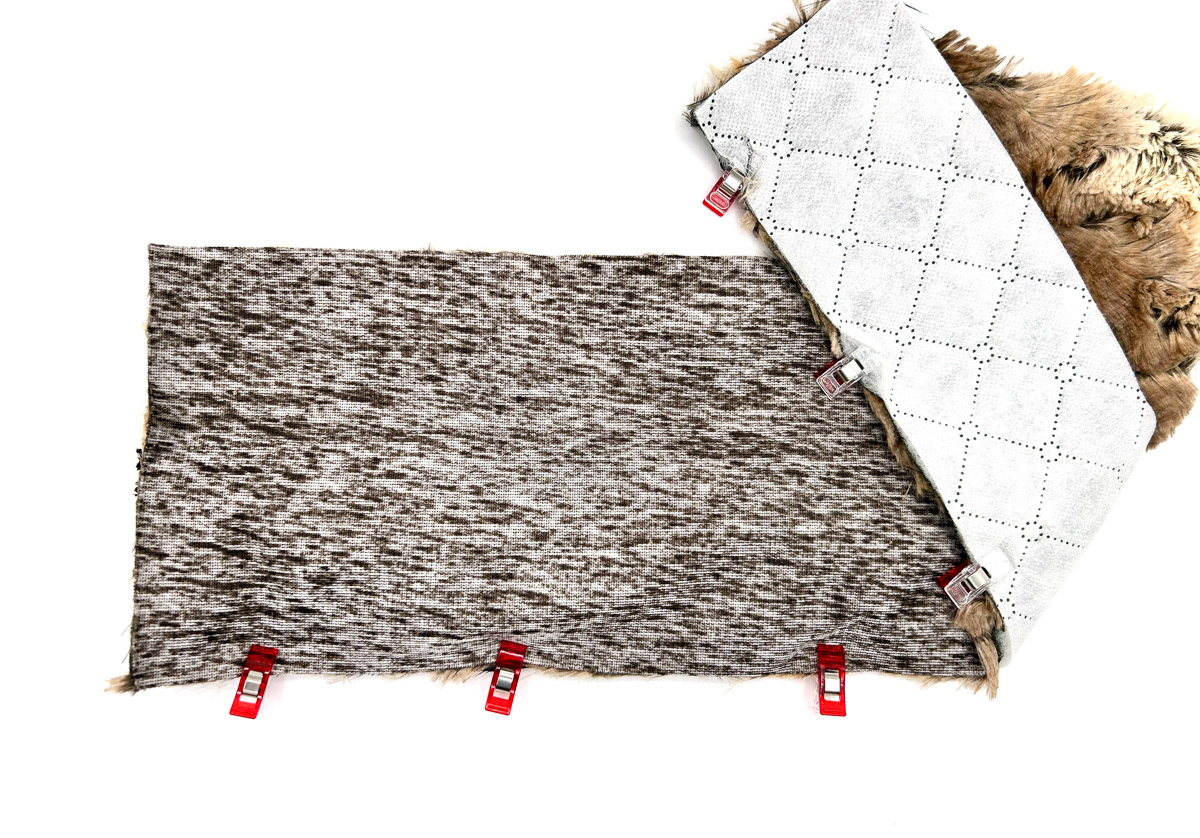
Step 2: Sew Fur to Lining
BERNINA Walking Foot #50 is great for straight-line quilting, but you’ll also love it for sewing different types of fabric. I get out my walking foot when I’m sewing with thick, thin, or slippery fabric that is hard to work with. Remember, you can adjust the presser foot pressure too. With these two tools, you’ll get consistent, even stitching every time! And did you know the BERNINA Walking Foot now comes in red?
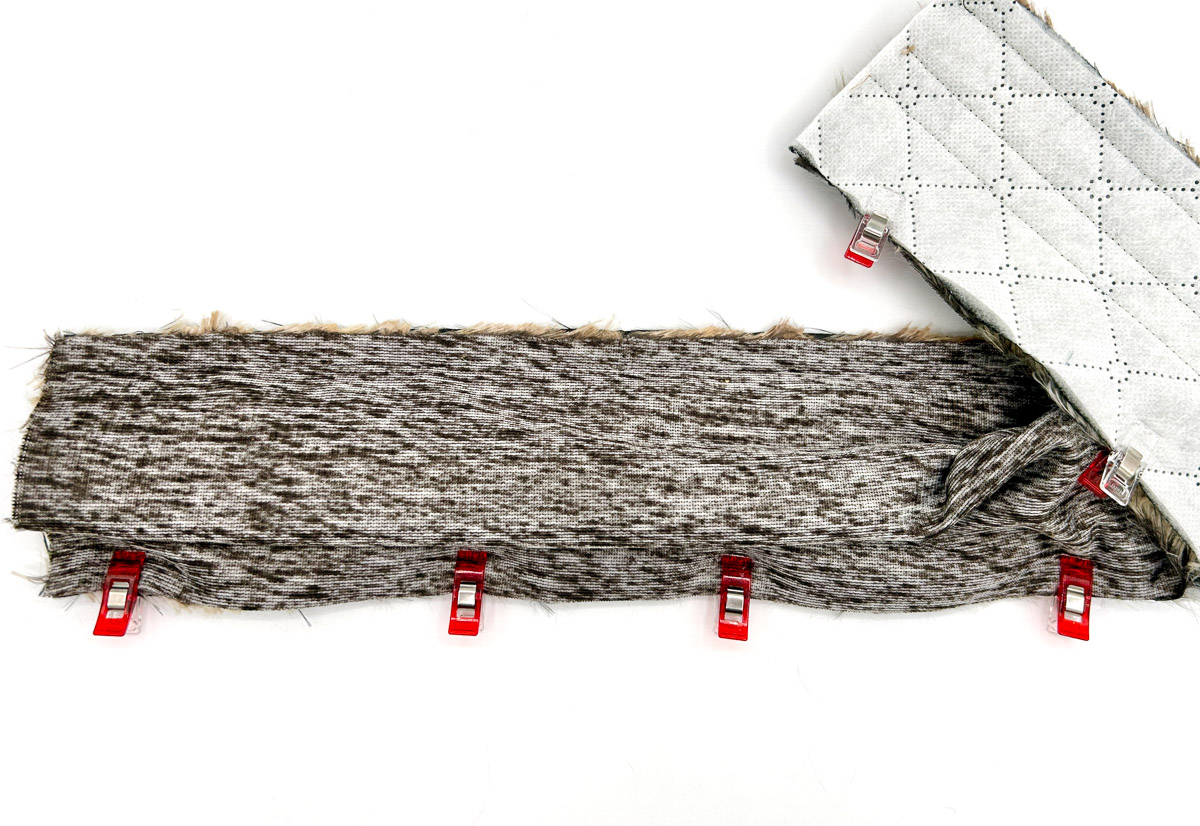
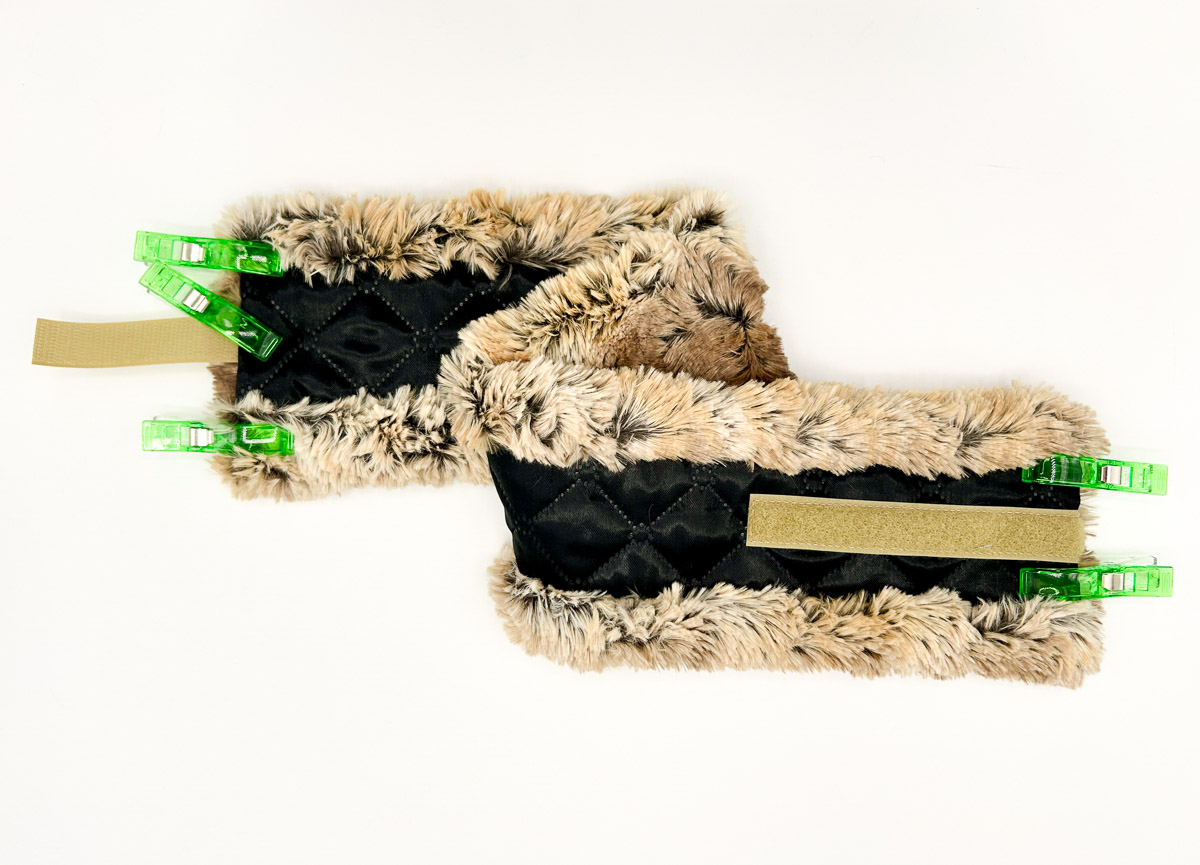
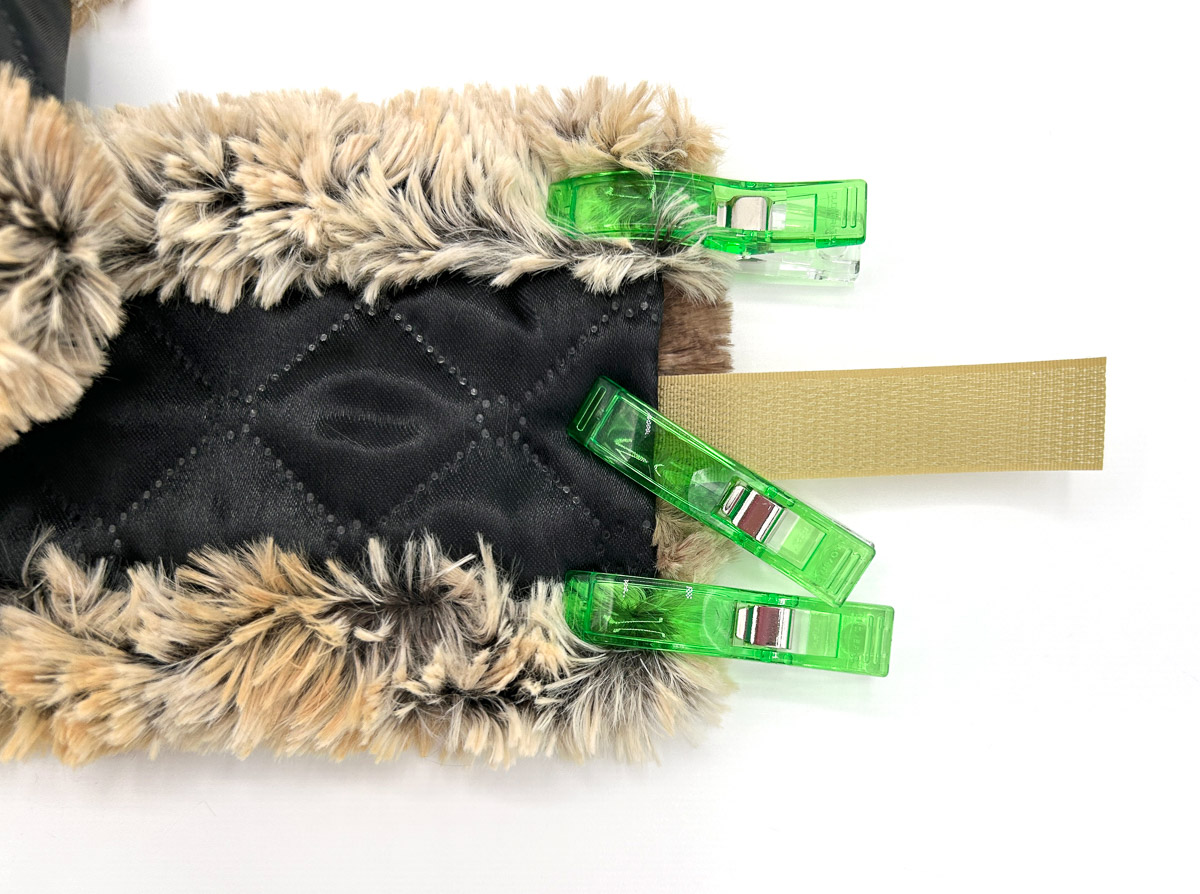
Attach Foot #50 to your machine. You should still have Stitch #1 set to a 3 mm stitch length. Place the faux fur and the quilted fabric right sides together. Align one long side and secure with clips.
Stitch down the side with a 1/2” seam allowance, backstitching at the start and end.
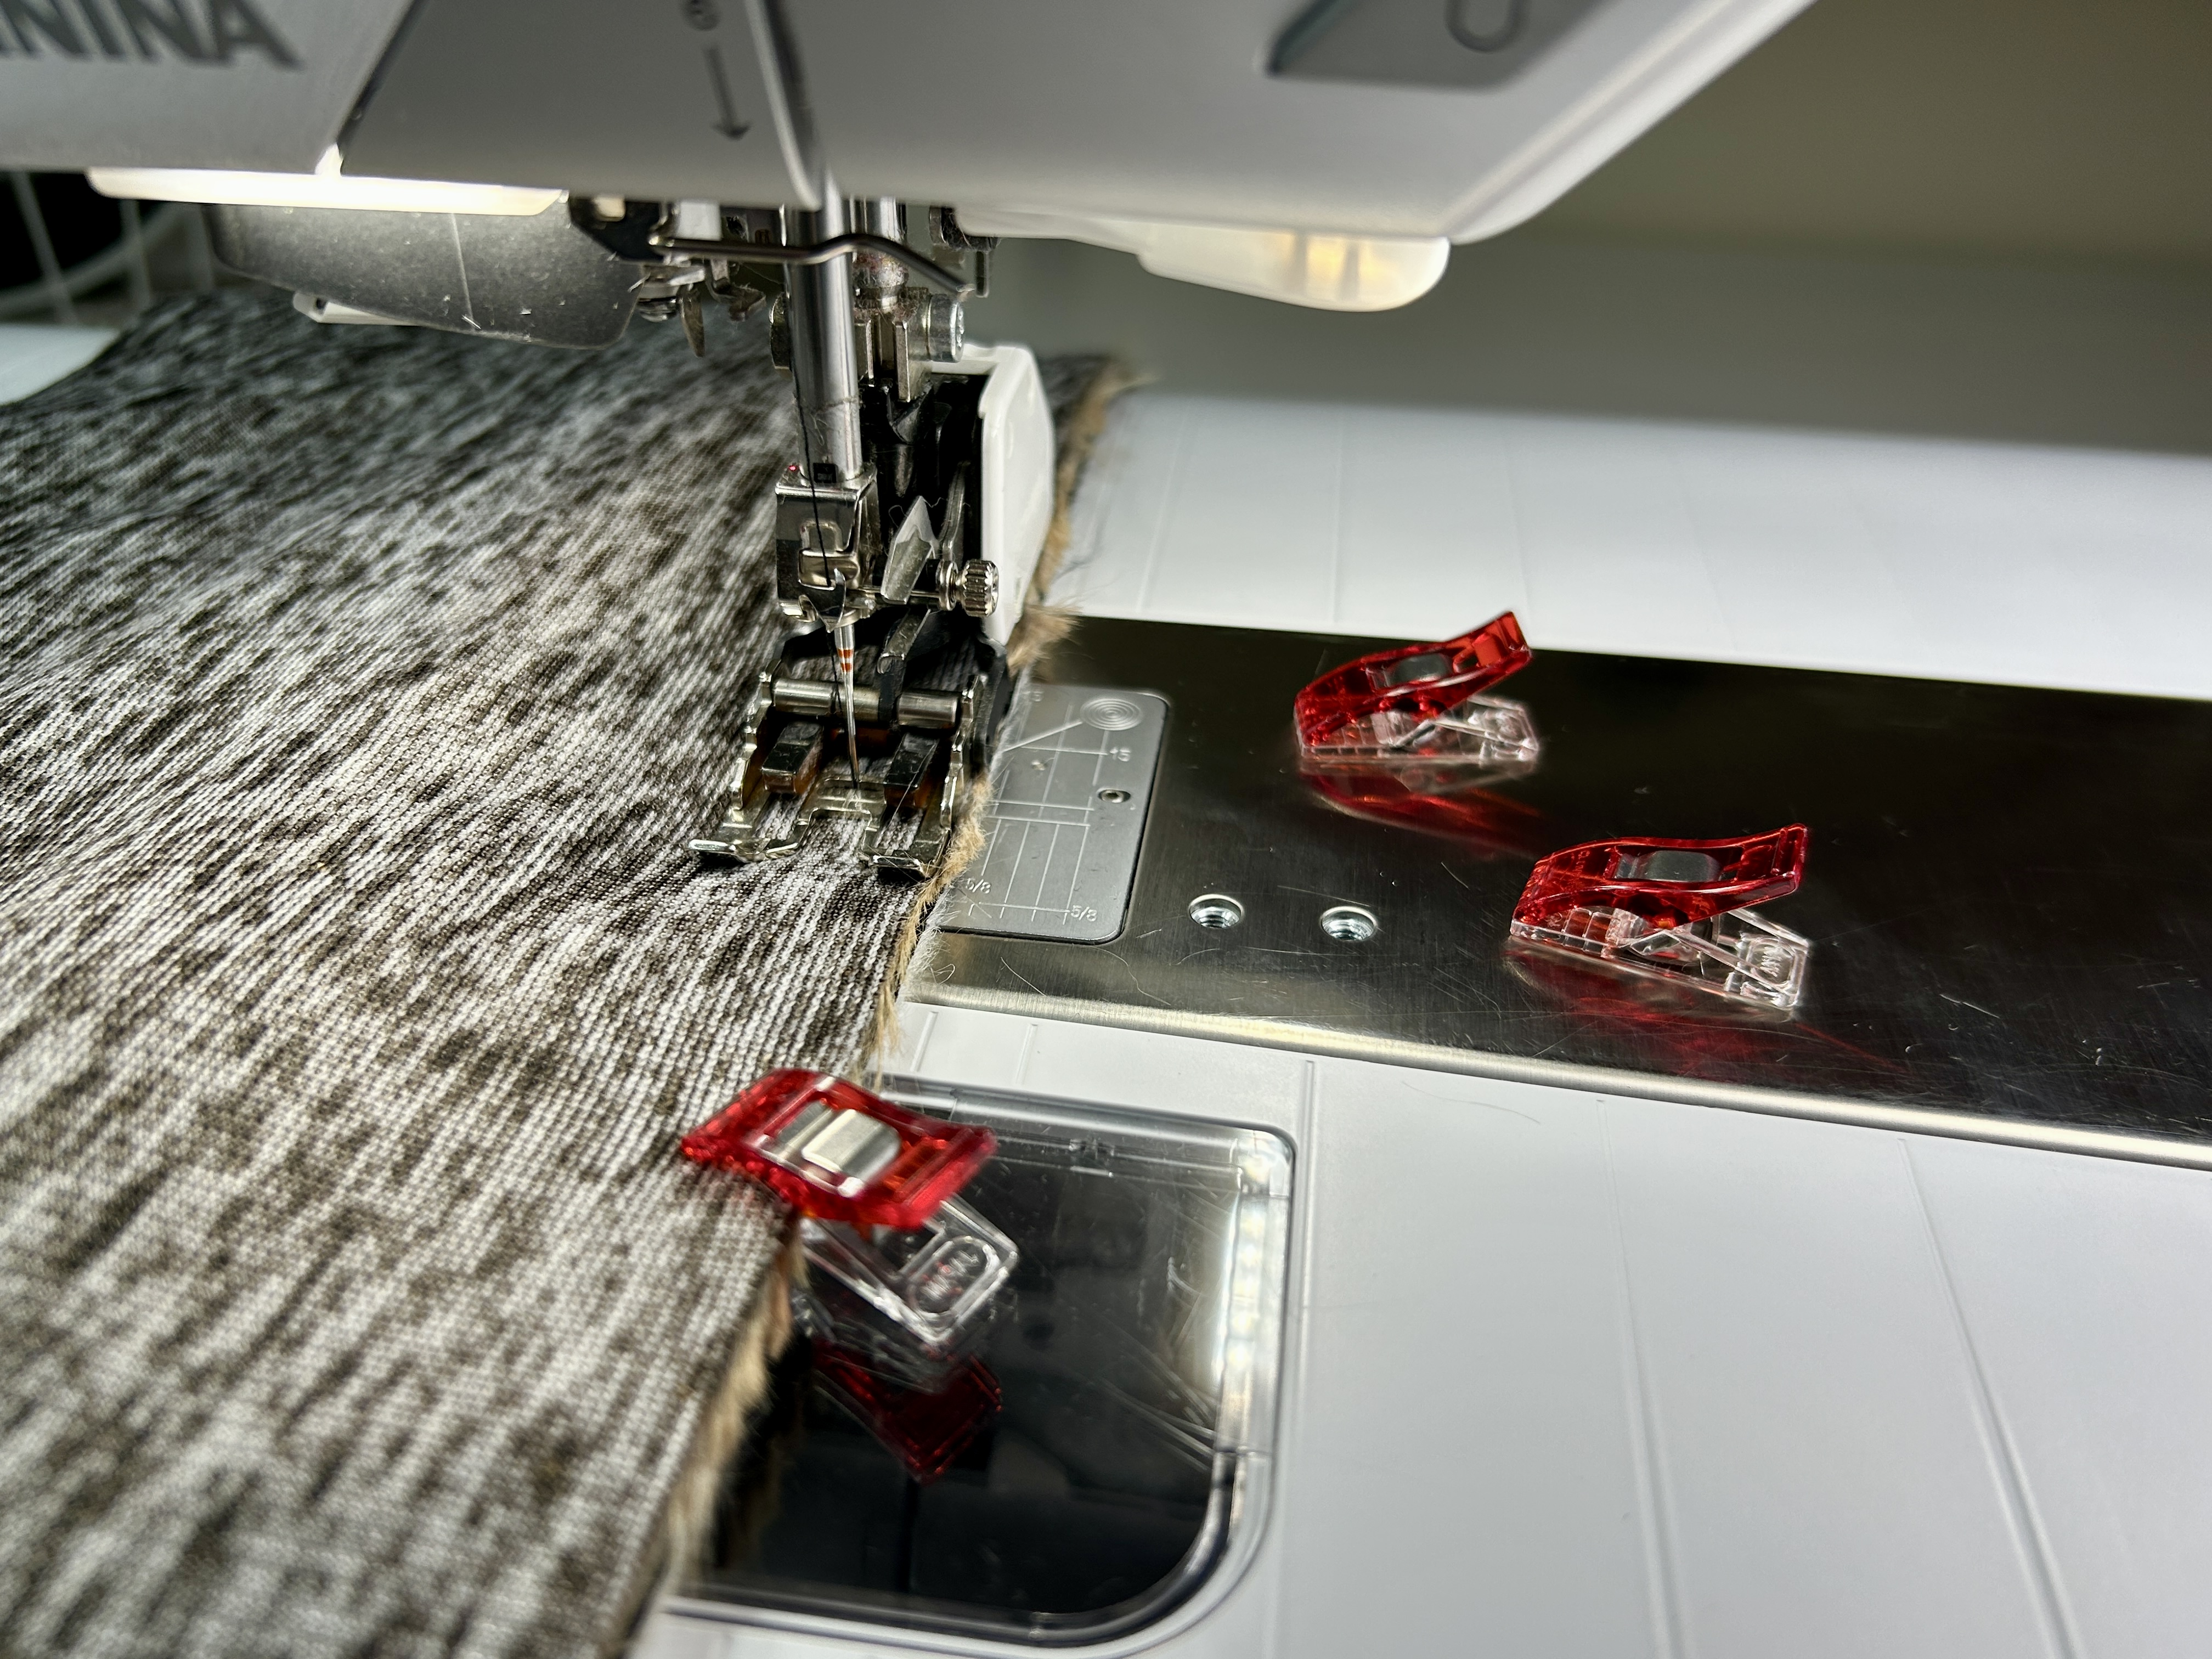
Do the same for the opposite side. Then, turn right side out.
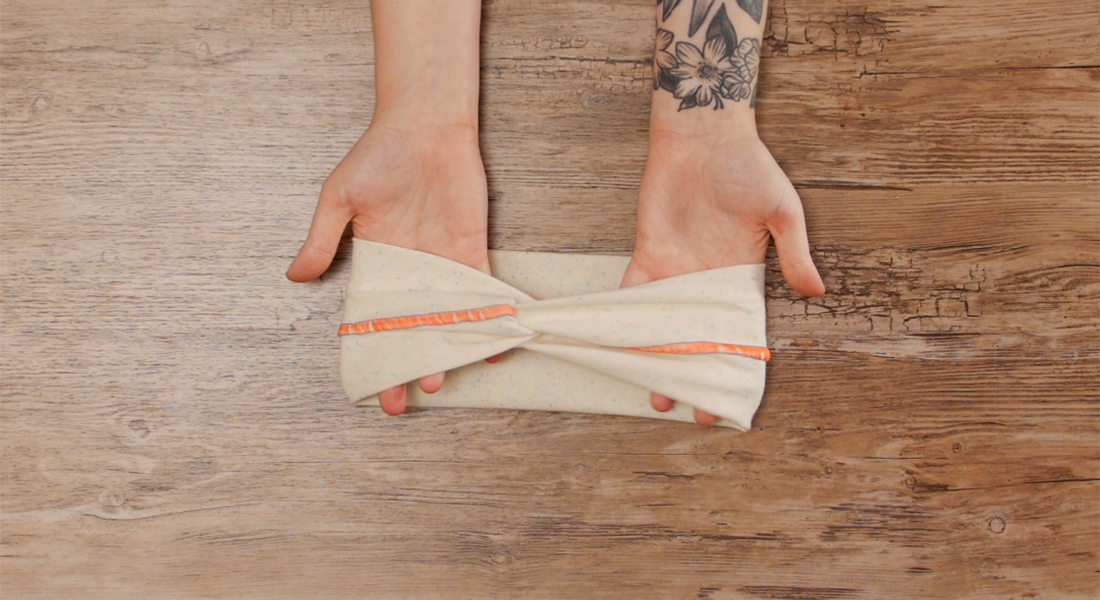
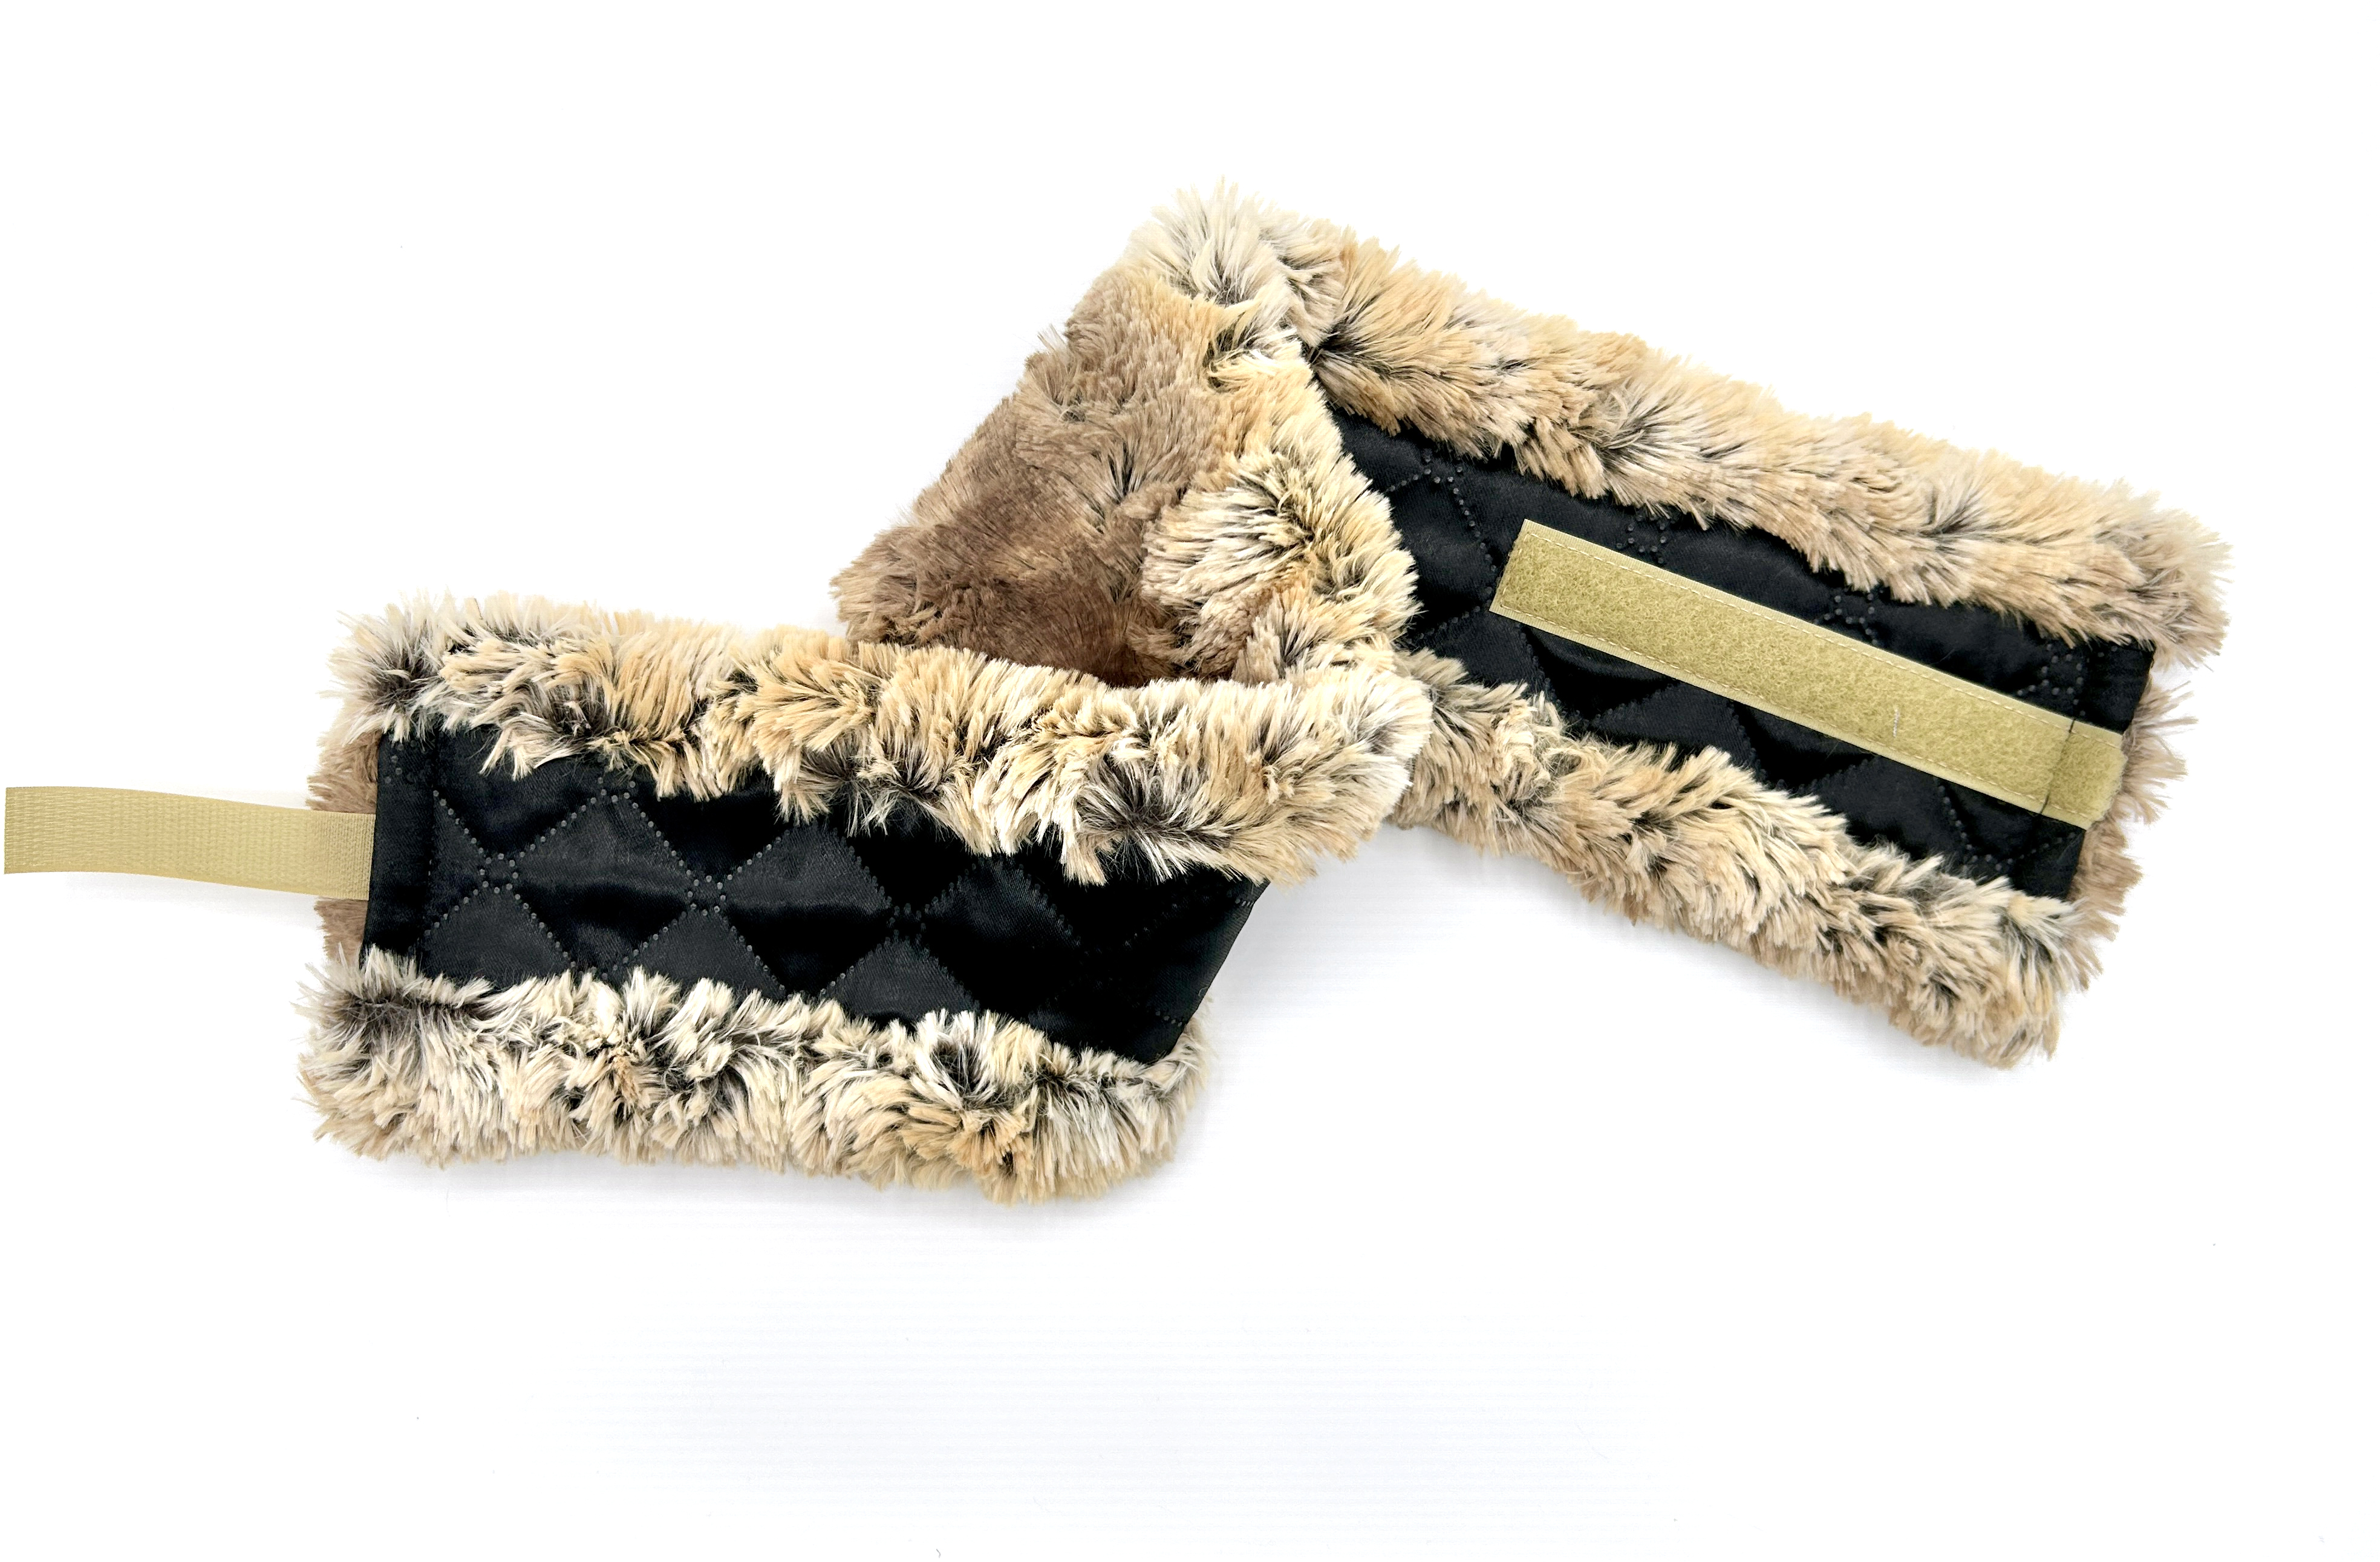
Step 3: Finish Short Ends
Fold in the short ends. This is where you can adjust the sizing. Ideally, you want the two ends to butt up against each other when wrapped around your head. But if this is a gift, don’t worry—the long hook-and-loop tape makes the headband adjustable. I folded each end 1” to the inside to get a good fit. Then, add the 4” hook tape into the short end that is opposite the end with the loop tape. You want the hooks to be facing the same way as the faux fur.
Stitch both ends using a straight stitch length of 3.25 mm. It’s tough to see the 1/2” mark with the fur, so align it with the quilted fabric. Remember, the stitching on the fur won’t show anyway!
Make them in all your favorite colors and prints. These make great, quick gifts too. Throw in an infinity scarf (free pattern at Shannon Fabrics) and you’ve got a beautiful gift set. It’s amazing what your machine can do that you never knew!
For more projects with Cuddle fabric, check out these posts: