Faux Leather Skirt, Part One: Drafting the Pattern
In this intermediate sewing project, you will learn techniques that are the basis of executing future leather pieces. As a designer, I love to create sleek, edgy pieces with both genuine and faux Leather. I discovered my love for this fabric back in 2021 while working on my thesis collection at FIDM. I incorporated about 3 different leathers in that collection. Now it has become one of my top 3 fabrics to work with. I wanted to show a basic silhouette that can be elevated just by choosing a unique fabric, such as faux Leather.
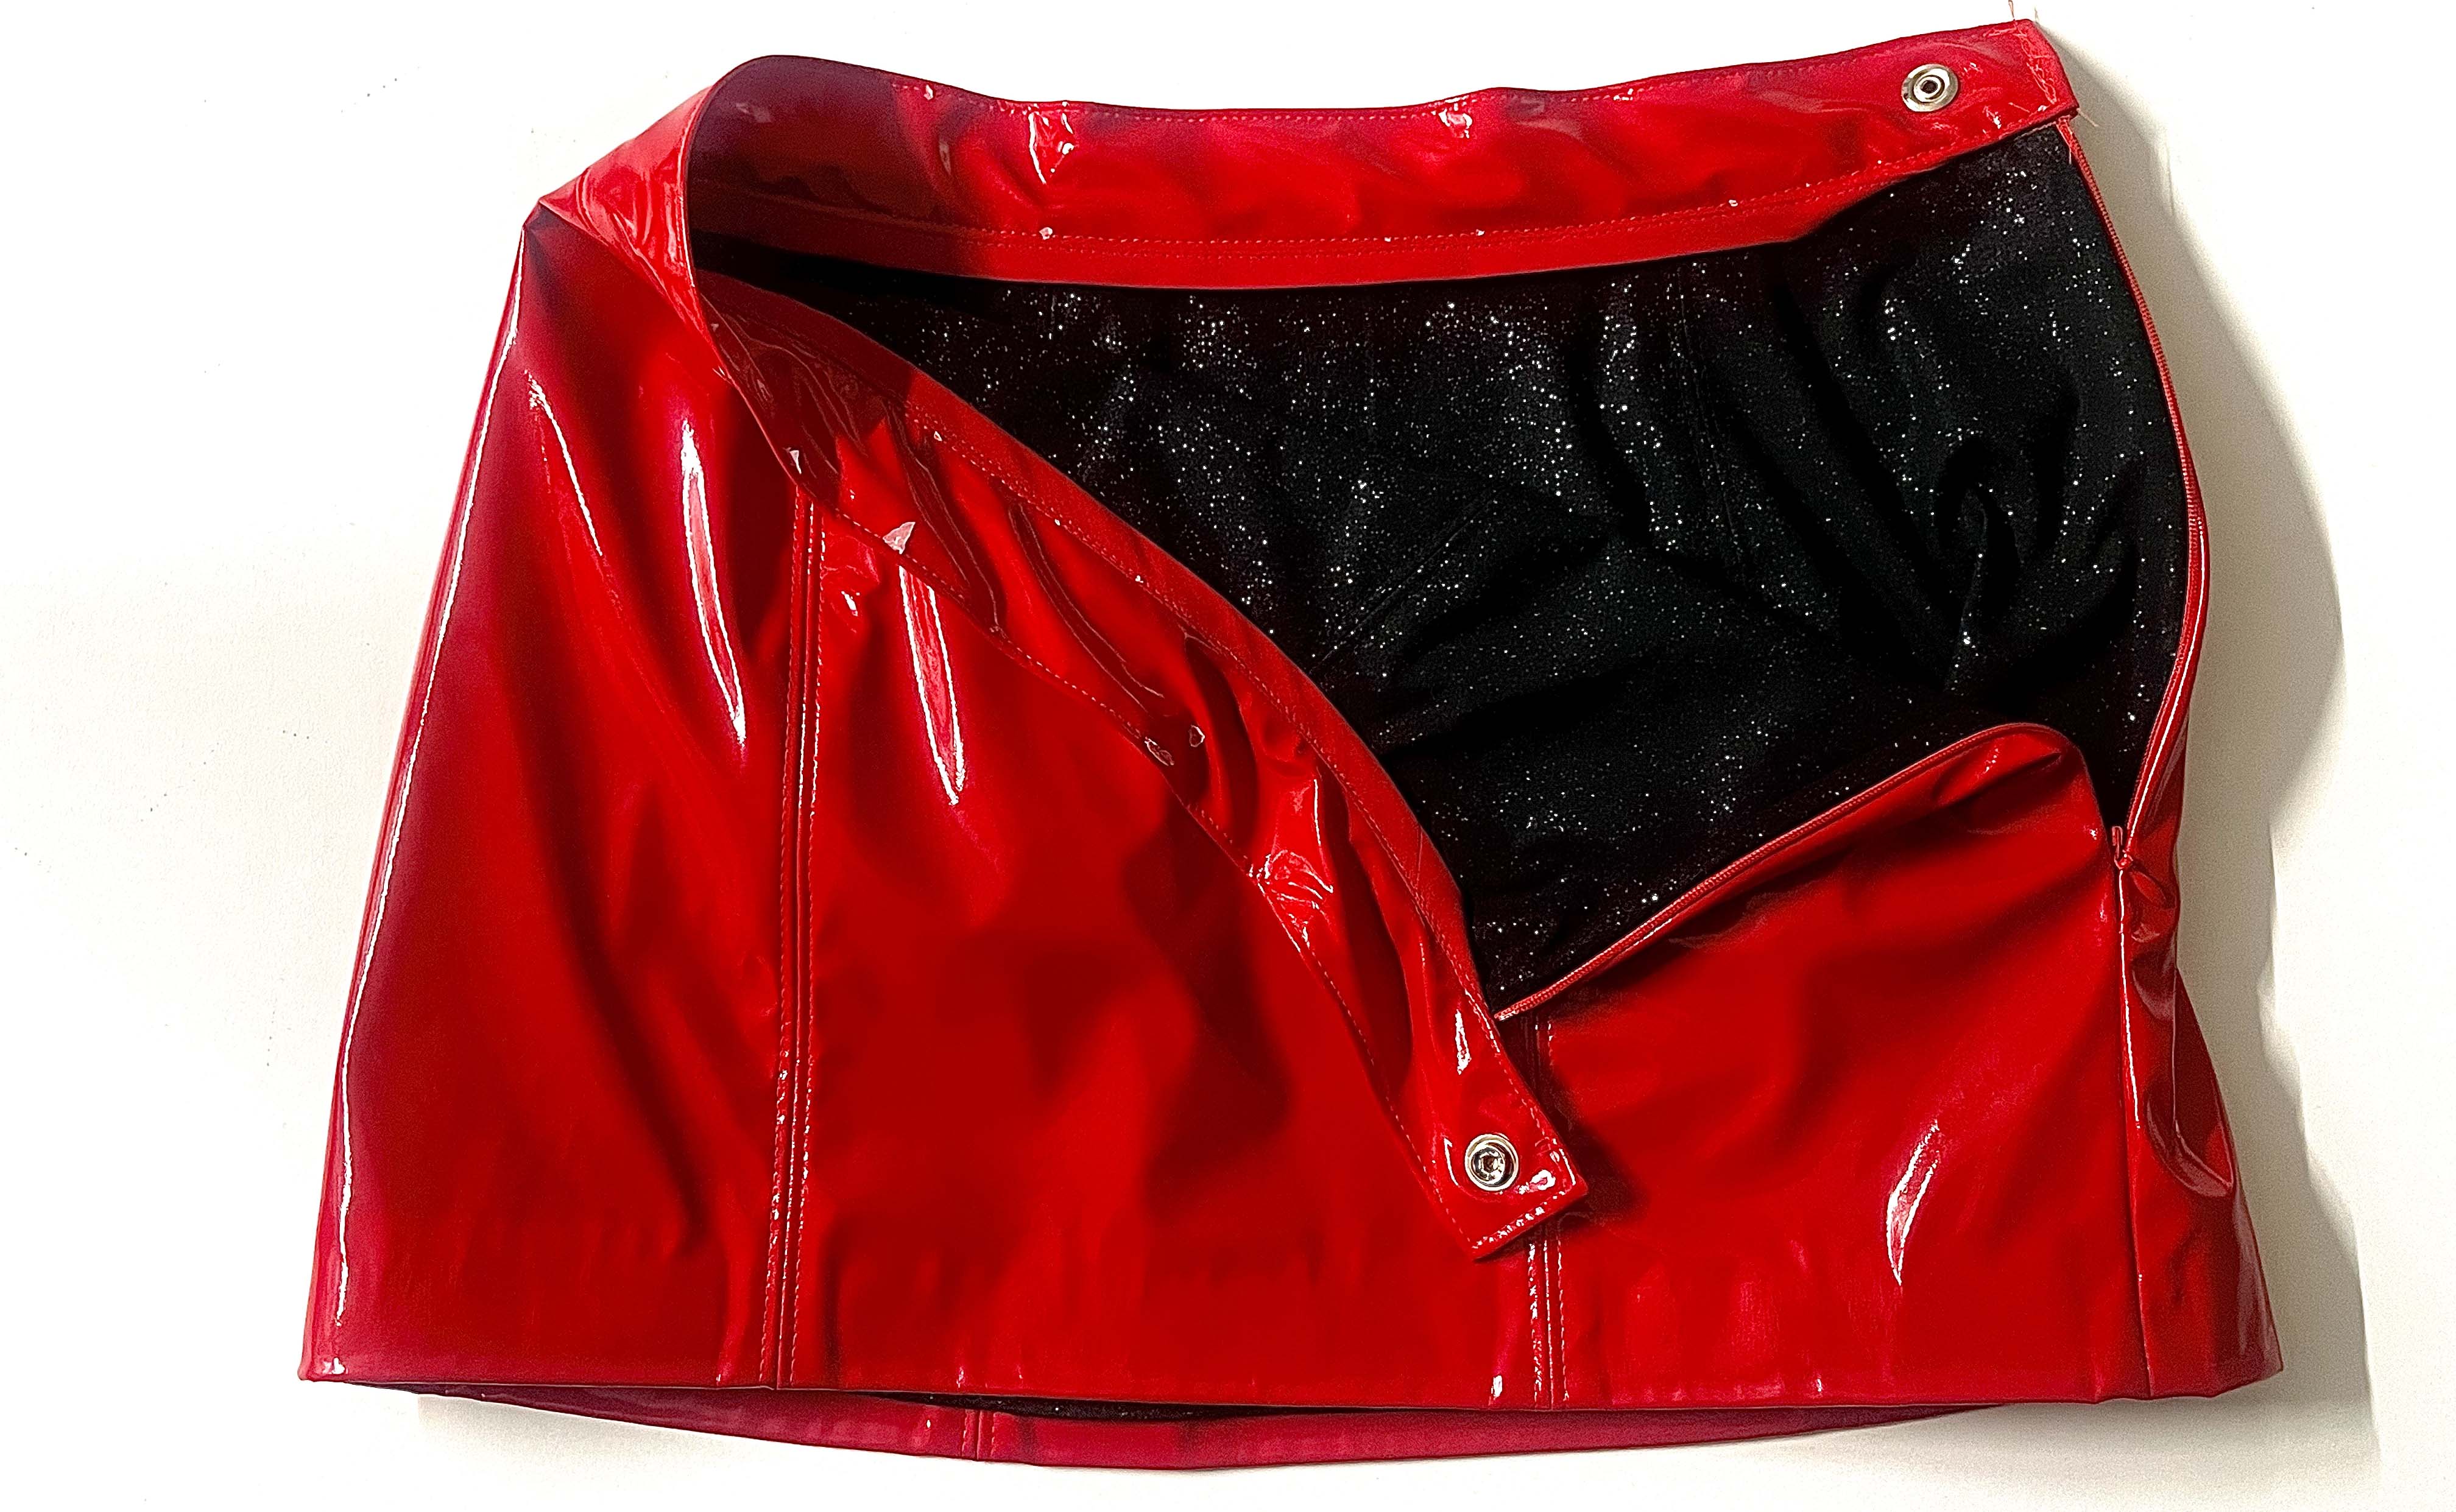
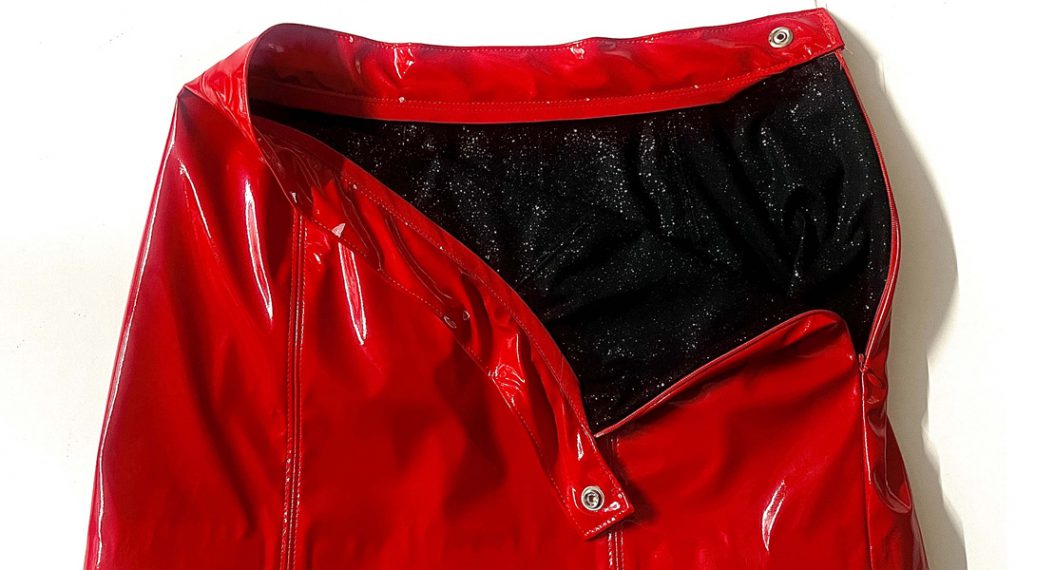
The Finished Skirt
Choosing Faux Leather takes this to the Intermediate skill level. Once you watch the tutorial all the way through, you will understand why this is true.
Now, let’s get into it!
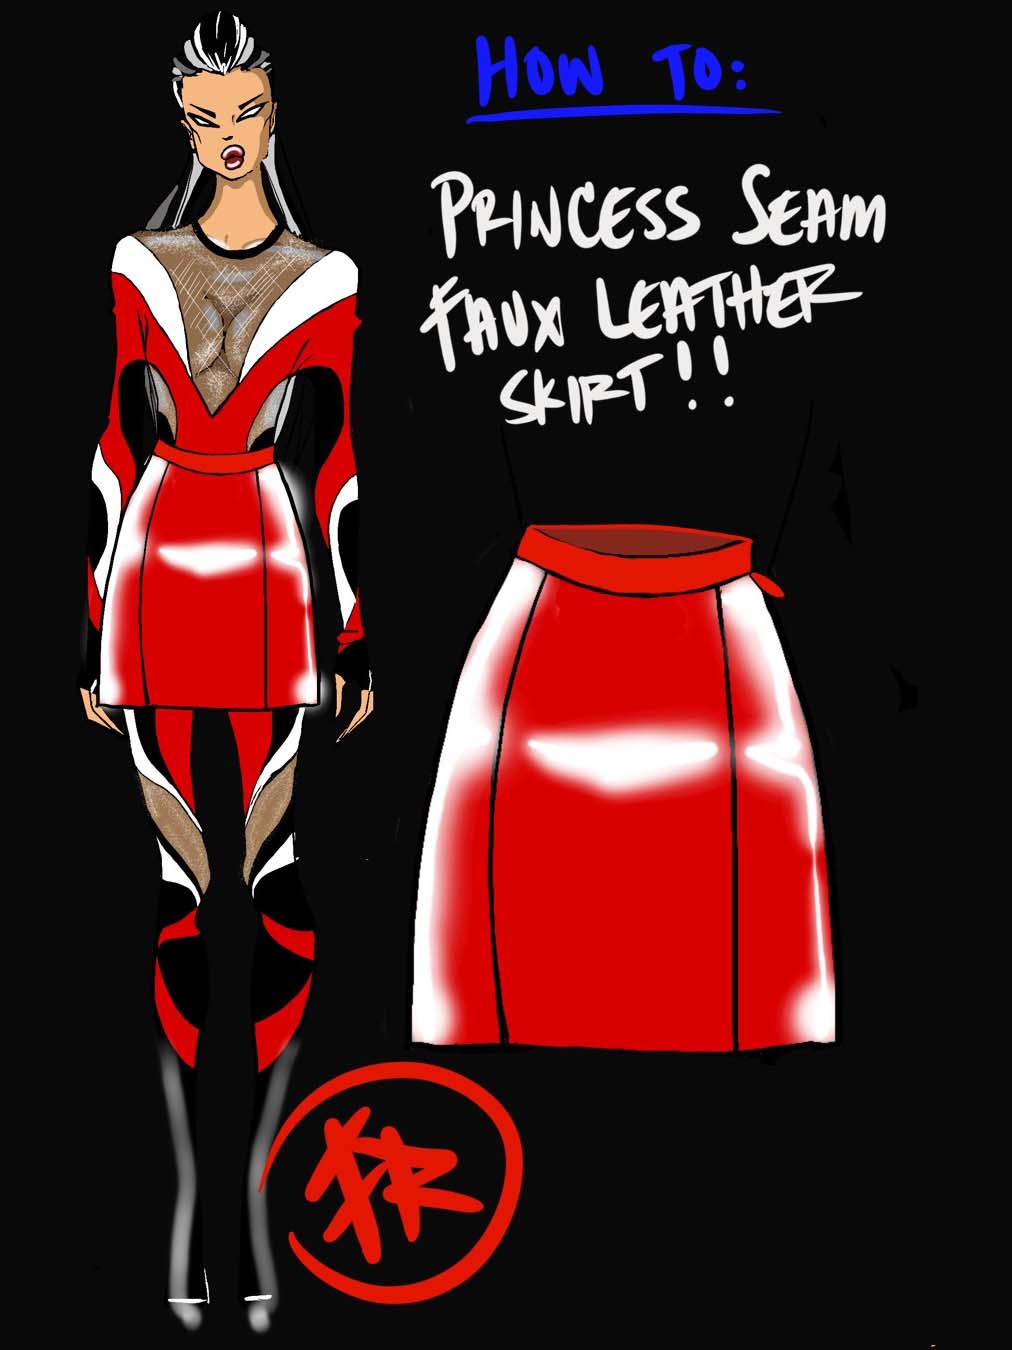
Intermediate Leather Skirt Overview
In this 3 part tutorial, you will learn how to go from sketch to a real-life garment. This is an excellent place to start if you have never worked with any kind of leather or vinyl fabric. Please keep in mind that for this tutorial it is best to have a 4 dart skirt pattern that you can manipulate into the design. From the sketch pictured above, I used a 4 dart skirt sloper and manipulated the pattern into my design. If you do not already have a skirt pattern, there are many choices out there BUT always remember to choose your size based on the finished garment measurements. They will often be printed on the back of the envelope and/or printed on the pattern pieces themselves.
Leather Skirt Pattern Drafting
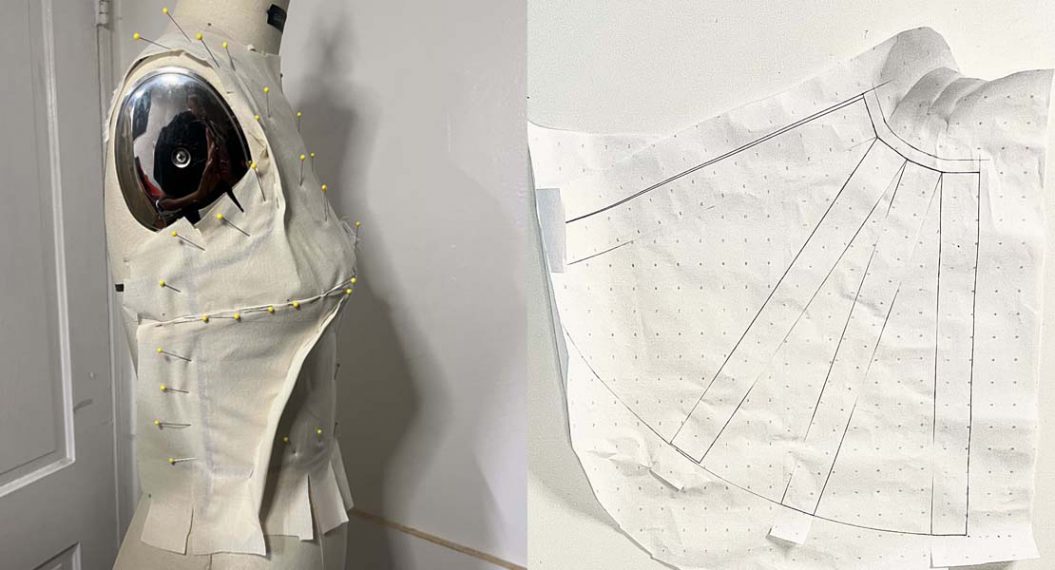
In Part 1 of this tutorial, you will be given an introduction to pattern-making tools as well as walked through how to manipulate darts into princess seams. This manipulation is one of the fundamentals of pattern-making. It is best to use an already existing or purchased sewing pattern that will fit on your body. Again, there are a multitude of basic skirt patterns out in the market that can be used.
Please keep in mind, this tutorial is an intermediate sewing project and I will not discuss how to fit your body but it is a sew along for the construction of this skirt. I will give you lots of hints about working with faux leather throughout the entire tutorial.
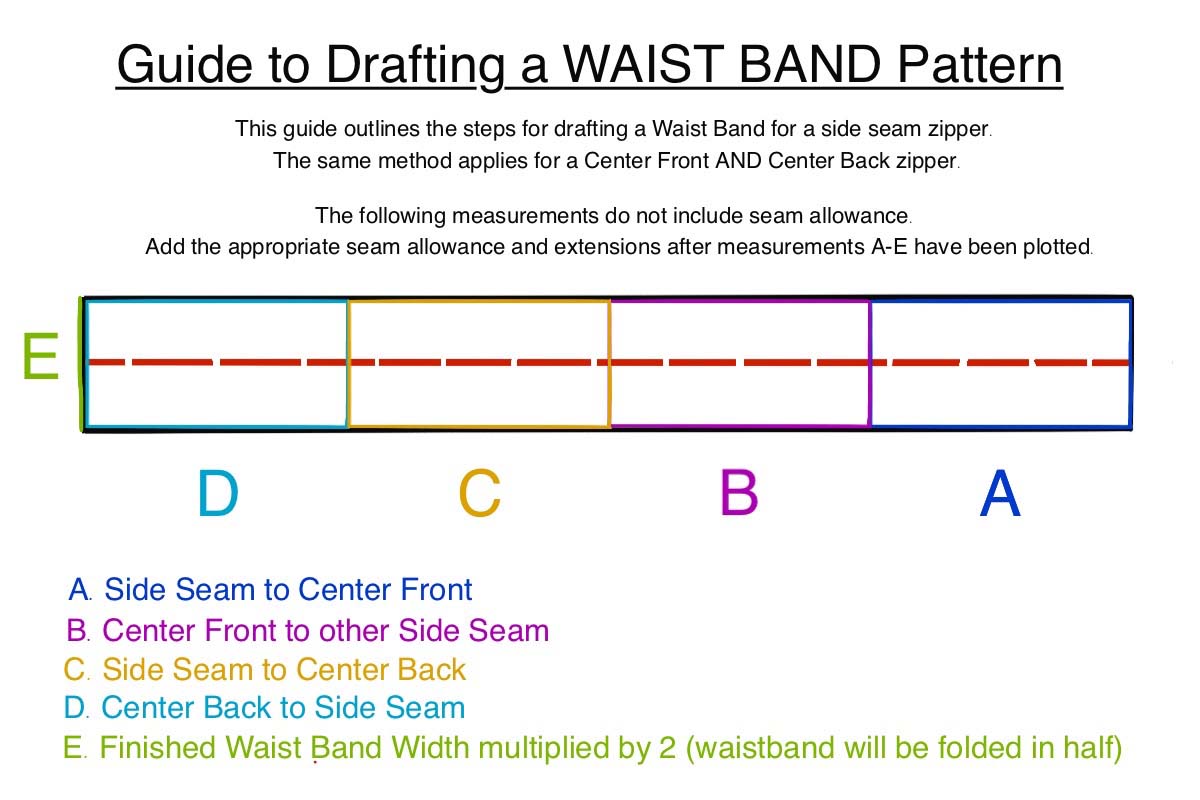
Drafting a Waist Band Pattern
Your pattern should already have a waistband pattern piece for you to work with. If yours does not for whatever reason; use this guide provided below to assist you in drafting a waistband for your skirt. You are creating a rectangle that measures the distance around the completed waistline of the skirt. You will also need to include any overlap if necessary. As stated in the guide I have created, these measurements do not include seam allowance or overlap. You can easily get the finished measurement for the length of your waistband during the pattern-making phase of this process.
When measuring your waistline, always measure the stitch line to get the correct length. never measure along the cut edge as this can sometimes distort the actual measurement depending on the situation. Be sure to take note of what seam allowance your sewing pattern includes. Most home sewing patterns include 5/8 inch seam allowances.
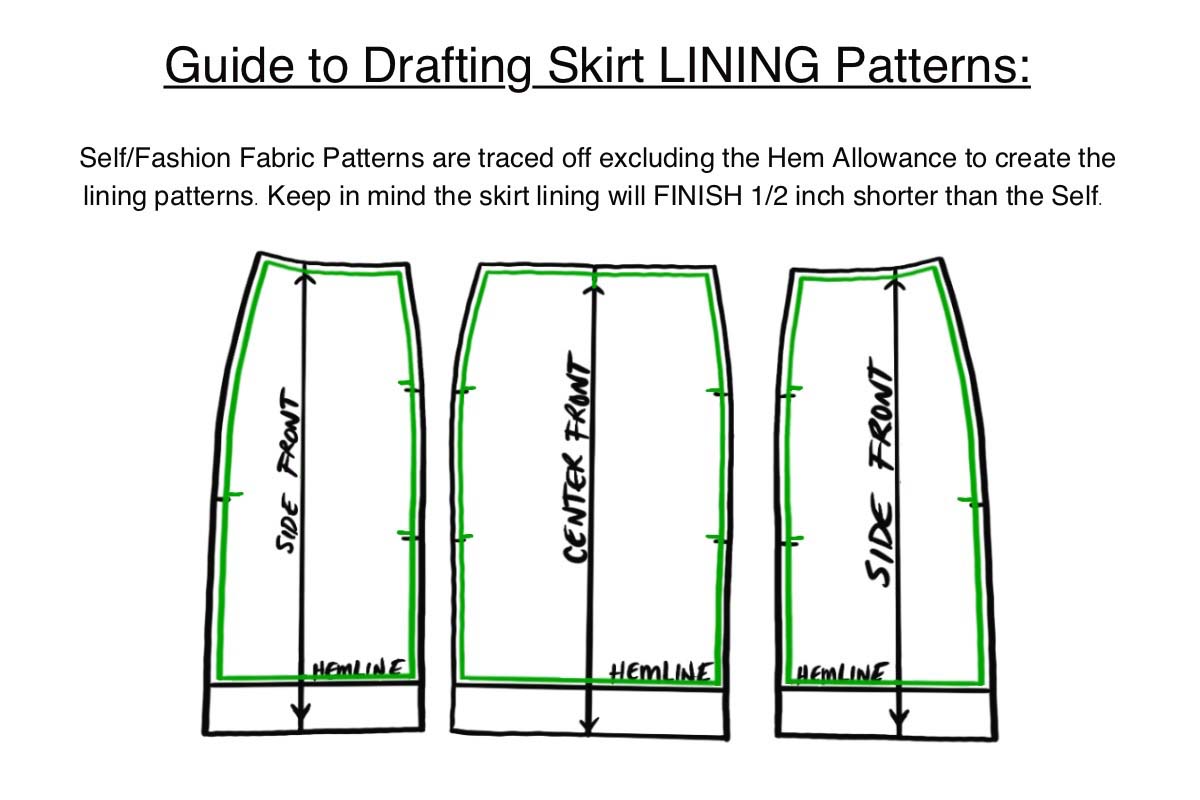
Drafting Skirt Lining Patterns For this Advanced Sewing Project
Use the above guide to help you draft your lining patterns. Trace your self/fashion fabric patterns onto a fresh piece of paper minus the hem allowance. You will trace the fold line of the self patterns in this way so that once the lining hem is done it will finish 1/2 inch shorter than the self fabric. If you haven’t guessed it, this gives you 1/2 inch to double fold and stitch in place for the lining hem. The hem allowance may be altered depending on your preference.
This wraps up Part 1 of the tutorial. In part 2 of this series, we will discuss cutting and our first steps to constructing this garment. If you would like a preview of what part 2 will entail, please see my previous post here, where I share some tips on getting started with Faux Leather.
See you in part 2!
