From Kid’s Drawing to Embroidery Design
I’ve been using the BERNINA Embroidery Software V7 Designer Plus for years, and about four years ago, I used it to start a little family tradition. Every year I turn one of our daughter Fidget’s drawings into a special embroidered tee for Dad on Father’s Day!
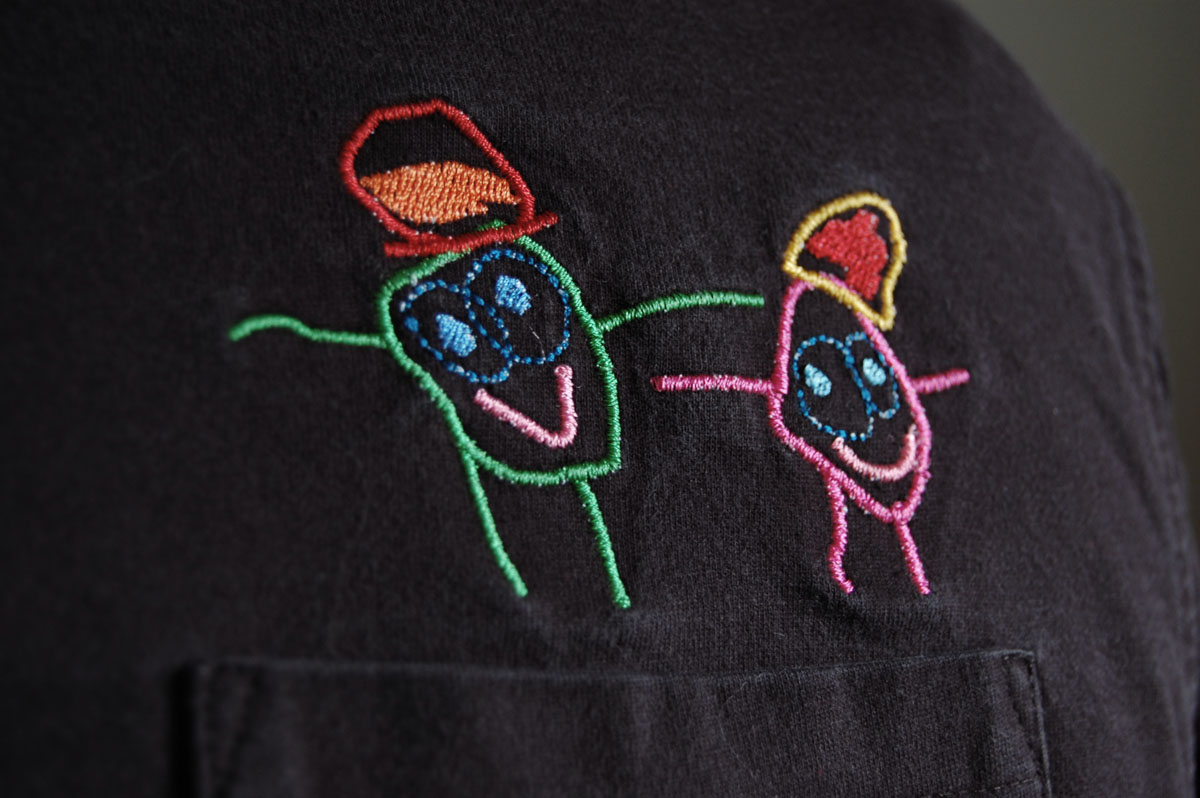
Here’s a look at one of the first gifts from about 4 years ago, a very well loved and worn pocket tee with an embroidered drawing showing Fidget with her Daddy.

And here’s a more recent gift from last year, Fidget and her Dad flying kites together. Too cute! This has also been a great way to see how Fidget’s drawing skills have changed with age, from the little circle people above to the fully developed people here.
This year Fidget wants to go in a different direction, and give Daddy a drawing based on his favorite hobby of rebuilding motorcycles (he loves the look of the Honda 1949 Dream, so that’s what our embroidered shirt will be this year).
I am going to share a quick overview of the process I use to digitize Fidget’s drawings using the Designer Plus embroidery software. I won’t go into detail about each of the digitizing steps, because each drawing requires using a different approach and set of tools. I can recommend the intensive classes and workshops available to help you learn to use all the features and tools within the BERNINA software if you’d like to learn more. I learned to digitize by taking an incredible day long workshop from BERNINA, it was amazing! Check in with your nearest BERNINA store for a schedule of classes, or look into taking an intensive workshop or retreat at the BERNINA Creative Center.
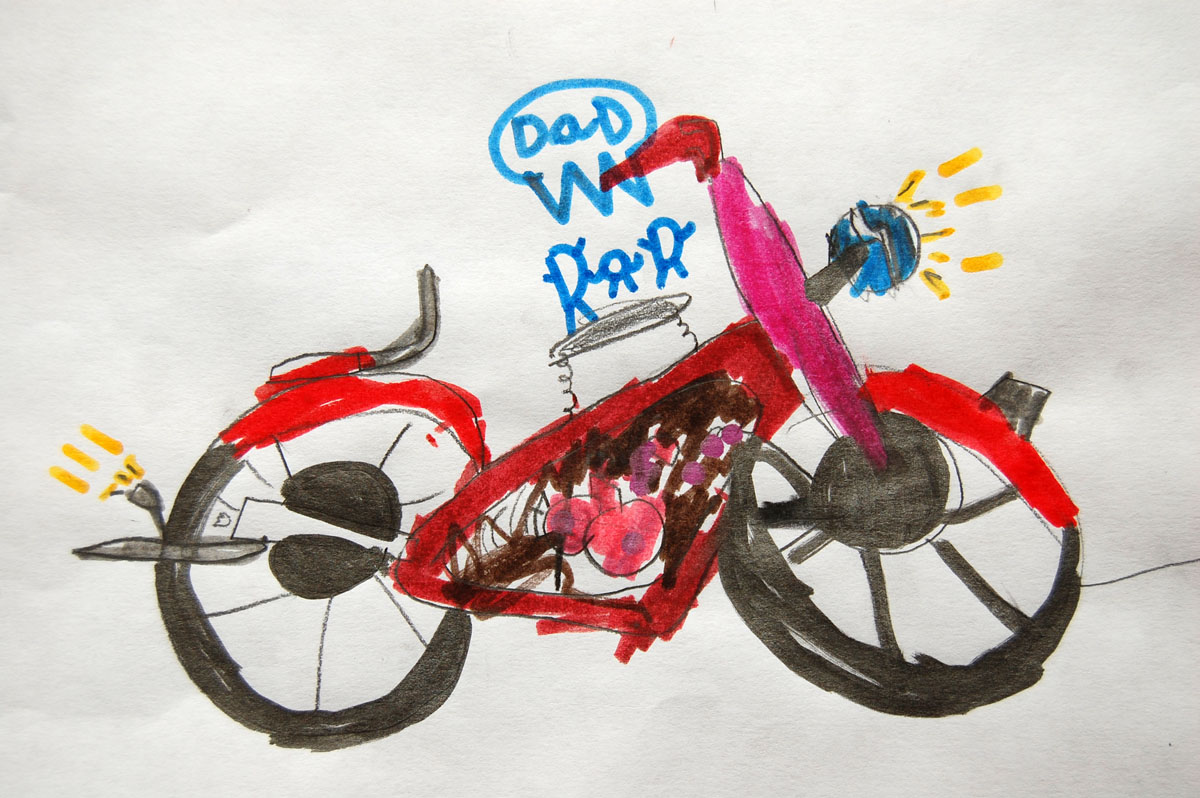
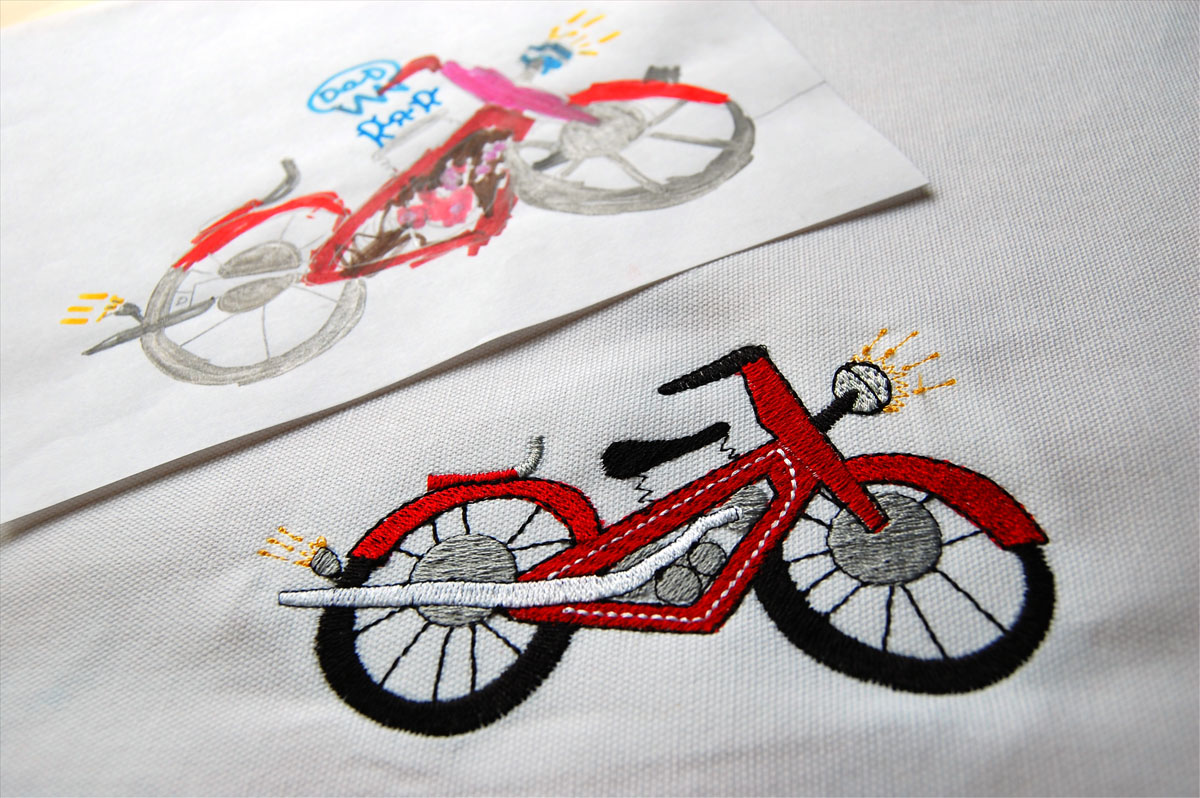
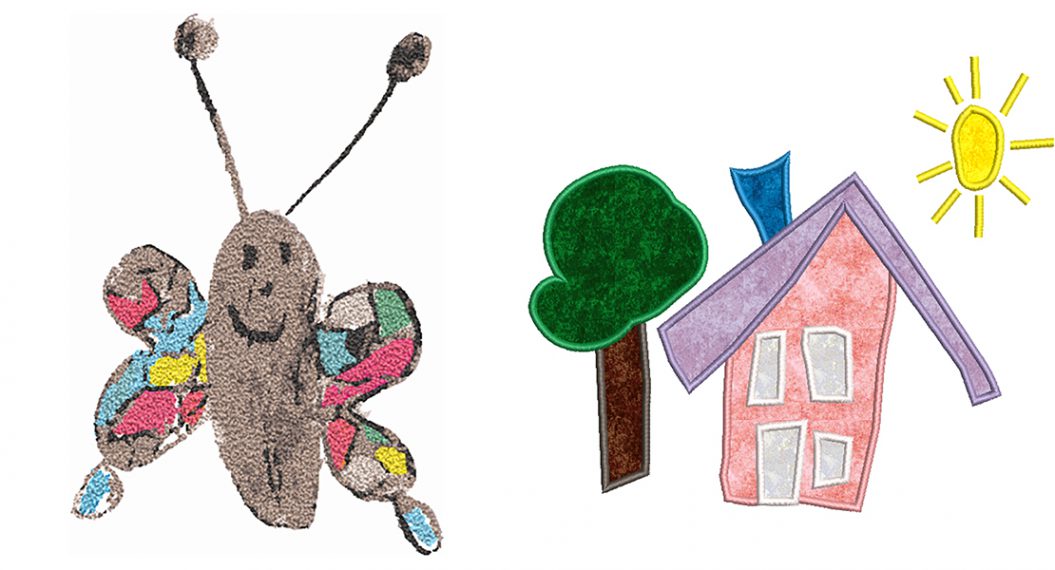
The first step is to start with a drawing! Fidget loves to draw, and after making several different versions, this is the one we decide to use for the embroidery design.
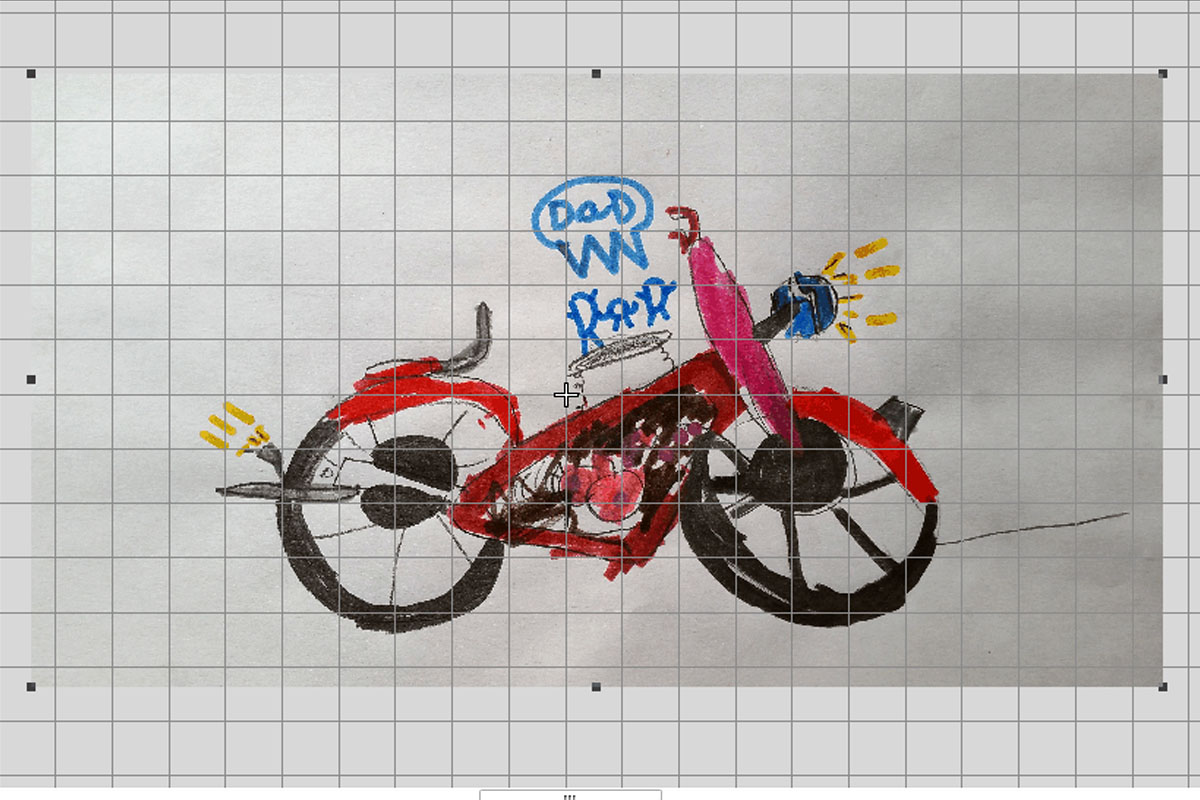
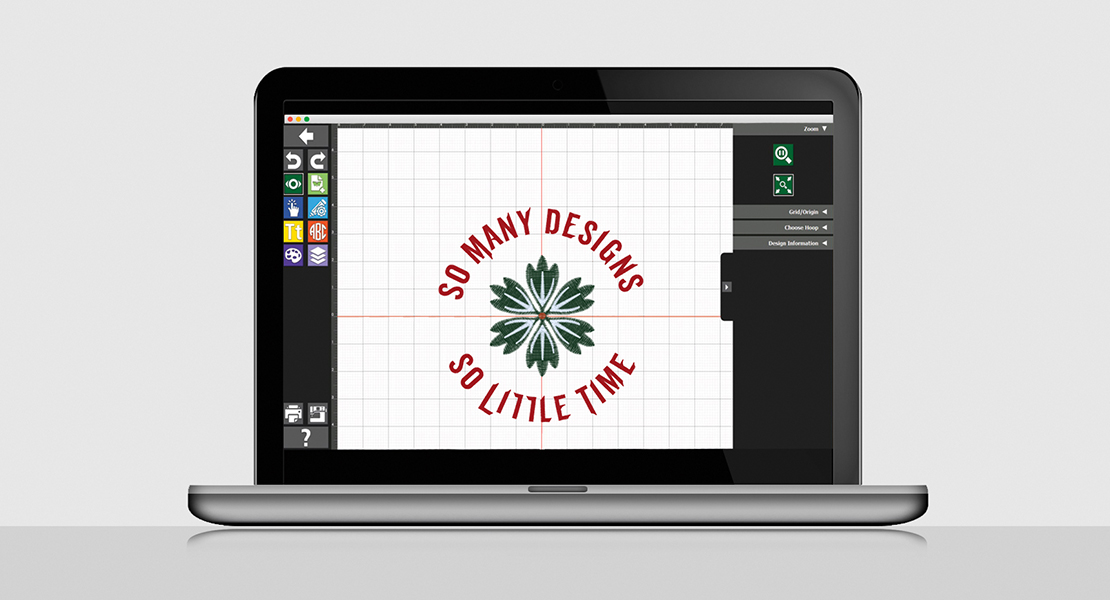
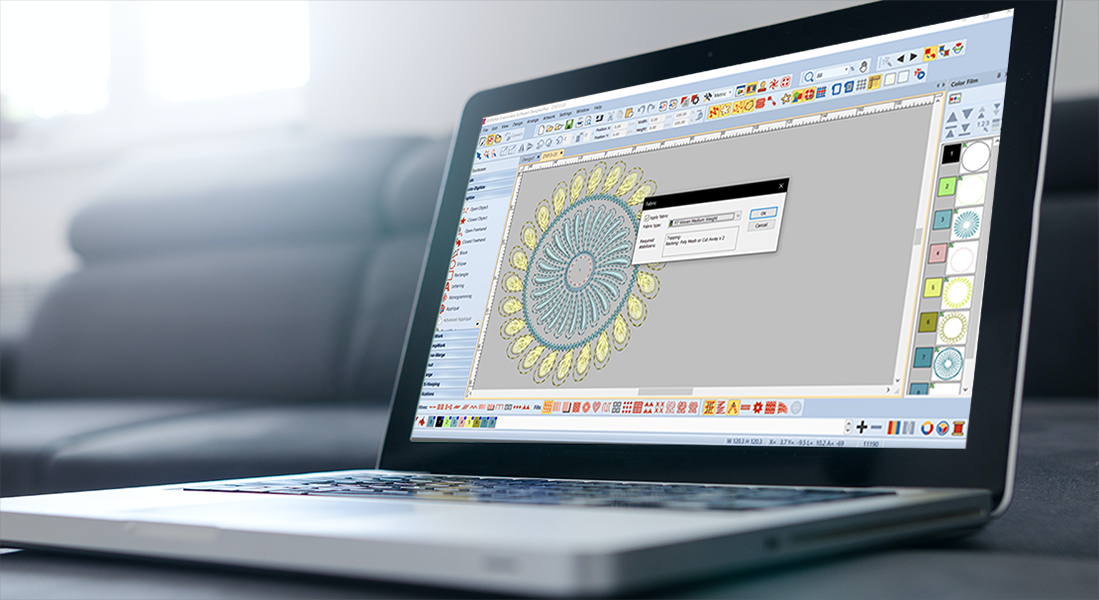
I take a snapshot of her drawing and download the file to my computer to begin. A scanner will also work for this step. Next, I import the drawing into the Designer Plus software. Like I mentioned above, because these drawings tend to be squiggly, scribbly, and have a lot of open spaces, they are not optimal for use with the auto digitizing tools in the software. I prefer to do the job manually.
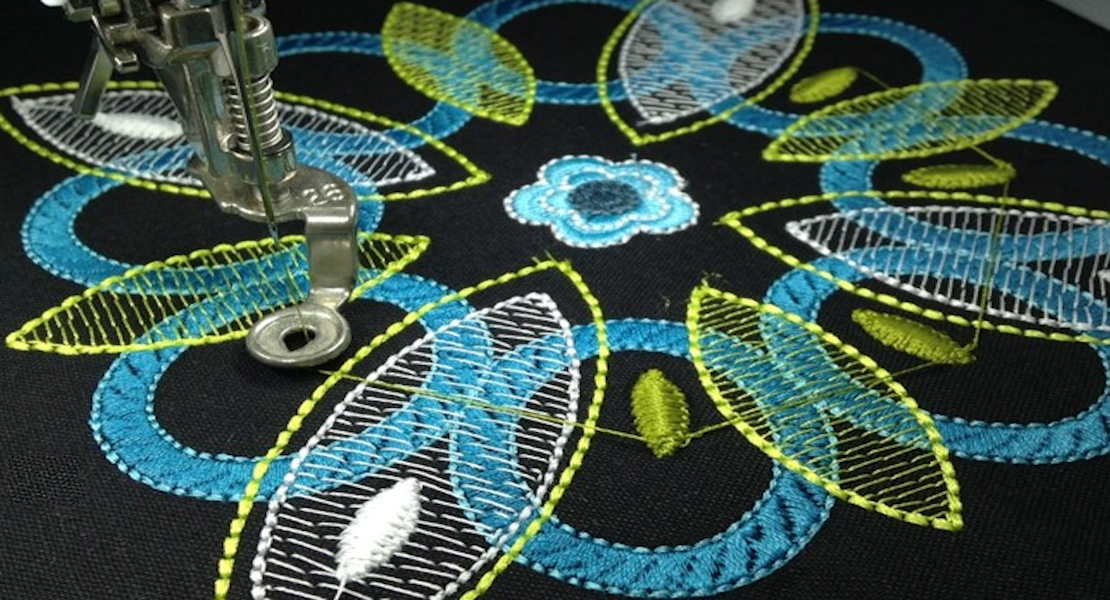
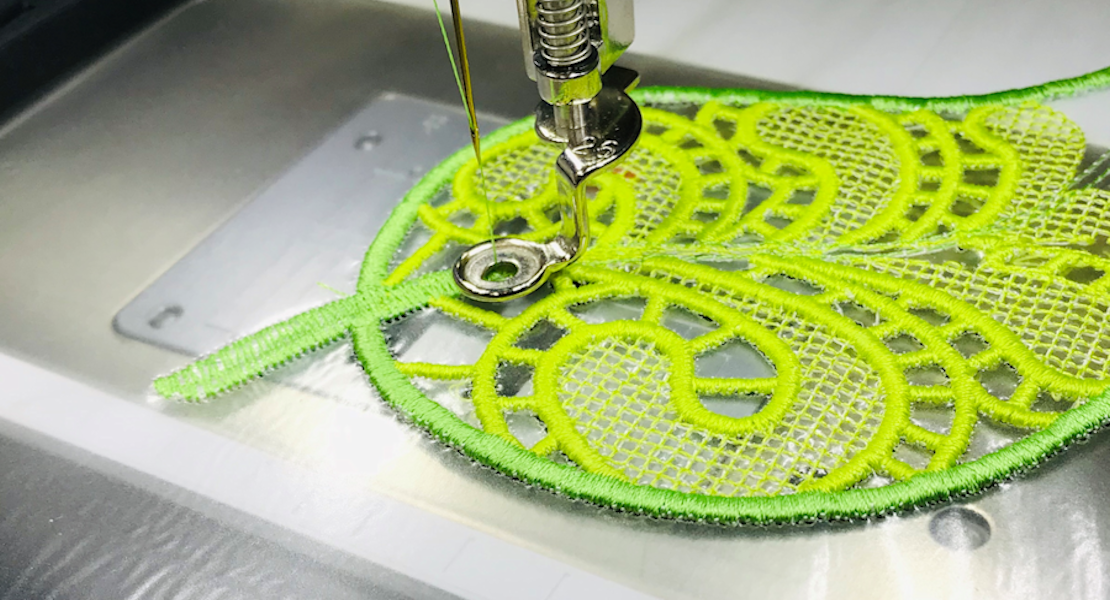
Everyone who learns to digitize has their own method for creating a design. I start with what I think will be the bottom layer of detail, and keep adding layers on top. I digitized with the Closed object tool, the Open object tool and the Block digitizing tool to create the basic shapes. Once I have basic shapes, I go back to edit the shapes with the Reshape Object tool if needed. I also check to see if large objects are overlapping, and use the Remove Overlap tool.
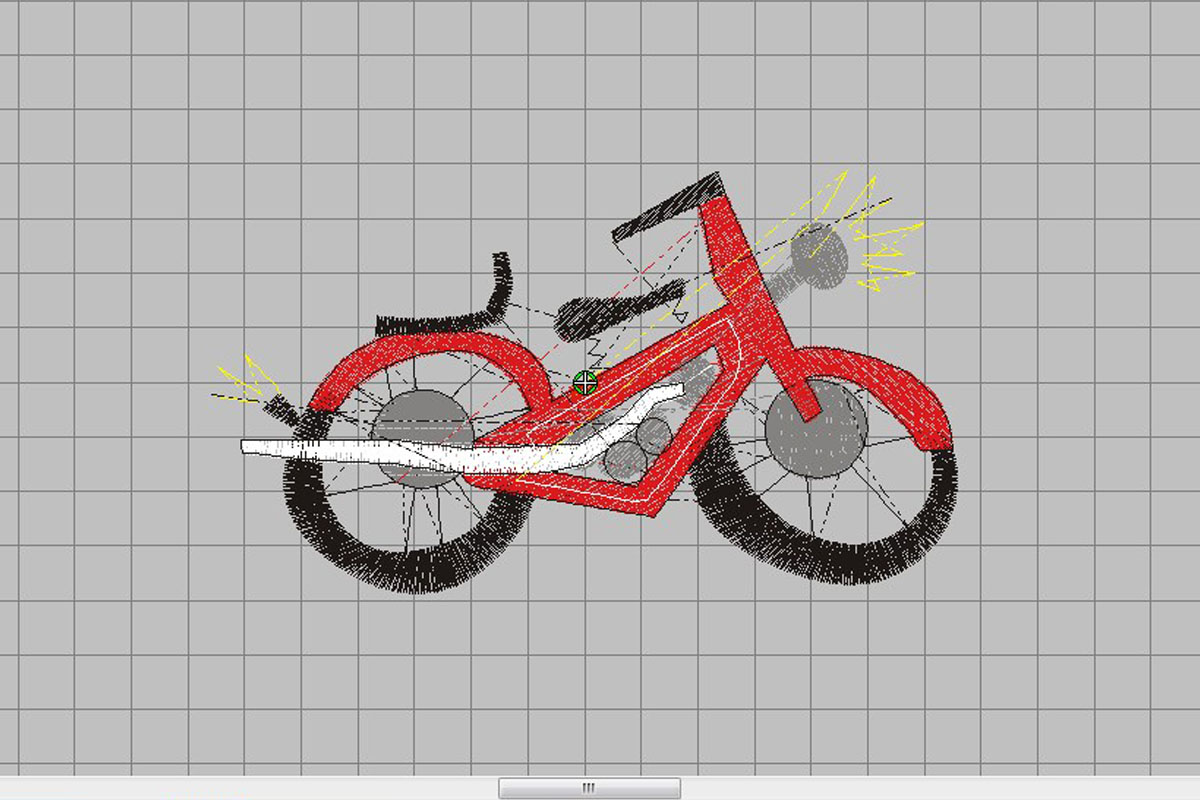
I like to use the Artistic View to get a quick preview of how the design will look when stitched. When I think the design is looking good, I stitch out a draft.
Once I stitch out the first draft of the design, I can see areas that need editing and updating. Fidget also tells me if there are things she wants updated, too. Here she tells me, “Make the motorcycle pink, Momma!” Ha! I let her know we can make her a shirt with this design on it in whatever color she wants, but I think daddy would like red best.
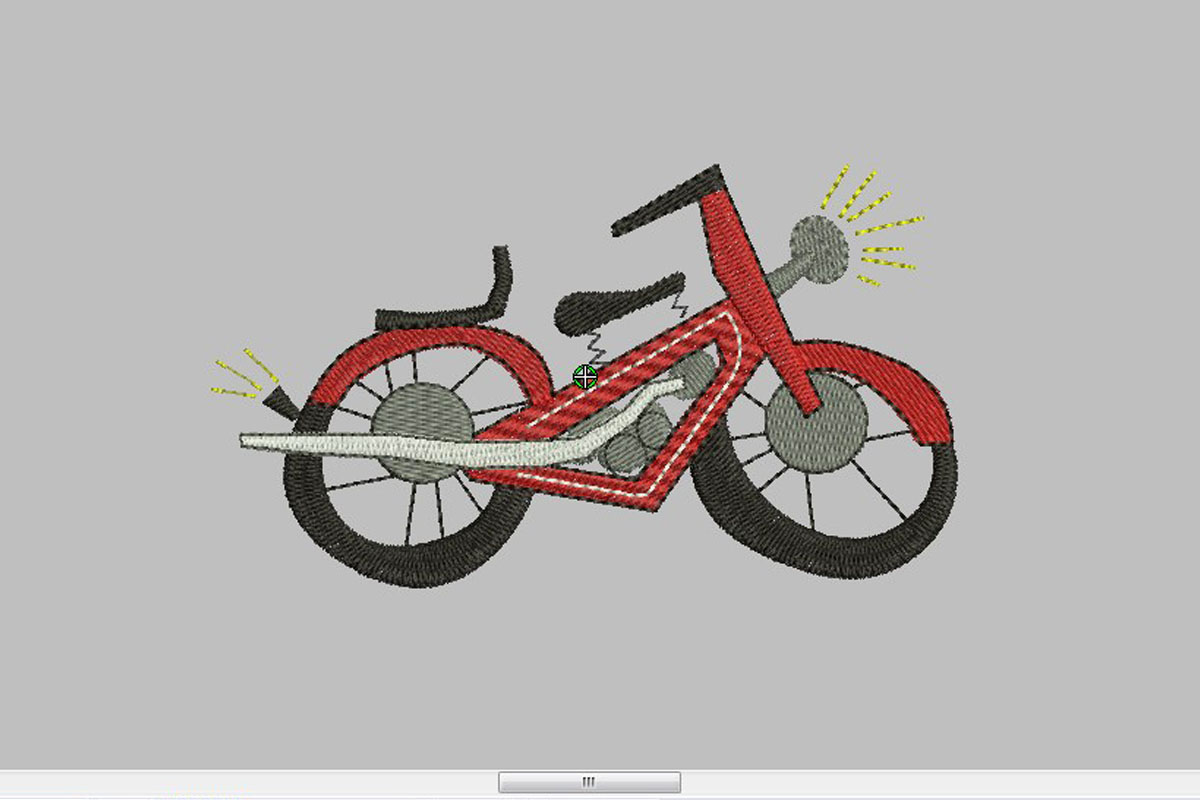
Back to the Designer Plus software to make the edits and changes to the design.
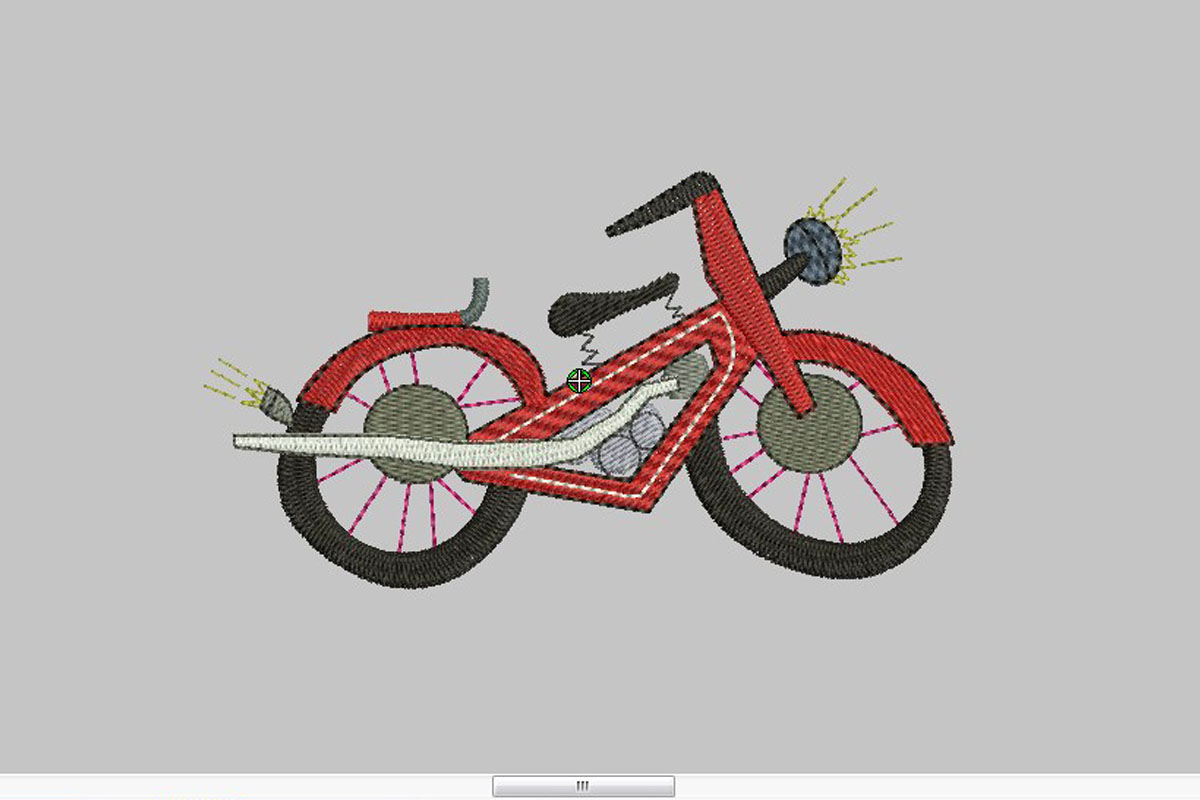
This is looking much better! Time to stitch it out once more to see how it looks.
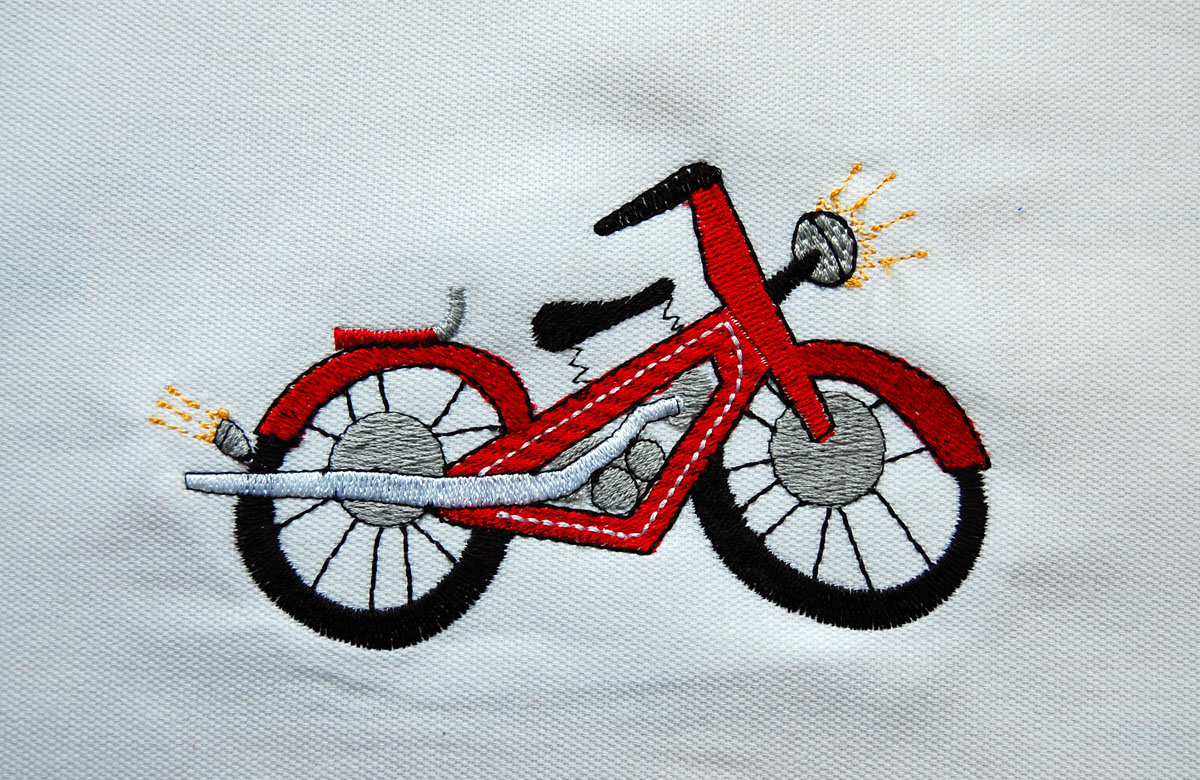
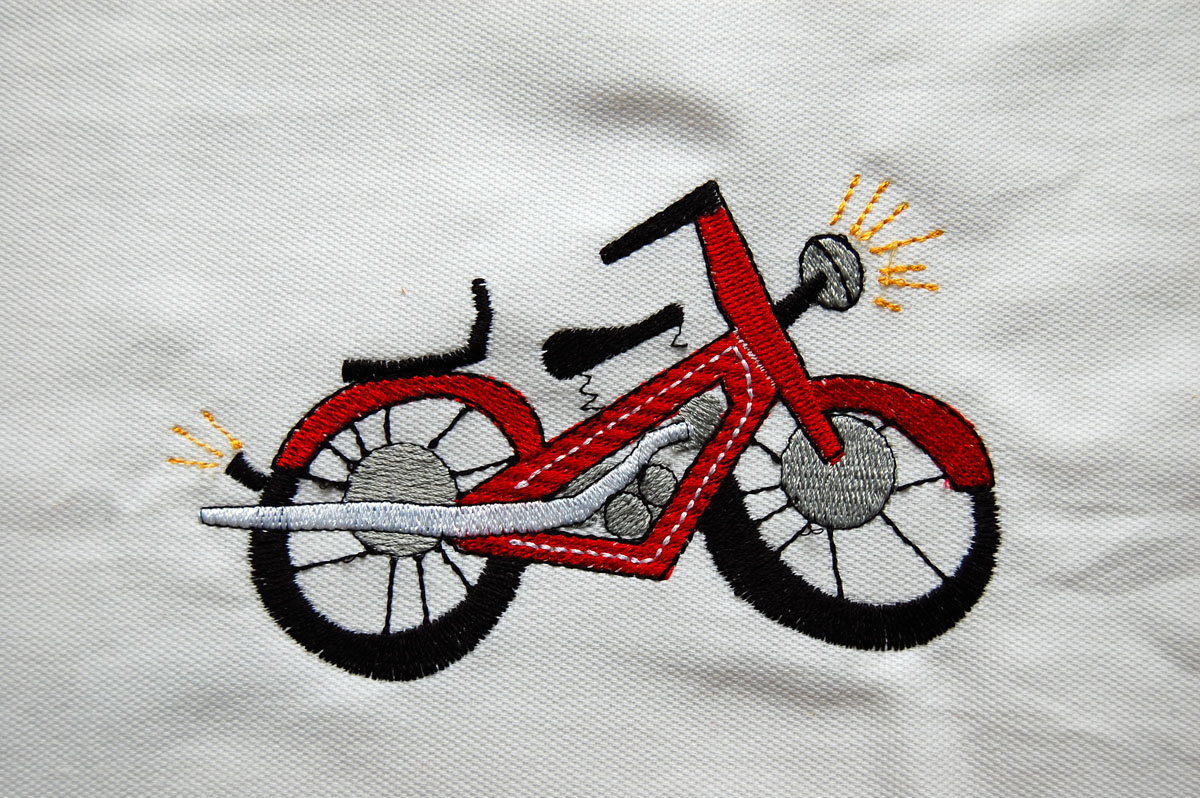
Fantastic! That’s the one. Now we’re ready to move on and make this into a Father’s Day tee for Daddy. Oh yeah, and a pink one for Fidget, too!
Used Products


What you might also like


4 comments on “From Kid’s Drawing to Embroidery Design”
-
-
Thanks Lisa! So fun to do, my little girl loves to watch the whole process. 🙂
-
-
I find this concept really interesting and fun. Wish I can do the same. Unfortunately, I not an embroidery digitizer. Need to look for embroidery digitizing services in USA.
-
I have a 630 plus embroidery unit, just got back into sewing after twice diagnosed with breast cancer, forgotten so much, would love to start all over again and lean to embroider again. Love the fact that you can do this with children’s drawings plus more
Leave a Reply
You must be logged in to post a comment.
LOVE this, Erika! So sweet!