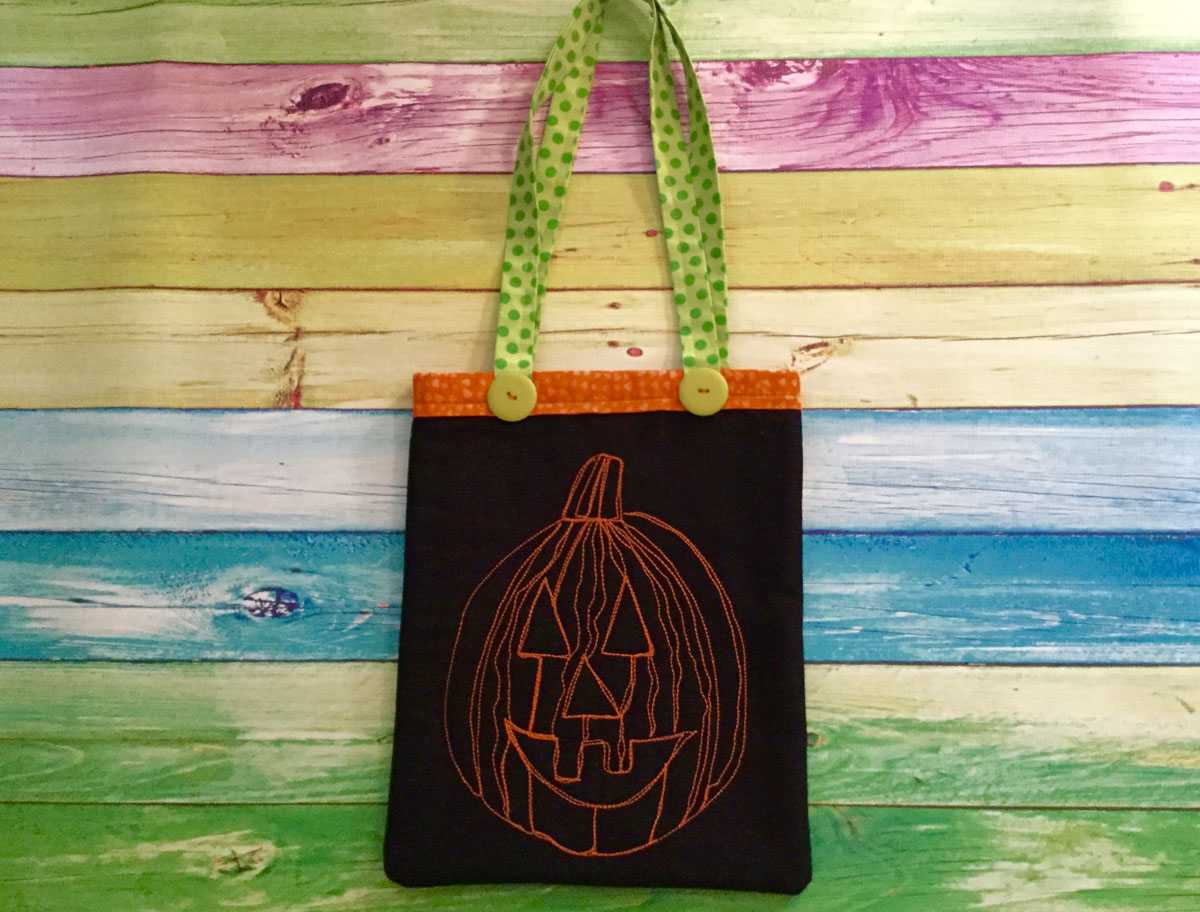
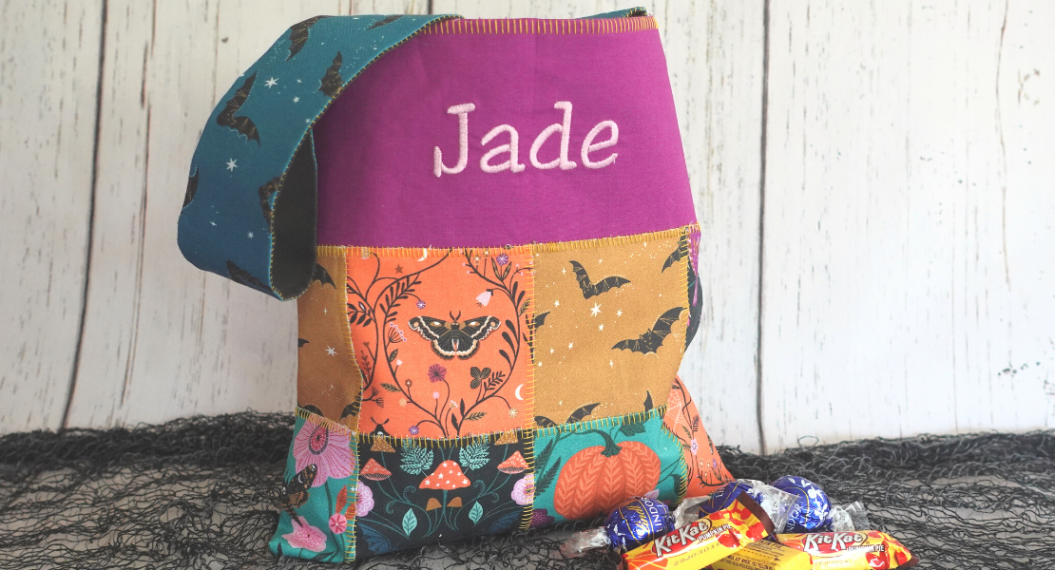
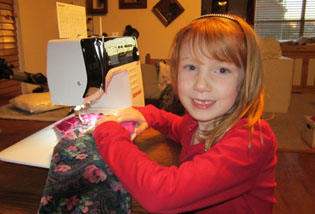
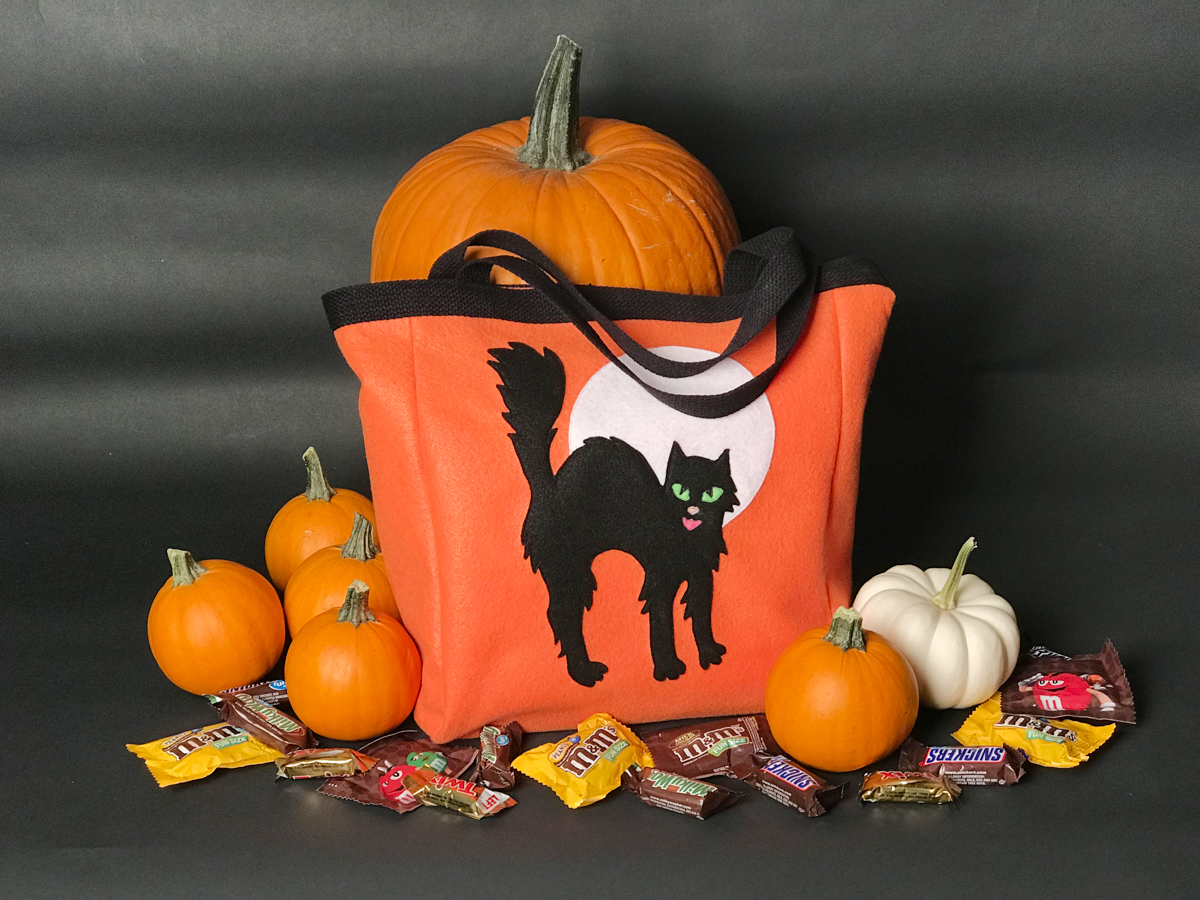
Halloween Treat Bag
Materials to Create a Halloween Treat Bag
- 1/2 yards Orange Felt
- 1 each 9×12-inch Felt Squares: Black, White, Green, Pink, Light Pink
- 2 yards 1-inch woven black cotton belting
- Glue stick or other fabric glue
- Sharpie Ultra-fine tip marker, or black textile marker
- BERNINA sewing computer (I use a B 770 QE)
- Patchwork foot #37/#37D
- Open embroidery foot #20/#20C/#20D
- Threads to match fabric and basic sewing supplies
- Download the Black Cat and Moon Template
Overview
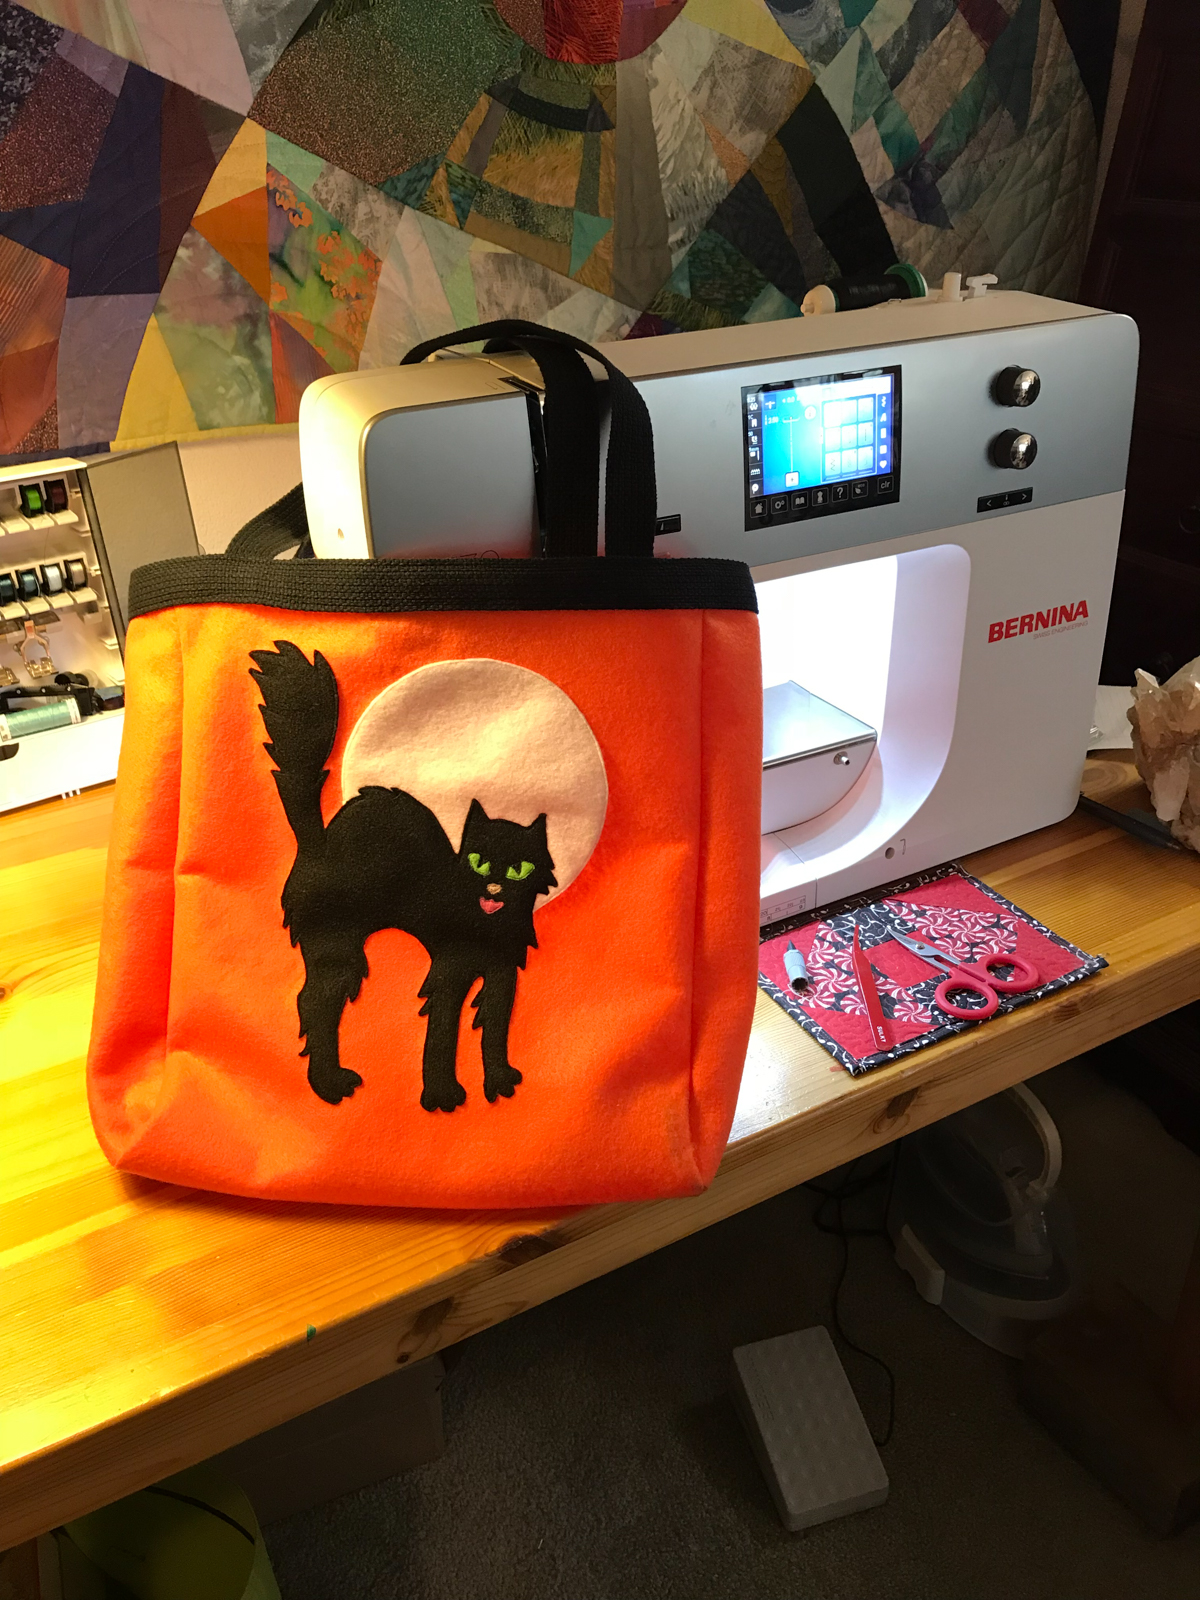
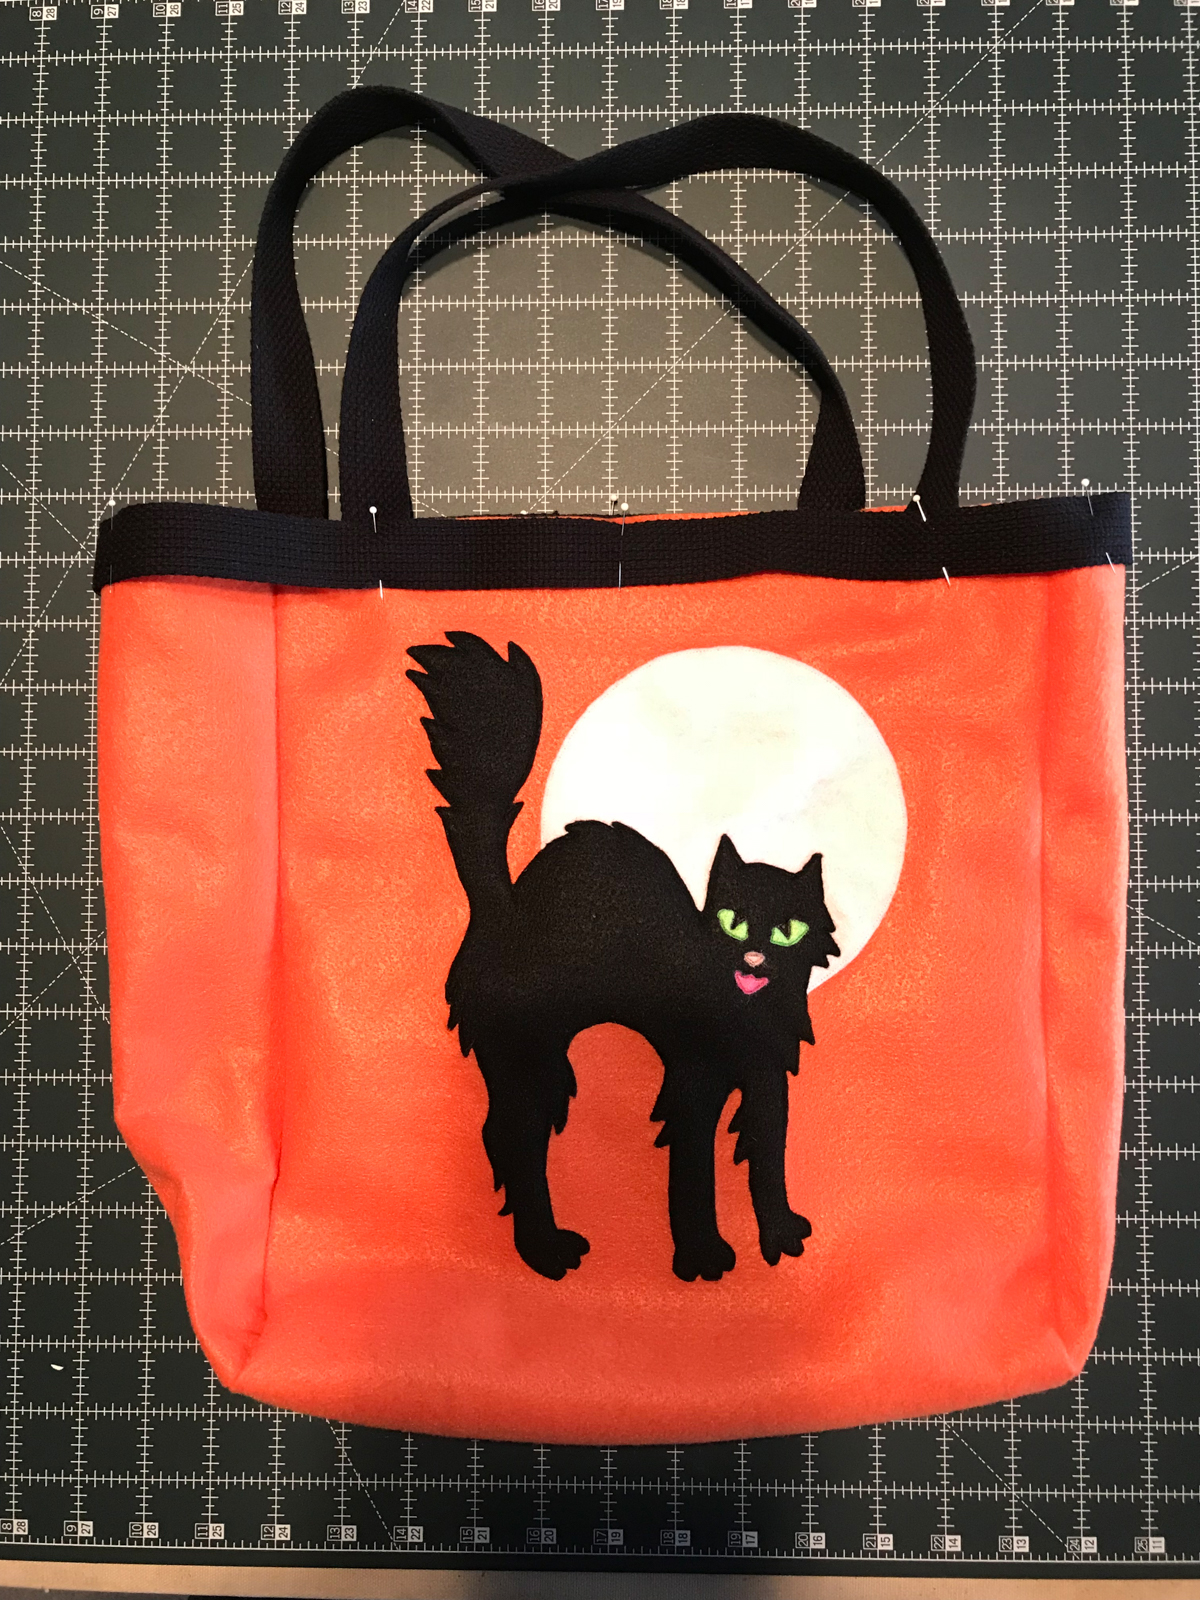
Halloween is a great excuse to dress up and fulfill your fantasy as a character from literature or the movies. You can wear pointed ears and be an elf or a Vulcan. Our children loved being knights in shining armor and fairy princesses when they were small. Halloween is one of my wife’s favorite holidays and she drew the cat and moon pattern for this project.
Of course, if a child is going “trick or treating” they need a bag for all the treats they will gather. This is an easy project to make a child’s treat bag using colorful felt and cotton belting. The cotton belting is used for the handles and for the band that goes around the mouth of the bag.
If you want to make this as a shopping bag then I would recommend you use a heavier weight fabric and double the amount of belting. For a shopping bag, you want the handles to go all around the body of the bag to support the extra weight.
Directions to Create a Halloween Treat Bag
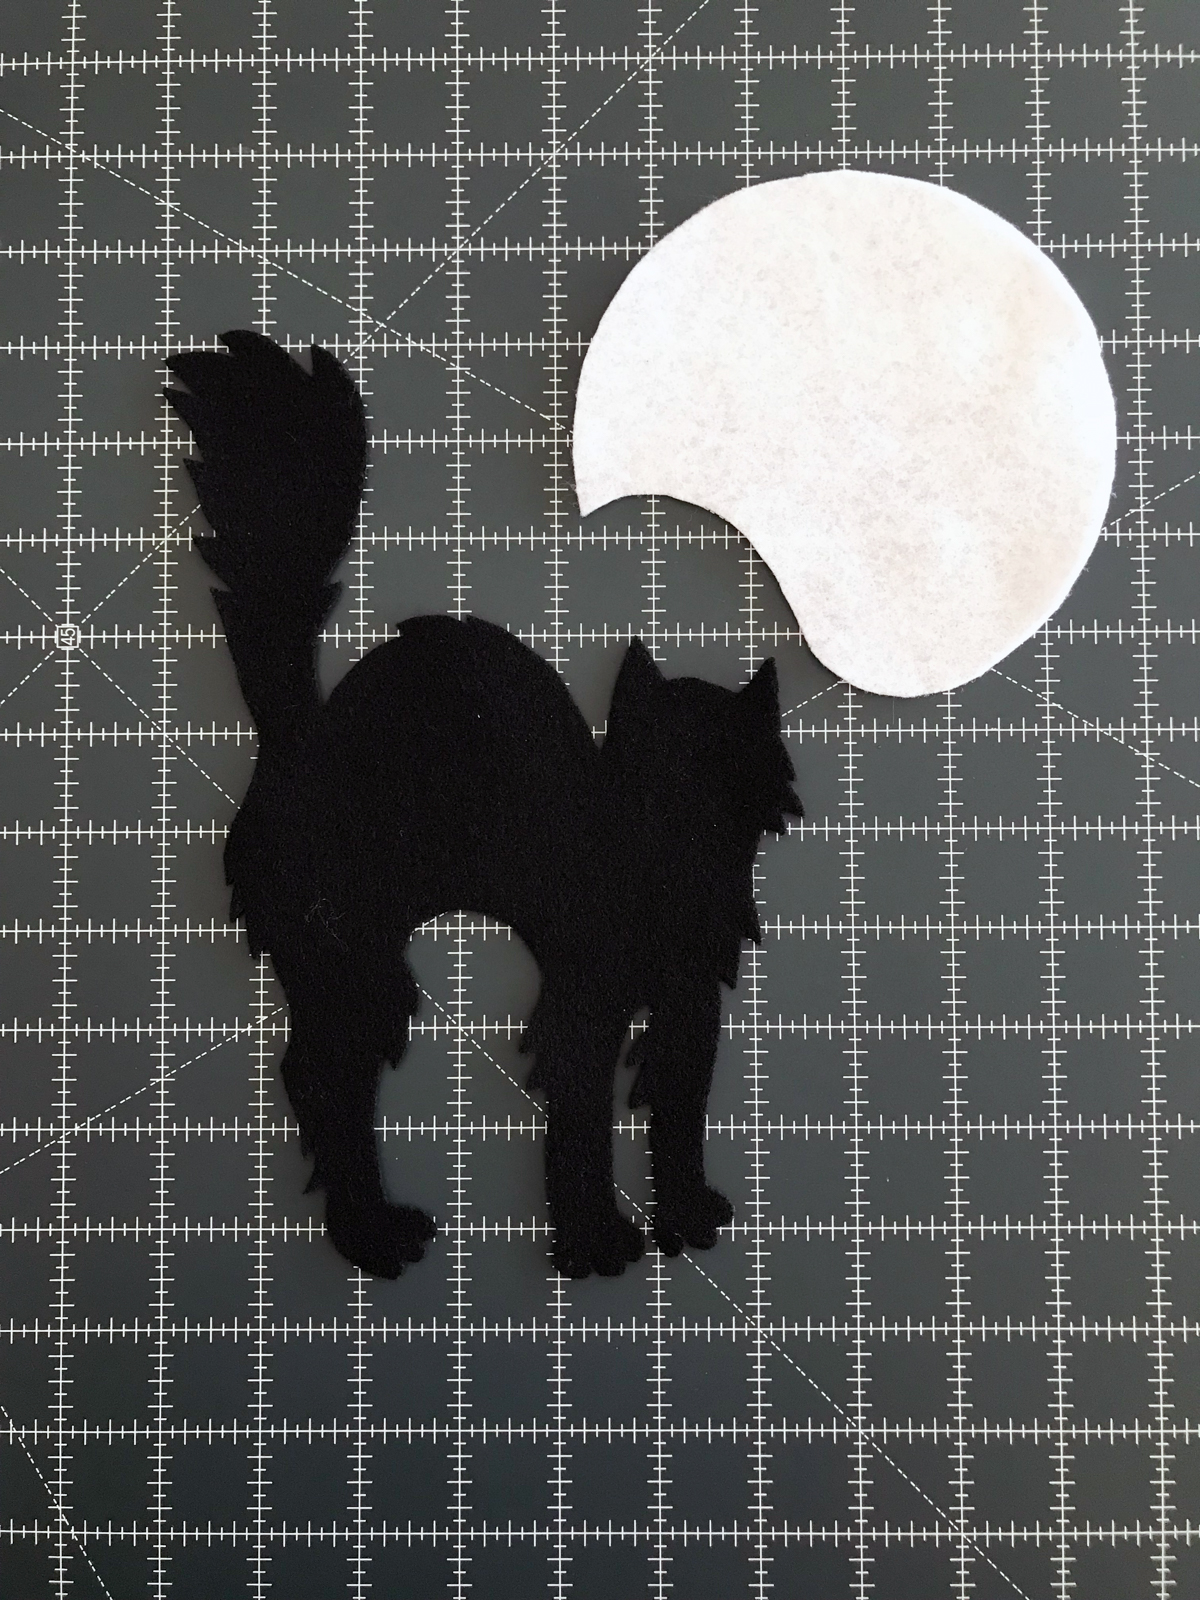
Print out the three pattern pages for the cat and moon. The pattern page of the cat and moon together will help you later when you want to place the pieces on the side of the bag.
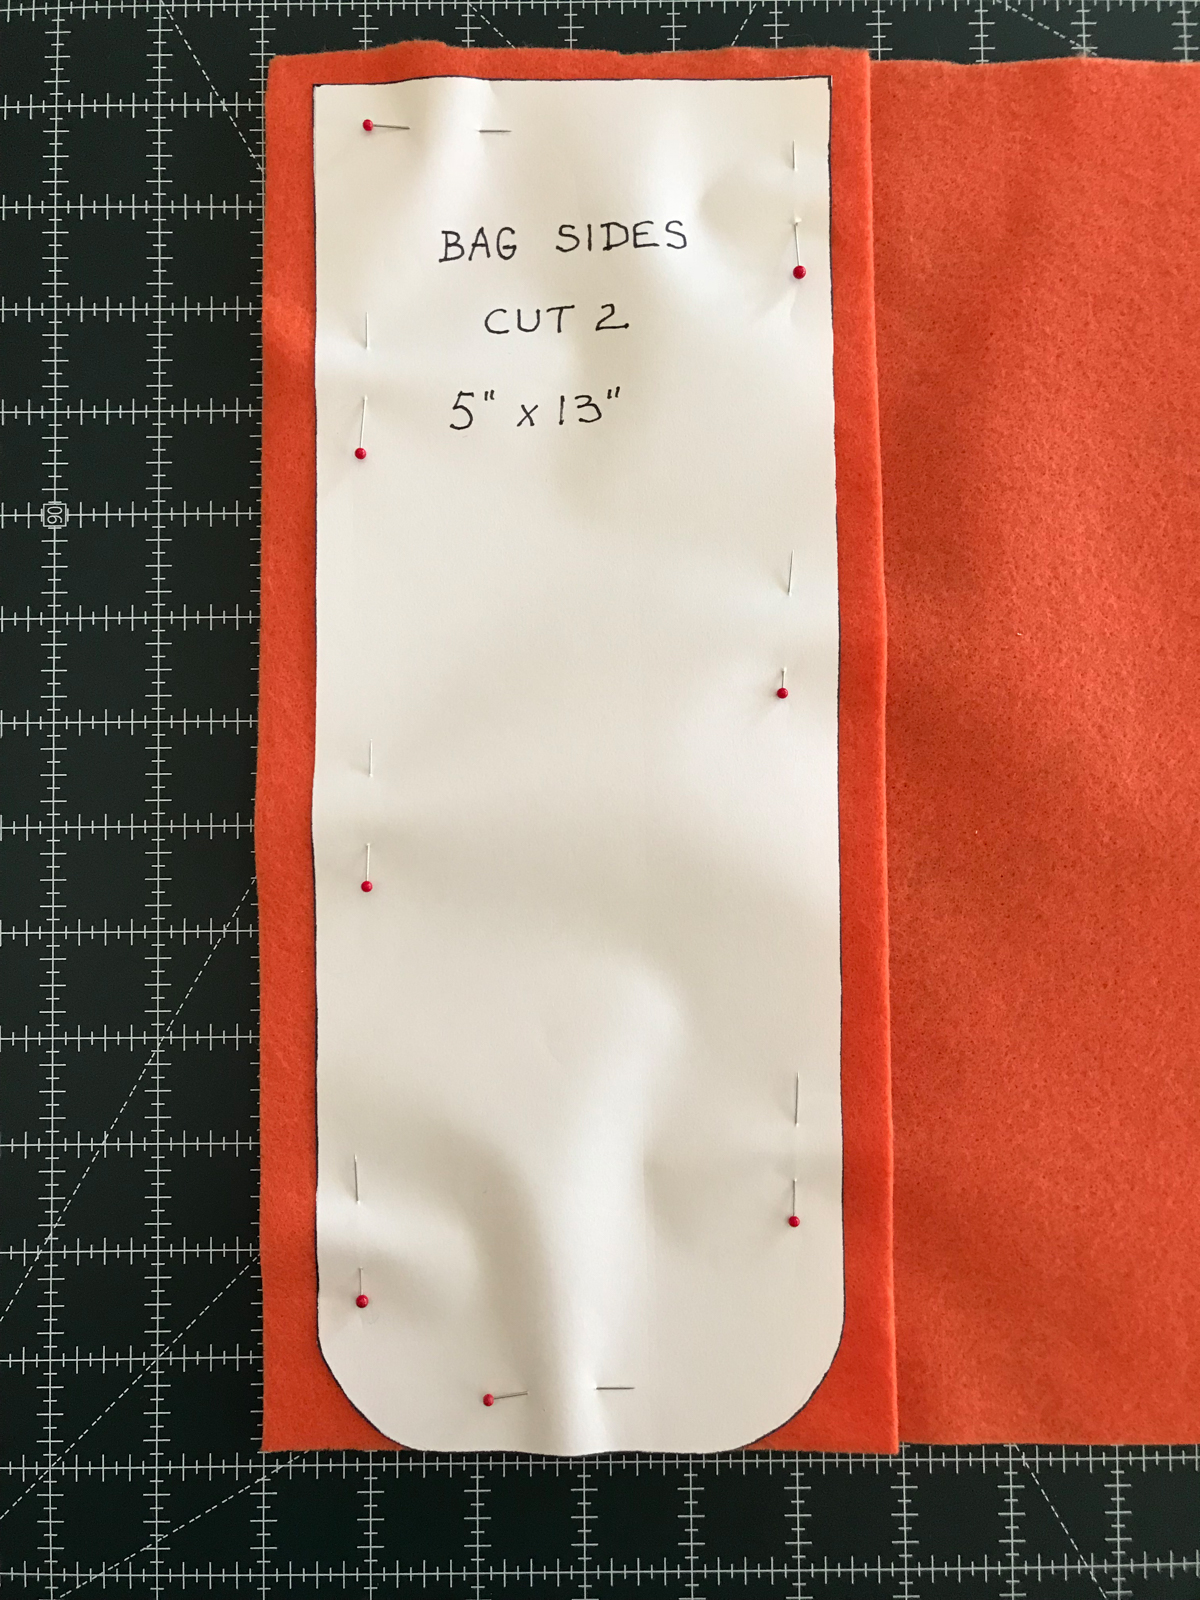
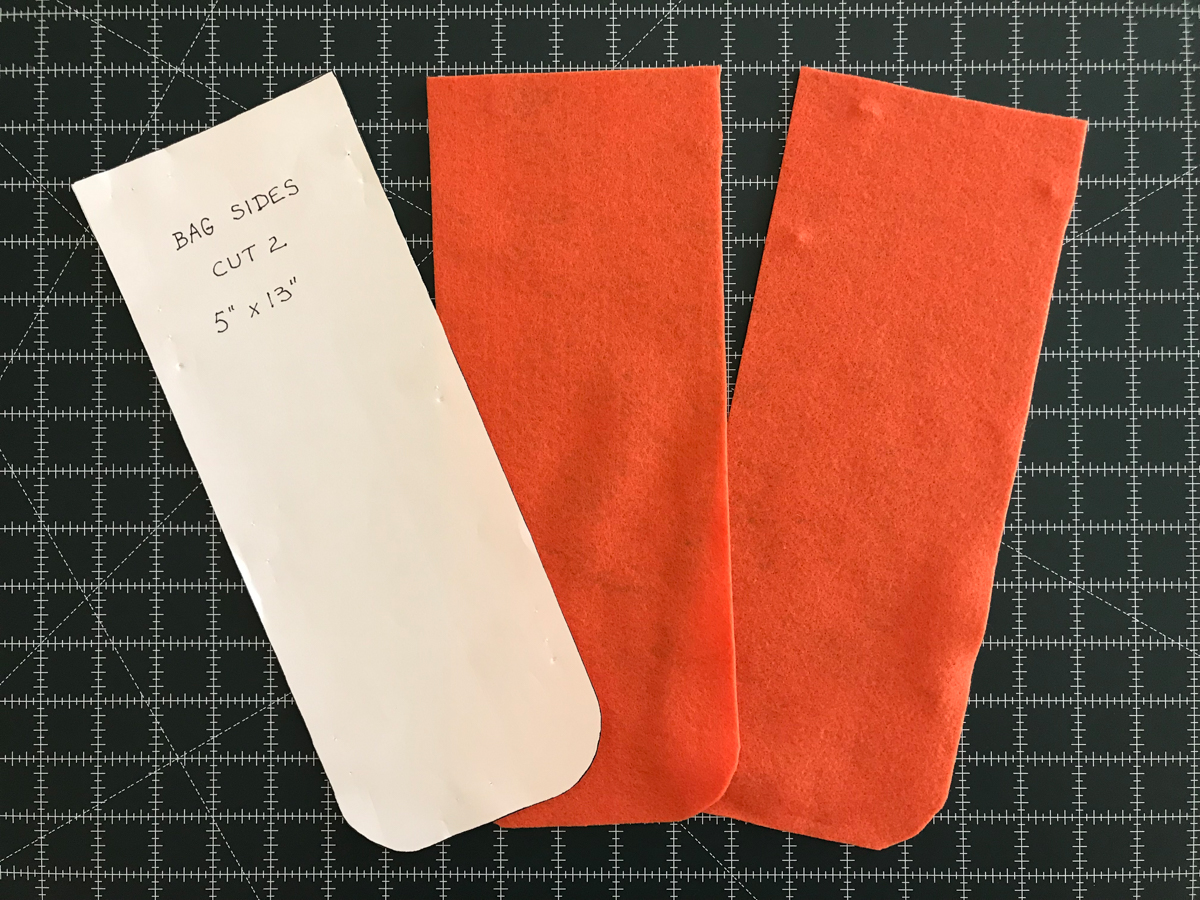
For the body of the bag cut a 12″ x 29″ strip of orange felt. For the sides draw a 5″ x 13″ rectangle with the bottom edges rounded. Use this as a pattern for cutting the sides.

From the black felt square cut out the cat, and from the white felt square cut out the moon using the patterns you printed.
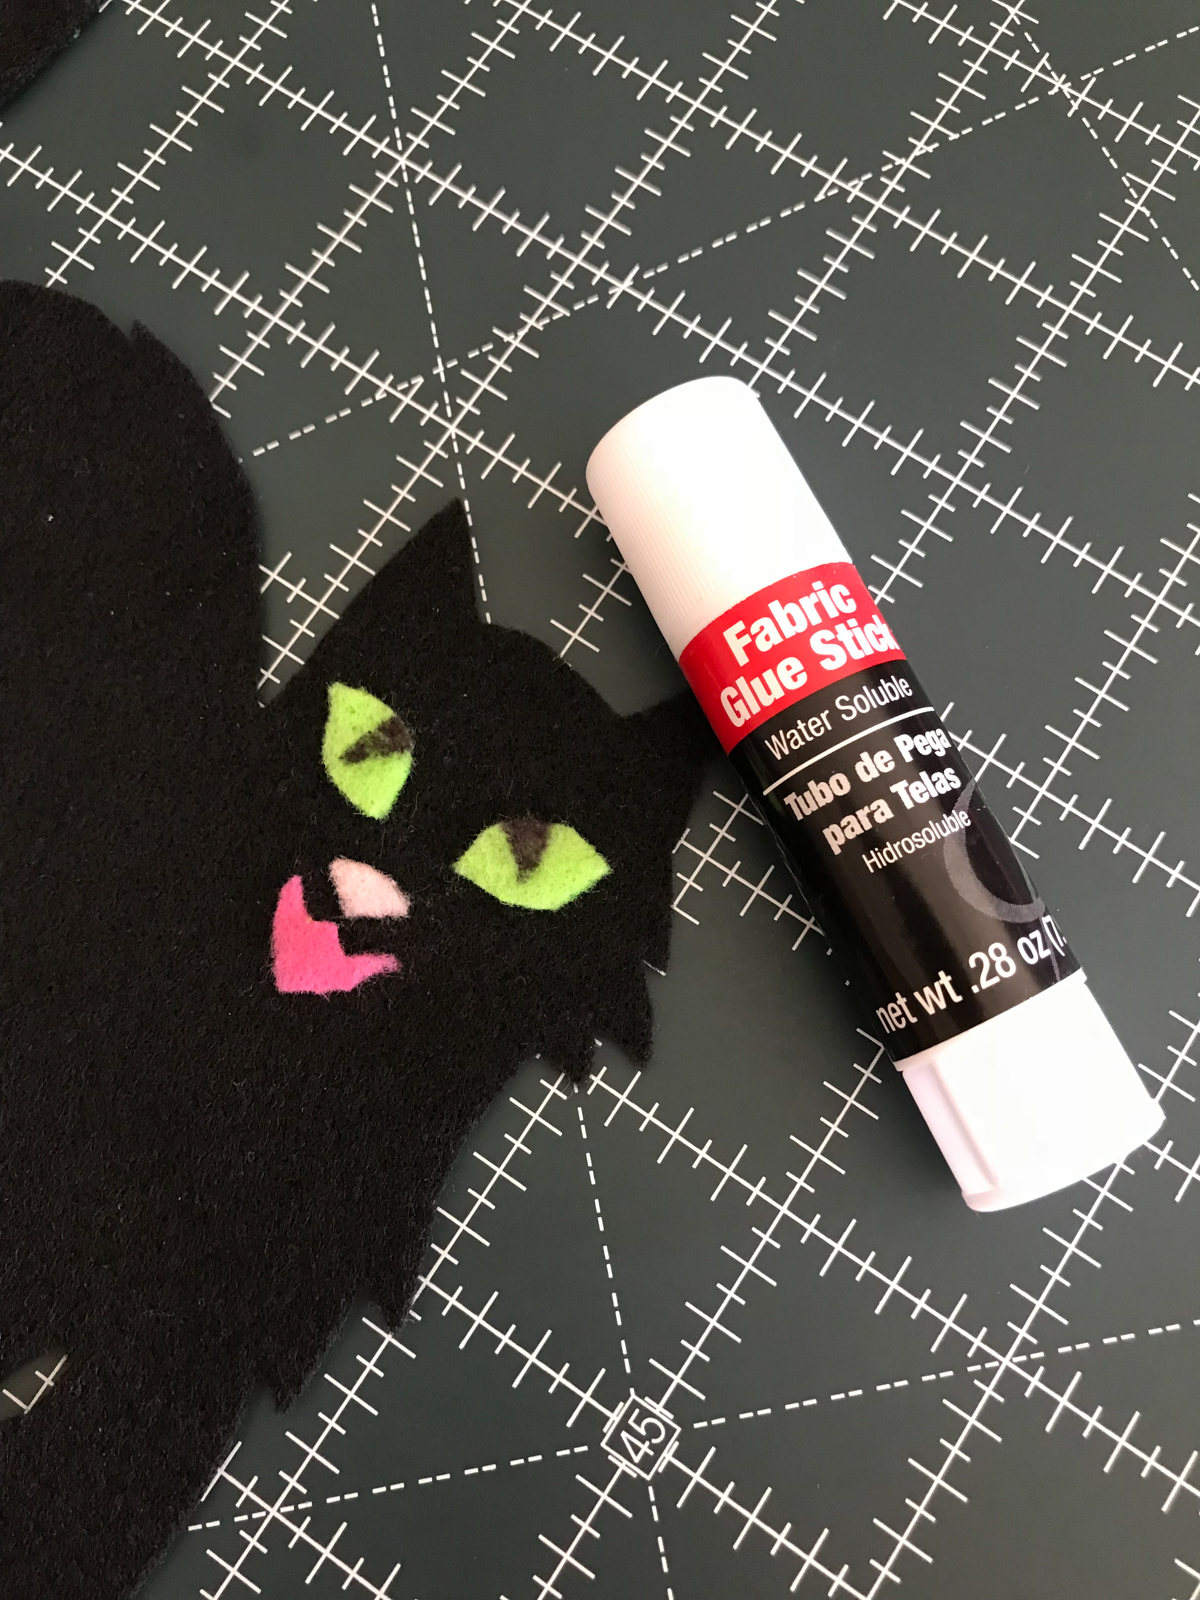
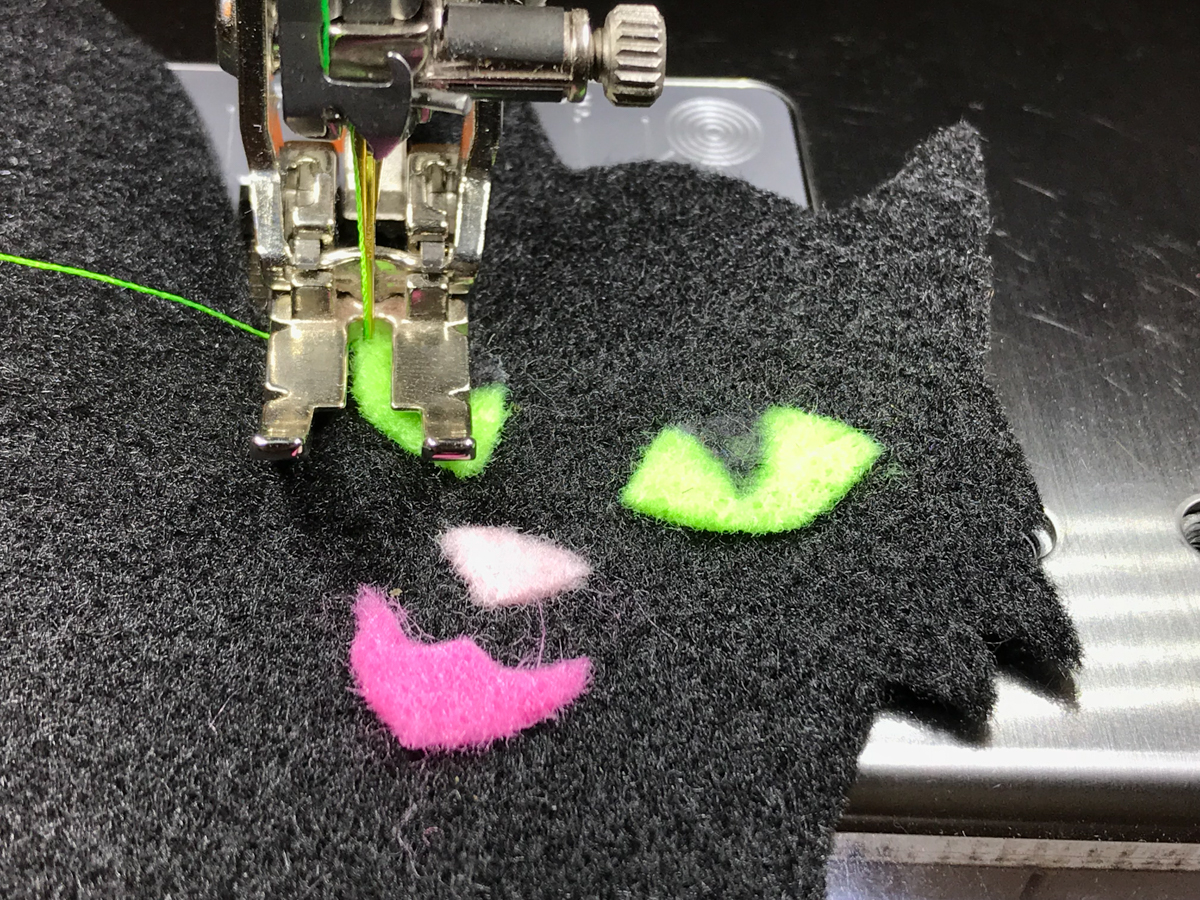
For the face of the cat use the eyes, nose and mouth from the cat pattern. Use green felt for the eyes, light pink for the nose and bright pink for the mouth.
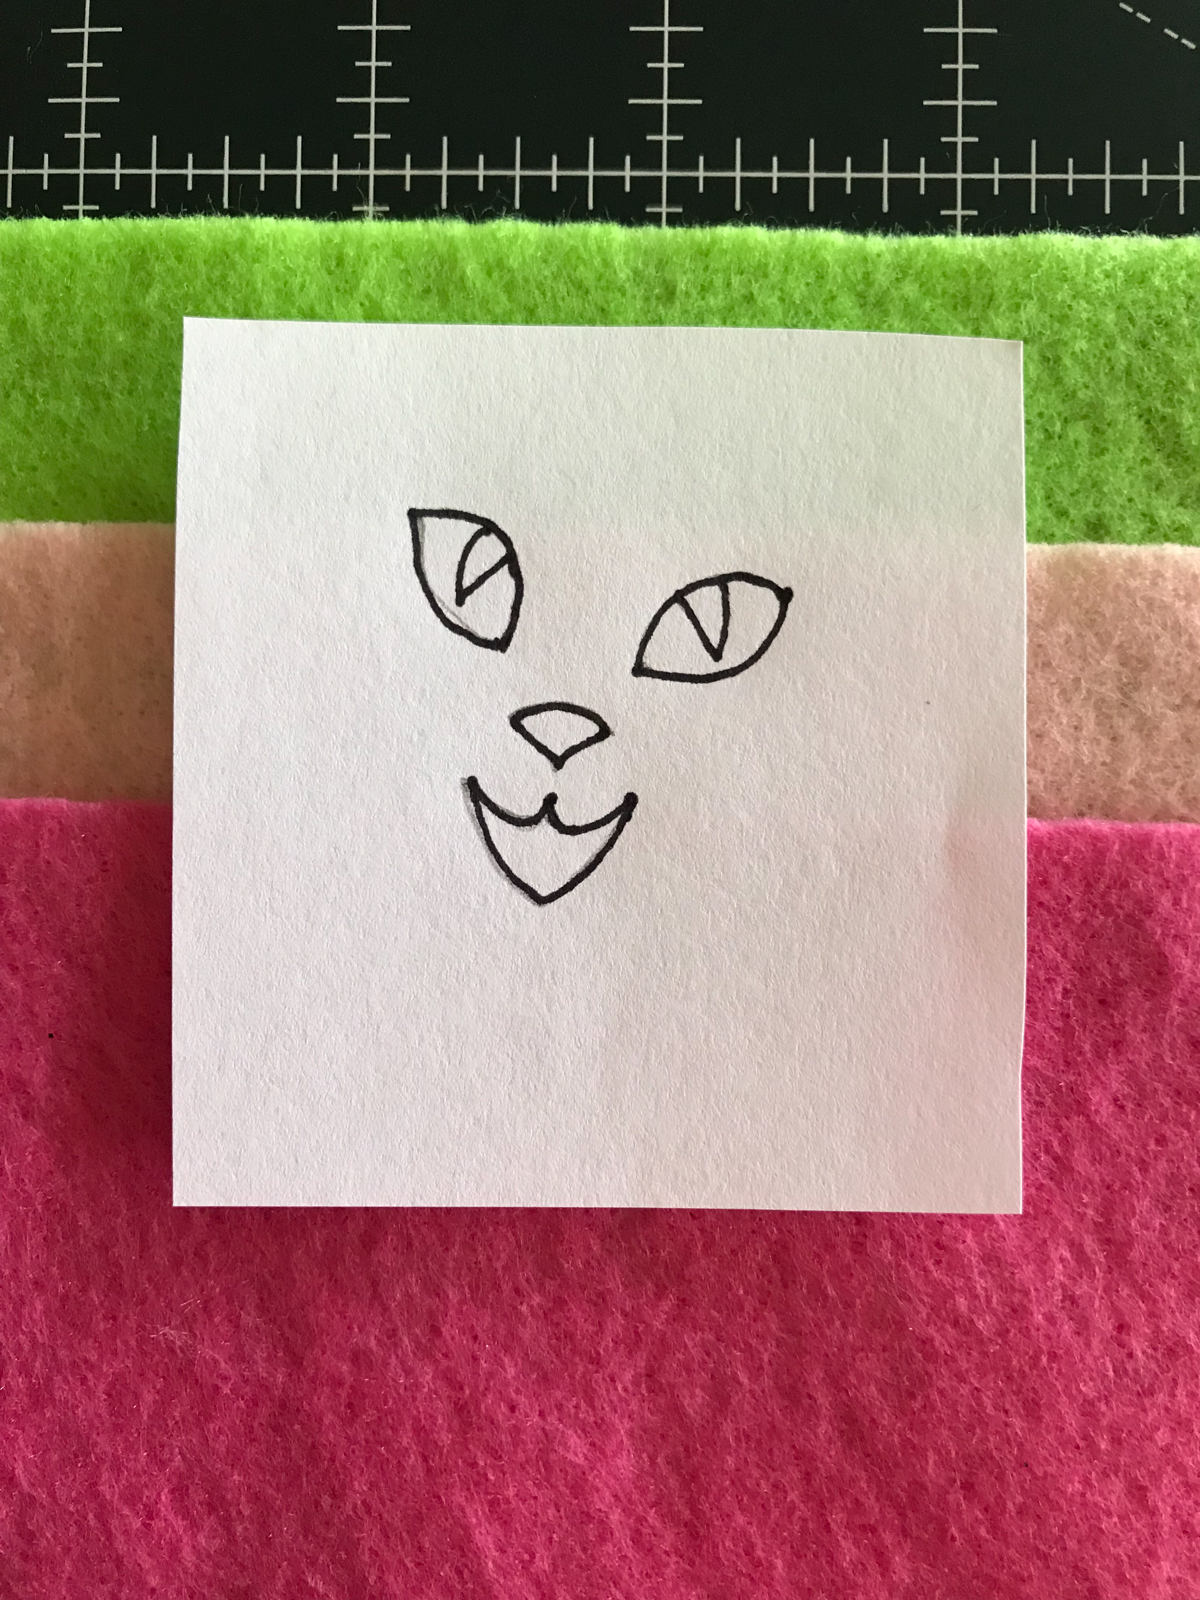

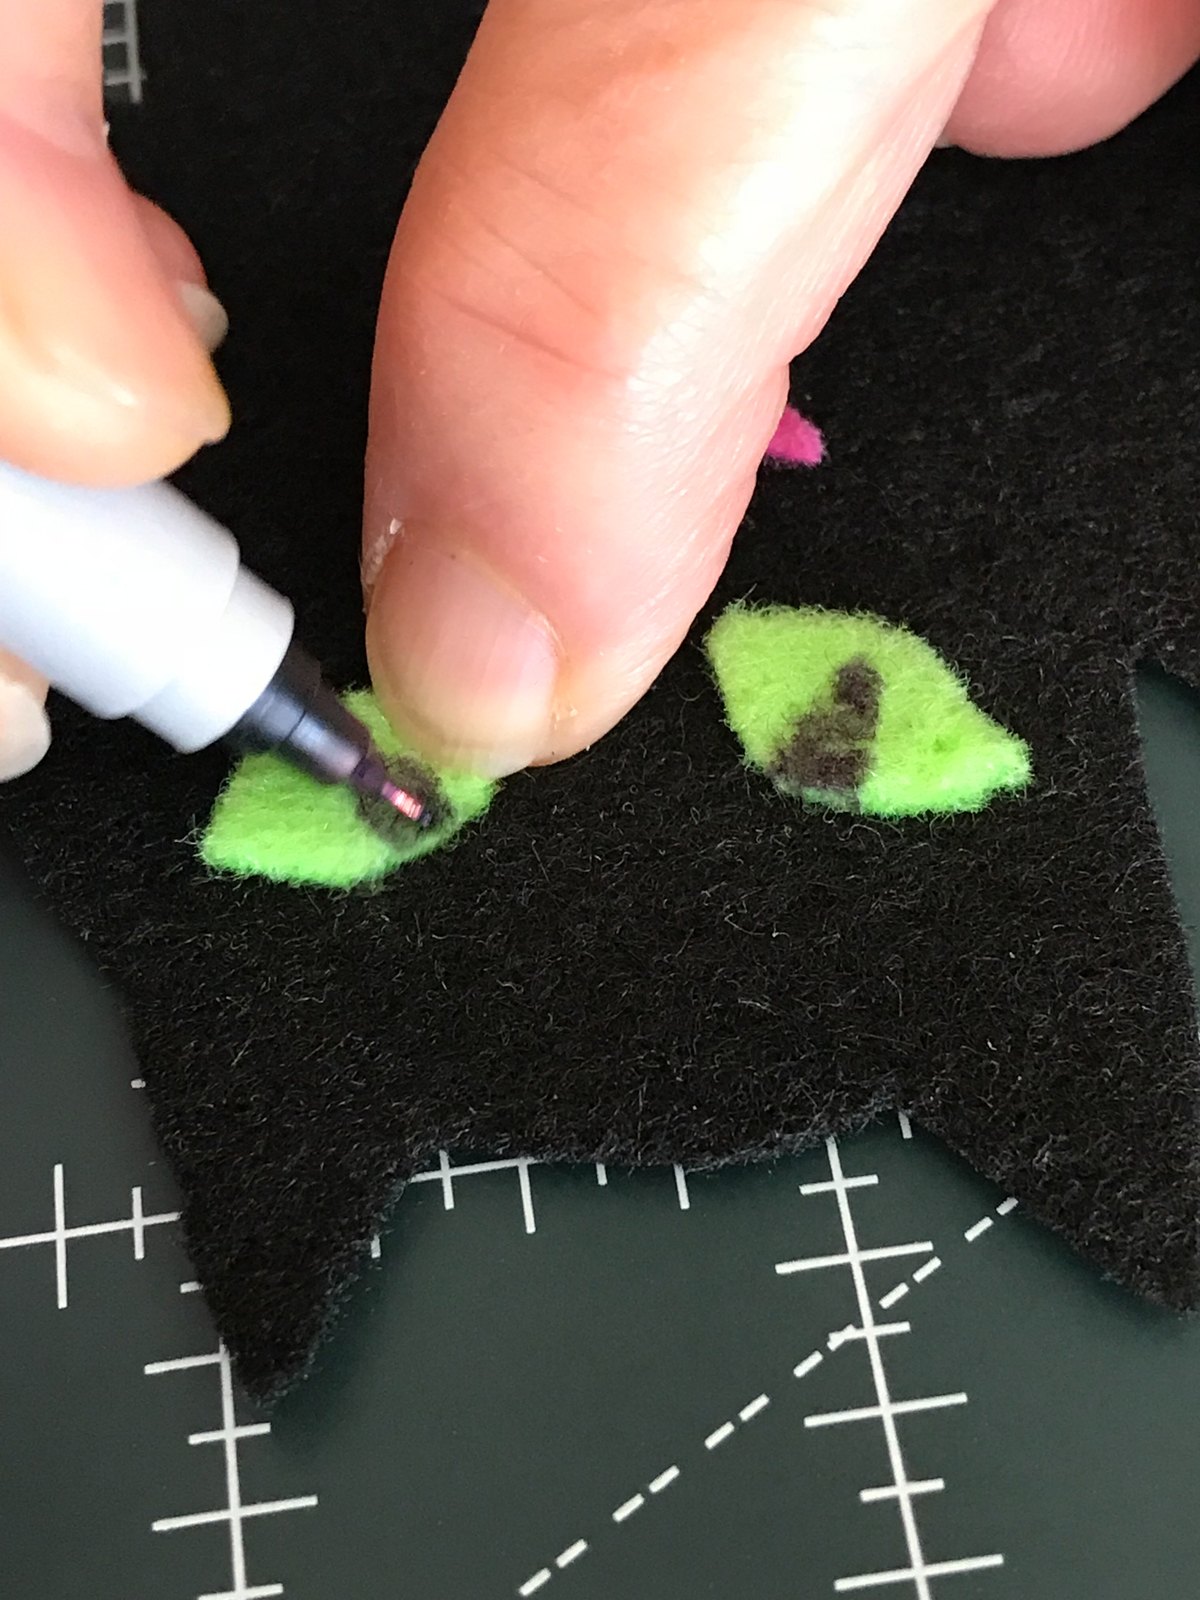
Using a permanent marker draw in the irises of the cat eyes.
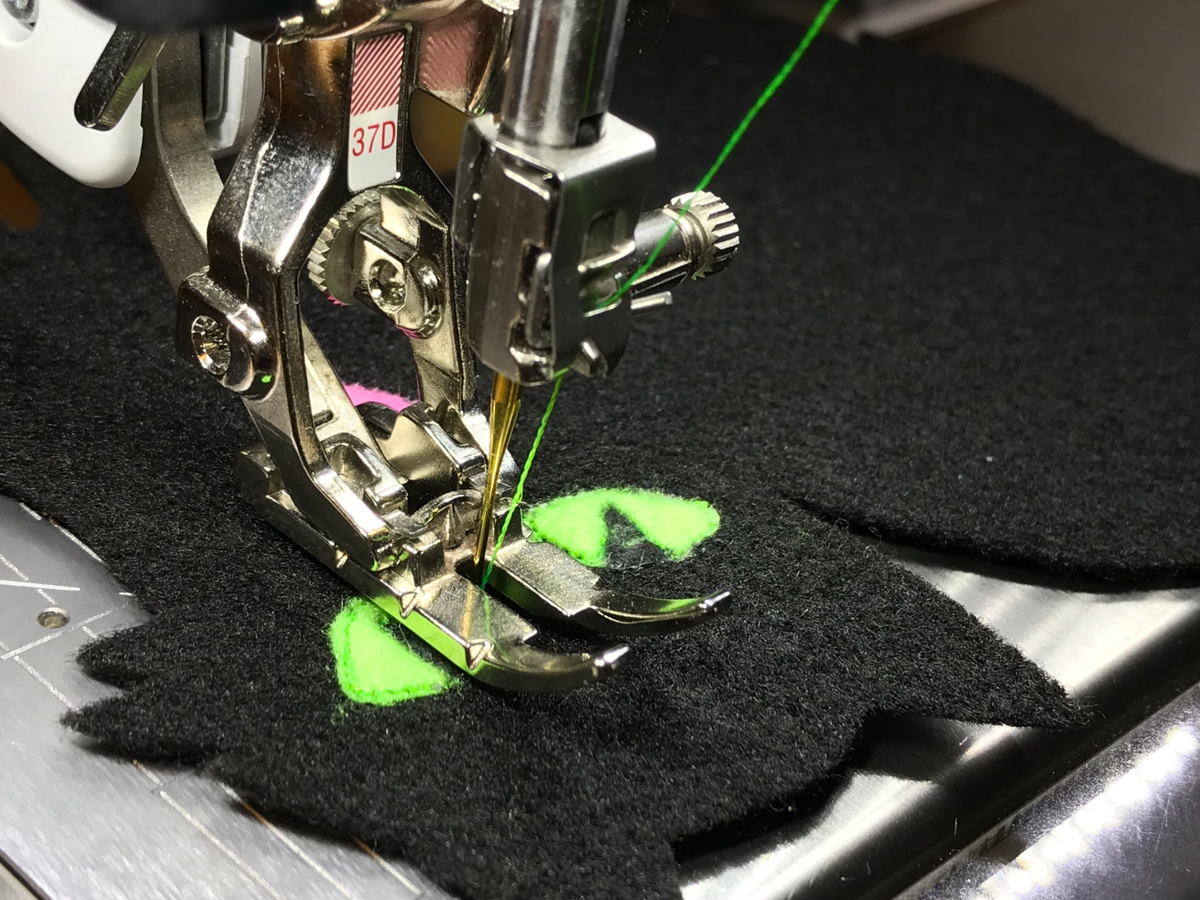
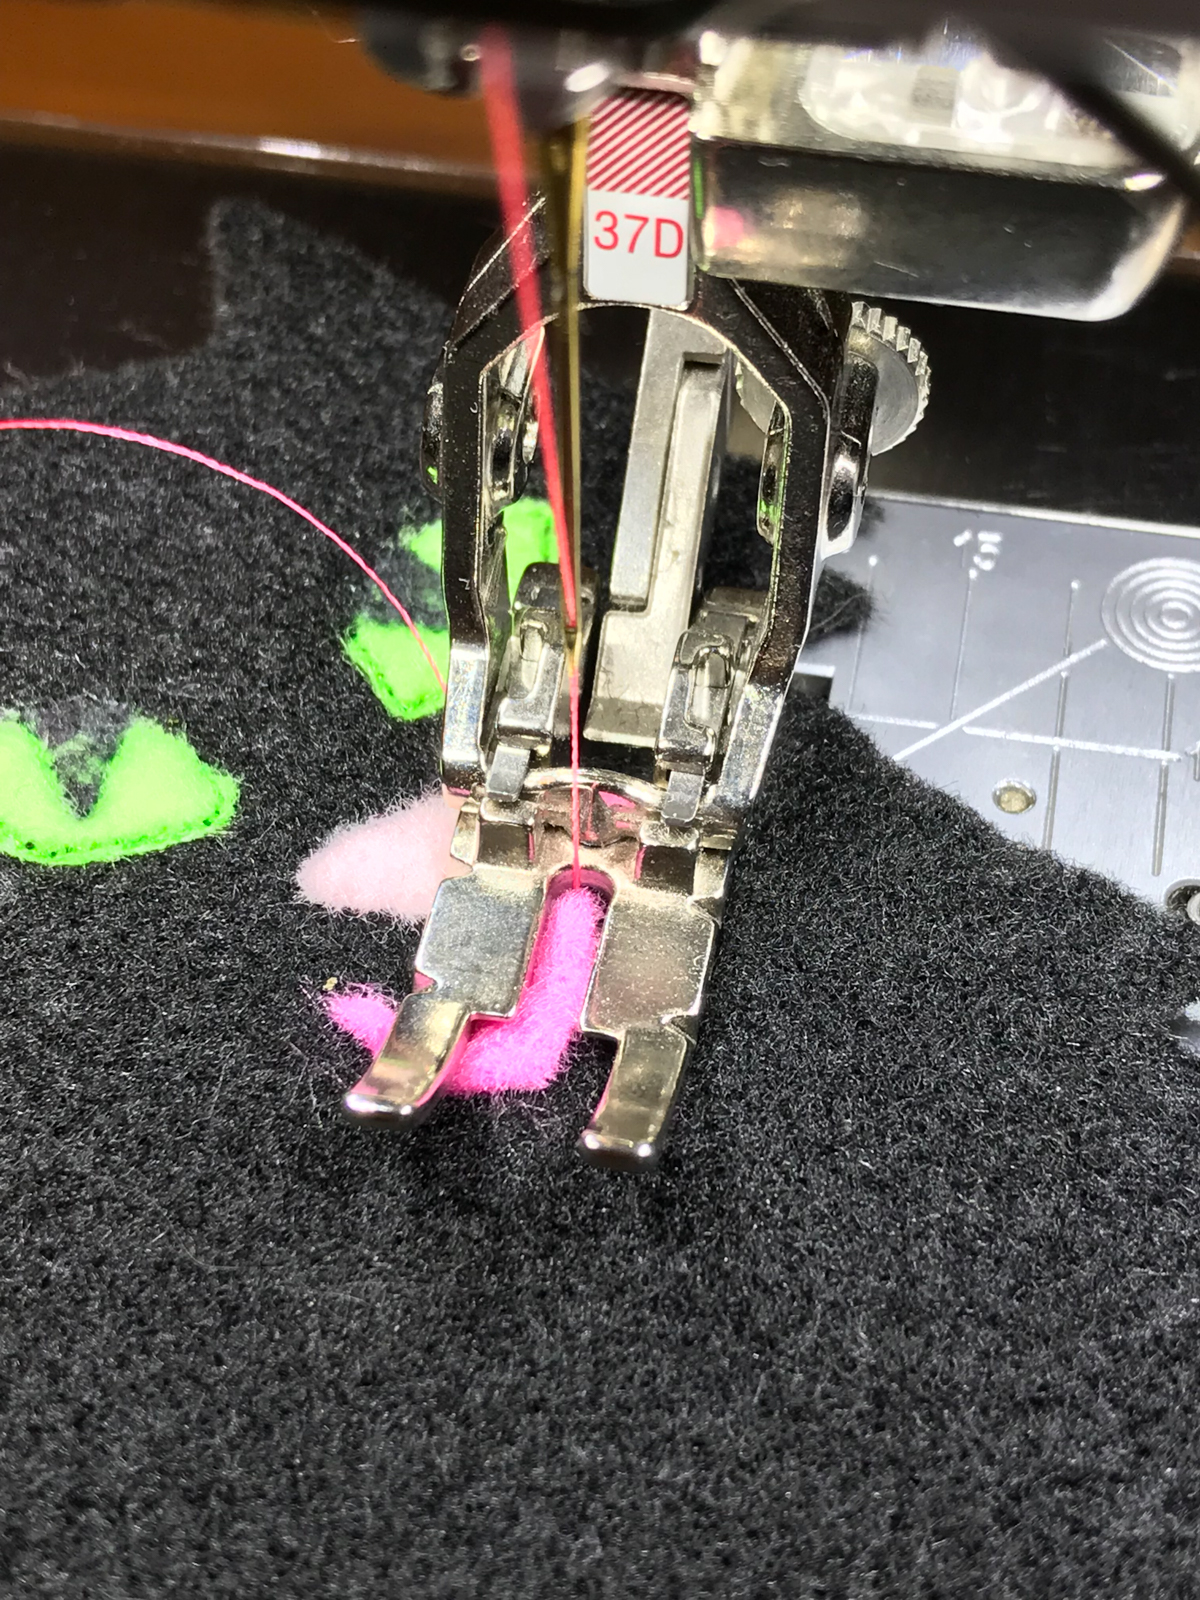
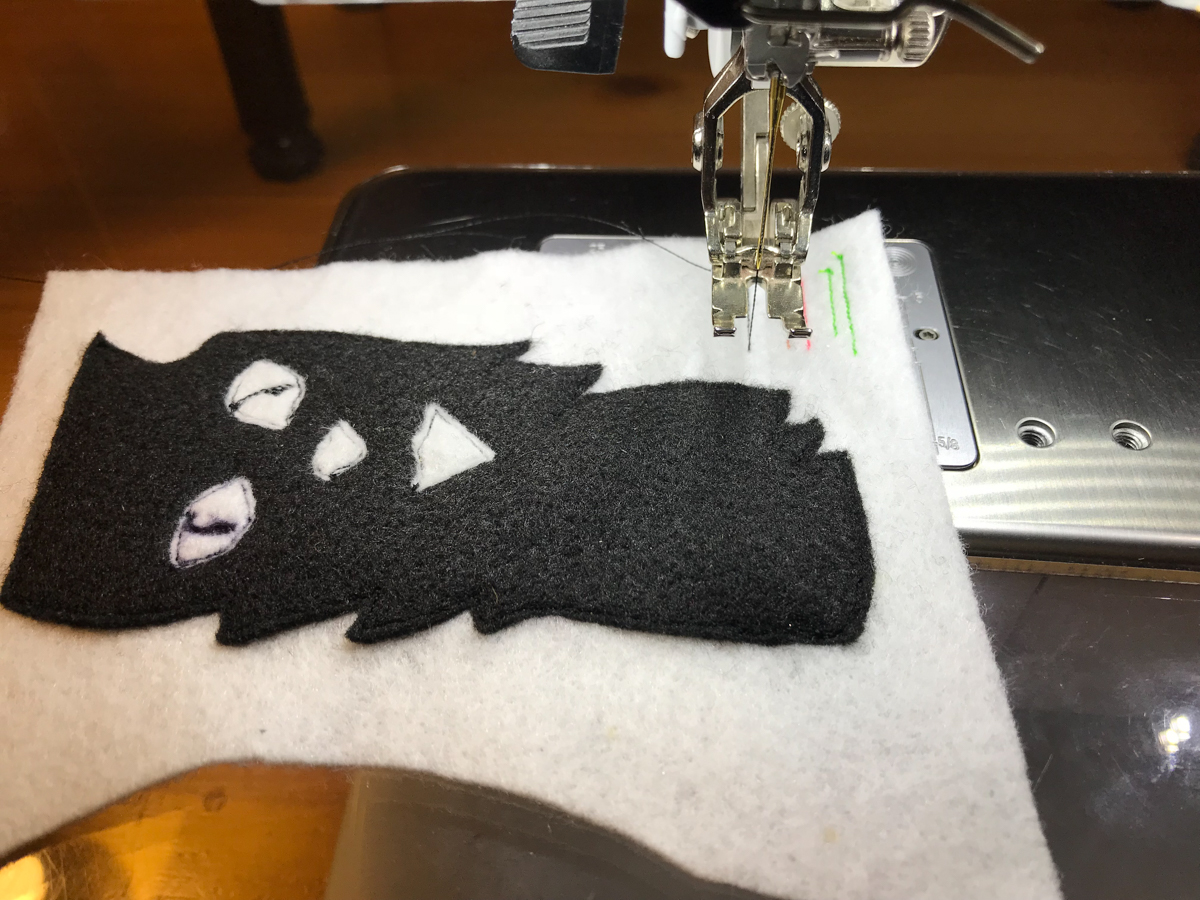
These are very small pieces and you will not be able to pin them to the body of the cat to stitch down. Use a fabric glue stick (even the regular glue stick will work) to place them on the face of the cat, using the pattern as a placement guide.
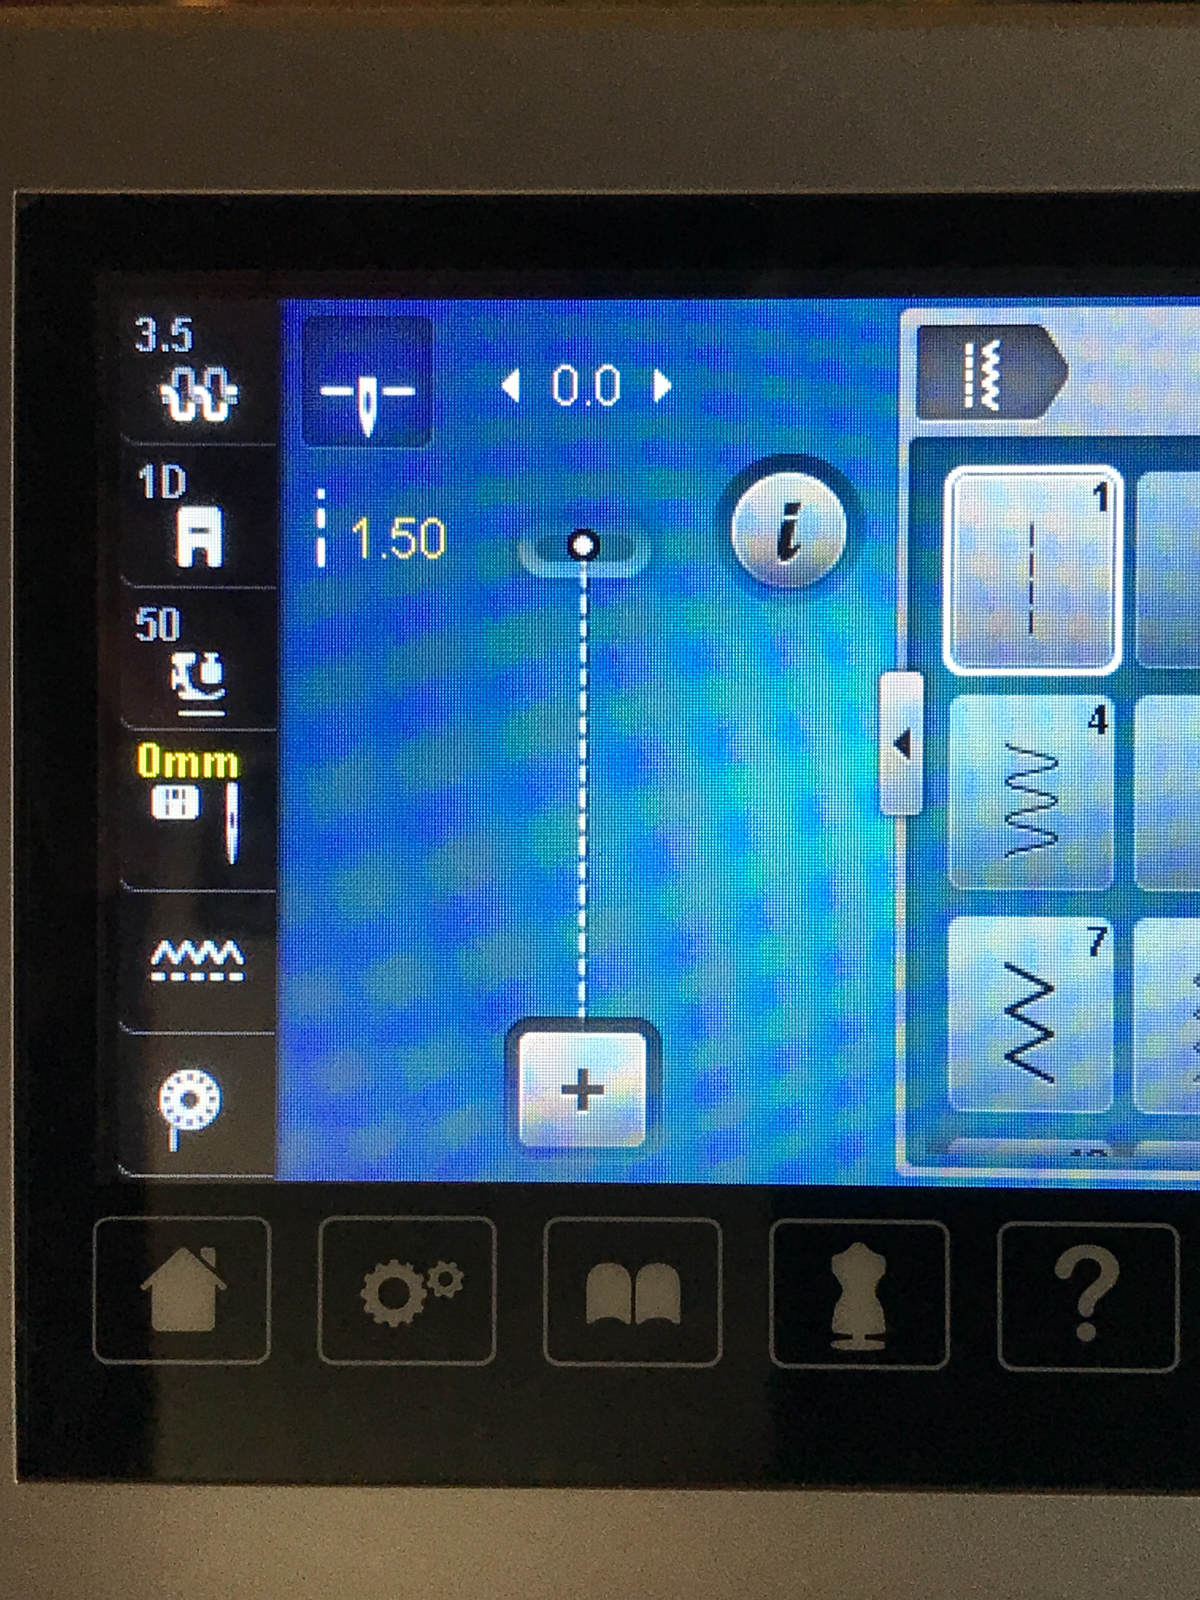
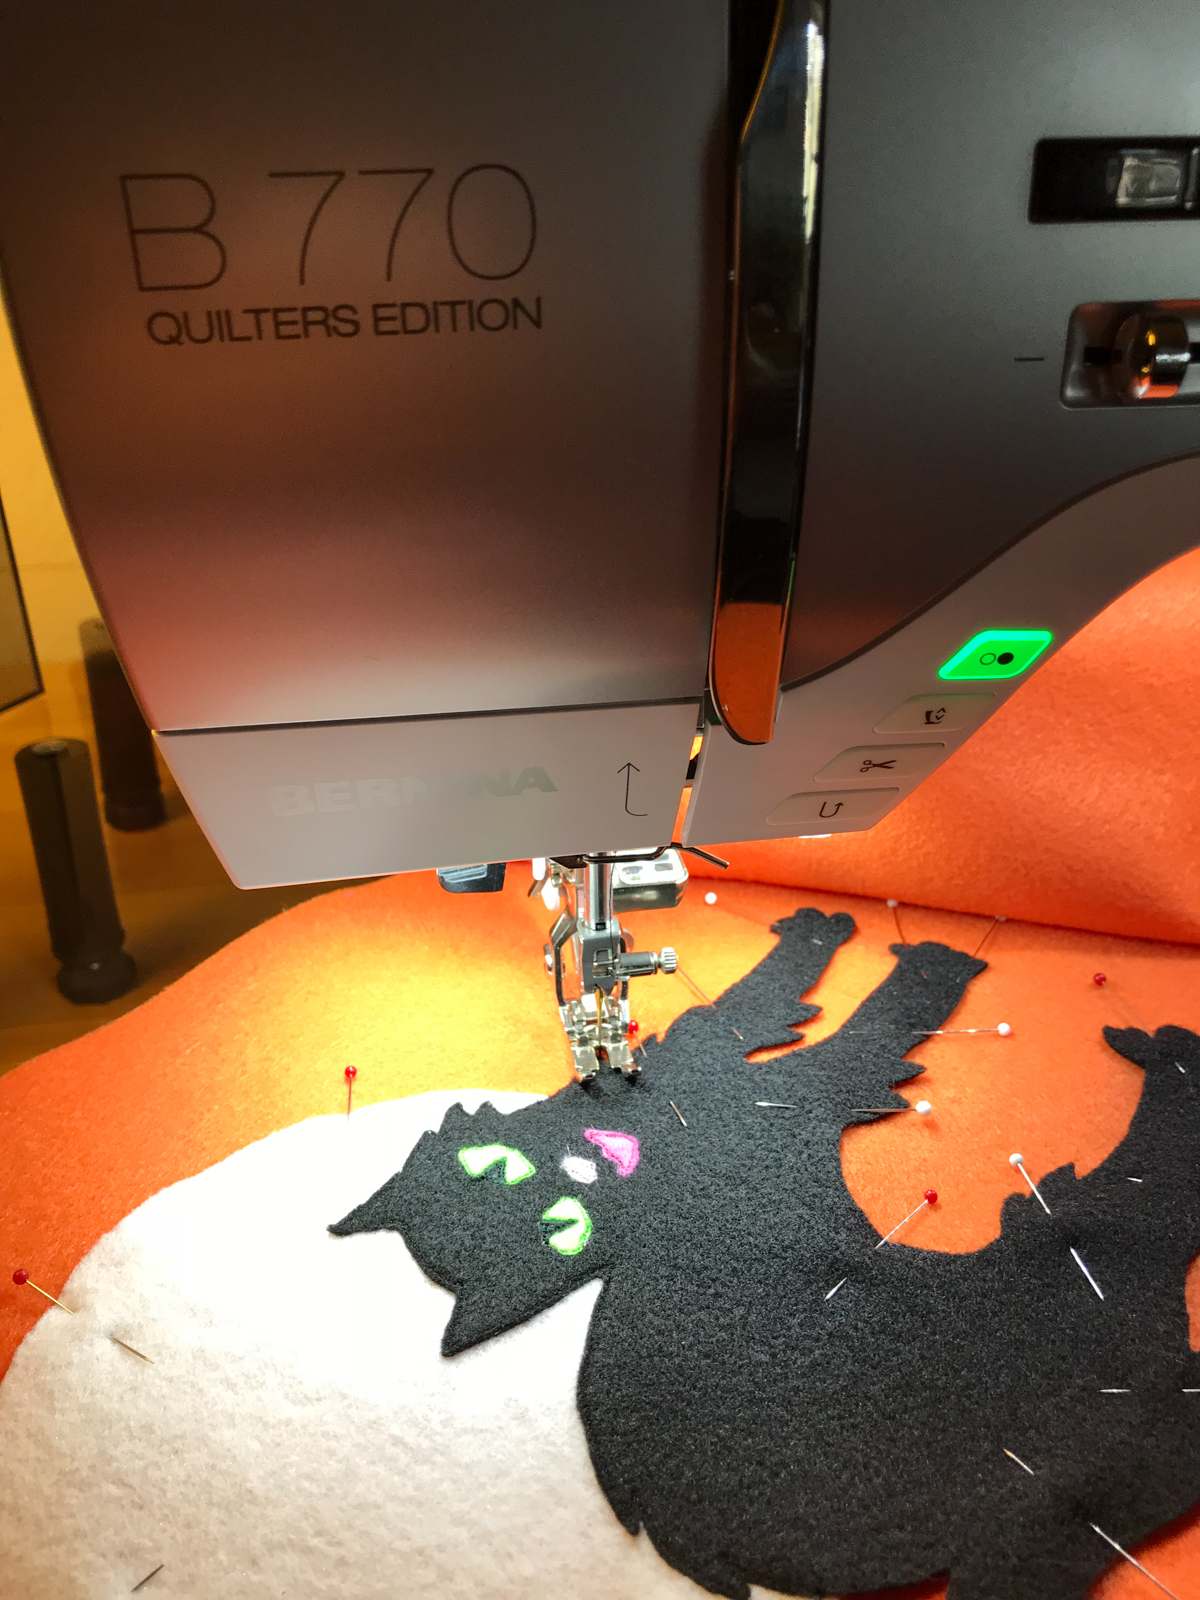
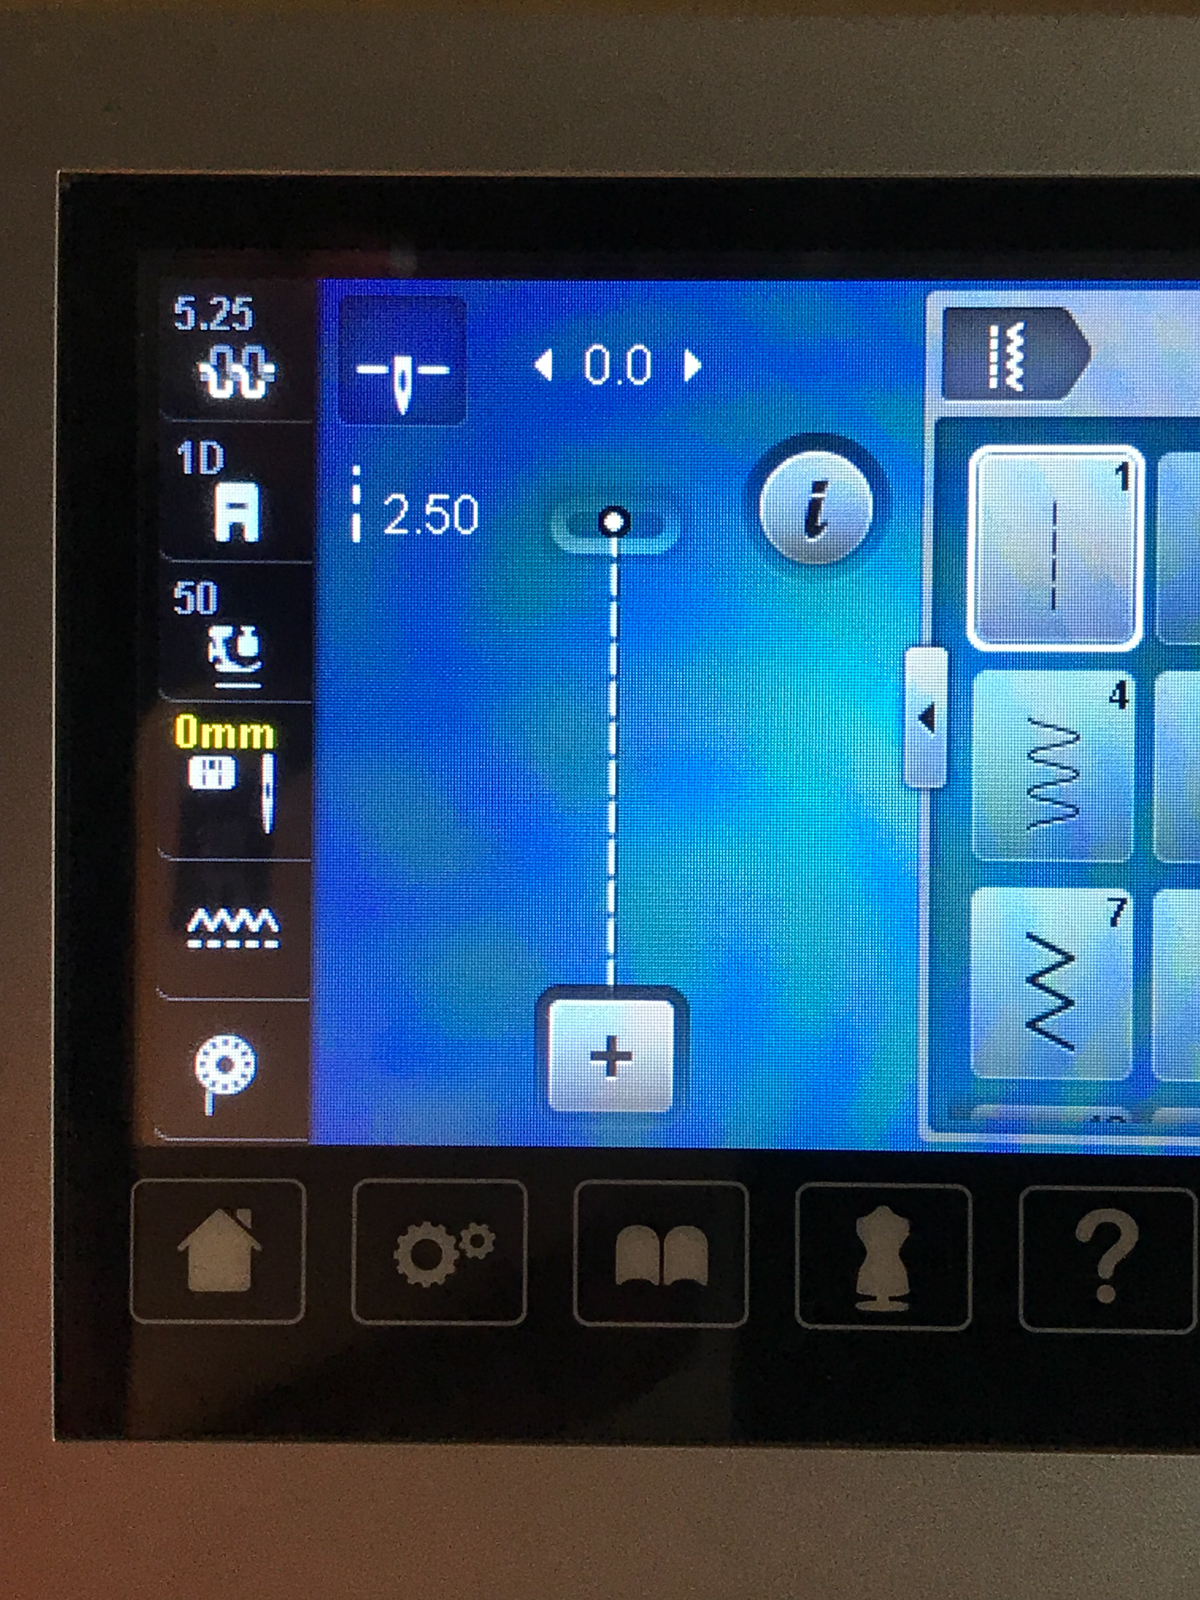
To stitch them down I used Patchwork foot #37D presser foot on my B 770 QE. I set the straight stitch length to 1.25. I used a color thread that was as close to the color of the felt that I was stitching.
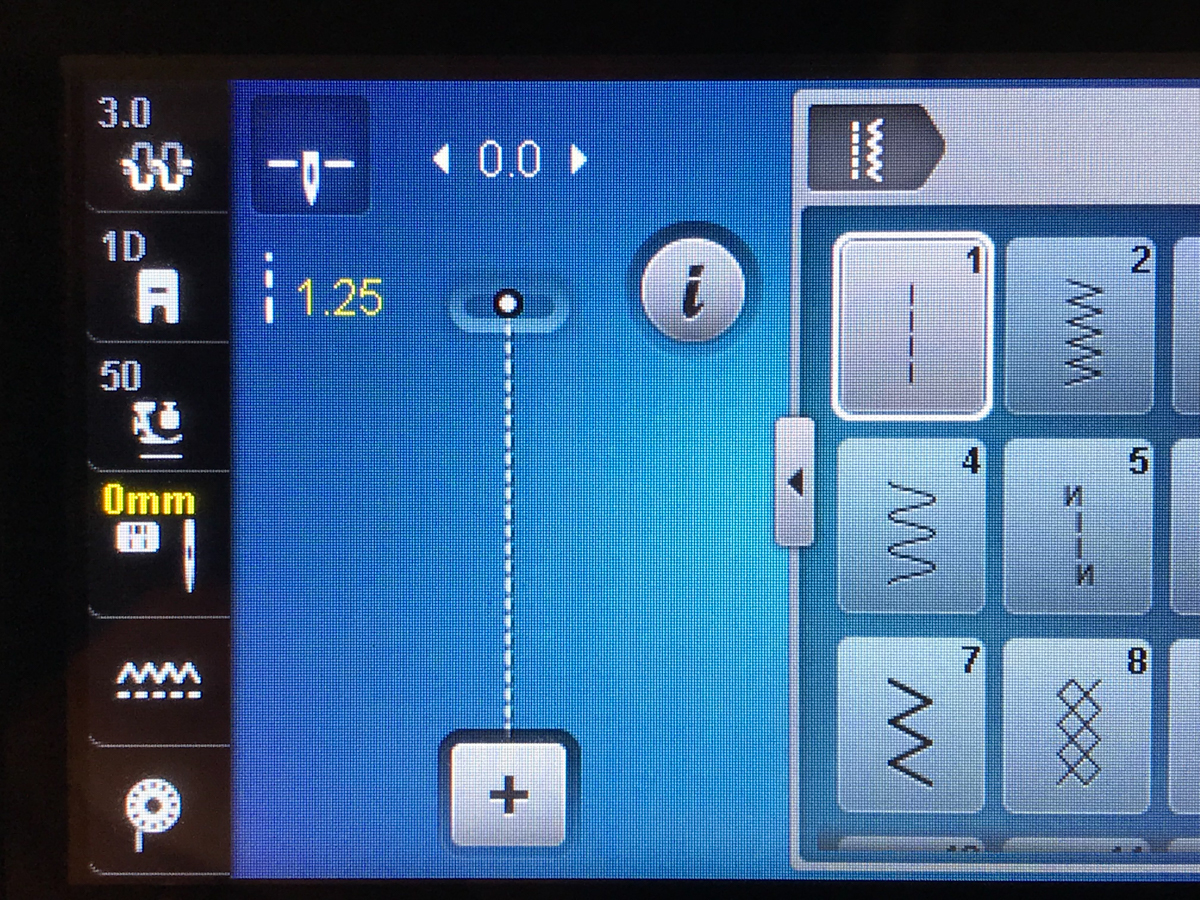

Because these are very small pieces I found it useful to turn on the automatic knot tied at the beginning of stitching for these pieces.

Every time I switch colors of thread I test my stitches on a scrap of fabric. My tester seen here includes testing sewing eyes and a mouth as well.
After stitching the cat’s face, next I stitched the top of the cat’s body to the white moon. If you use black thread and stitch about an 1/8-inch inside the cat’s body the thread will disappear. I increased my straight stitch length to 1.50.
With the cat attached to the moon, place it over the pattern sheet of the cat and moon. Then place them on the bag approximately two inches down from the top of the bag. The rectangular page helps you center the cat and moon applique on the side of the bag.
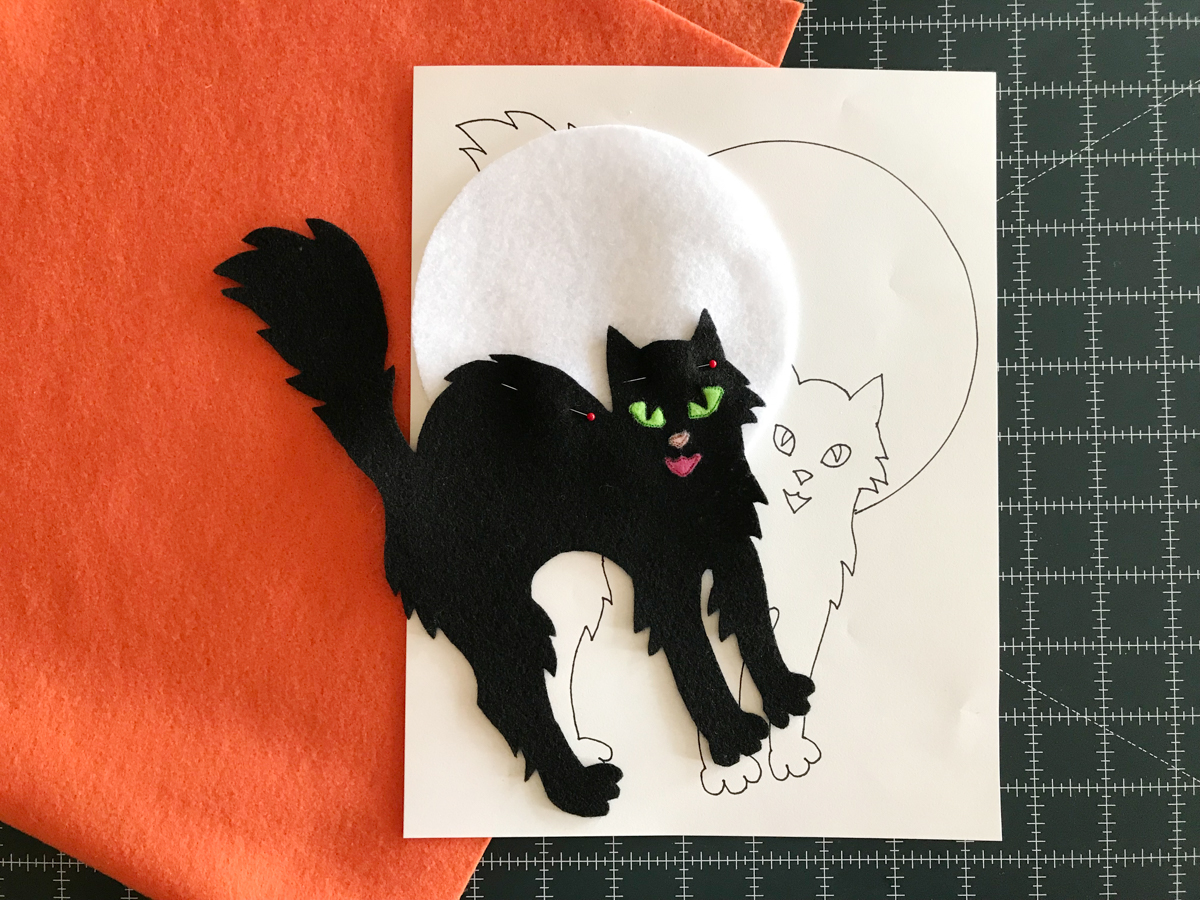
Slide the piece of pattern paper out from underneath the felt cat and moon and pin them to the side of the bag. Be sure to unfold your fabric so you are only pinning through one layer of felt.
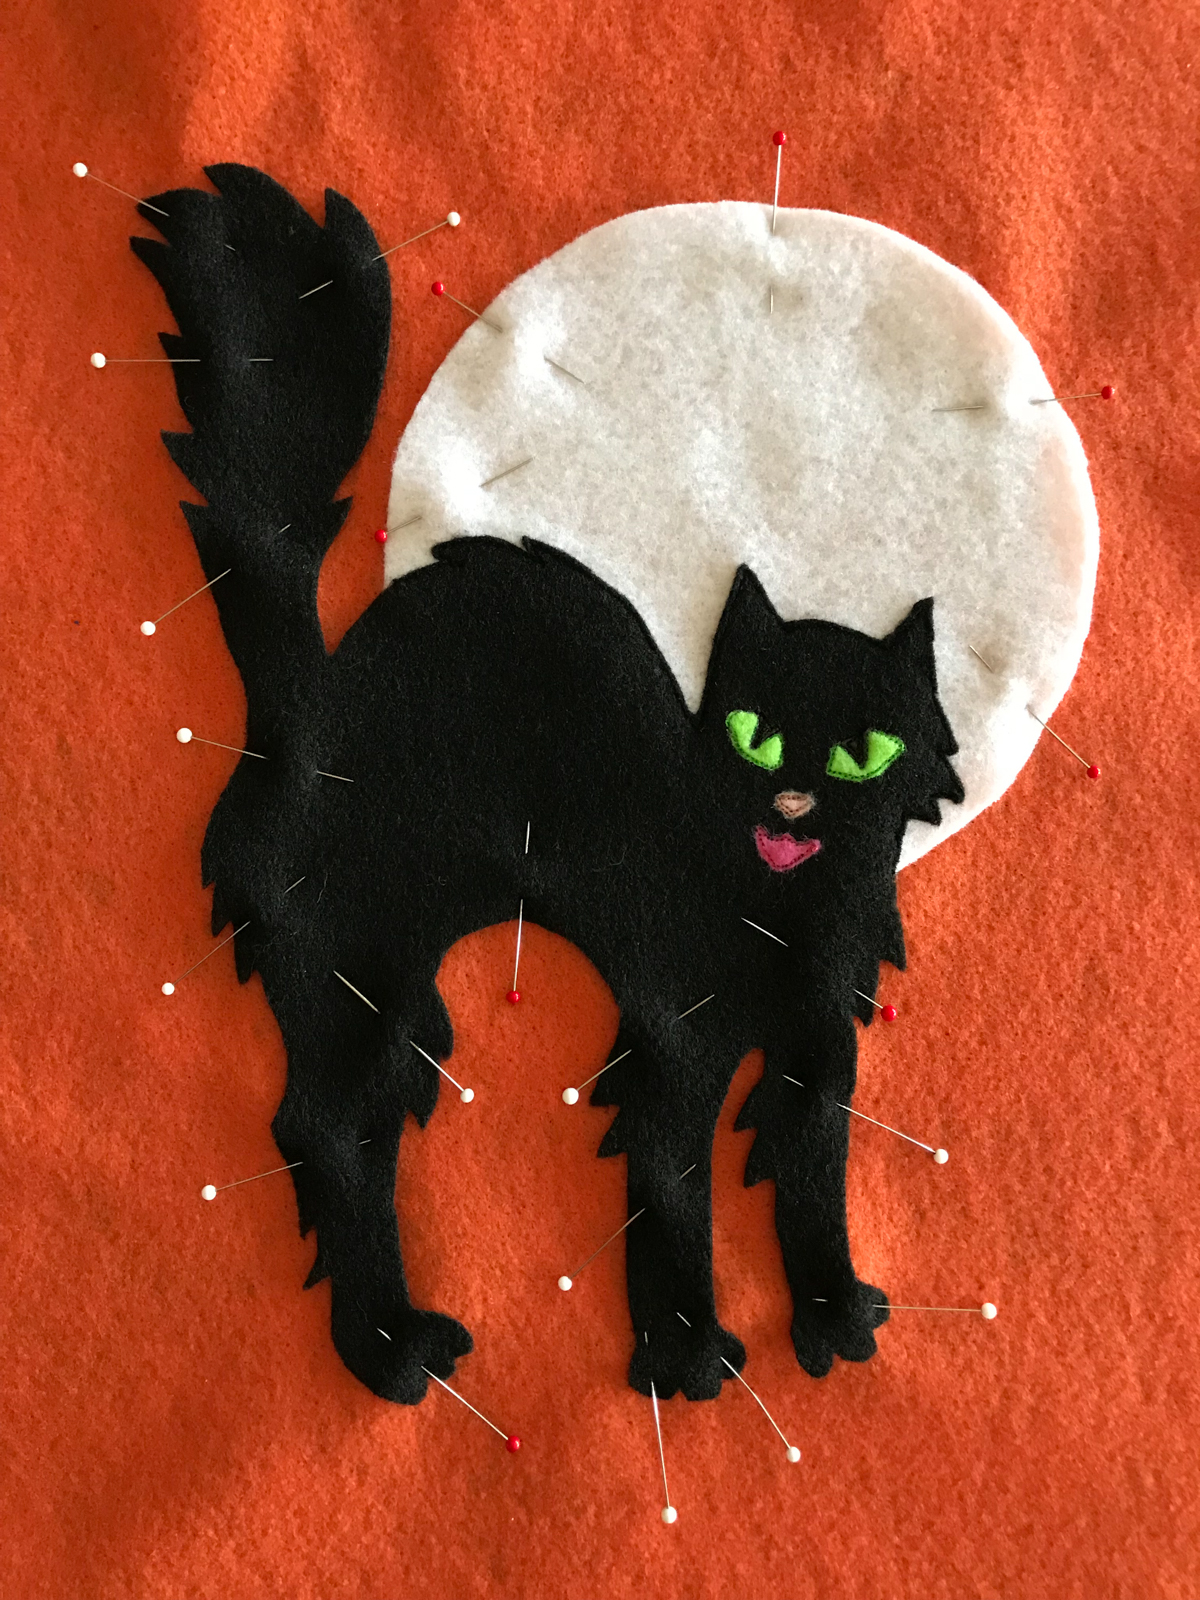
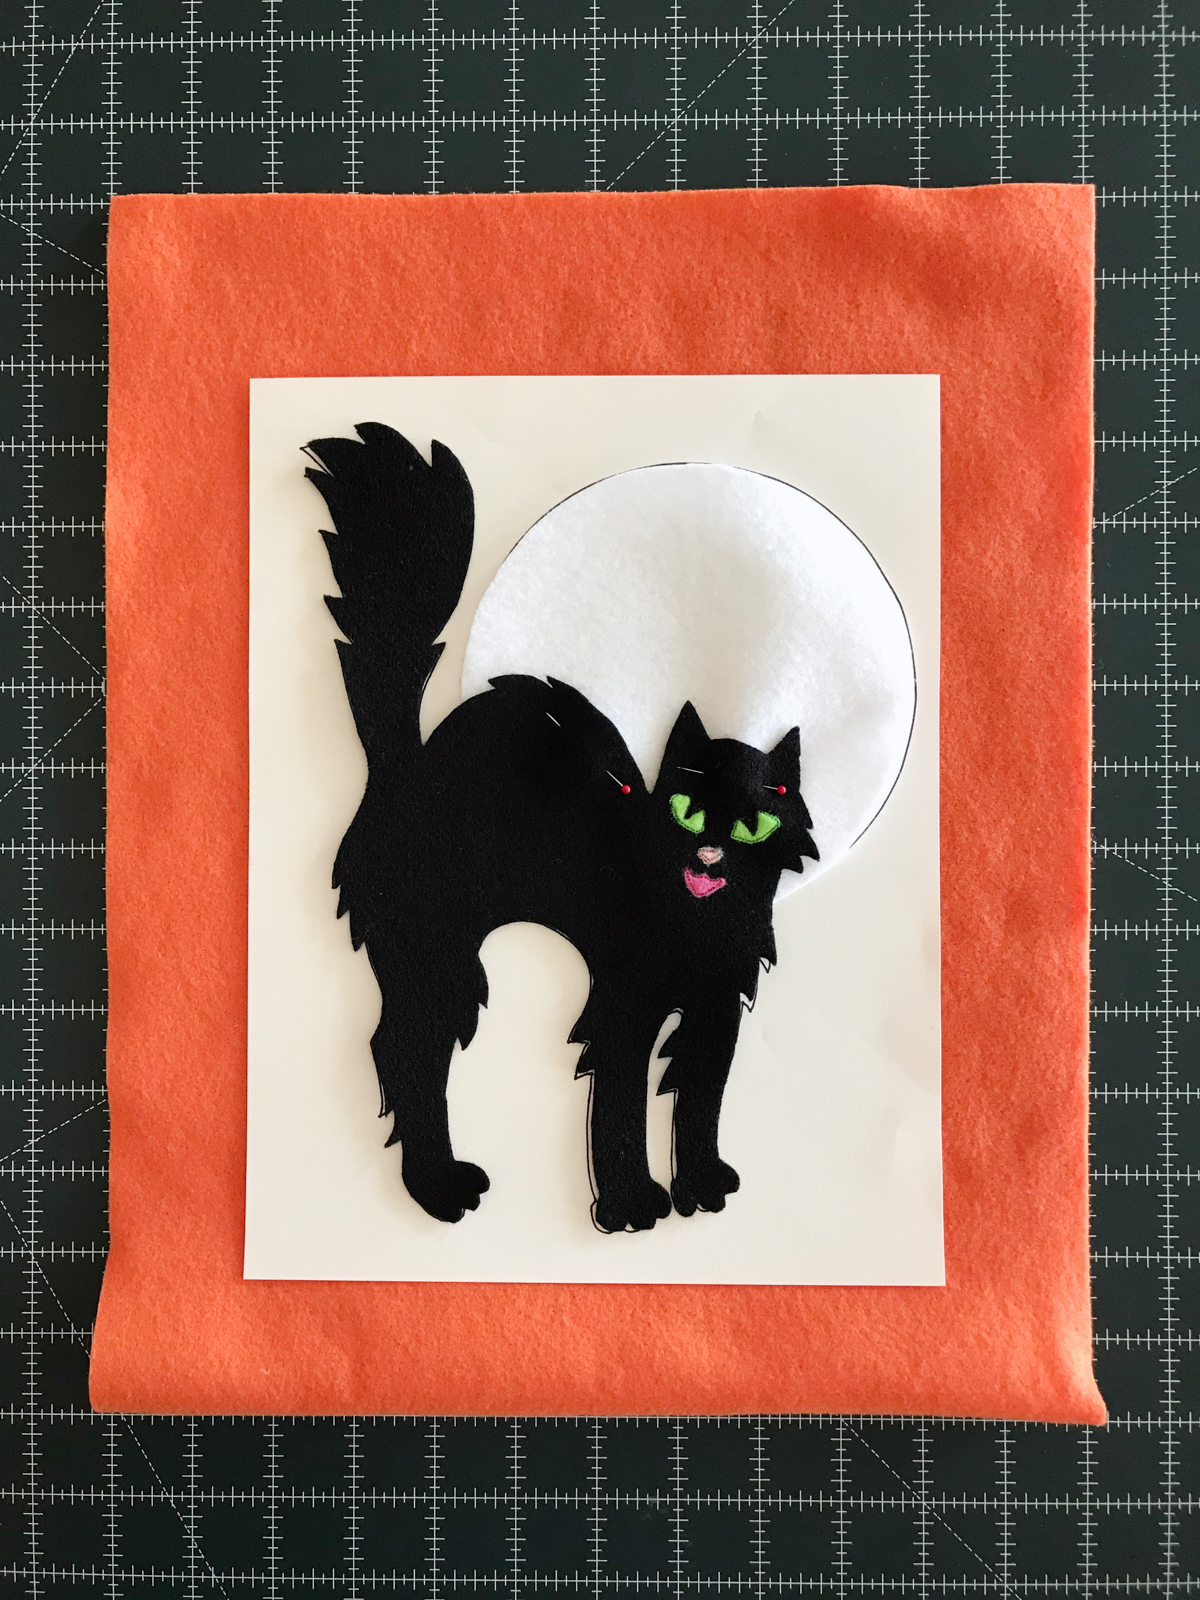
Using a straight stitch (1.50) sew the cat and moon to one side of the bag. Use black thread for the body of the cat and white thread for stitching around the moon.
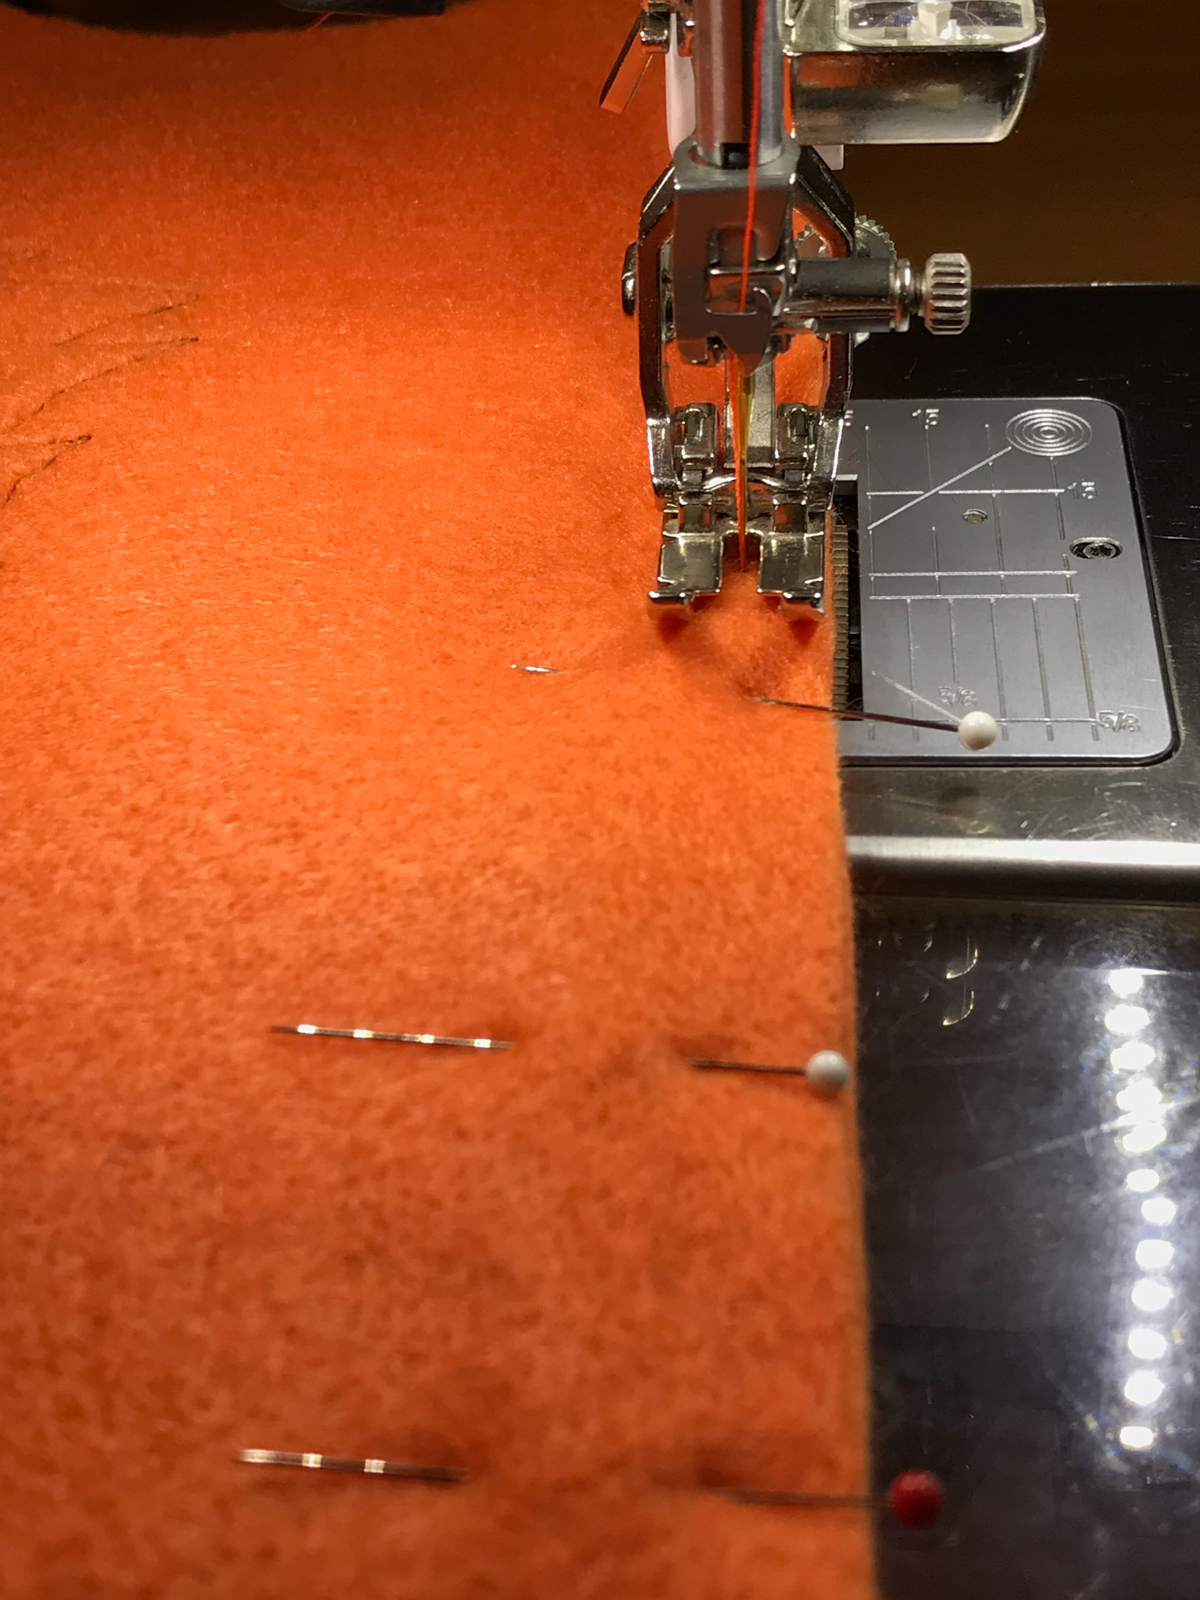
Right sides together, pin the sides of your bag in place. I realize with felt there is not really a right side but if you are using other fabric you will want to do so.

Here I switched my straight stitch length to 2.50.
If you have it, engage the BERNINA Dual Feed and stitch the side of the bag. The dual feed makes if very easy to stitch the fabrics together without them shifting.
One of the features that is a must have for me is the hover function on the 7 Series BERNINA Sewing Computers. It allowed me to use the needle down position to stop, turn, sew a few stitches, stop and turn some more so I didn’t create any pleats as I stitched the curved bottom sides of the bag.
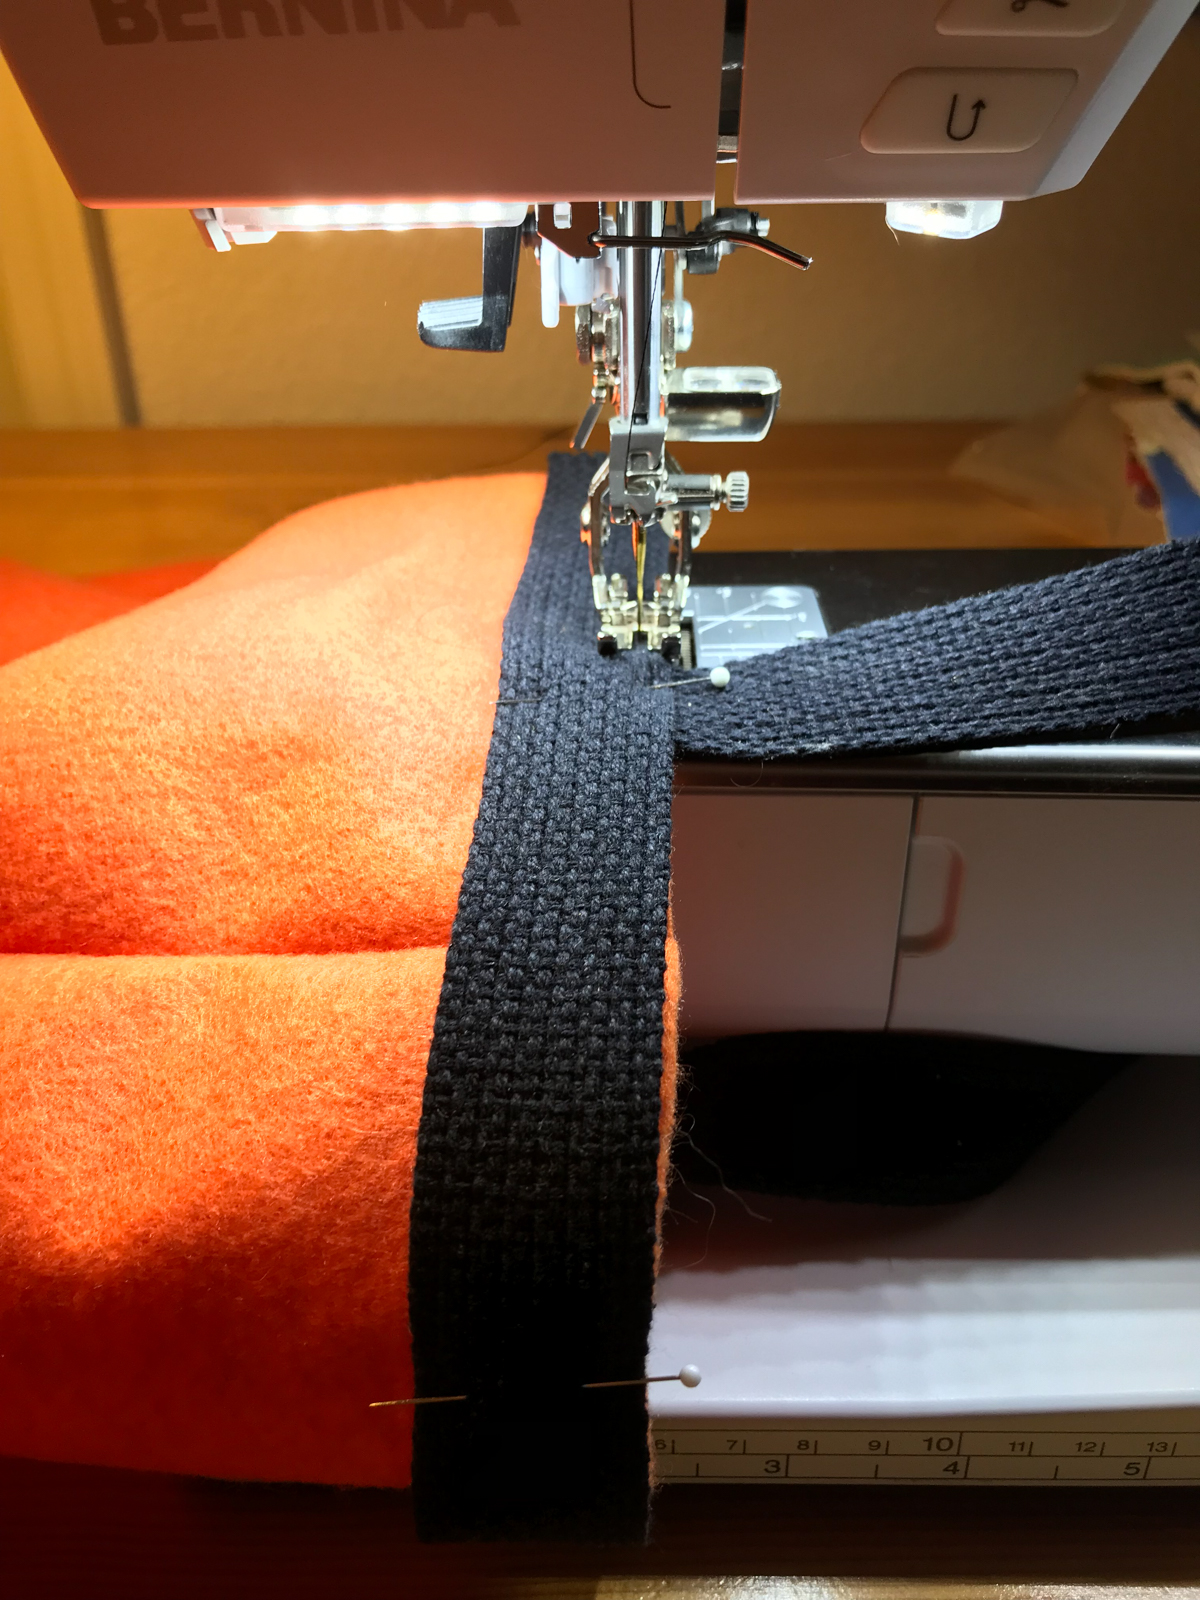
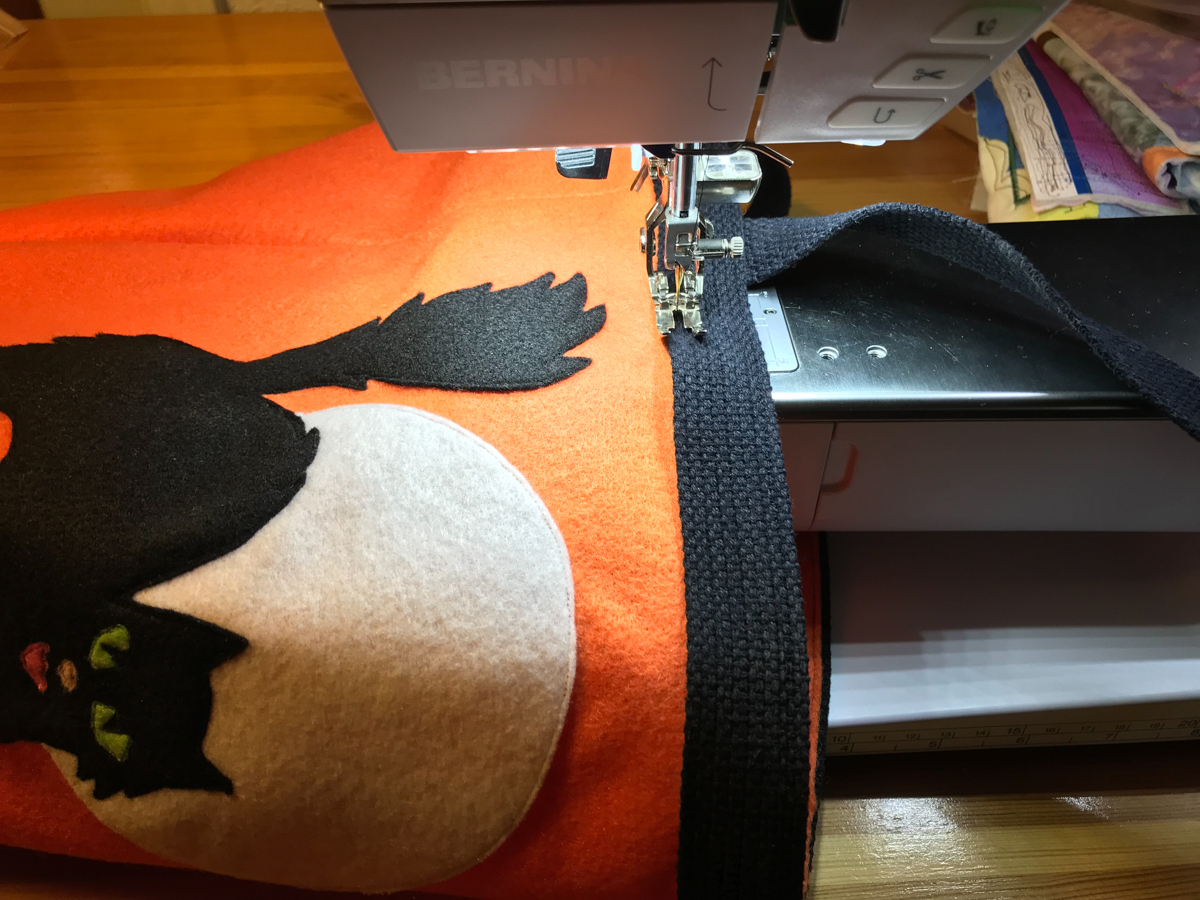
Turn the bag right side out so the cat is outside and the seam raw edges are on the inside of the bag. From the two yards of cotton belting, cut a piece 34″ that will go around the mouth of the bag. The 34″ piece of belting should give you a small overlap. I cut the remaining piece of 38″ belting in half to make two bag handles that are each 19″ long. Pin the ends of the handle strips approximately one-inch in from each side seam of the bag. Each end of the handle goes on the same side of the bag. Pin them a scant 1″ deep so they will be covered by the belting that goes around the mouth of the bag.
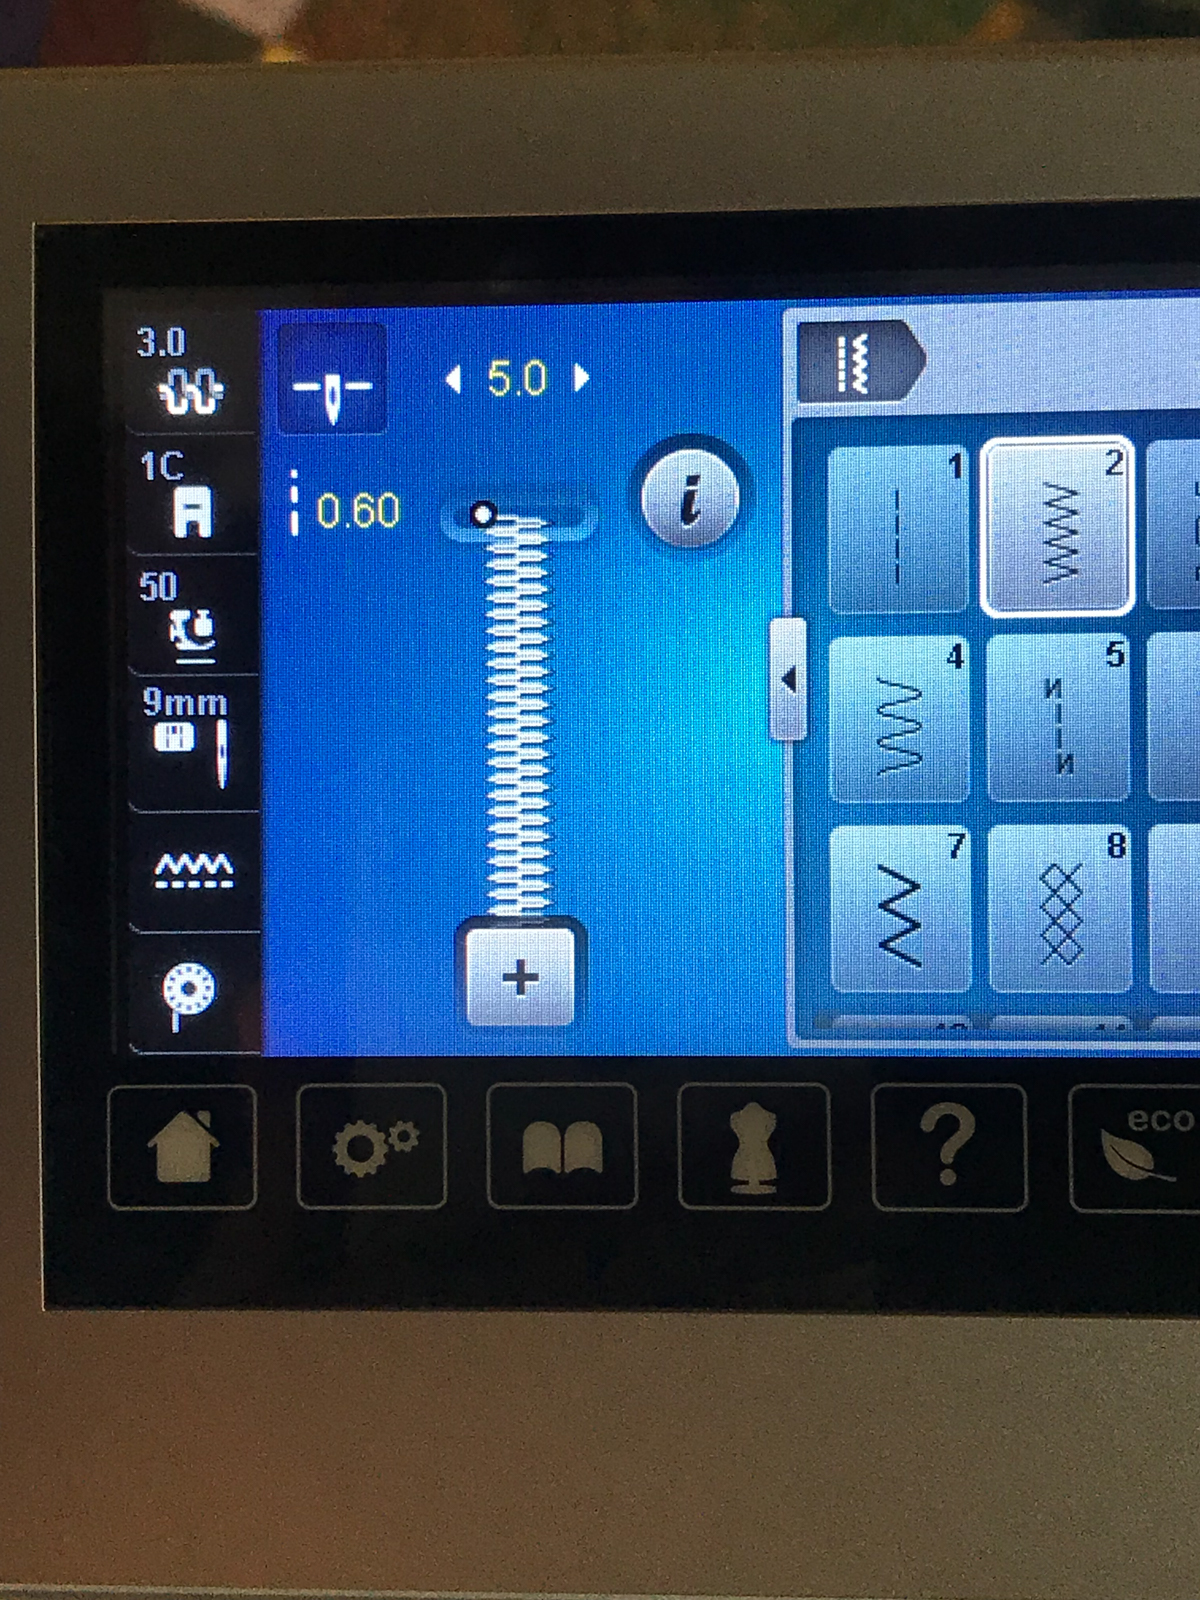
Here I switched my needle plate to the 9mm plate and changed to the Open embroidery foot #20C so that I could use a zig-zag stitch to secure the handles to the top of the bag. My zig-zag stitch was wide at 5.0 and dense at 0.60. I like the Open embroidery foot #20C foot because it allows me to see exactly where my needle is going. I used black thread and I wanted the right edge of the zig-zag stitch to go just over the edge of the cotton webbing.

Once you have stitched the handles in place, pin the 34-inch piece of belting around the bag and over the handles.
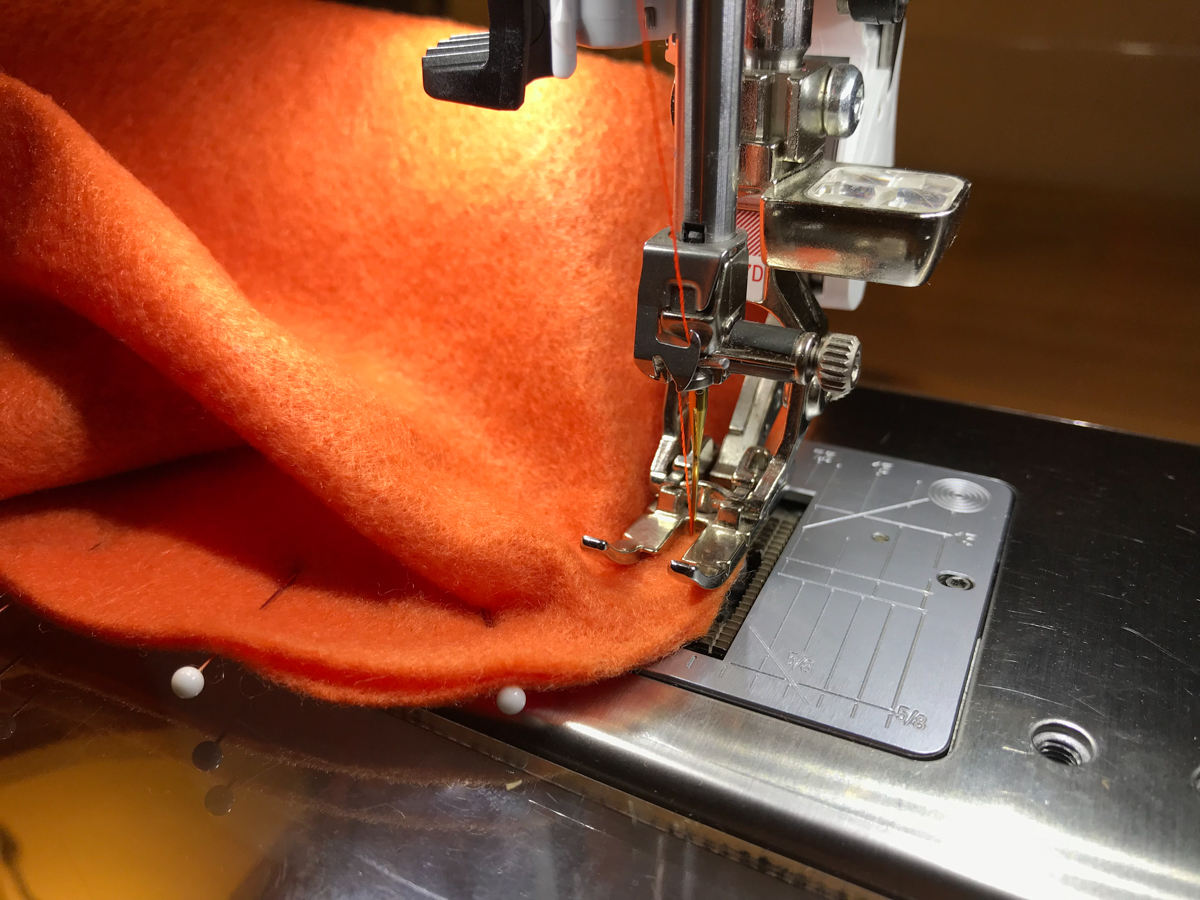
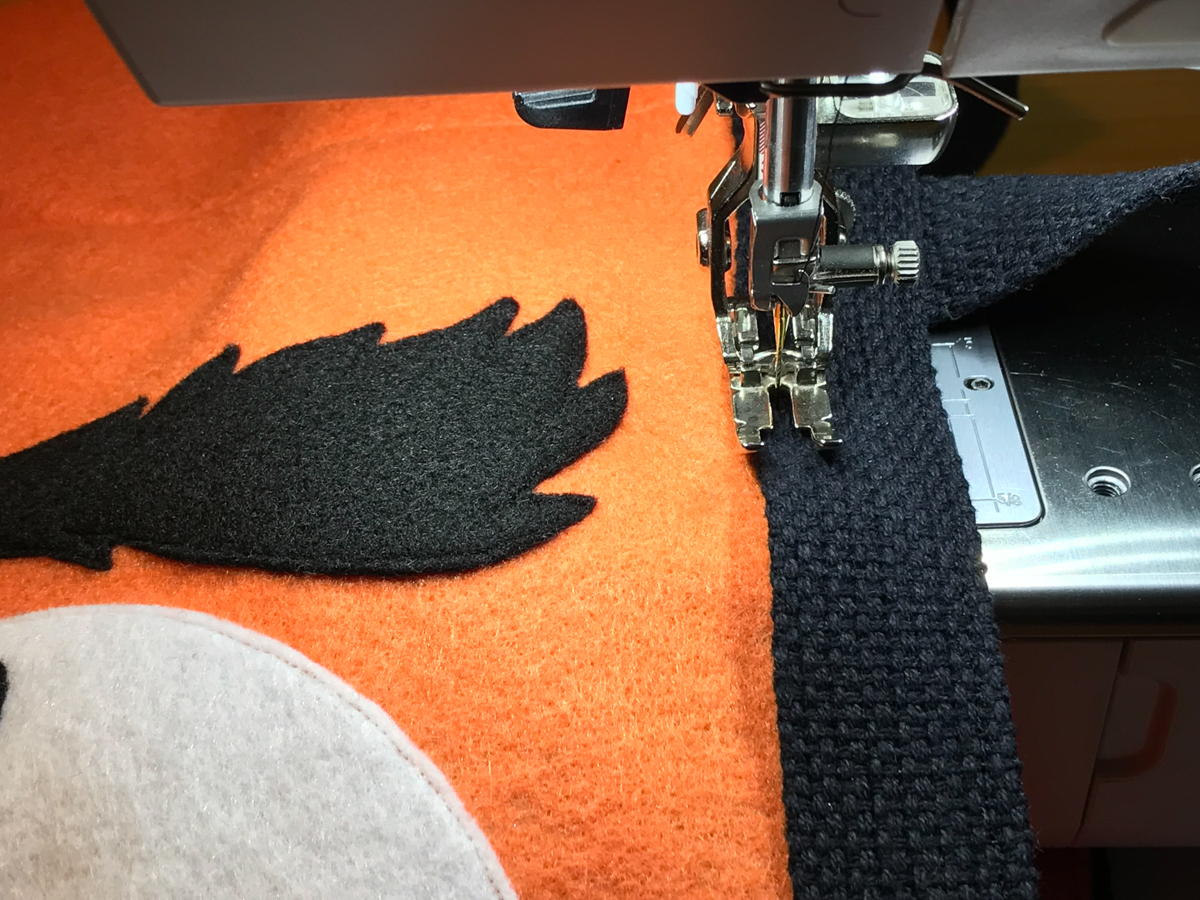
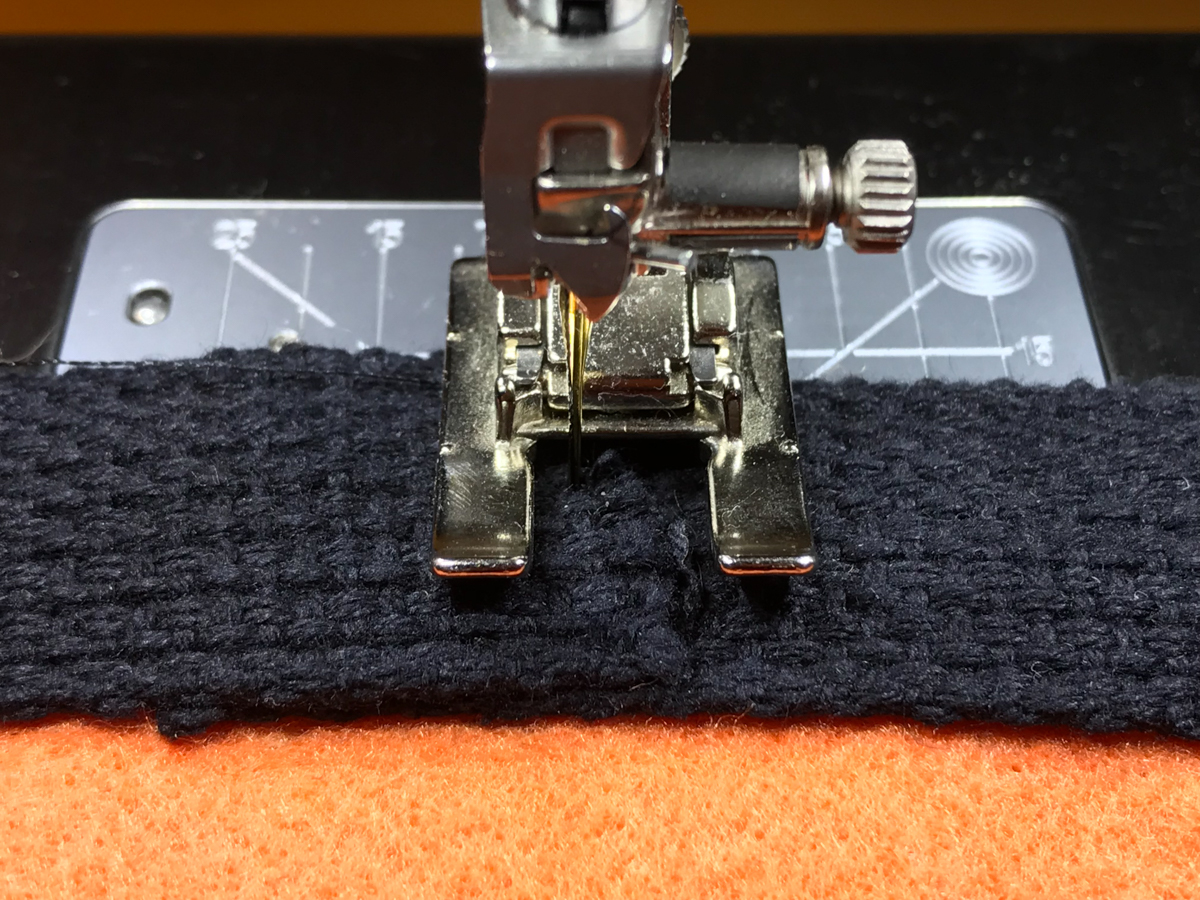
I switched back to the Patchwork foot #37D presser foot and changed back to the “0” needle plate. I stitched just under a quarter inch around the top edge of the bag. As you stitch, you want to make sure that the orange edge of the bag stays just below the top edge of the black belting. If your machine has a free arm you can remove the slide-on table. This makes it easy to stitch around the mouth of the bag. If you have not removed the slide-on table for a while, you might want to clean any dust from underneath the arm. Otherwise you will be using scotch tape to remove dust that was picked up on the felt as you rotated the bag around the arm.
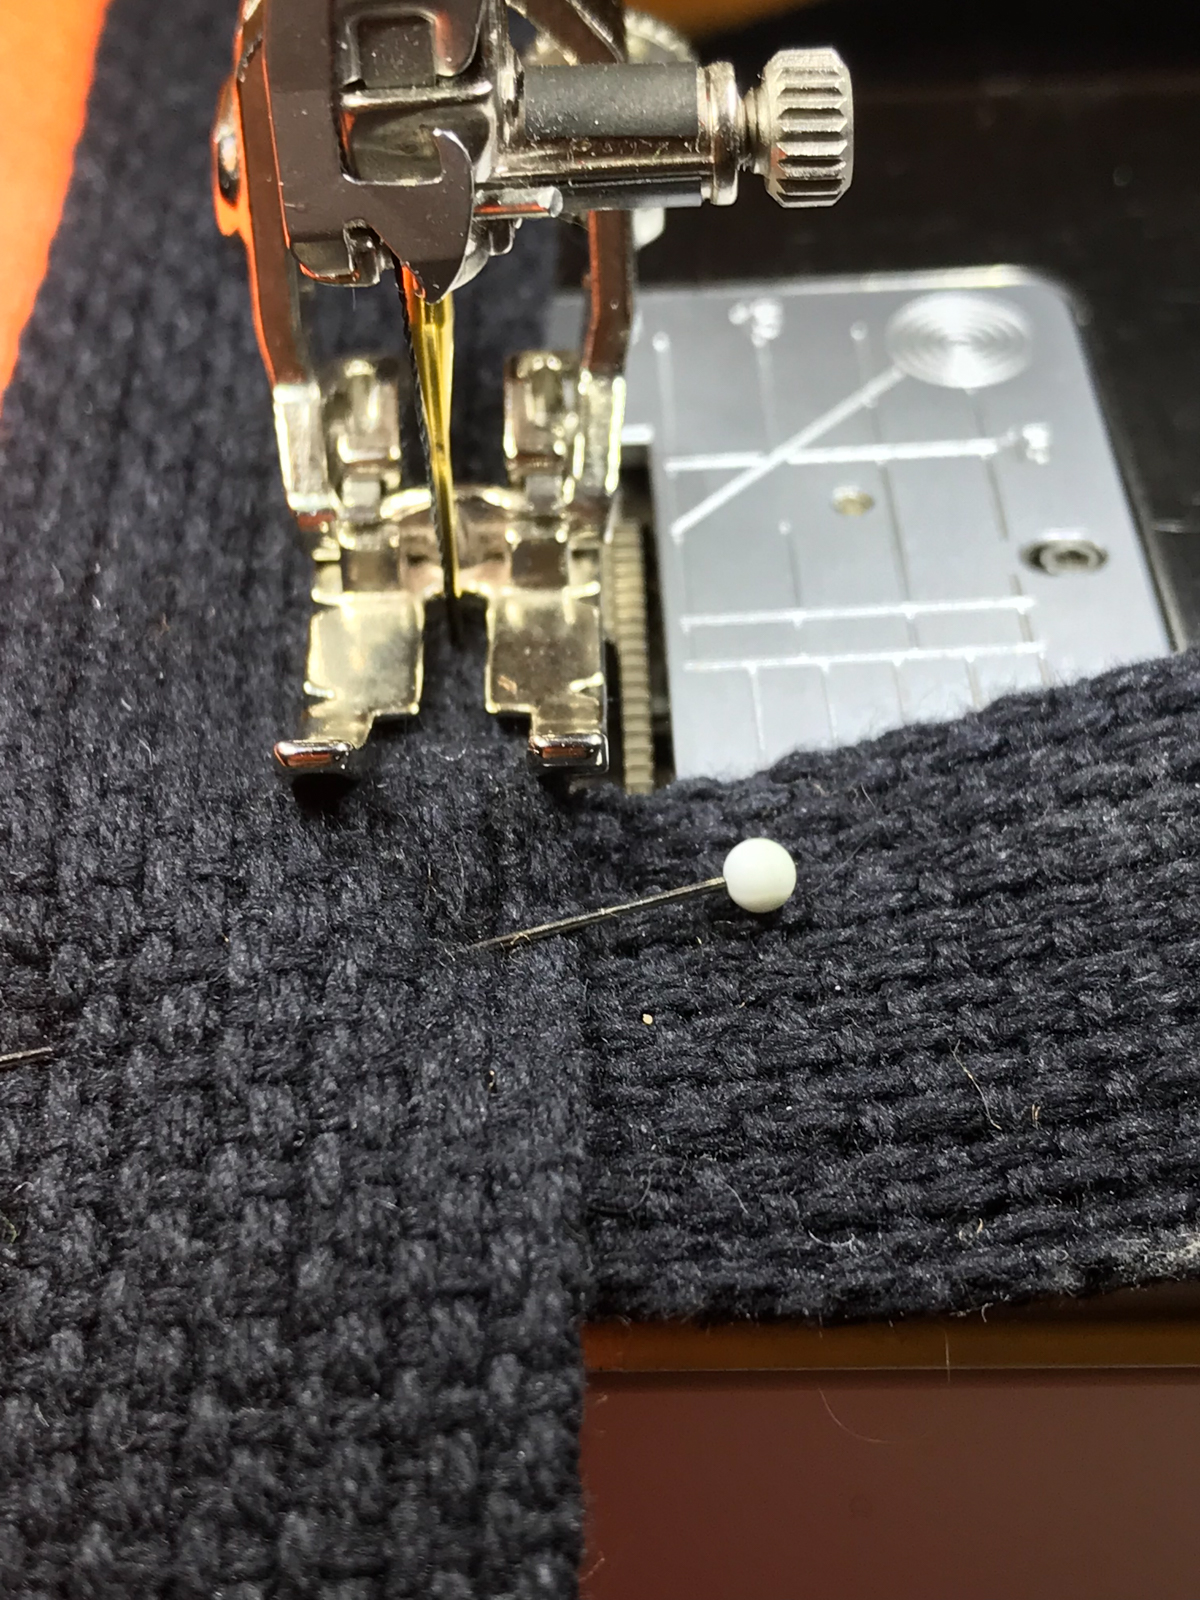
Once you have stitched the belting around the top edge of bag, stitch the bottom of it. I suggest that you slow down your stitching as you come to the spots where the handles are attached to the bag for accuracy. The BERNINA sewing machines will easily stitch through all the layers.
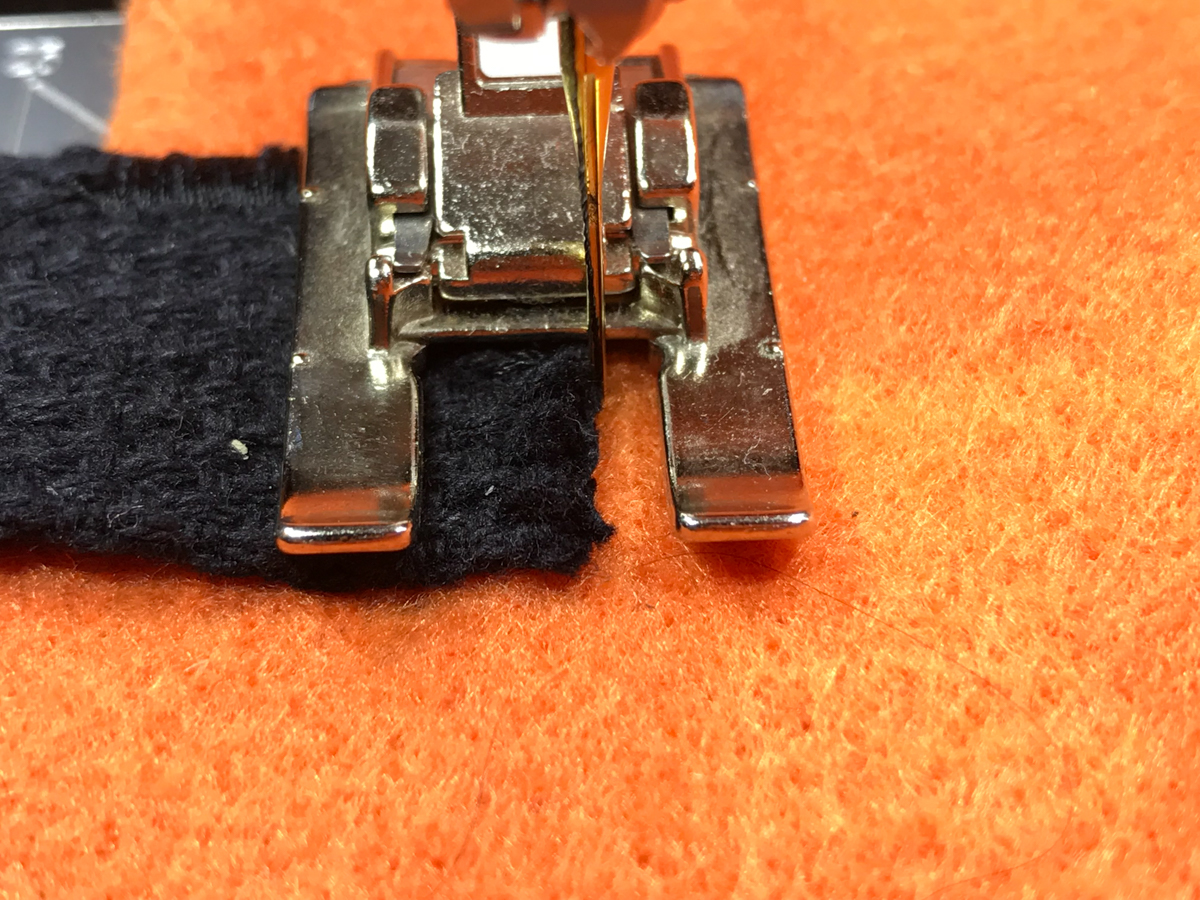
One more time I switched out my “0” needle plate for the 9mm needle plate and changed to the Open embroidery foot #20C presser so that I could zig-zag down the overlap of the cotton belting on the backside of the bag.
The Treat Bag is now ready for a youngster to enjoy on Halloween.