Hooray for Hippos! Decorative Stitch Recipes
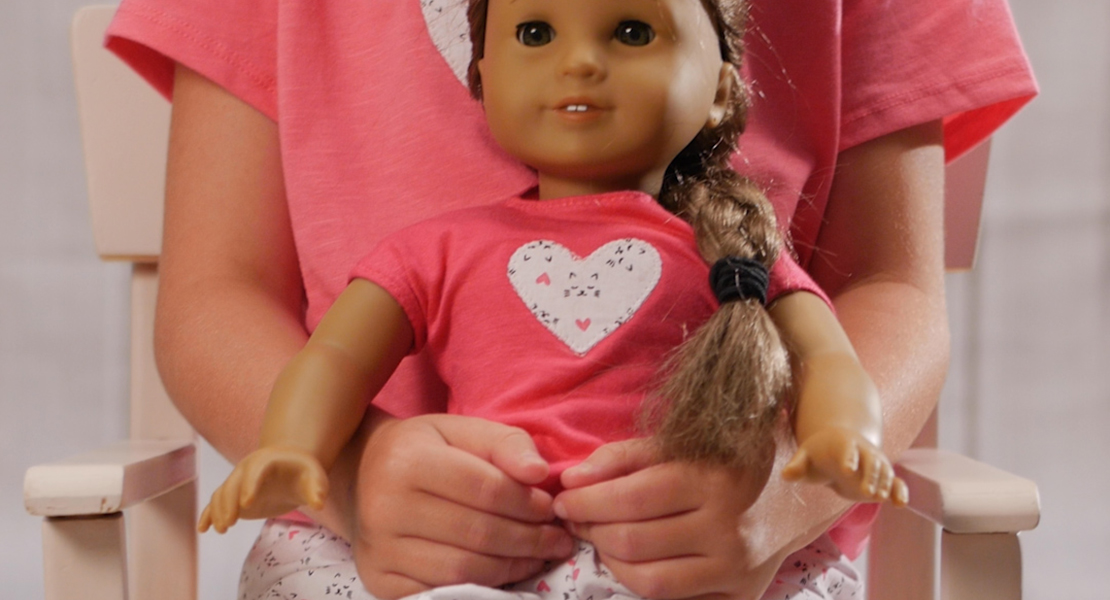
Have you seen the adorable little hippo on the cover of Through the Needle ONLINE magazine, Issue #18? Kerry Finn made a plain stuffed animal into a playroom star!

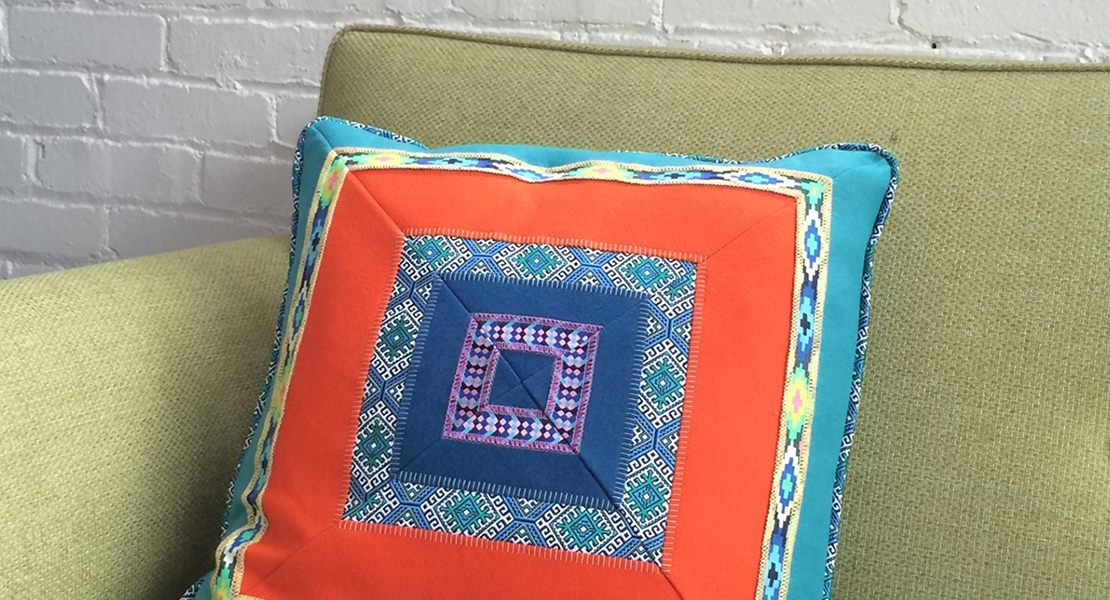
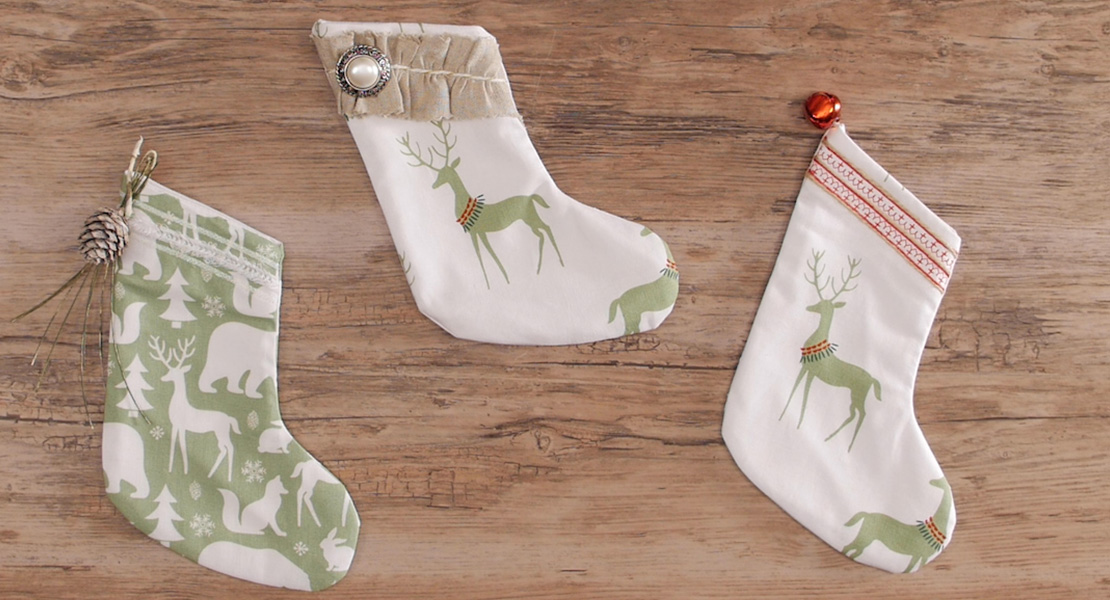
Here are some tips for mixing and matching stitches to create your own fabulous stitched fabrics. They’re not just for playthings; use them as accent fabrics for collars, cuffs, quilts, pillows, bags, and home décor projects. The stitches shown here from the BERNINA 780 are just suggestions; look through the options on your own sewing machine and choose your favorites as “ingredients” in your own “stitch recipes.”

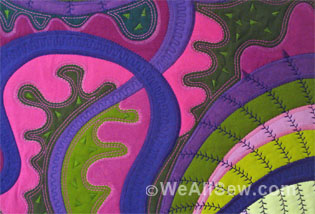
A: If your machine has sideways motion stitches, fabric embellishment is a fun way to play with them. No worries about following a line or keeping the fabric straight.

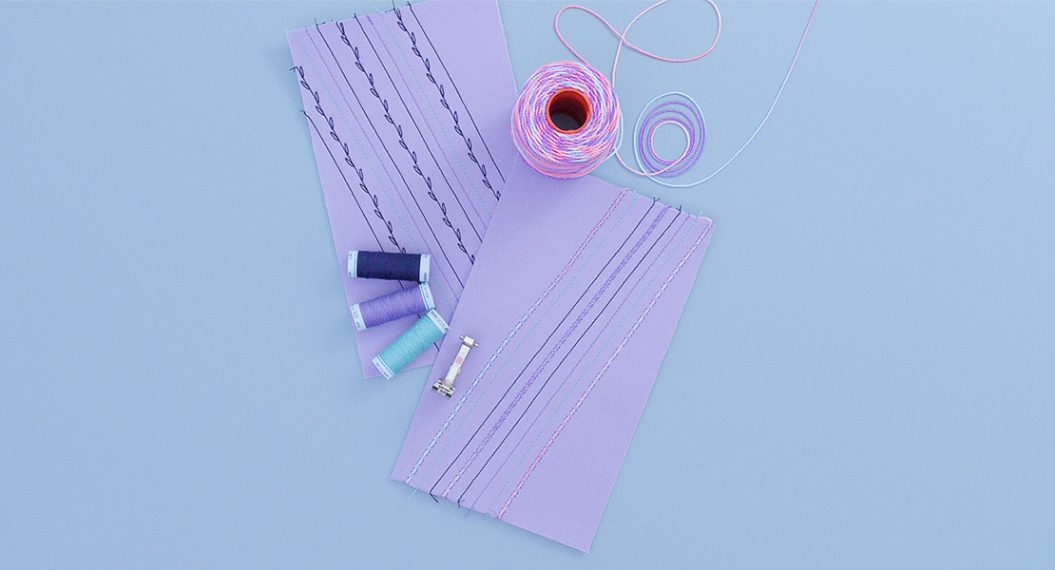
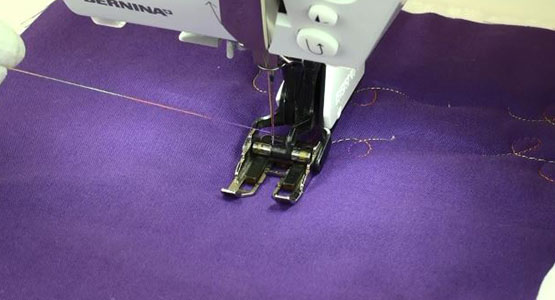
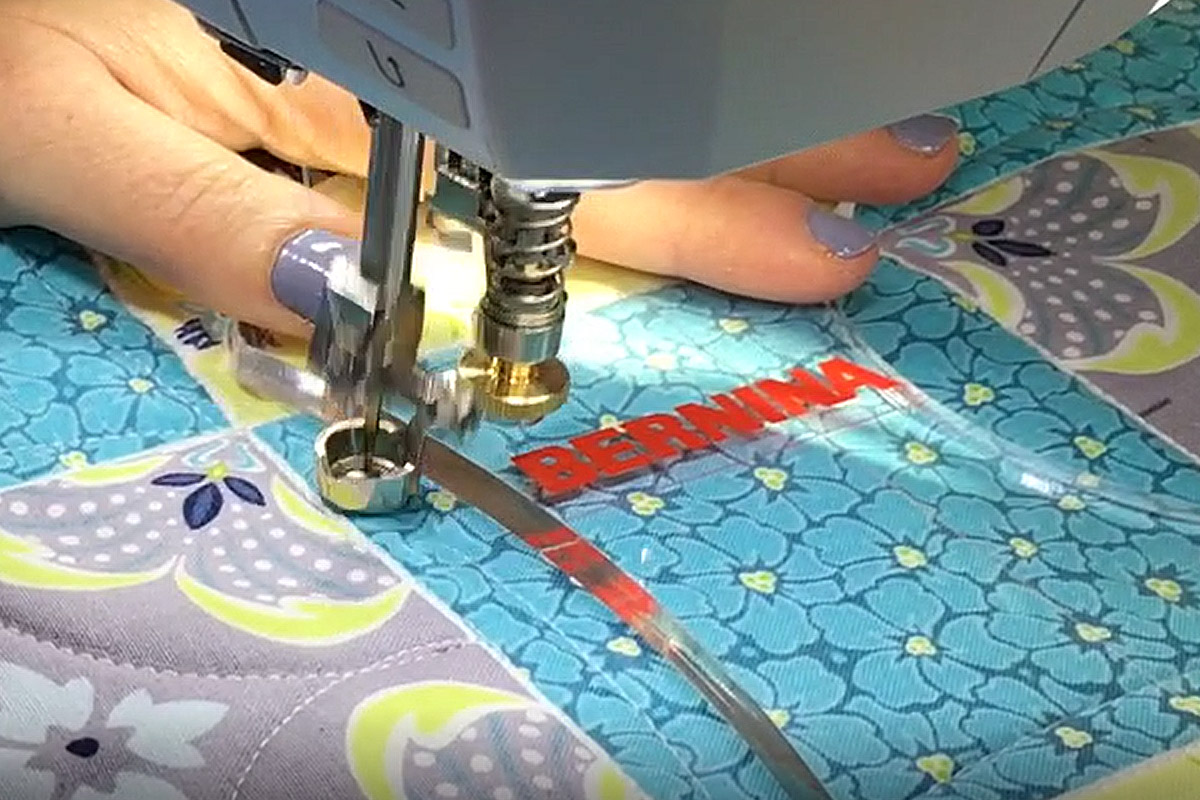
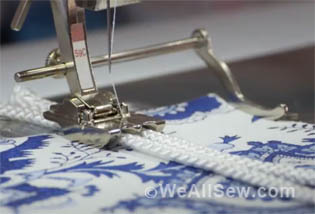
B: Three rows of stitches, side by side. The couched cord in the middle is stitched first. My favorite technique for this is to feed rattail cord through the guide in Braiding Foot #21, which automatically places the cord directly under the needle for stitching. Open stitches, such as zigzags and overlocks, allow the cord to show through. Here’s a short video showing how it’s done.
Decorative stitches are sewn along each side of the couched cord. To stitch right up to the edge, use a pintuck foot: Guide the cord into the groove under the foot, then adjust the needle position to fine tune the stitch placement. Don’t forget that you can use the Mirror Image function to flip the stitch if needed.
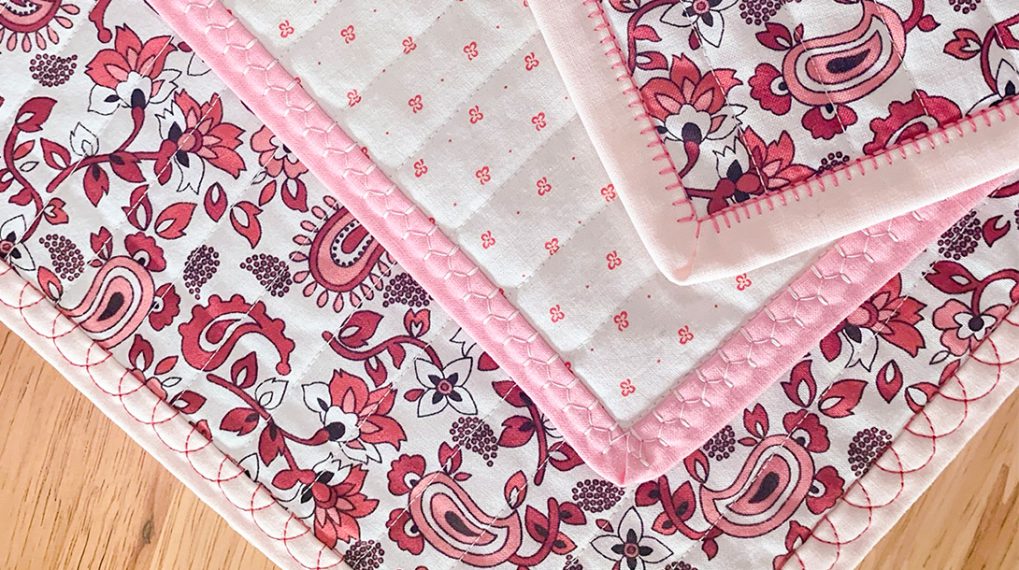
C: Five lines of stitching:
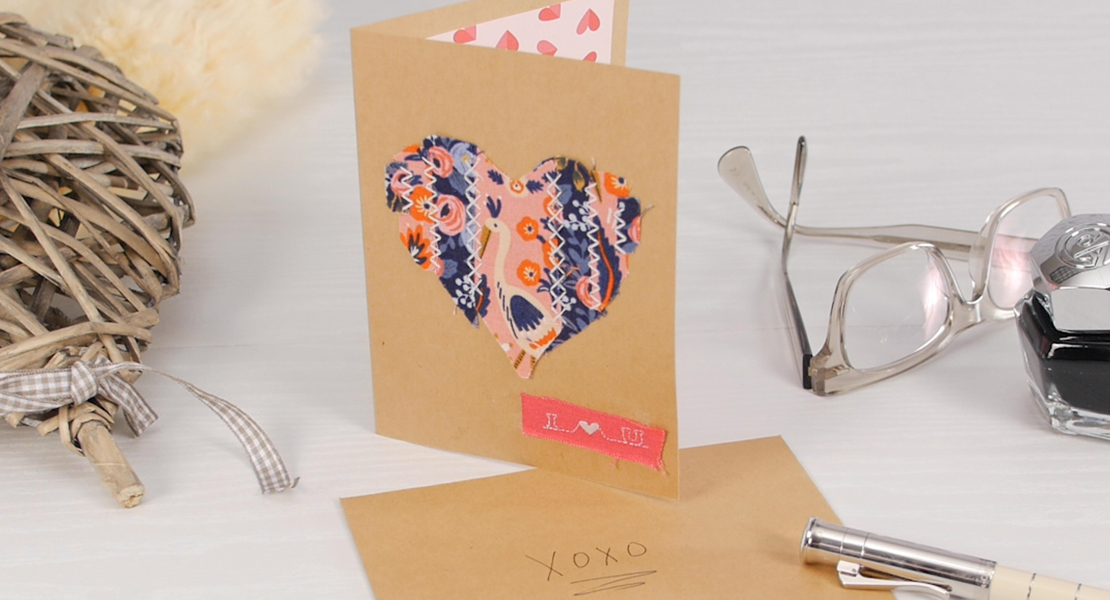
• Start with narrow rick rack. It’s easy to see where you’re stitching and guide the rickrack when using a foot designed for satin stitching, such as Clear Embroidery Foot #34. Simply guide the trim between the toes of the foot and stitch down the center with a straight stitch.
• Next add some lettering, such as “I [heart] You” programmed into memory and stitched in a continuous line. This is pre-programmed into the BERNINA 780 as stitch #1514. Continue using the Clear Embroidery foot so you can see the stitching.
• Add an open decorative stitch (such as quilting stitch #1358) above the lettering.
• Below the rickrack, sew a line of wide satin stitch. The cut-out in the sole of the foot provides room for the thick stitching to move under the foot without stitches building up.
• Stitch an openwork stitch (such as #1356) on top of the satin stitching.


D: Zigzag eyelets. Straight stitch eyelets can also be used.

E: Another set of parallel stitched lines:
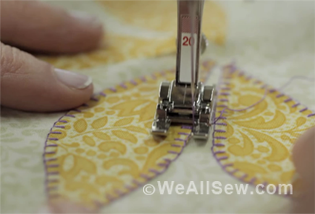
• Start with a couched cord (see A) between lines of mirror-imaged blanket stitches.
• Add a line of satin-stitch “rickrack” or “wave” stitches.
• Sew straight-stitch “waves” offset over the satin stitching, actually a running stitch with increased stitch length.
• To finish, add a row of open decorative stitches.

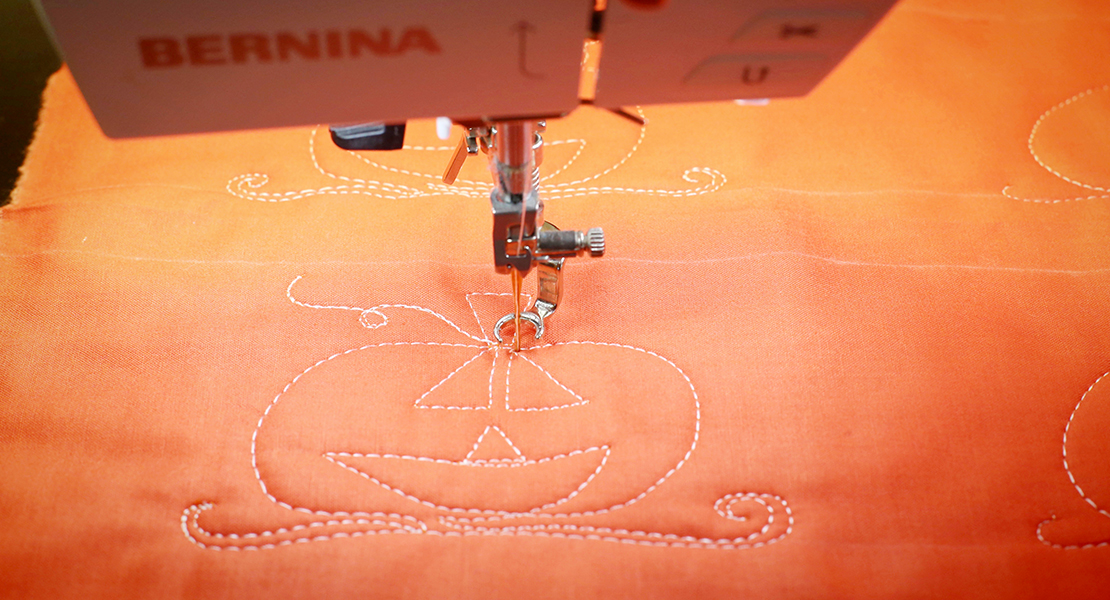
F: A multi-motion motif, stitched once rather than in a series. These make nice “filler” stitches.

G: The last three rows: Rickrack sewn down with a straight stitch, bordered by two open decorative stitches.


What you might also like


One comment on “Hooray for Hippos! Decorative Stitch Recipes”
Leave a Reply
You must be logged in to post a comment.

I misread the headline, and thought it said “Hooray for Hippies.” Maybe, if I put flowers around her neck?