How to Create a Dog Harness, Part 2: Embroidery and Sewing
Hello my Sewing Bees, my name is Sue O’Very owner of Sookie Sews. You can find me on Instagram at @SookieSews and my website SookieSews.com where I have hundreds of machine sewing patterns, embroidery designs, and In-the-Hoop projects. This is part two of a three-part blog series about making the dog harness and leash from the BERNINA Embroidery Software V9 campaign video.
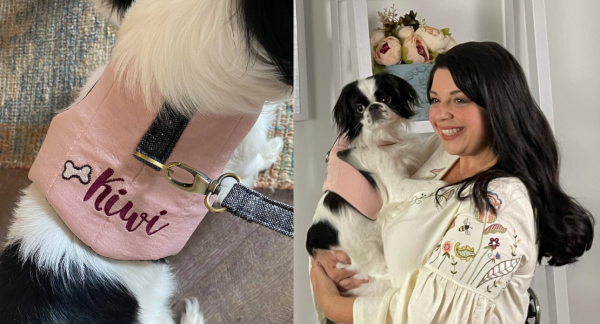
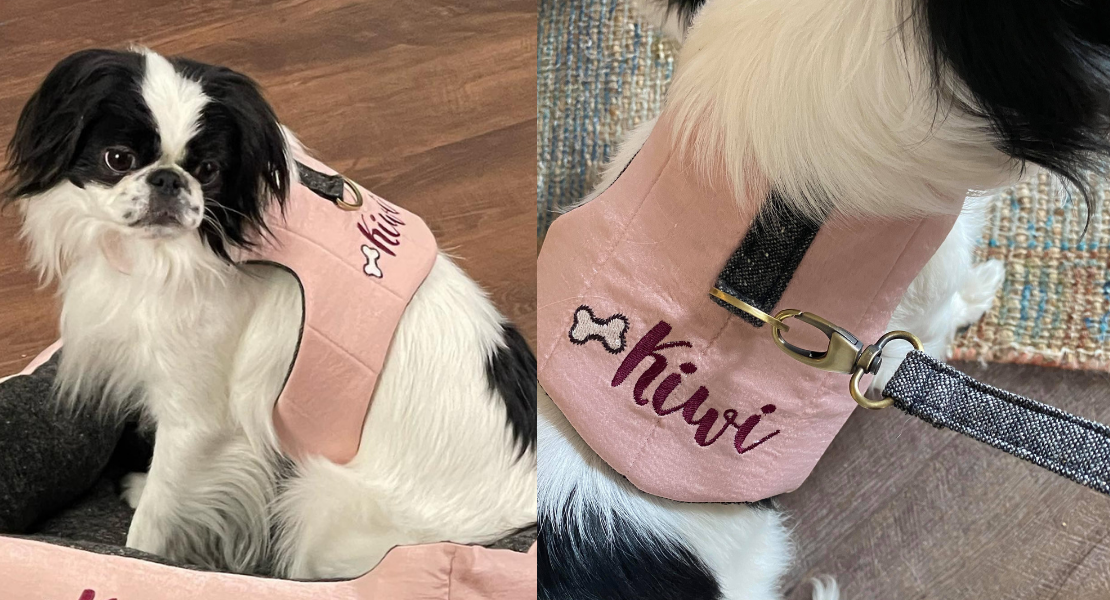
Did you see the Embroidery Software V9 Expert campaign video? Check out the puppy! This is our sweet Japanese Chin dog, Kiwi. Since I had an embroidered blouse, I thought it would be fitting to have her wear a pretty matching harness for the filming.
In the first blog post, I showed you how to digitize a dog bone and add a name. Today I am going to show you how to embroider and sew Kiwi’s, Dog Harness. You can find the dog bone design and pattern below. I’d recommend making a test stitch of the pattern to adjust as needed on your dog. Kiwi’s Harness is designed to fit a small to a medium dog between 8-15 pounds. If your dog is larger or smaller, adjust the pattern by adding length or width as needed. Ok, let’s get stitching!
Materials to Sew and Embroider the Dog Harness
Fabric
Measurements are Width by Height
- (1) Outside 20″ x 14″
- (1) Lining 20″ x 14″
- (1) Foam 20″ 14″ i.e ByAnnie Soft and Stable
- (1) Strap 3″ x 14″ (this will be cut into three sections)
- 1″ Plastic Side Release Buckle
- 1″ D-Ring
- Medium Tear-Away stabilizer – OESD
- Sticky stabilizer to fit hoop – OESD,
- For more in-depth knowledge get the Pocket Guide to Stabilizers by Sue O’Very
- Thread:
Supplies to Sew and Embroider the Dog Harness
- Sewing and Embroidery machine (I used my BERNINA 790 PLUS)
- #1D presser foot with Dual Feed engaged for sewing
- #26 presser foot embroidery foot
- Embroidery hoop – I used the Medium hoop
- 5.5″ All-Purpose Craft Scissors from Sookie Sews
- EZ Hook n’ Snip from Sookie Sews
- EZ Point and Turner from Sookie Sews
- Schmetz Embroidery needle 75/11
- Schmetz Universal needle 80/12
- Point turner
- Iron/Pressing surface
- Wonder Clips
- Straight Pins
- Clear adhesive tape
- Marking pen or pencil
- Kiwi’s Harness Pattern
- Bone Embroidery Design
Steps to Embroider the Dog Harness
- Print the two pattern pieces and connect them at the “T” marks with tape. Cut out the paper pattern piece.
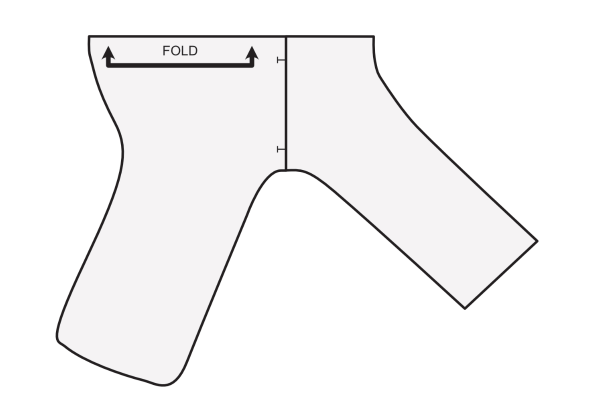
- Cut the Outside, Lining, and Foam on the Fold.
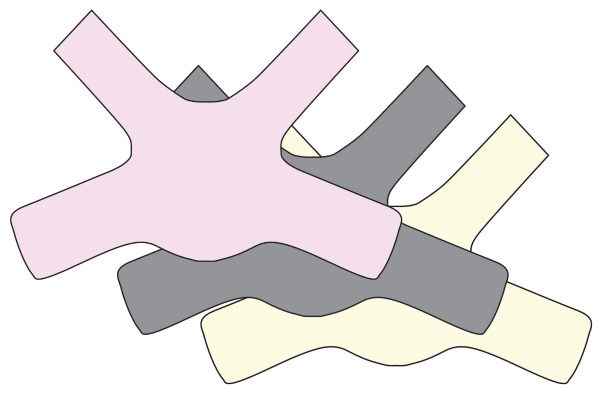
- Hoop the Sticky stabilizer with the paper side up. With a straight pin score the paper and remove the paper.
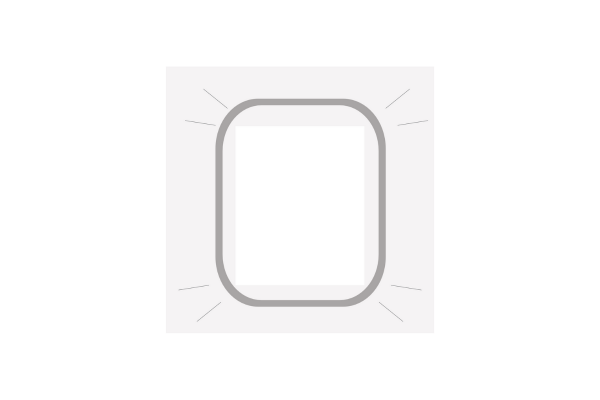
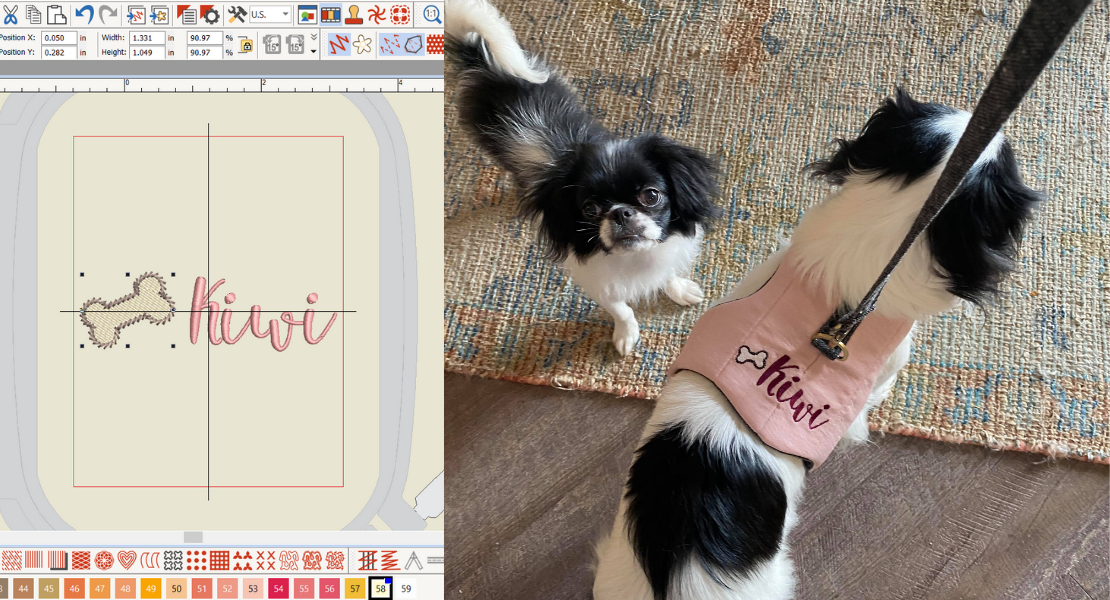
- Decide placement for embroidery design and mark the center. Example shows centered within width and 1-3/4″ from the bottom. Place center mark over the center of the hoop.
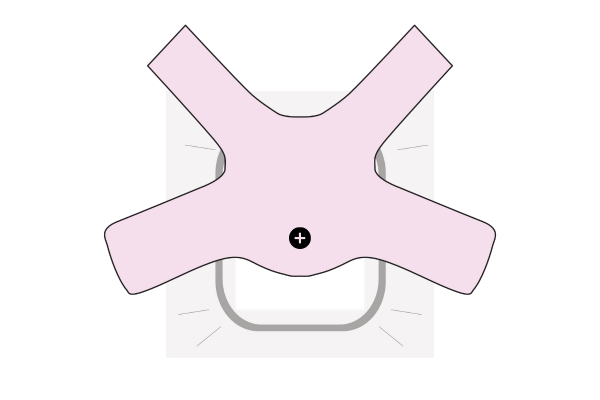
- Thread machine with embroidery thread on top and 60 wt bobbin thread in the bobbin and a brand new embroidery needle.
- Insert hoop into the machine, slip a piece of Tear-Away under the hoop. This will float under the hoop for added stabilization. Sew the bone design or if you added a name, stitch that.
- When finished with the design, remove the hoop from the machine and remove the stabilizer from the material.
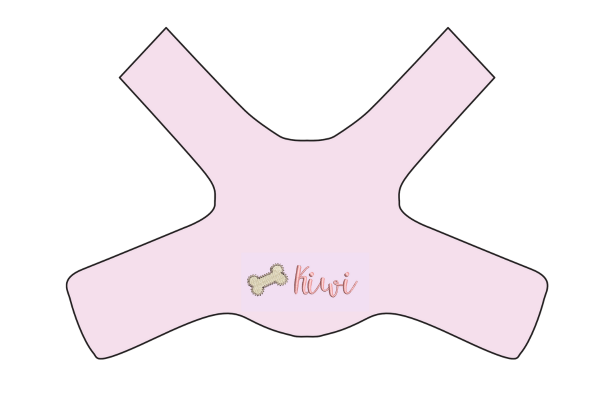
Steps to Sew the Dog Harness
- Set sewing machine up with a 1D foot and Dual Feed engaged for straight stitch. Use a Universal needle and matching thread in the top and bobbin.
- Place the Outside right side up over the Foam. Pin or clip to secure and baste at 1/4″ all the way around.
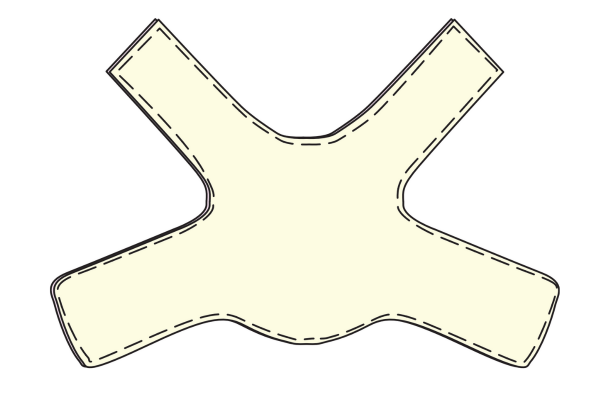
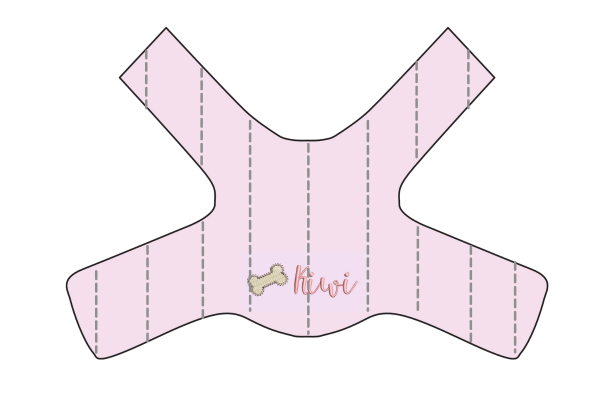
- With the Outside facing up, quilt through the Outside/Foam combo 2″ apart. You can use any other quilting pattern you’d like at this time. Have fun.
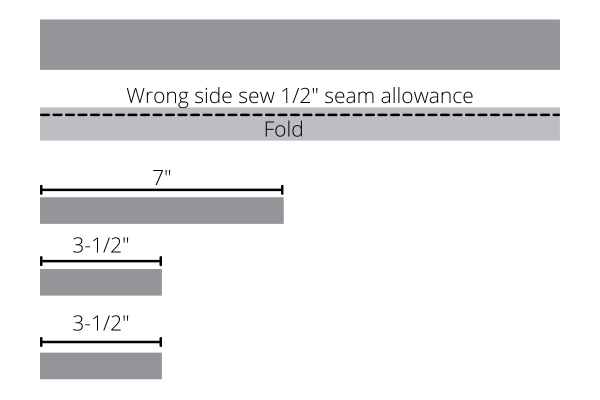
- Fold the Strap right side together and sew 1/2″ seam allowance on the two long raw edges. Turn strap right side out using the EZ Point & Turner. Press flat. Cut the Strap into three (3) pieces: 7″, 3-1/2″, and 3-1/2″.
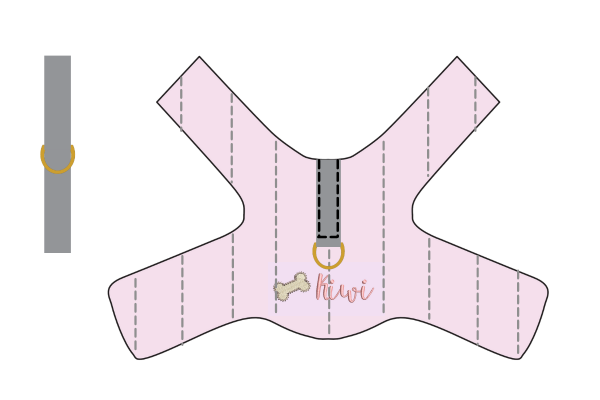
- Feed the D-Ring through the 7″ Strap and align the two raw edges center over the center of the Outside as shown in the diagram. Pin in place and stitch down along the two long sides and across/close to the D-Ring to secure.
- Feed the two shorter straps through each of the Plastic Buckles. Align raw edges together and pin each at the opposite rounded ends of the harness. Baste to secure in place.
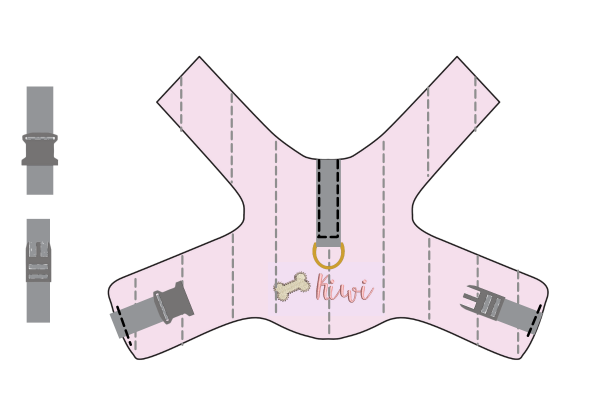
- Place the Lining right sides together with the Outside/D-Ring/Buckle pieces and sew around outside leaving the two straight ends open with a 1/2″ seam allowance. See diagram.
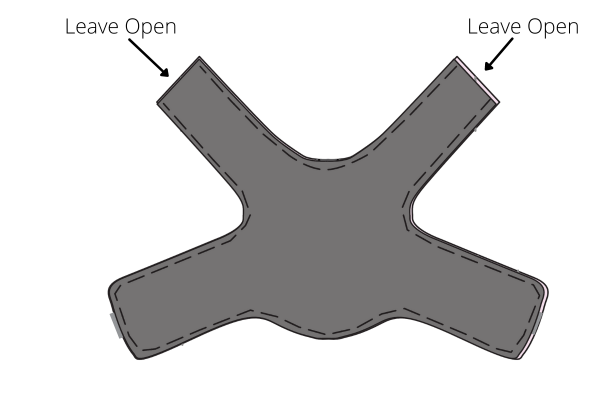
- Cut away bulk in the seam allowance around the curves. Turn right side out using the EZ Point & Turner. Press.
- Set up a zig-zag stitch or 4-Thread overlock on your serger and sew over both of the raw ends to clean finish.
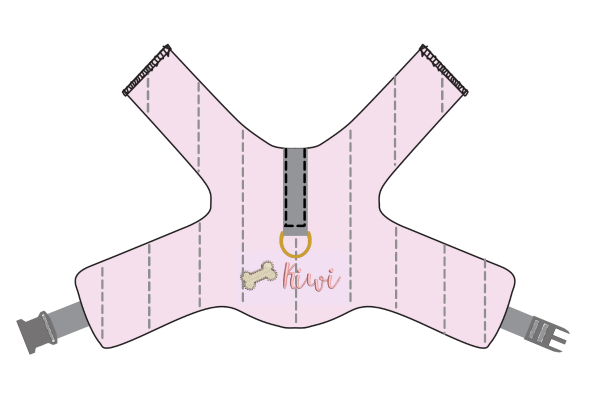
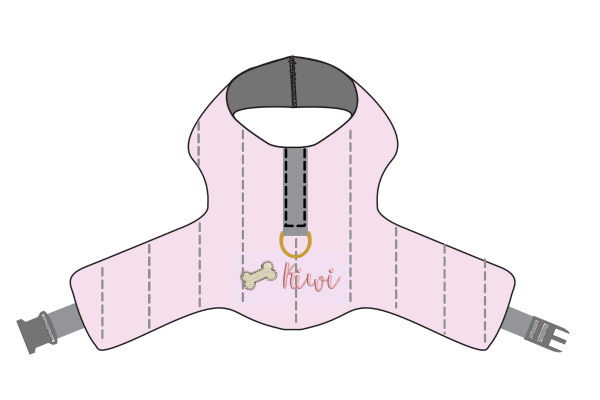
- Place the two ends right sides together and sew 1/2″ seam allowance. This will be the part that goes over the dog’s head. Adjust to fit overhead as needed. Your dog harness is finished!
In the last blog post, I will be teaching you how to make a simple dog leash. If you do make a dog harness, please snap a shot and be sure to tag me @SookieSews and @BERNINAUSA!!
How to Create a Dog Harness
- Part 1: Digitizing the Dog Bone
- Part 2: Embroidery and Sewing
- Part 3: Sewing a Dog Leash
