How to Make a Wedges Pillowcase
Hi everyone! I’m BERNINA Ambassador Ebony Love, of Love Bug Studios, and I’d like to share a new project to stitch up with you. This weekend is the 1 Million Pillowcase Challenge “24-hour Sew a Thon,” and I thought it would be fun to introduce a new pillowcase pattern for the occasion.
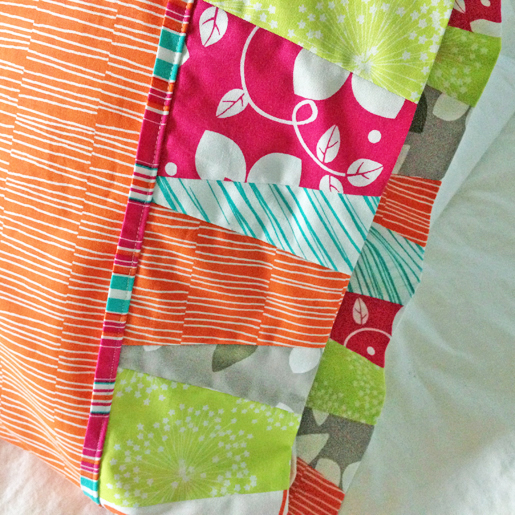
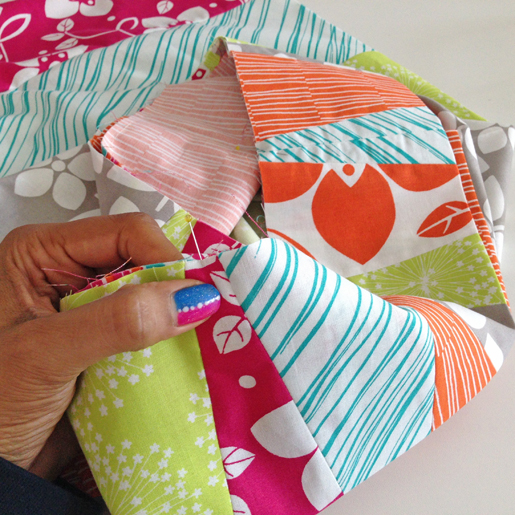
This bright and cheerful fabric is “Brigitte” by Benartex, and the pillowcase is made using wide strips, wedges, and a contrasting striped band. If you’ve never stitched wedges before, they take a little getting used to, but once you get the hang of it, this pillowcase goes together quickly.
Supplies
Five 3/8 yard pieces of coordinating prints
One 1-1/2″ x 40-1/2″ strip, pressed in half lengthwise, wrong sides together
9-1/2″ finished wedge template (use Sizzix die #658884 or download the paper template)
Ebony_Love_Pillowcase_Pattern_-_121314.pdf
Step 1) Cut the fabric.
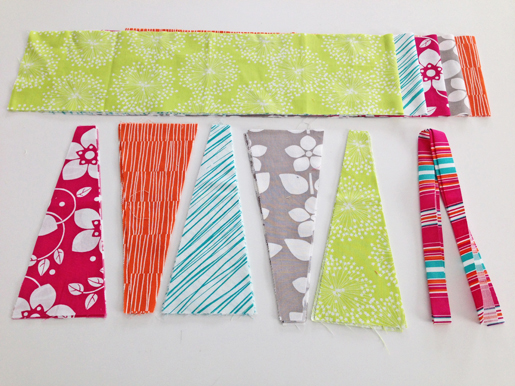
From each 3/8 yard print, cut:
- One 5-1/2″ x 40-1/2″ strip
- Four wedges
Cut one additional wedge from one of the prints, for a total of five wedges in that print.
Step 2) Assembly the pillowcase body.
Using a 1/4″-wide seam allowance, stitch all 5-1/2″ x 40-1/2″ strips together lengthwise to form a 25-1/2″ x 40-1/2″ strip set. I used a 1/4″ foot (BERNINA Patchwork Foot with Guide #57/57D) for the 1/4″ seams.
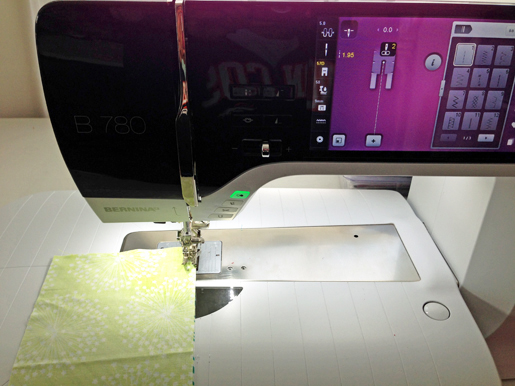
Press all seams in one direction. At this point, I switched to an all-purpose foot (BERNINA Reverse Pattern Foot #1/1C/1D), and set the machine for a zigzag to finish the edges of each seam to prevent fraying. Stitch each seam allowance to secure.
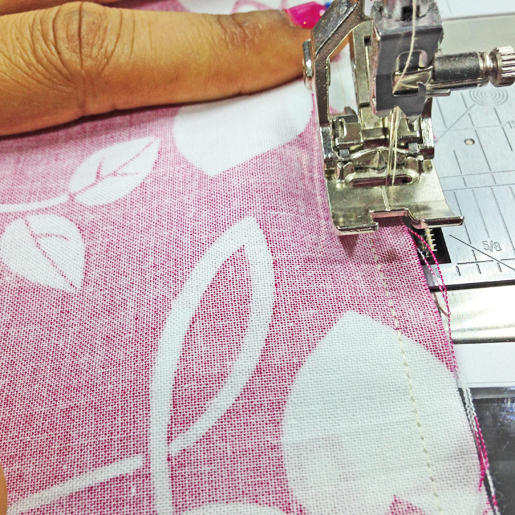
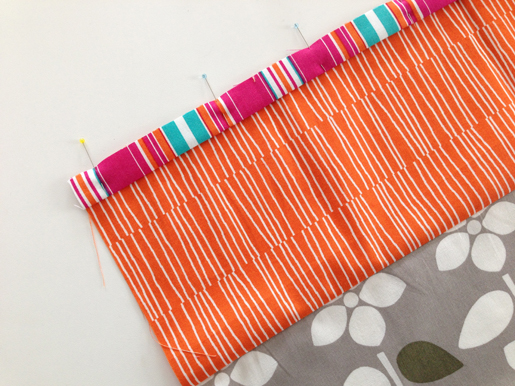
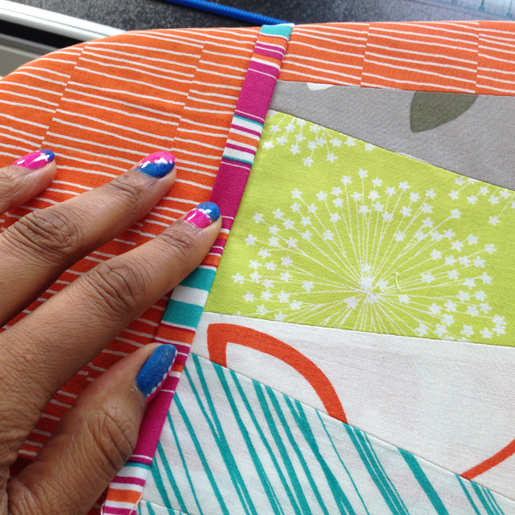
Pin the contrasting band to one long edge of the pillowcase body. I changed back to the 1/4″ foot and set the machine to a 6mm straight/basting stitch. Baste the band to the pillowcase body.
Step 3) Assemble the wedge cuff.
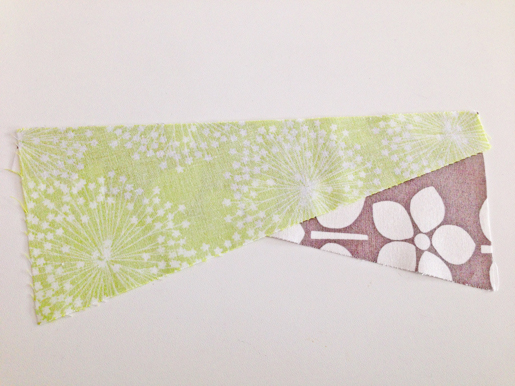
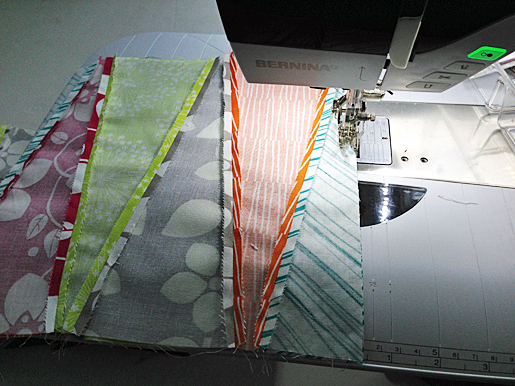
Take a pair of wedges and lay them right sides together, aligning the edges. If you did not trim the corners, offset the wedges slightly so you have an equal amount of corners exposed on each end.
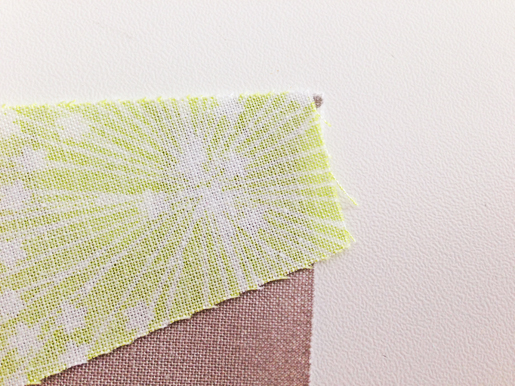
This offsetting is needed because of the angle of the shape. Ideally, where these shapes intersect should be at your 1/4″ seam allowance.
If you’re not sure whether this is lined up correctly, stitch the seam about 1″ and check the edge. It’s much easier to pull out 1″ of stitching than an entire seam!
Press the seam allowances open on your pair to reduce bulk.
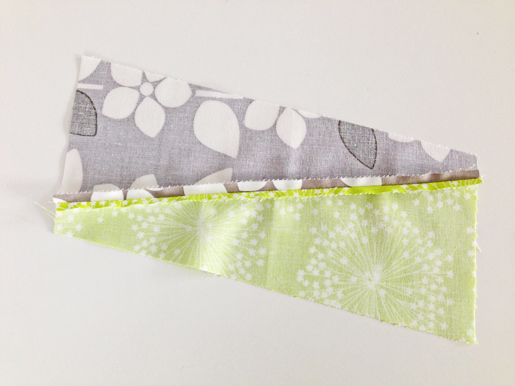
Keep stitching pairs of wedges until you’ve assembled all 21 wedges into a strip. Make sure you start and end your strip with the fabric that has 5 wedges.
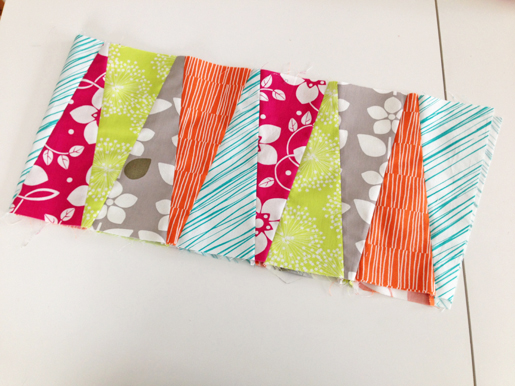
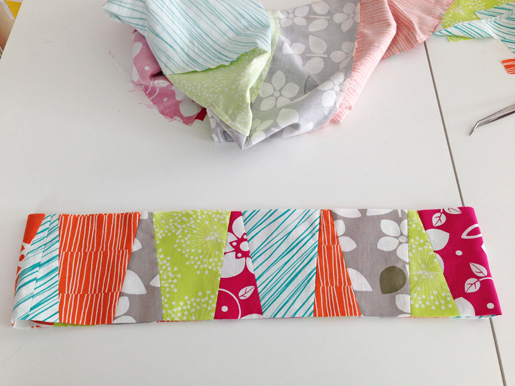
Square up the edges of your strip so that it measures 40-1/2″ long. Fold the strip with right sides together, and stitch the strip along the 10″ edge into a loop.
Press the seam allowances open. Next, fold the loop with wrong sides together and press in half lengthwise to form the pillowcase cuff.
Step 4) Assemble the pillowcase.
Fold the pillowcase body in half crosswise to form a 25-1/2″ x 20-1/4″ rectangle. Stitch along the bottom edge and up the side of the pillowcase body. Finish the edges with a zigzag as with the other seams on the body. Turn the pillowcase body right side out and press it flat.
Slide the wedge cuff over the body of the pillowcase.
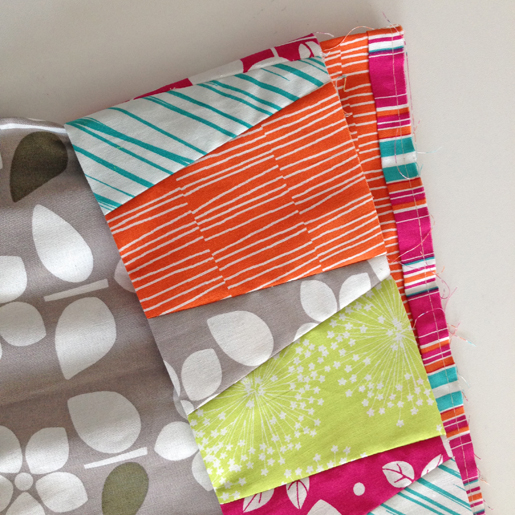
Align the raw edges of the pillowcase cuff with the raw edges on the pillowcase body and pin. You’ll find it helpful to align the seam you used to close the cuff into a loop with the pressed fold on the pillowcase body rather than the side seam to distribute the bulk.
Press the pillowcase cuff away from the body, while pressing the band and seam allowances toward the body. Finish the edges with a zigzag as with the other seams.
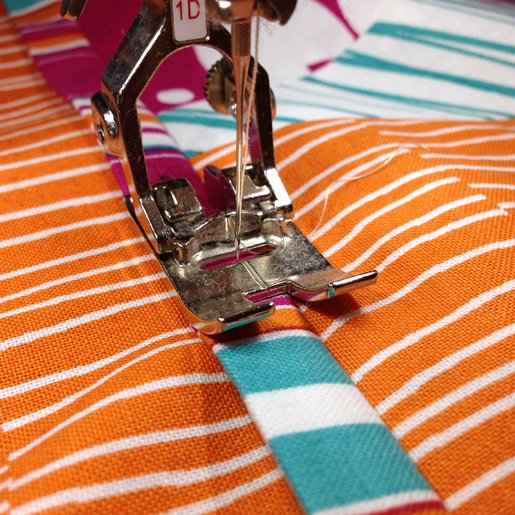
Topstitch on top of the band, about 1/8″ away from the seam through all layers. I used the inside edge of the all-purpose foot as a guide; the band is the width of the foot from the left edge to the inside right edge, making it really easy to stitch a straight line.
Now your pillowcase is complete! Be sure to donate your pillowcase to a participating shop or find a local charity, and be sure to log your donation on the APQ site!