How to Upcycle Jeans into Skirt
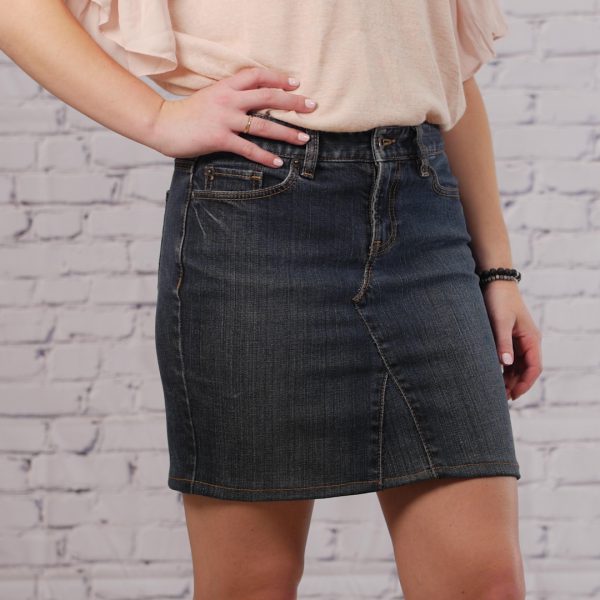
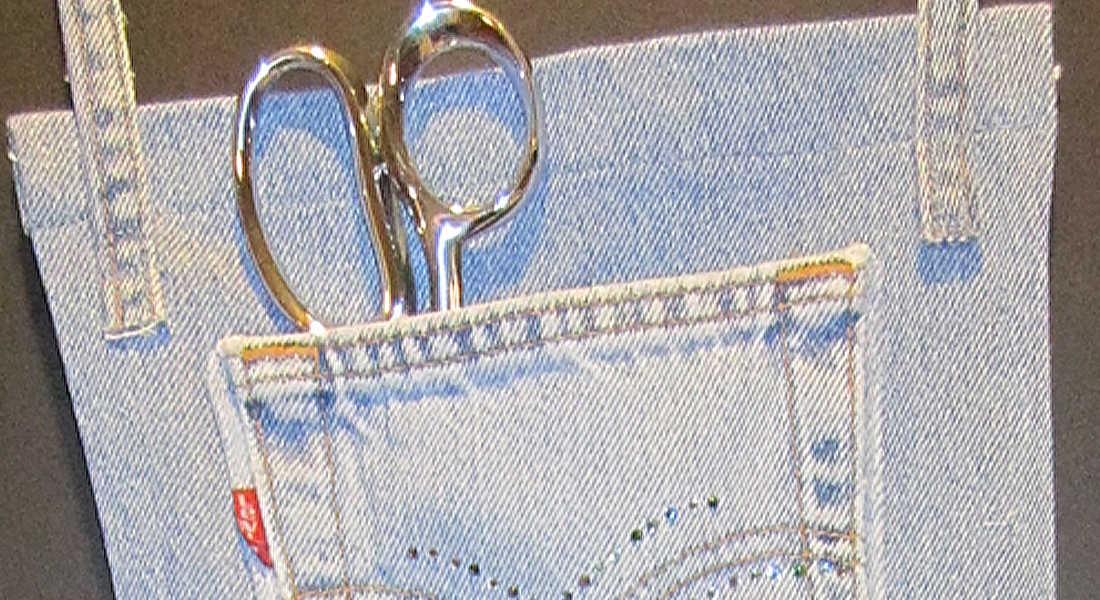
Many of us have our favorite pair of jeans that is worn regularly and several pairs that never leave the closet. Maybe you no longer like the style of the pant legs, or you don’t like the way it fits in the crotch area. Find a pair that you don’t wear for whatever reason, but that fits well in the waist. If you have several, pick one with cool embroidery or bling on the back pockets. Now, follow my easy tutorial to turn your neglected jeans into a hip skirt that you will want to wear again and again.
Machine Set Up for Upcycling Jeans into a Skirt
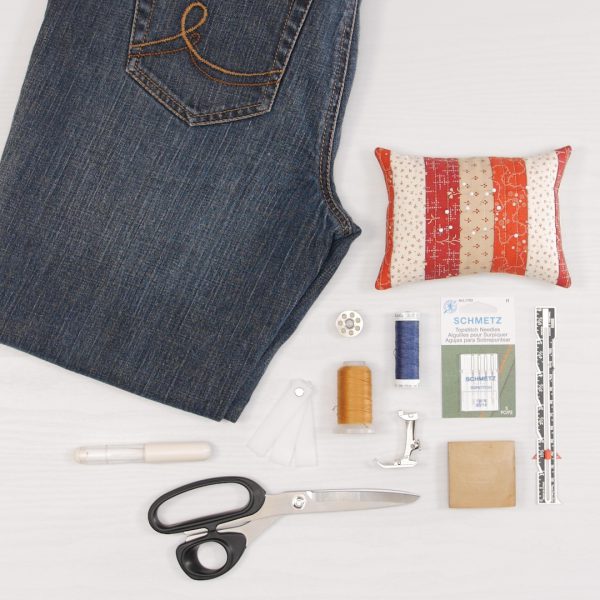
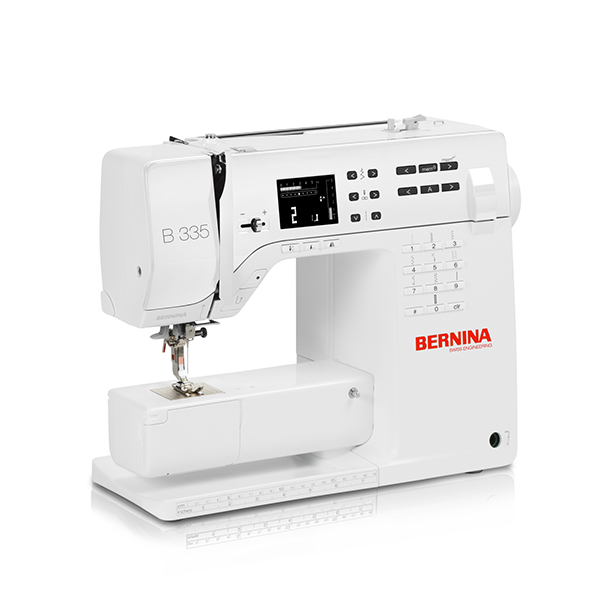
- BERNINA 335
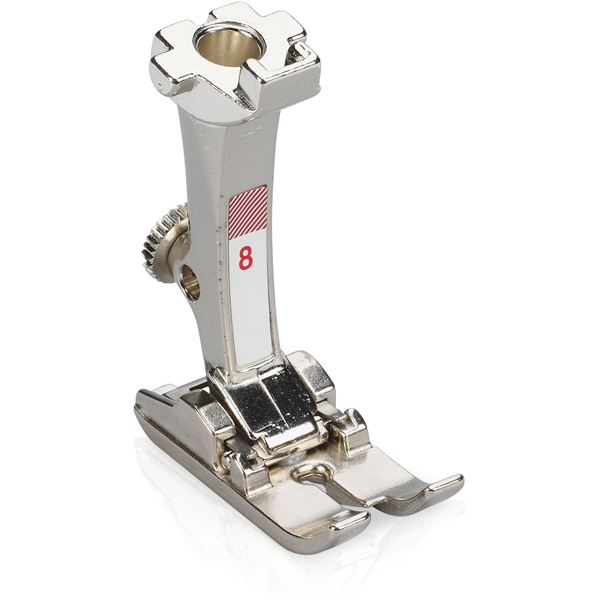
- Jeans Foot #8
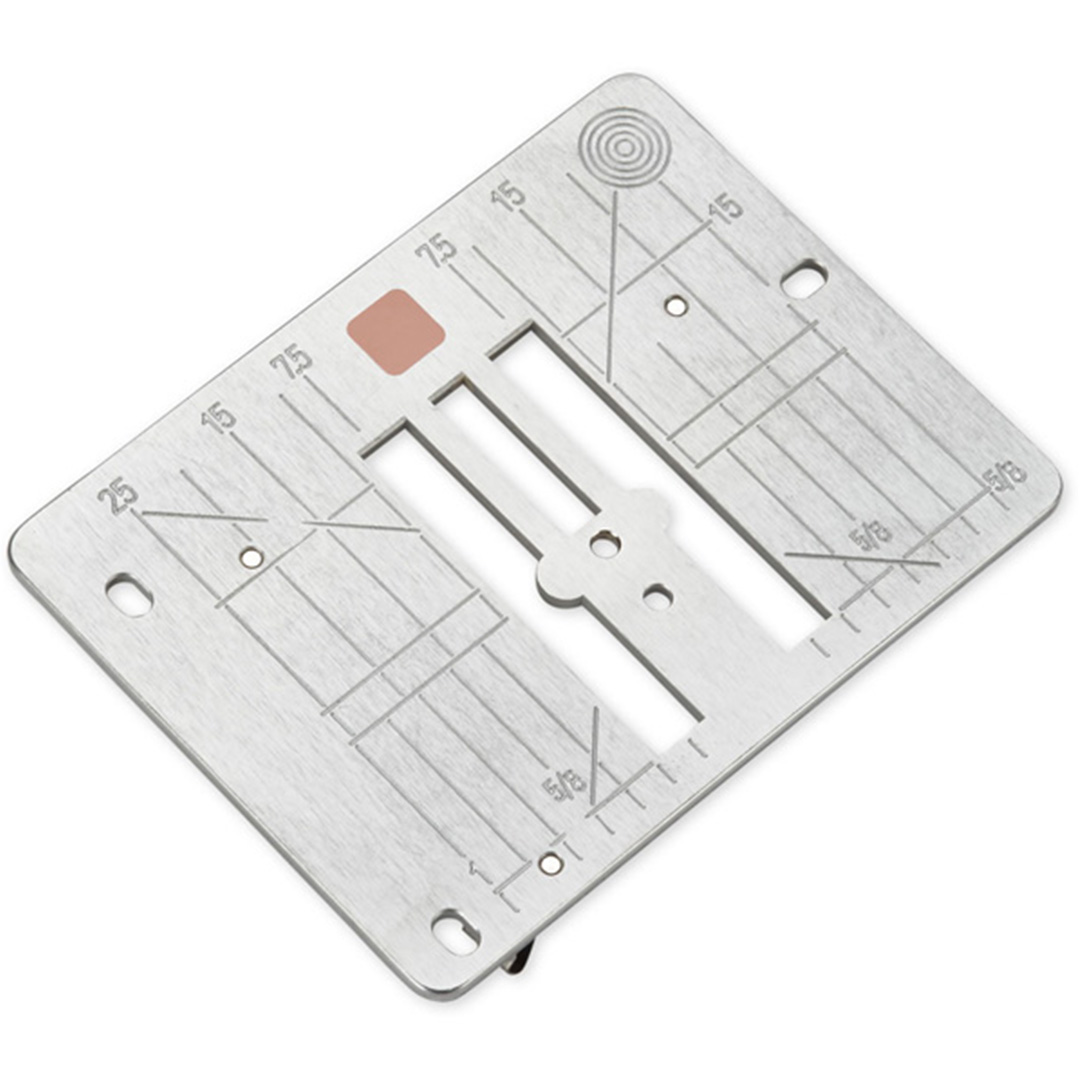
- Straight Stitch Plate (Be sure to purchase the one to fit your machine)
Materials for Upcycling Jeans into a Skirt
- Pair of jeans that fit well in the waist
- Notions
- Schmetz Topstitch Needle 90
- Mettler Denim Doc thread
- YLI Jeans Stitch thread
- Measuring tape
- Dressmaker’s shears
- Pins
- Height Compensation Tool
- Seam gauge
- Iron
Preparing the Jeans
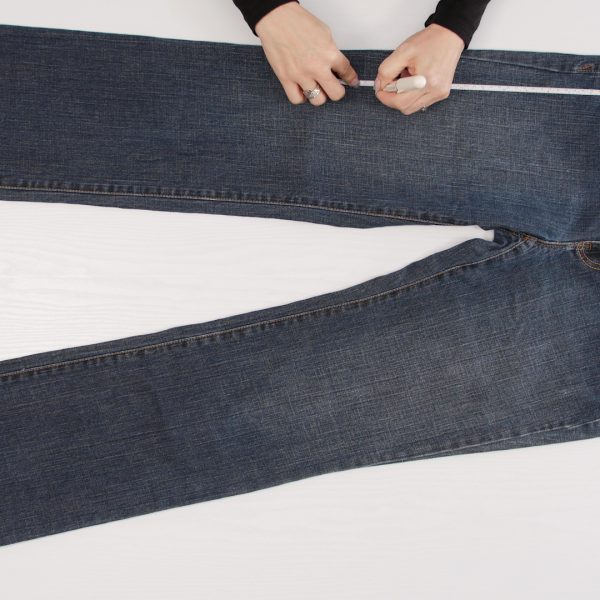
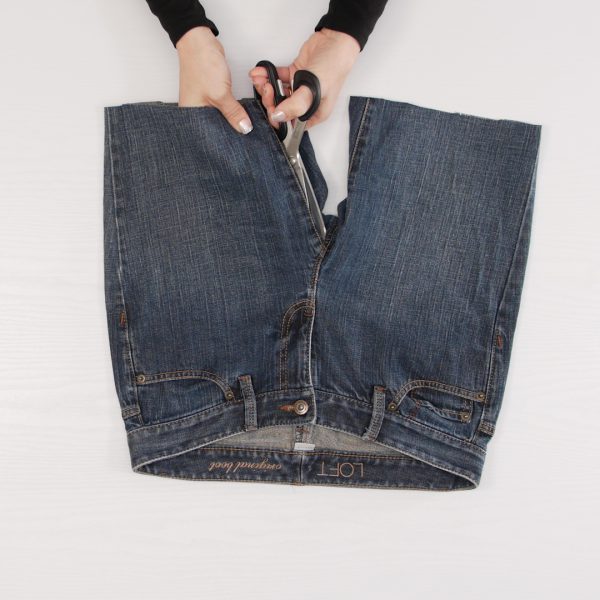
Measure length for your skirt and add an extra 1” for the hem allowance.
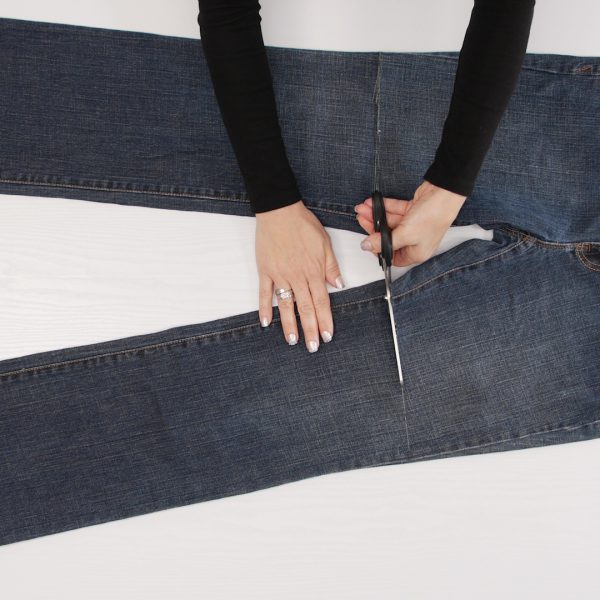
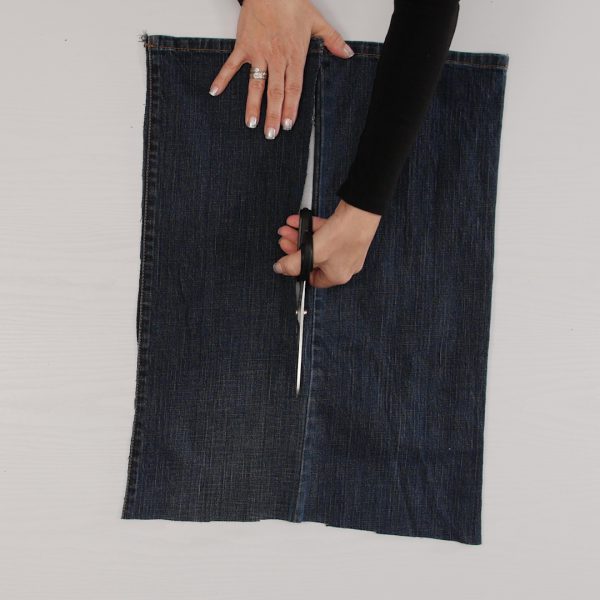
Cut across pant legs and set aside for later.
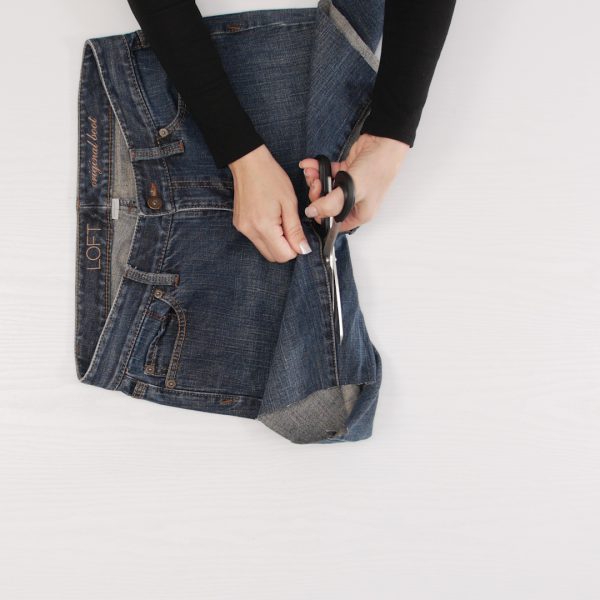
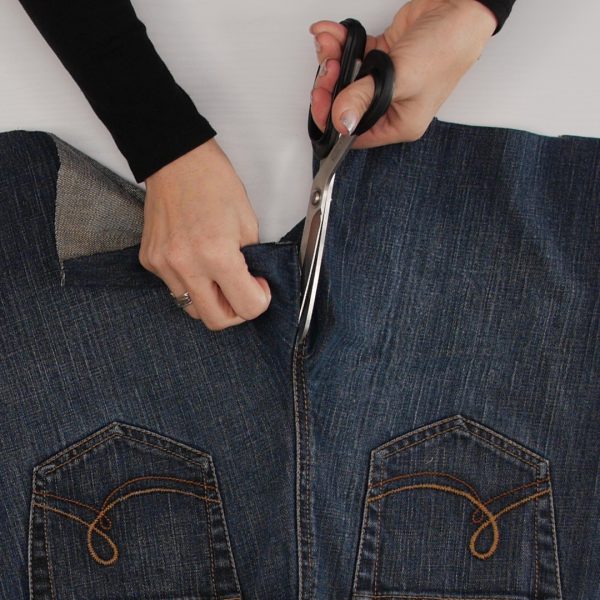
Cut inseam right next to the seam but leave the seam intact.
Continue cutting through the crotch and across to the other pant leg.
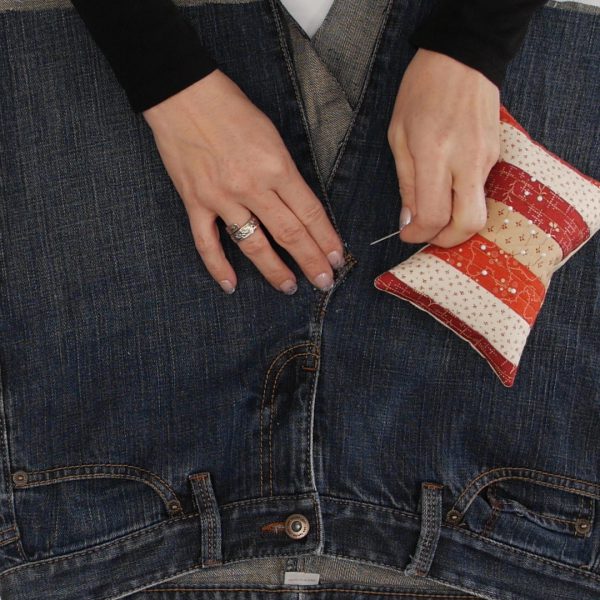
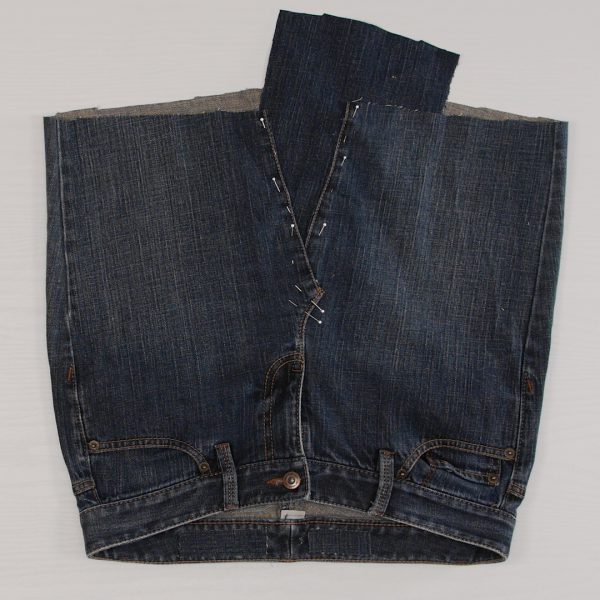
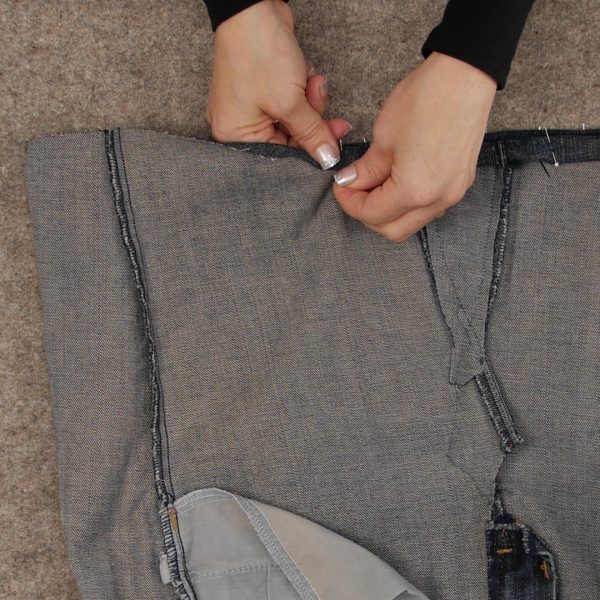
Cut along center front seam, overlapping jean fabric until it lays flat. Pin in place.
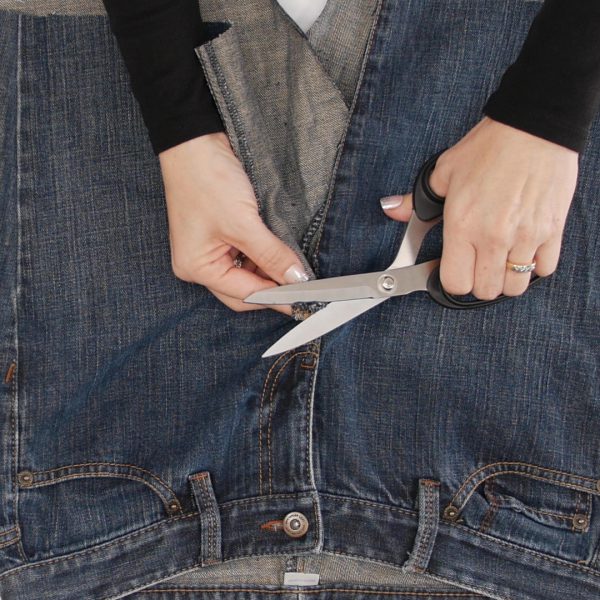
There tends to be a lot of fabric bulk at the beginning of the center front seam (under the zipper fly). Cut out some of the bulk to ease pinning and sewing later.
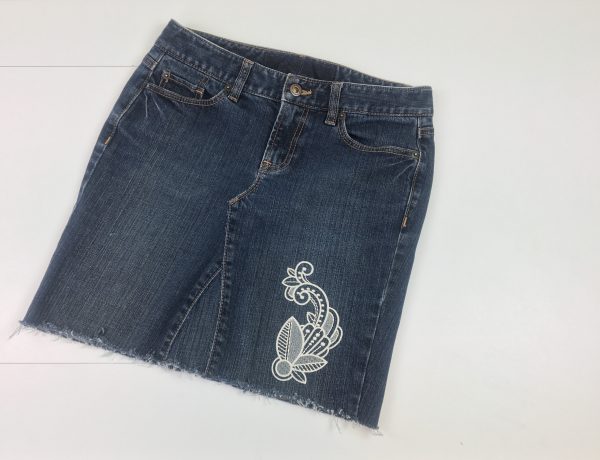
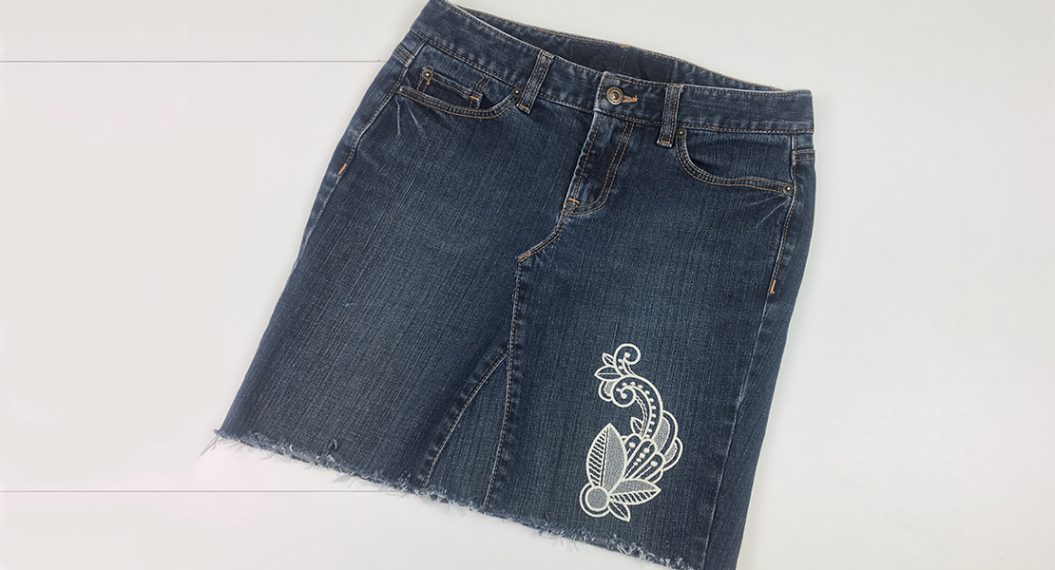
If you have an embroidery machine, now is a good time to add a design on one of the open pant legs. Pictured at the end of this post is Lace Leaves 1 by OESD Amanda Greene. The design is from the OESD Design Collection #21017 Sun Blooms which has great designs for clothing.
Do the same on the backside. Cut along the center back seam, overlapping jean fabric until it lays flat and pin.
Cut two fabric wedges out of excess pant fabric for the front and back of skirt. Give yourself plenty of fabric for the seams. You can always trim down later if needed.
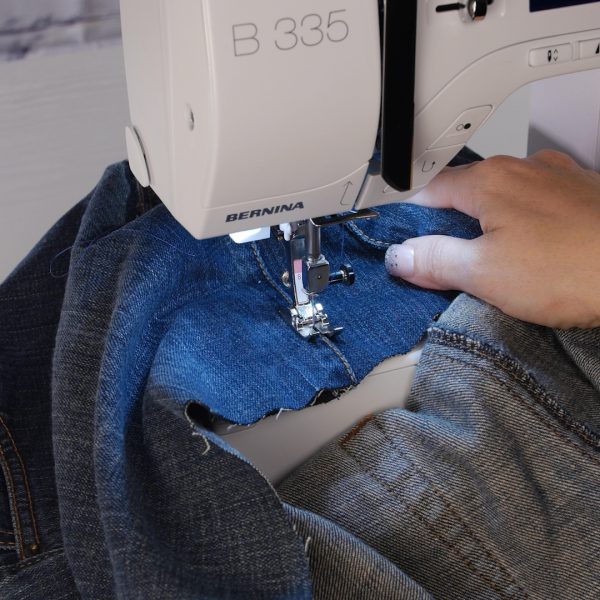
Pin the right side of one fabric wedge to the wrong side of the front. Of course, you can pin a different fabric here if you want to add contrast. There are lots of ideas online if you want to get really creative and funky. For our first skirt, let’s keep it simple.
Sewing the Skirt
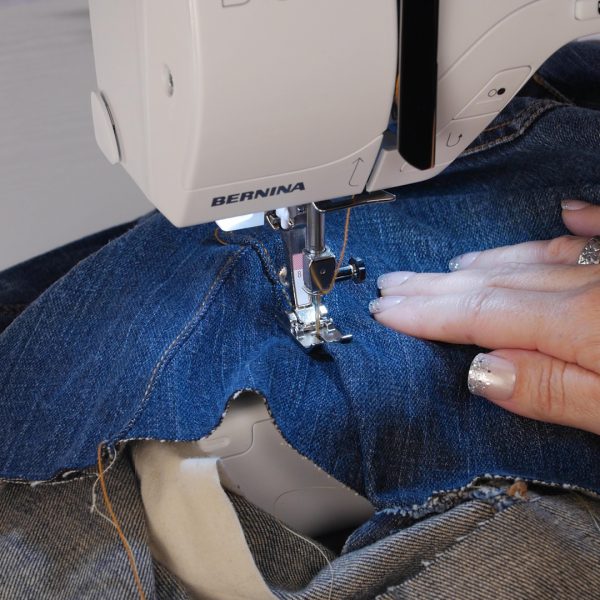
Insert Schmetz Topstitch Needle 90. Attach Jeans Foot #8, which is great for sewing straight stitches in heavy, thick fabric. Thread your sewing machine with thread that matches the denim color. I used Mettler Denim Doc which is made for denim seams. It’s a strong thread that has a polyester core and a cotton covering. Increase the stitch length on your machine to about 3.5 mm.
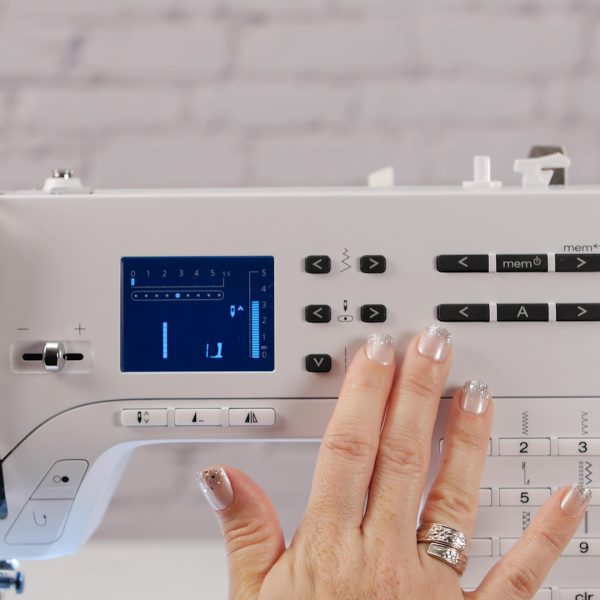
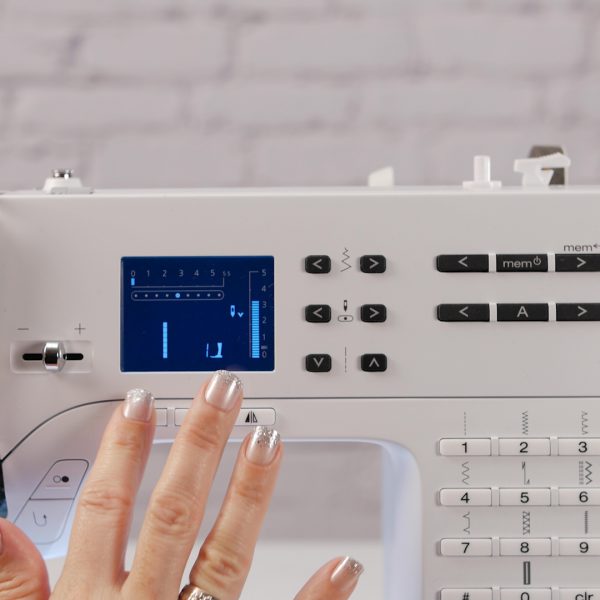
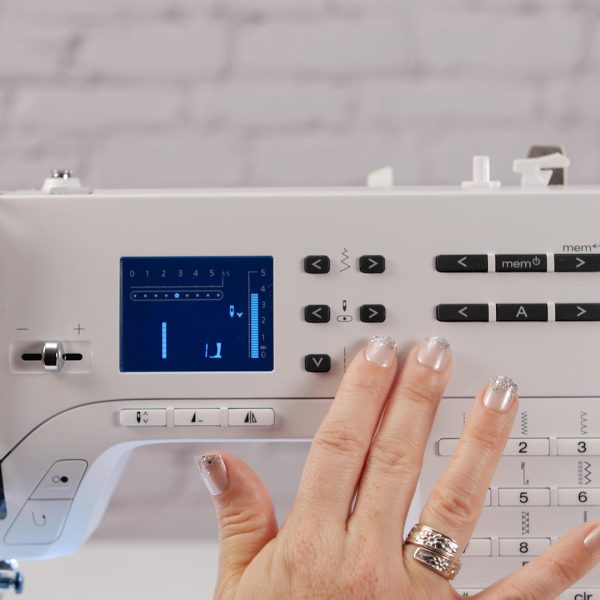
Press the Needle Stop Up/Down button until the display screen shows a down arrow to the left of the stitch length. When the Needle Stop Up/Down function is set for needle down, the needle will stop down in the fabric when you stop sewing. This prevents your fabric from shifting when you need to stop the machine and make adjustments.
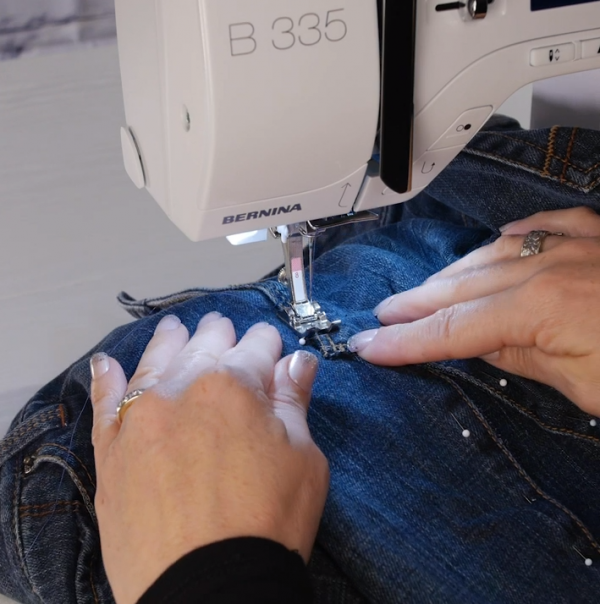
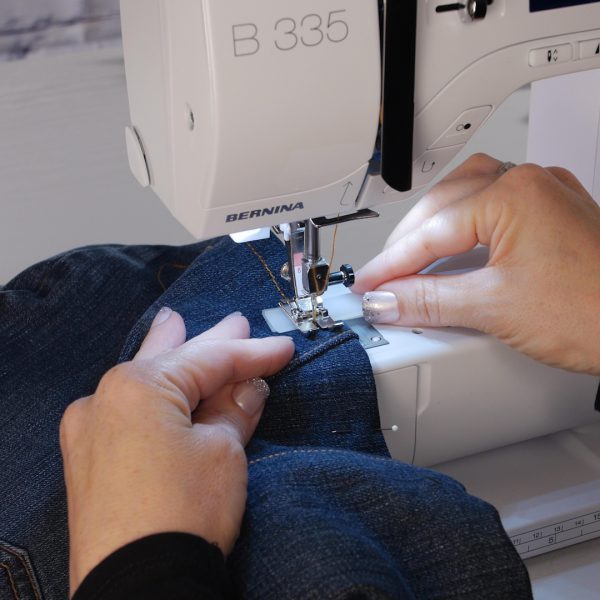
Now, let’s sew! Start with the front center seam using the height compensation tool to stitch over the bulky seams, if needed. Check out this blog on WeAllSew.com for information on How to Use the Height Compensation Tool.
Backstitch a few times over the zipper fly.
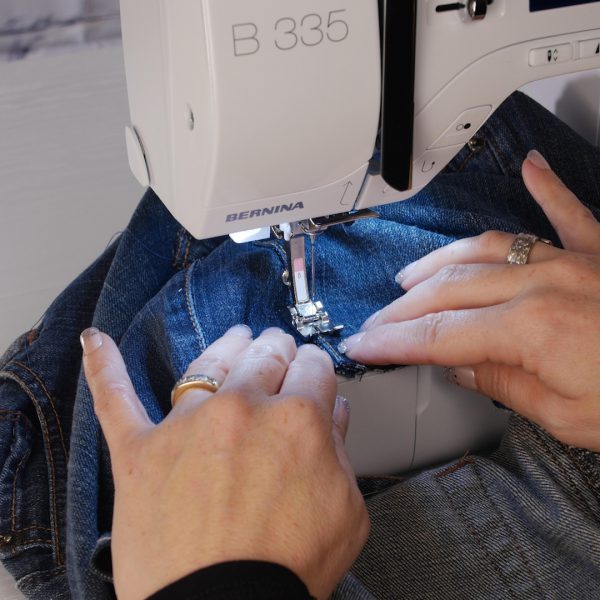
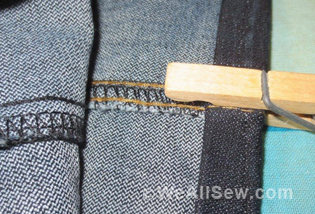
Edgestitch the fabric wedge to “legs” to form skirt front. Since the original seams are still intact, I used a thread that matches the denim fabric. With Jeans Foot #8, butt up the inside of the toe against the original seam. Depending which seam you are sewing, you will butt up against the left or right toe. Make sure your fabric wedge is flat underneath the skirt.
Now, let’s sew the backside. Change your thread to YLI Jeans Stitch thread. The Topaz color was a good match to my original jeans thread. Increase your stitch length to about 4 mm. I found this thicker 30 weight thread looked better with a longer stitch length on my machine. Do some testing with the denim scraps and find what works best with your machine. Thick fabric and thick thread require some experimenting beforehand. Save your samples and notate your stitch length, thread, and needle for future reference.
Fold under raw edges and pin the second fabric wedge underneath to form the rest of the skirt. Notice the backside does not have the original seams intact. This is why I used a thick thread in a color that matches the original thread. Edgestitch.
Sewing the Hem
I decided to sew a double fold hem on this skirt, but it’s certainly not the only way to finish your skirt. I have made some skirts with a frayed hem by clipping into the raw edge every few inches, pulling out thread strands and putting the skirt through a wash cycle. It all depends on the look you want to create!
To achieve a double fold hem, trim the bottom of skirt so it is straight and even on both sides. Fold and press the hem allowance up 1”. A seam gauge works well here. Fold and press again so the raw edge meets the first fold. Finally, fold up hem allowance twice on both pressed folds encasing the raw edges. Pin in in place.
Top stitch 3/8” from the fold using your height compensation tool at the thick seams. To keep the foot level as you sew up a thick seam, place the tool under the foot, directly behind the needle. You can use one, two, or three plastic bars depending on the thickness of each seam. Once the foot is completely on the seam and level, remove the tool. Slowly stitch through the seam. Then, as the foot comes off the thick seam, place the tool under the foot on the front side, but not too close to the needle. Using the tool prevents skipped stitches and helps the fabric feed through smoothly. It’s a simple tool that makes a big difference! When you finish stitching, overlap the first couple stitches. For added security, you can pull the needle thread to the inside of skirt and tie off. Congrats on your first upcycled skirt!
Ideas for your next Jeans to Skirt Upcycle
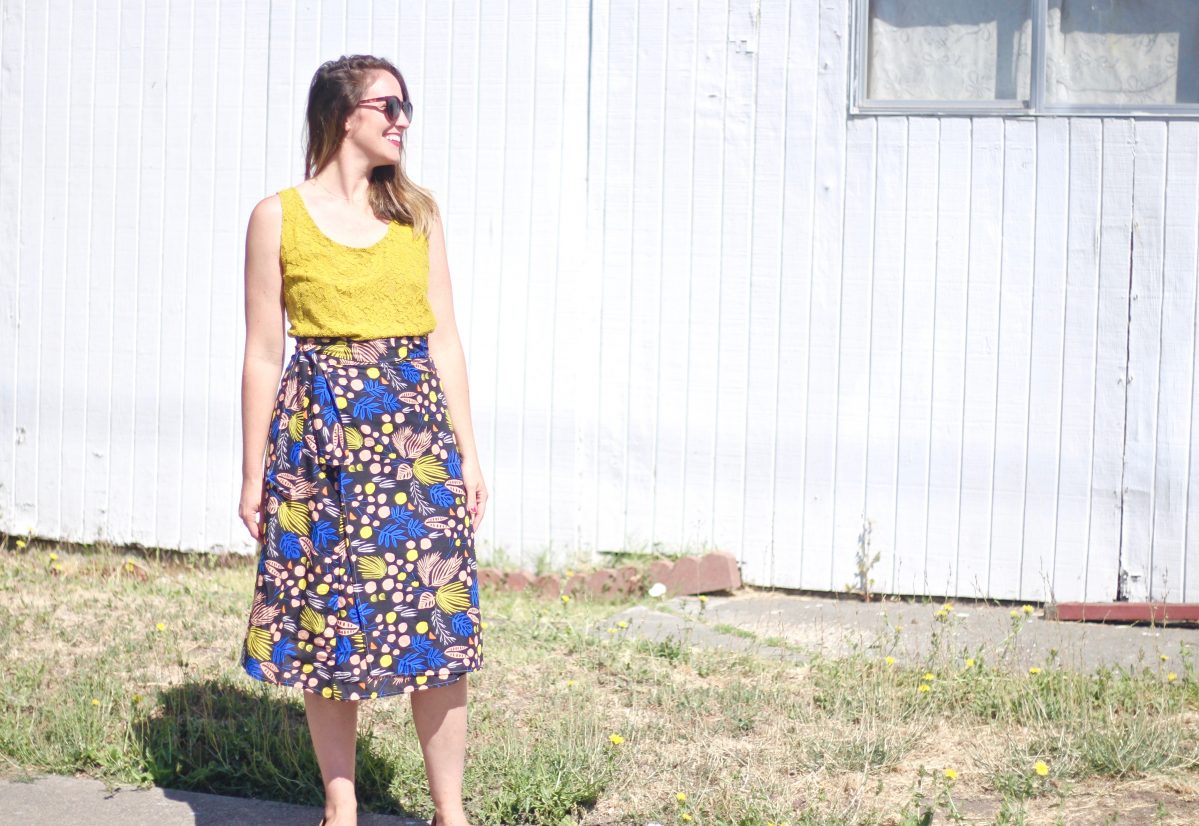
After you make a skirt using the same denim fabric for the wedge panel, you can get really creative and use different shades of denim from other jeans, use a printed fabric, or a combination of both! Go one step further and add embroidery. It’s easy to do when the inseam is cut open before you do any pinning! Also, you can try a short frayed hem if you want a casual look or a scraggly frayed hem if you want to look edgy.
Enjoy!
