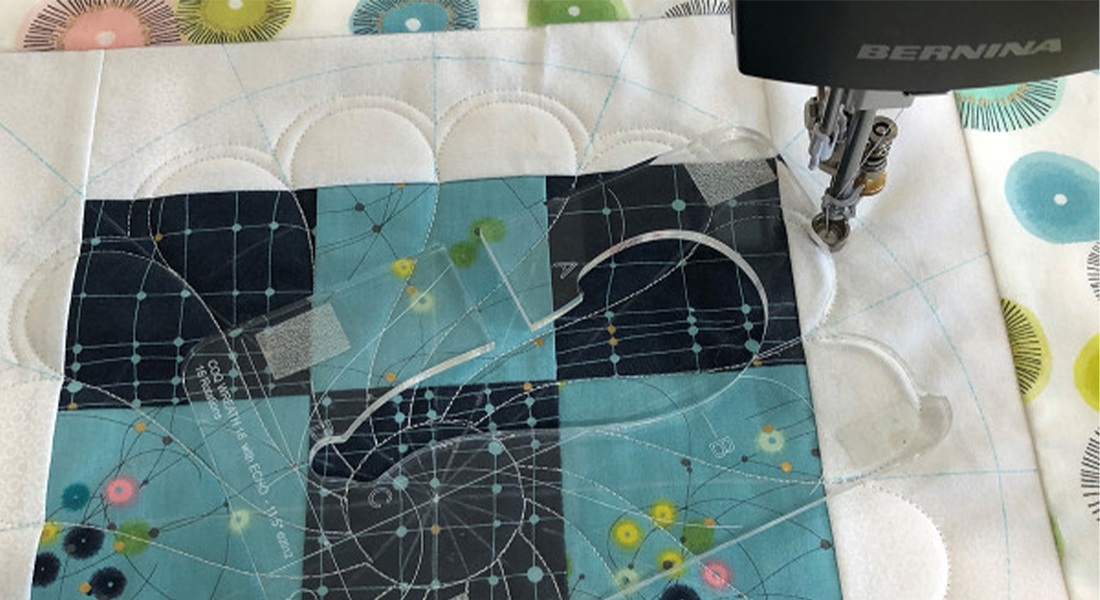
Longarm Quilting for Beginners Part 3: Threading and basic Techniques
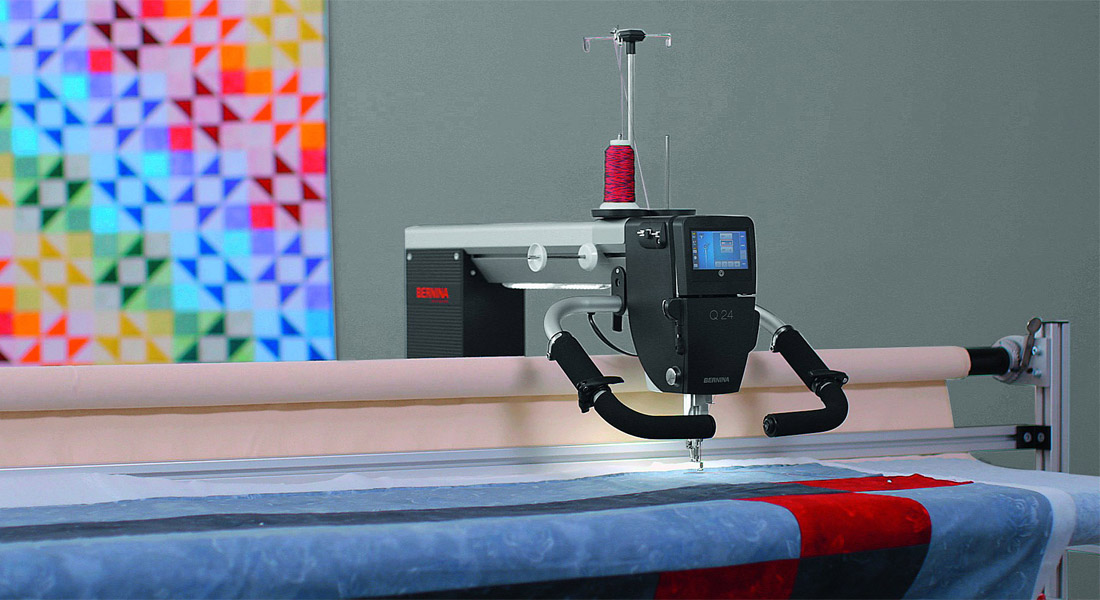
A person new to using a longarm is always interested in the threading of the machine. Some longarms are a little different from others. I want to share with you how easy it is to thread our BERNINA Q Series machines. Both the Q 20 and the Q 24 thread the same way. The threading is all in the front, so there is no need to go to the back or reach all the way to the back.
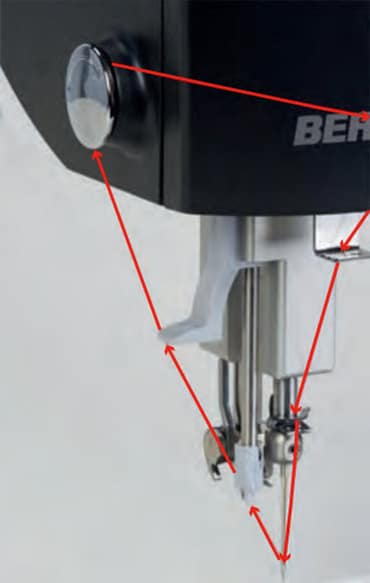
First, place the thread on the spool pin on the left spool pin of the machine and bring the thread straight up to the thread guide above it. Now bring the thread forward to the thread guide in front. Bring the thread down the side of the machine and slide the thread into one of the two thread guides on the side of the sewhead. Either will work.
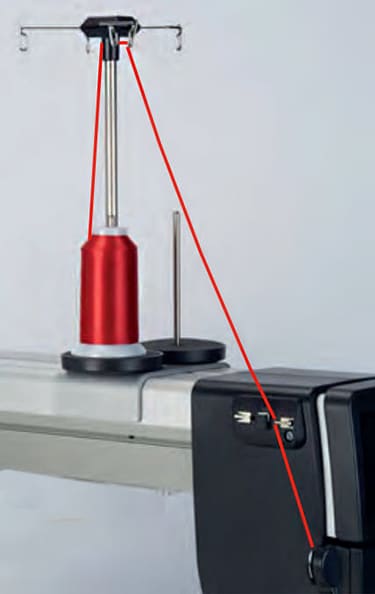
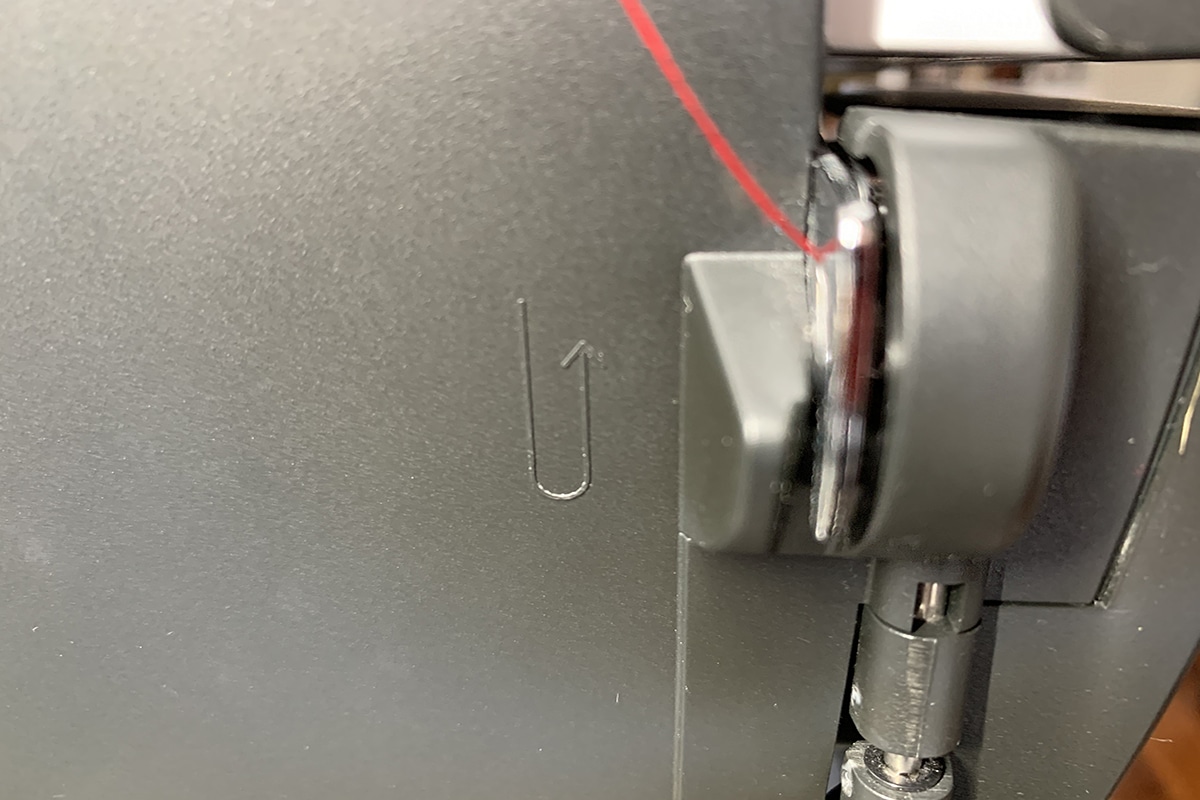
Using the arrow on the side of the Sewhead as a guide, put thread under the thread guide from back to the front. This thread guide is by the door hinge.
Run the thread across the top of the door to the other side of the Sewhead.

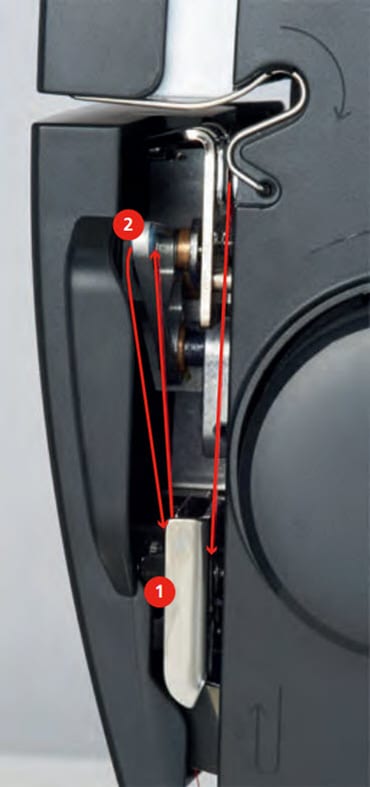
Following both arrows on the side of the Sewhead, guide the thread down and then back up. At the top the thread will fall right into the tension. Pull the thread downward in the direction of the arrow through the thread regulator (1), lead the thread upward and thread it from the back to the front into the take-up lever (2), then pull it downward using the edge of the door as a guide.
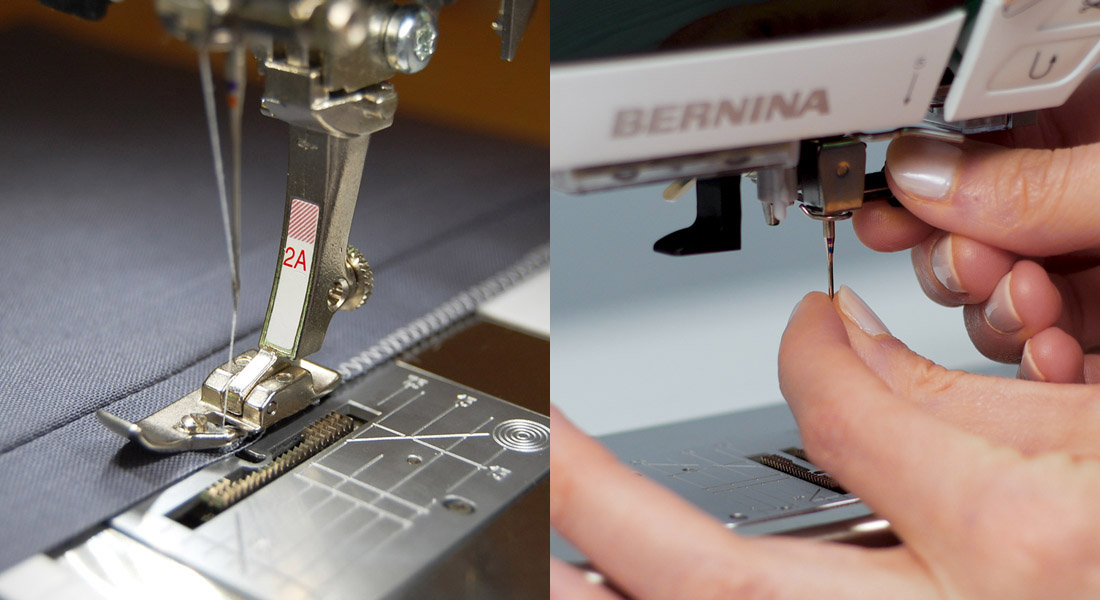
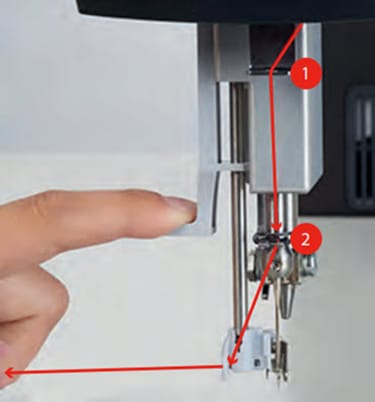
Guide the thread downwards into the slot of the thread guide (1) beneath the front cover and insert it into the thread guide at the needle holder (2) from the right. Pull the thread to the left and press the lever of the threader down and keep pressed. The needle will now position itself in the correct place to thread the needle.
Once the needle is in position, pull the thread across and through the slit in threader.
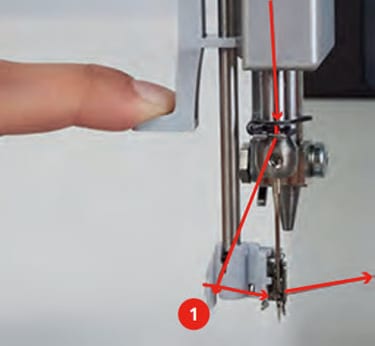
Slowly release the threader and the thread will be pulled into the needle’s eye.
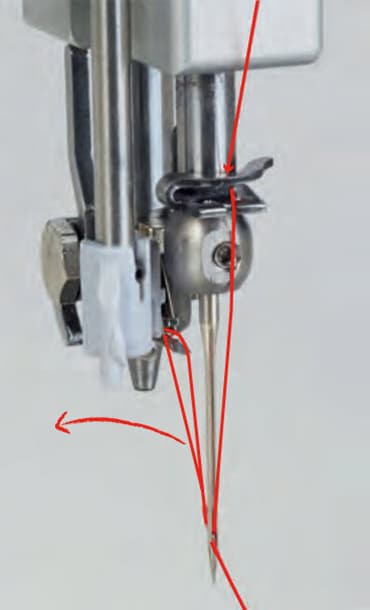
Pull the thread out of threader and up to the cutter from back to front on the outer on side of sewhead.
Watch this short video of how you thread the Q Series
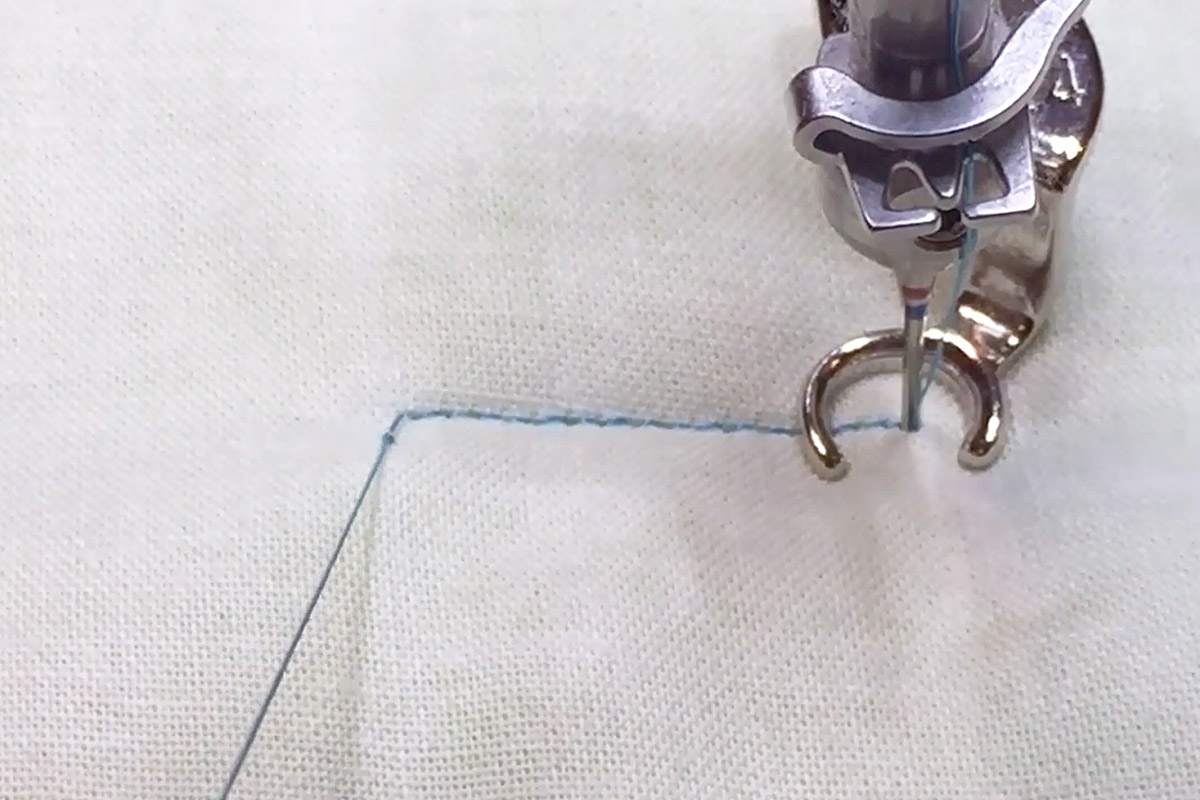
When you get ready to start quilting, you will want to pull the bobbin thread to the top so that you do not get a nest of thread on the back of your quilt. With our Q Series machines, we have a great way to make this happen. We have a function that can be programmed on one of the toggles on the handles if on a frame, or on the foot control if using a table model. This function is called Securing Stitches.
This function is really two functions in one. If you click the toggle, it is programmed on; then when you let go of it, the sewhead will take one full stitch. This is how you pull the bobbin thread to the top of the quilt. If you click the toggle and hold it, it will stitch the number of stitches it is programmed to stitch to secure the starting or stopping of your quilting.
Watch a short video of how the Securing Stitches works
When you have finished stitching, you can secure the motif by holding the toggle programmed for this, and then click the toggle and let go to pull up the bobbin thread.