How to Make a Quilt Facing
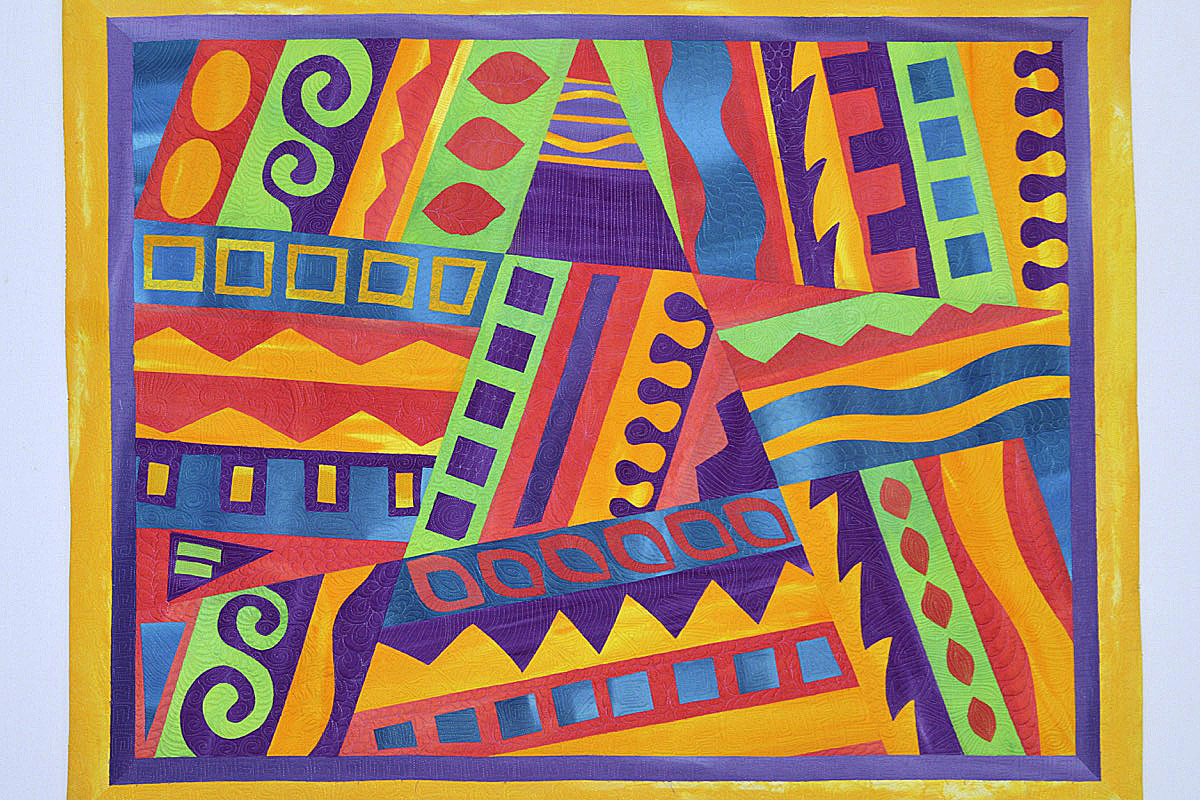
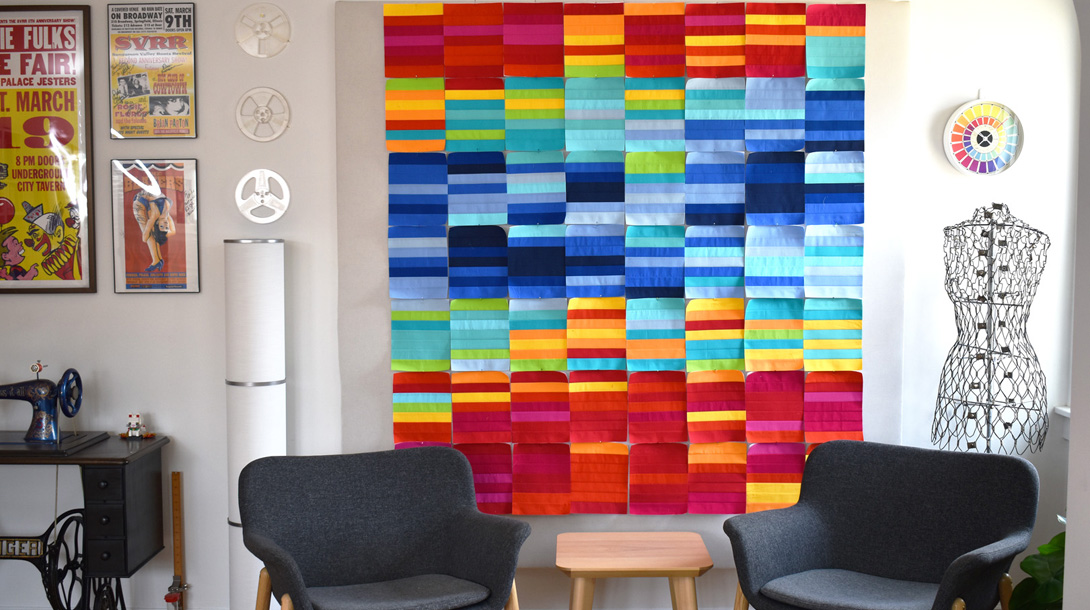
Art Quilter, Robbi Joy Eklow, shares her method for facing a quilt, a finish that gives the edges of a quilt a clean look without the frame of traditional quilt binding.
A facing is similar to a binding on a quilt, except that it’s turned completely to the back so there is no visual line around the edge of a quilt. I also prefer a facing because the hand stitching required at the end is easier as there is more fabric turned to the back, and it doesn’t have to be exact. Also, I find this method of making corners easier than traditional binding.
The beauty of this method is that once you’ve marked the outside edge of the facing, you can just sew. You can eyeball the measurements of the strips you’ll use. It’s quick, and it’s forgiving. You might want to try a sample or a mug rug before tackling a larger quilt.
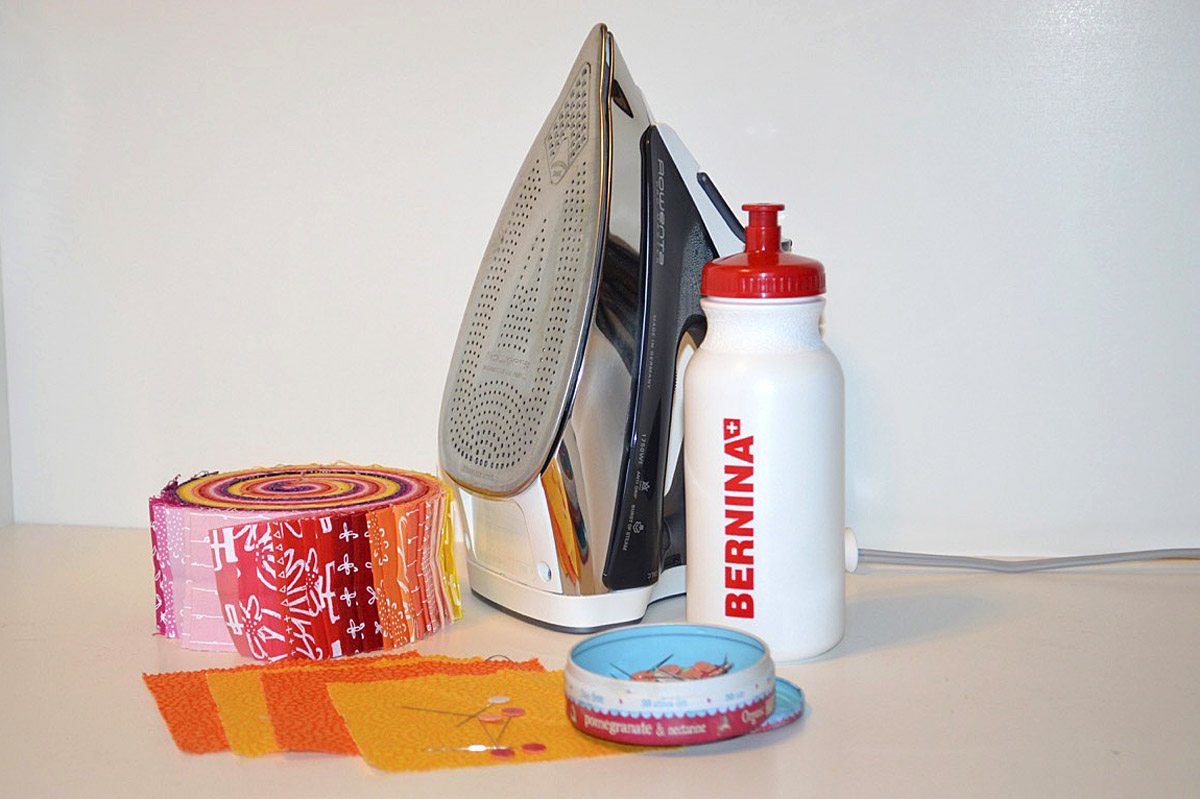
Materials to Make a Quilt Facing
- Quilt ready for edge finishing (if it’s not trimmed, wait until later to trim it. You’ll see why!)
- 2 1/2″ strips for facing, length to match the perimeter of the quilt (You shouldn’t be able to see the facing when done, so it doesn’t have to match perfectly)
- 4″ or 5″ square for each corner (The edges of the corners may show a bit, so keep that in mind when choosing fabric)
- Thread to match facing strips
- Very fine quilting pins
- Sewing machine (I sew on a BERNINA 780)
- Walking foot #50 or Edgestitch foot #10/#10C/#10D
- Steam iron and water (I use my BERNINA water bottle to keep water to fill the iron, it’s great for pouring right into the iron)
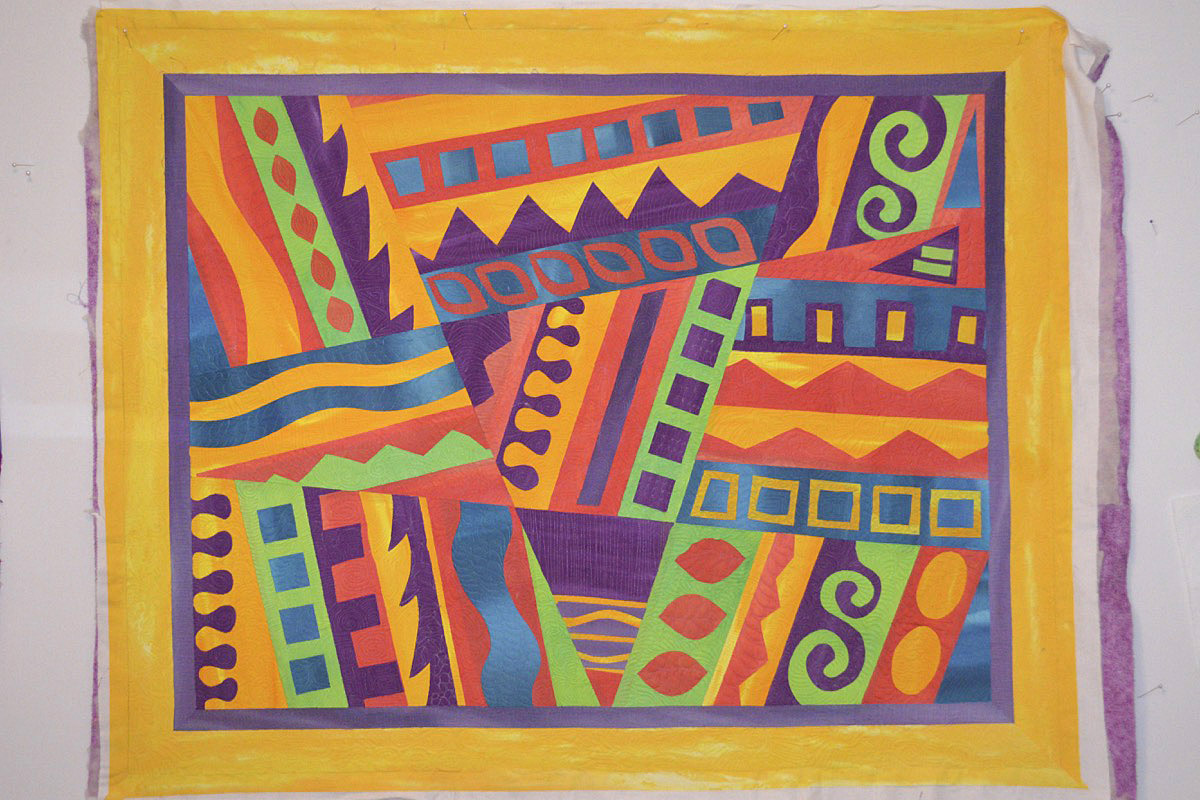
1. If you have not already trimmed your quilt to size, mark a line 1/4″ outside each edge of your quilt. Don’t trim now.

I leave wider borders than I need on my art quilts, I think it’s easier to quilt now, trim later. If you have already trimmed your quilt to size, be aware that this method will decrease the overall dimension of your quilt by a bit more than a 1/2″ in each direction.

2. You need one facing strip for each edge of your quilt. I use 2 1/2″ wide strips, pressed wrong sides together along the length to yield a double-layered strip 1 1/2″ wide. We’ll sew the strip to the quilt using a 1/4″ seam allowance leaving a 1″ facing on the back side of the quilt.

If you need to sew two lengths of strips together for a larger quilt, sew strips together on an angle.
3. While you are ironing, take each square and fold it on the diagonal, wrong sides together, and press. I used 5″ squares from a charm pack. These triangles will cover the raw edges of the facings at each corner of the quilt.
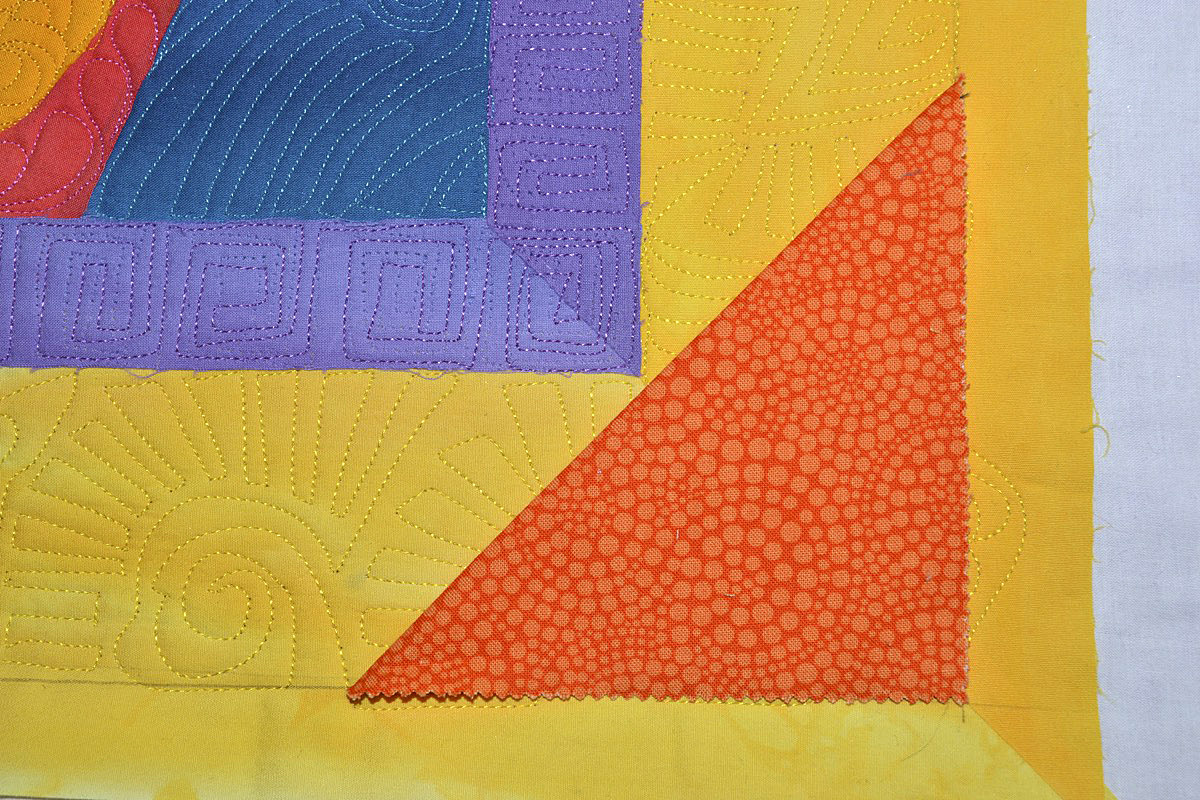
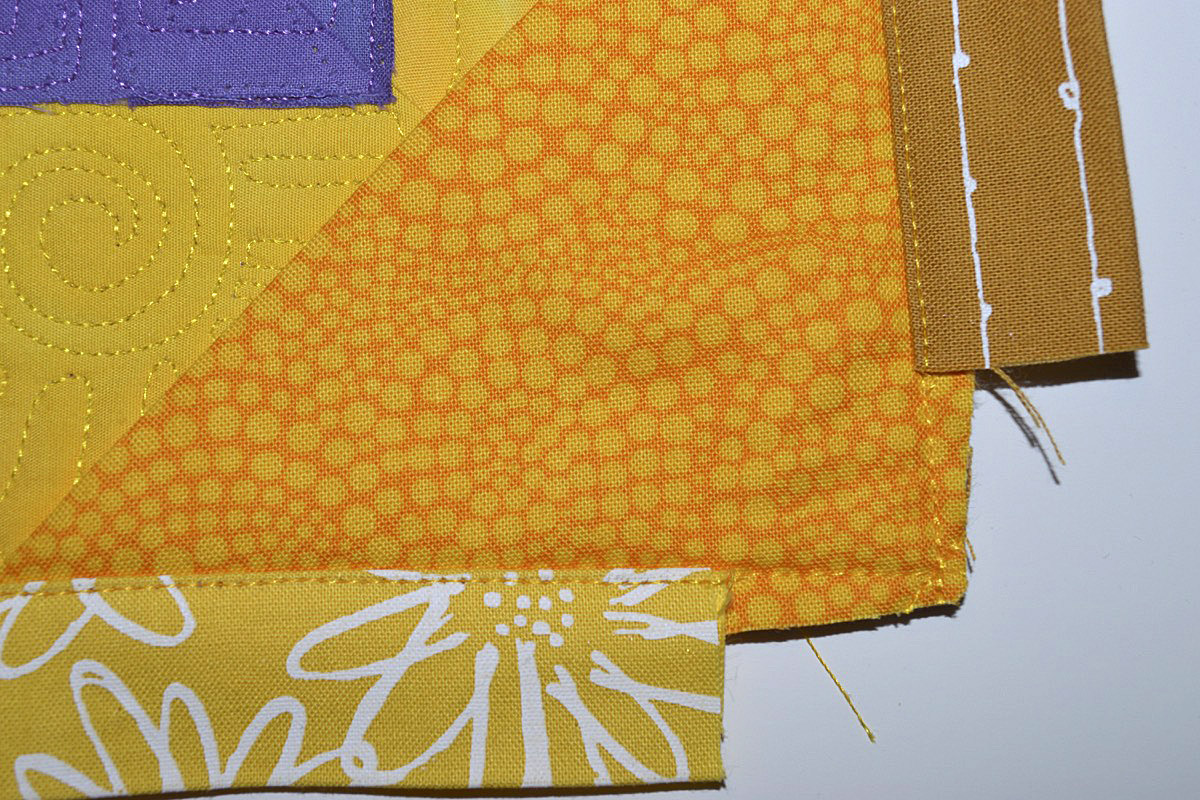
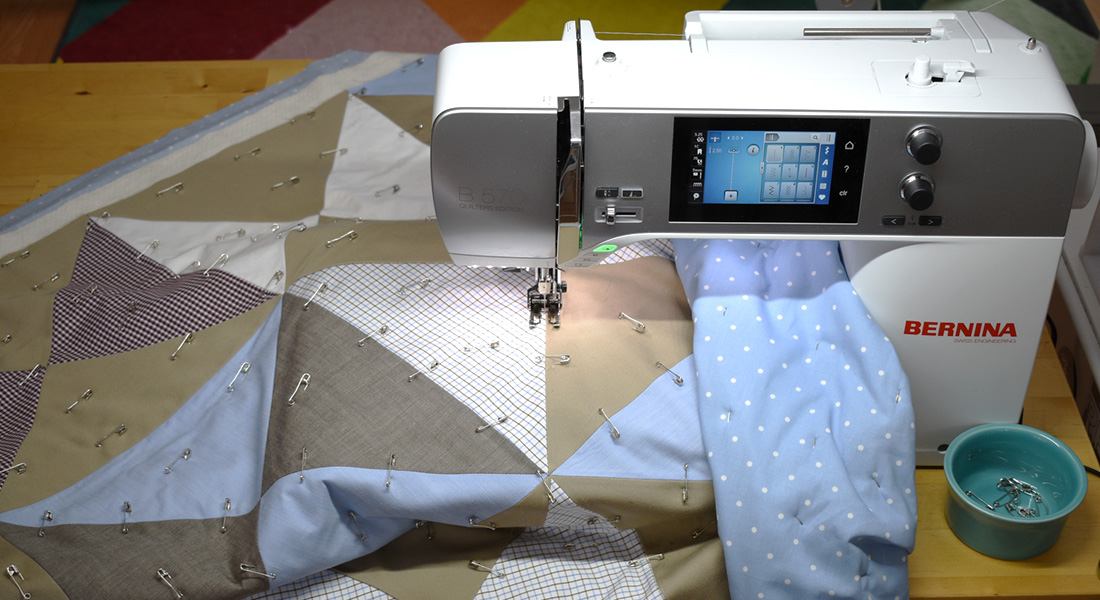
4. The triangles are placed on the top of the quilt at each corner, with the raw edges matching the raw edges of the quilt (or your mark made on the edges of the quilt).
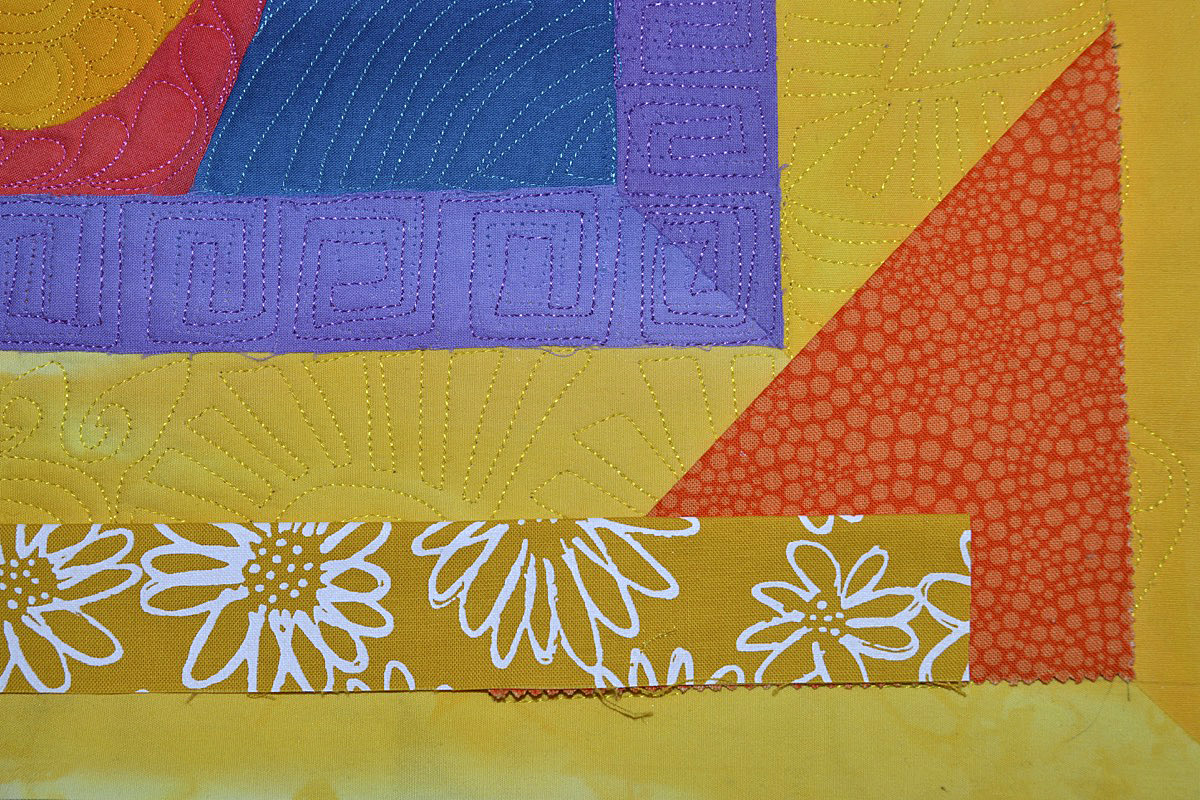
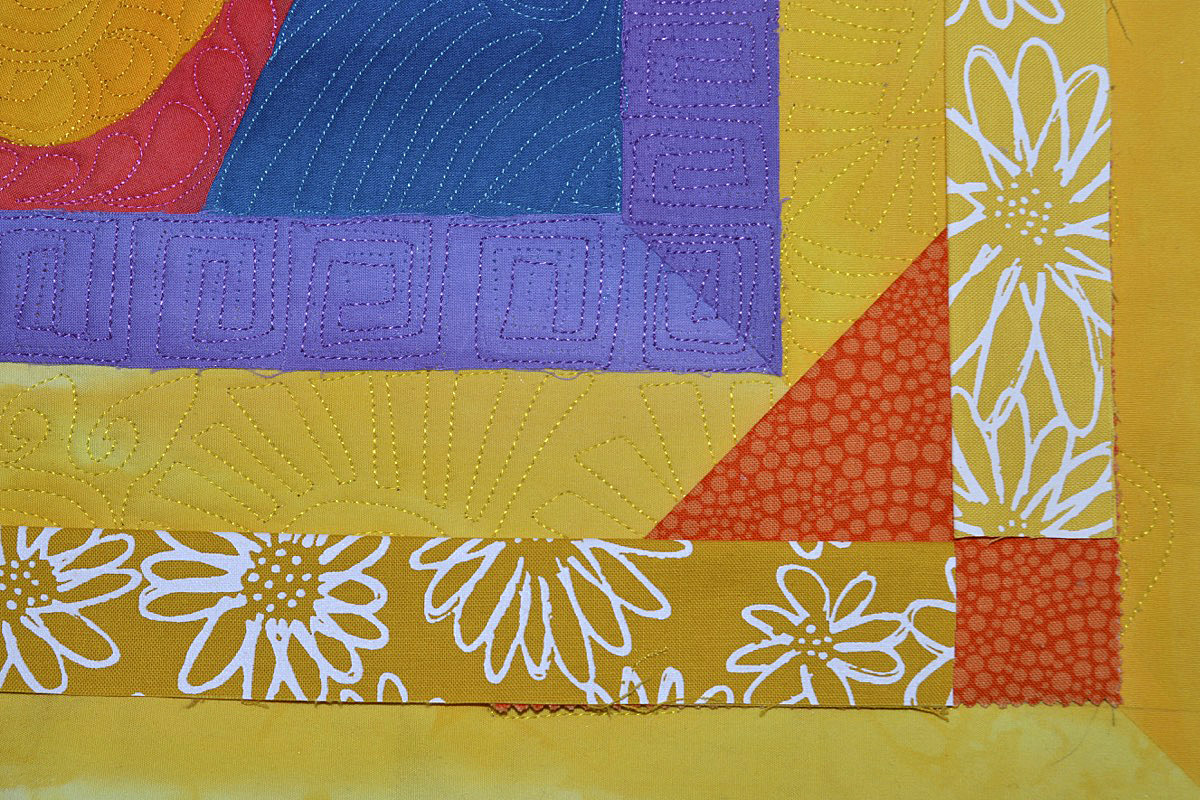
5. Place one long strip along each edge. Don’t go all the way to the very corner, but leave a little space. This will help cut down on the bulk of fabric layers in the corner, and the triangle will cover the raw ends of the facing strips.
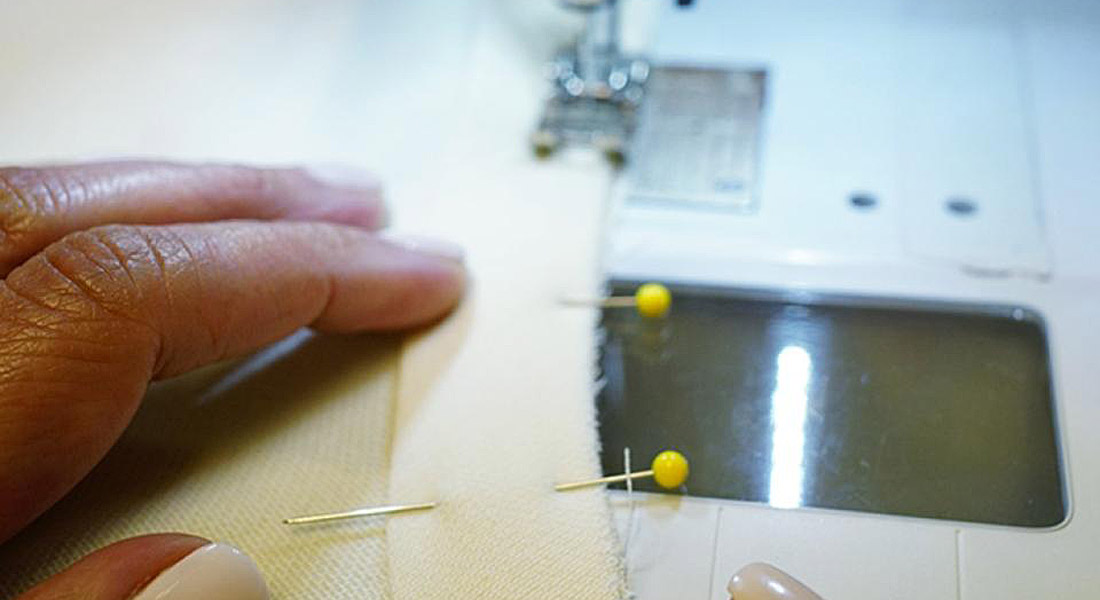
I like to gently pin the strips and triangles to the quilt. Don’t pull on the strip, just lay it down gently. Note: if you prefer, don’t trim the second end of each strip at this point, leave extra and trim it when you get to the corner while sewing.
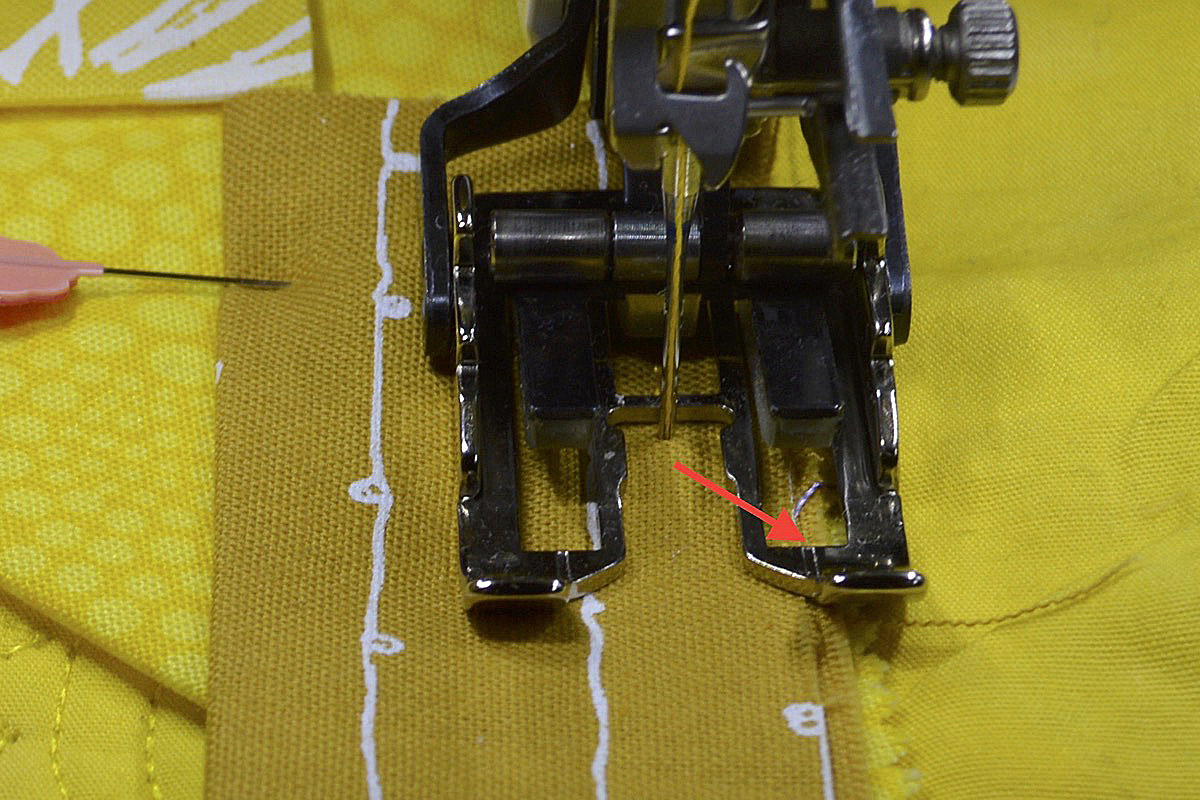
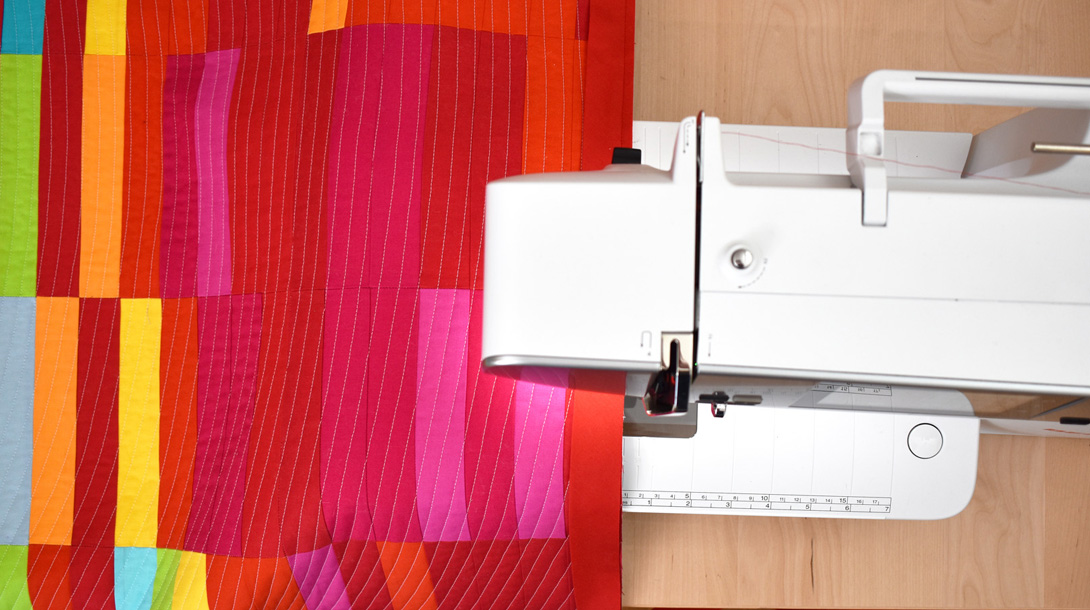
6. And now we sew, using the Walking foot #50 to help evenly stitch through all the layers at once. I leave the default settings on the machine for a straight stitch, and sew gently, lining up the 1/4″ marking on the sole of the foot to the raw edge of the strip. Even though my B 780 is equipped with the Dual Feed Feature, I still like using the Walking foot #50 for better control of all the layers when sewing the facing.
Start at one top corner and stitch down the side. Go slow, it’s easier to take your time and get it right than to go back and rip it out. Gently feed the quilt under the foot, let the machine do the work. Don’t pull or push the fabric through. If you didn’t trim the end of the strip yet, trim it right before you get to the corner, allow that little bit of the square to show. Turn the quilt 90 degrees and start stitching the second side, then the third, and then the last.

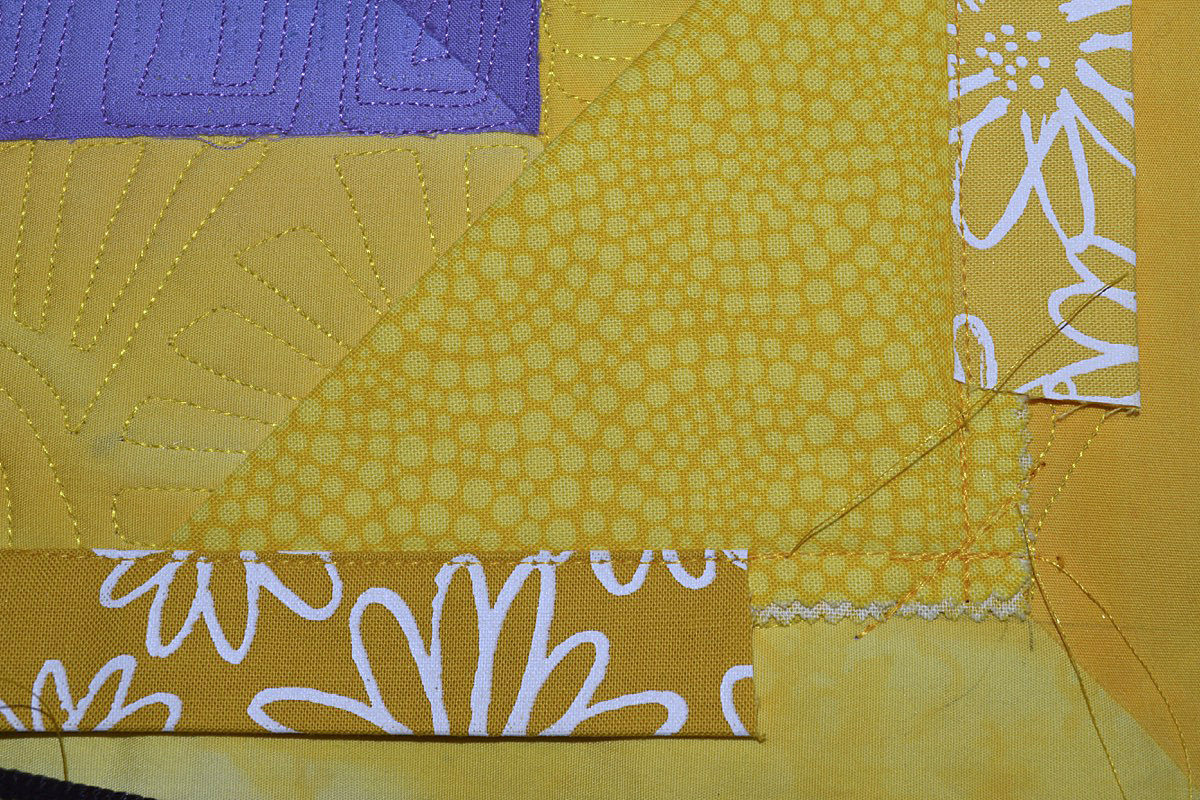
7. Go back to each corner, and sew across the corner at an angle to help strengthen the corner for turning. Backstitch a few times back and forth.
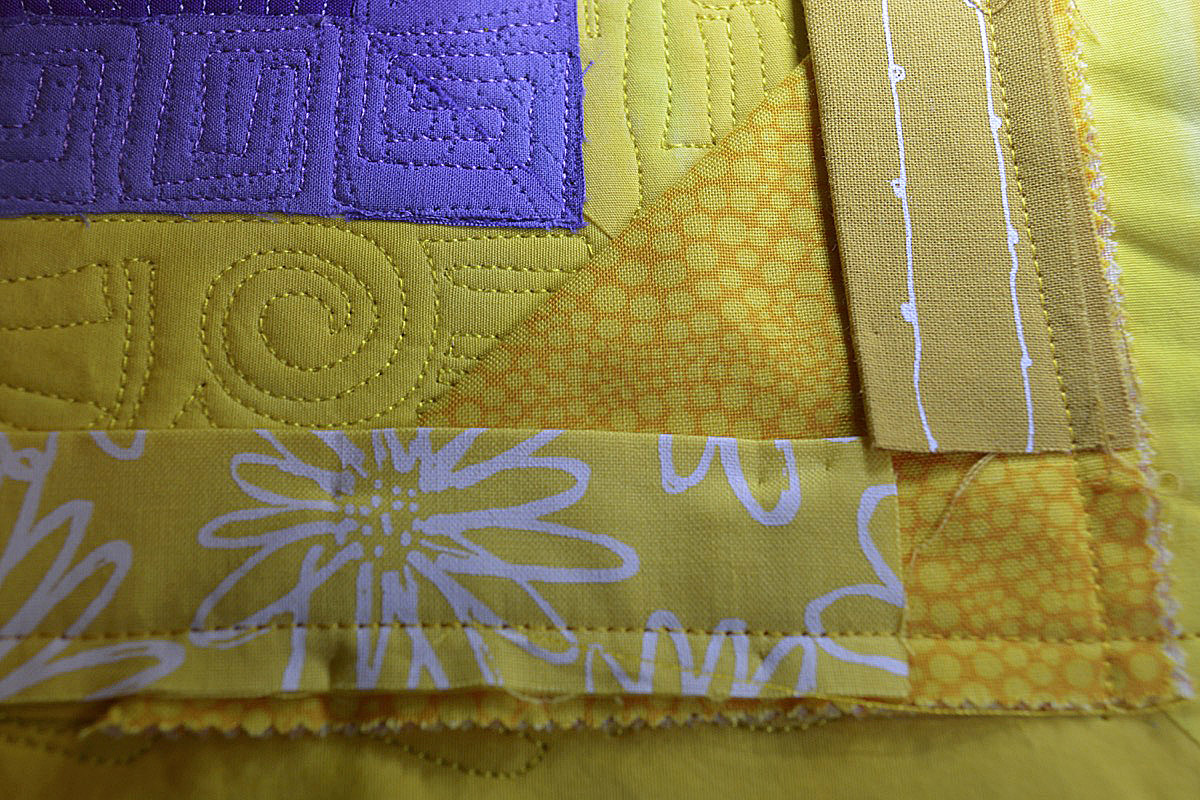
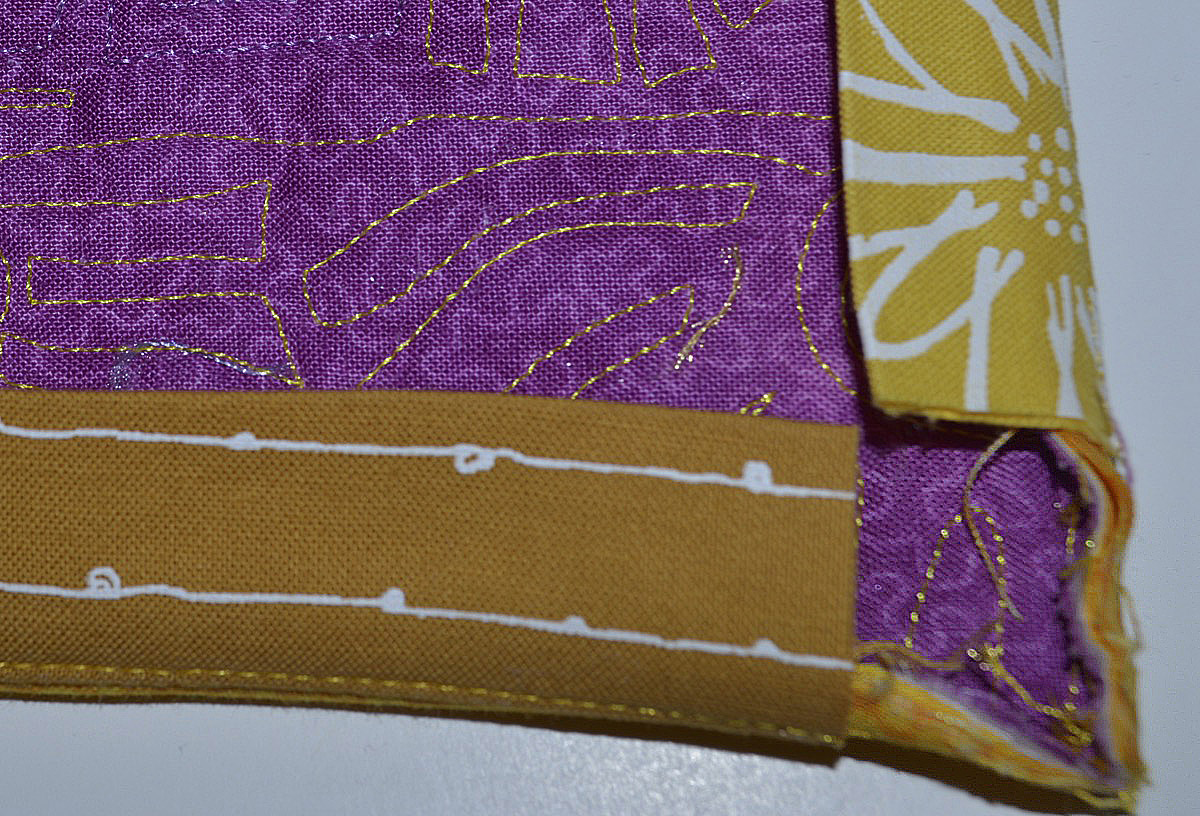
8. Fire up your steam iron and press all the facing strips towards the outside edge on each side.
9. The edgestitching step is optional, but it looks nice and makes it easier to turn the edge to the back of the quilt. Use the Walking foot #50 with the edgestitch sole, the Edgestitch foot #10D with Dual Feed, or the Edgestitch foot #10/#10C.

Move the needle position to the RIGHT two clicks. Top stitch all the way around the quilt, running the fold along the blade of the foot.
The stitching should be going through the facing and the quilt, to the right. Start at the edge of the quilt at each corner.
10. Trim the corners: lop off the corner about 2mm away from the stitching. Taper the edges of the quilt coming towards the corner starting about an inch away. Now is the time to trim the edges of the quilt itself. You have some leeway, as the cut edge will be hidden under the facing.
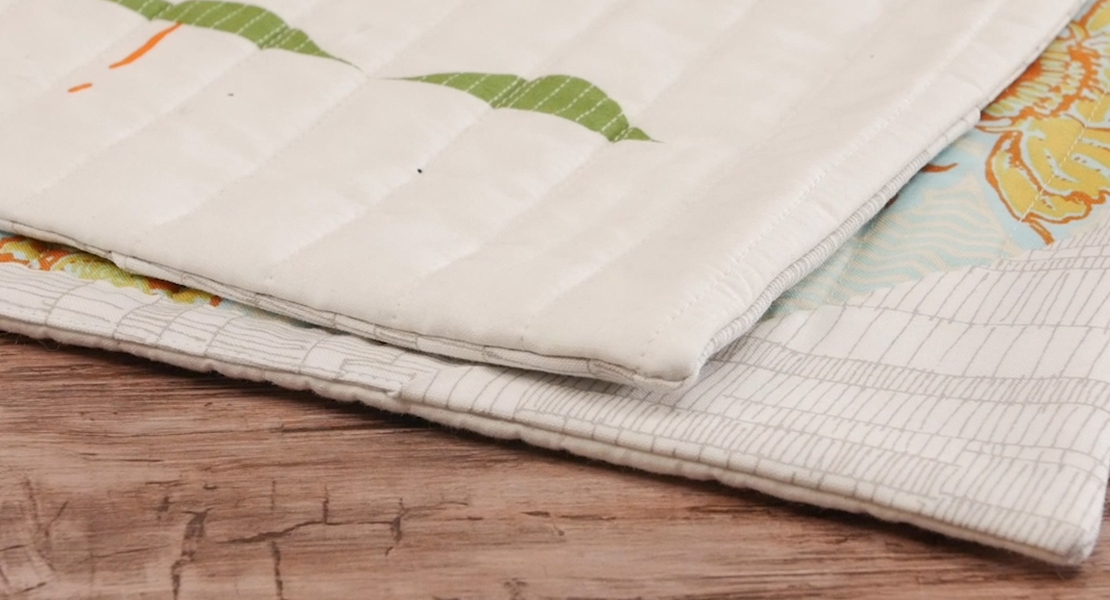
11. Fire up your steam iron and start pressing the edges. You want to use the facing to pull the quilt edge around. I like to have about 1/16″ of an inch of quilt front showing on the back. Steam it up as you go.
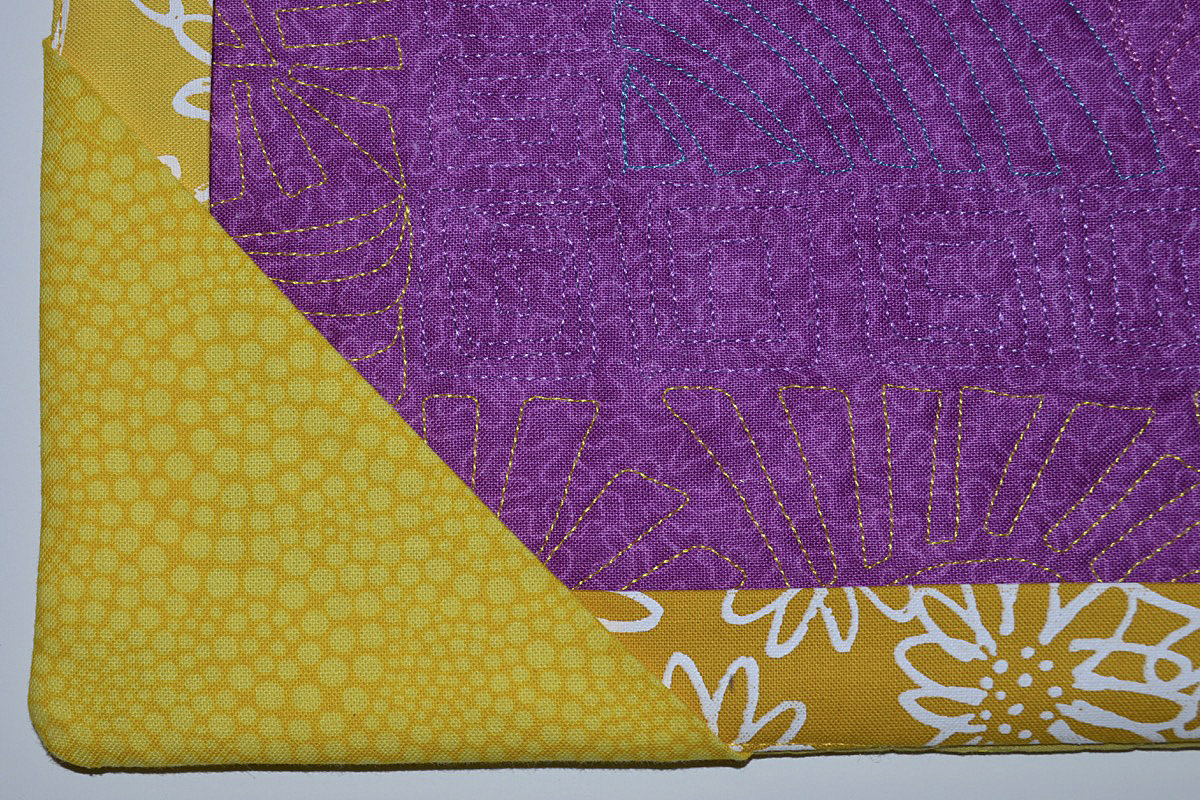
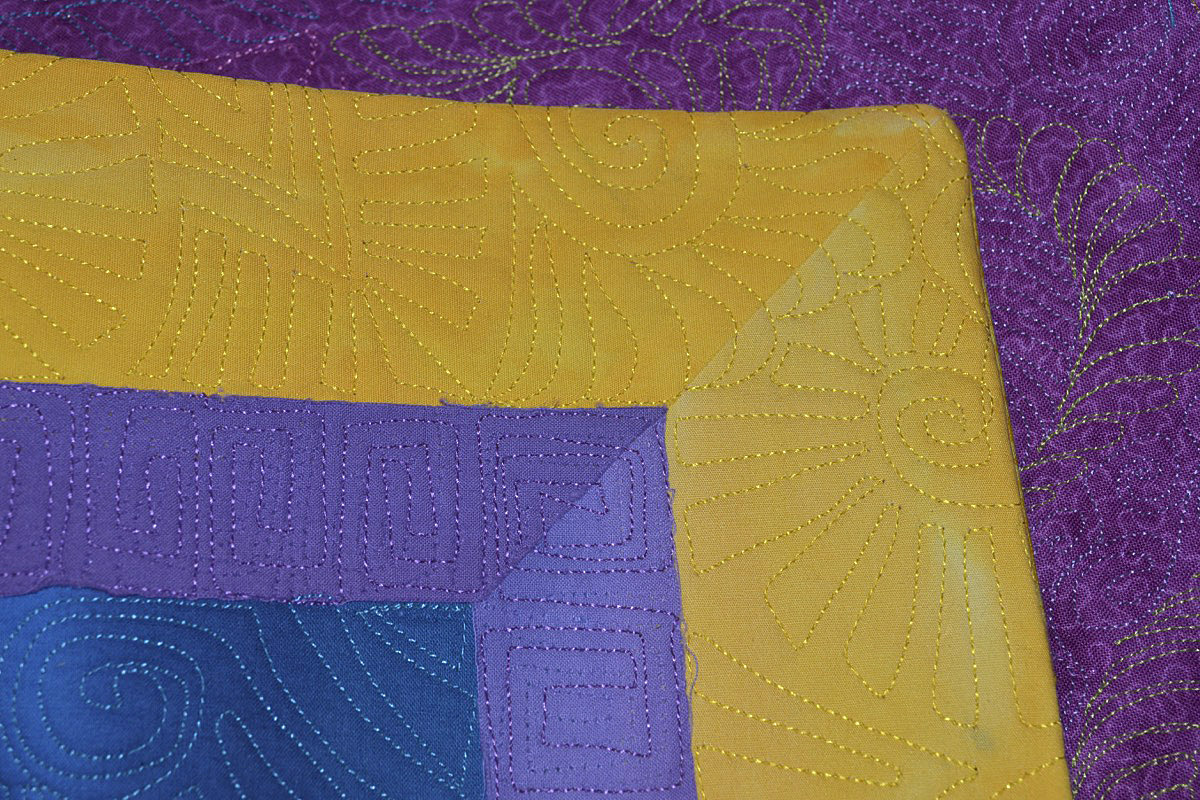
12. Flip the folded square to the back and use a blunt instrument like a chopstick or a forceps to help smooth out the corner. Don’t use scissors or anything sharp that may cut or punch a hole in the corner.
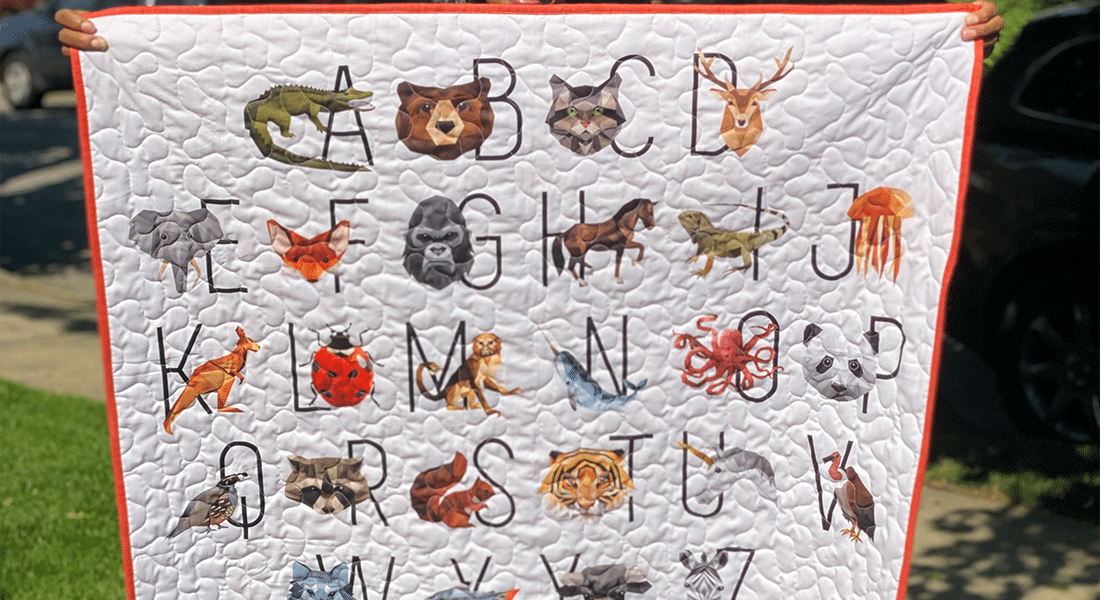
13. At this point you can take pictures of your quilt if you want to submit it to a show! The steamed facing should stay to the back enough while you take pictures if you have it pinned to a wall.
14. Once your quilt is accepted (or you are in the mood to hand sew), stitch the facing to the back of the quilt by hand using a ladder stitch—making sure it does NOT go through to the front of the quilt.
Enjoy!
Used Products


What you might also like


7 comments on “How to Make a Quilt Facing”
-
-
I was thinking the same thing rojeanajo, but then realized it would only work if the quilt wasn’t too wide, otherwise it would sag in the middle. Although if it were you could sew in a few doubled flaps of fabric, for rod pockets. Lots of possibilities with this technique.
-
Thank you. I am just about to try this method on a small art quilt. I like the idea of quitting it before facing it.
-
Thanks! This is the easiest way I have found. I changed it a little bit to decrease bulk even more by using a single layer of fabric and folding over the edges (away from the seamed edges) 1/4 to 1/2 inch. This was also the first time I used my #50 walking foot with the edgestitching sole. Loved it! Very neat finish!
-
Is there anyway to add a sleeve using this method?
-
I just used this technique on a table runner. Great finish. I am teaching a class for the table runner and would like to include in my directions a video on this technique. How do I request permission to use your technique. I would, of course, attach a link to your instructions.
Thanks.
Mary -
I found it helpful to make the 5″ square on the bias. Then when the square is folded the bias edges are stitched to the quilt. The diagonal part is now on the straight of grain and it will not stretch. This helps keep the corners square. When I cut them on the straight of grain the bias fold of the corner tends to wobble and not be square. Try it on a little sample and see what you think.
All of the fabrics used can show on the side so be careful, you don’t want a judge to mark off your quilt because the side facing strips show! That happened to a friend who used this method!
Leave a Reply
You must be logged in to post a comment.

Enjoyed your post. It occurs to me since the corner pieces have a finished edge, they could be left un-stitched to the back of the quilt and provide an opening for a dowel to hang the quilt.