Mitered Corner Hem
I love learning new sewing techniques, and a mitered corner hem is something new to me. I had heard of mitered corners on a napkin, and mitered corners on a quilt, but recently I sewed a dress where the instructions called for mitered corners on the hem. And then I read a few sewing books that also talked about a mitered corner hem.
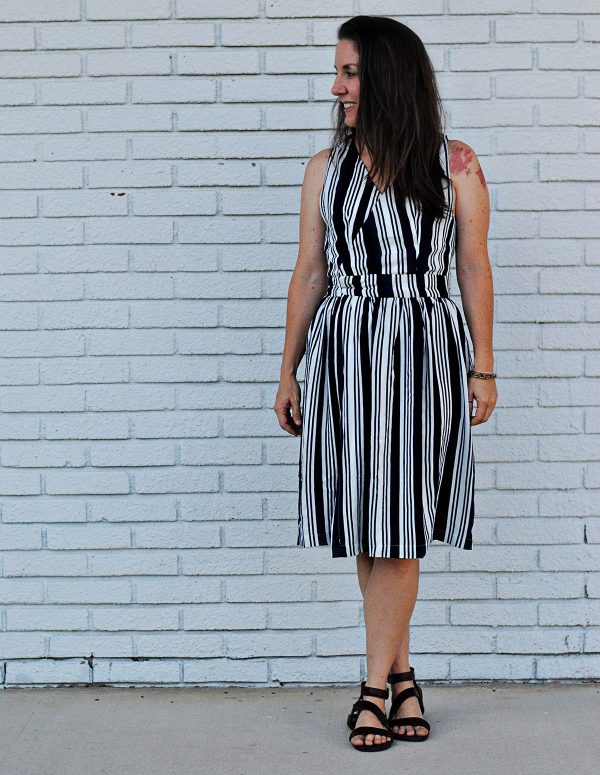
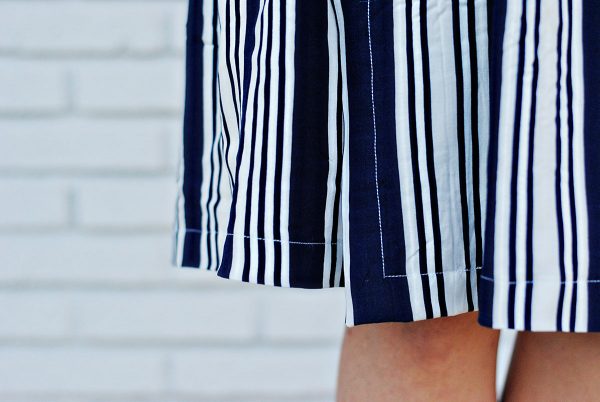
The clean finish the mitered corner hem gives a dress (or a skirt) such a crisp look. Here you can see the mitered corner hem on this vintage wrap dress I sewed using vintage Very Easy Vogue 9276. A mitered corner hem is perfect to add to a dress that has a slit, or a wrap dress like the one pictured above.
Here are the supplies you need to make your mitered corner hem.
Materials
- fabric
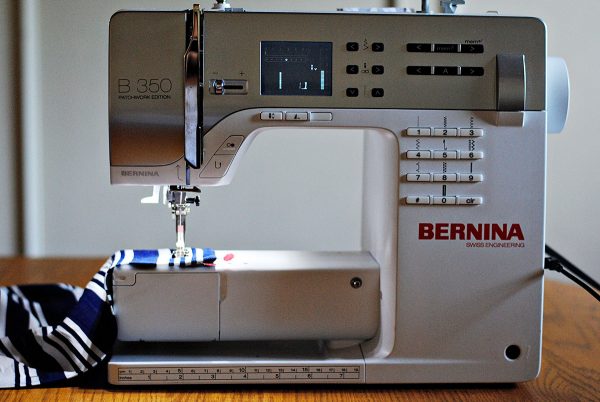
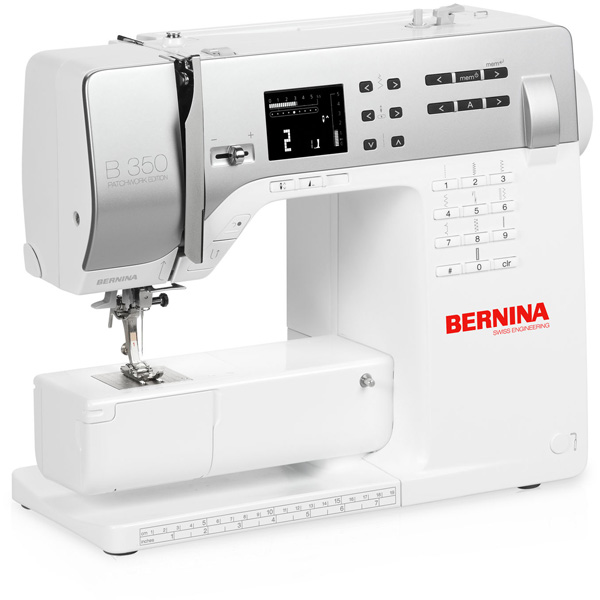
- sewing machine (I used the BERNINA 350 PE)
- pins
- iron
Steps to Create a Mitered Corner Hem
Iron the bottom seam in 5/8 inch, wrong sides touching.
Iron the side seam, wrong sides touching 5/8 inch.
Iron the bottom hem 1 inch, wrong sides touching (keeping the 5/8 hem folded in place, concealing all of the raw edges in the 1 inch hem).
Repeat for the side hem (iron the side hem in 1 inch).
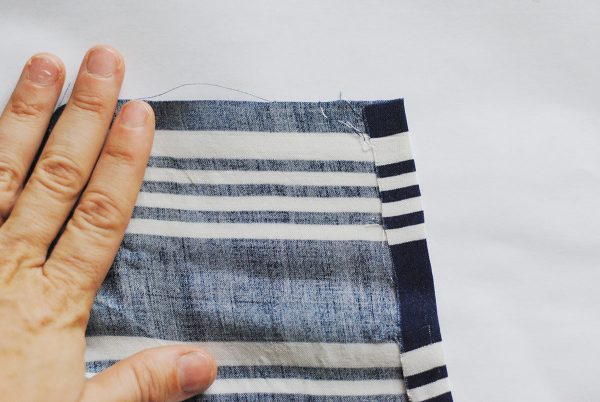
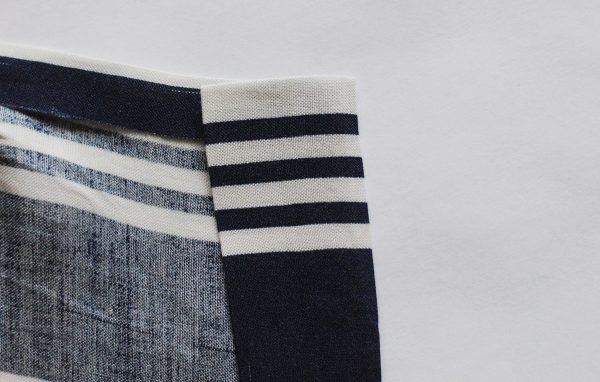
Unfold the 1 inch hem you just ironed. Fold the corner in on the diagonal, at the point where the two 1 inch hems were pressed.
Iron in place on the diagonal. This will be a 45 degree angle.
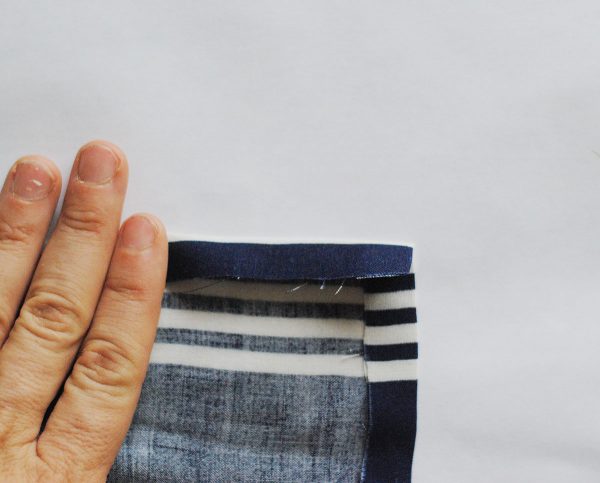
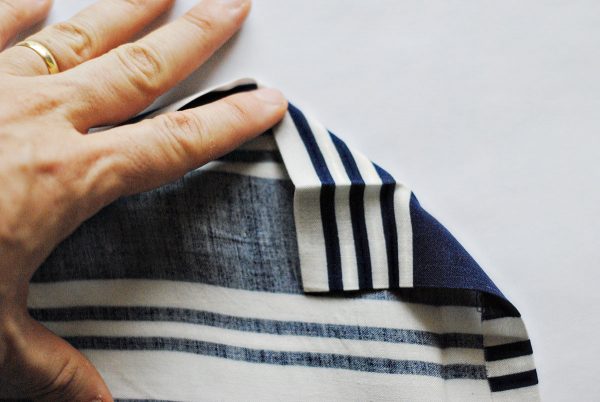
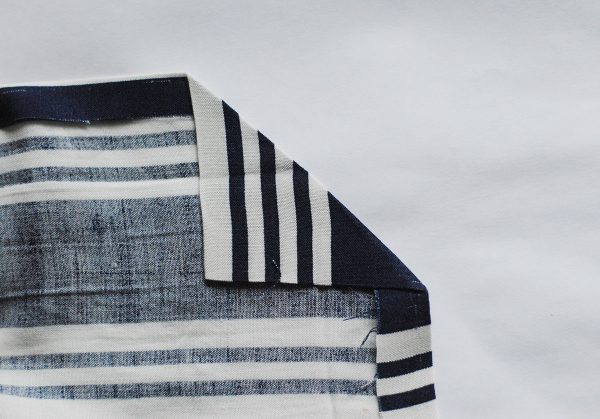
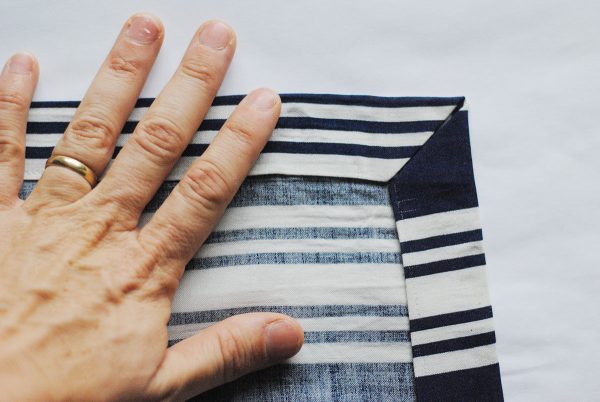
Fold the side seam in on the 1 inch fold, creating a 45 degree angle from the corner.
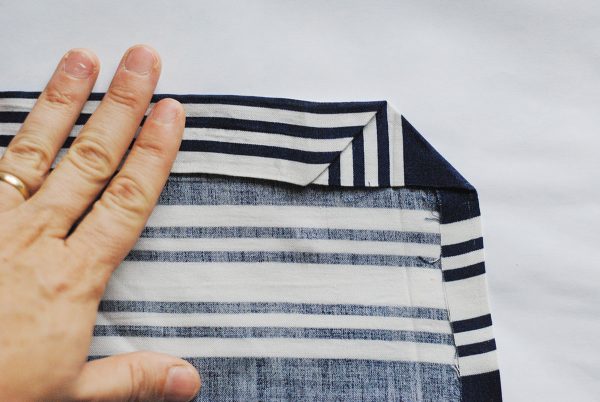
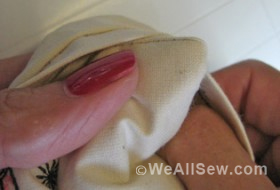
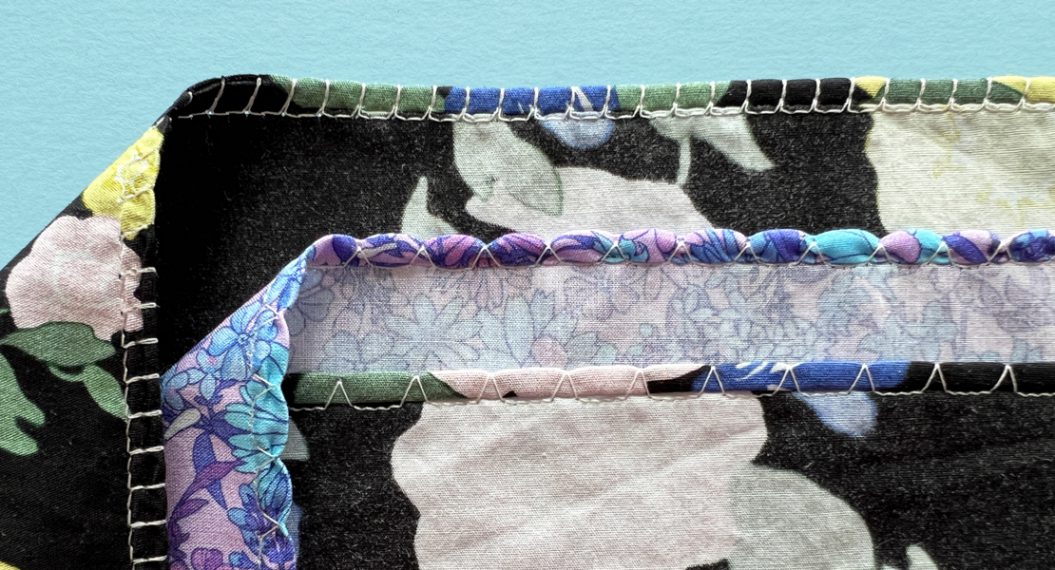
Fold the bottom seam in on the 1 inch fold. Your corner will come to a nice point!
Iron and pin in place.
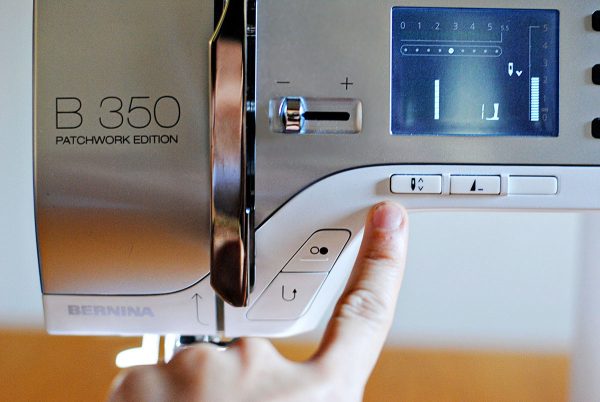
On your sewing machine, press the needle down position.
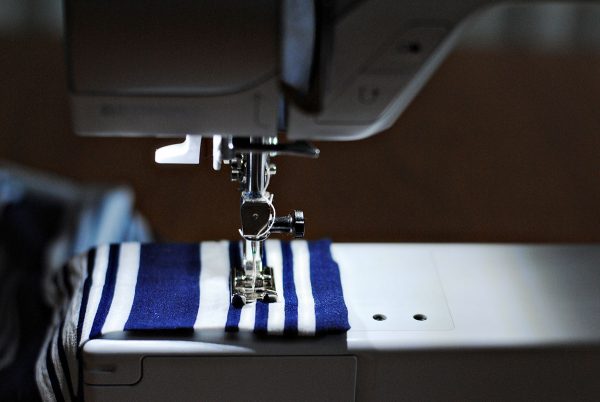
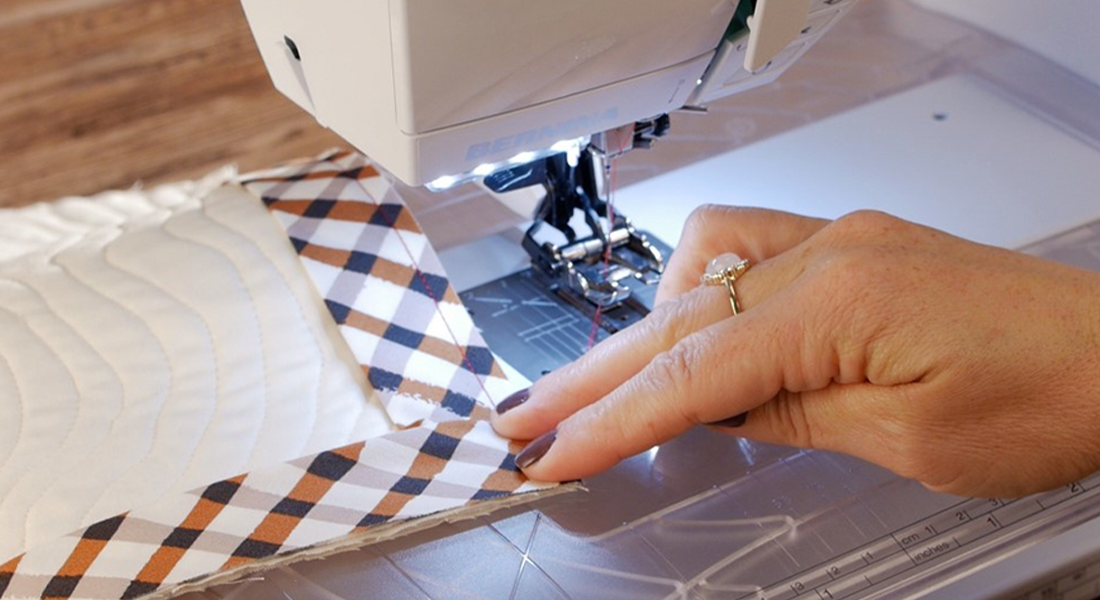
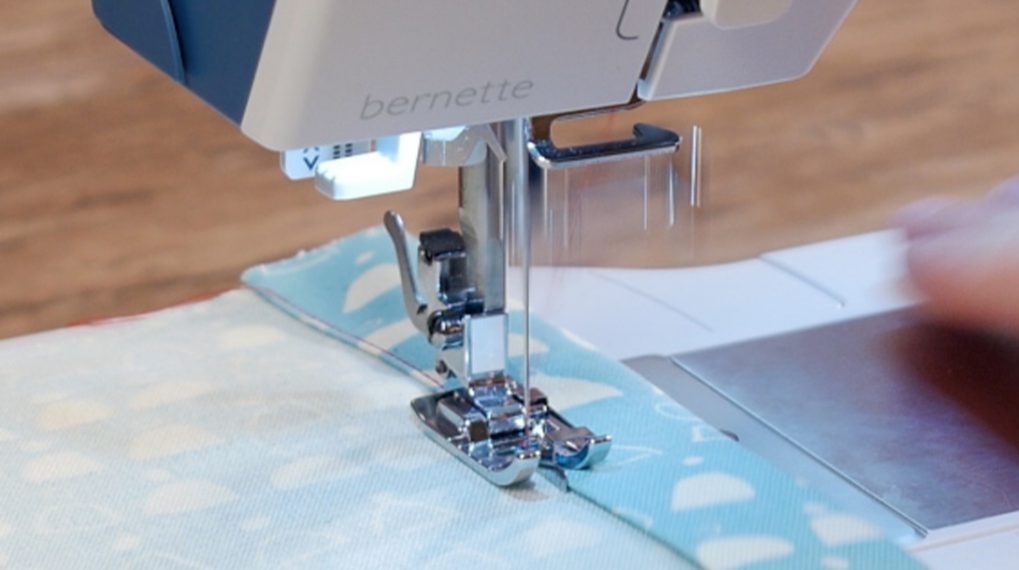
With a 7/8 inch seam allowance, sew the side and bottom hem in place, pivoting when you come to the corner. The needle down position will have your machine automatically stop the stitch in the needle down position, which is perfect to pivot at a corner.
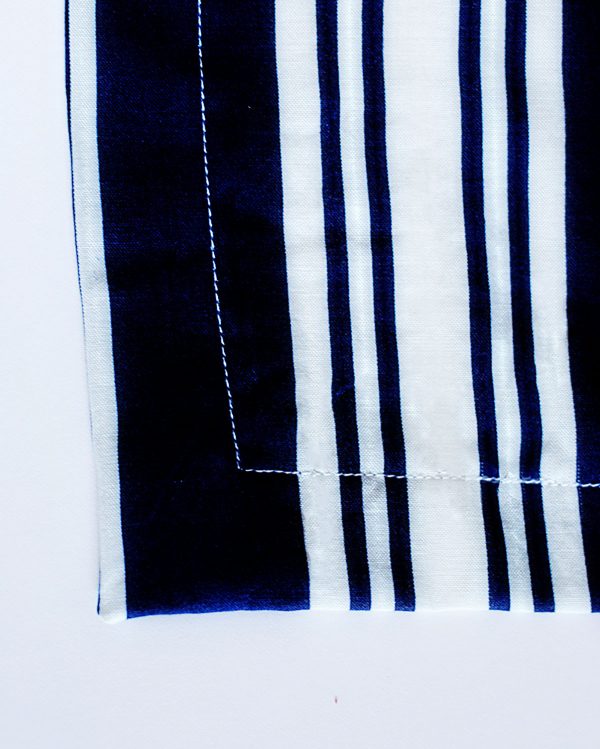
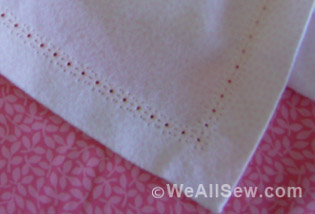
That’s it! Here’s the nice crisp looking outside of the mitered corner hem!
Do you have any new sewing techniques that you’d love to share?

Thanks for the tutorial! I will certainly use it in the future.