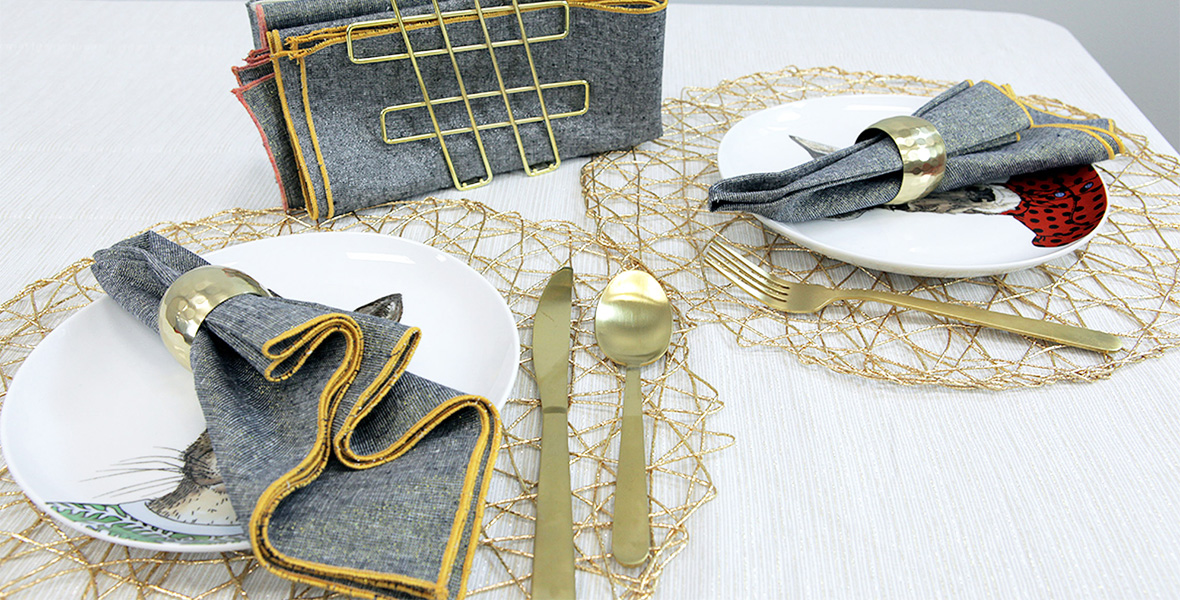
Monogrammed Napkins
Distinctive Monogram Napkins the Fast and Easy Way with BERNINA Toolbox
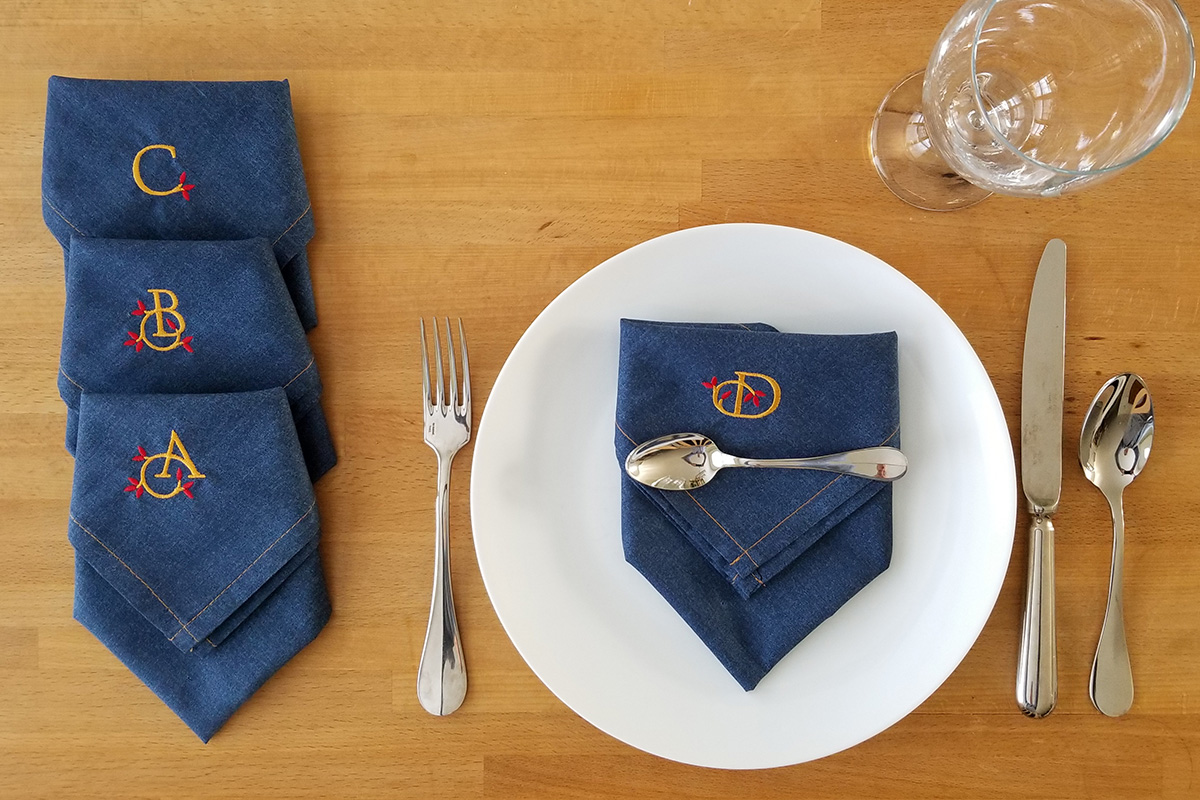
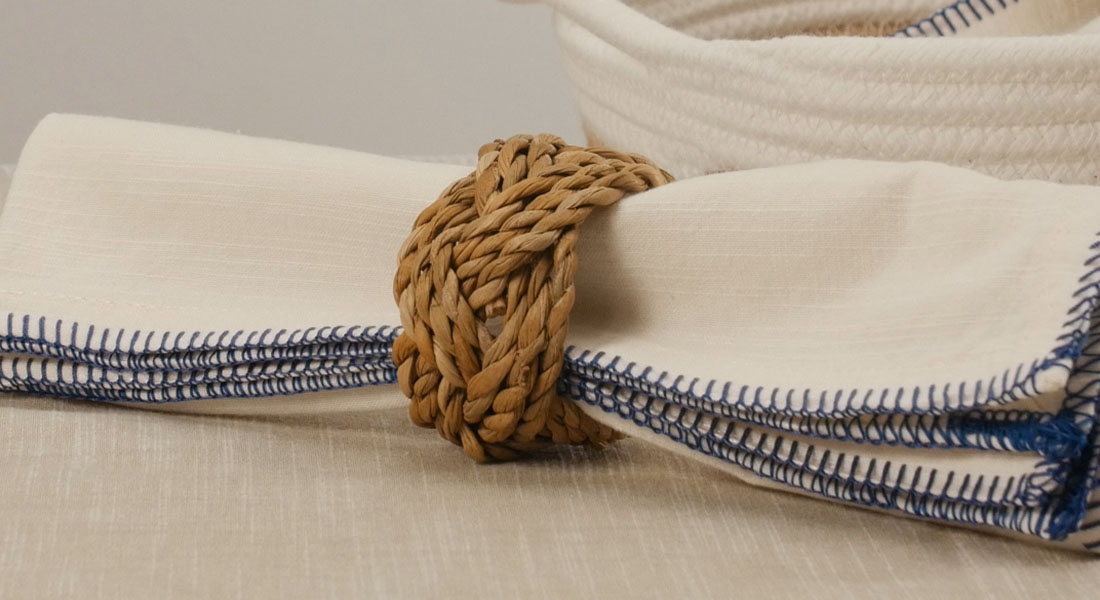
At my house we only use fabric napkins. They are washable, reusable and durable. And they feel better!
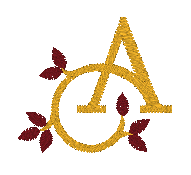
Fortunately, Toolbox’s Monogram tool makes it fast and easy, so I’ll be able to get the napkins ready well ahead of time, in just the time it takes to embroider them really. Another advantage of Toolbox is the variety of Monogram alphabets available. In my case, I found that the Botanic – 1 Letter alphabet style is the perfect choice for an easy yet stylish monogramming solution.
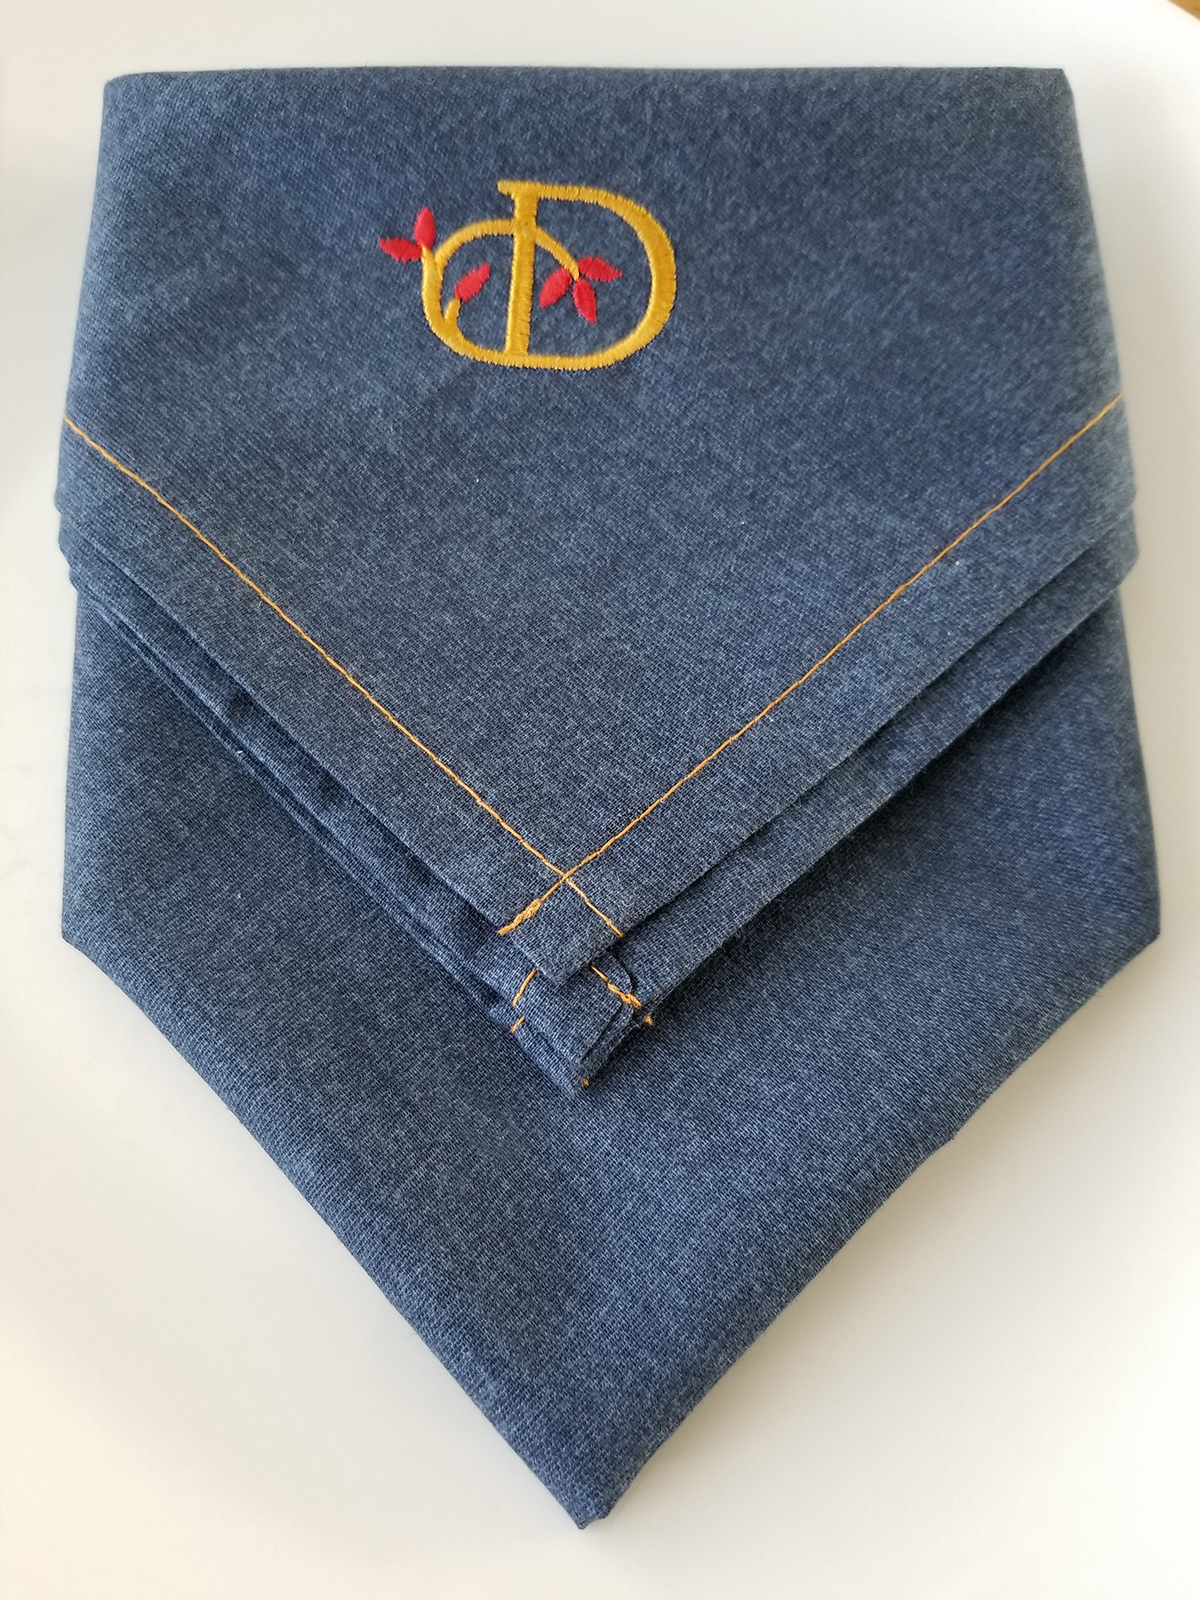
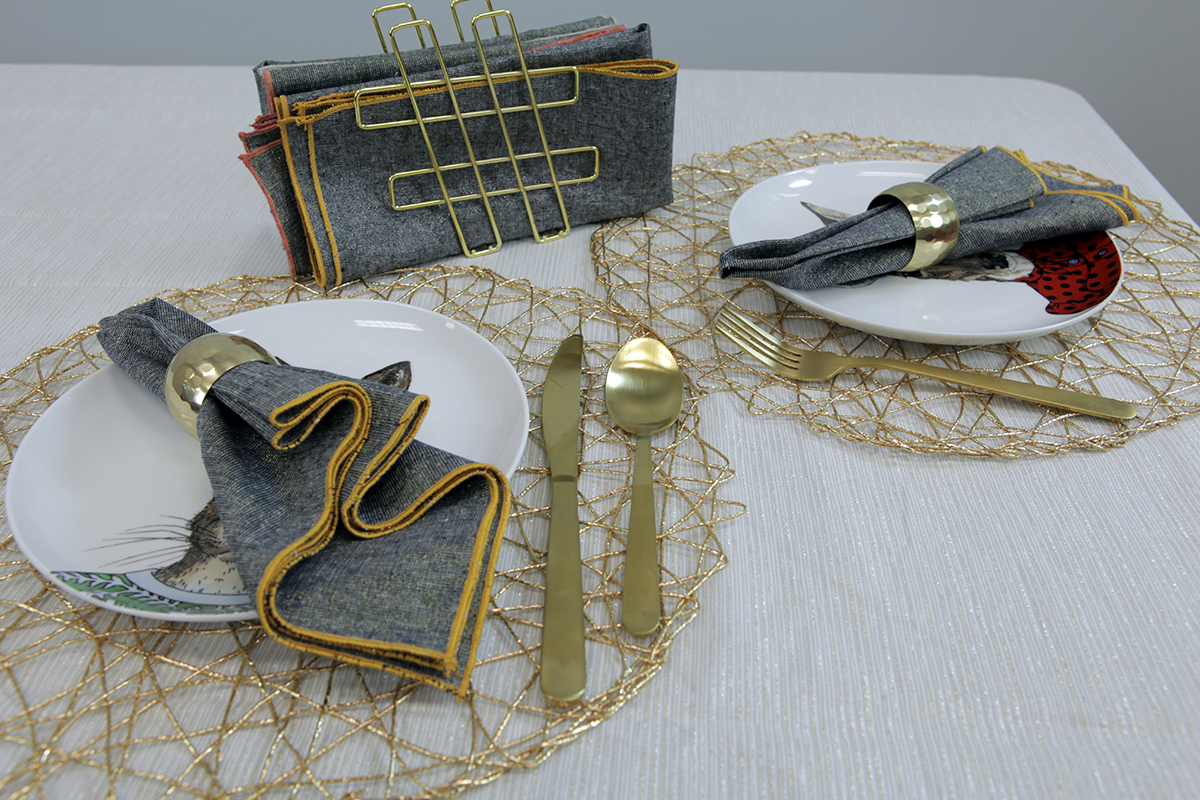
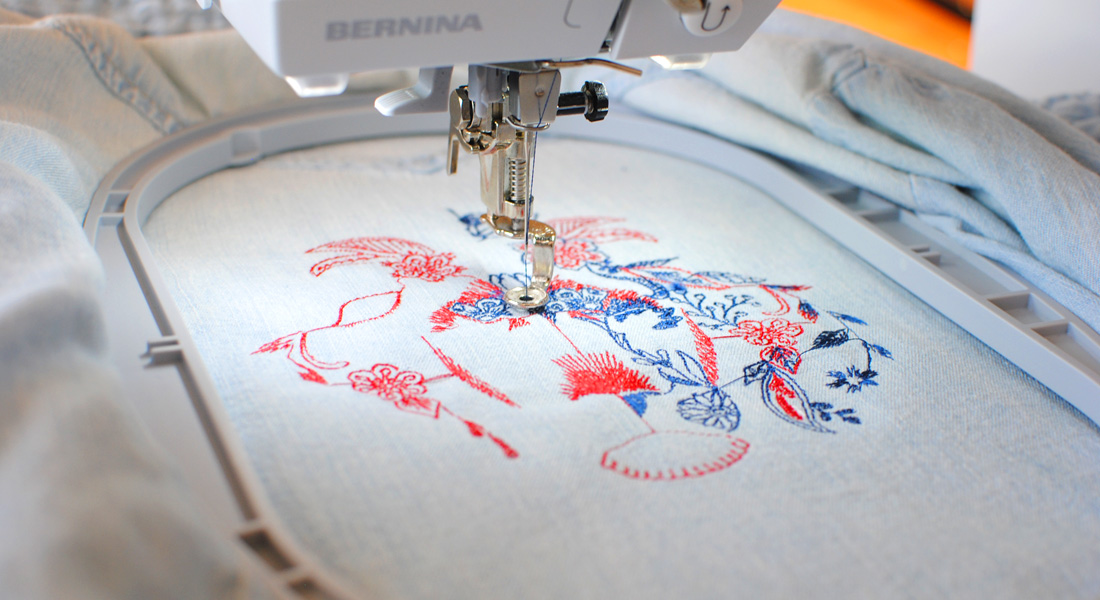
I selected a lightweight (shirt weight) denim napkin set so the original colors for the monogram fit right in for the holiday: a golden yellow thread for the letter and a bright red for the leaves. I decided that I wanted the letters to be one inch tall so that while the monogram stood out on a corner of the napkin it wouldn’t encroach on the usable area.
This may be my simplest and easiest Toolbox project yet!
All you have to do to make a monogram for your set of napkins is the following:
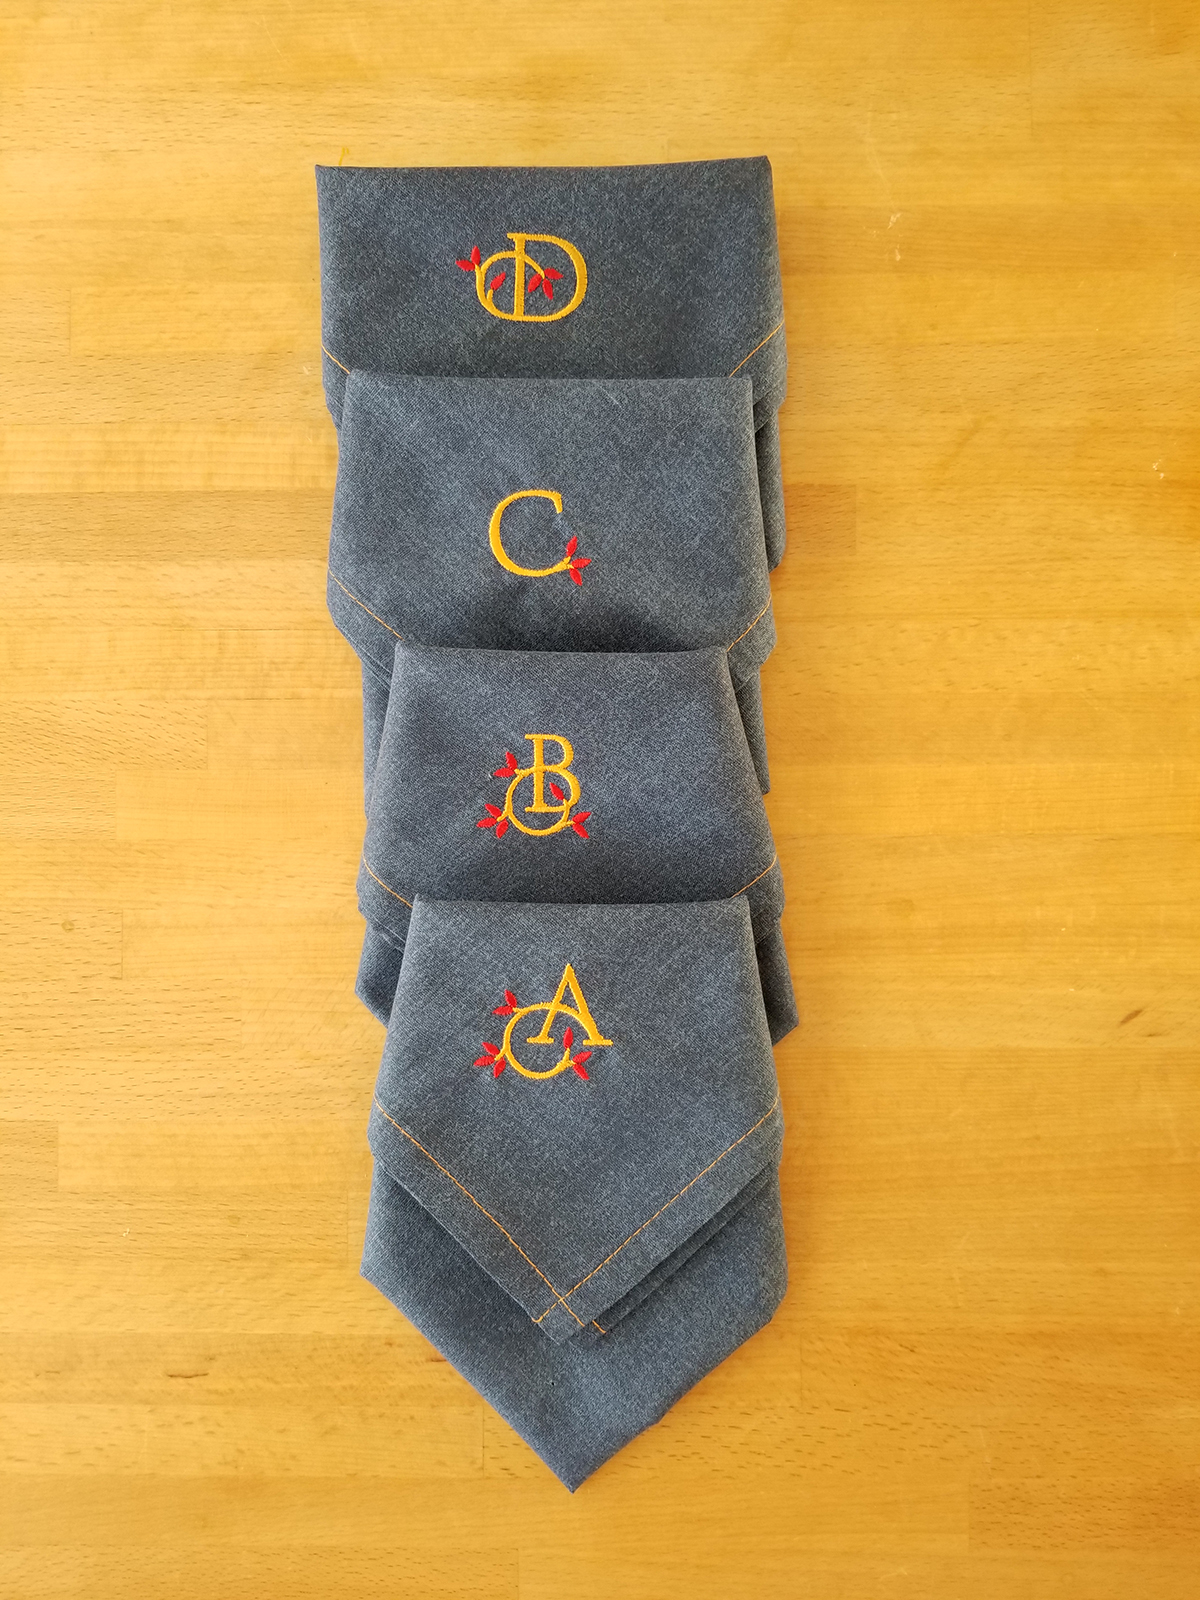
1. Make a list of your guests’ first names (initials) in alphabetical order (and how many share the same individual letter).
Create a New File and Name it Napkin Monogram.

2. Create the first monogram using the chosen alphabet and the first letter in the list, using 1 inch as the letter height. Let’s go through the steps.
Create the first monogram using the chosen alphabet and the first letter in the list, using 1 inch as the letter height. Let’s go through the steps.
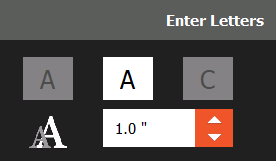
- Select the Monogram Tool.

- Select the Botanic – 1 Letter alphabet.

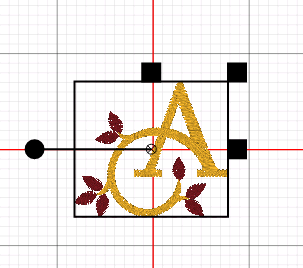
- Type the first Letter on your list in the Enter Letters box (e.g. A) and set the size to 1 inch.
Your monogram should now look like this:
3. Export the monogram to the machine (USB Stick), using the Export Tool. BERNINA_Toolbox_Monogram_08_Export_BERNINA_WeAllSew_Blog_108x108pxName the file according to the letter in the file: e.g.

Note: The .exp extension will be added for you by Toolbox so all you need to type in the file name field is A.
At this point, it’s time for “Rinse & Repeat”.
4. Edit the letter to the next letter in the list (in the Enter Letters box).
5. Export the edited monogram to the machine (USB Stick), naming the new file according to the new letter in the file (e.g. B)
Repeat steps 4 and 5 until you have generated all the various letters on your list.
This whole process should take less than 15 minutes and you’re on your way to embroidering the napkins.
At this point, you should have all the files you need to monogram the napkins. You can take the USB stick to your machine and embroider each monogram as many time as it’s needed until you have the full set. In my sewing room, I keep the original list on my cutting table and tally off the napkins/letters as they come off the machine.
TIP: These monograms will be small enough to fit in a small hoop, which will let you save on stabilizer.
Enjoy setting up your holiday table. It will be that much more special this year!
Or
Used Products
What you might also like


5 comments on “Monogrammed Napkins”
-
-
Yes, I would like to know as well. Also is there a technique you could use for making multiple napkins without having to re hoop and replace stabilizer for each napkin? I have a lot of corner napkins to make and hope there is an easy way not to reboot for each one. Thank you so much.
-
You can put multiple copies of the design (with same or different letters) in one hoop if you have a large enough hoop. With larger hoops like the Maxi and Jumbo, you may be able to fit 4 napkins, each with the target corner pointing toward the center of the hoop.
For instance, in a Large Oval hoop, you can place two copies of the design facing each other from top to bottom (so the points of the napkins would point toward the center of the hoop. You’ll have to practice your design placement. Current BERNINA embroidery machines have a feature called Virtual Positioning. That lets you point to any stitch in a design and the hoop will move to that stitch, so you can verify where the napkin needs to be to place the monogram where you want it.
Using OESD Stabil-Stick adhesive tear-away stabilizer will allow you to place each napkin so that it is properly located in the hoop (with the corner pointing toward the center of the hoop) in relation to the monogram. You may have to pin down the corner points to keep them out of the way as they may overlap.
If you BERNINA has Pinpoint Placement (e.g. B 590, 880 Plus and 790 Plus), you can pre-position the napkins in the hoop and use Pinpoint placement to move the design in place. For simplicity, you can embroider each monogram separately, one at a time. You’ll still benefit from multiples in one hoop, using less stabilizer.
Either way, if you have Toolbox Embroidery Software (Editing) or BERNINA Embroidery Software 8 you can lay out the monograms on screen so that you only have to place the napkins in the hoop. With Software 8, you can even digitize a placement line for each napkin so that once the placement lines are stitched on the stabilizer you can quickly place each napkin down. The same software will let you resequence the design (of multiple monograms) so that you’ll have a minimum of color changes.
If placing multiple napkins in one hooping, I recommend using the ‘Basting around the design’ function to help hold each napkin down and secure before embroidering the monograms.
Check with your local BERNINA store for a practical demonstration with design placement.
-
-
-
Can this be done on the new 570 QE, or do you need a machine with the embroidery module?
-
Thank you for giving us another lesson & idea for using Toolbox!!! Much appreciated by this MAC user & 790+SE.
Leave a Reply
You must be logged in to post a comment.

I am new to embroidery and was wondering if you would show pictures of setting up placement of your napkin for the letter to be centered. Thank you so much!