Passiflora Quilt Along, Part 5: Round Three
Welcome back to the Passiflora Quilt Along!
If you’re just joining in, you’ll want to visit the previous posts in this series to catch up:
- Month 1 – Introduction + Fabric
- Month 2 – The Center Block
- Month 3 – The First Round
- Month 4 – The Second Round
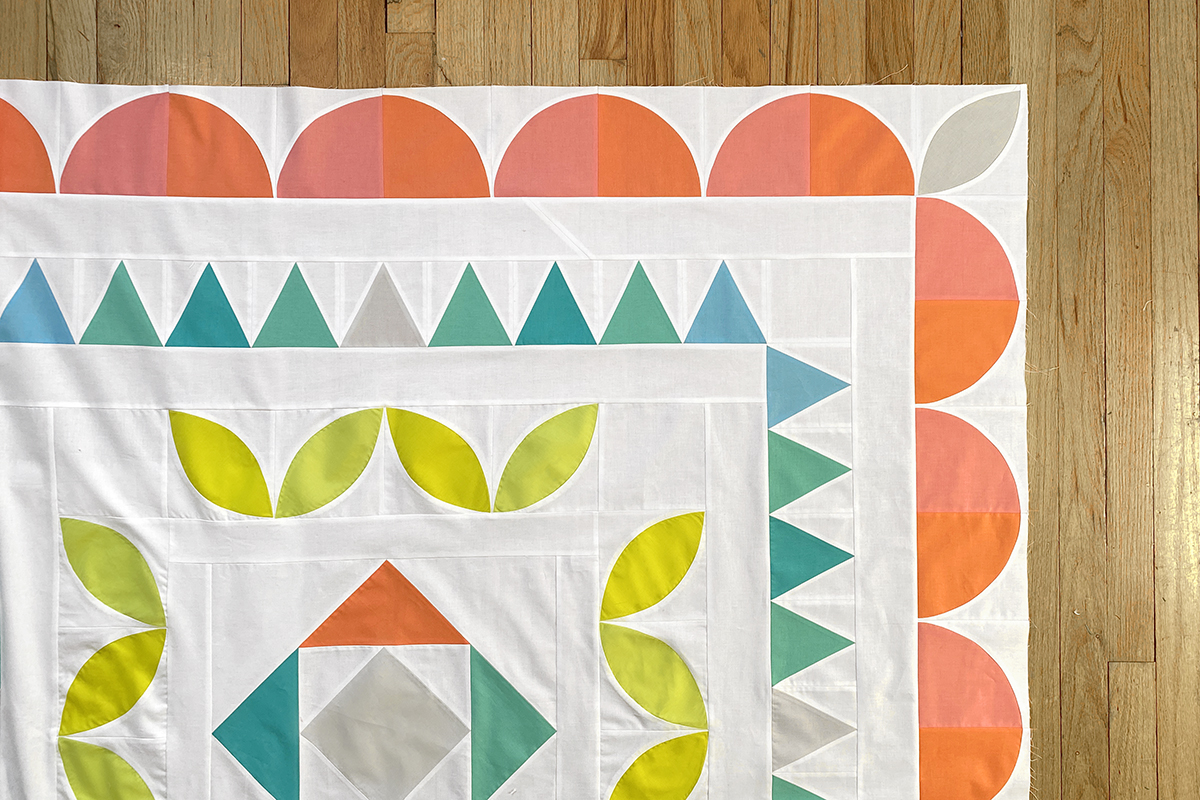
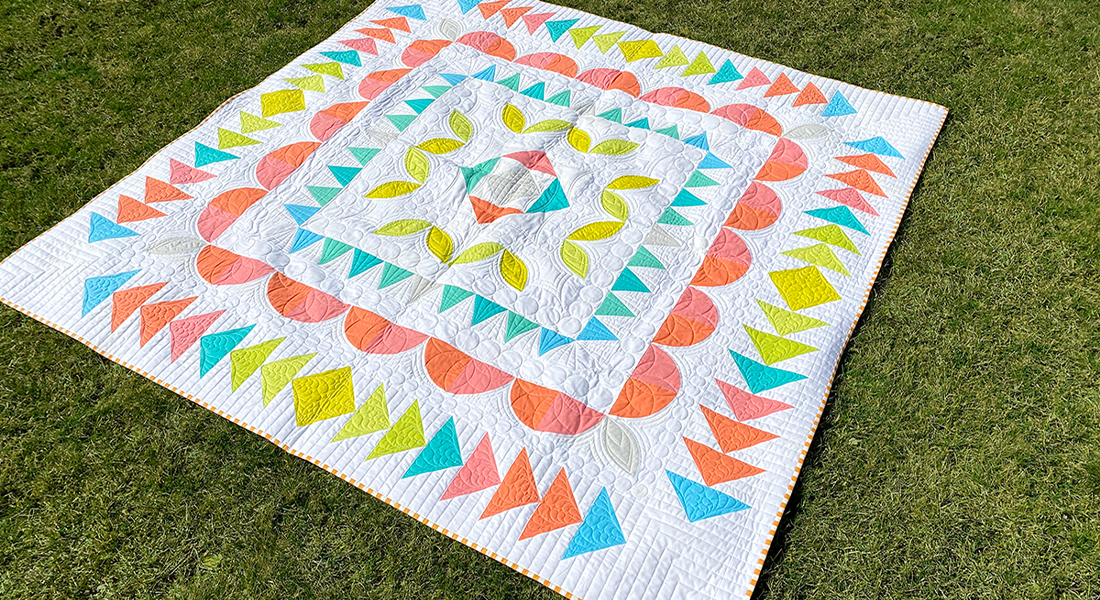
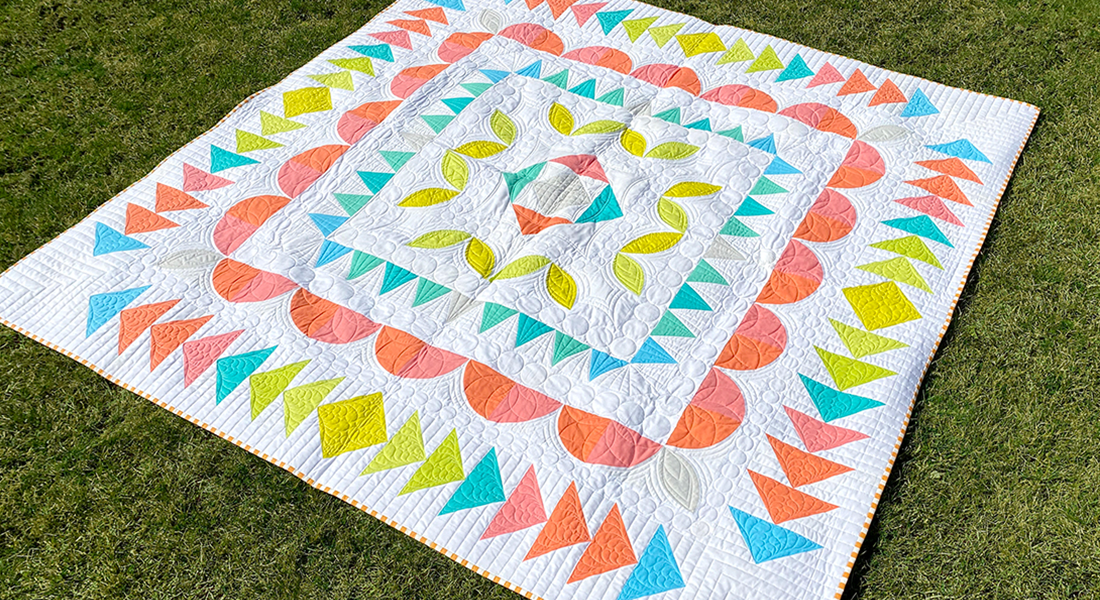
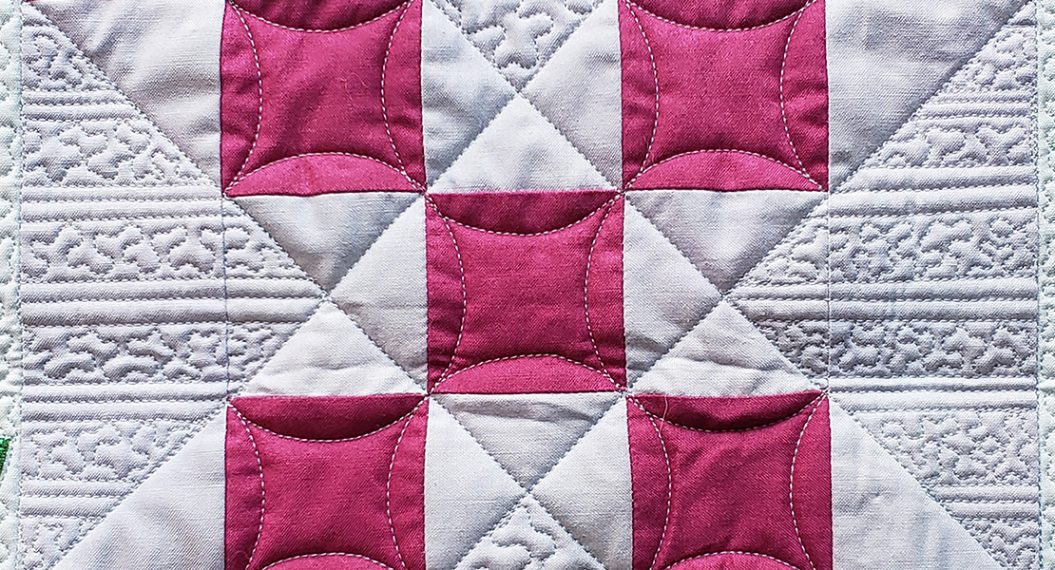
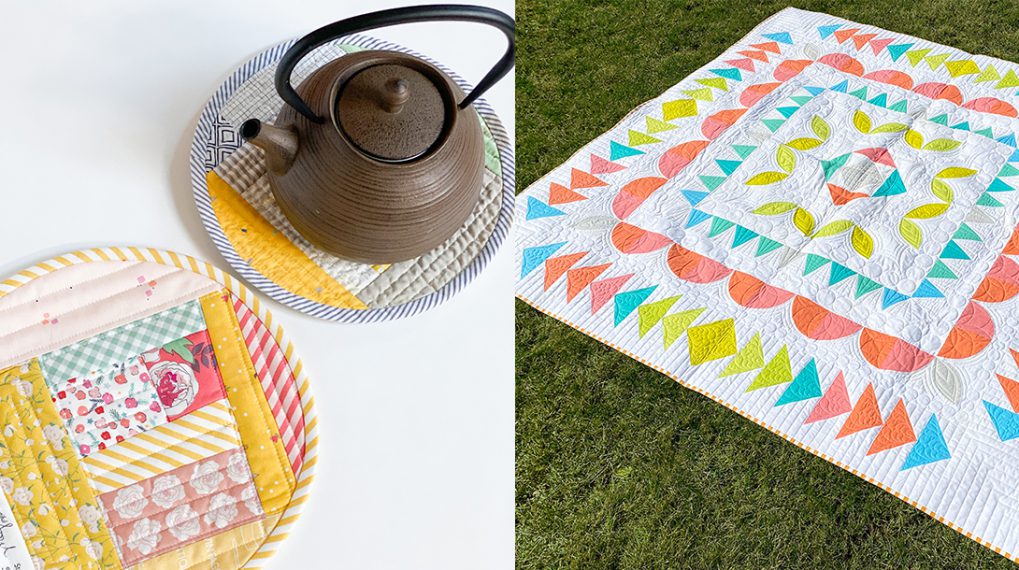
We have officially passed the halfway point of constructing our quilt top! For our third round of the medallion, we return to curves. These quarter circles, also known as Drunkard’s Path blocks, will be a breeze for you now!
The pieces here take a bit of patience to cut out, as anything involving templates does, but they sew up surprisingly fast. We’ll also revisit our Orange Peels, from the first round of the quilt, to create cornerstones for this round. I hope you still have those templates handy!
Download the PDF pattern template HERE.
-
Cut all fabrics
Four fabrics/colors are used to construct this row. Cut your fabrics to the following:
- Color #1 (Persimmon)
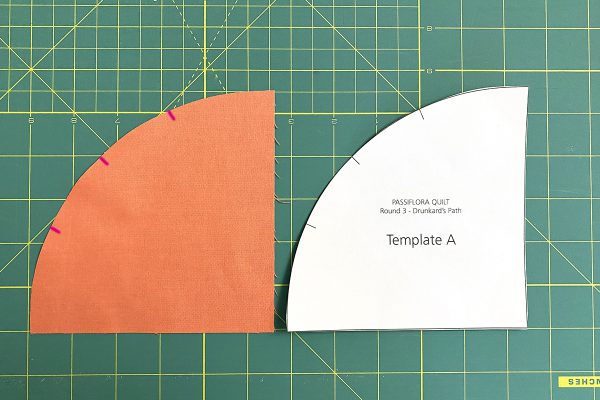
- 20 of Drunkard’s Path Template A
- Color #2 (Taffy)
- 20 of Drunkard’s Path Template A
- Color #9 (Putty)
- 4 of Orange Peel Template A
- Background (white)
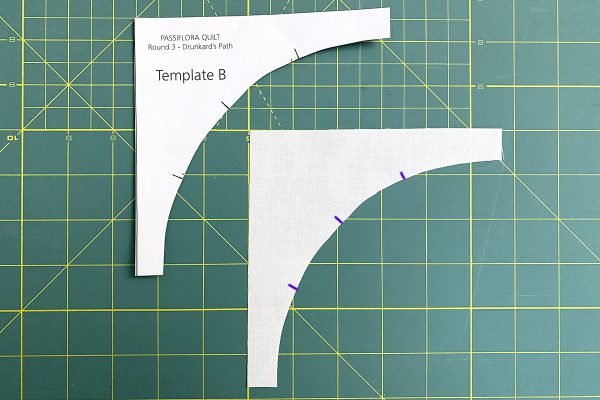
- 40 of Drunkard’s Path Template B
- 4 each of Orange Peel Template B and Template C
- 5 strips 3 1/2″ x WOF
Cutting these shapes is very simple working with these solid fabrics. If you are working with prints, especially ones with a clear direction, be careful about the orientation of your curves as you cut.
Transfer all markings on templates to fabric.
-
Piece curves
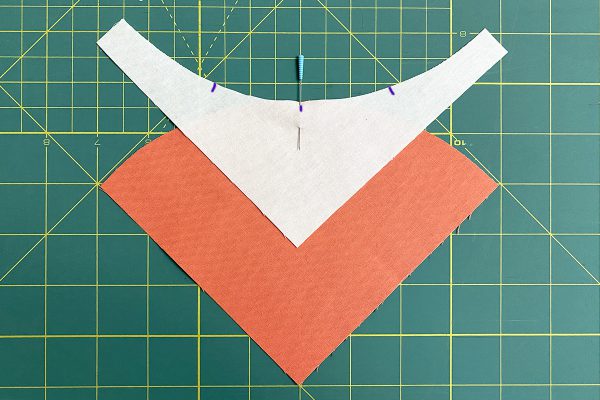
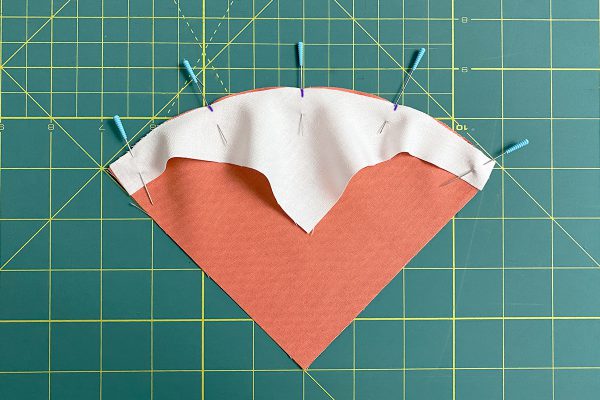
To piece our curved blocks, begin by placing your Template A (convex curve) shape right side up on your cutting table. Lay the Template B (background) piece on top, with right sides together. Align the center markings on the two pieces and pin.
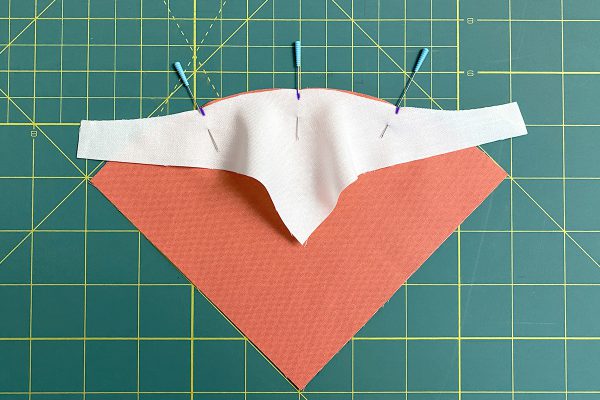
Then, match up the markings to the left and right and pin.
Finally, align the points at the beginning and end of the curve and pin.
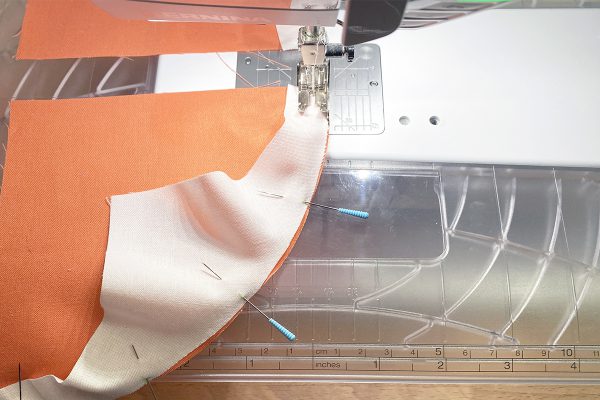
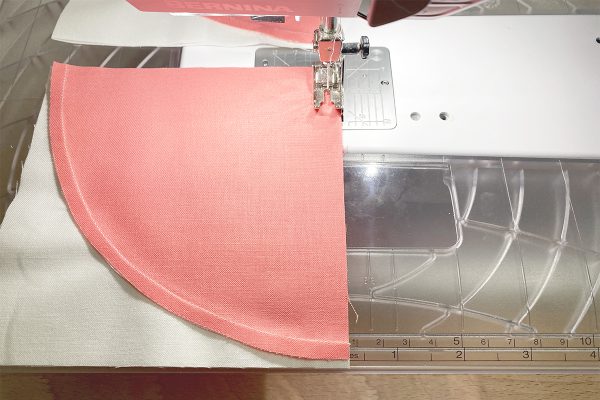
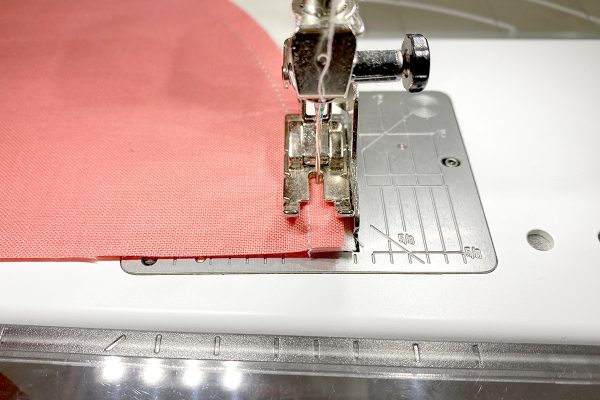
Stitch the two pieces together with a 1/4″ seam allowance. Use a stiletto to ease the fabrics gently along the curve between pins to avoid puckers.
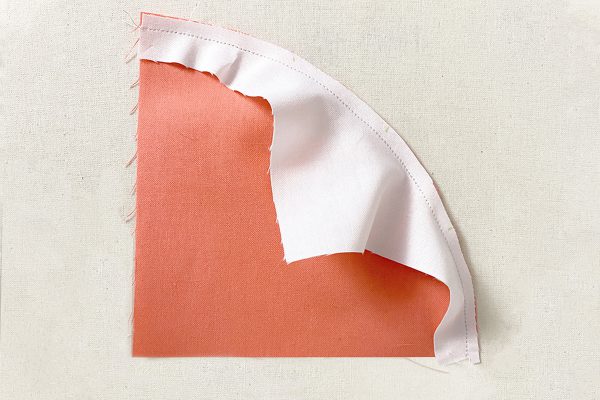
Press the seam allowances toward the background fabric.
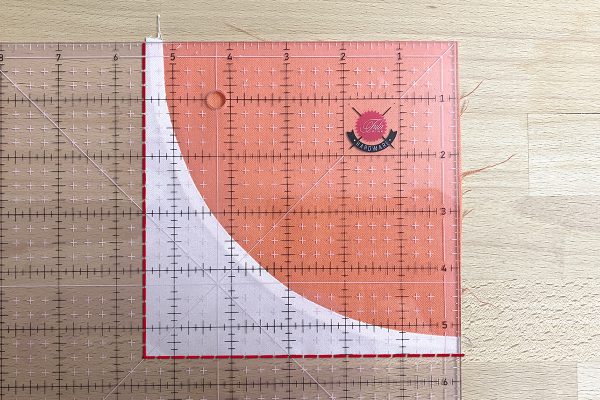
Finally, square up the block, trimming it to 5 1/2″ square. The trimming process here is similar to what we did with our Orange Peel blocks in Round #1.
-
Square up
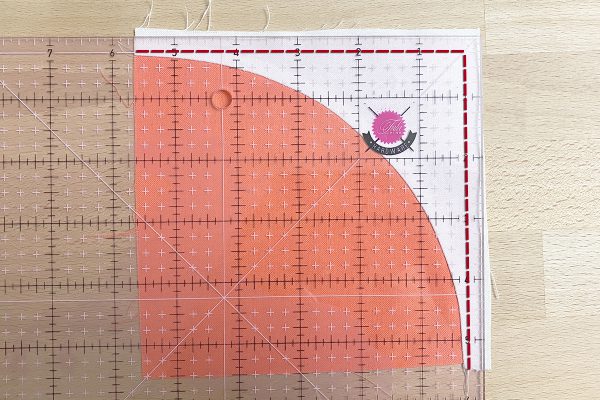
Before trimming, your block should measure roughly 6” square (it will probably be a little bit wonky.) Place the block under a quilting ruler. Align the start and end points of the curve with markings 1/4” in and 1/4″ down from right and top edges of the ruler. Trim with a rotary cutter.
Rotate the block 180 degrees. Align the freshly trimmed edges with the markings 5 1/2″ in and 5 1/2″ down from the right and top edges of the ruler. Trim with a rotary cutter.
Repeat for the remaining blocks. You will end up with 40 total blocks, with 20 of each color.
-
Creating rows
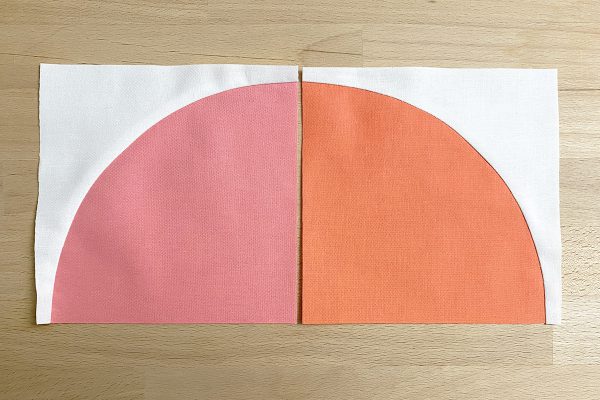
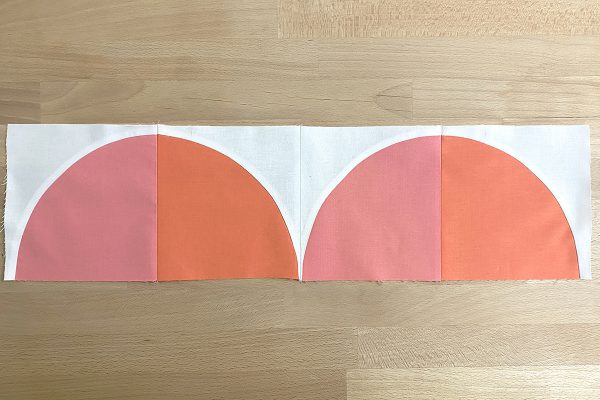
Collate the blocks into pairs using one of each color. Place the two blocks side by side so that they create a half-circle.
Place the blocks right sides together and pin so that they will be sewn together down the middle of the half-circle. Piece together using a 1/4″ seam allowance.
Press this seam open. Repeat for a total of 20 half circles.
For each side of our medallion, sew five half circles end to end. As you stitch these pairs together, be mindful to keep the curved seam outside of the seam allowance.
-
Cornerstones
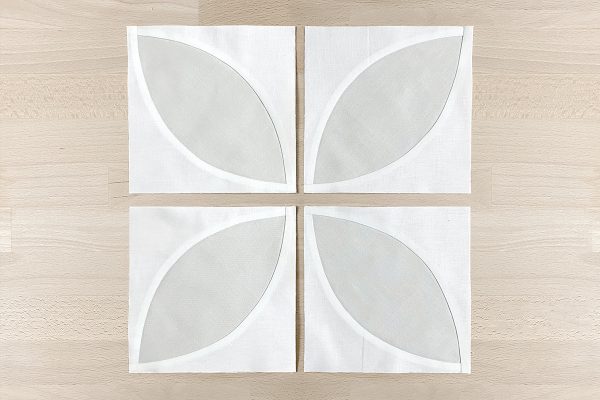
Create four cornerstone blocks using the templates and techniques laid out in our first round.
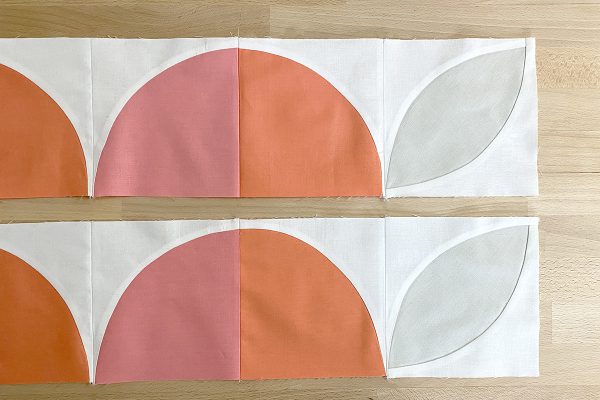
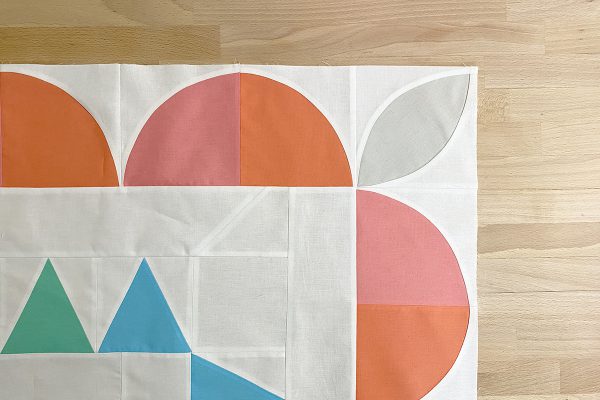
Attach these Orange Peel blocks to either end of two of our Drunkard’s Path rows. The peel shapes should angle to point outward from the ends of the rows.
The two sides with cornerstones will measure 60 1/2″ long. The two without cornerstones will measure 50 1/2″ long.
-
Sashing
Before attaching this next round, we will add sashing to the medallion.
Piece five 3 1/2″ x WOF strips together end to end to create one continuous piece. I prefer to do this with a mitered seam.
Cut two strips 50 1/2″ long and two 44 1/2″ long. Attach these to the medallion in the same fashion we have previously—the two shorter strips going on the left and right sides first. Press the seam allowance toward the sashing.
Then attach the longer strips to the top and bottom. Again, press the seam allowance toward the sashing.
-
Attaching the round
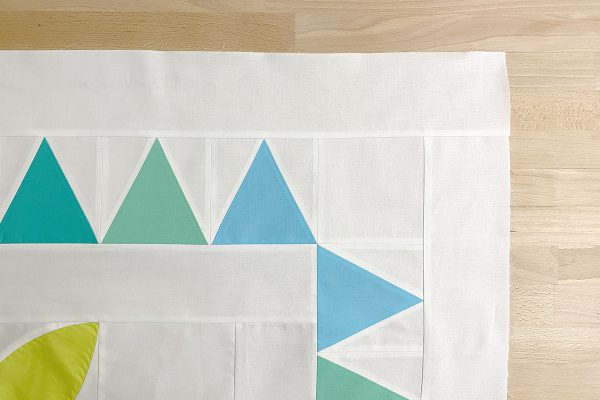
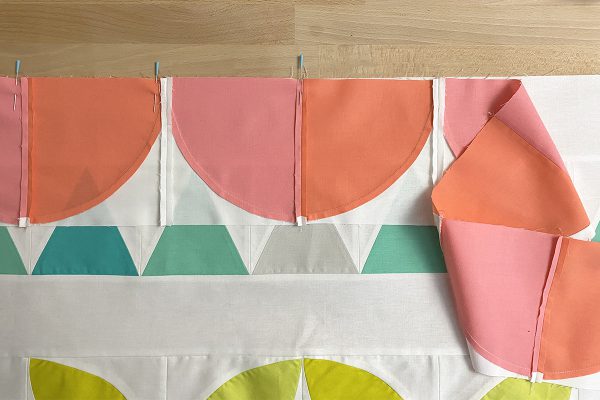
Finally, we will add this round on to our medallion! Starting with the two rows without cornerstones, pin the rows to the left and right sides of the quilt. I recommend starting from the center and working out to the ends.
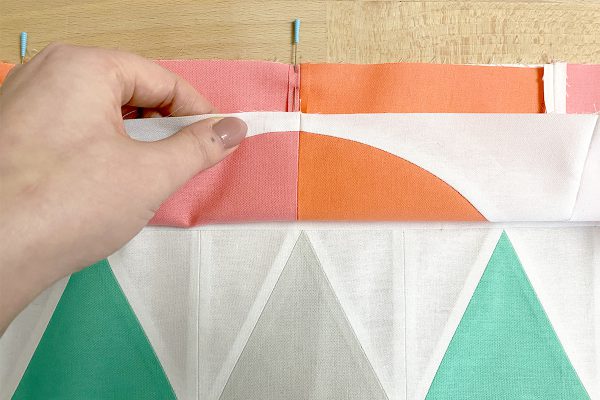
Align the center seam of the center half-circle with the point of the center (Color #9 Putty) triangle from the previous round.
Pin all along this side and stitch with a 1/4″ seam allowance. Press the seam allowance toward the sashing.
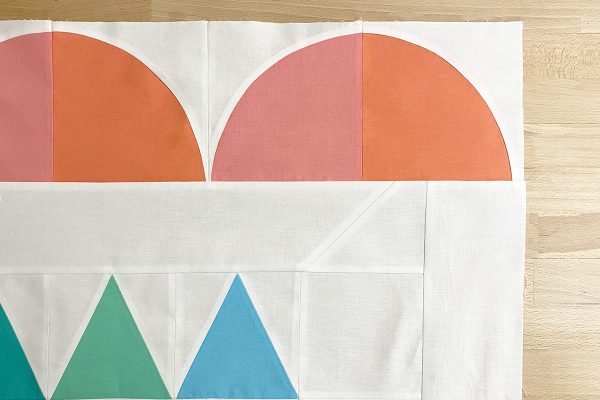
Then, add the remaining rows to the top and bottom. Again, align the center of the row again with the center of the triangle row. Stitch with a 1/4″ seam allowance and press toward the sashing.
The quilt top should measure 60 1/2” at this point. We have just one pieced row to add on and our top will be finished! Join me back here next up as we wrap up our quilt along!
