Perfect Patchwork Piecing Tip: Elmer’s School Glue!
A simple but brilliant tip for perfect piecing from award-winning quilter Lisa H. Calle of Stone House Quilting. Visit Lisa at her blog: Quilting, Kids and Life.
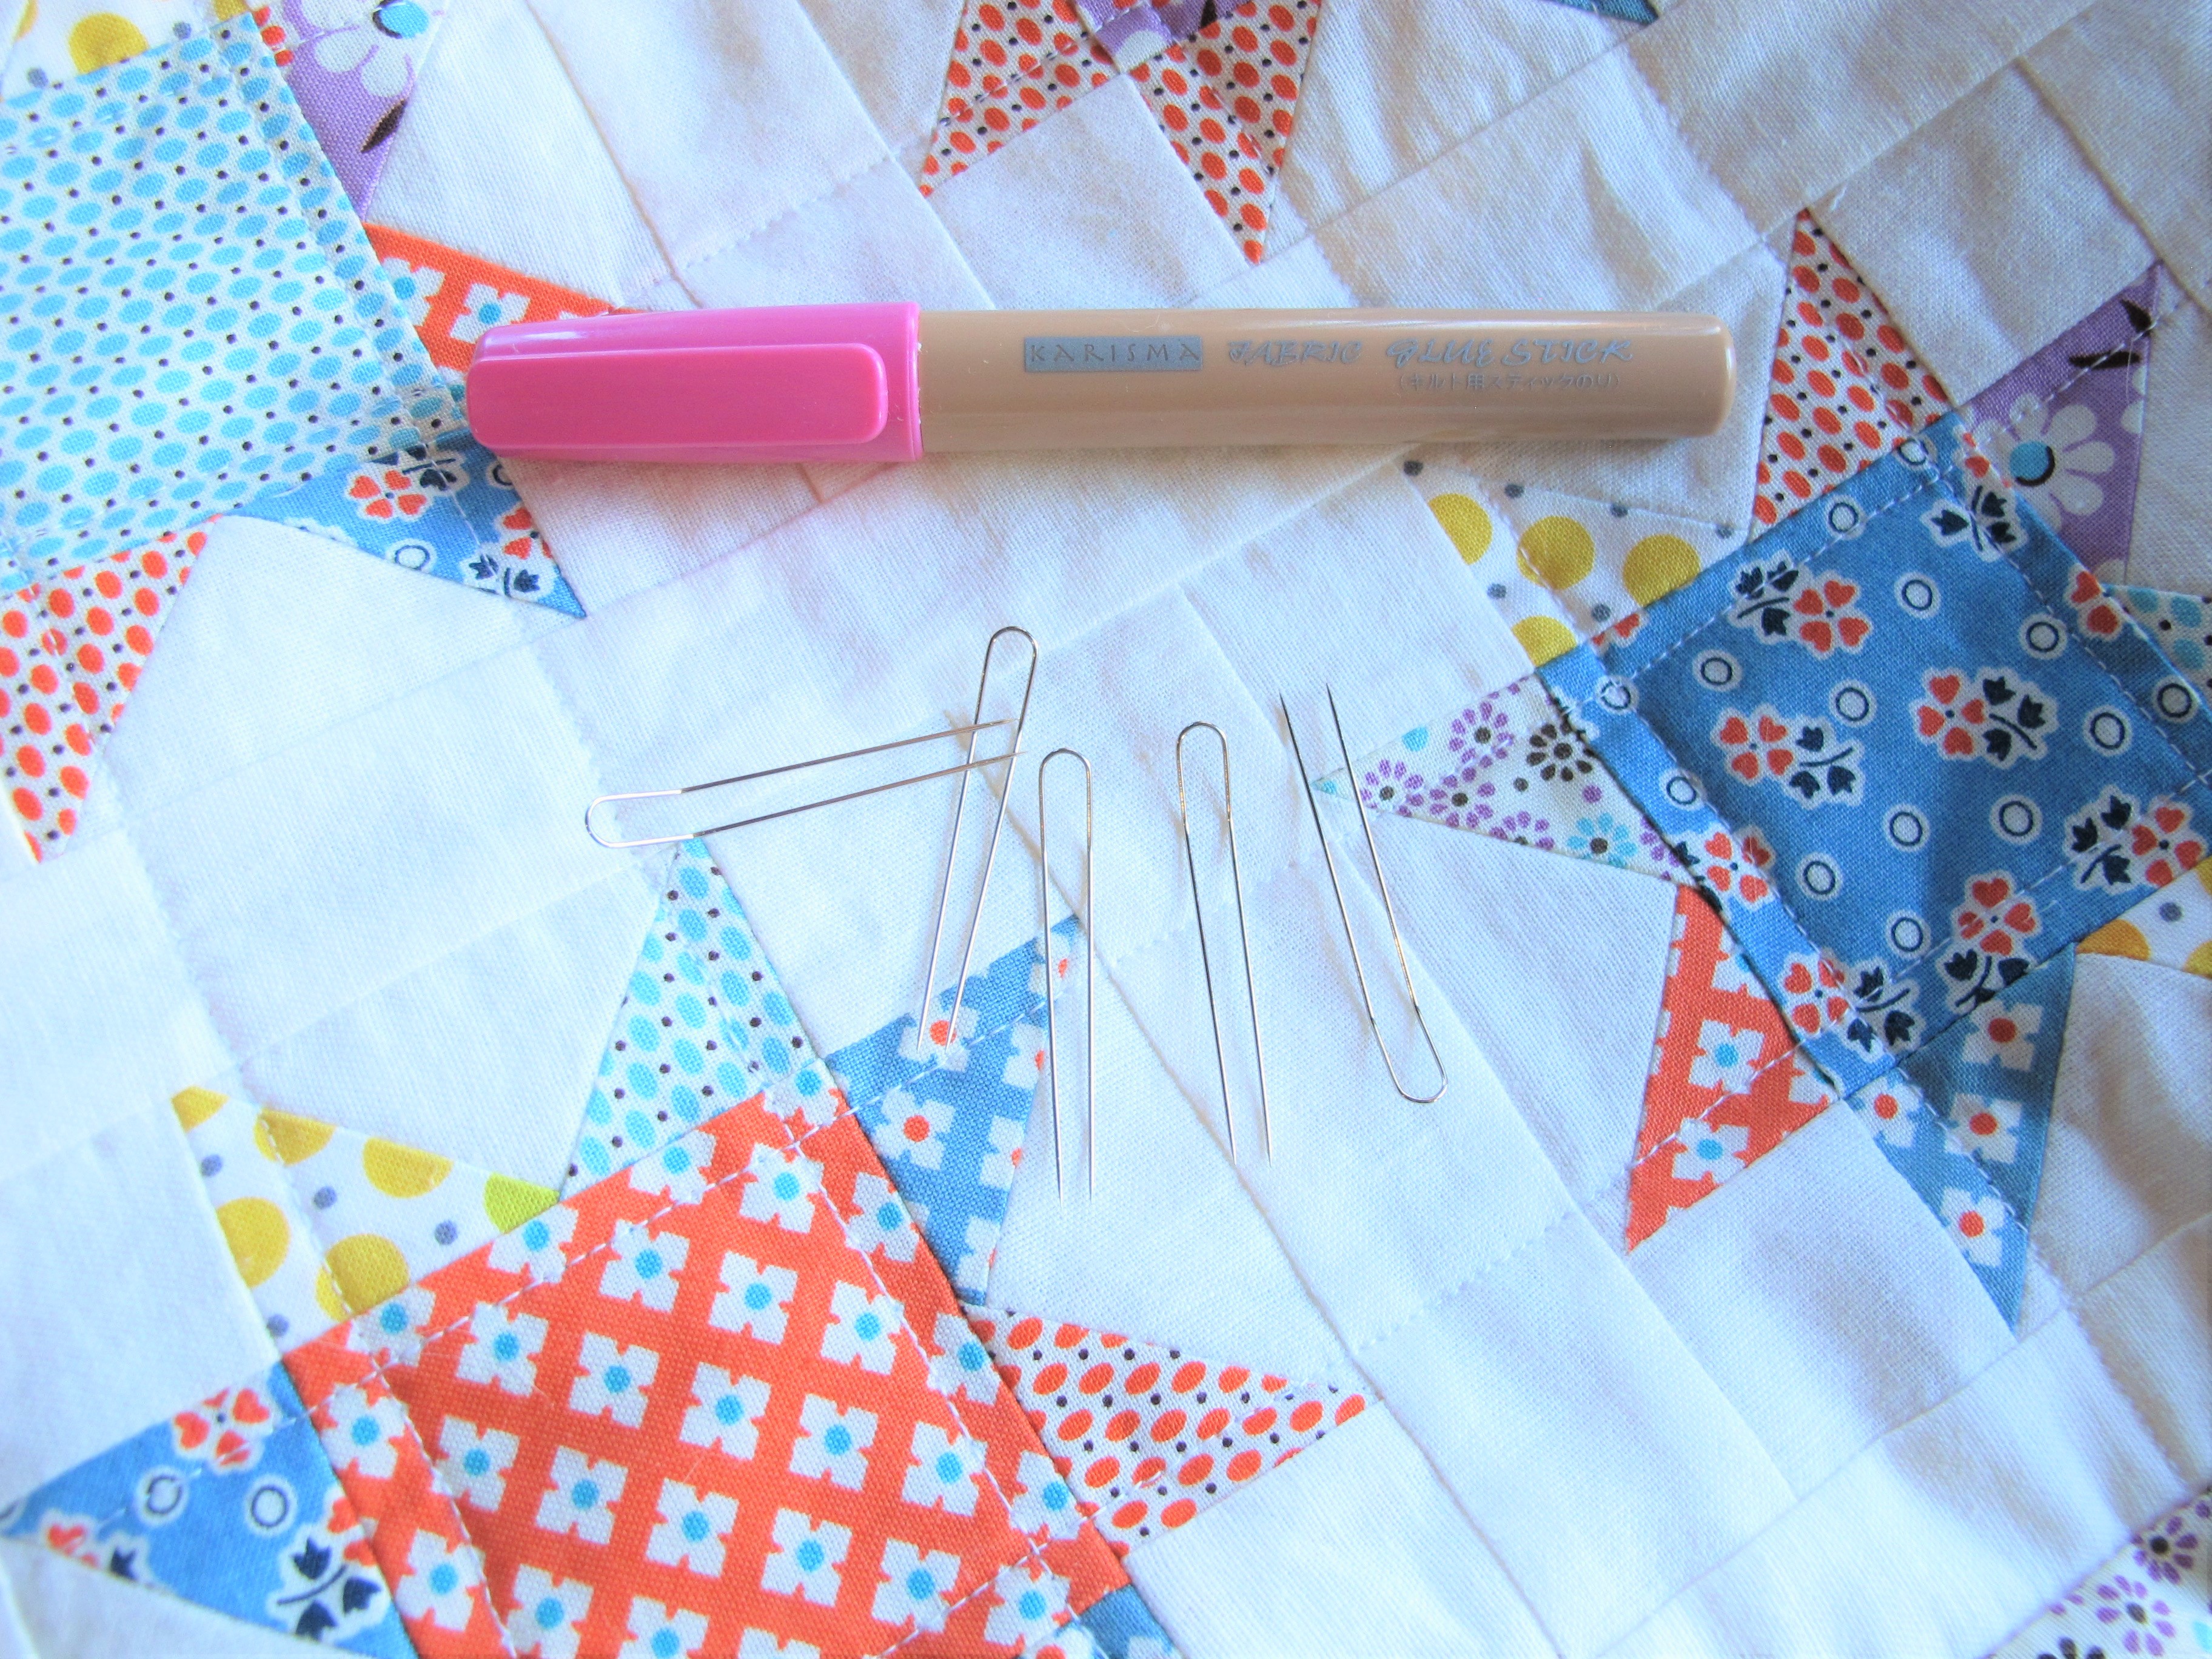
Pins, pins, pins! Those sharp little pointy things that we all use in our piecing. Like you, I used pins in my piecing . . . but only until about a year ago. What did I replace them with? Elmer’s Washable School Glue! A couple of reasons why I made the move to glue: My poor fingers couldn’t take being stuck anymore and, most importantly, I found I was more accurate in my piecing as the layers didn’t shift while I stitched them together.
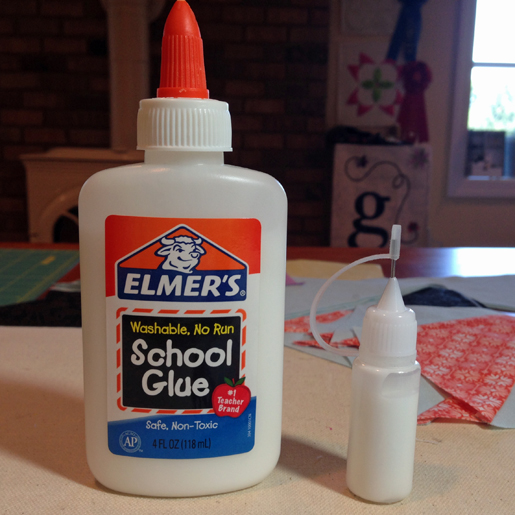
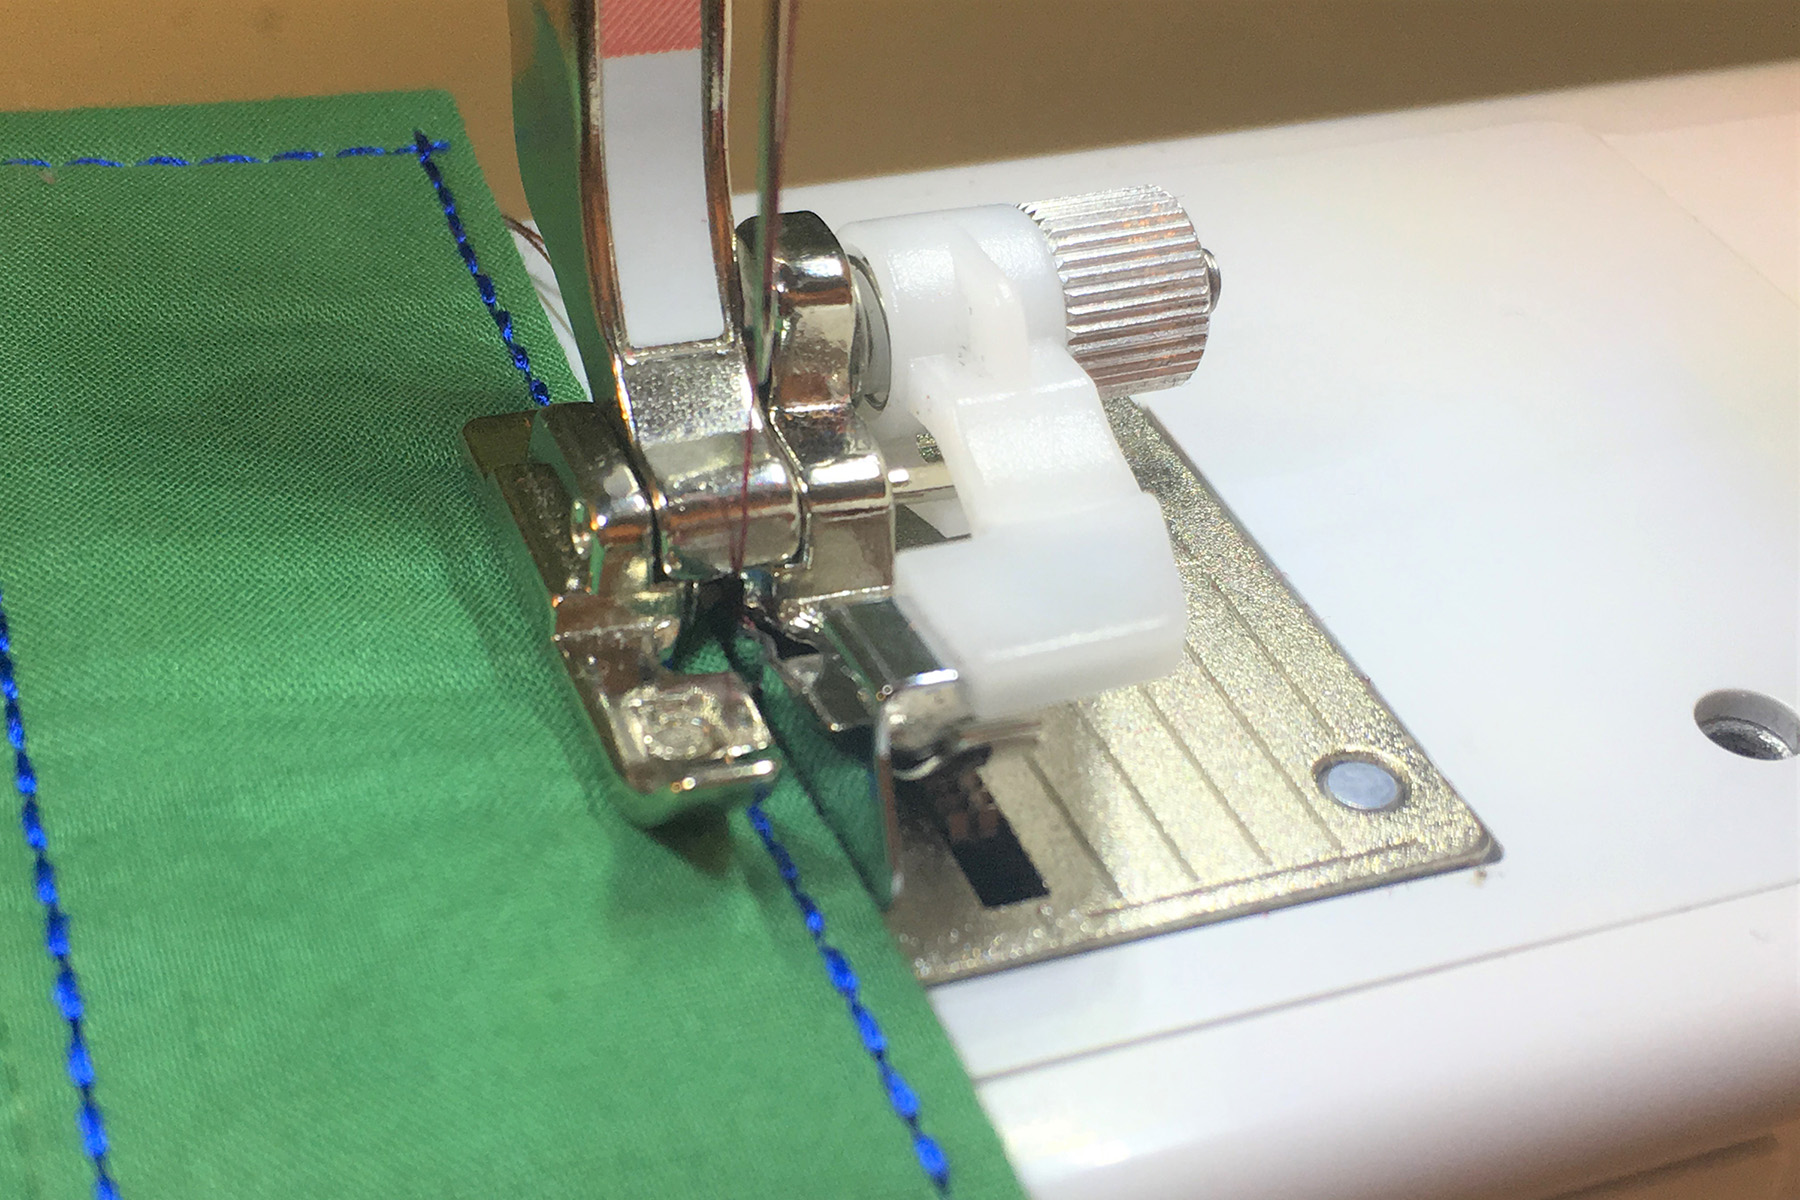
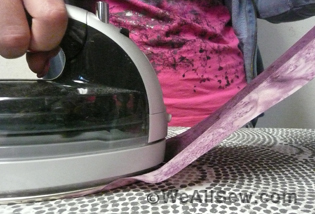
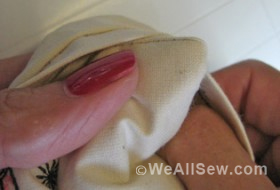
I use the small applicator to get a nice thin line of glue which I place within the seam allowance. Then I use a hot iron to heat set the pieces together.

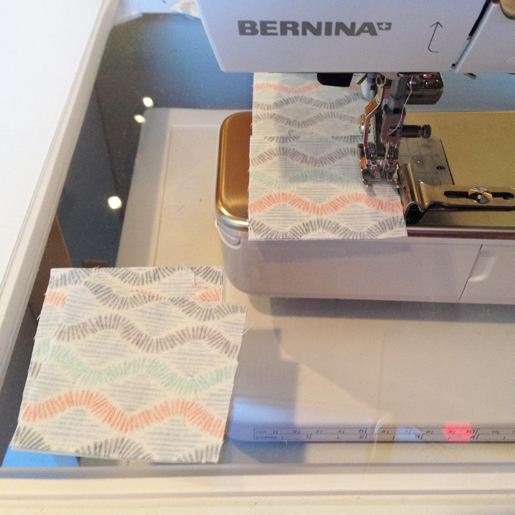
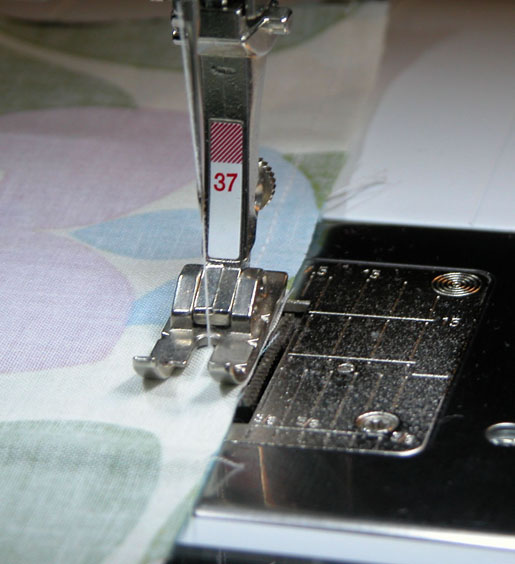
Once I have all of my pieces glued together, I hop on over to my BERNINA sewing machine (a BERNINA 750) to stitch them together. This process now goes quickly as I don’t have to put pins in to hold my piecing in place and I don’t have to take pins out. I am sure I don’t have to tell you what pins can do to a sewing machine if you accidentally sew over them!
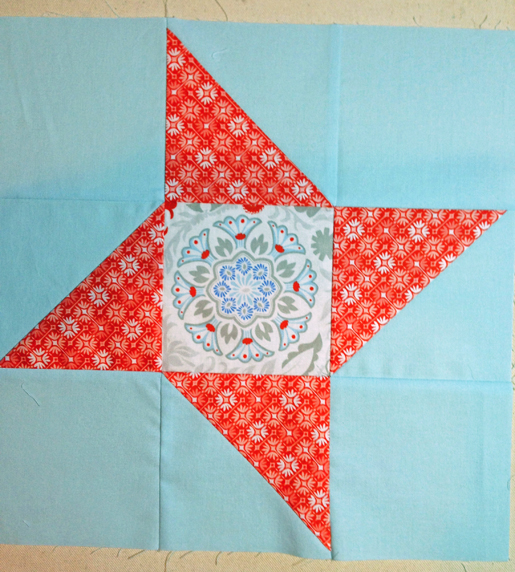
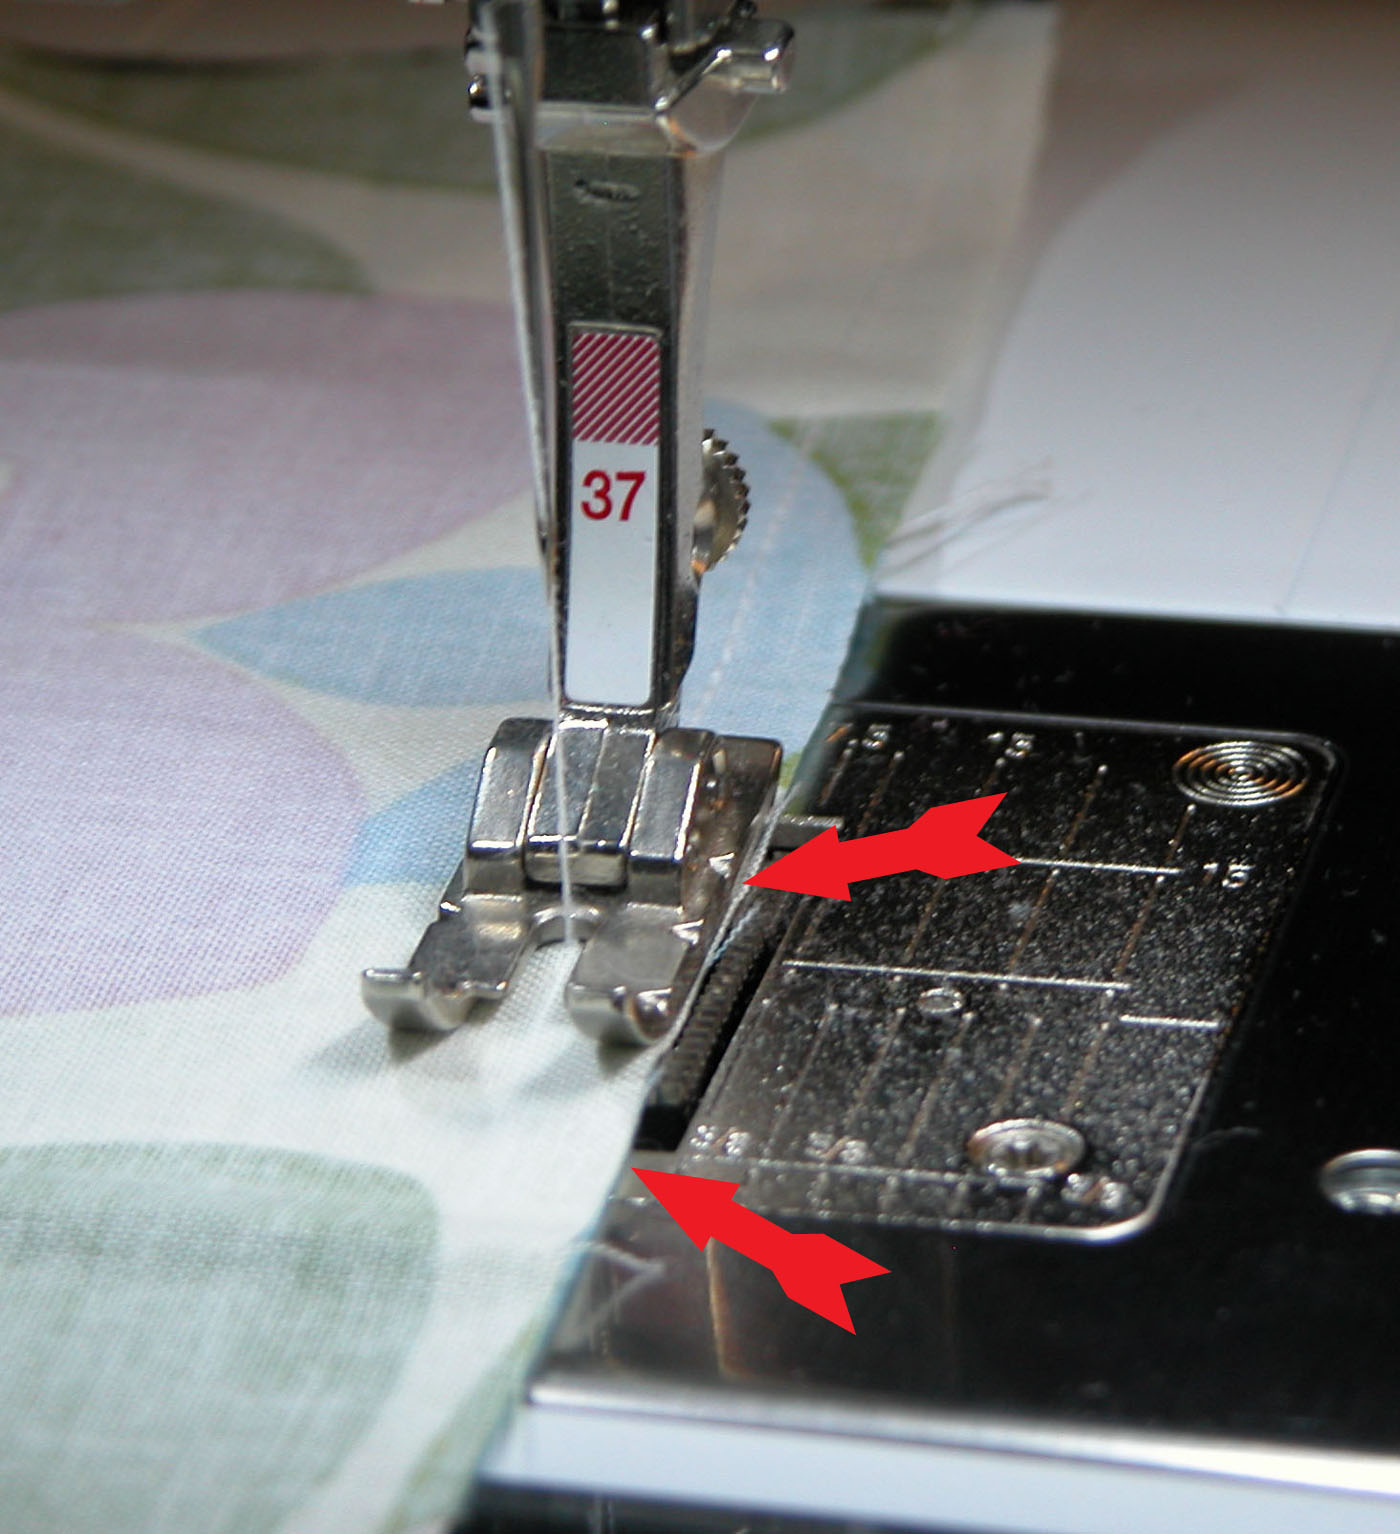
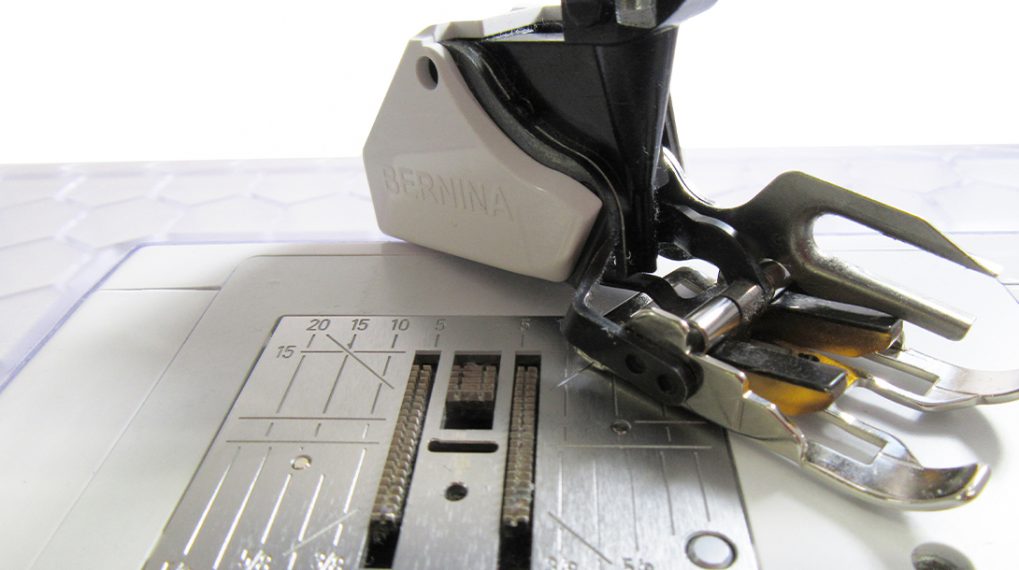
So do your sewing machine a favor and give the Elmer’s School Glue a try, paired with the new 1/4″ Patchwork Foot #97D for Dual Feet machines (or Patchwork Foot #97 or #57 for other models) your piecing will be transformed!


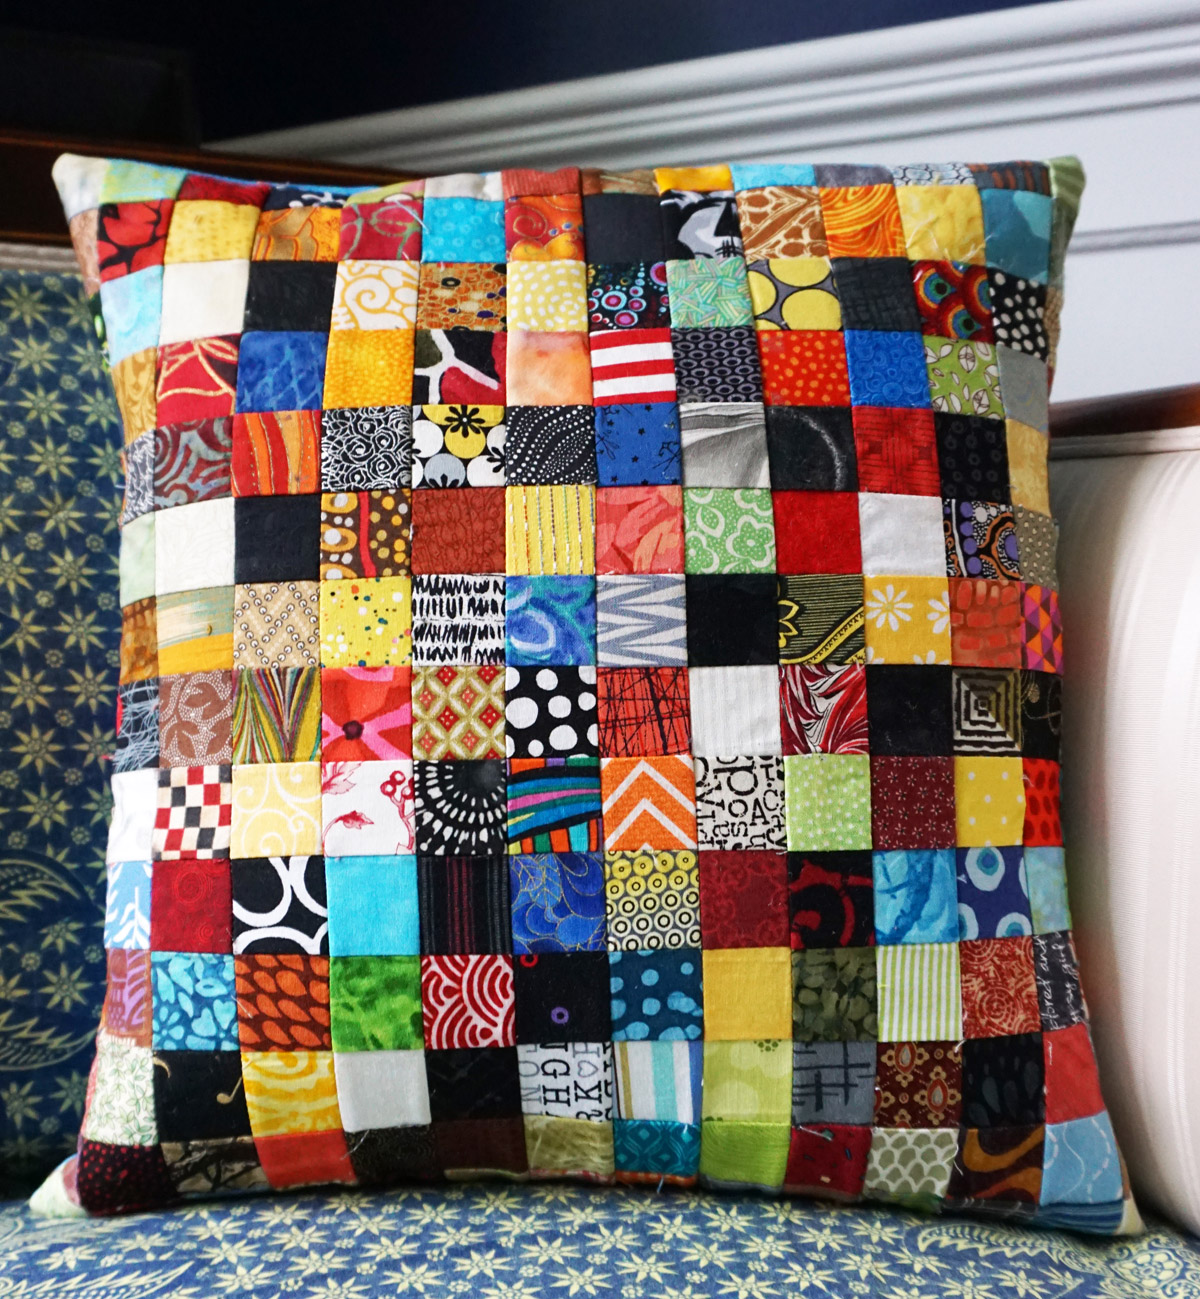
What you might also like


5 comments on “Perfect Patchwork Piecing Tip: Elmer’s School Glue!”
-
-
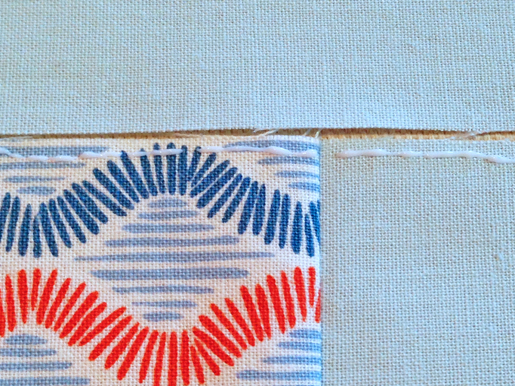
The glue is in the seam allowance.
-
-
Where do you find your thin-line applicators?
-
Where do you find the fine tip glue bottle Sticks?
-
-
The glue is in the seam allowance, so it does not affect the needle. This method makes matching seams very easy when sewing together rows of a quilt.
Leave a Reply
You must be logged in to post a comment.

What about glue on your needle?