Quilt Label Tutorial
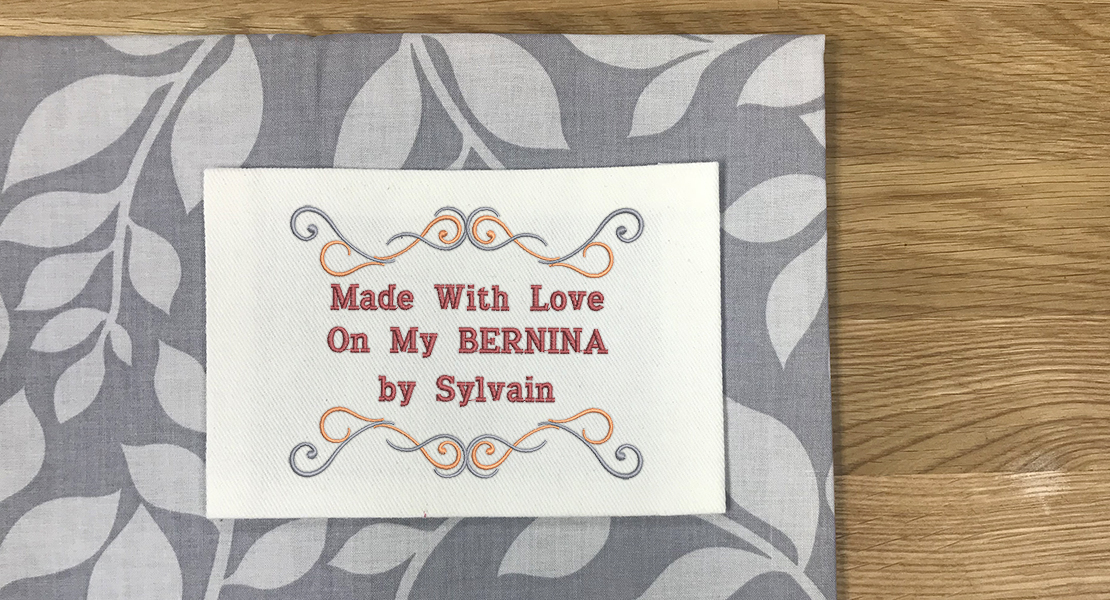
One of the most beautiful things about the art of quilting is the lifespan of these projects. Being able to gift a quilt that gets passed down for multiple generations is an honor. Because quilts have the opportunity for so much longevity, it’s important to label them so that thirty or forty years from now, the loving owner knows who made that quilt, when, and where it came from.
Unfortunately, labeling is often forgotten as the last step in the quilt making process. It requires a little extra time and attention to add this finishing touch. By machine embroidering a label, we make this process simple, easy, and it will not require much of our time to add a lasting message.
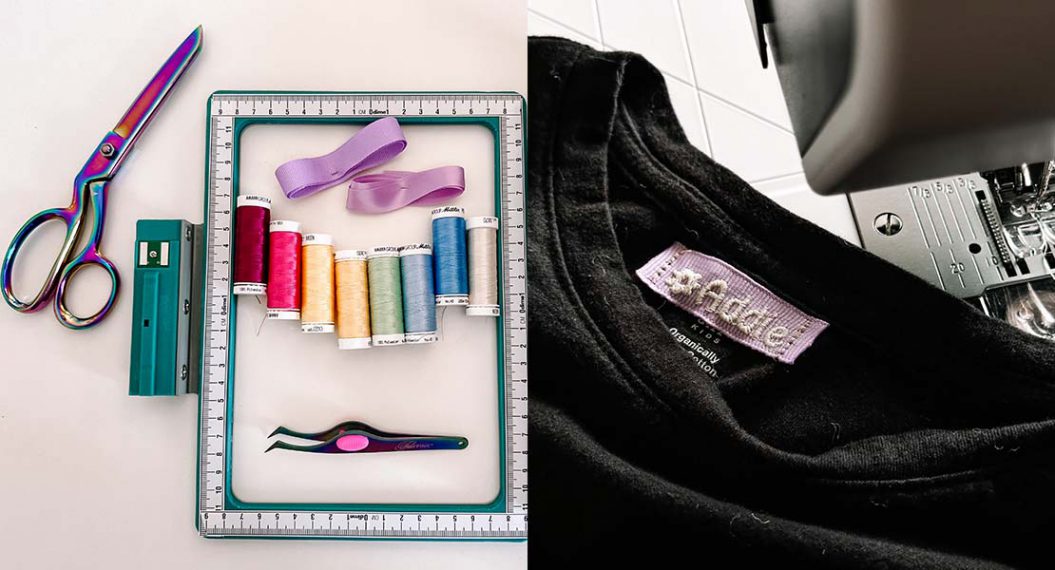
Materials for Embroidering Lettering
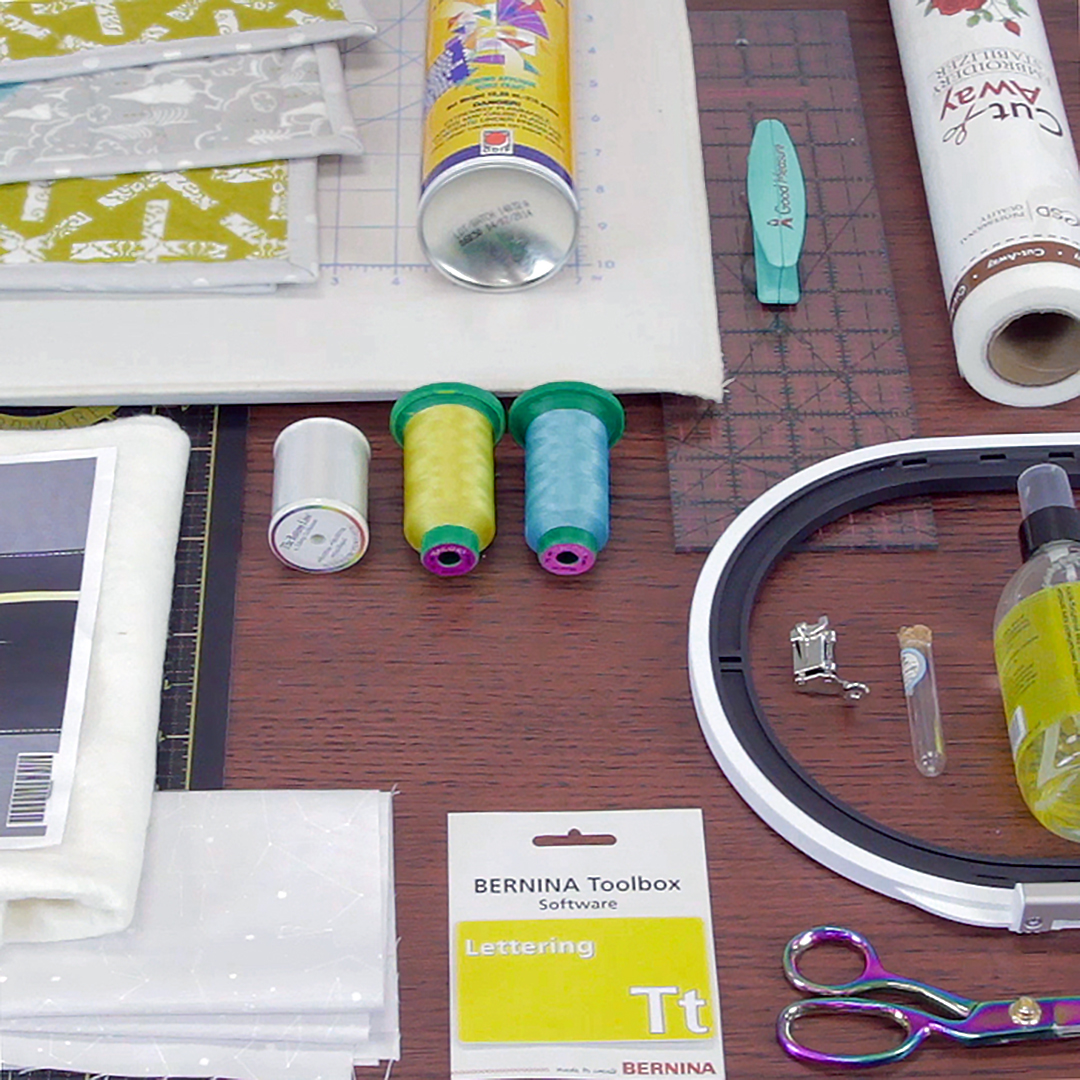
- Toolbox embroidery software
- Lettering module or complete bundle
- Quilting weight cotton fabric
- OESD Fusible Woven interfacing
- Isacord embroidery thread
- Aurifil 40 wt cotton thread
- Clover Black Gold Applique Sharps (size 9)
- OESD Press Cloth
- Tula Pink 6” Bent Trimmer (micro serrated)
- 505 Spray Baste (optional)
- #26 embroidery foot
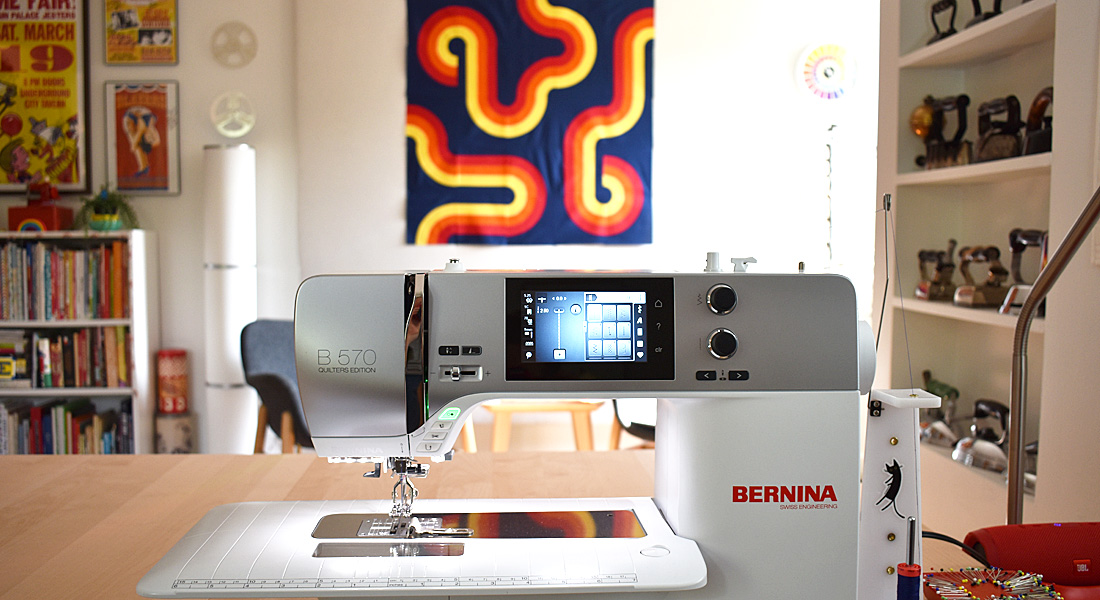
- B 570 QEE
- Quilter’s Edition with embroidery module
Steps to embroider lettering
Step 1. Setup your design
Start by setting up the lettering for your quilt label using Toolbox embroidery software. Make sure that you have the Lettering module. Toolbox is an incredibly beginner-friendly software—as a beginner embroiderer, it’s super easy to use!
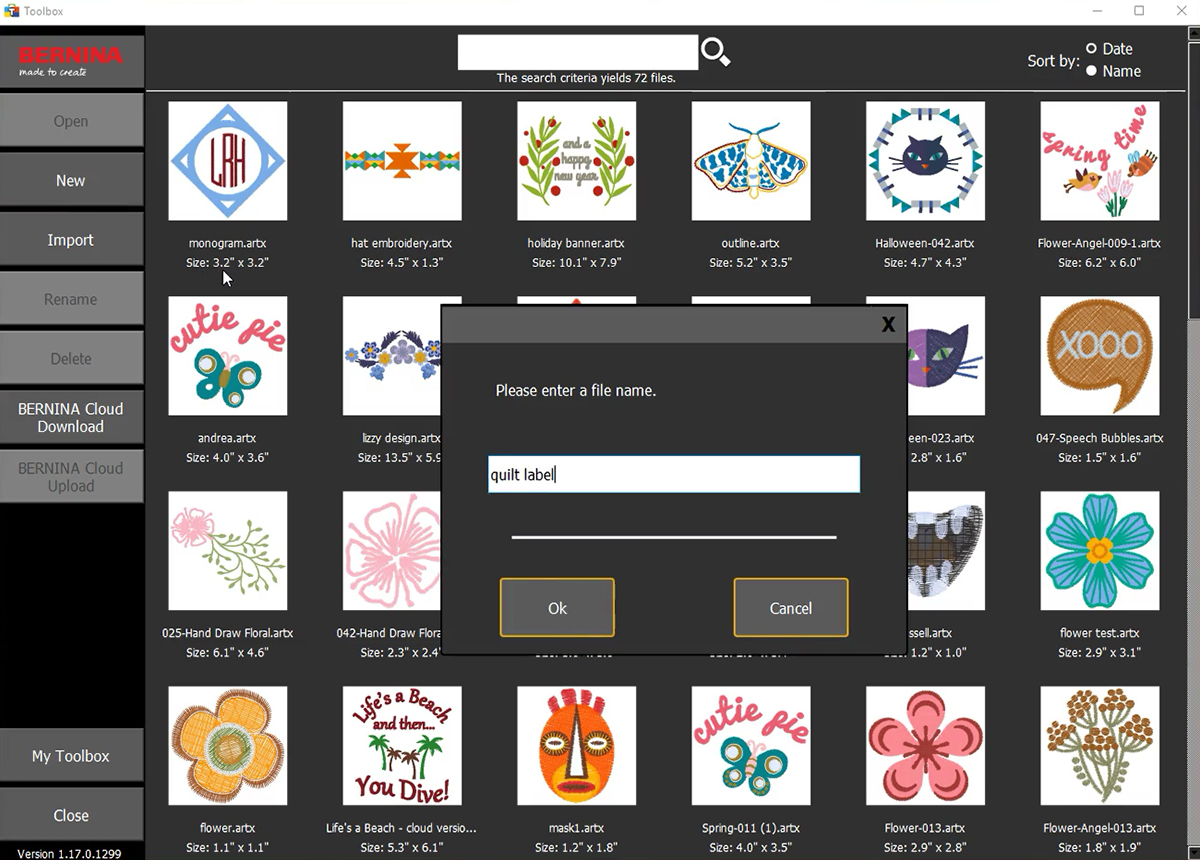
Open up your Toolbox software and create a new file.
Then, select the Lettering tool from the toolbar on the left side of the screen. It will open up all the potential lettering options in a toolbar on the right side.
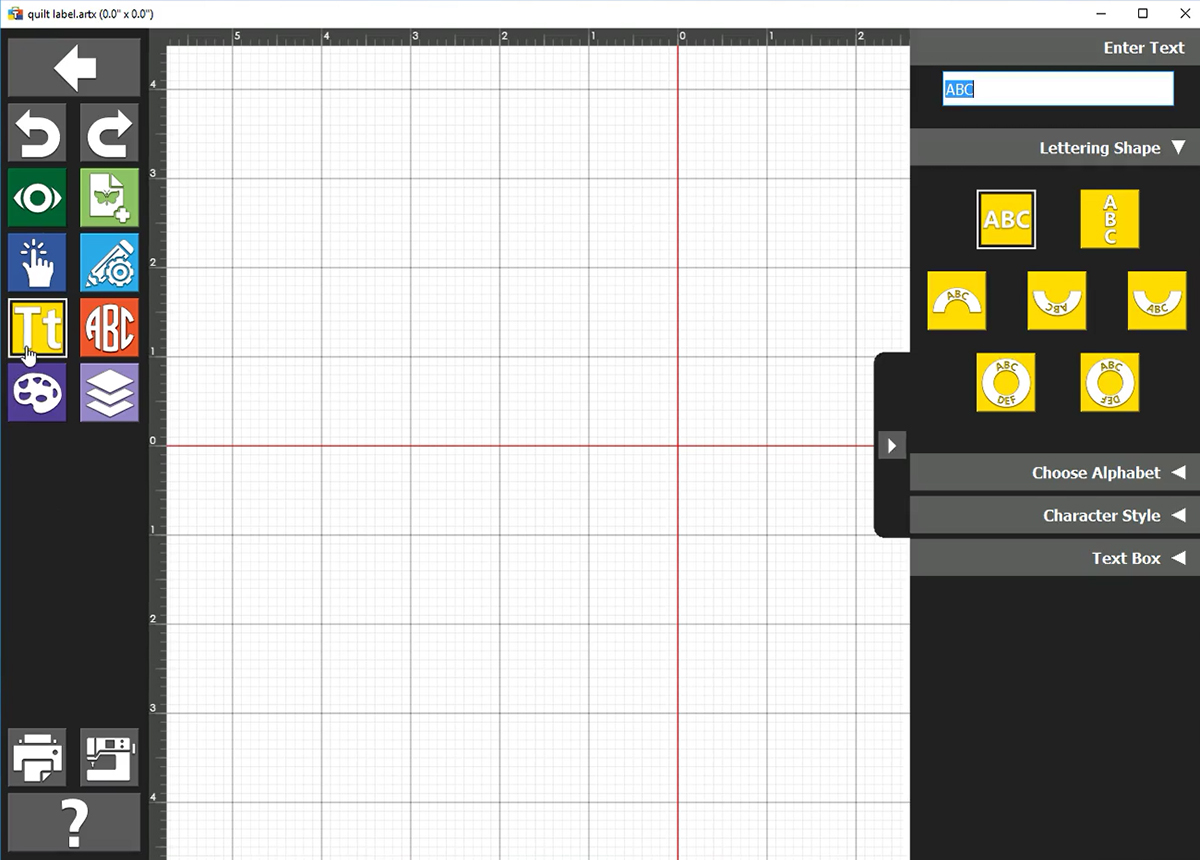
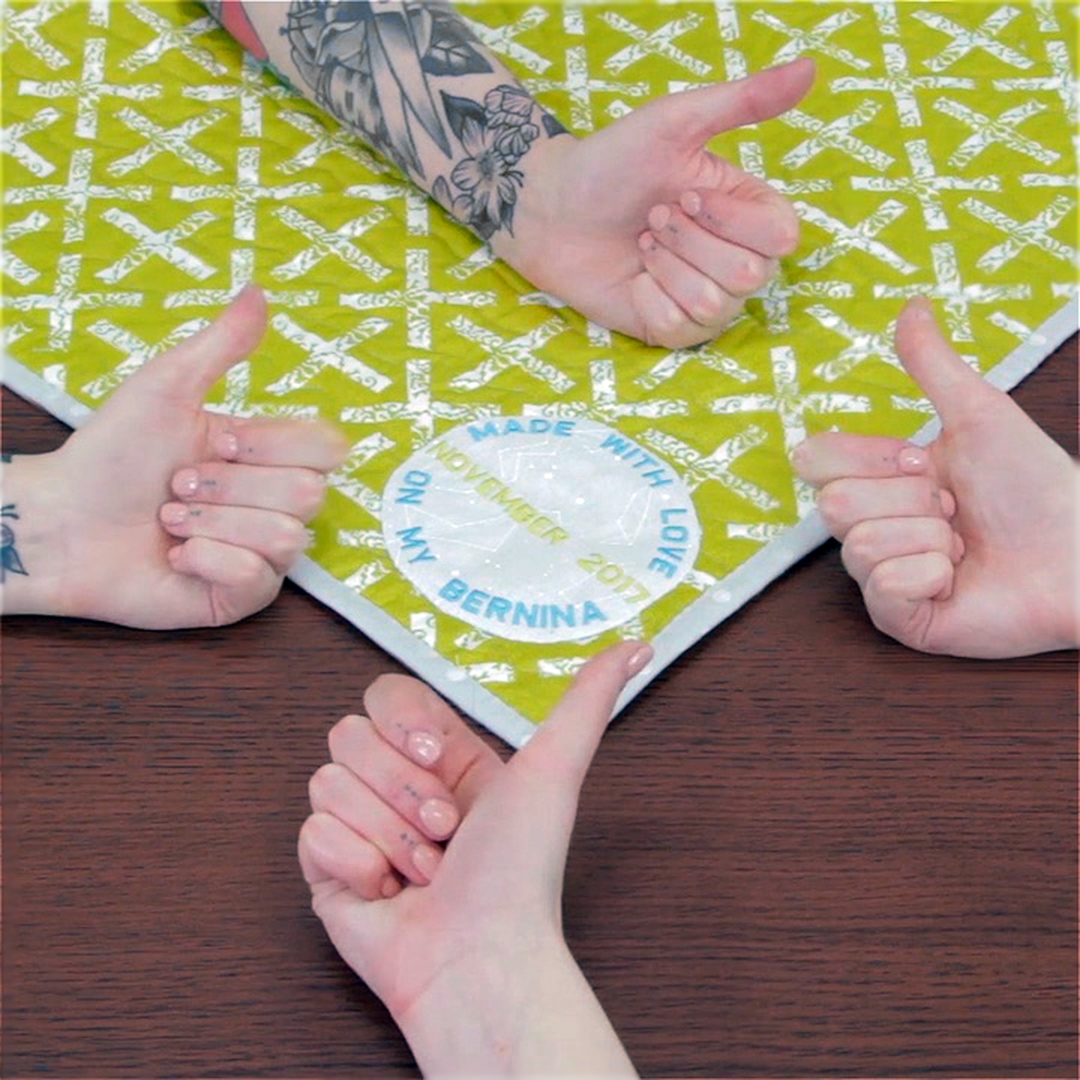
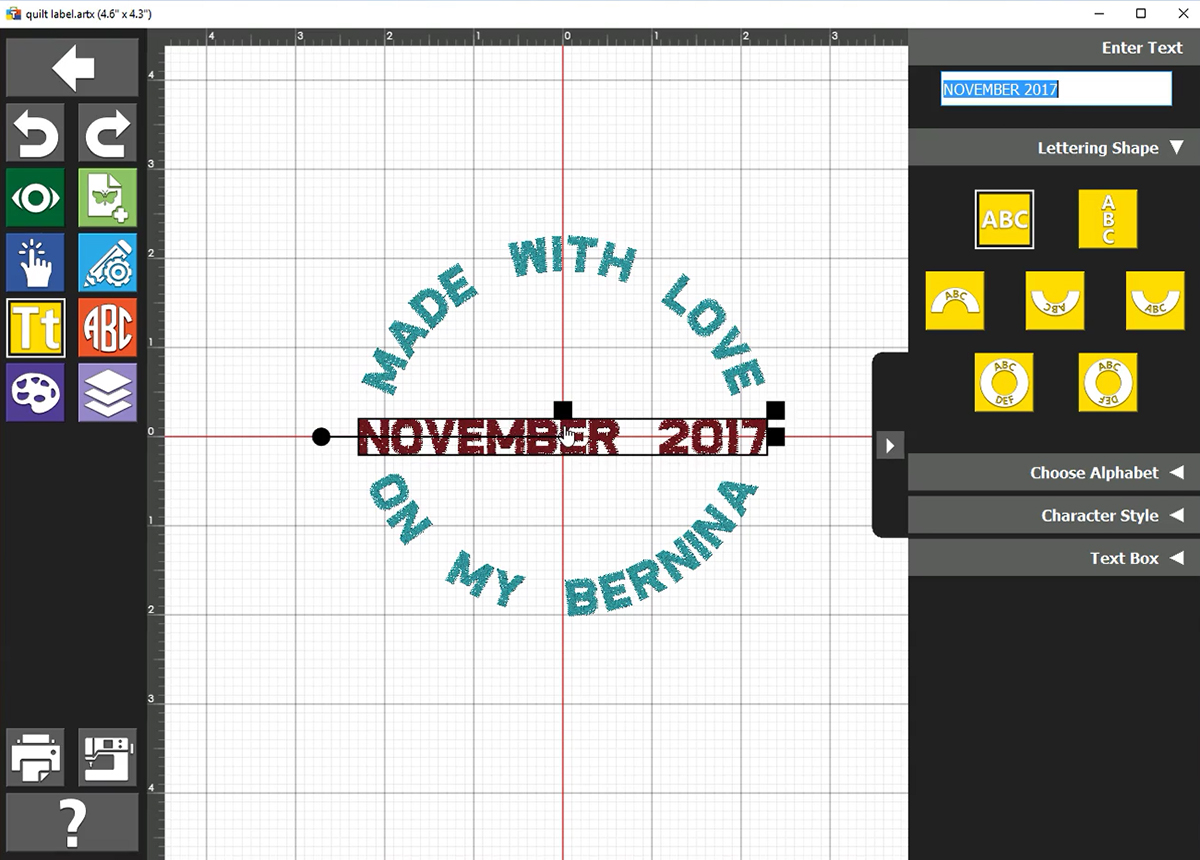
[Enter your text in the box at the upper right corner of the screen and select the shape you’d like your lettering to fit. I’ve chosen the arc shape with a 2” radius—this means my finished embroidery design will be a 4” diameter circle when all the art is laid out.
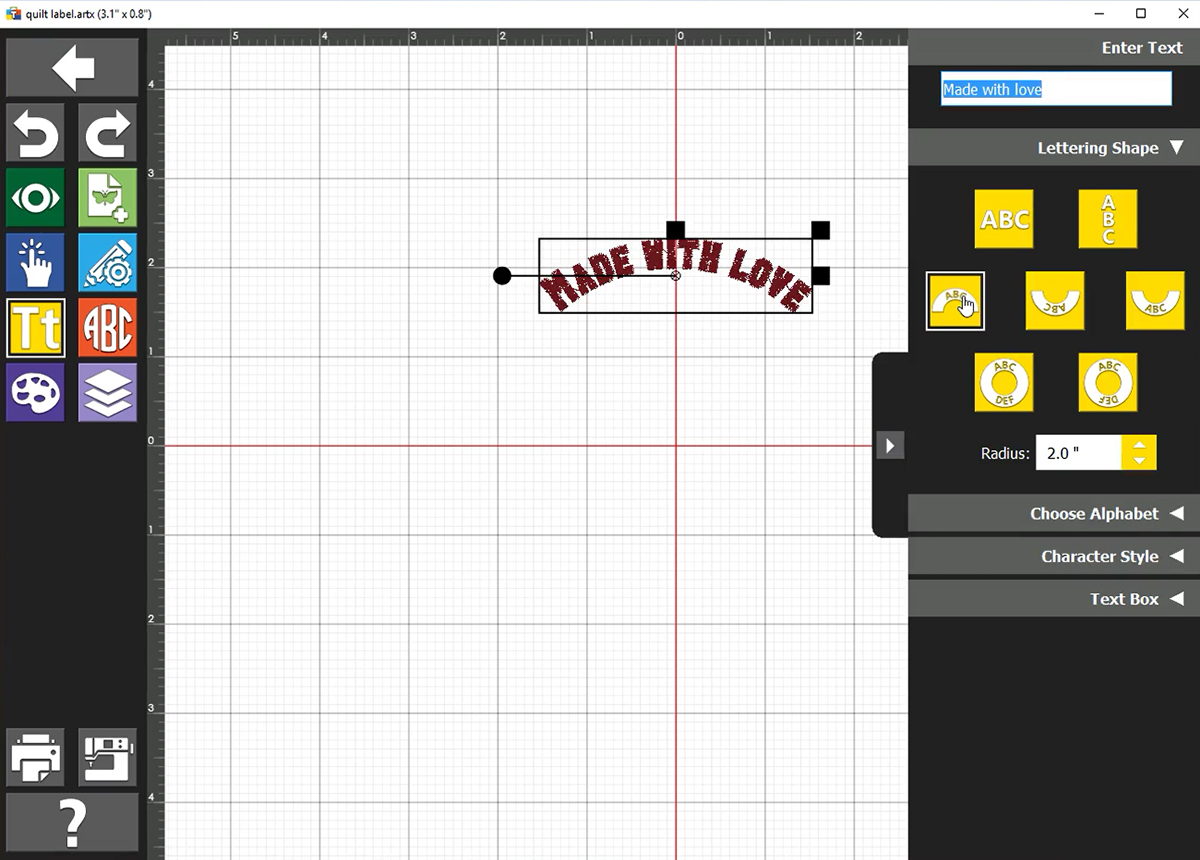
I slightly scaled my lettering down so that we can see it all in screen. To scale objects in Toolbox, simply click on the object to select it and then click on the box in the upper right corner and drag to scale.
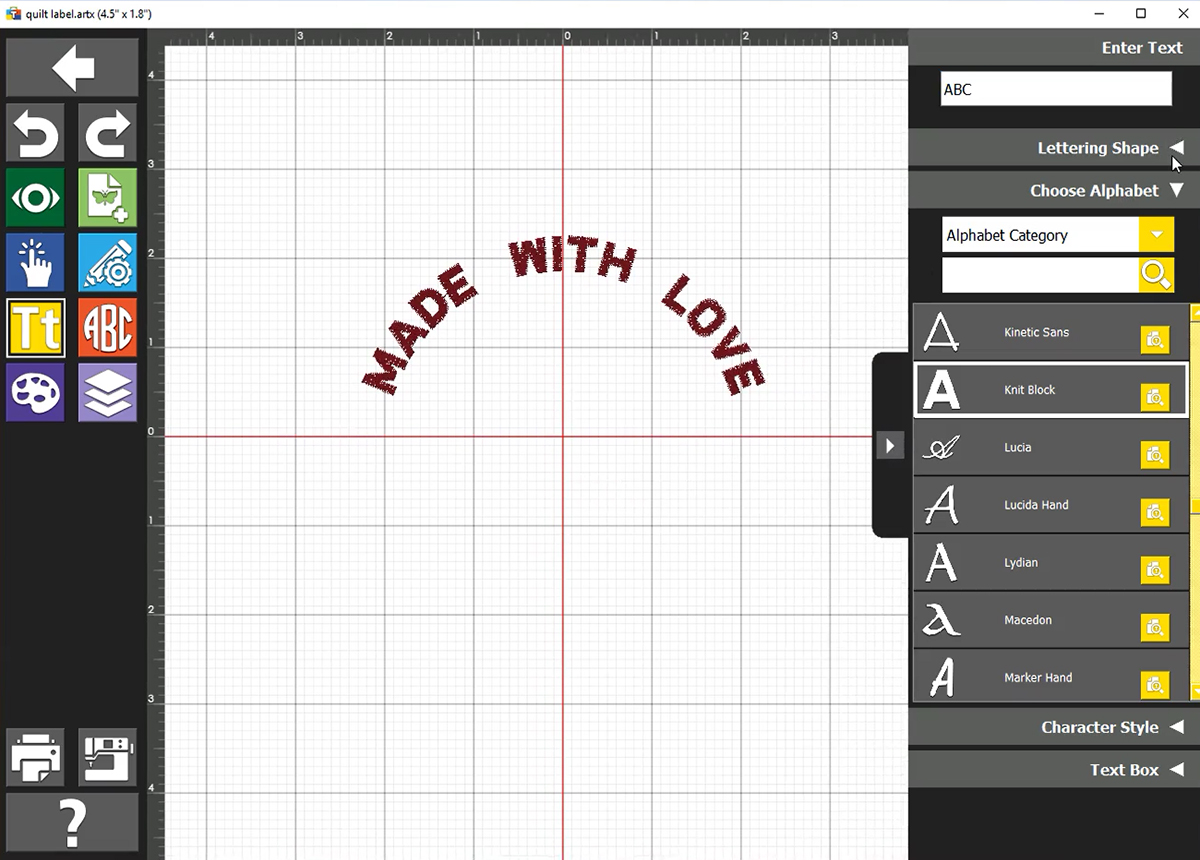
Next, choose the font or alphabet for your lettering. I like something clean and modern so I’ve chosen the font “Knit Block”.
Then deselect your first section of lettering. Since your Lettering tool is still active, begin typing the second part of your phrase in the text box in the right corner. Select the bottom arc shape and again keeping the radius at 2”. Position the two elements to be centered and form a circle.
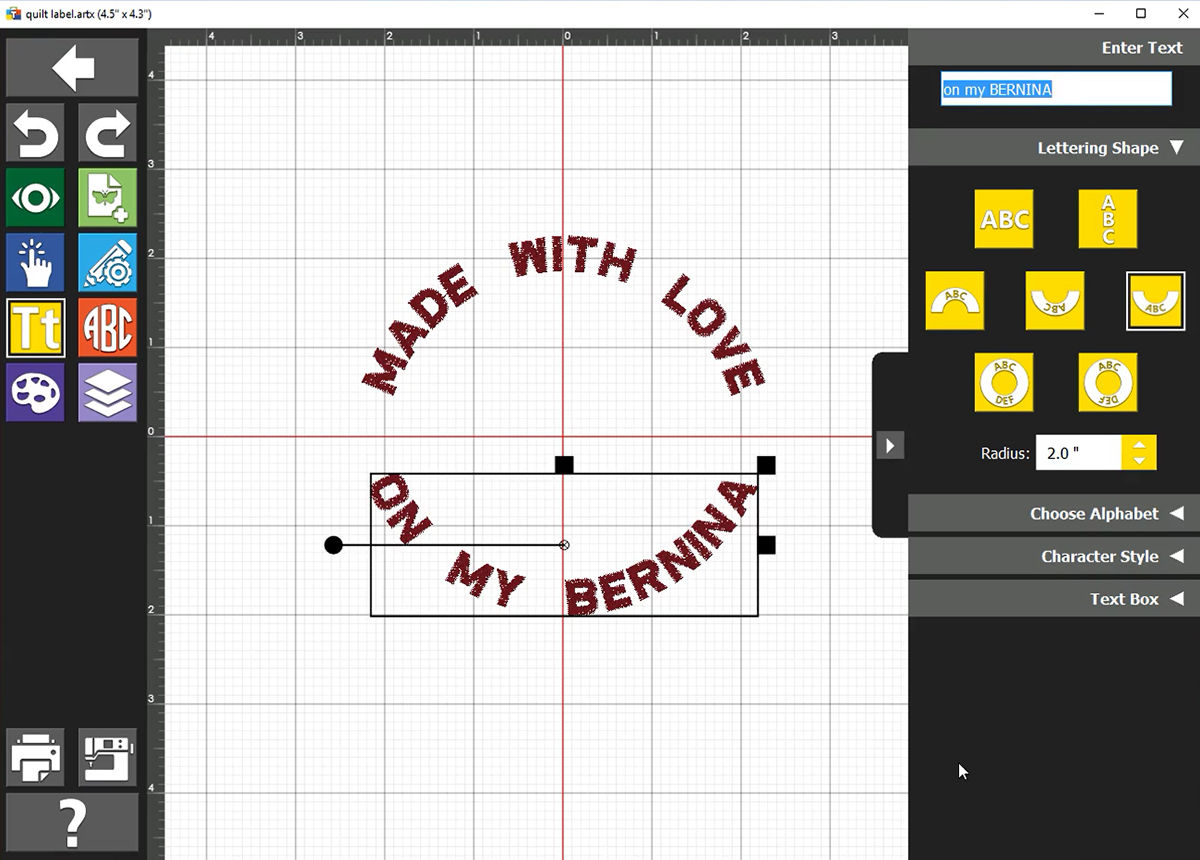
You’ll notice that when you create this second element of lettering, Toolbox remembers what font and size you used previously. That saves you a step!
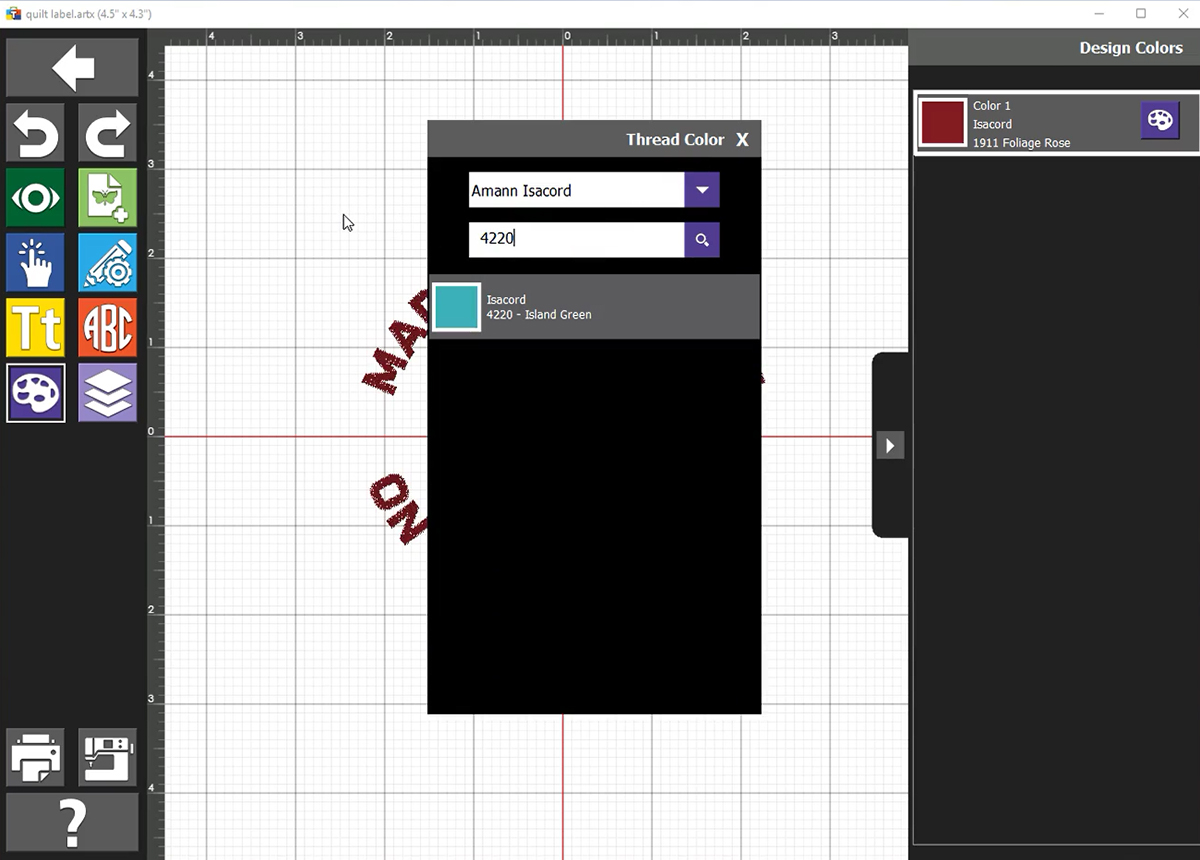
Next I’m going to change my thread color for this section. You can change thread color in the machine but I find it easier to do in the software. Plus, it’s a nice way to see how your design is going to work before you stitch it out.
To change thread colors, select the color palette icon on the left side toolbar. Toolbox will list all the colors currently built into your design. Click any color and a thread chart menu pops out. You can select from a wide variety of brands of thread and their appropriately labeled colors. I’m using Isacord so I usually stay in the default menu.
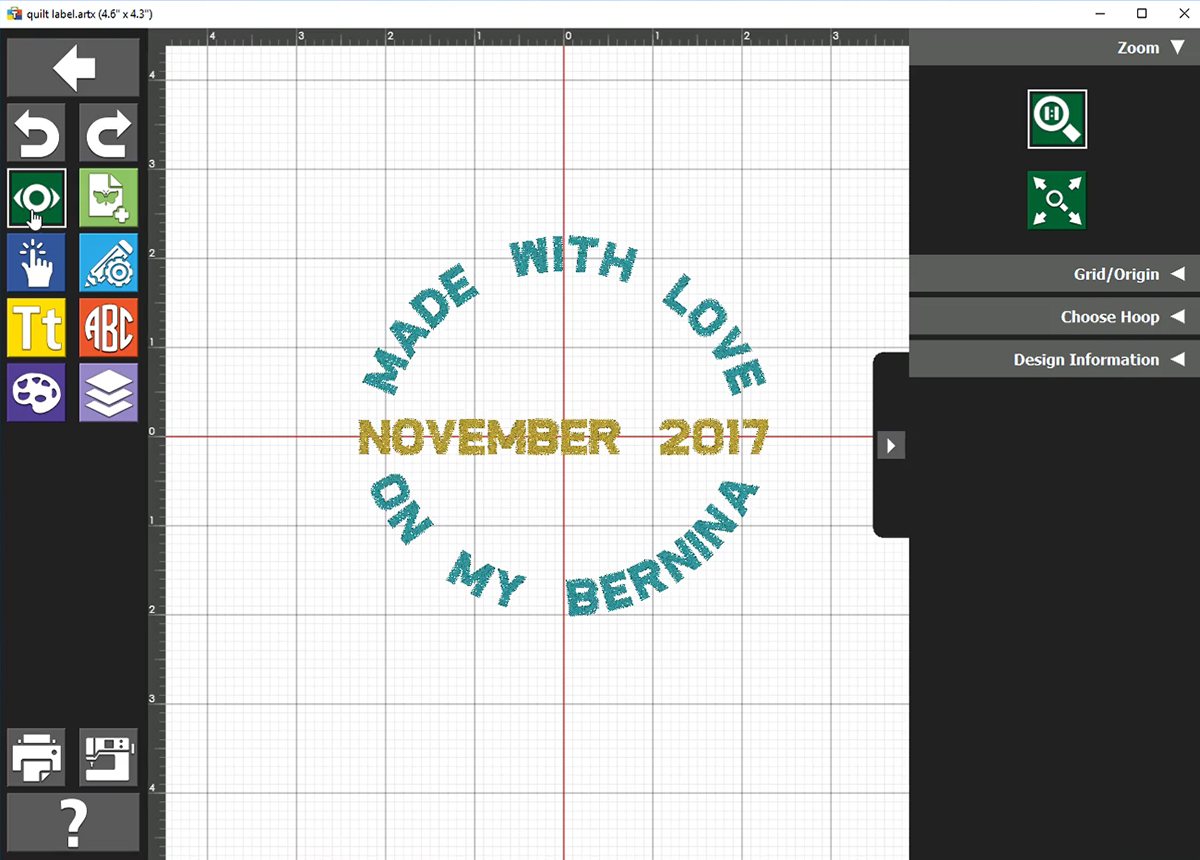
Next we’ll add the last element of lettering—it’s always nice to include the date that you worked on a quilt to the label. Using the simple straight across lettering, add your date.
Make any final color changes and then head over to the View tool to see how your design is coming together. Here, you can view your design in different sized BERNINA hoops and scale your design if necessary. Mine looks good to go!
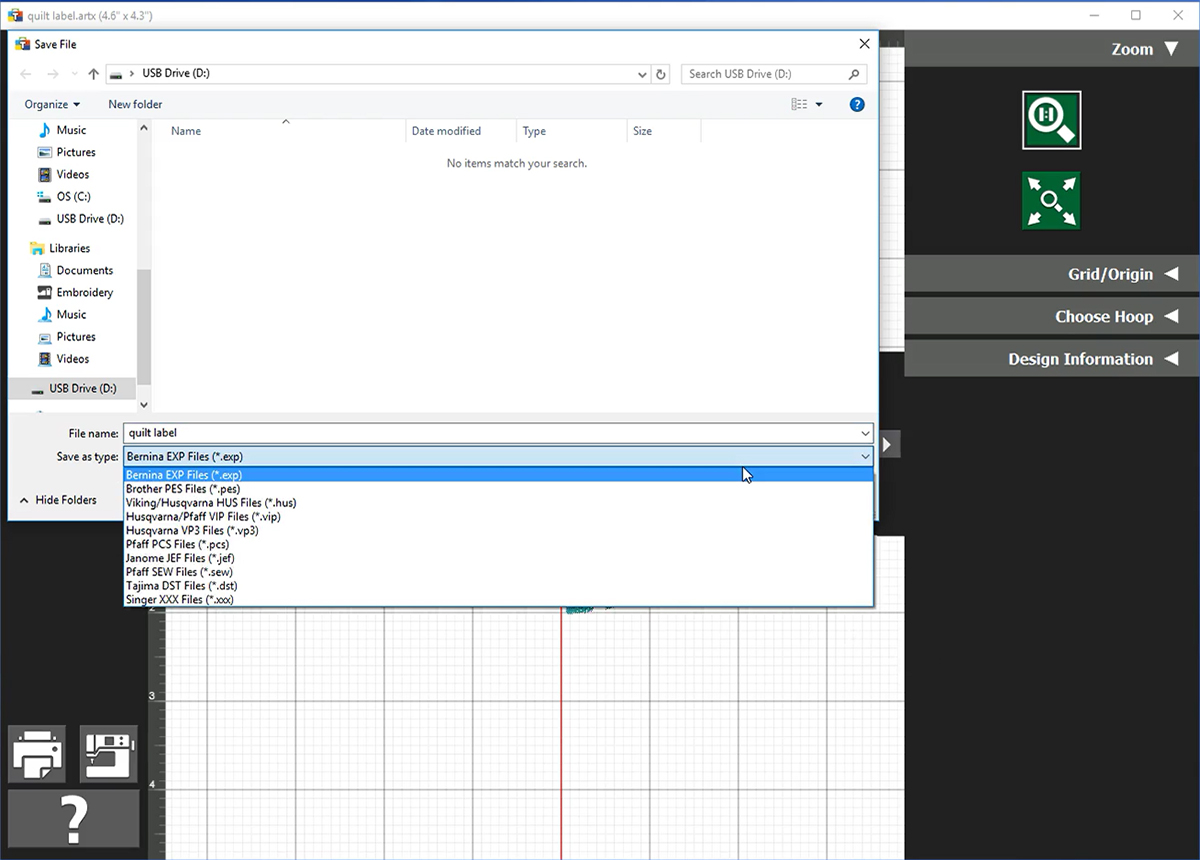
When you’ve completed setting up your design, export it to a USB drive.
Step 2. Prep & hoop fabric
Prepare your fabric for embroidering by fusing an interfacing, like OESD Fusible Woven, to the wrong side. This interfacing will stabilize the fabric when stitching but will add strength and longevity to the label as it wears through the years.
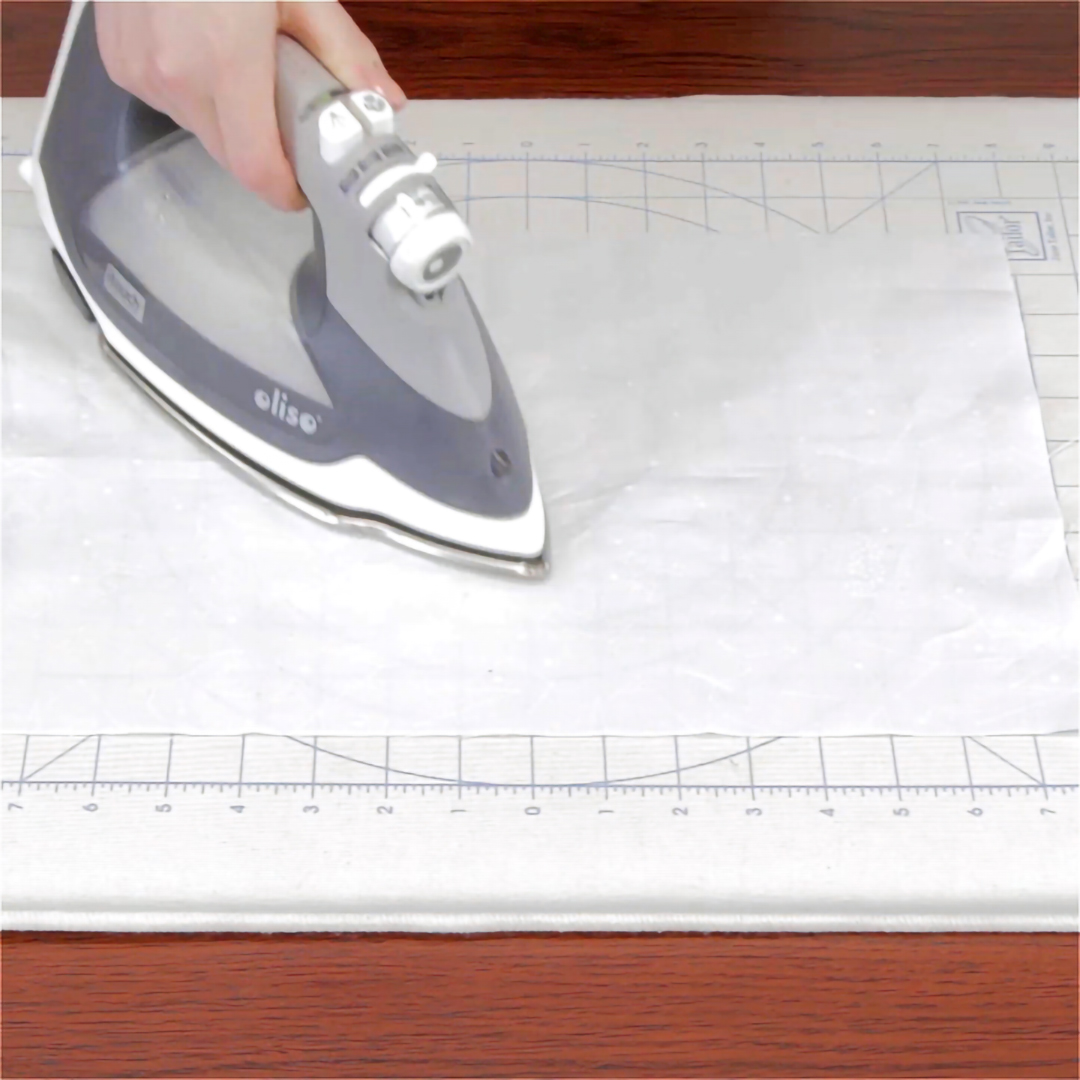
Once you have added your interfacing or stabilizer, hoop the fabric in the appropriately sized hoop. The label setup above will fit in the midi hoop.

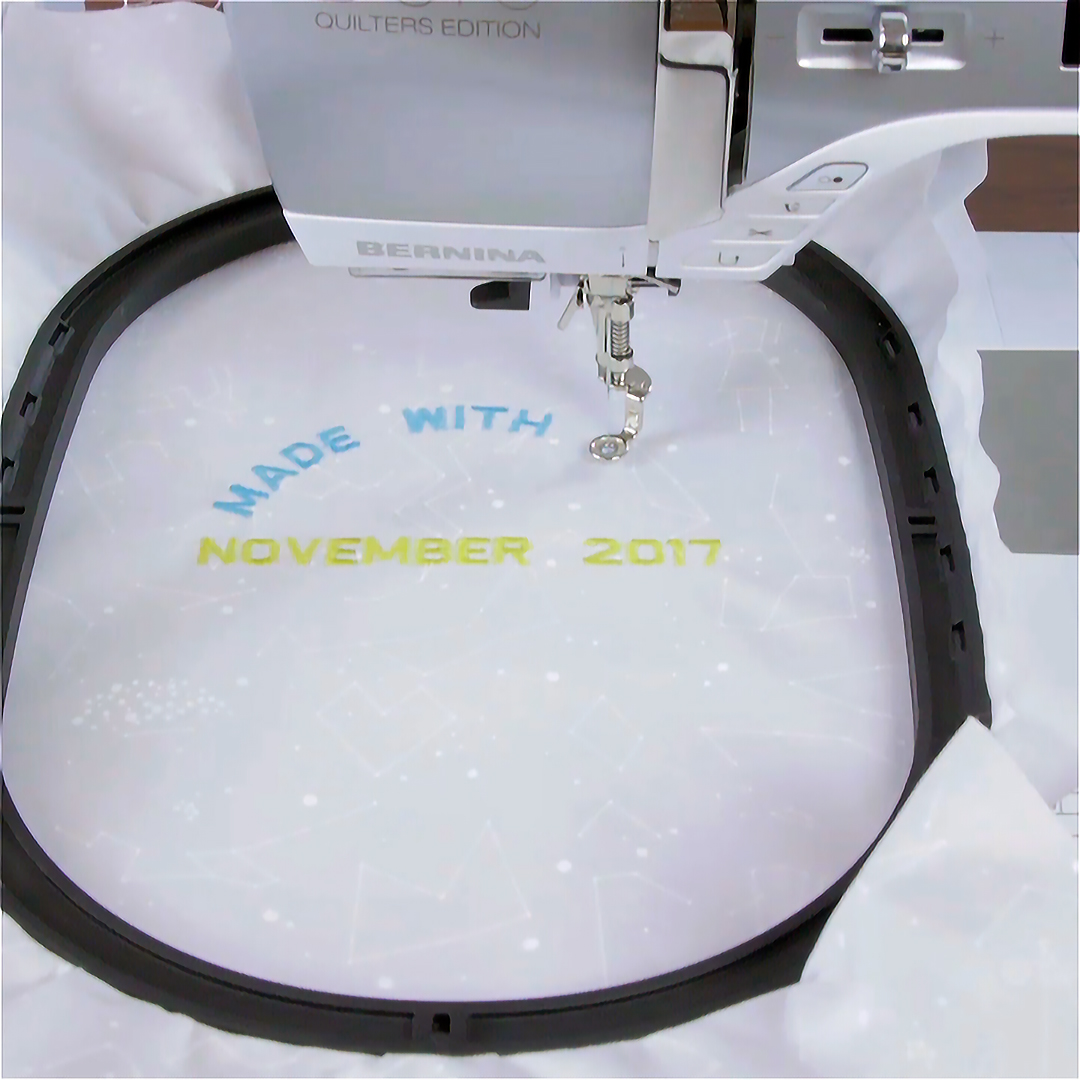
Step 3. Stitch out
Since our design changes were all made in software, all we have to do is start stitching! Let your design stitch out, changing colors as needed.
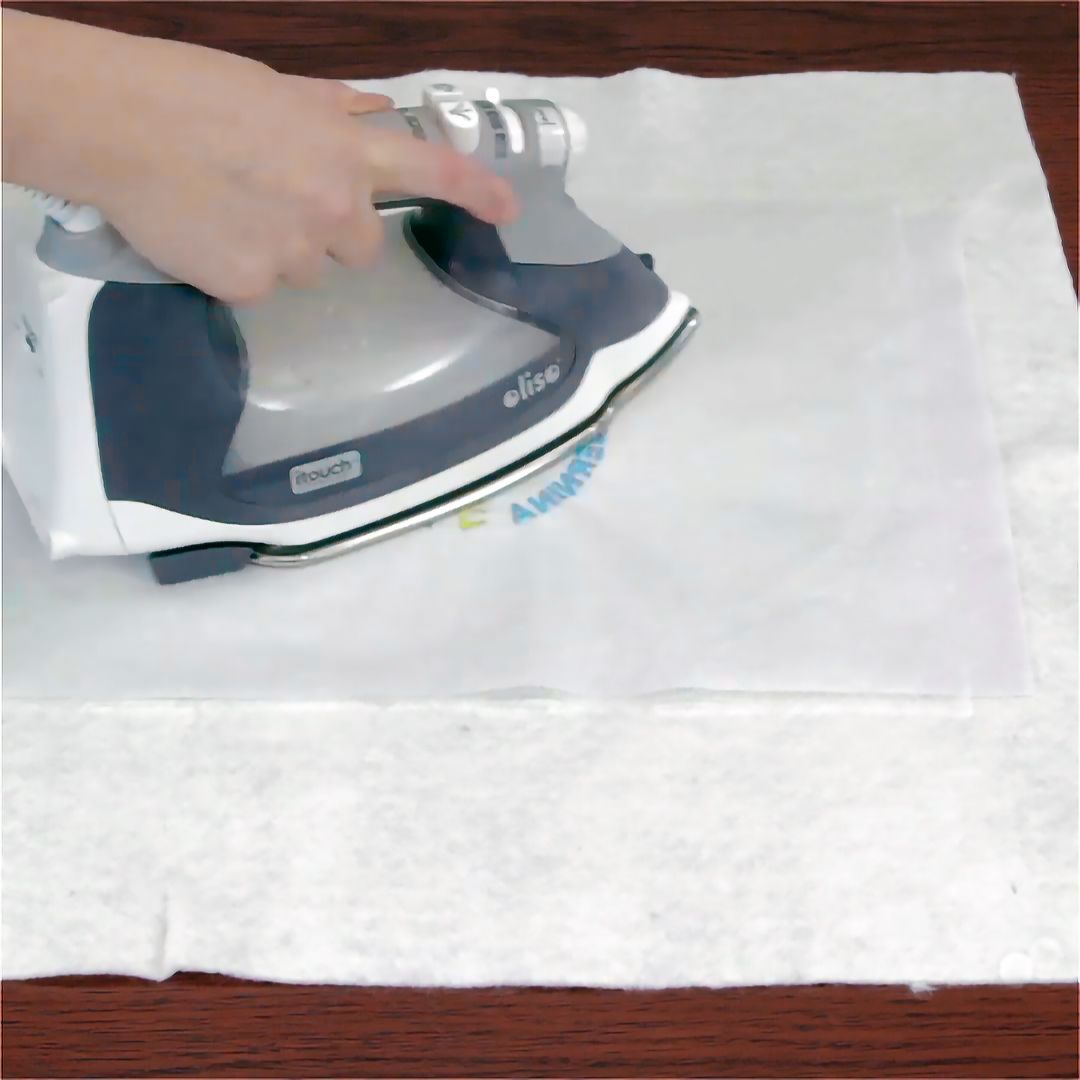
Step 4. Press
Remove your embroidered fabric from the midi hoop. Using the OESD Press Cloth, press the label with the right side down. The press cloth will cushion the embroidery design so that any puckering will be smoothed out without squashing the design. The cloth also absorbs any moisture from steam as you are pressing.
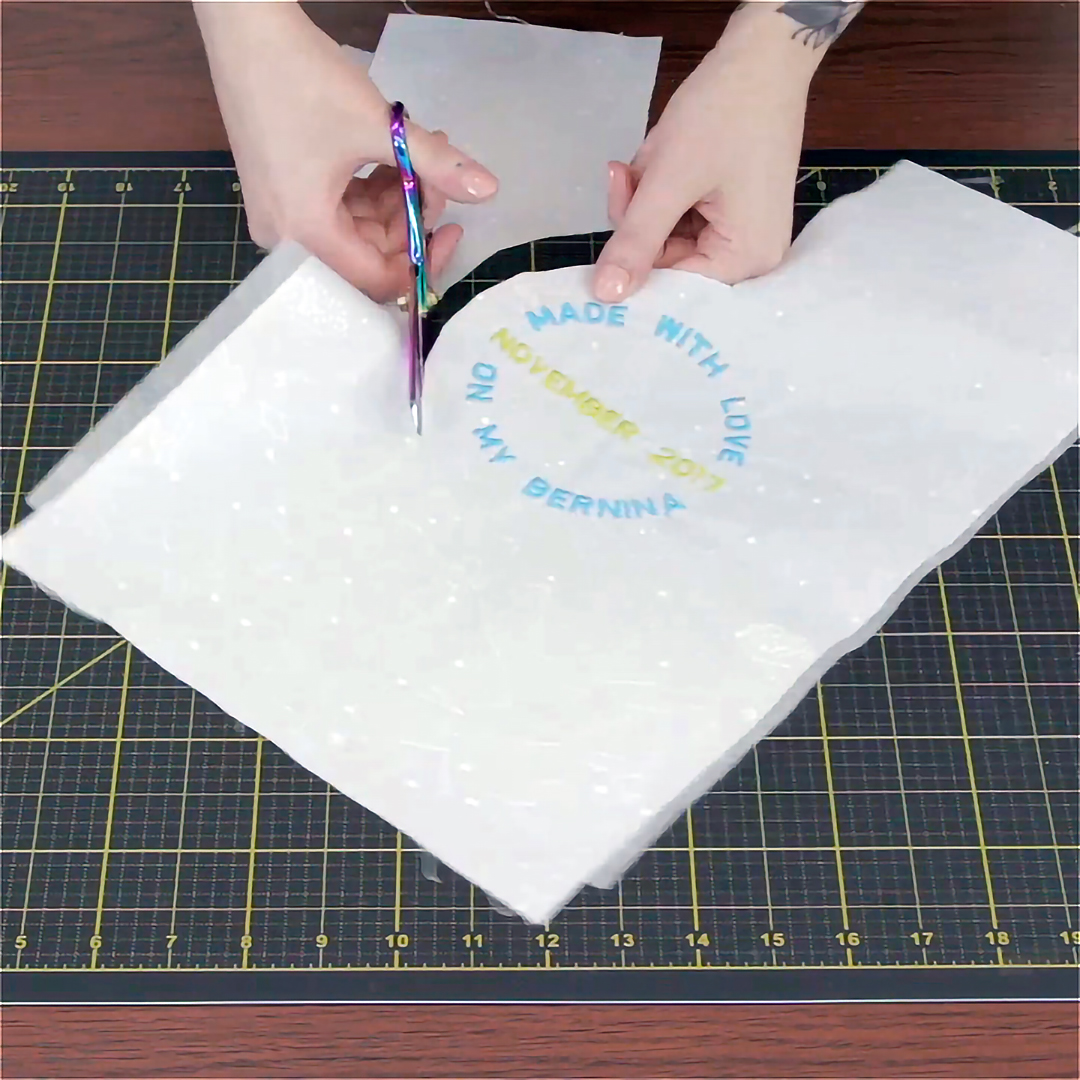
Step 5. Cut out
The easiest shape for me to stitch by hand is a circle—with gentle curves, you do not need to worry about corners or sharp angles. Since our embroidered design is a circle, follow the design and trim your label about 1.5” away from the stitching.
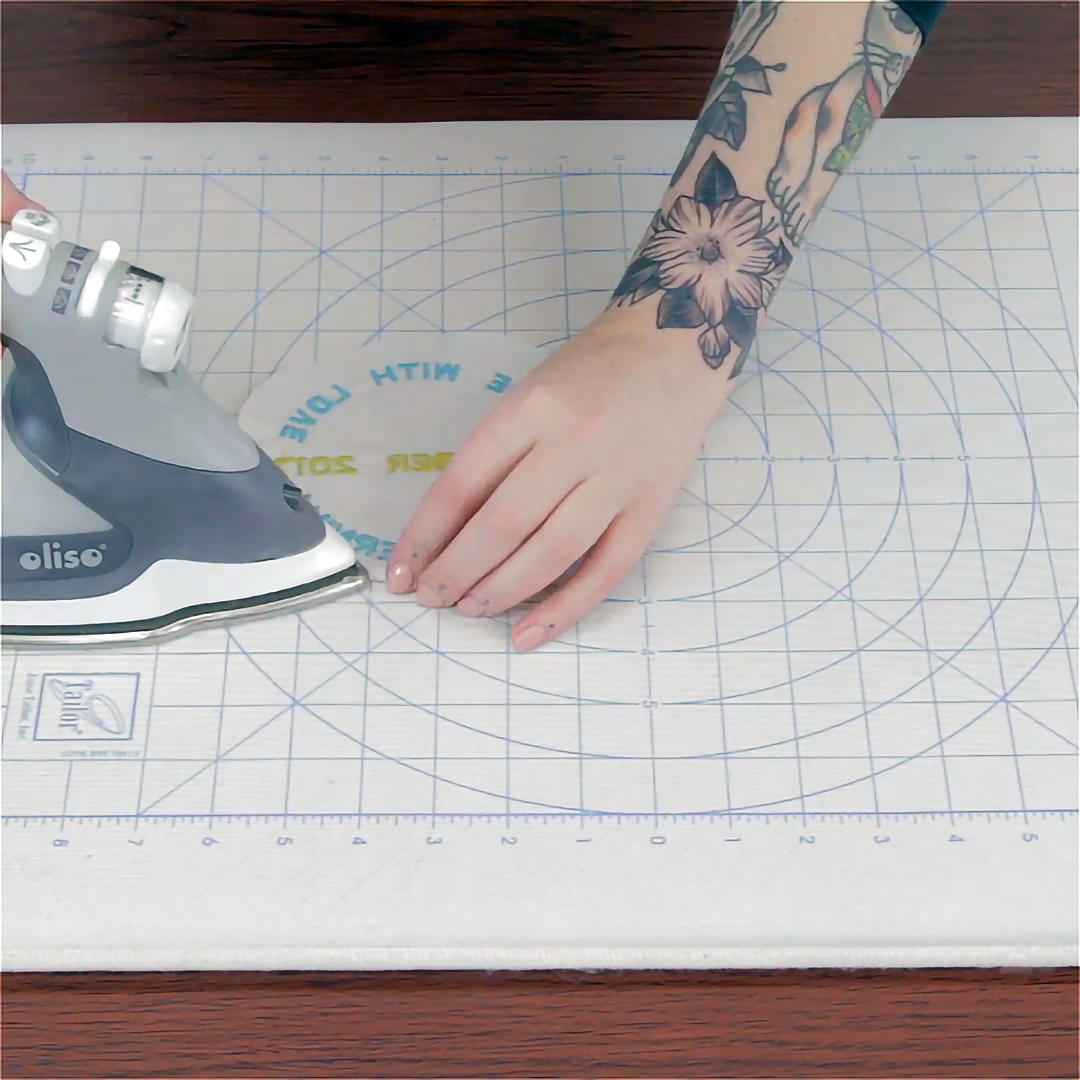
Step 6. Prepare for stitching
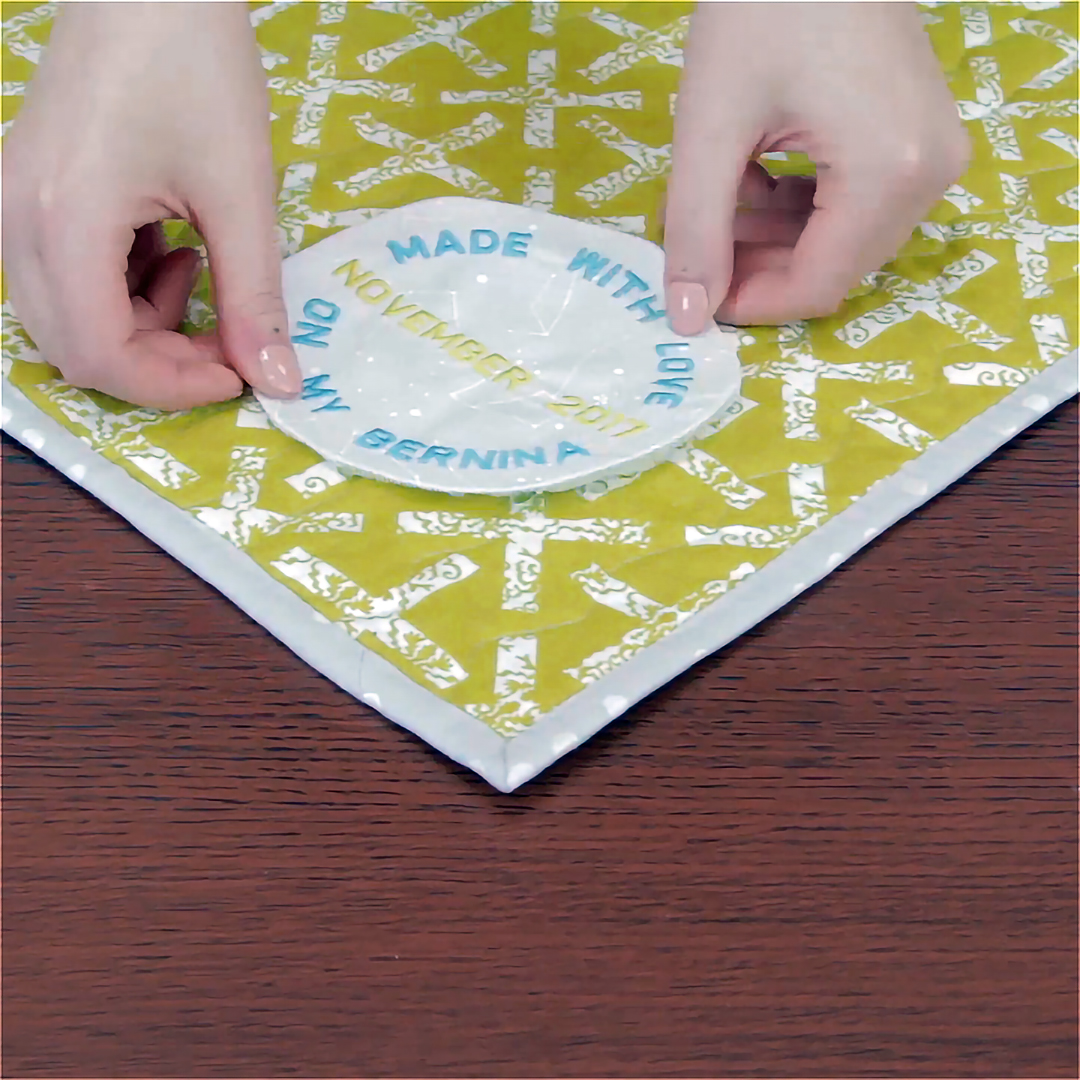
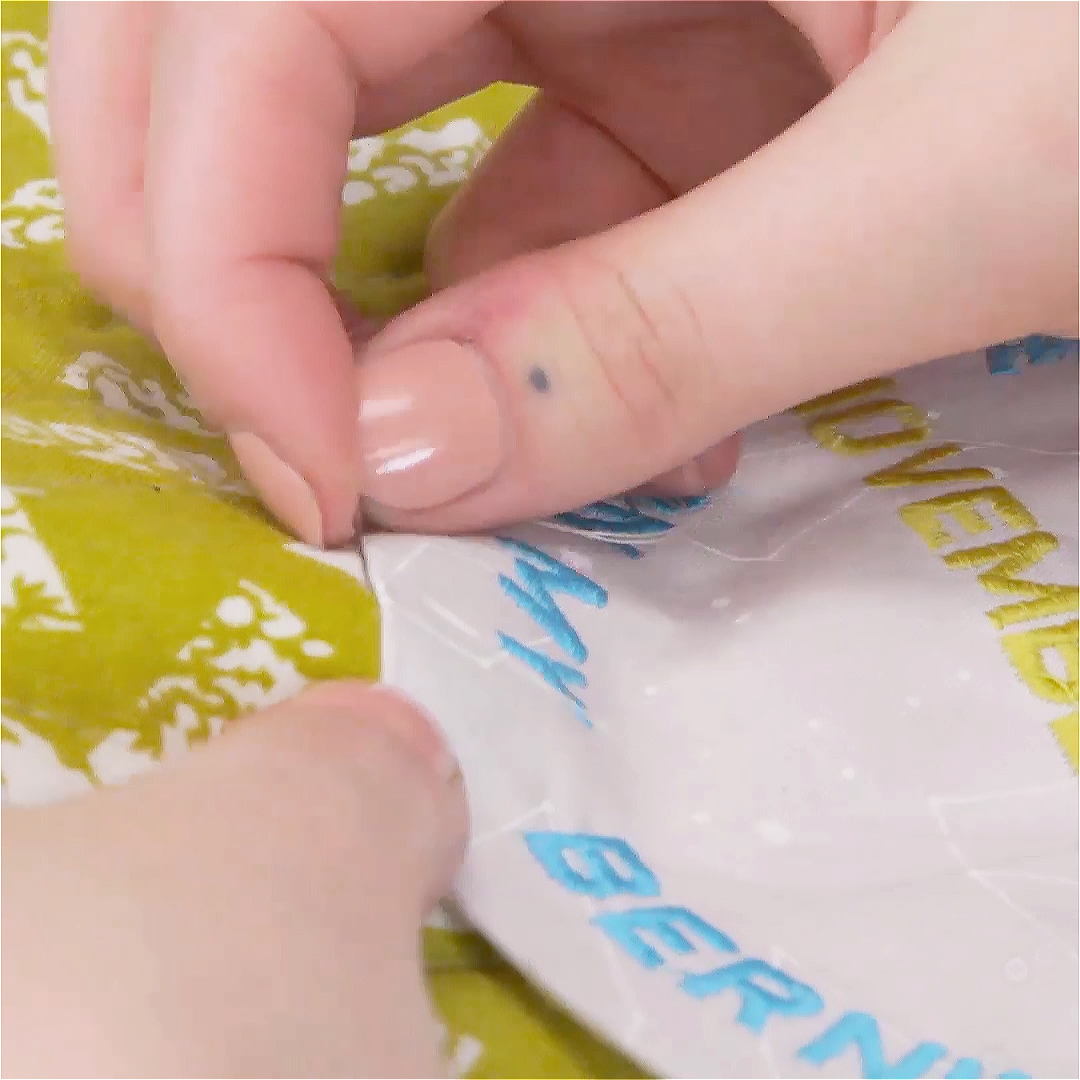
Press the raw edge of your label in to the wrong side, folding over a scant ¼”. I prefer to make this fold as it makes stitching down a little bit easier but may not be necessary.
Next, baste your label on to the quilt. I used a light spritz of 505 Spray Baste but you may also choose to thread baste if you prefer.
Step 7. Stitch down
Once your label is placed as desired and basted down, stitch the edge down with a blind stitch. Your quilt is now ready to carry all the details of its memory on for future generations!
Used Products


What you might also like


4 comments on “Quilt Label Tutorial”
-
-
Do you leave the stabilizer on the label?
-
Hi, allynebrown! I do leave my stabilizer behind the label. It will help keep the embroidery flat and also add some longevity to the label

-
-
Can this be done on an Artista 635?
Leave a Reply
You must be logged in to post a comment.
The labeling tutorial is quite good.