Quilt Safari, Part Three: Zoe the Zebra
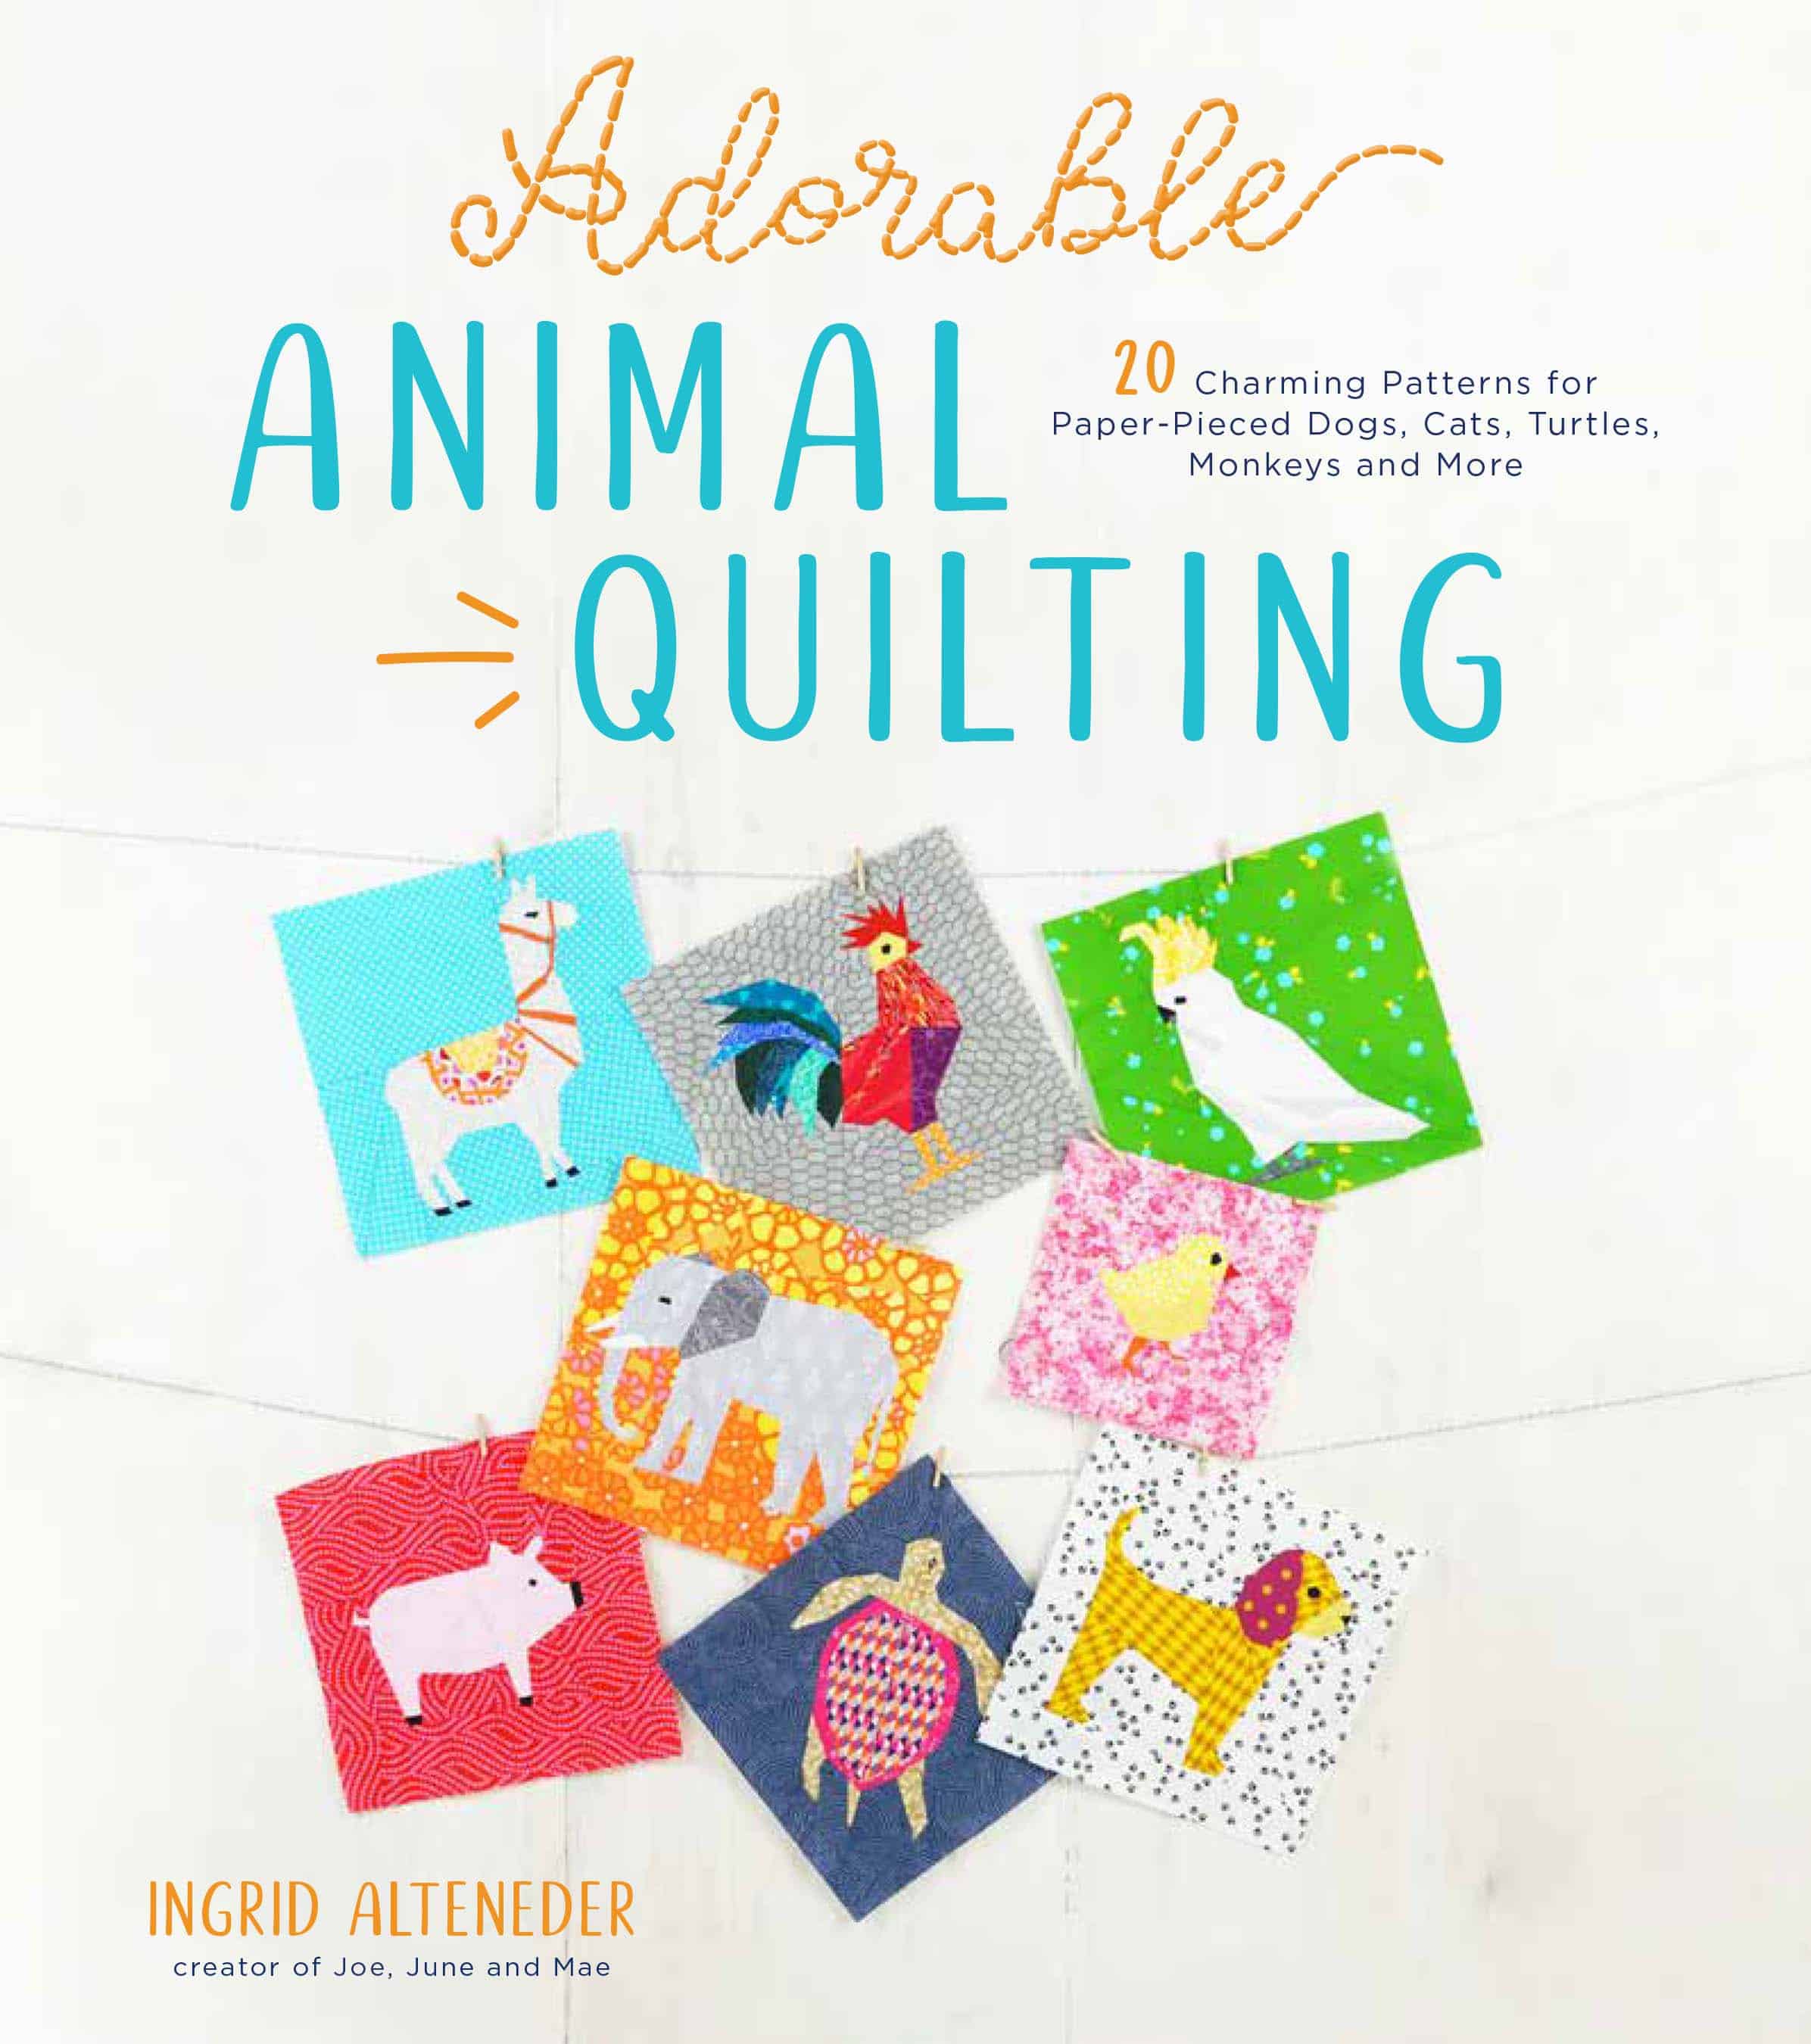
Good morning, fellow excited travelers through the African savannah, today we will tackle Zoe the Zebra. This is a quilt block pattern which can also be found in my book “Adorable Animal Quilting”. Zoe the Zebra is a pattern from a whole series of wild animals which are part of my Foundation Paper Piecing book.
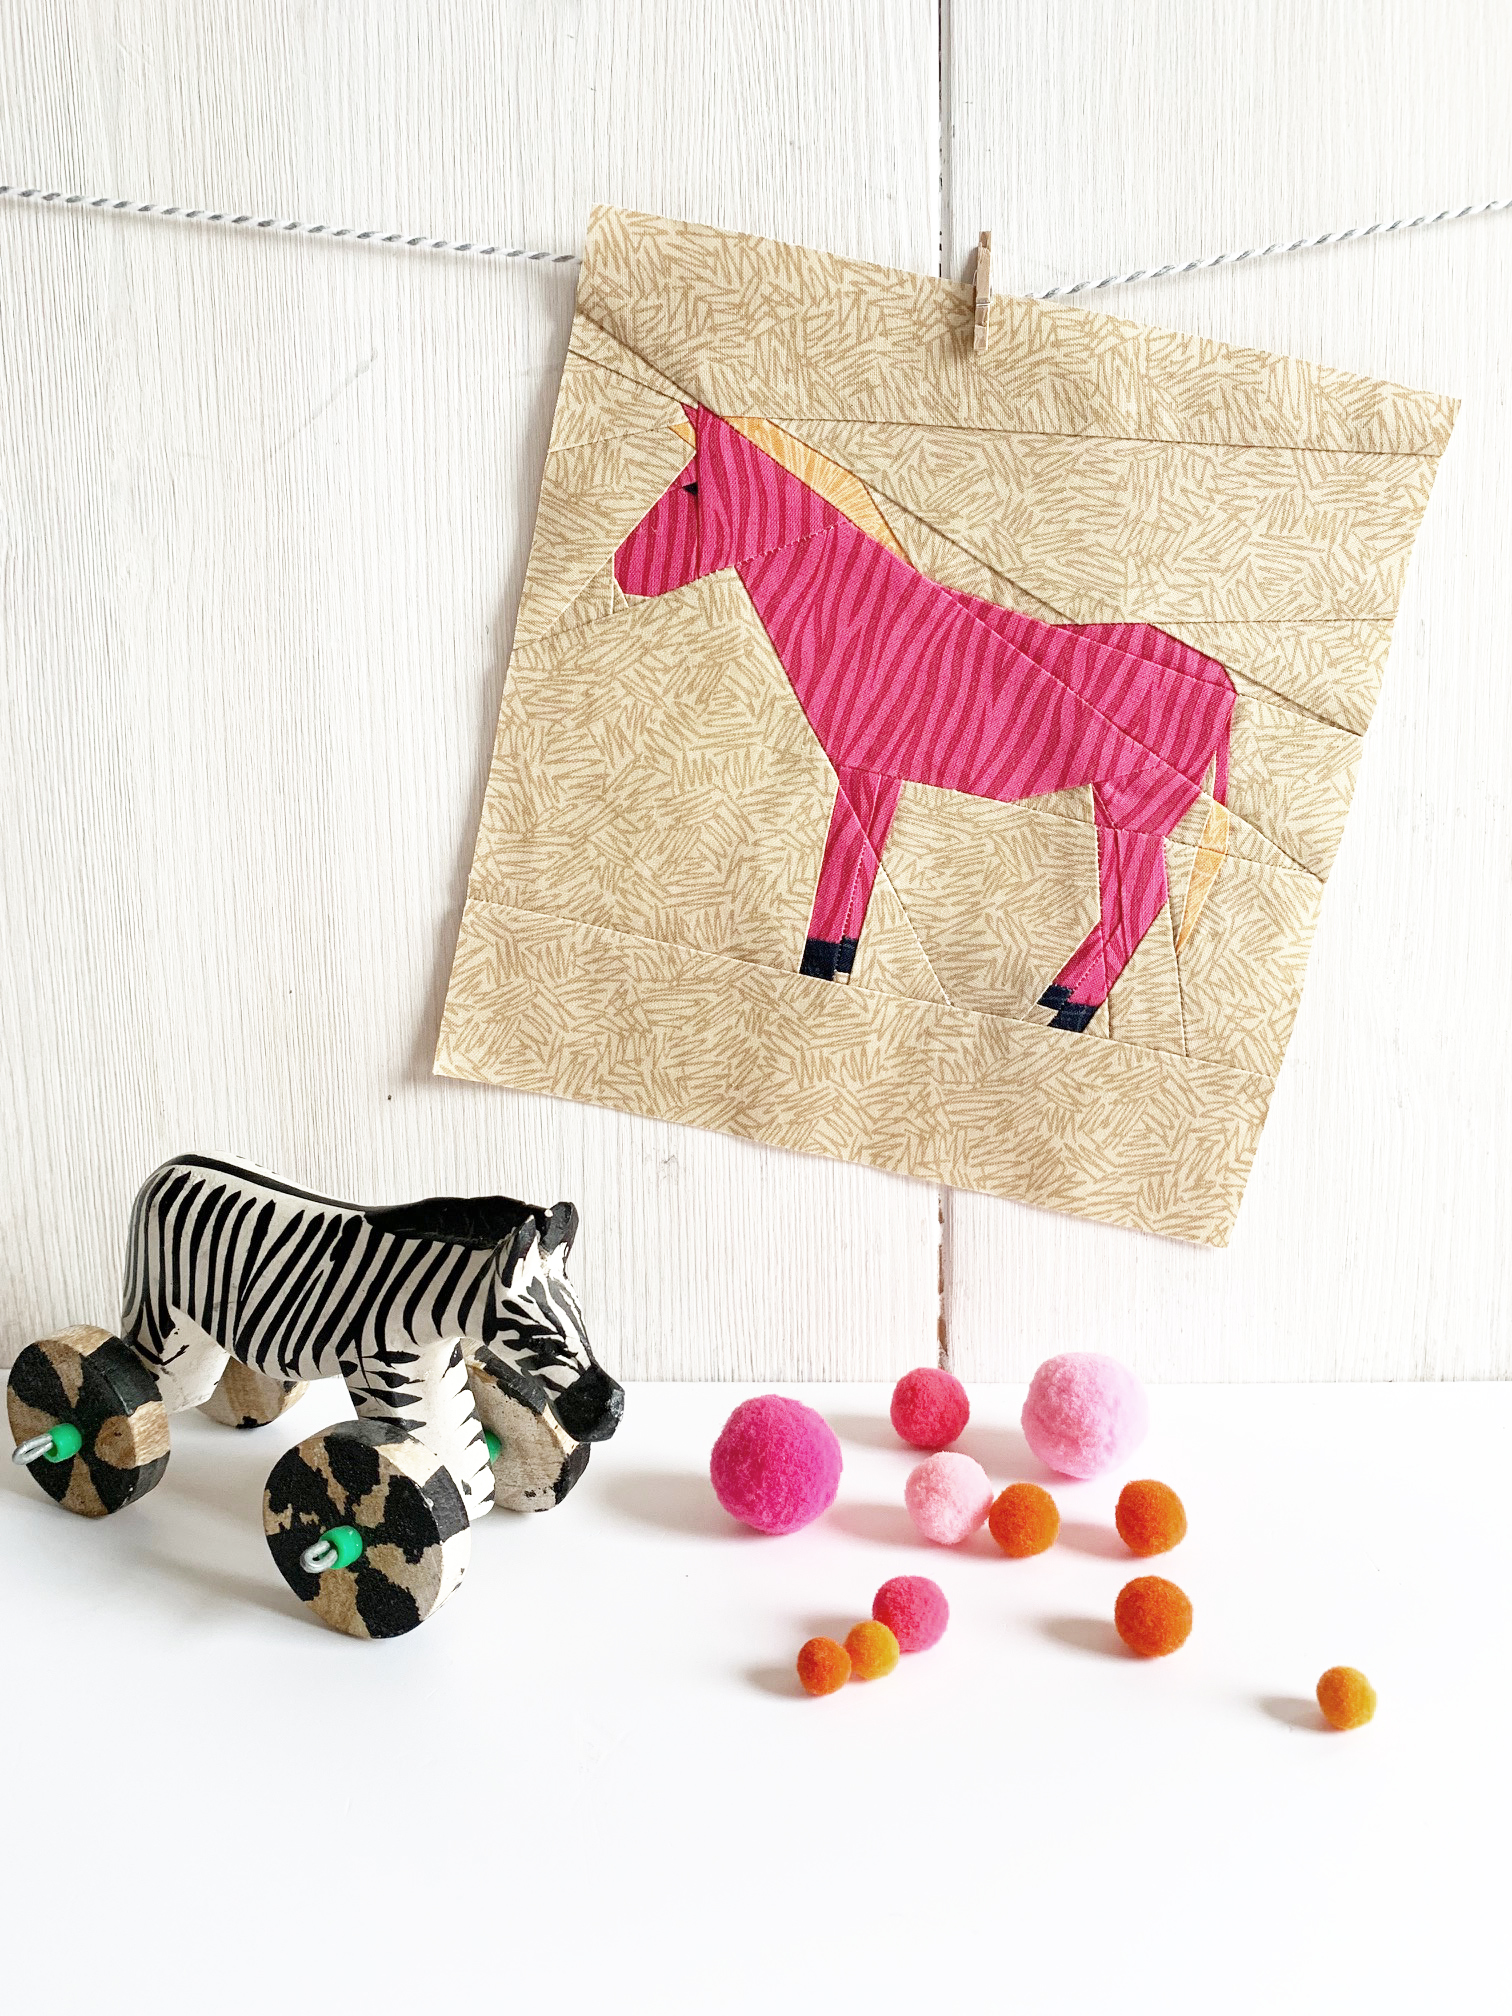
I am sure that many of you have already seen zebras in the wild and know that they’re incredibly beautiful. I am always amazed by the zebras’ fur. Perfect stripes, which, by the way, are not the same on every animal, but – just like a human fingerprint – are unique to each zebra.
Well of course we need zebras in our safari quilt.
Here is a short quote from Jodi Picoult: “Every time I look at a zebra, I can’t figure out whether it’s black with white stripes or white with black stripes, and it frustrates me.”
Just use a dark pink on a lighter pink fabric for the zebra, problem solved! 😂🤣
Because Zoe the Zebra is so pretty, we are sewing it twice for this quilt.
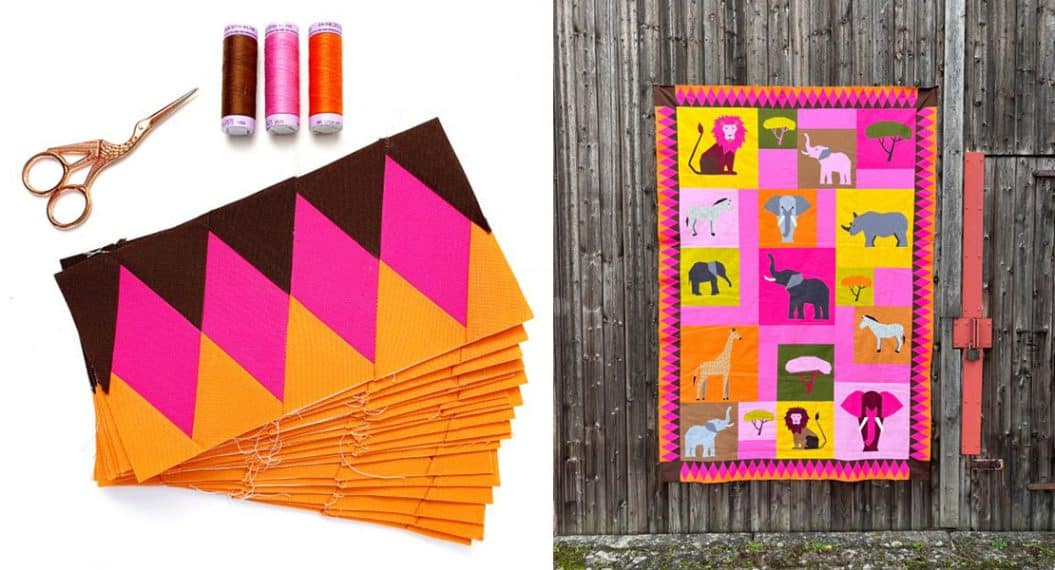
The pattern is part of the safari quilt pattern collection, which you can find here in my shop, or if it’s easier for you here on Etsy.
If you’re not taking part in the quilt-along but would really like to sew the zebra, you can also buy the zebra pattern separately and use it in any sewing project.
Are You New to the Quilt Safari?
Is this your first time reading about the Quilt Safari? You are very welcome! You can jump on the jeep at any time and explore the steppe with us. Together we will sew a quilt from FPP blocks with wild African animal and tree designs.
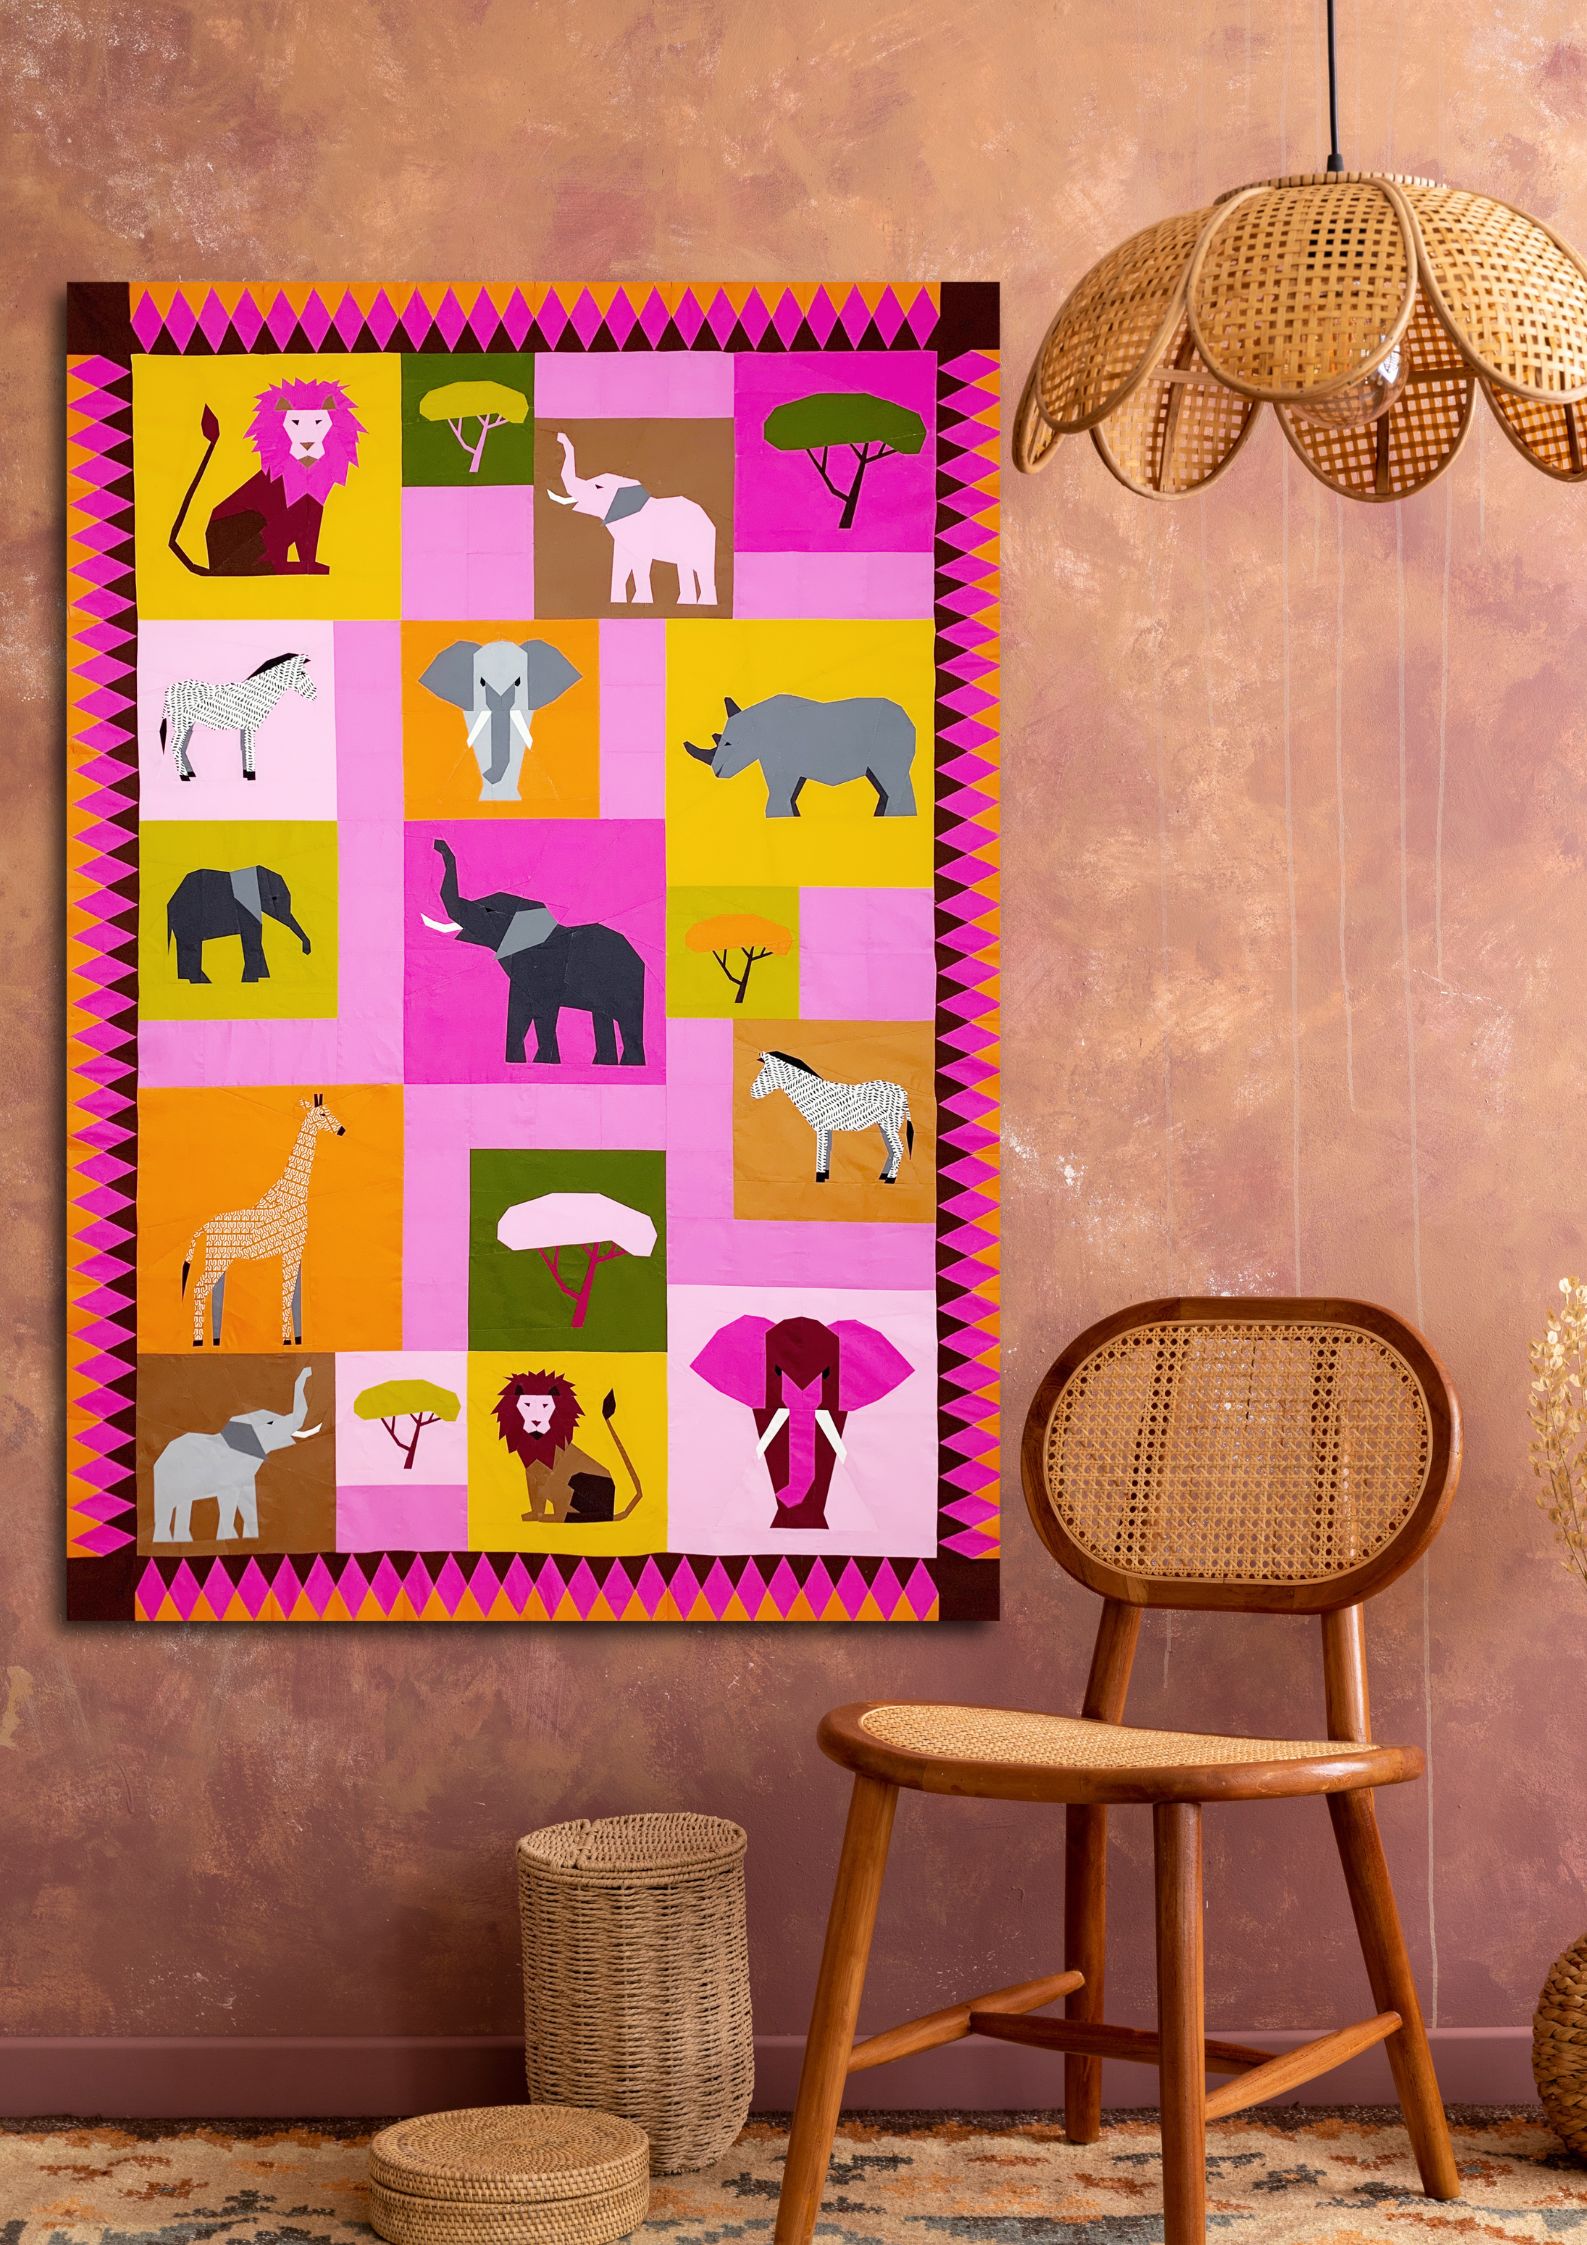
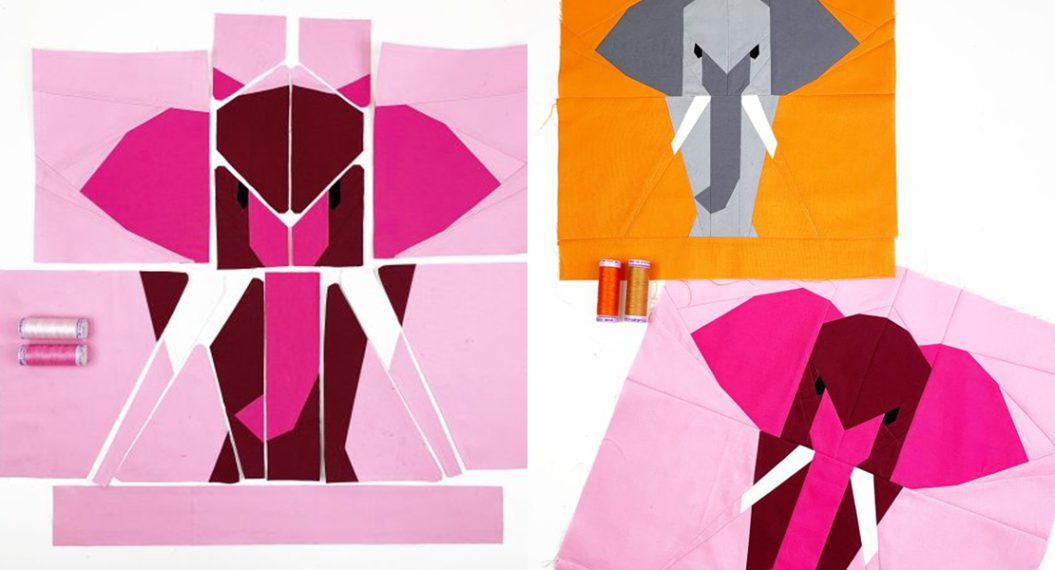
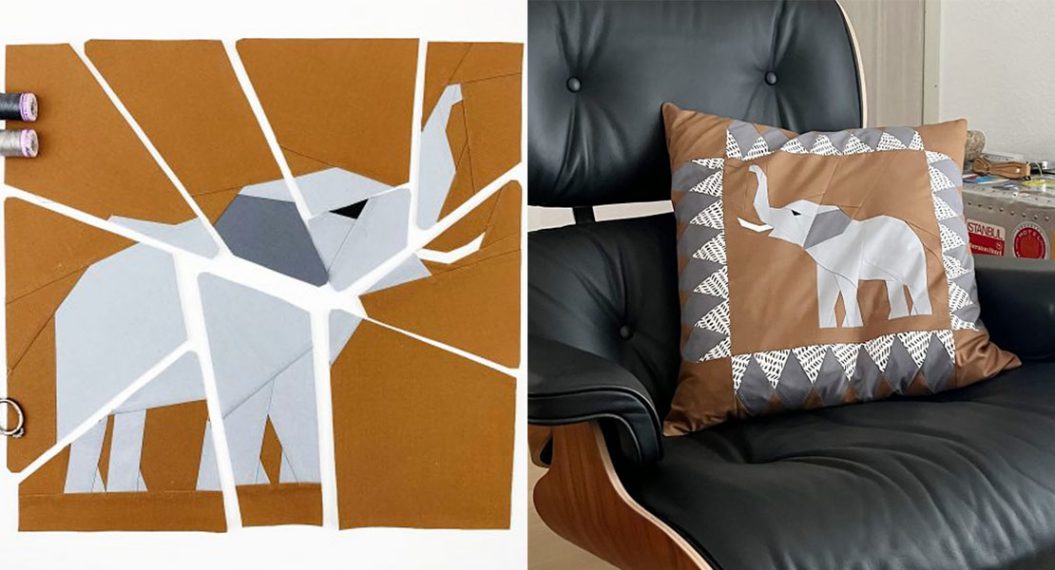
The patchwork instructions are published block by block here on the WeAllSew blog. Today I am presenting the third pattern, the zebra. The Border block and Elli the Elephant have already been published. You can find an overview of all previous blog posts here: Quilt Safari in the WeAllSew Blog.
The best way to start is to read my first Safari article, in which I put together the most important information: We’re Going on a Quilt Safari.
There is no time pressure with the Safari. You can follow your own rhythm and travel at your own pace. There is only one date to keep in mind: If you want to participate in the final giveaway, you have to show a photo of your finished quilt top on social media or in the community section of the blog by June 16, 2024.
Now let’s get started!
We’re Sewing the Zebra Quilt Block
Fabric Selection
First of all, here is my fabric selection for the two zebra quilt blocks in the safari quilt. However, as always with the Quilt-Safari, you are free to work with your own fabrics.
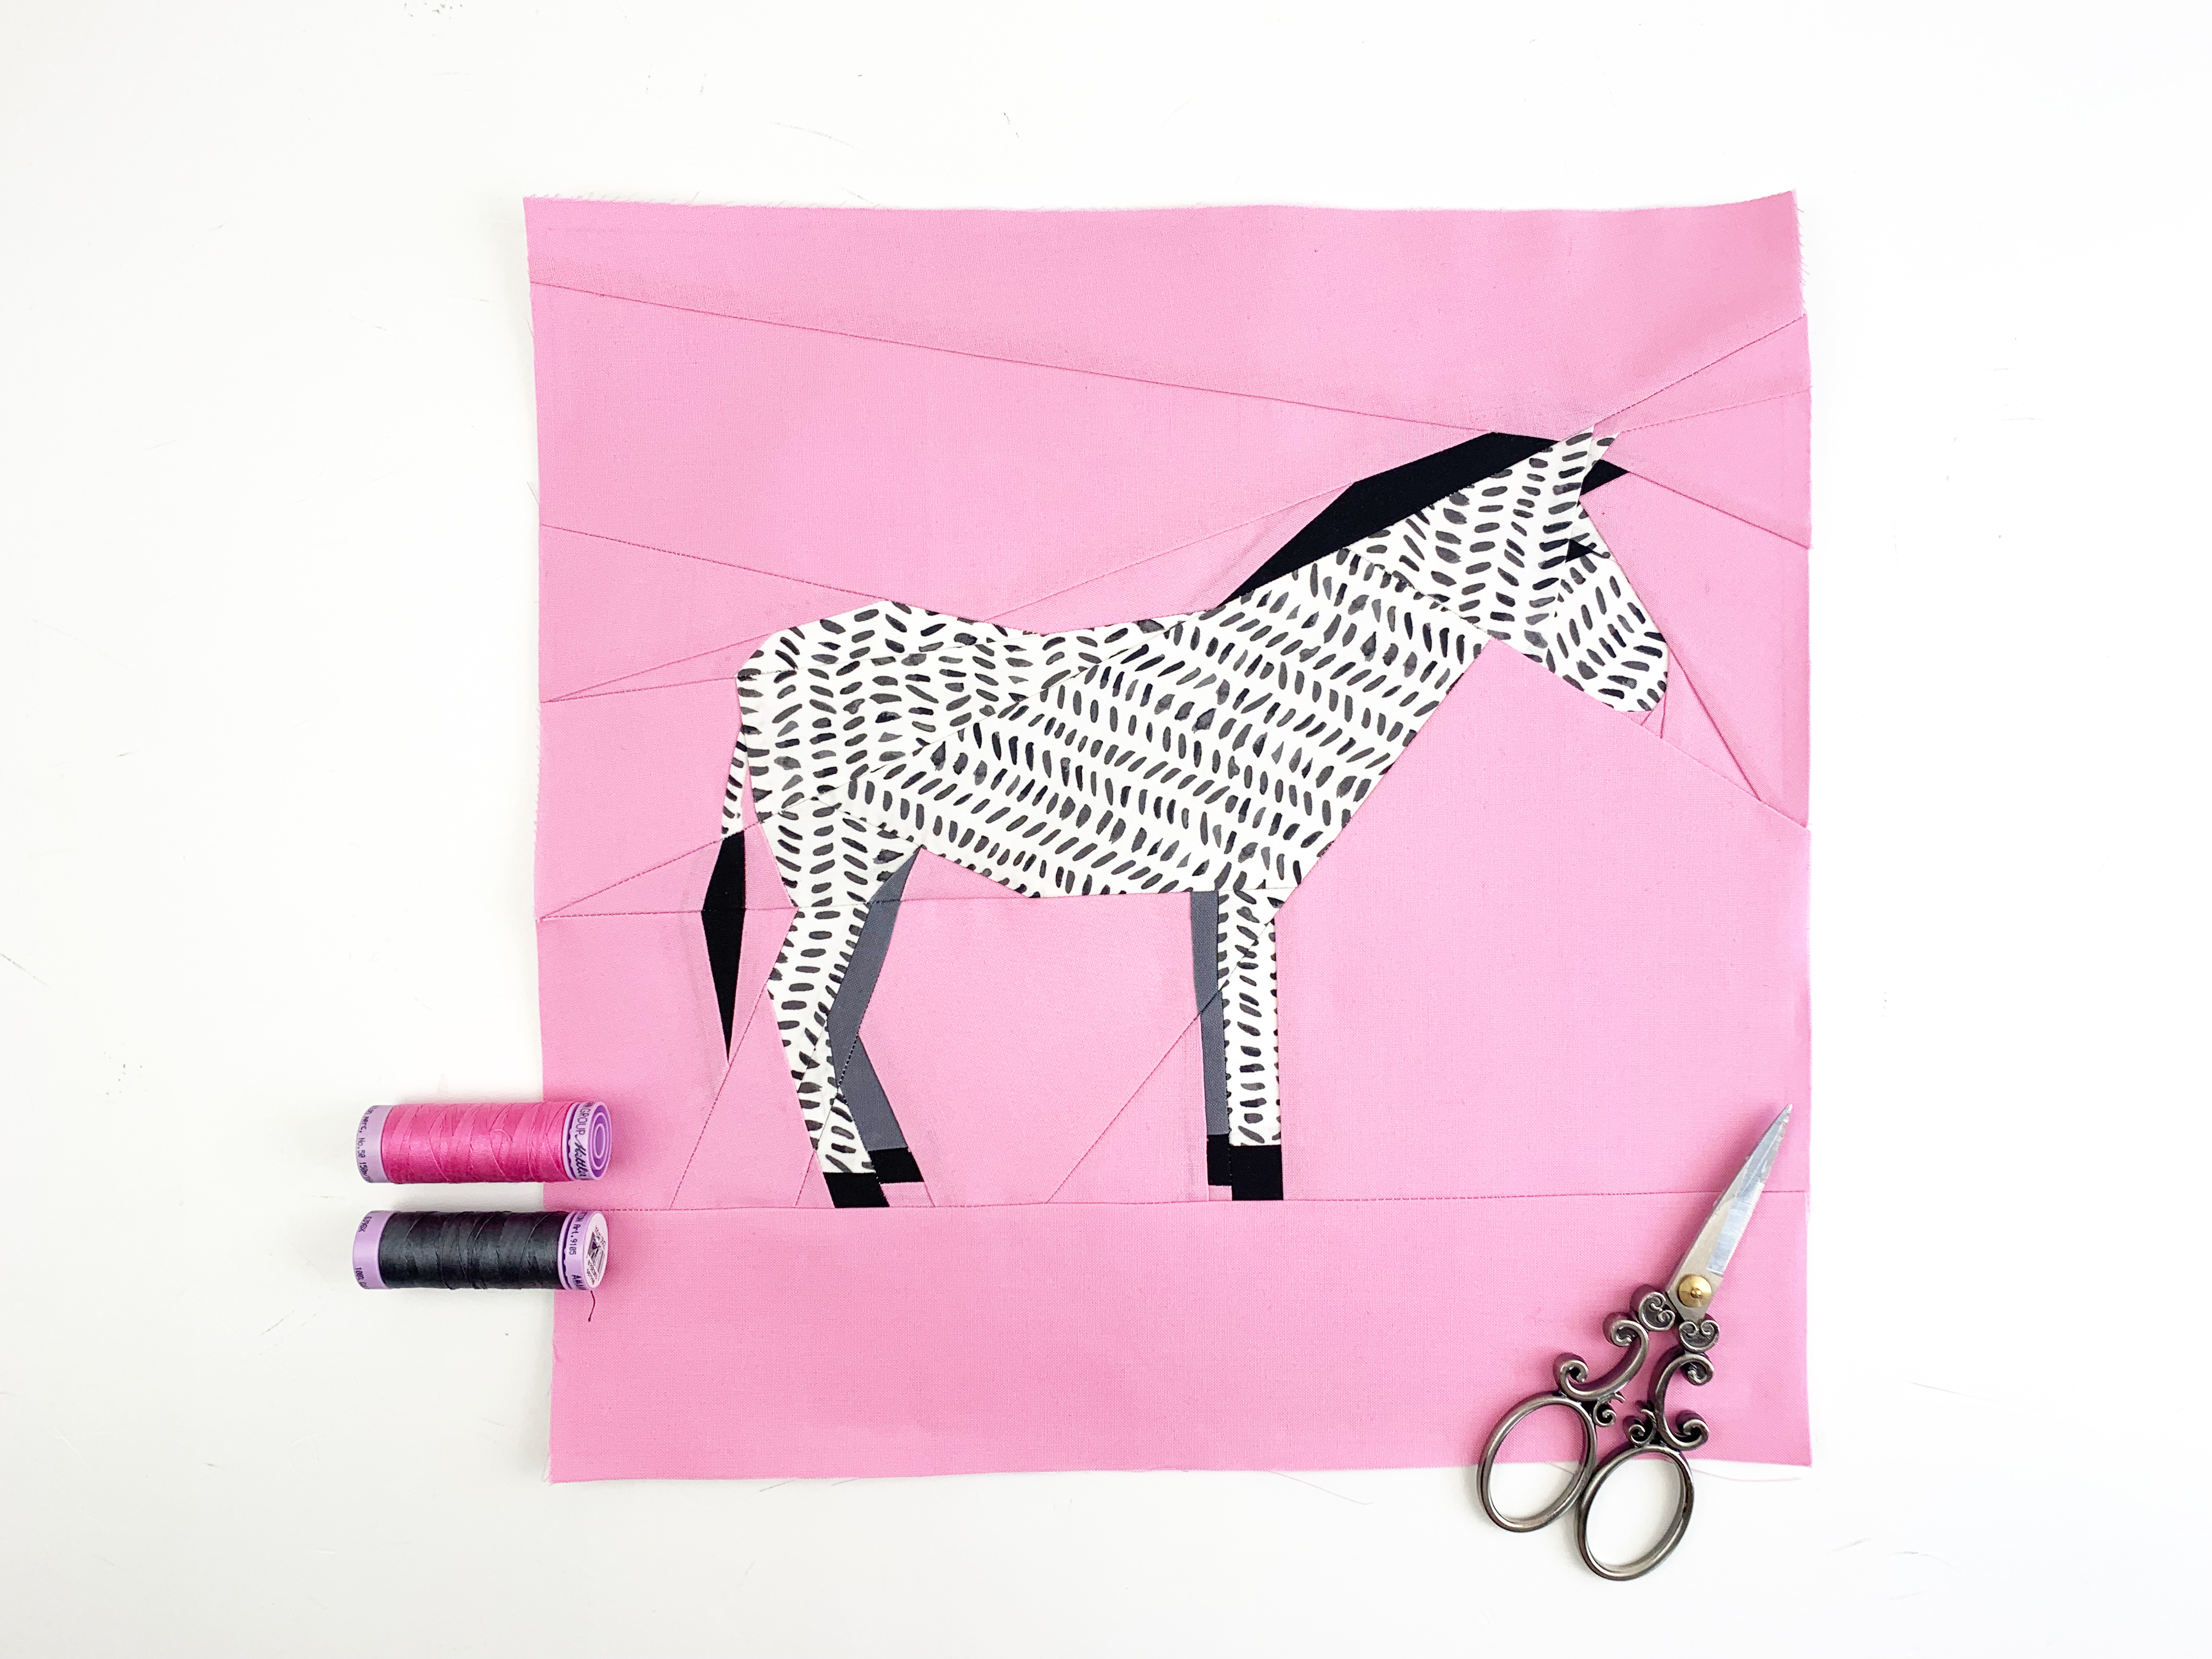
Zebra 1 (top left in the quilt) it is facing right – 12″ x 12″ block:
- Light rose (background)
- Black and white patterned fabric (zebra)
- Black (eye, hooves, mane and tail)
- Medium gray (legs)
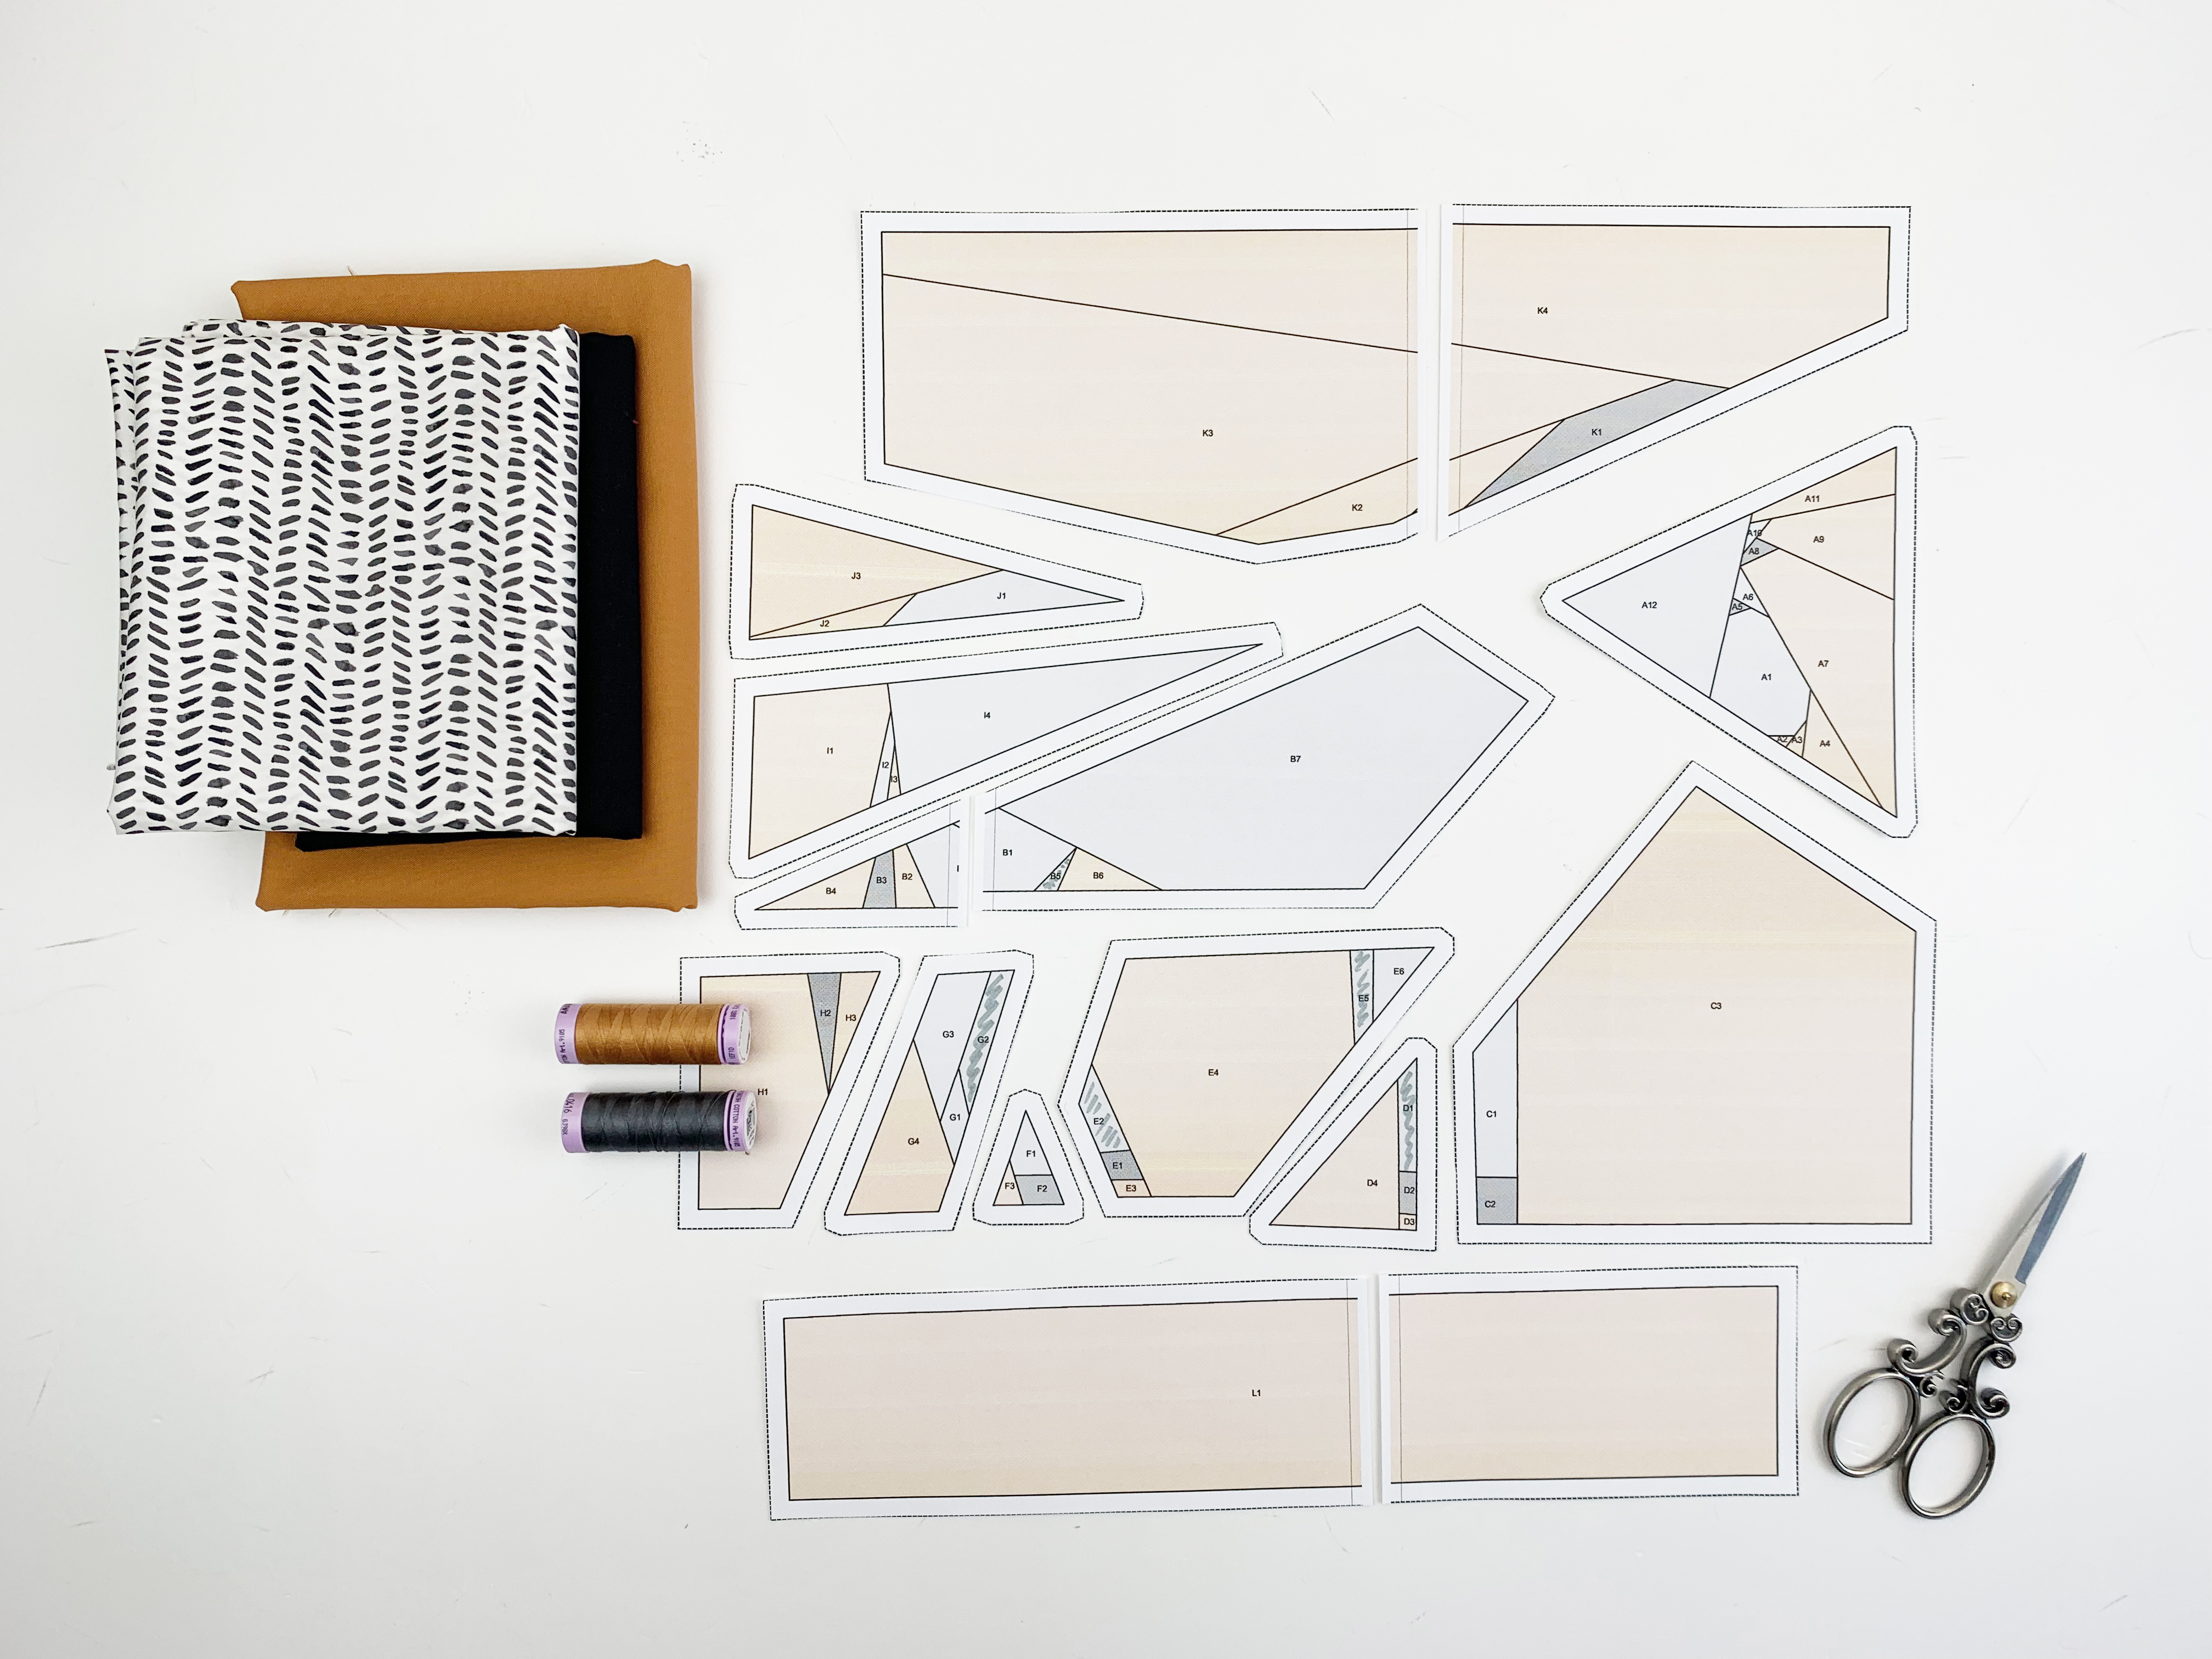
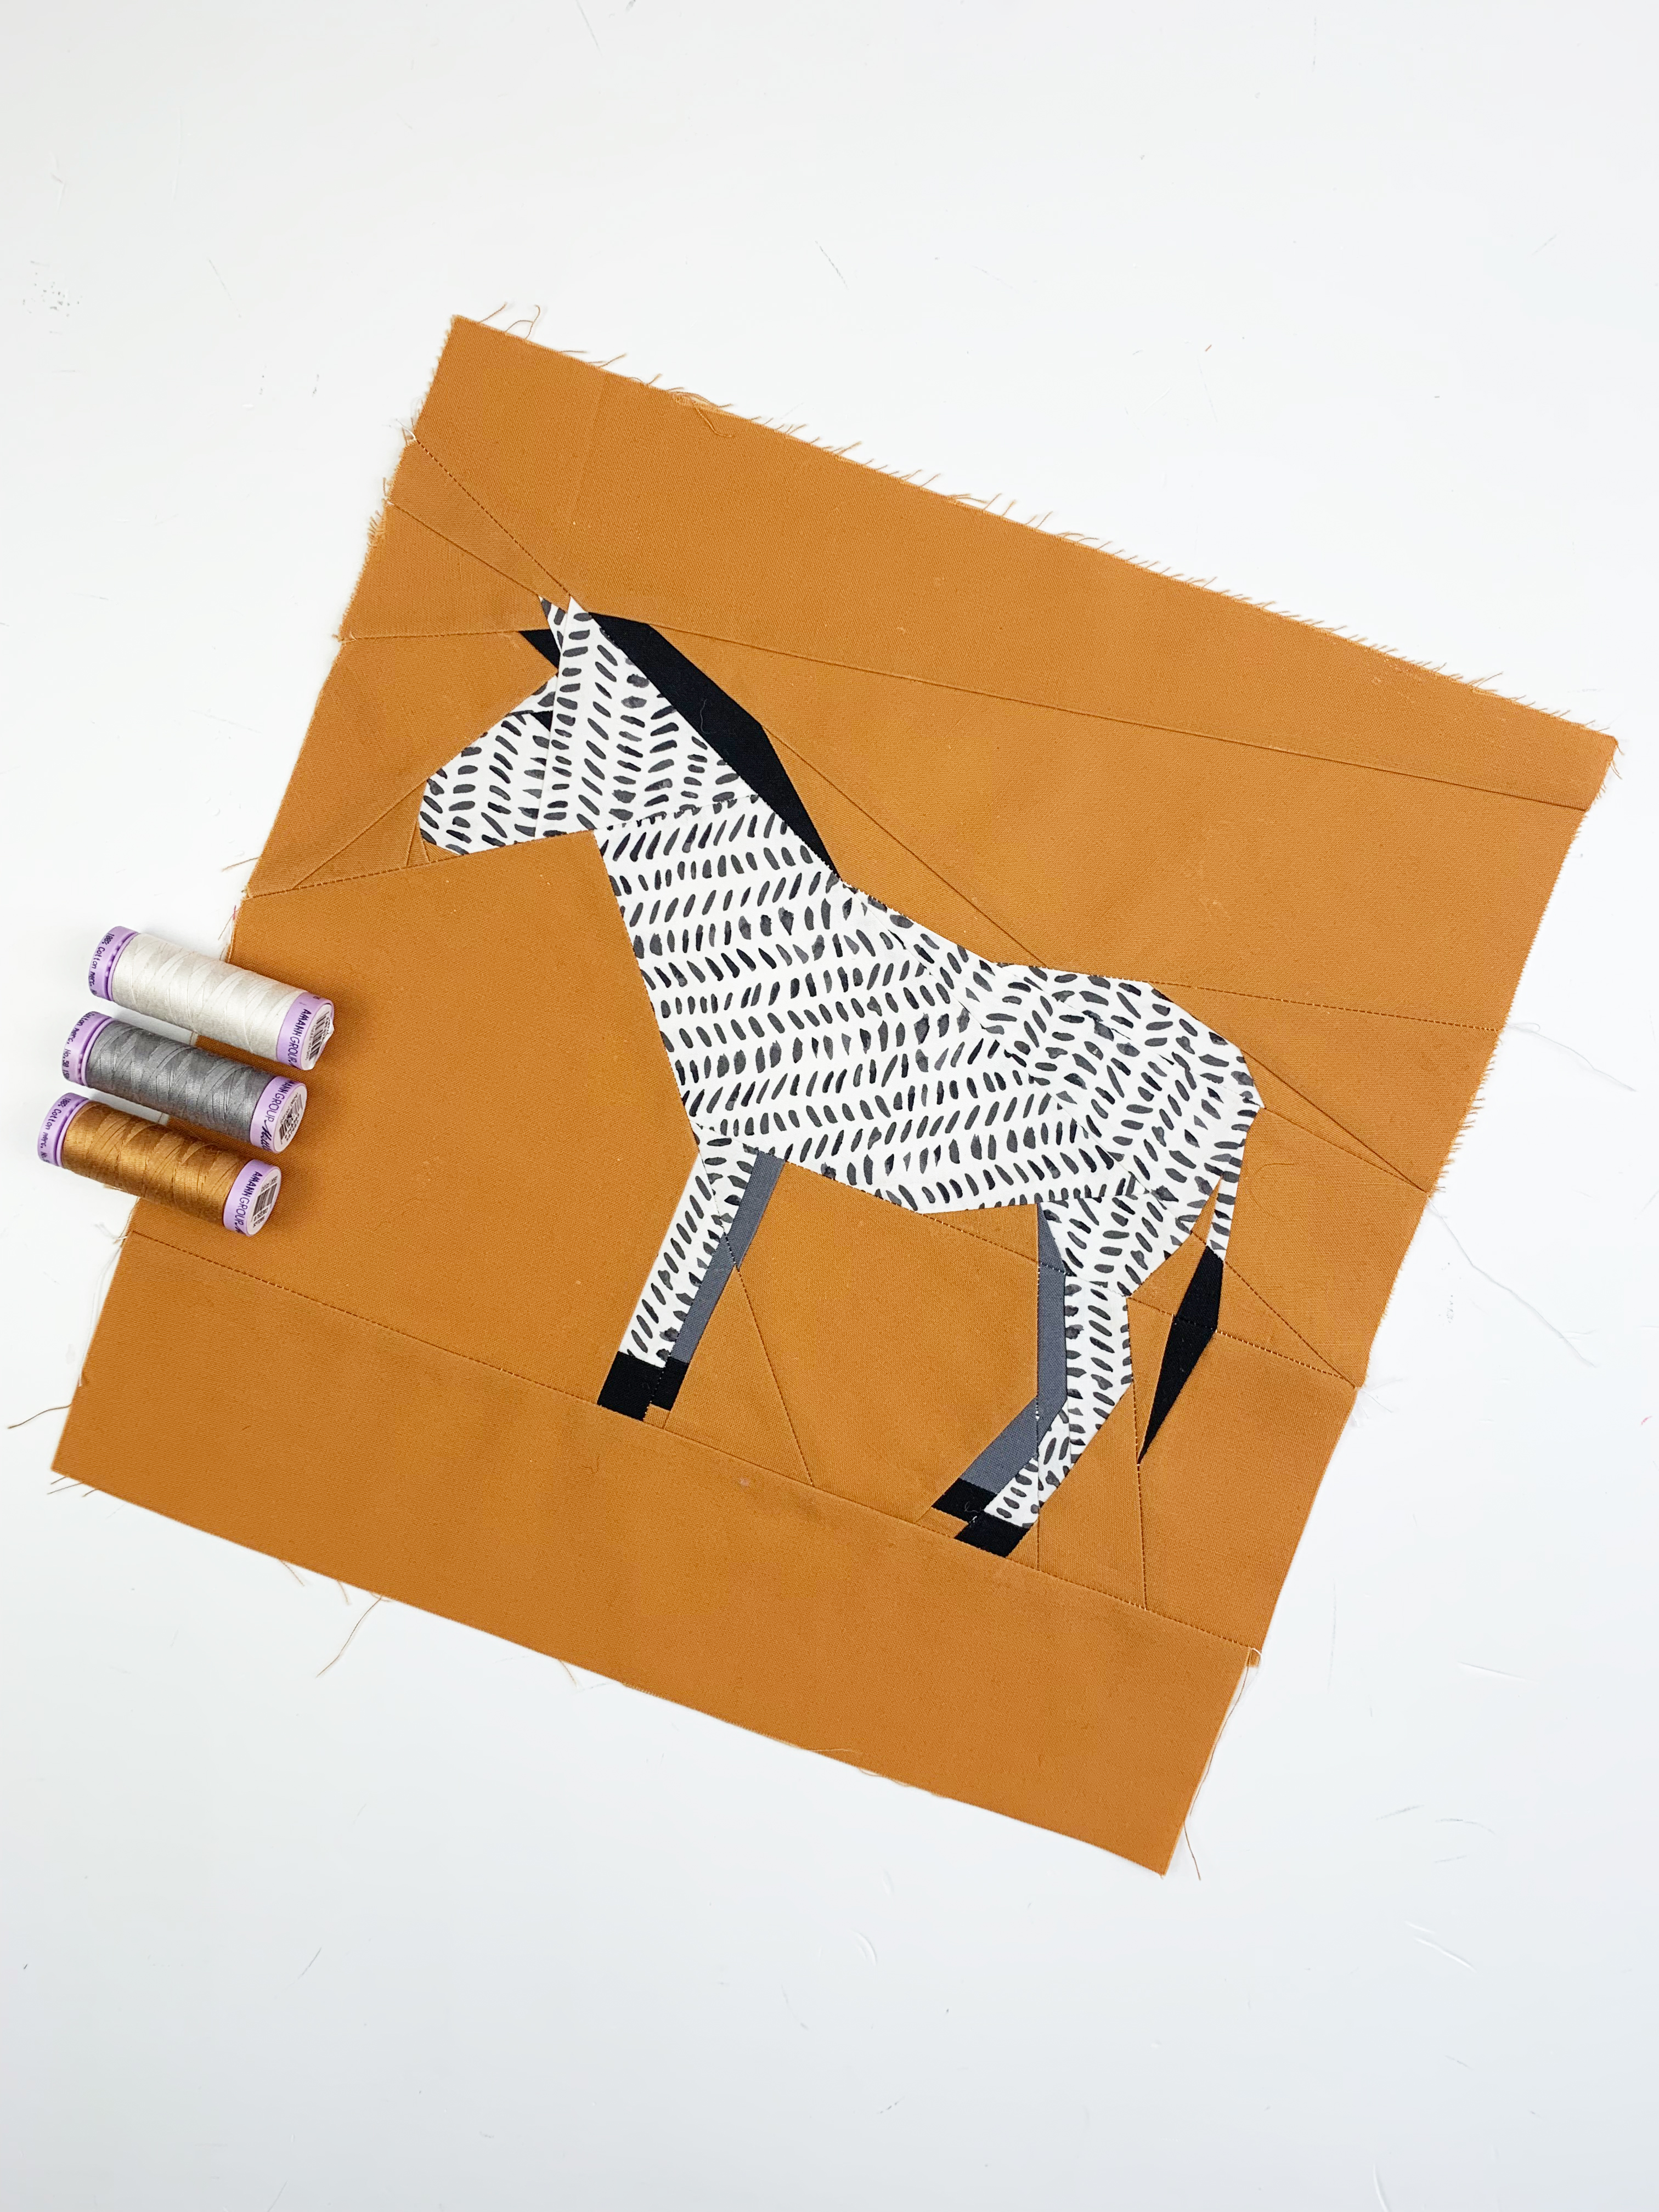
Zebra 2 (right in the quilt) it faces the left – 12 “x 12” block:
- Rusty orange (background)
- Black and white patterned fabric (zebra)
- Black (eye, hooves, mane and tail)
- Medium gray (legs)
This is what Zoe the Zebra no 1 looks like:
and this is Zoe the zebra no 2: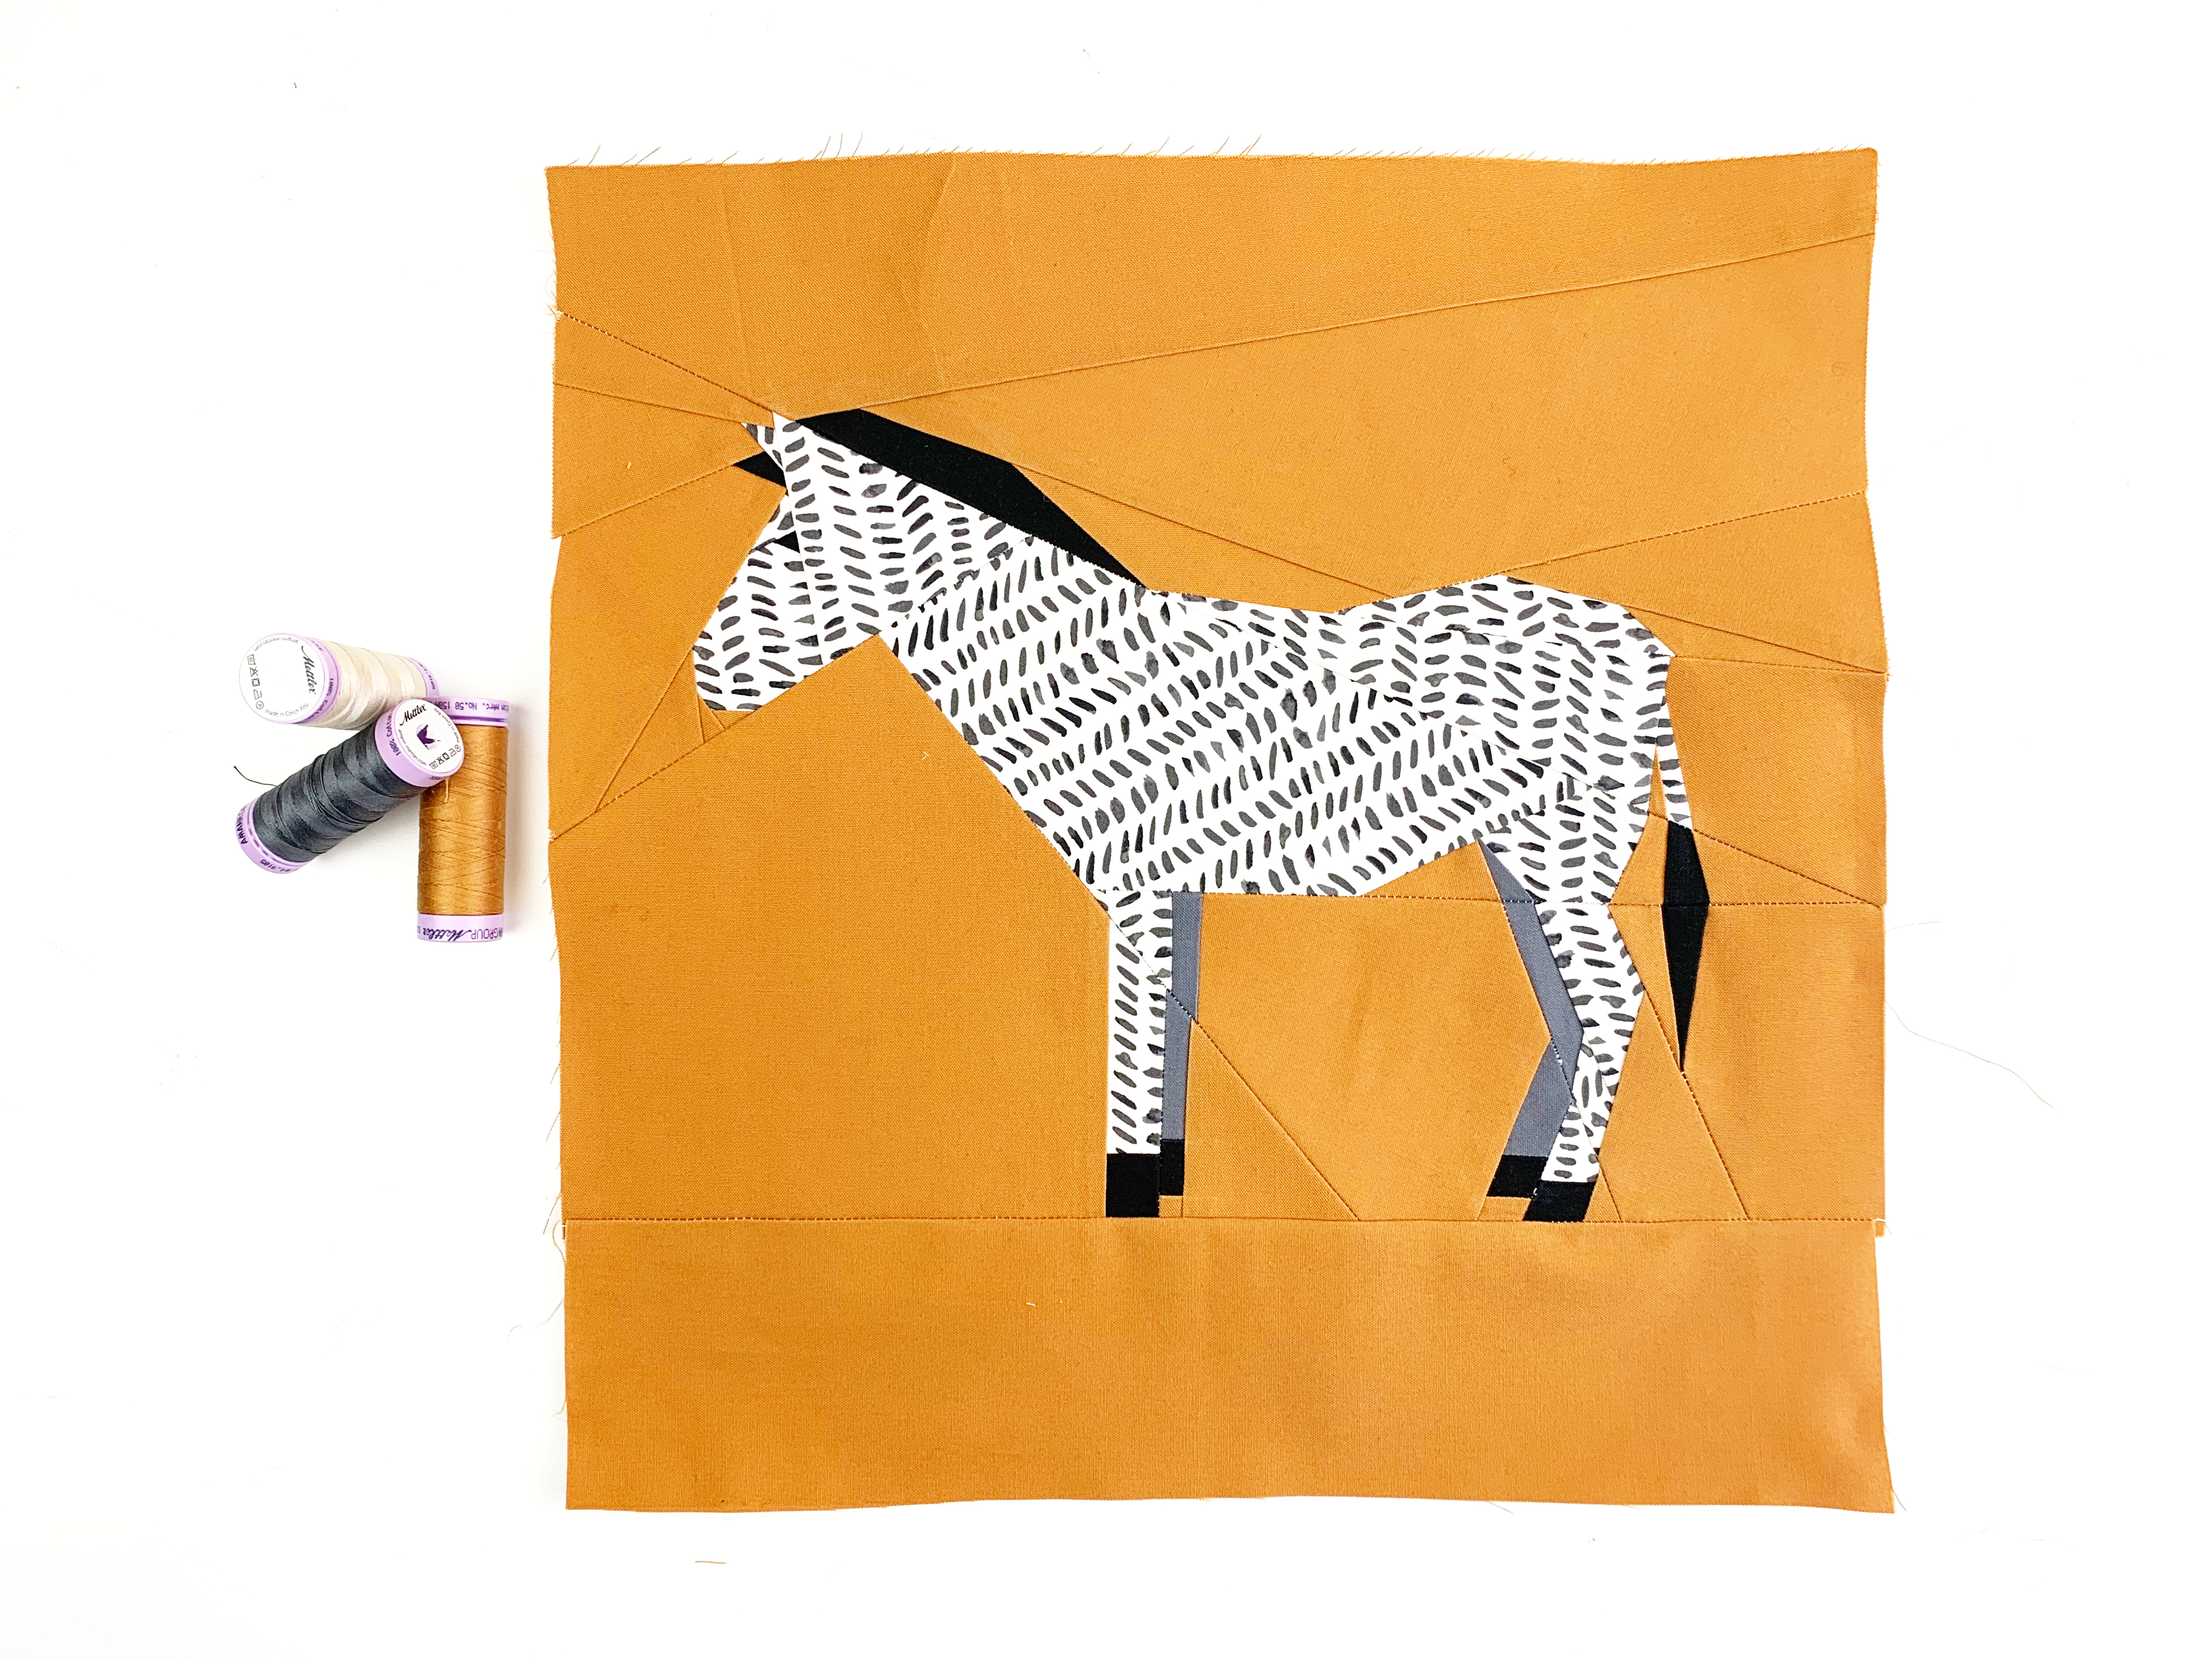
Sewing Instructions
1. Ss with the previous blocks, only print out the segments of the pattern that will be sewn. This means the pattern pieces that are marked with letters and numbers.
We will sew the zebra twice.
For the 12″ x 12″ quilt blocks, some segments have to be glued together (see photo below). Again, please make sure that you do not use scotch tape. You will have to iron the quilt block a few times. Scotch tape would stick to your iron.
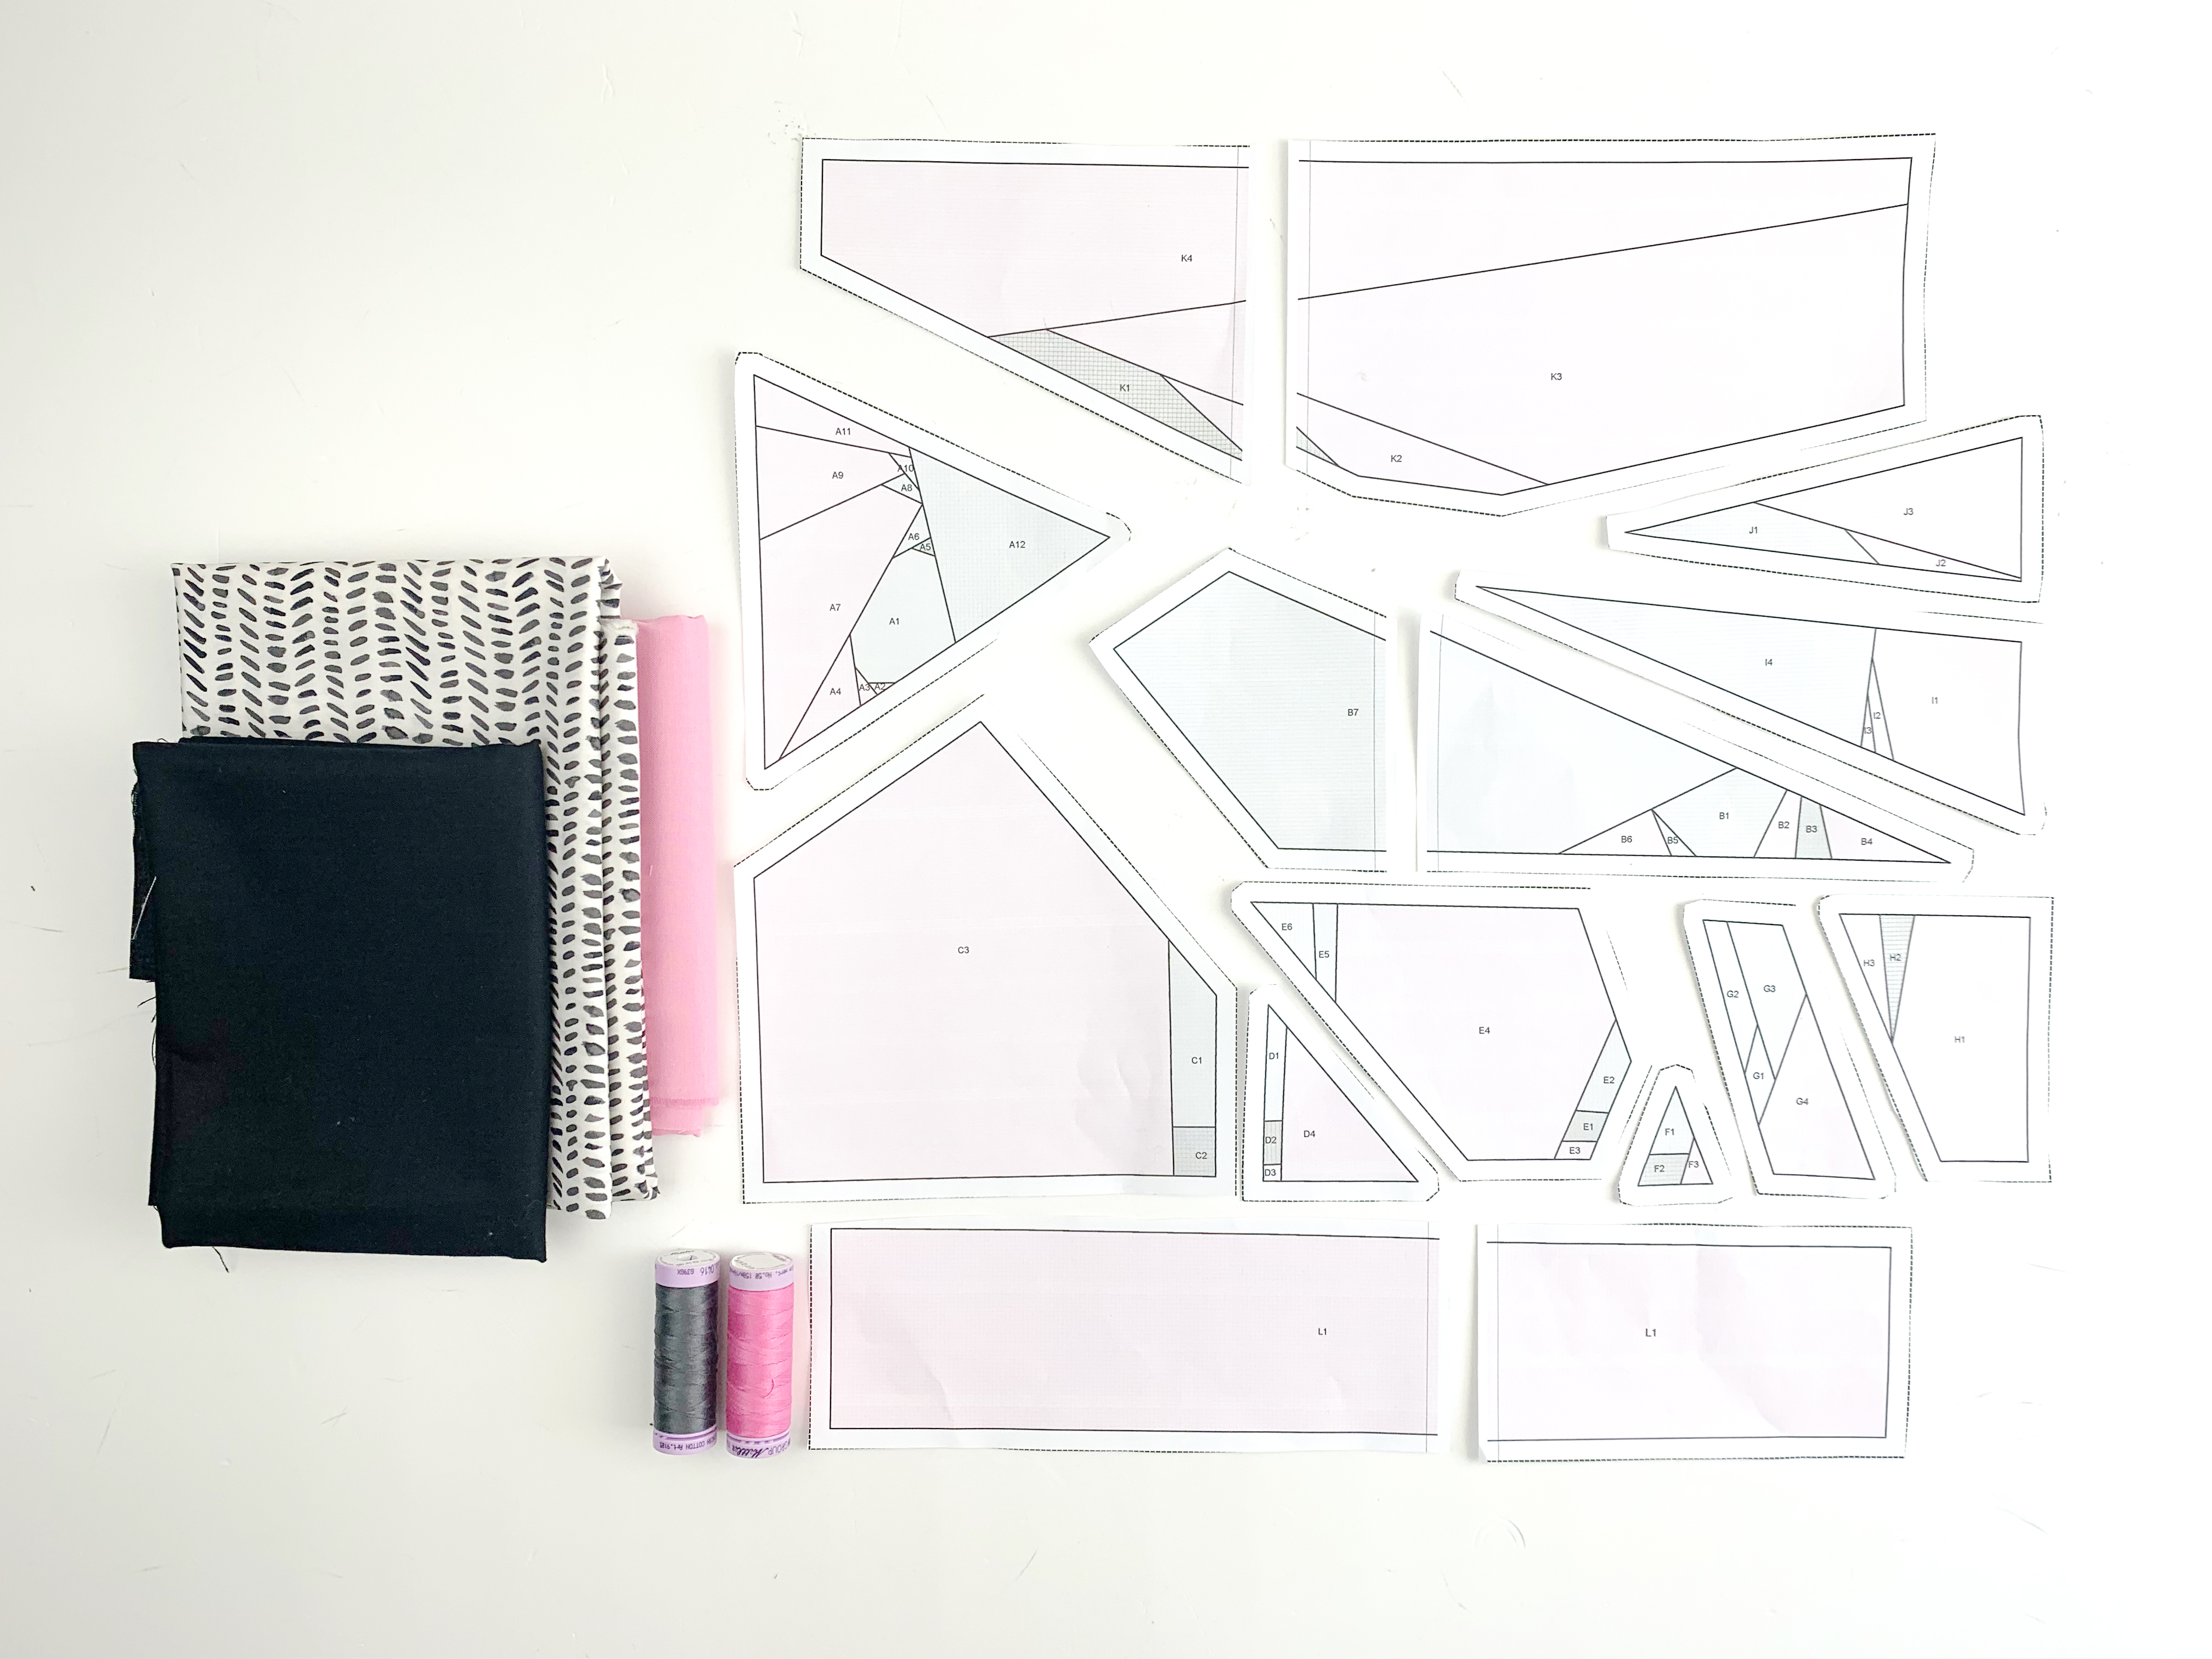
2. Lay out the segments again as indicated on the numbered overview, this is not mandatory but will make your life so much easier.
It also makes it easier to see which of the zebras is facing left and which is facing right. The pattern pieces are labeled, remember: the finished zebra will be reversed, which means it’s a mirrored image of the pattern segments. if your segments are facing right, the finished zebra will be facing left, and vice versa.
3. As you can see, the zebra pattern has a segment at the bottom without seams. If you are working with a fabric glue pen like me, this means that you only need to stick the fabric for these segments to the pattern piece with the wrong sides together. If you are working with pins, you only need to pin the fabric to the segment, wrong sides together.
Some quilters do not work with fabric glue pens and do not use pins, but sew the fabric to the paper with a seam in the seam allowance. I have also tried it as an option. However, I have to say that for me it makes it even more difficult to pull out the paper in the end, because you have more seams. I just wanted to introduce you to this method too, you can then decide for yourself what you prefer.
4. You now sew all the other segments in the order you prefer.
The sewn segments of the 12″ x 12″ zebra quilt block:
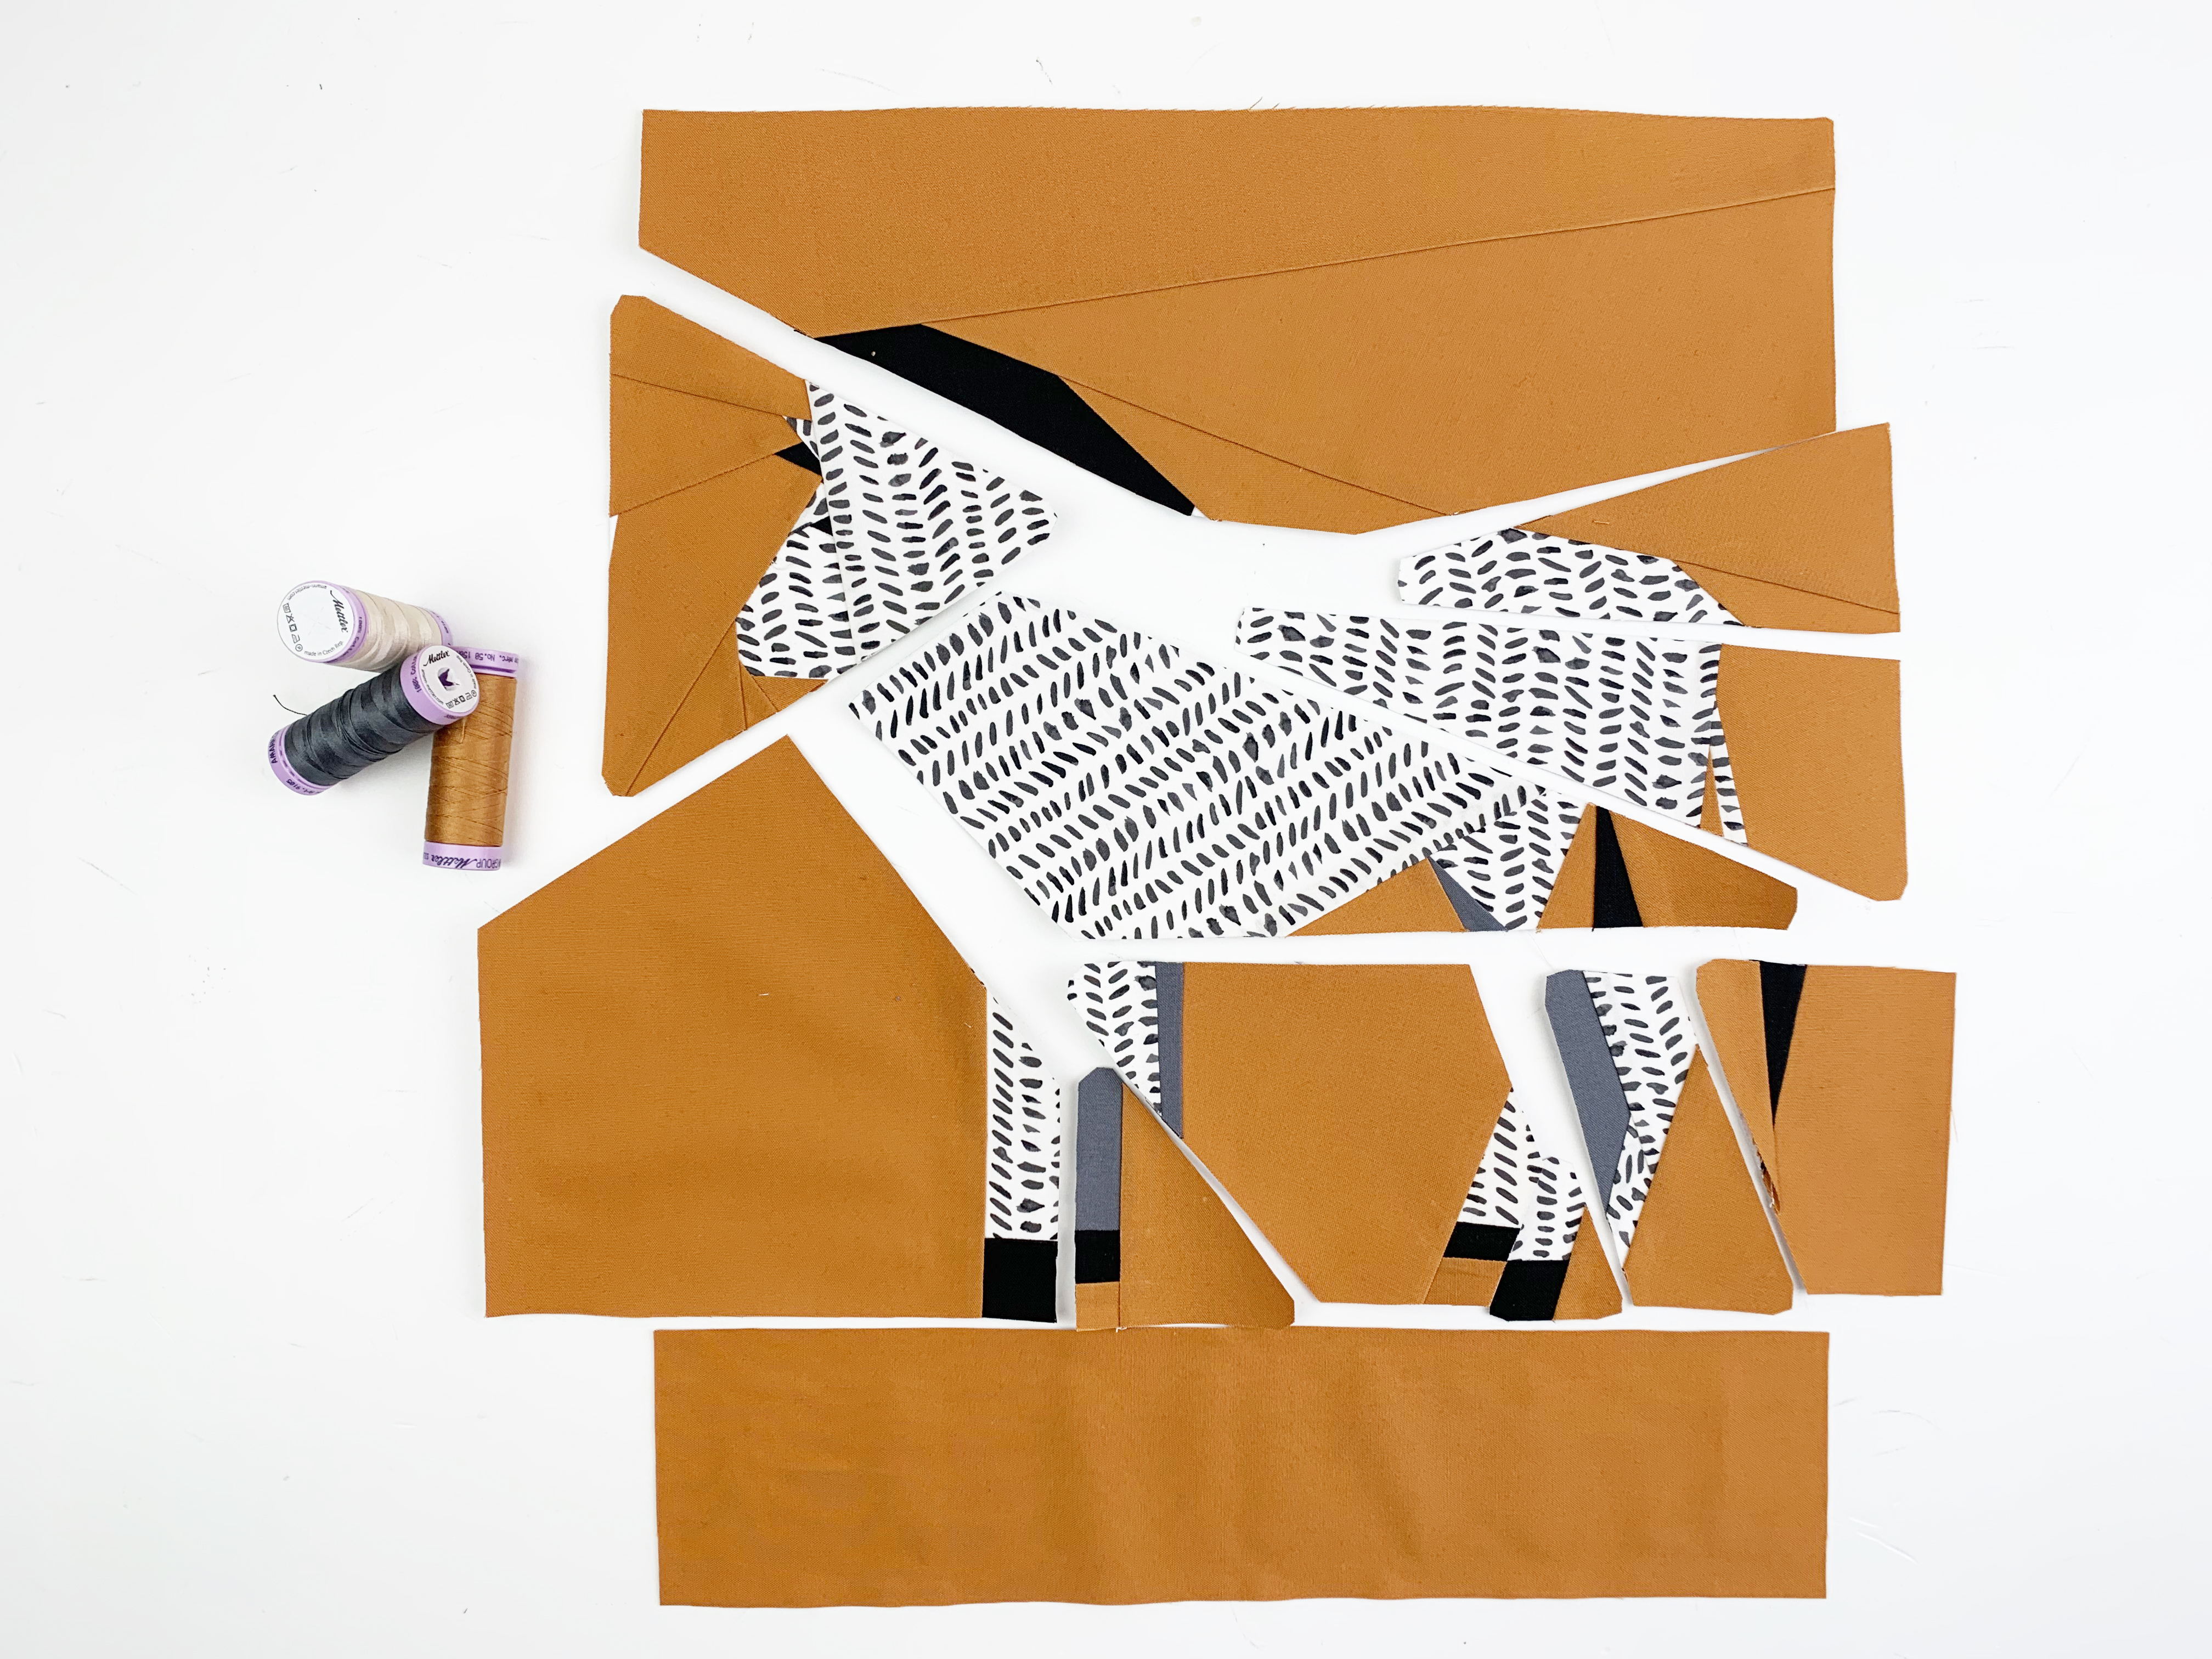
5. Now join the segments together as indicated on the pattern instructions. Again, make sure that you remove the paper from the seam allowance and then press your seams open. This reduces the individual layers and allows you to create much flatter seams.
And tadaaa, you’ve done it again… the zebras roam the savannah happily!

Show Me Your Zebras!
How did your zebras turn out?
I’m looking forward to seeing photos of your blocks. Show them to me on social media or in the community section of the blog!
Always use the hashtag #quiltsafari on Instagram and Facebook. In the community section of the blog, don’t forget to select the “Quilt Safari” participation campaign.
If you have any questions, please feel free to ask! 😊 Write to me in the comments.
See you soon
Ingrid


What you might also like


One comment on “Quilt Safari, Part Three: Zoe the Zebra”
Leave a Reply
You must be logged in to post a comment.
Could we be given the dimensions for the pieces?