Quilted & Couched Floral Panel
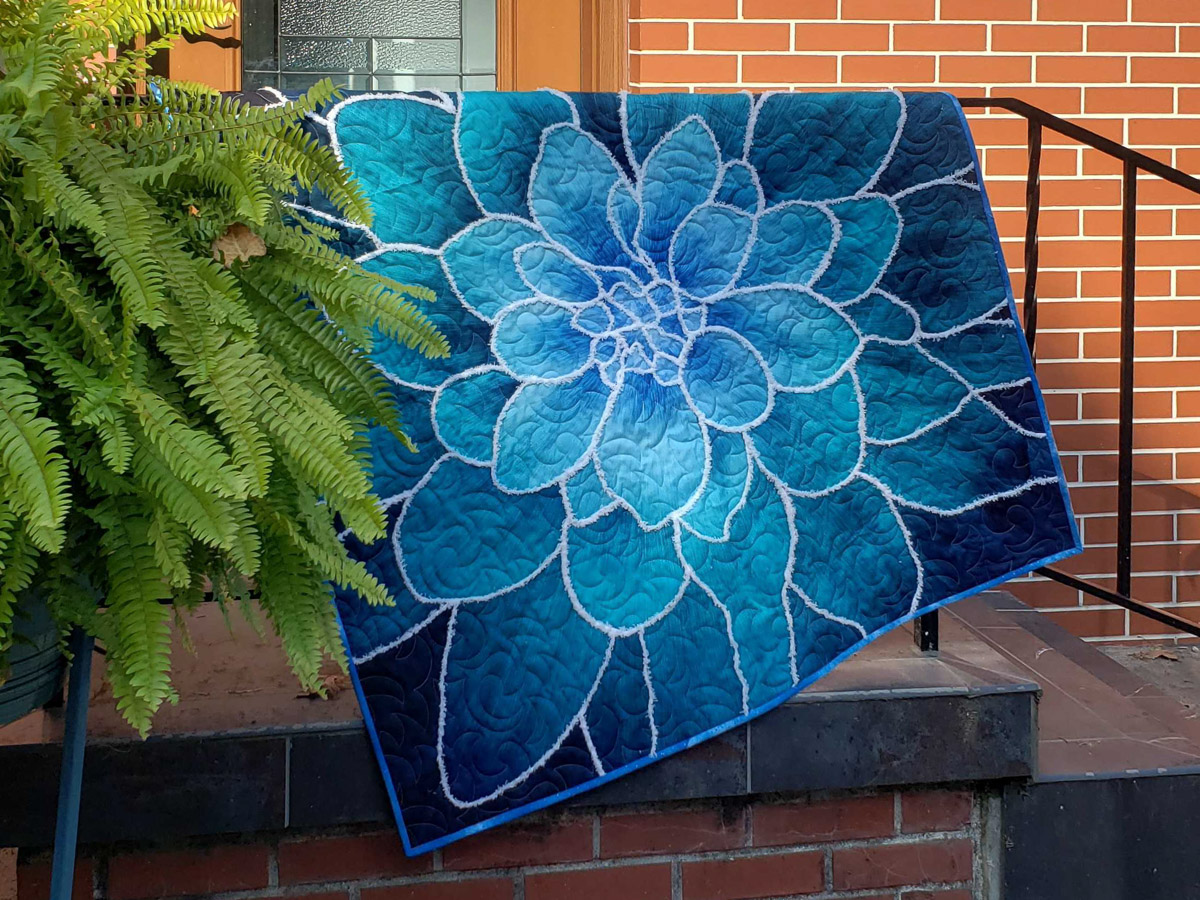
Need an easy project with a lot of WOW? Something that is the perfect gift and has people thinking you spent a lot of time making it while it was actually quite simple?
If you are answering YES to these questions, then this Quilted & Couched Floral Panel project is perfect for you.
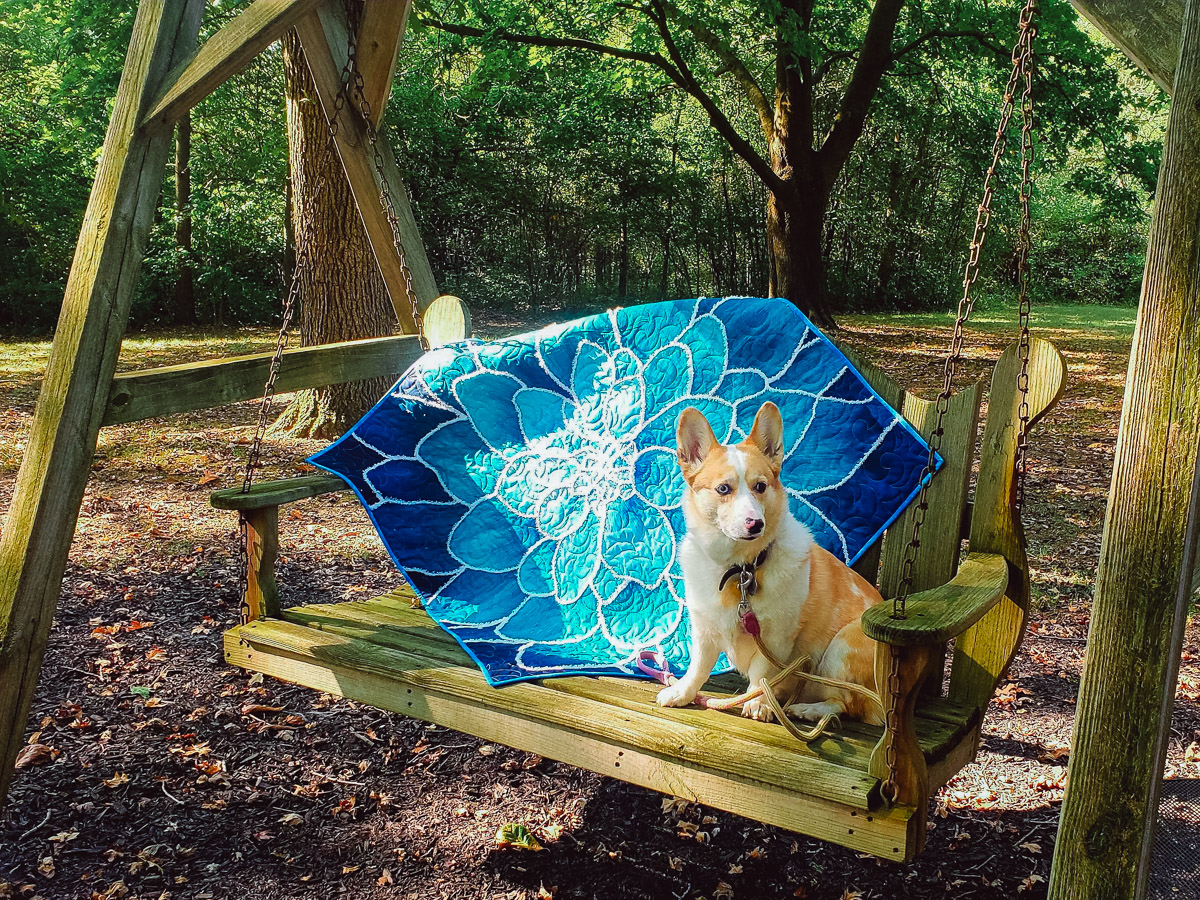
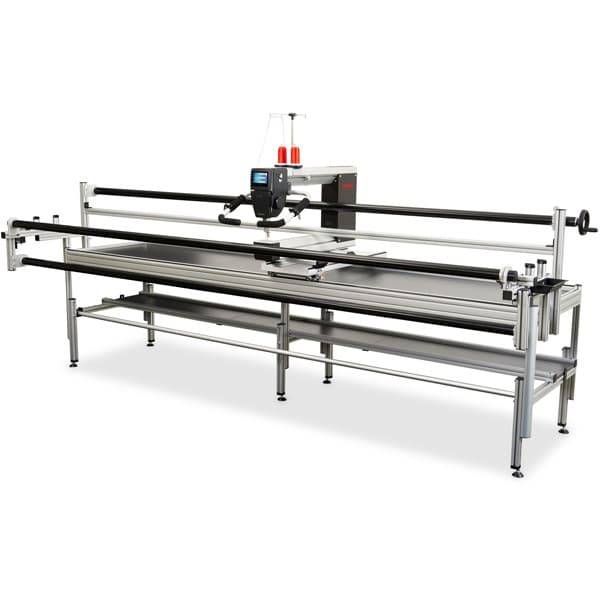
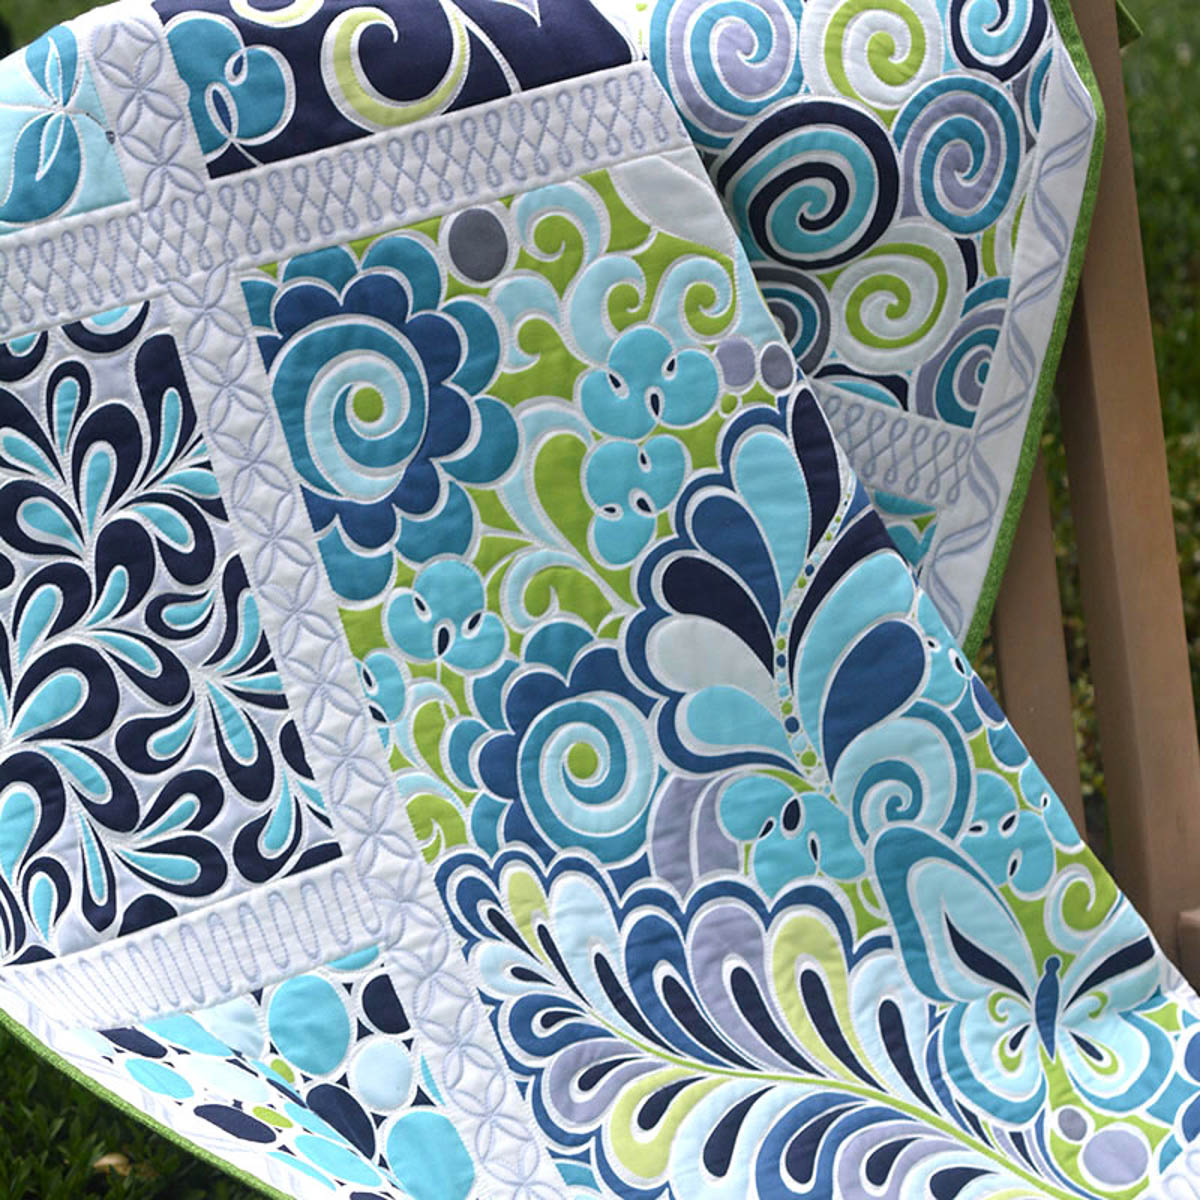
You will want to start with a printed panel. I used the popular Dream Big panel, but any floral panel will work. Then, quilt with an edge-to-edge pattern on a BERNINA Q Series longarm with the BERNINA Longarm Quilting Automation System (Q-matic) and free-motion couch with yarn to highlight the floral design on the panel. Bind and, boom, you are done!
Wasn’t that quick and easy? Keep reading and I’ll break it down step-by-step and share some tips and tricks along the way.
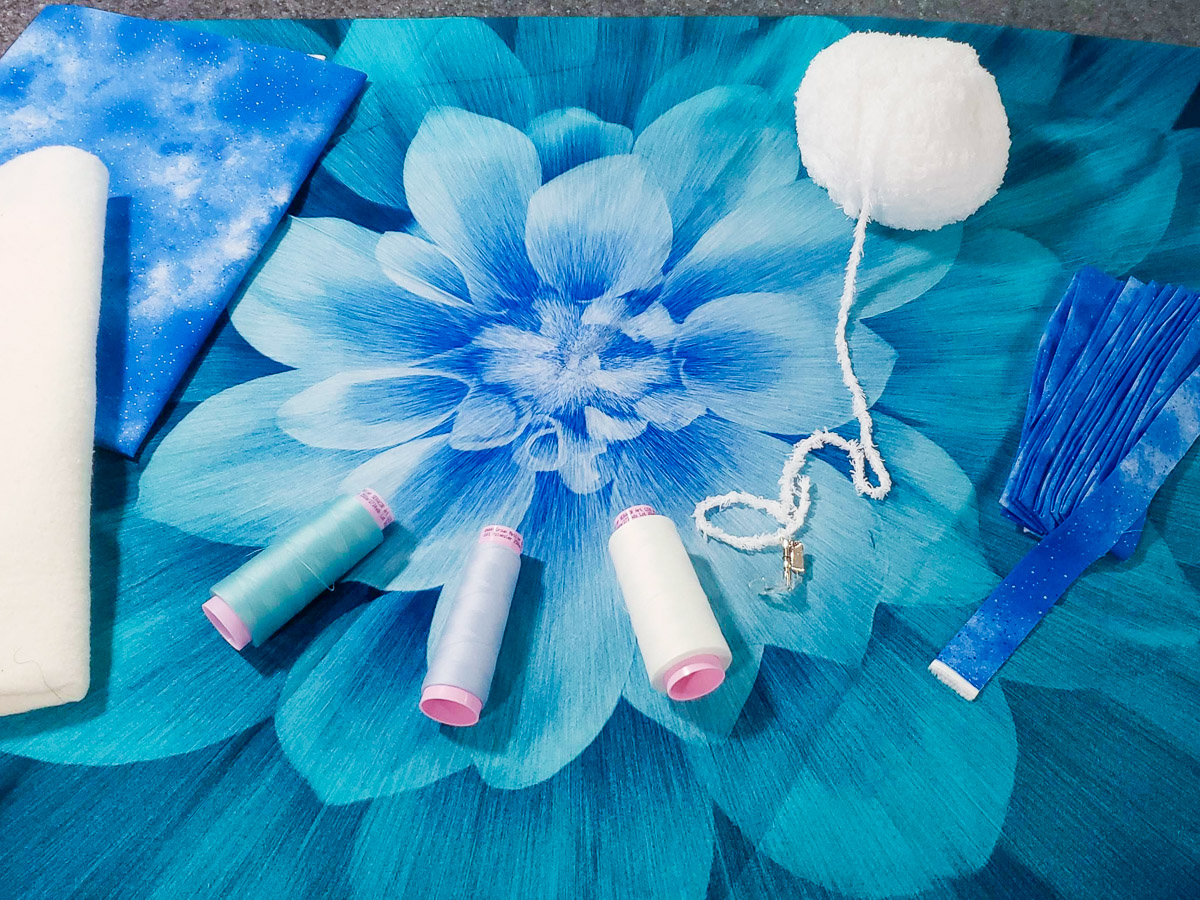
Materials to Make a Quilted & Couched Floral Panel
- BERNINA Q 24 with Q-matic on a PRO Frame
- B 990 sewing machine
- Ruler Foot #96 with Cup Clip
- Free-motion Couching Foot #43
- Fabric:
- 1 flower panel or panel of your choice
- Quilt backing 6” larger all around than panel
- Longarm quilting thread(s) to coordinate with panel and backing
- Longarm quilting thread to match couching fiber
- Batting 6” larger all around than panel
- Double-fold binding, twice the length and the width of panel + 10”
- 1 skein Bernat Pipsqueak yarn or other couching fiber
- Basic quilting tools and sewing supplies
Step 1: Quilt the Panel
Begin by loading the backing, right-side down, batting, and panel, right-side up, in the longarm frame. If you aren’t sure how to load the frame, this blog post is a great refresher with all the details.
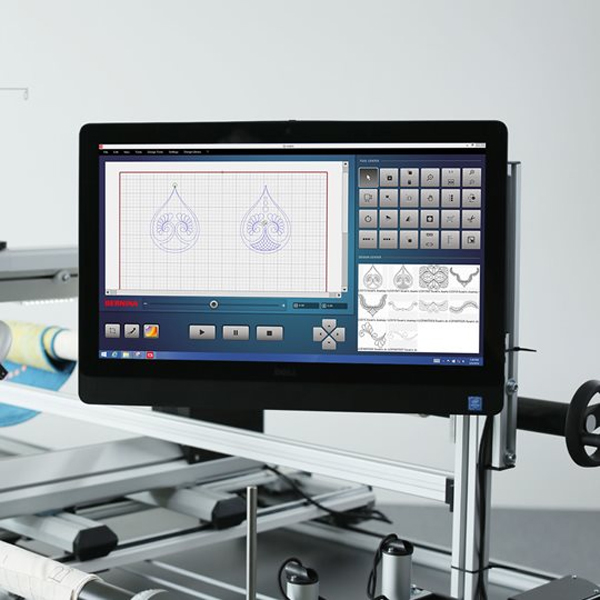
Choose an edge-to-edge quilting design, such as the China Grove design included with the BERNINA Q-matic. In the project shown, I resized the design to measure 9” tall and set the layout to six repeats across the panel and six rows down.
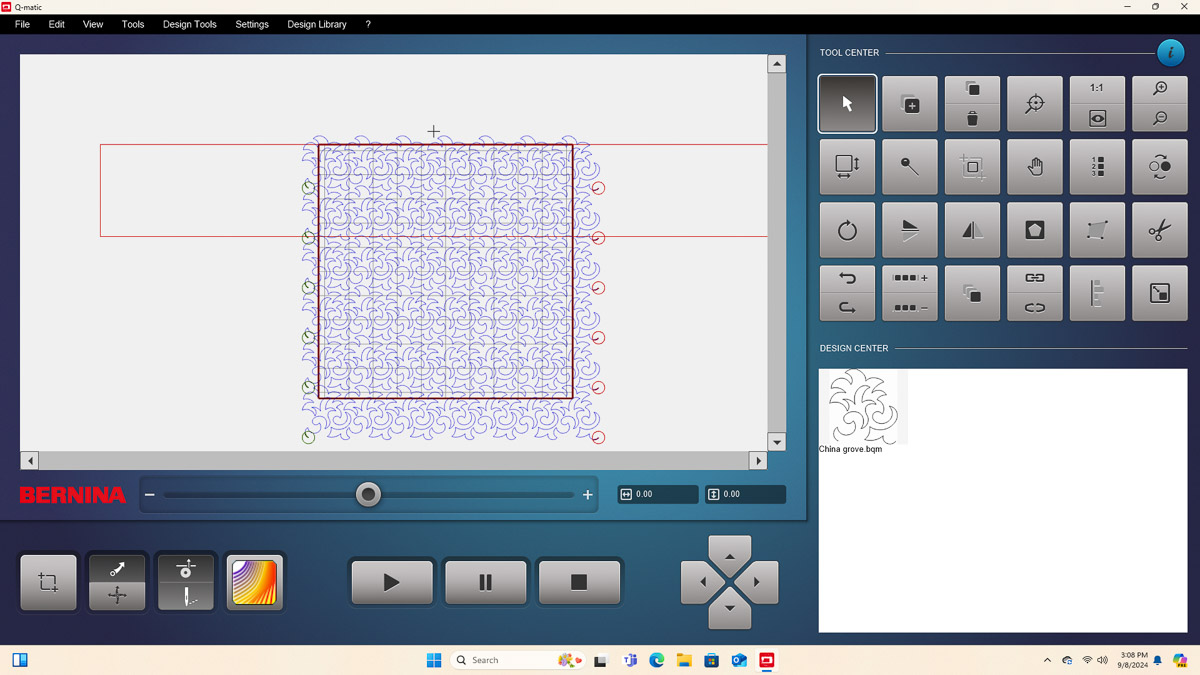
If you don’t have Q-matic, you can easily freemotion quilt the panel on a frame, a Q series sit-down machine, or a domestic sewing machine.
To ensure the panel is the focal point of the project, select a thread color that closely matches the panel. Likewise, opt for bobbin thread that closely matches the backing.
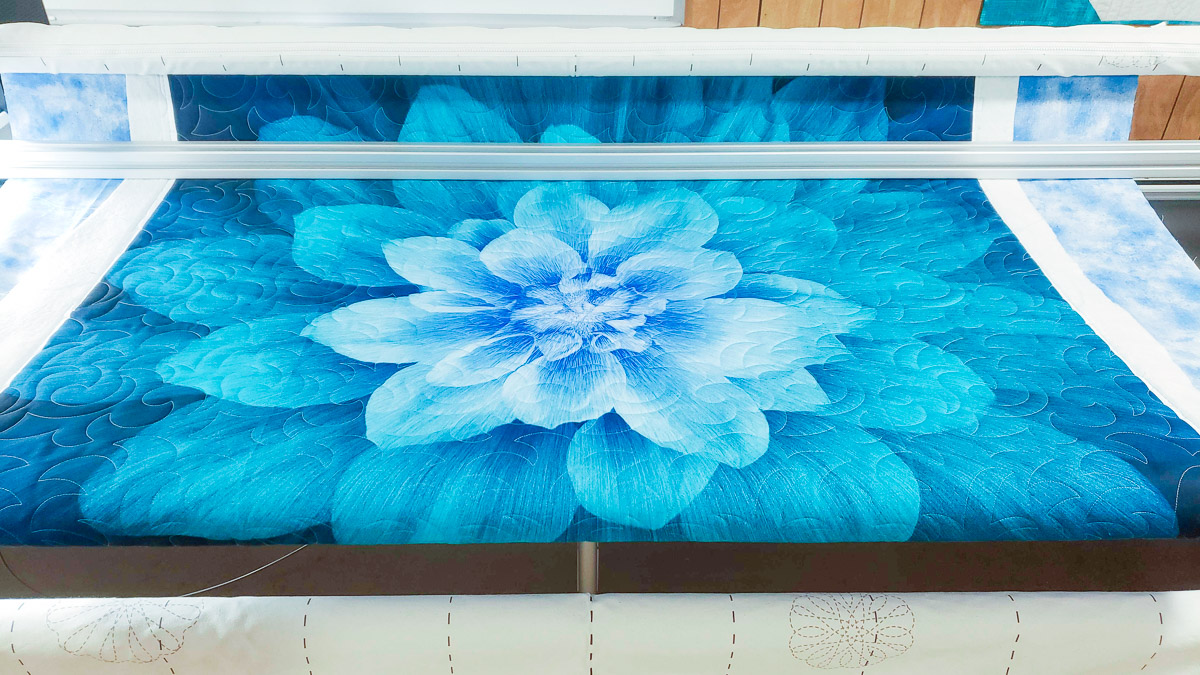
When you have finished quilting, add basting stitches to all four edges of the quilt top. Then, trim the batting approximately 1” below the basted bottom edge of the quilt top. Trim any stray threads on the top or backing of the quilt. You will soon roll the quilt in the frame to re-position while couching.
Step 2: Couching
Now that the quilting is completed, prepare for couching. First, disconnect the belts from the sewhead so it moves freely and is not controlled by the computer.
If desired, change the top thread to match the couching fiber. I used a lighter color top thread but kept the bobbin thread the same in the project shown.
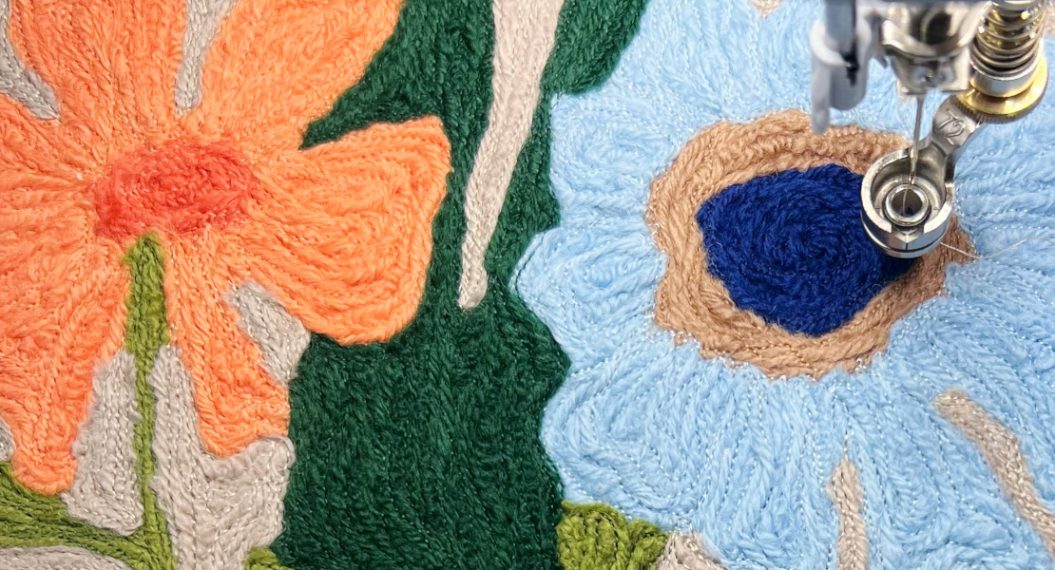
Next, load the Free-motion Couching Foot #43 with the couching fiber. Bernat’s Pipsqueak baby yarn provides a pop of color and a fun texture. If you have not couched before, this blog post covers the basics.
Next is determining the couching plan. I suggest planning your starts, stops, and as many travel stitches as possible so they are outside the edge of the quilted panel. This ensures the raw edges of the yarn are securely enclosed into the binding.
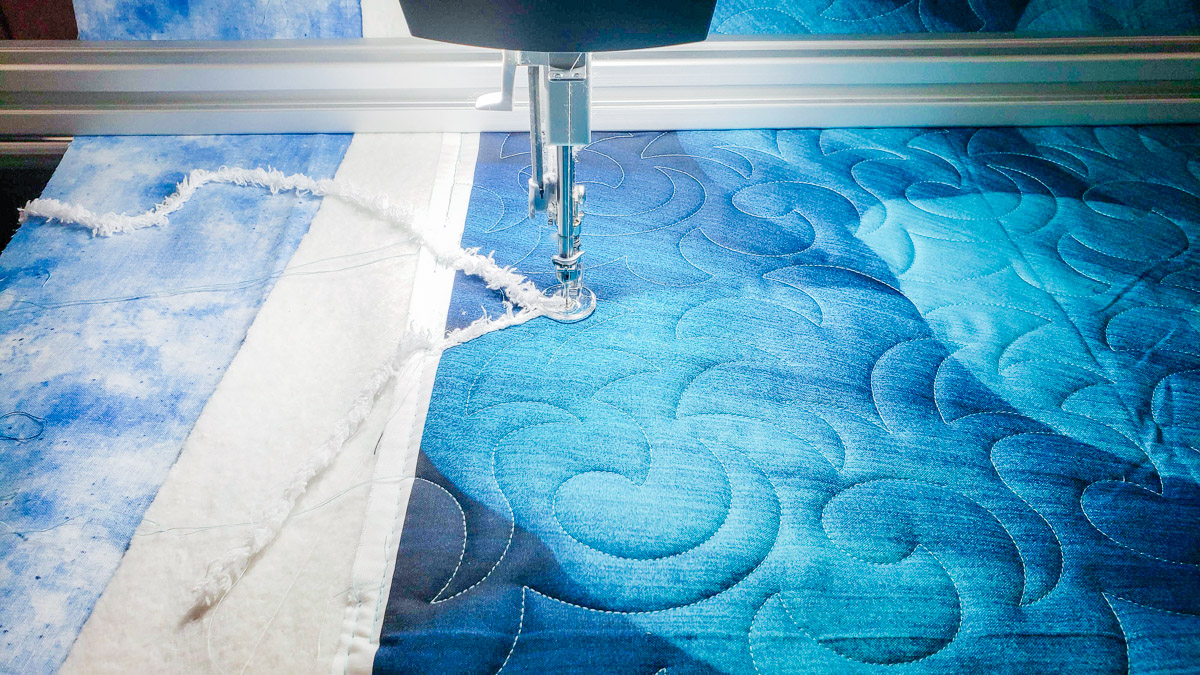
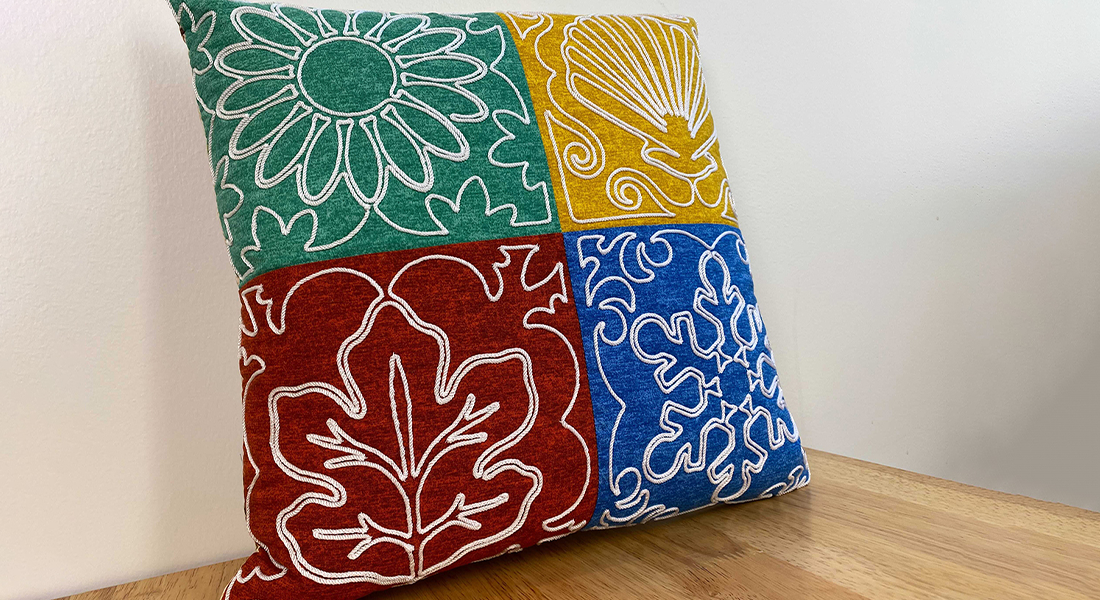
Using the printed panel as a guide, couch along the edges of the petals to add definition to the flower.
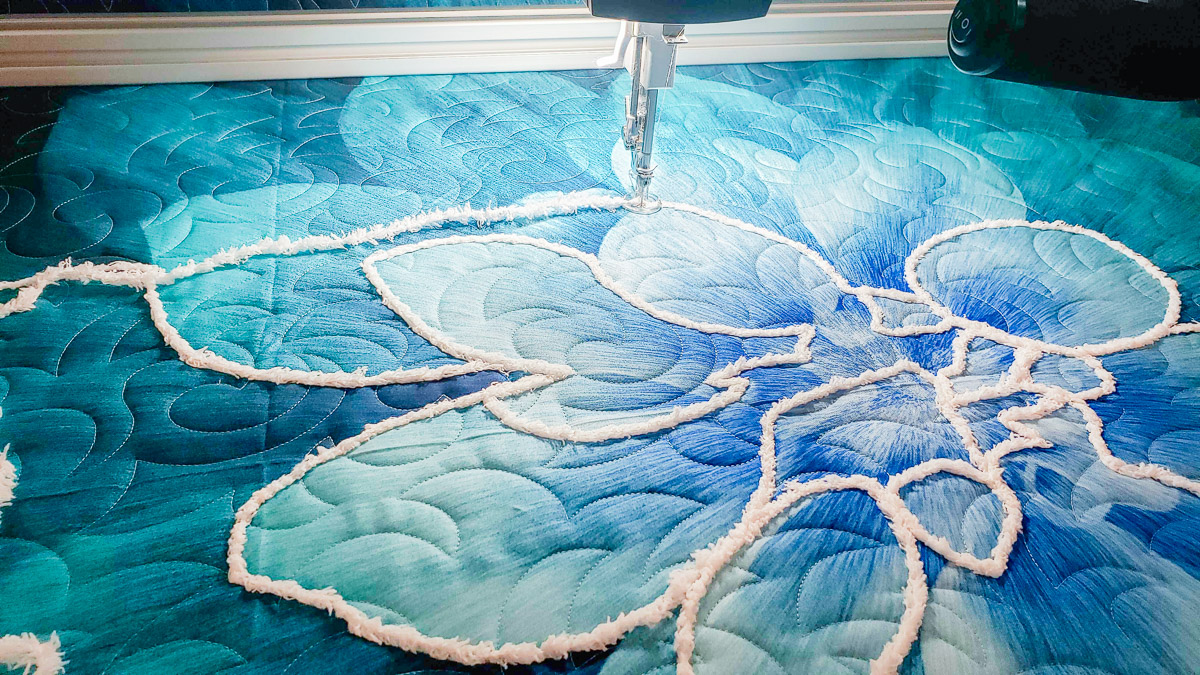
As you are couching, you may need to stop with your needle in the down position in the quilt, and re-position the quilt in the frame to access un-couched areas.
Continue adding couched yarn to outline the petals on panel. There is no right or wrong way to do this. If you need to travel from one petal to another, simply couch along a previously stitched line of yarn. When you are finished couching, try to end off the edge of the quilt so the raw edge will be encased in the binding.
Step 3: Binding
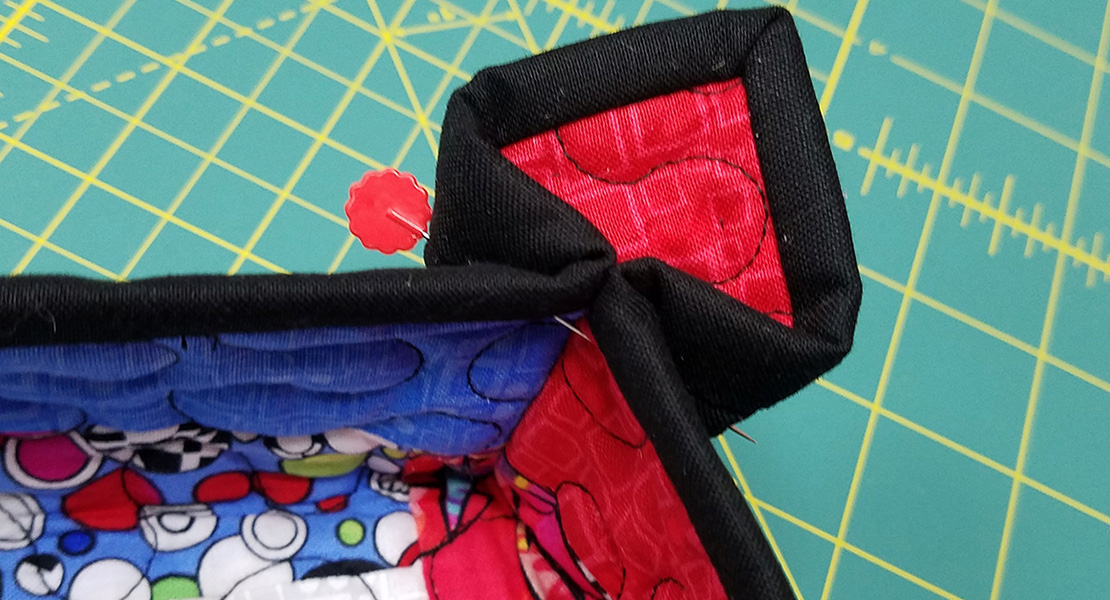
After you have completed the couching, unpin the quilt backing from the frame and trim the batting and backing even with the edges of the quilt top. You can do this with scissors or using a rotary cutter and cutting grid. Apply a double-fold binding to the front and stitch in place on the back. If you need a refresher, this blog post covers all the details.
And now, take a step back and say WOW!
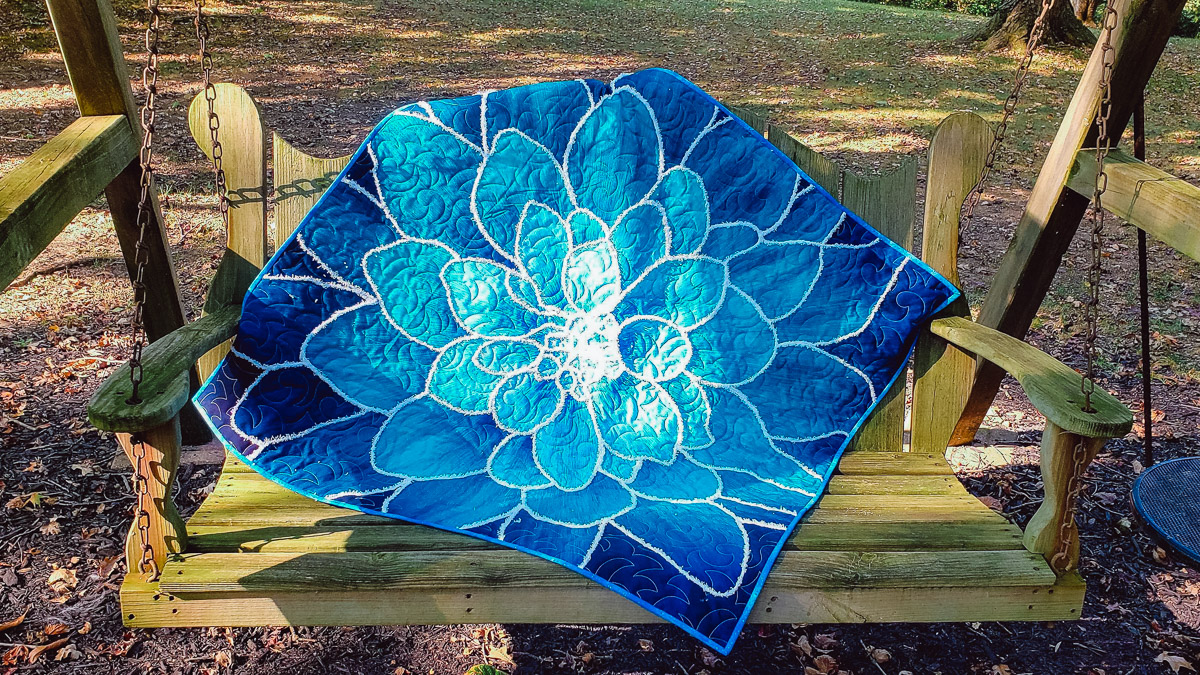
What a beautiful throw that can be enjoyed by you, your family, or given as a gift.
