Raw Edge Appliqué T-shirt
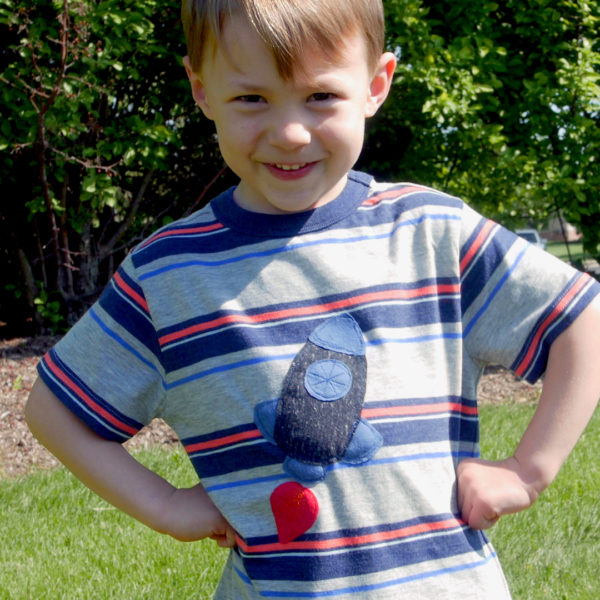
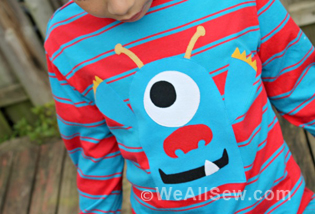
Wearing handmade all the time can be tricky especially with kids that never seem to stop growing! Instead of making clothes from scratch, buy retail and add detail. Try taking a plain t-shirt and add your own personality. Knits are a great fit for raw edge appliqué—since they don’t fray, all it takes is a little fusible and some quick stitching to secure and wash and wear with a little bit of texture.
Adding appliqué is a great way to get a second life out of a shirt that has seen some wear, like small holes or stains. There are usually no shortage of those on kids’ t-shirts. Add an appliqué et voilà! New again!
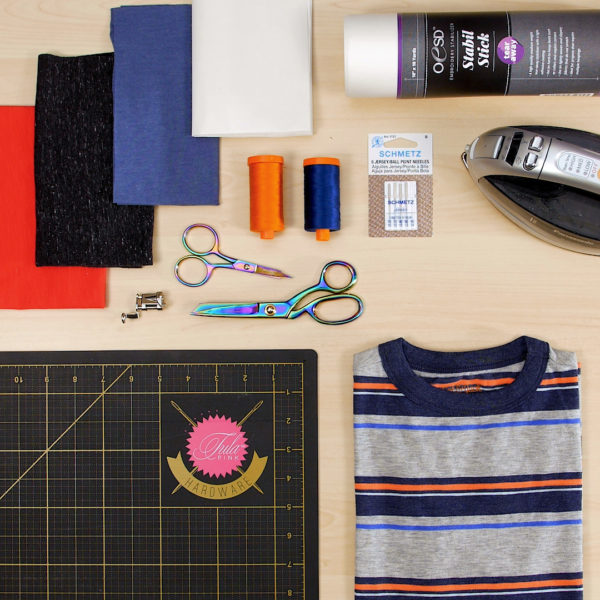
Materials to Make a Raw Edge Appliqué T-Shirt
- T-shirt
- Knit fabric scraps
- Try cutting up old t-shirts that are too small, worn out, or faded.
- OESD SoftWeb
- Thread
- Contrasting thread helps add detail.
- Tula Pink 6” Micro-Serrated Bent Trimmer shears
- Tula Pink Large Ring Micro Tip 4” Scissor
- Jersey/ballpoint needle
- OESD Stabil Stick TearAway stabilizer
- Iron
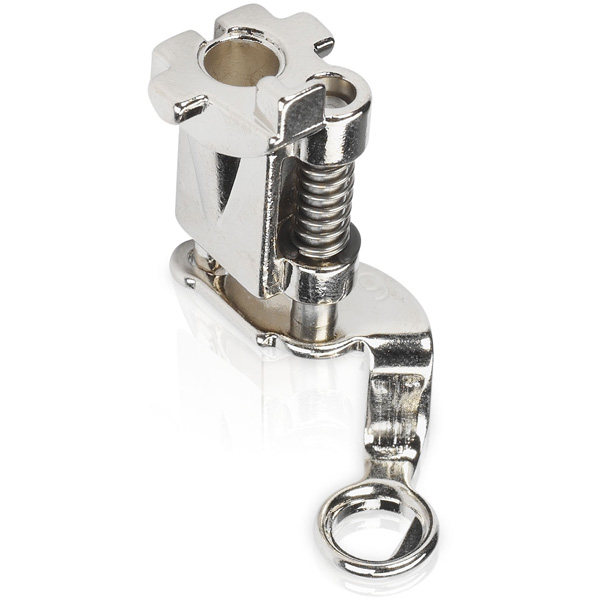
- Darning Foot #9
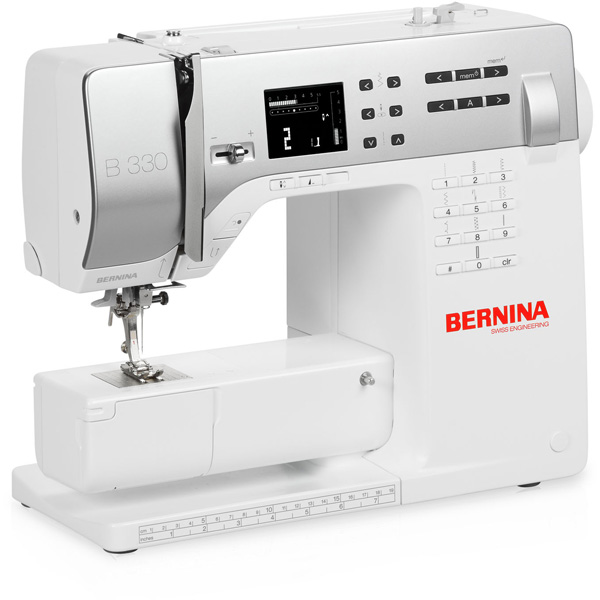
- BERNINA 330
How to sew raw edge appliqué t-shirt:
Step 1. Cut pattern
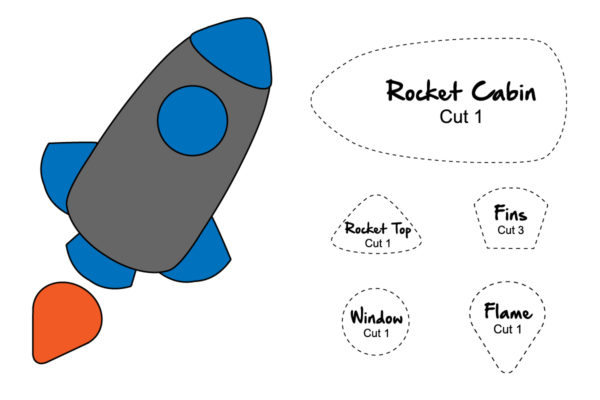
Our first step is to get the pattern ready. For our rocket ship, you can download the BERNINA WeAllSew Blast Off! Rocket Applique here. Cut out the individual paper pattern pieces.
Step 2. Prepare appliqué
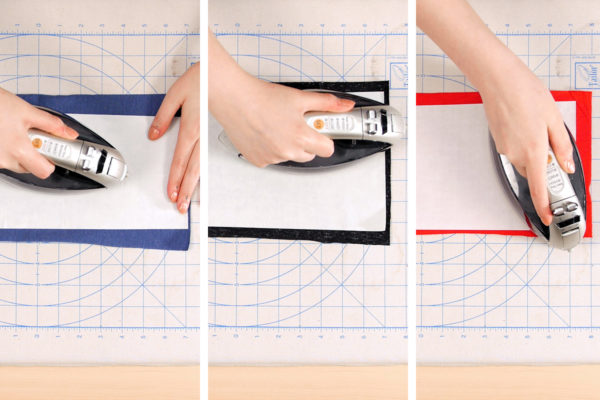
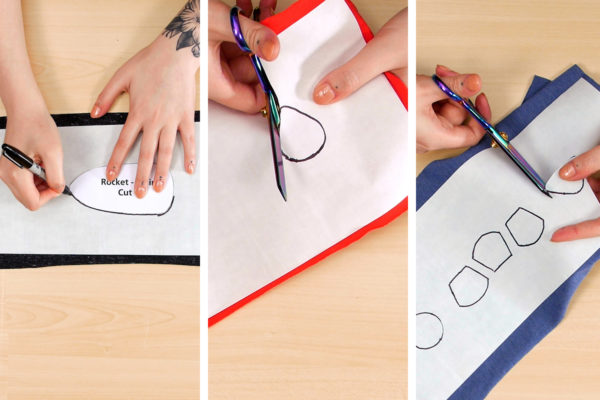
Fuse OESD SoftWeb to the wrong side of the knit scraps to be used for the appliques, leaving the paper intact.
Trace your pattern pieces on to the paper fused to your knit scraps and cut out.
Step 3. Fuse the appliqué
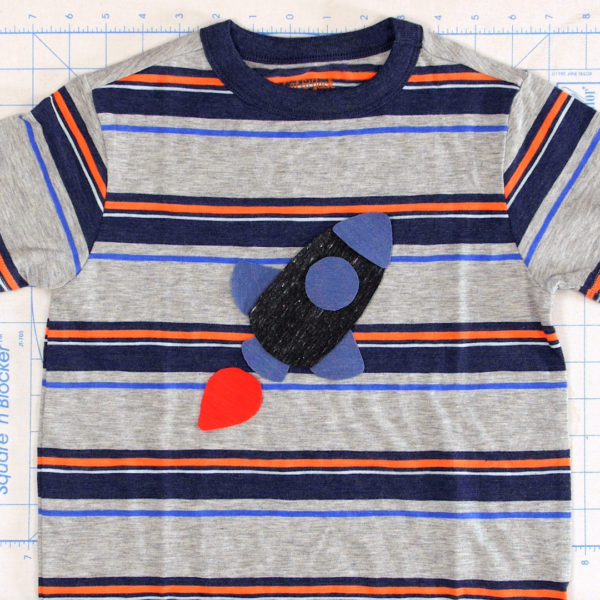
Remove the paper from the back side of your appliqué pieces and arrange on the t-shirt with the fins layered under the rocket cabin then the window and rocket top.
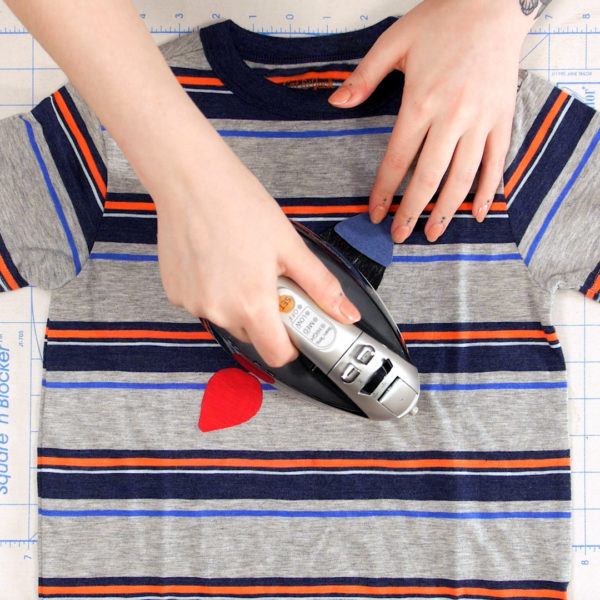
When your pieces are all laid out exactly right, fuse them in place.
Step 4. Add stabilizer
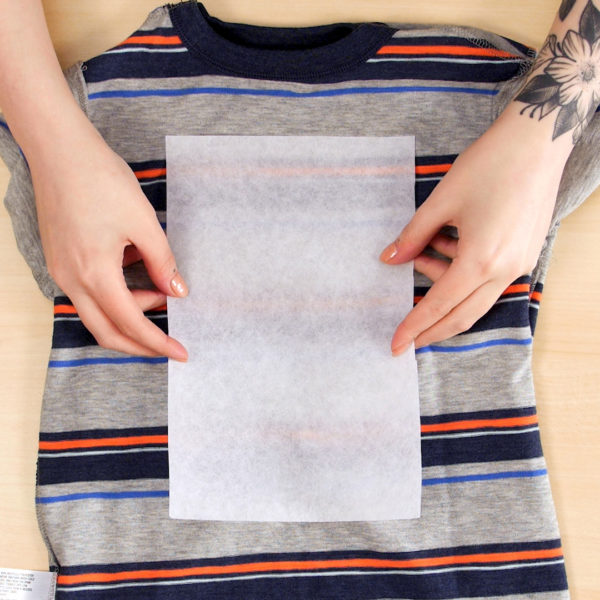
Stabilizer isn’t just for embroidery! Flip the t-shirt inside out and smooth a piece of OESD Stabil Stick behind the applique. Stabilizer will help keep our thread tension even with free-motion stitching and will also help the t-shirt move smoothly under the needle without stretching or pulling.
Step 5. Stitch down
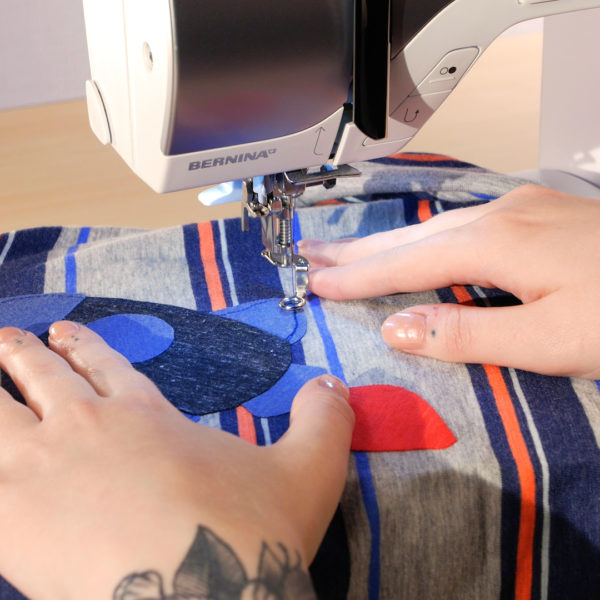
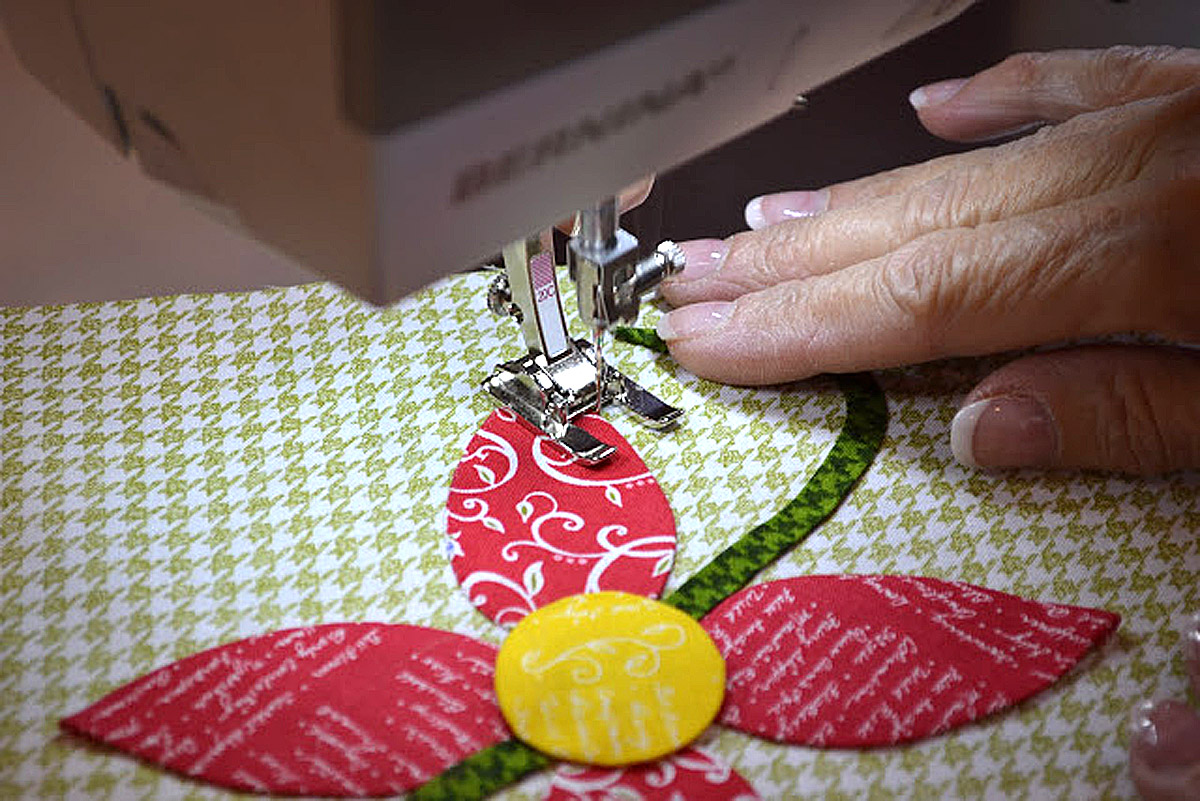
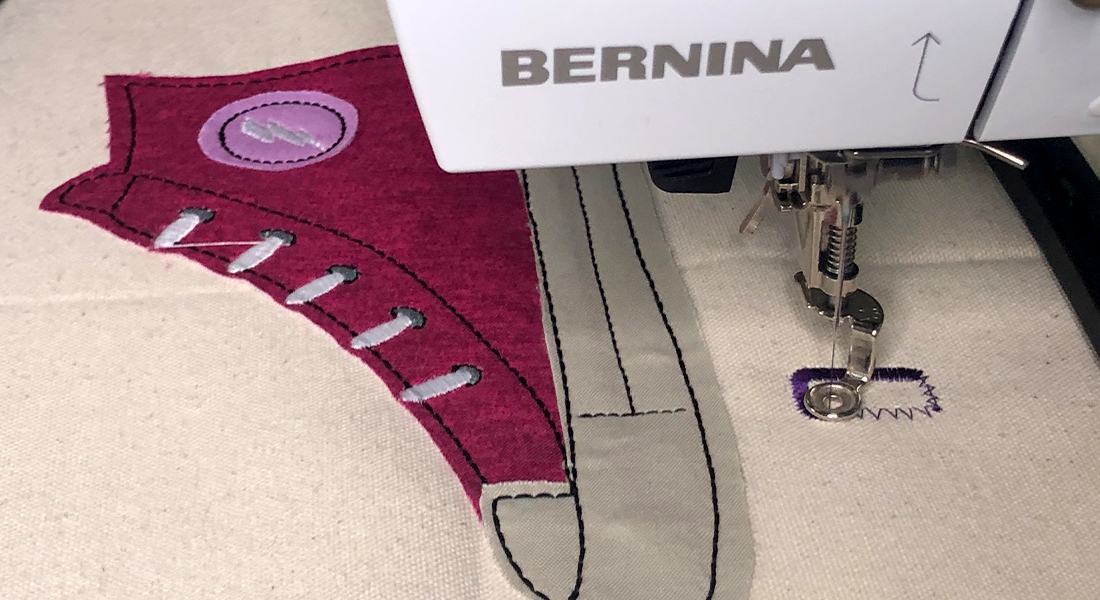
Our appliques are pretty secure after being fused down but let’s add some free-motion stitching for more security and also to add detail to our design.
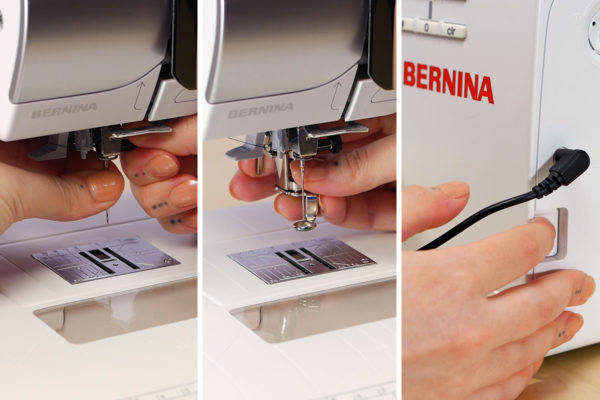
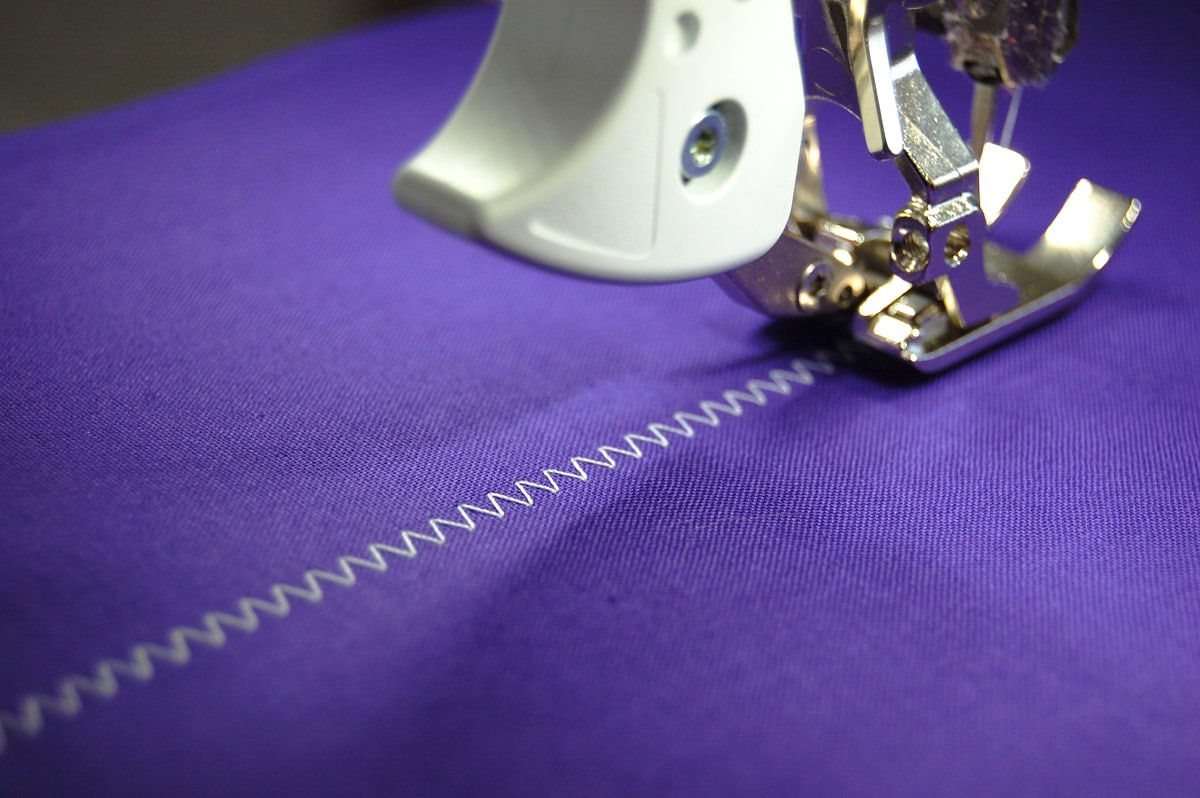
Since we are sewing on knits, insert a jersey needle into your machine, attach Darning Foot #9, and lower the feed dog.
Then slide on to the free arm sew away! Leaving the slide on table on the machine while still being able to take advantage of that free arm access makes stitching a dream.
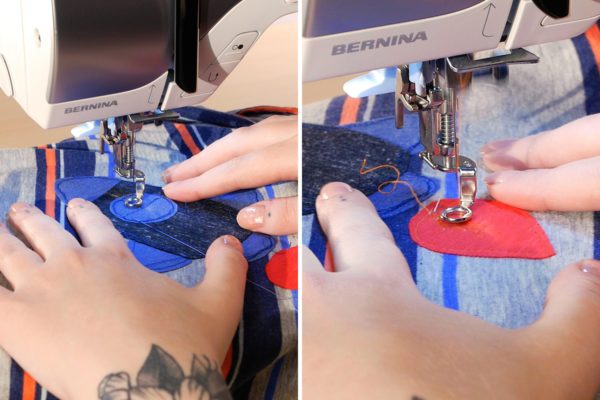
Add an outline to each of the appliquéd pieces and any extra details you desire. I added panes to the rocket window and detail to the rocket’s flame. You can even bring your little one into the process and let them help you “draw” in those details. Just be sure to keep your speed slow and keep small hands away from the needle!
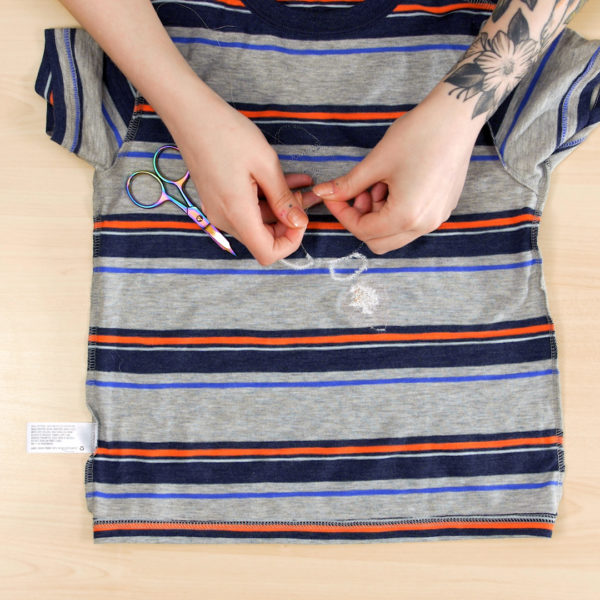
When you have finished stitching, tear away the stabilizer and tie thread tails on the inside of the shirt.
Your small friend is now ready to wear their new shirt with pride!
What you might also like
3 comments on “Raw Edge Appliqué T-shirt”
-
-
It is the Panasonic 360 Freestyle Cordless iron! It’s great for travel and small projects like this. I do have other irons I prefer more for my everyday use or ironing out yardage 🙂
-
-
I might also suggest adding OESD Gentle Touch over the remnants if the stablestick cut away ( which kids often find scratchy). Gentle touch makes the inside of the shirt appliqué soft and comfortable
Leave a Reply
You must be logged in to post a comment.




Great tutorial, BUT I really want to know – which iron is that 🙂
Thank you,
PBohne