Refine Your Binding Technique
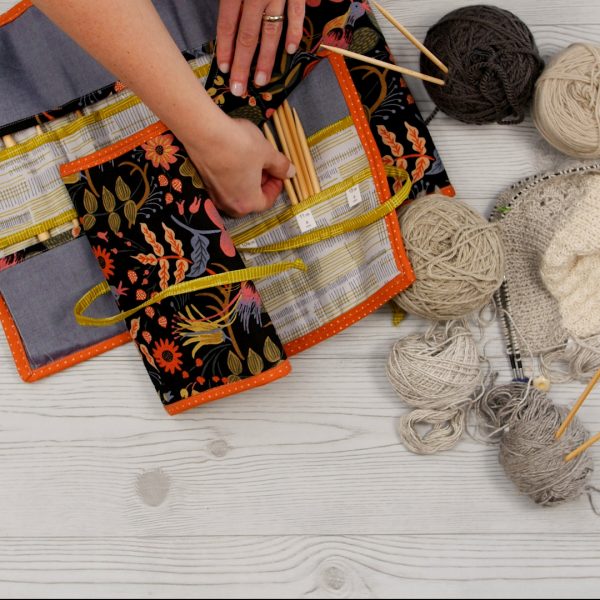
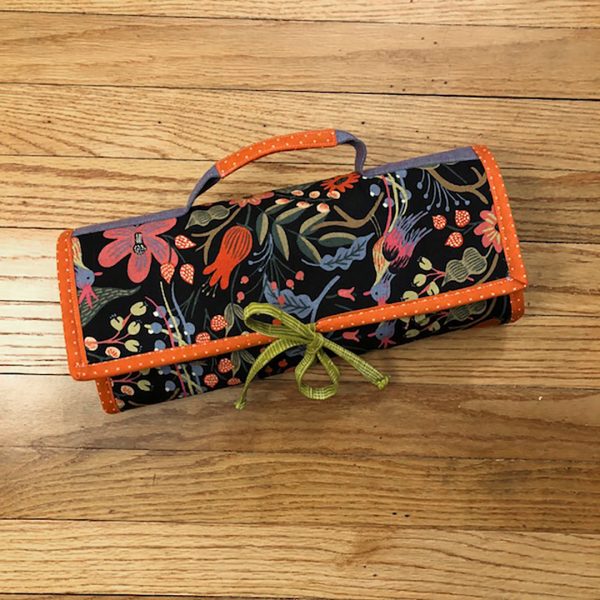
There are so many good tools and notions made for the task of binding that you can pretty much choose your own binding adventure! Binding is not only a technique used for quilts, it can be used as a way to finish the edge of several crafty projects too. My recent knitting hobby has me buying lots of new knitting needles and they were starting to accumulate, so it was time to find a place to keep them.
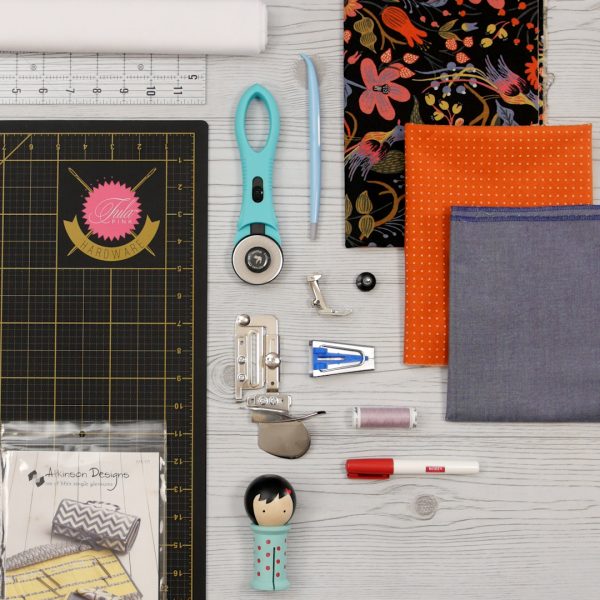
I decided to make this cute knitter’s roll pattern, Knit Purl and Roll, by Atkinson Designs. For this binding adventure, I used the BERNINA binding attachment #87 and Binder foot #95C, the Clover bias tape maker, Clover Hold It Stiletto, and the Doohikey Designs binding baby.
Supplies for Binding
- BERNINA B 590
- Knit Purl and Roll pattern by Atkinson Designs
- Binder Attachment for Pre-folded Bias Tape (25mm) #87
- Binder Foot #95C
- Clover Bias Tape Maker 25mm
- Binding Baby by Doohikey Designs
- Clover Hold It Stiletto
- Bohin Temporary Glue Pen
How to sew binding
Step 1. Create your own binding
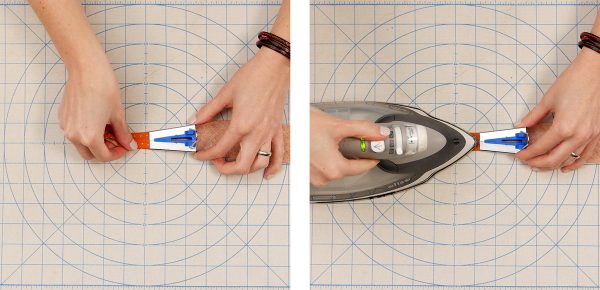
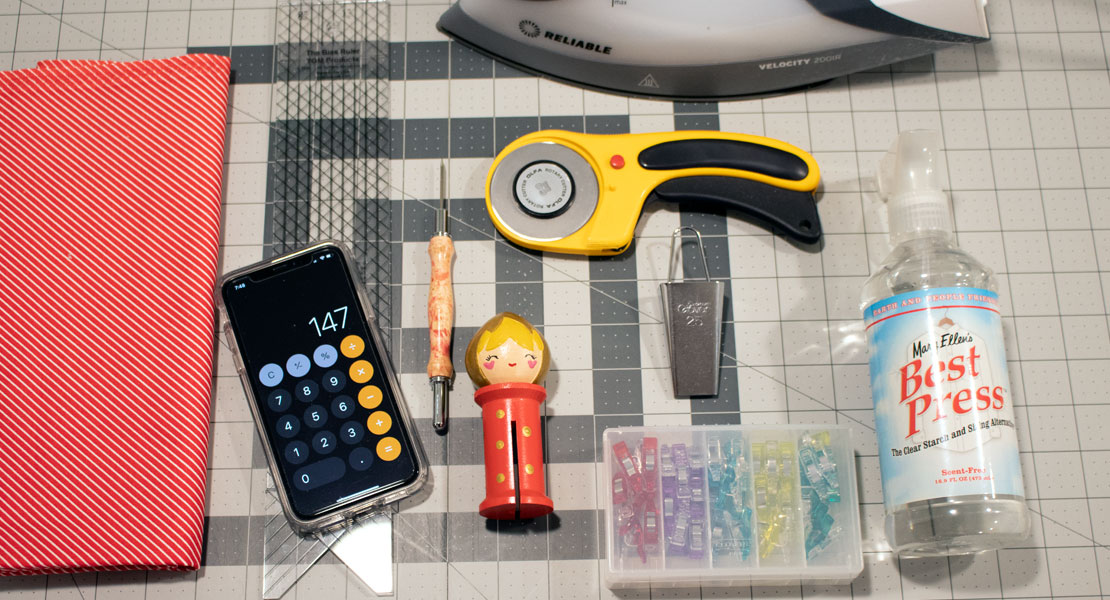
Making your own pre-folded bias tape is a pretty easy task using the Clover Bias Tape Maker. This tool comes in multiple size and is a great gadget to have on hand. The 25mm size is the perfect size to use with the BERNINA Binder attachment #87.
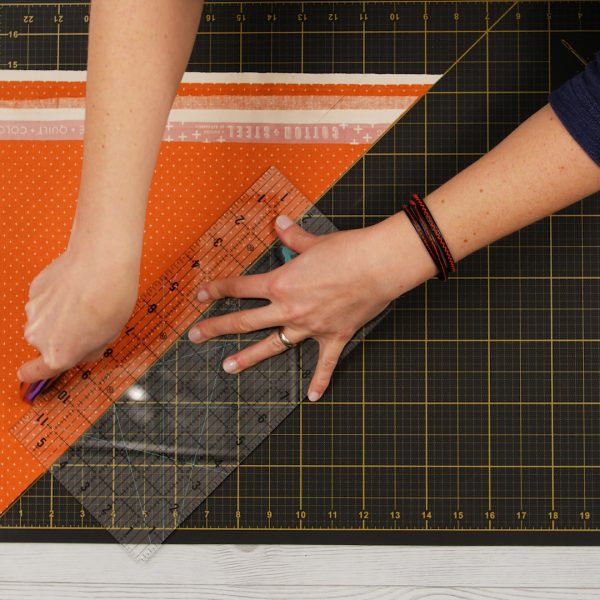
Begin by folding a 45 degree angle in the fabric and trim the edge. Working from this edge, cut several strips along this angle until you have enough pieces to cover the perimeter of your project. Cut strips 1 7/8” this will create a 1” single folded bias strip to use in the attachment.
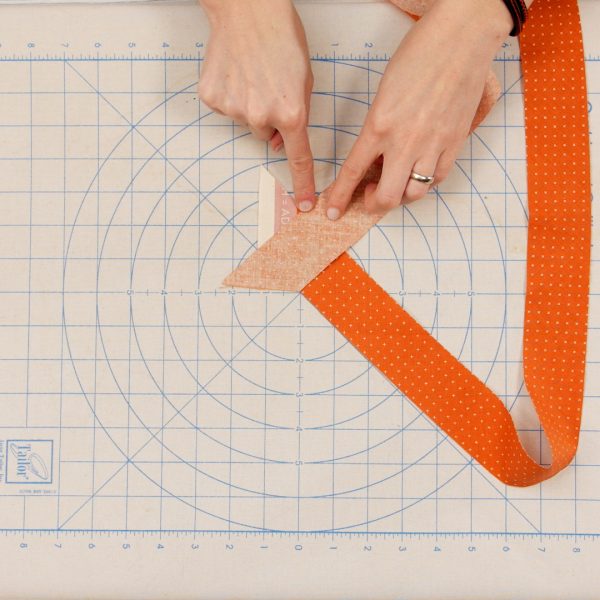
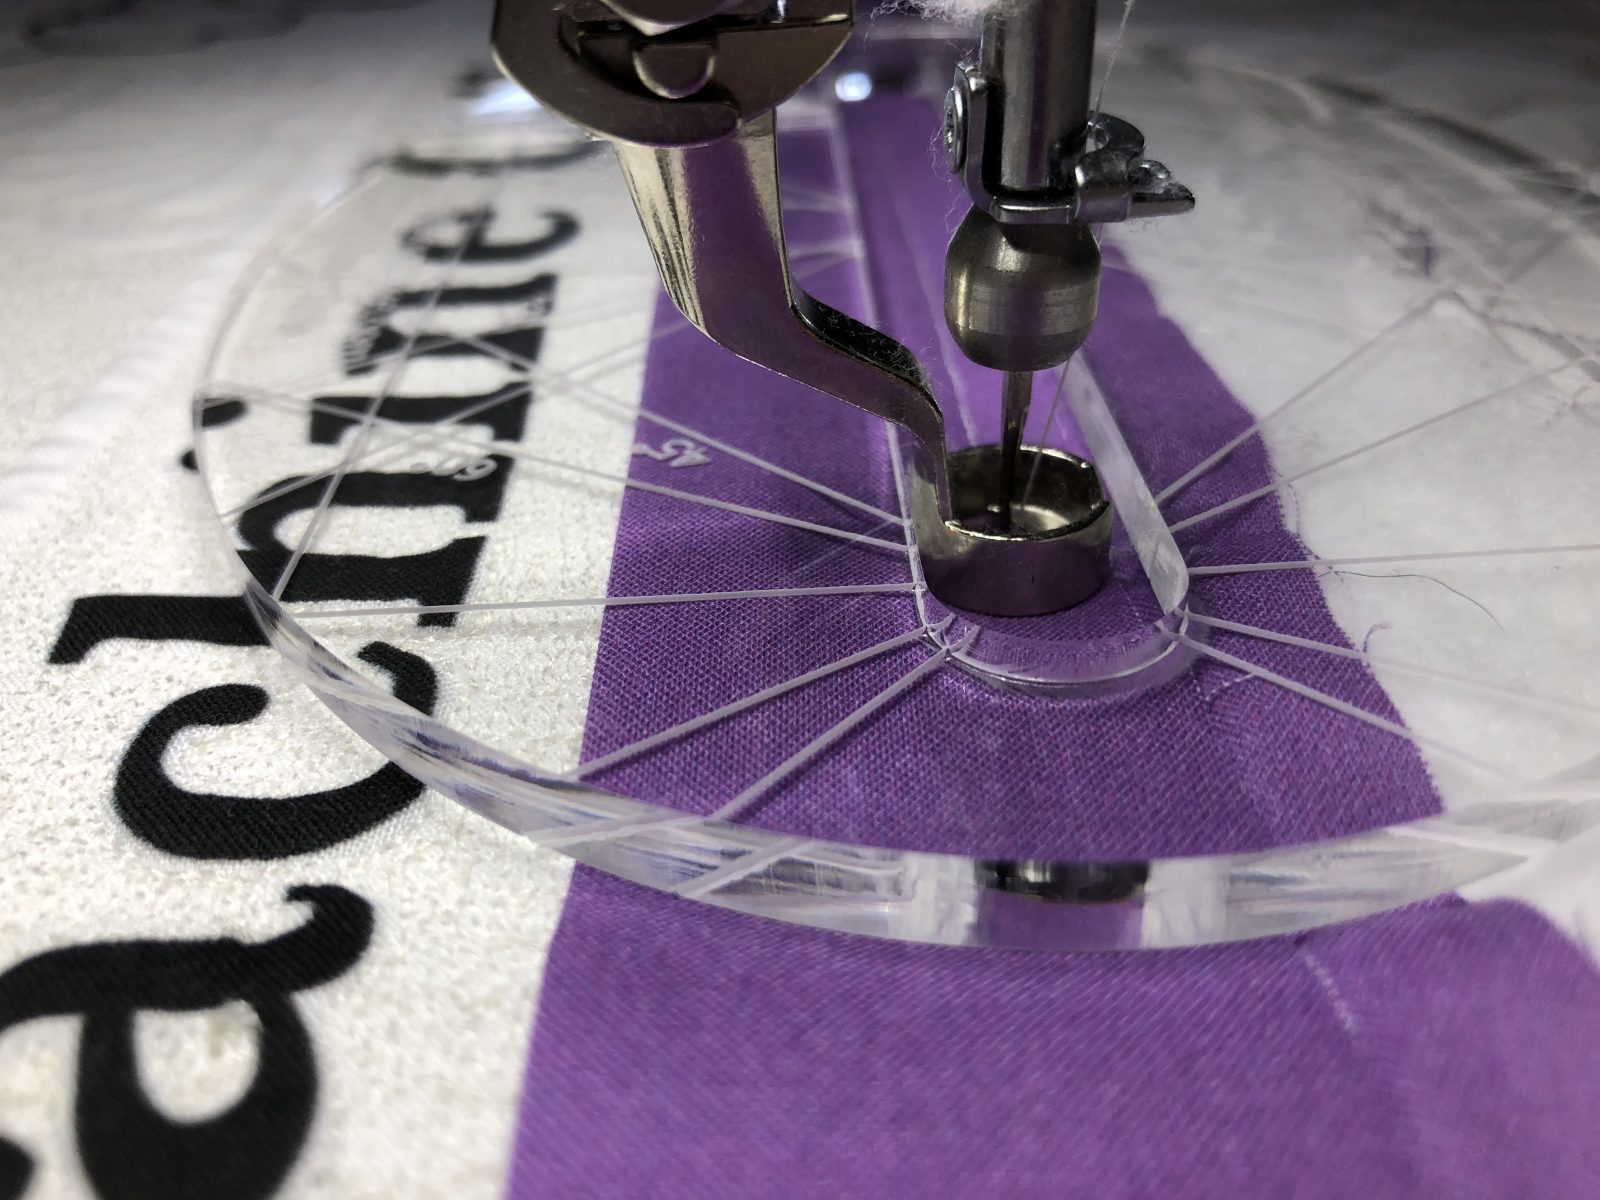
Sew the binding strips together perpendicular to one another, creating a miter seam. This is easy to visualize while sewing by using the 45 degree guidelines on the BERNINA sewing machine’s slide-on table.
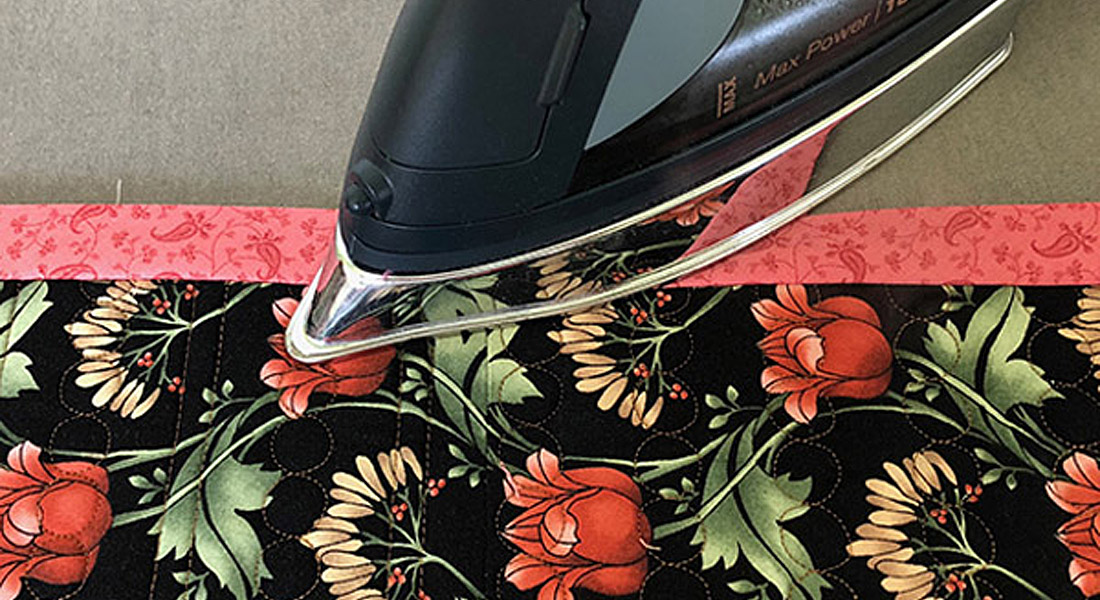
Once the strips are all sewn together, trim the seam allowance and press the seams open. This will make it much easier to thread through the bias tape maker. Cut the starting end on a 45 degree angle and thread through the bias tape maker. Using a hot iron and maybe some starch, create your single fold bias tape. Roll your binding onto your Binding Baby and you are ready to go.
Step 2. Wind your Binding Baby
Doohikey designs created these adorable spool binding holders. Not only is this a cute way to store your binding, trims and lace, but you can actually place this little cutie onto the vertical spool holder of your BERNINA machine.
Step 3. Attach Binder Attachment for Pre-folded Bias Tape #87
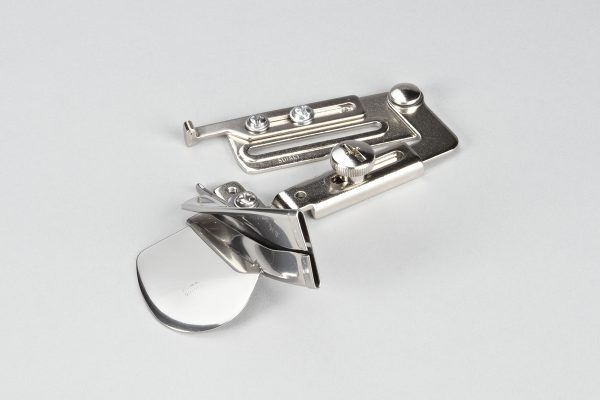
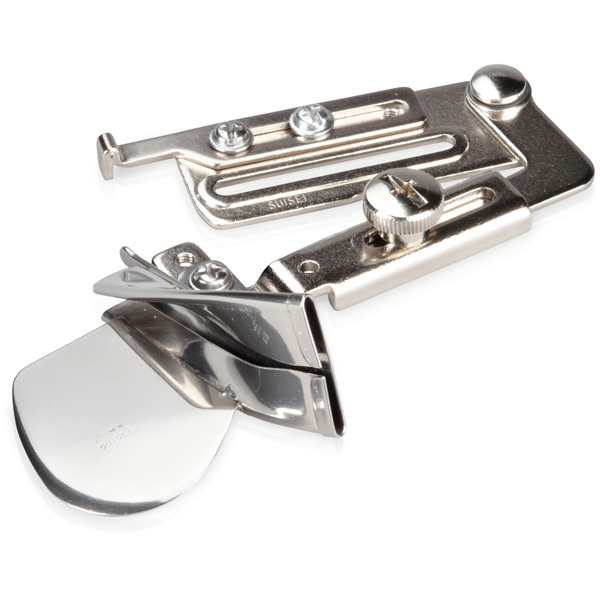
There are two styles of binding attachments offered by BERNINA. For thick quilted work, I prefer to use the Binder Attachment for Pre-folded Bias Tape #87.
There are three sizes that you can choose from. The 25mm size finishes with approximately ½” binding. The pre-folded binding size is 1”. The chart below shows the various sizes.
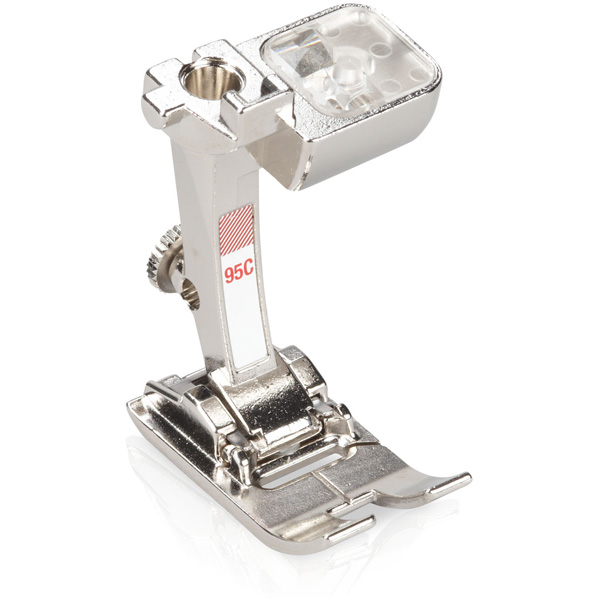
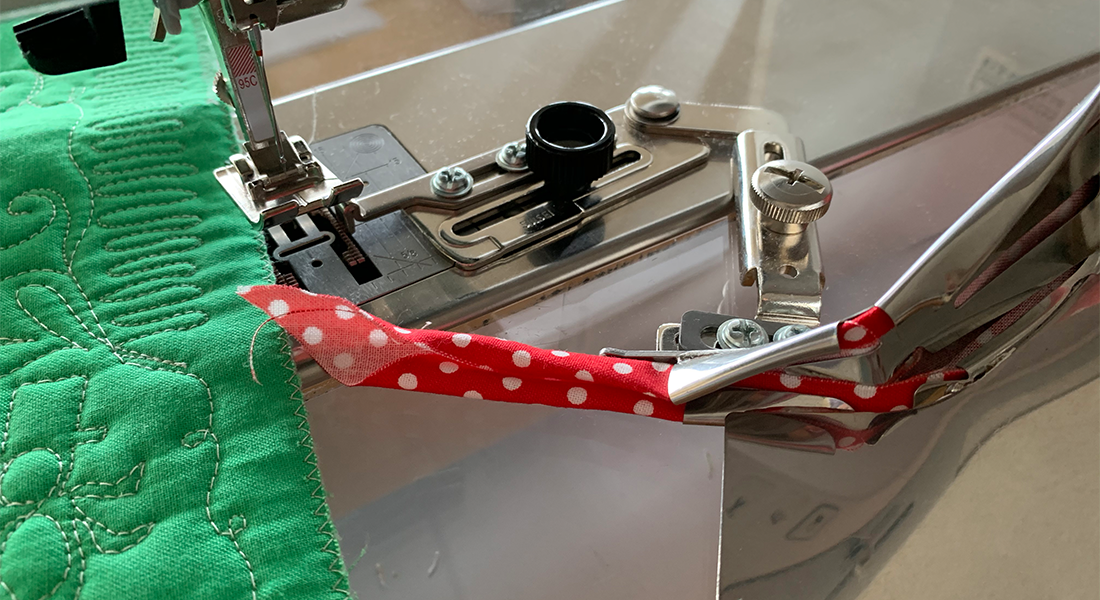
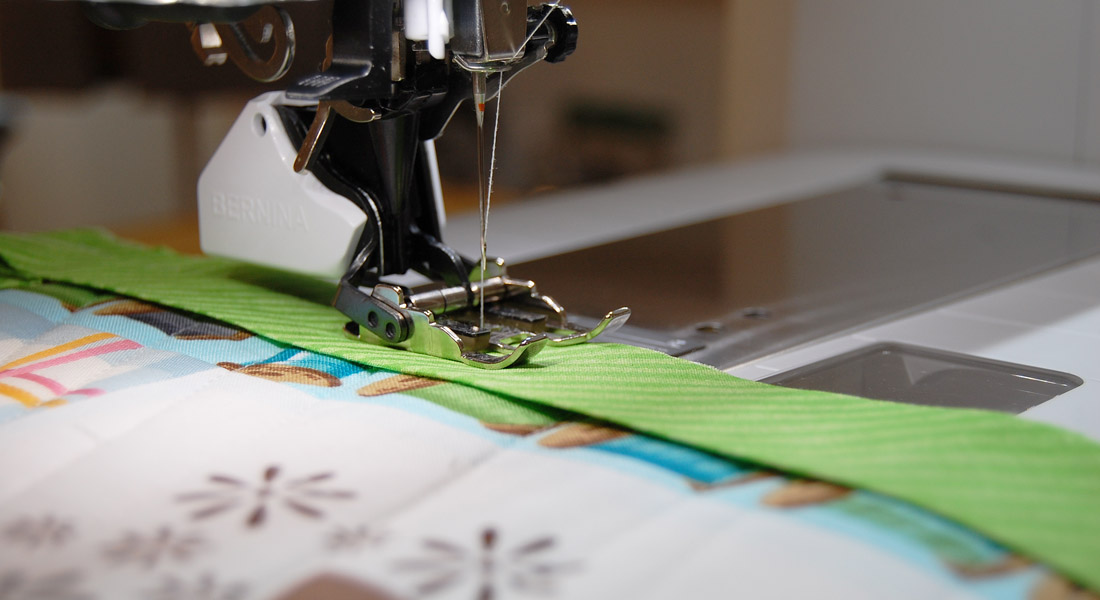
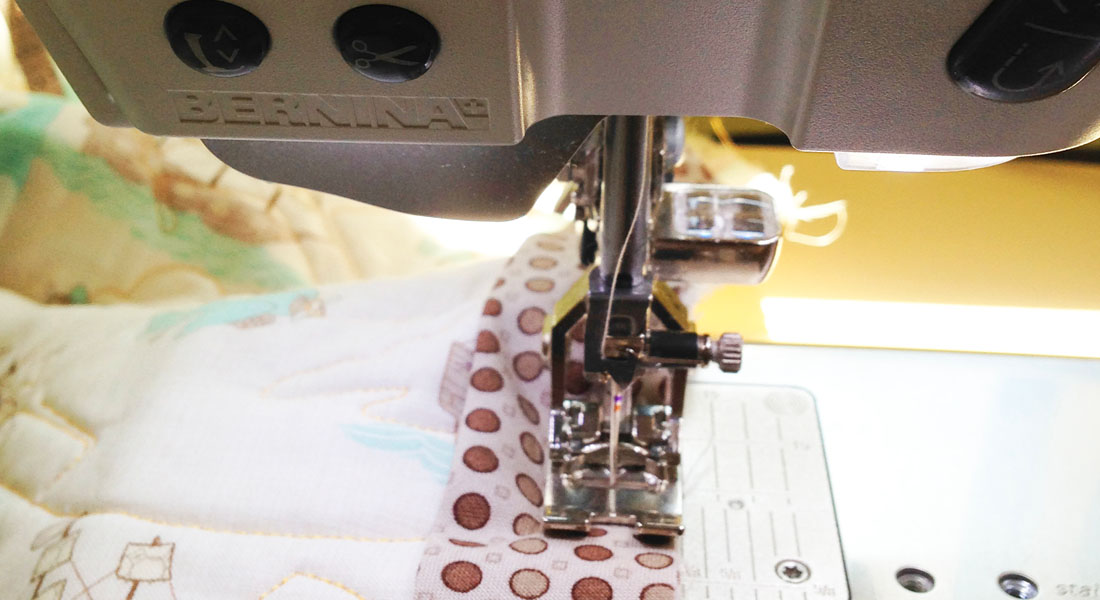
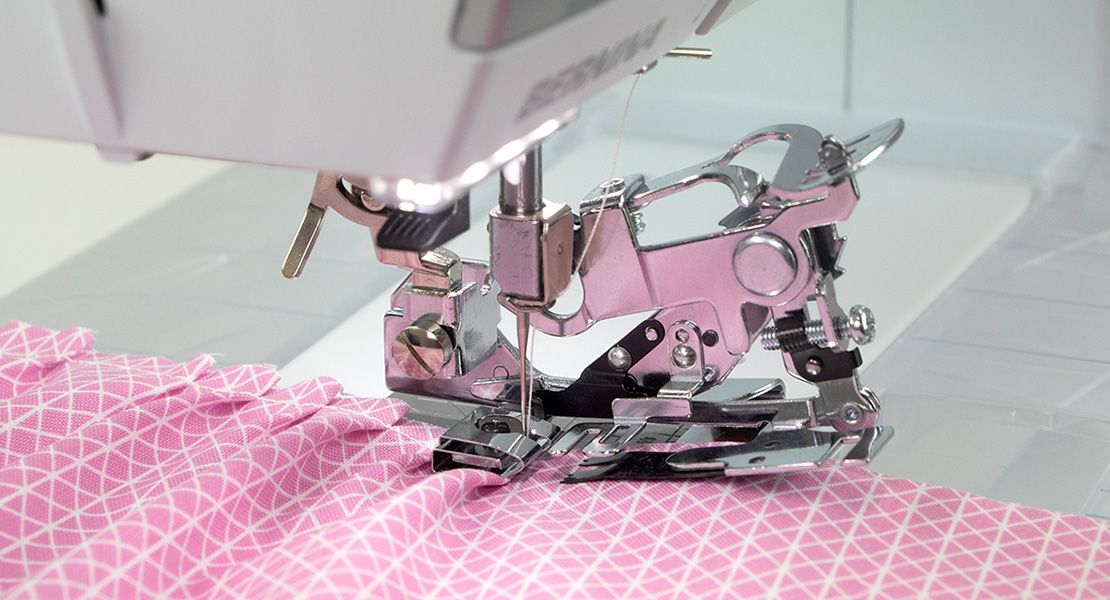
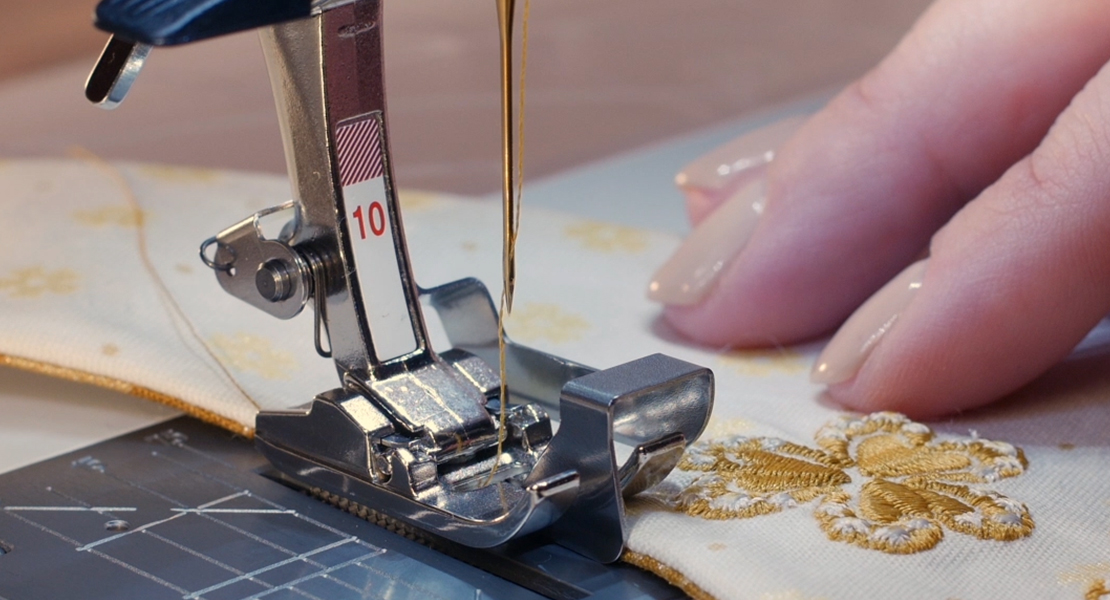
The Binder Attachment #88 works the same way, but starts with flat (not pre-folded) bias tape and does the folding action as the tape moves through the attachment. It comes in three sizes, 28mm, 32mm and 38mm. Both attachments fasten into place using screws into the sewing machine free arm and require the use of the Binder Foot #95/#95C. This foot looks like the standard Reverse Pattern Foot #1/#1C, but it has a slightly notched or slimmer toe on the right that accommodates the attachment.
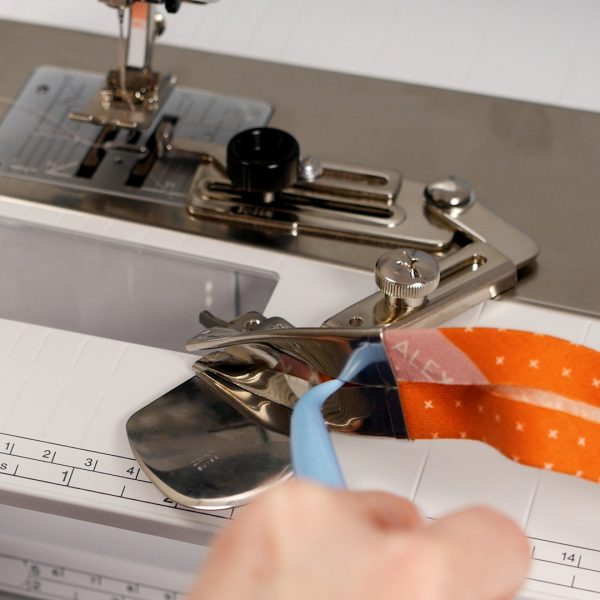
Once the presser foot and attachment are in place you can swing the binder out and load it with the binding. To start the binding, cut a 45 angle to help feed the fabric into the channel. Feed the binding until it extends 3-4” beyond the back of the attachment. Then you can position the attachment back against the presser foot and prepare to add your project.
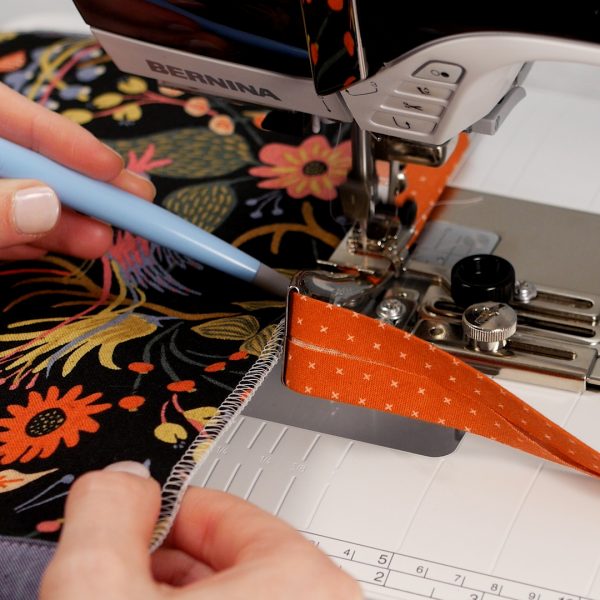
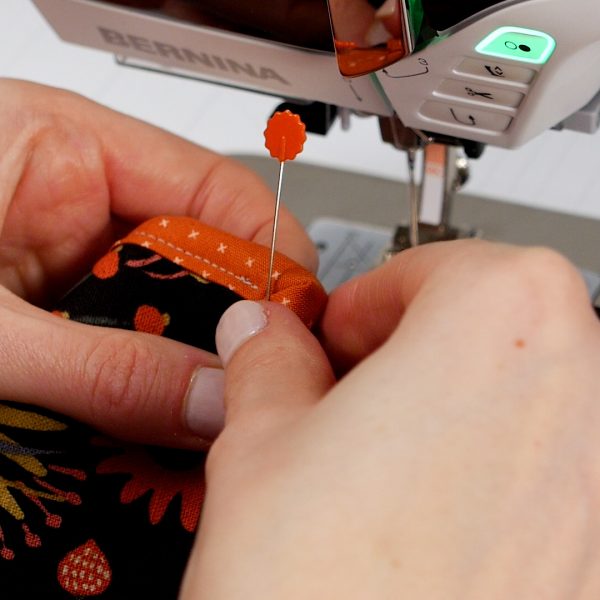
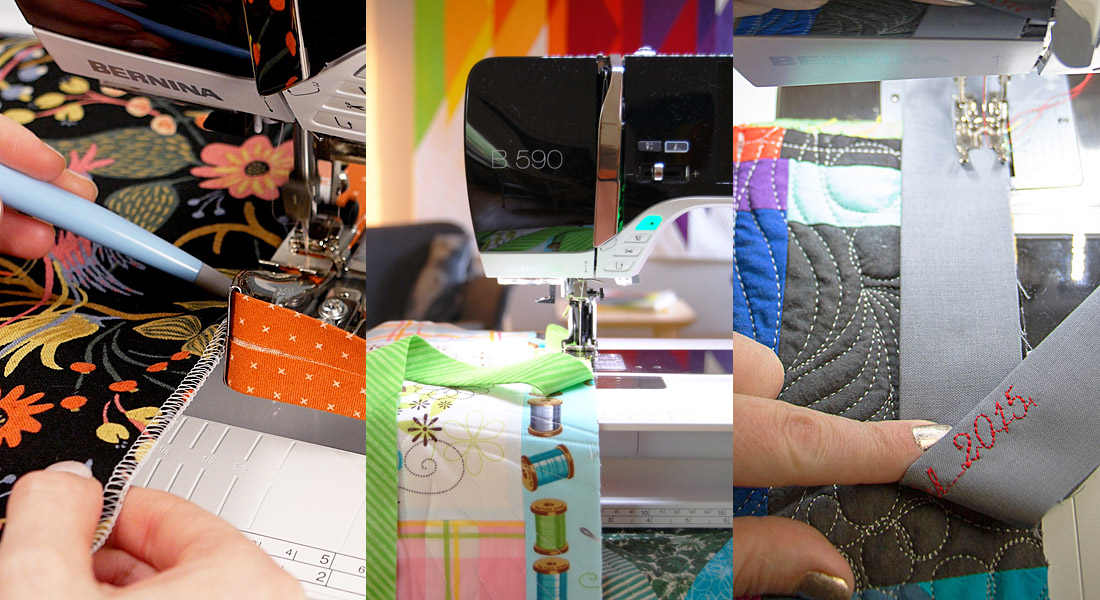
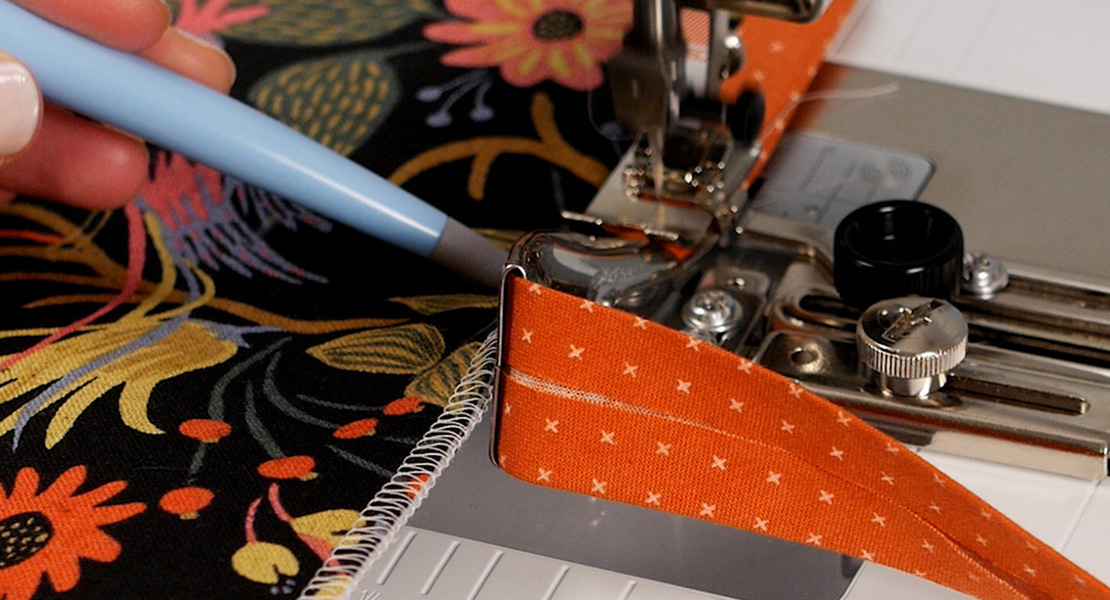
A helpful tool for working with binding is the Clover Hold It Stiletto. This tool has a nice point with a bend on one end and a silicone grip on the other end. The pointed side works perfect for helping to load the binding and the grip side is helpful for positioning your work into the binder when sewing.
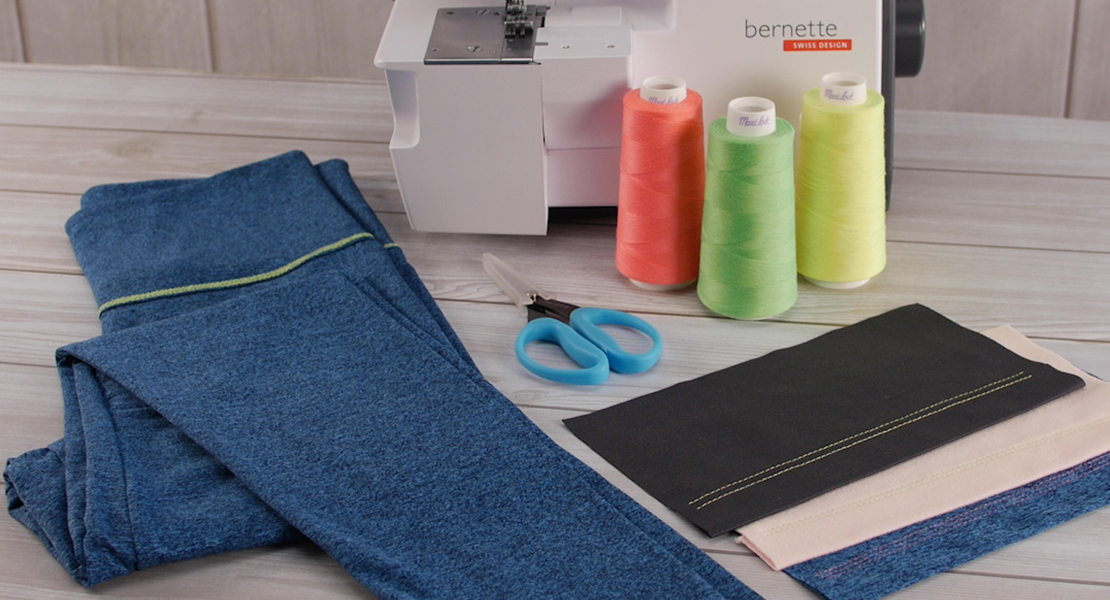
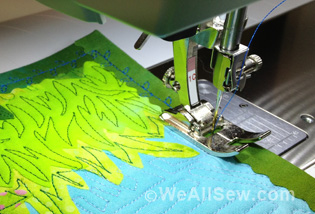
Tip: Before binding a project, finish the edges with a 3-thread overlock or zigzag stitch on your sewing machine. This will help keep everything together and tidy when adding the binding.
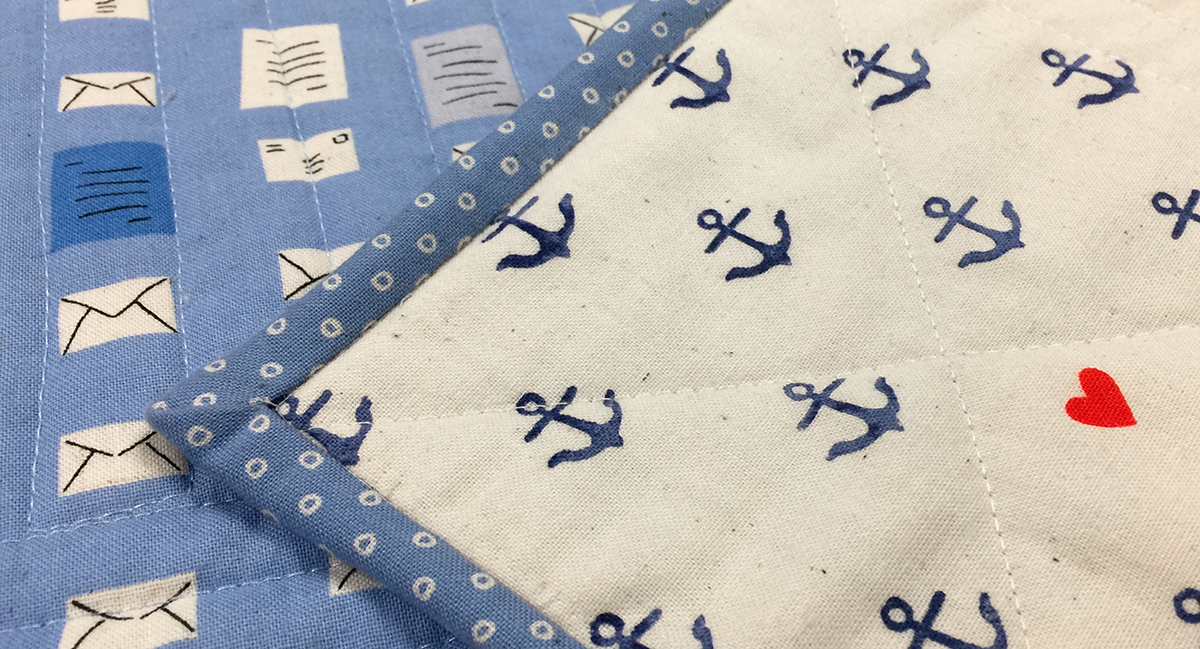
Use the swing out feature to create the mitered corners. It allows you to have access to the project easily. Pin the mitered corner and then reposition the attachment and pull the binding slack back into place. Lower the needle into the corner and begin sewing your next side. Once you learn how to handle this attachment it becomes simple to use and binding becomes a fast job.
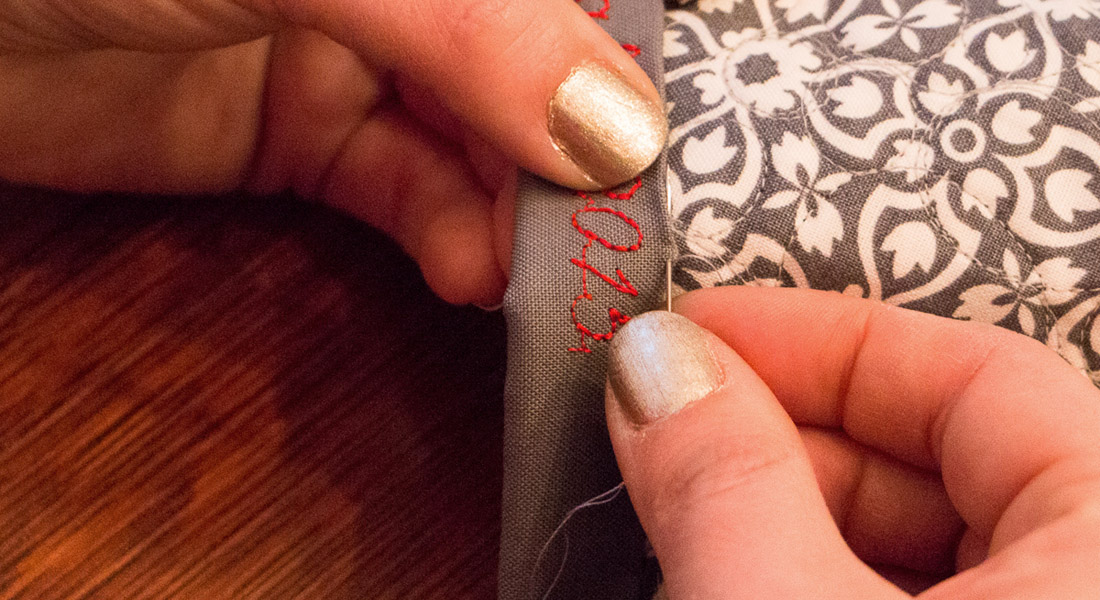
To end the binding, trim the binding straight and fold the end over, using fabric glue to secure it. Continue to sew the binding in place until the folded end is overlapping the starting point. This is probably the most challenging part to figure out, but I promise that once you do nothing will stop you from binding all the things!
What you might also like
11 comments on “Refine Your Binding Technique”
-
-
In all my years of sewing in never dawned on me to use my serger to secure the edges. What a great idea! I always stitched the 1/4′ to secure all the edges, but frequently would have the layer on the back that would create a fold when stitching the binding on. Now I’ll serge the edge and keep all those pesky layers together as one.
Thank you so much for the tip!!! -
Hi Jamie. This is a great article! Recently I thought about using the binder foot on my 950 Industrial. Is there a way to get the #84 foot accessory for this technique? Will it work on the 950, mine has a unremovable finger guard?
We need more in store garmet instruction. Yes, I remember the great one in Aurora.
Thank you. Hilloah Driskill -
Was always a little skeptical about trying my binder attachment and foot but now that I watched the video and read your tips I am going to give it a try. Love to quilt so this will make it much easier.
Thank you,
Tres-
Thanks for you kind comment for checking out the blog. I hope you have success and enjoy using your binder attachment. Jaime
-
-
I have success with quilts using single batting thickness, but for potholders that require double thickness in batting- this doesn’t seem to handle it. Any suggestions?
-
I have the 88 attachment. I have been only doing one size of bias. I cut the strips a scant 1 1/2 inches. What size should i cut the strips for the other two sizes to create different bias. thanks
-
For the #88 Binder, the following recommendations are suggested for cutting binding strips: 28mm- 1 1/8″, 32mm- 1 1/4″, 38mm- 1 1/2″. The Big Book of Feet is a great resource for all BERNINA feet and accessories and this where I have easily found this information. Best wishes.
-
-
I have an interlude 445 how do I order the binder attachment?
-
Thanks for your interest. I am not familiar with this as BERNINA model machine. Please check with your local dealer to see what they might recommend for your machine.
-
-
I’ve been dreaming of getting a serger, so I’m collecting all the tips and ideas I can find. Your blog always has something helpful.
Leave a Reply
You must be logged in to post a comment.




its very innovative.. Thank you for sharing.. keep going good. https://bit.ly/2JL6DBf