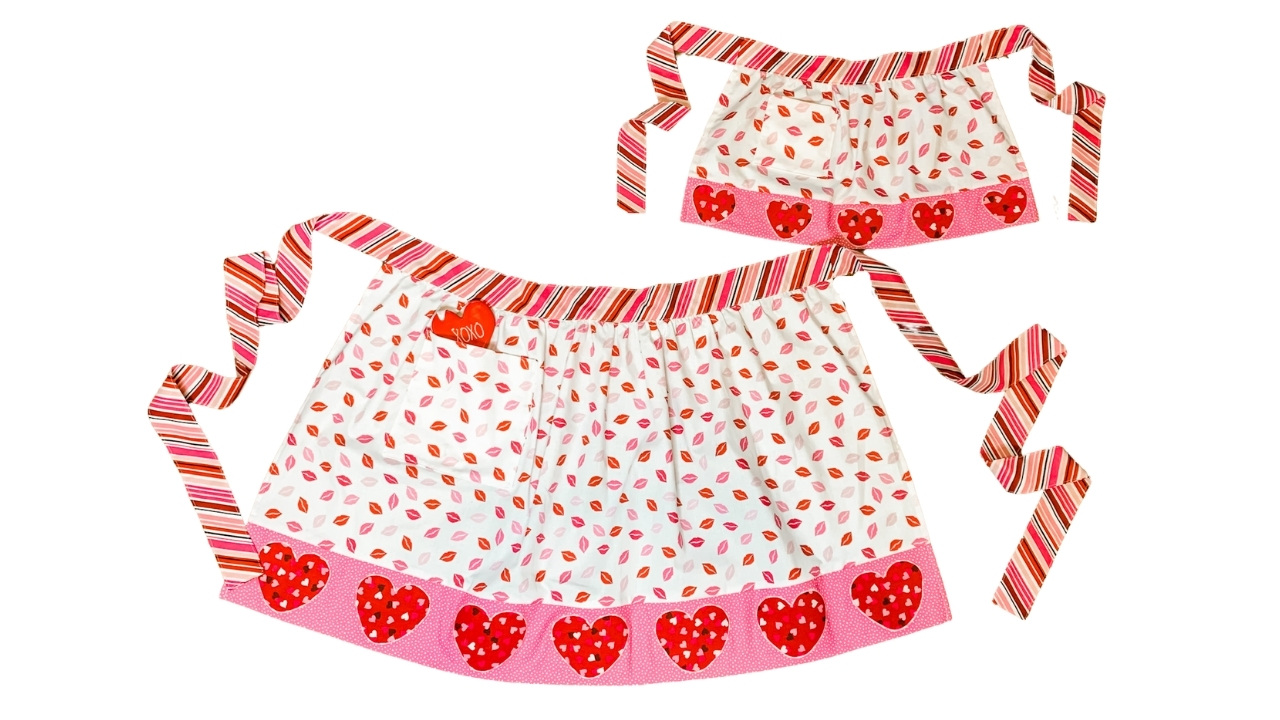
Sew Mommy and Me Valentine’s Day Aprons with Heart Appliqués
How cute would you and your little one look baking goodies in these Valentine’s Day aprons?! Or, if you’re like me, you can don this adorable apron and serve delicious store-bought treats instead.
This step-by-step tutorial will walk you through how to sew these fun aprons. Not only are they easy to create, but they also make a great gift for someone who loves to bake.
The apron features a pocket, long ties that can be tied in front or back, and appliquéd hearts that are a sweet detail reminding all of your love.
Materials Needed to Sew Mommy and Me Valentine’s Day Aprons with Heart Appliqués
- Four coordinating quilting cottons
- One for the apron body
- One for the waistband and tie ends
- One for the bottom band
- One for the appliquéd hearts (or fabric scraps)
- Rotary Cutter
- Quilting Ruler
- Cutting Mat
- Seam Gauge
- Pins
- Coordinating thread to sew the apron
- Contrasting thread to appliqué the hearts (I used a pink Mettler 50wt cotton-silk finish)
- Paper-backed Fusible Web (I used Heat-n-Bond Lite)
- Pencil
- Snips
- Paper Scissors
- Small scissors to cut the hearts (I used the 5-1/2″ all-purpose craft scissors from Sookie Sews)
- Optional: Angled tweezers (I used the 4-1/2″ angled precision tweezers from Sookie Sews)
- Note: I partnered with Brewer Quilting and Sewing, Famore and Sookie Sews on those products.
- Iron and ironing board


How to Sew the Adult and Child Valentine’s Day Aprons
The adult-size half apron measures 25″ wide (measured at the upper edge at the waistband) by 20-1/2″ long when finished. The tie ends are 39″ long.
The child-size half apron measures 14” wide (measured at the top gathered edge by the waistband) by 10-1/2” long. The tie ends are 19″ long.
If you want your apron to be larger or smaller, simply add or subtract from the width and length of the provided measurements.
The instructions to sew both the adult and the child aprons are the same, with a few exceptions: the cut sizes of the fabric pieces, the size of the heart appliqué, the number of hearts, the placement of the hearts on the bottom band, and the pocket placement.
The instructions will note ADULT or CHILD when there is a difference.
Cut Fabrics
Cut the Fabric for the ADULT Size Apron
From Fabric One (2/3 yard):
- Apron Body: 40” (W) x 16” (L) – CUT 1
- Pocket: 8” x 8” – CUT 2. One will be used as a facing.
From Fabric Two (1/2 yard)
- Waistband: 26” (W) x 5” (L) – CUT 1
- Tie Ends: 40” (W) x 5” (L) –CUT 2
From Fabric Three (1/4 yard):
- Bottom Band: 40” (W) x 9” (L) – CUT 1
From Fabric Four (1/8 yard):
- Heart Appliqués: 28″ (W) x 4″ (L) or cut 7 pieces of fabric that measure 4″ x 4″ each
Cut the Fabric for the CHILD Size Apron
From Fabric One (3/8 yard):
- Apron Body: 22” (W) x 8” (L) – CUT 1
- Pocket: 5” x 5” – CUT 2. One will be used as a facing.
From Fabric Two (1/4 yard):
- Waistband: 15” (W) x 4” (L) – CUT 1
- Tie Ends: 20” (W) x 4” (L) –CUT 2
From Fabric Three (1/4 yard):
- Bottom Band: 22” (W) x 6” (L) – CUT 1
From Fabric Four (1/8 yard):
- Heart Appliqués: 15″(W) x 3″ (L) or cut 5 pieces of fabric that measure 3″ x 3″ each
Appliqué the Hearts to the Bottom Band of the Apron
Trace and Fuse the Hearts to the Bottom Band
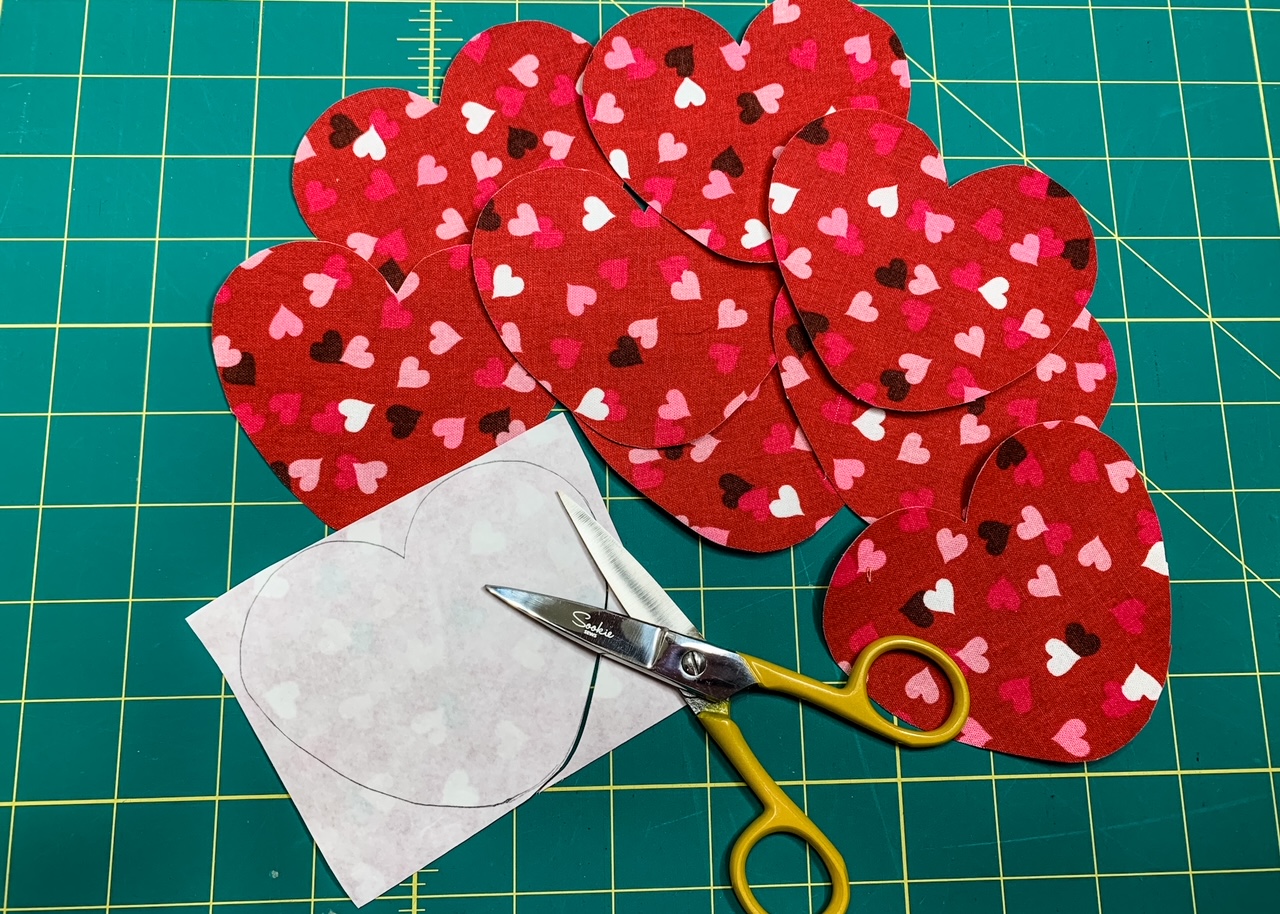
Download the PDF file of the Hearts. Print. Use paper scissors to cut out the hearts. ADULT – cut the larger heart. CHILD – cut the smaller heart.
Place the heart template over the fusible web paper backing with the paper side up (bumpy side will be down). Trace hearts onto the paper using a pencil. You don’t want to use a pen as the ink could bleed onto your fabric.
ADULT – You’ll trace 7 large hearts. CHILD – you’ll trace 5 small hearts. Following the manufacturer’s instructions, fuse to the wrong side of fabric. If you’re using 4″ x 4″ pieces of fabric (ADULT) or 3″ x 3″ pieces of fabric (CHILD), fuse one heart onto each piece of fabric.

Cut out each heart. I found the 5-1/2″ all-purpose craft scissors from Sookie Sews worked beautifully for this step.
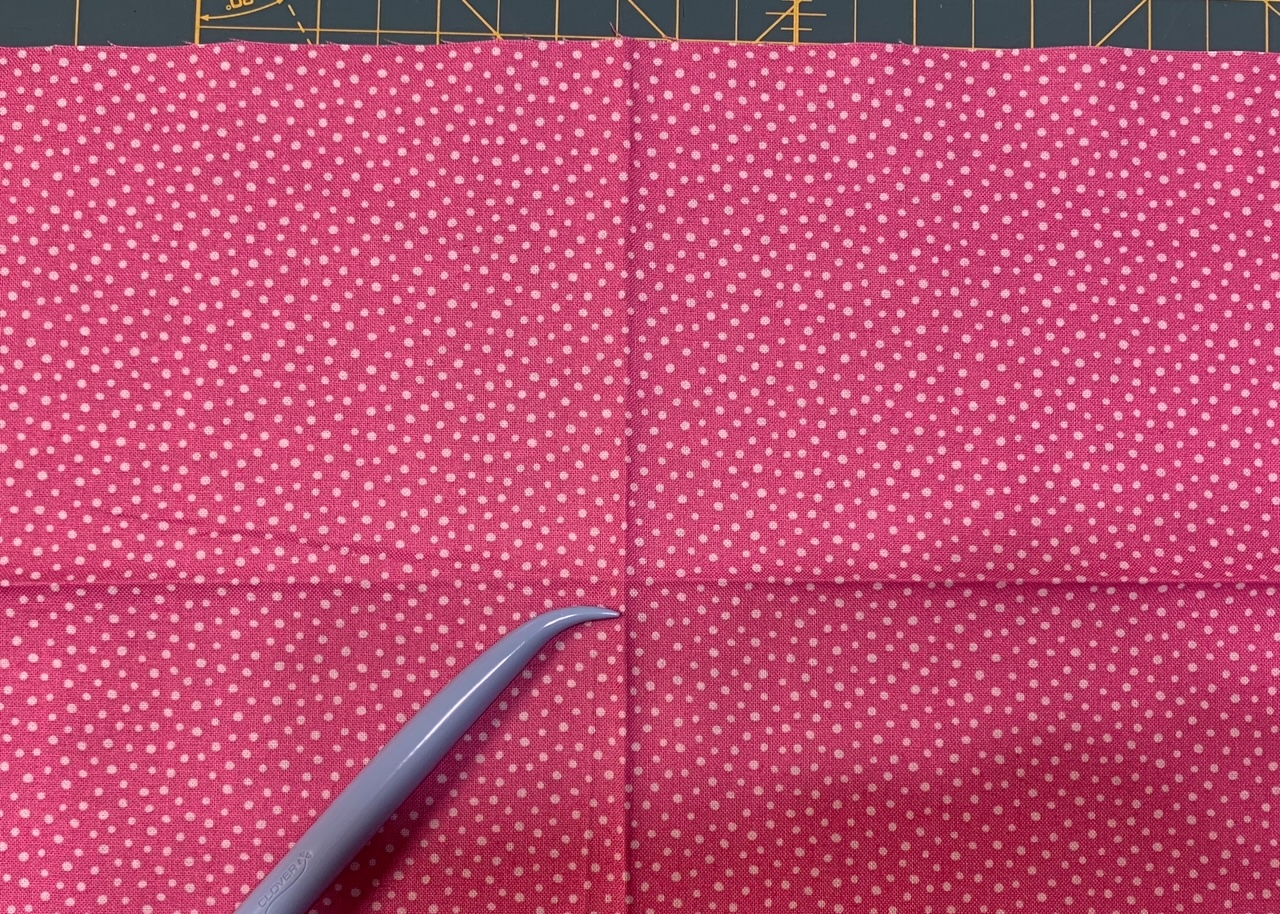
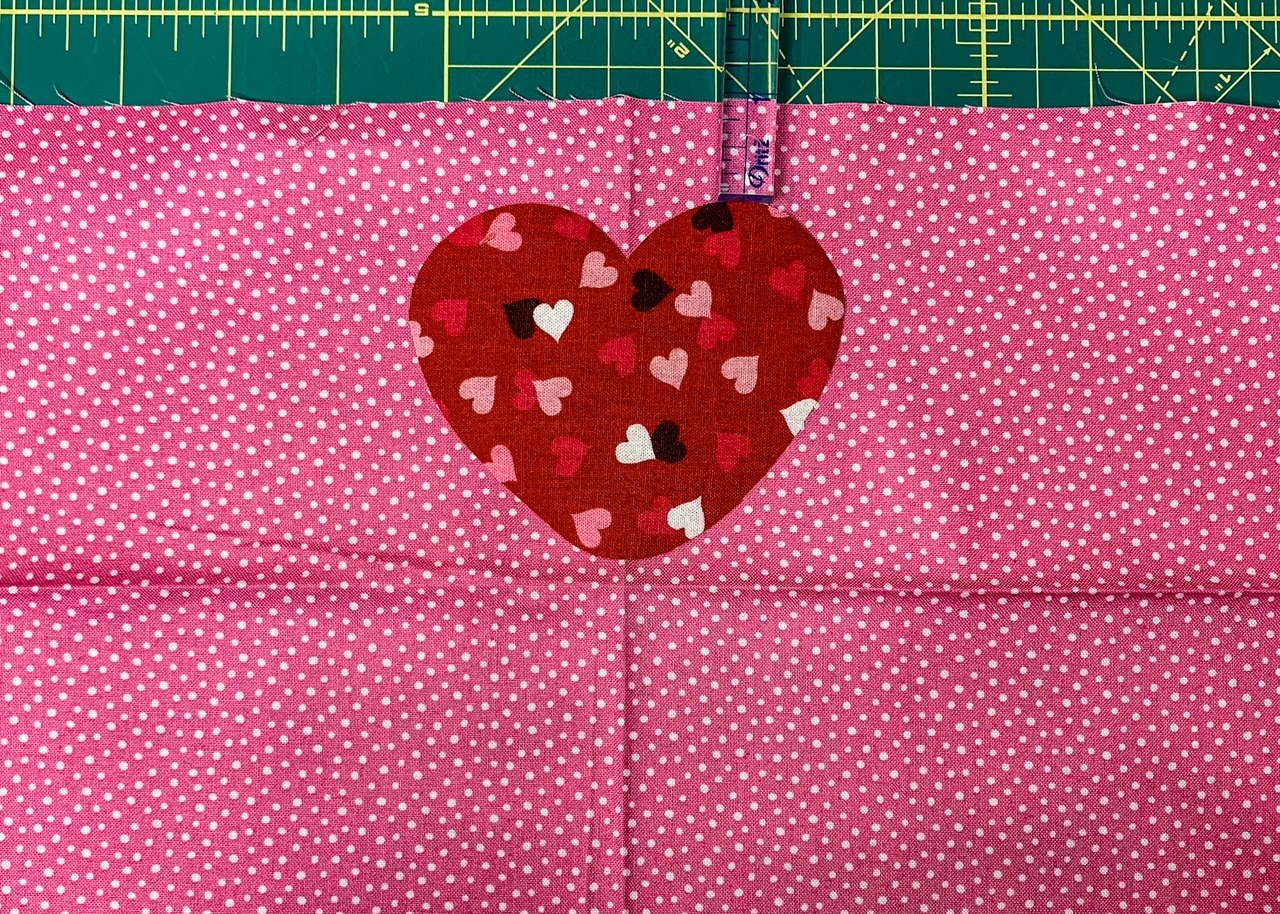
Mark the center of the bottom band by folding it in half matching the short ends with wrong sides facing; press lightly; unfold. Next, fold the bottom band in half matching the long ends with wrong sides facing; press lightly; unfold. Here is the center point of the bottom band after folding and pressing.
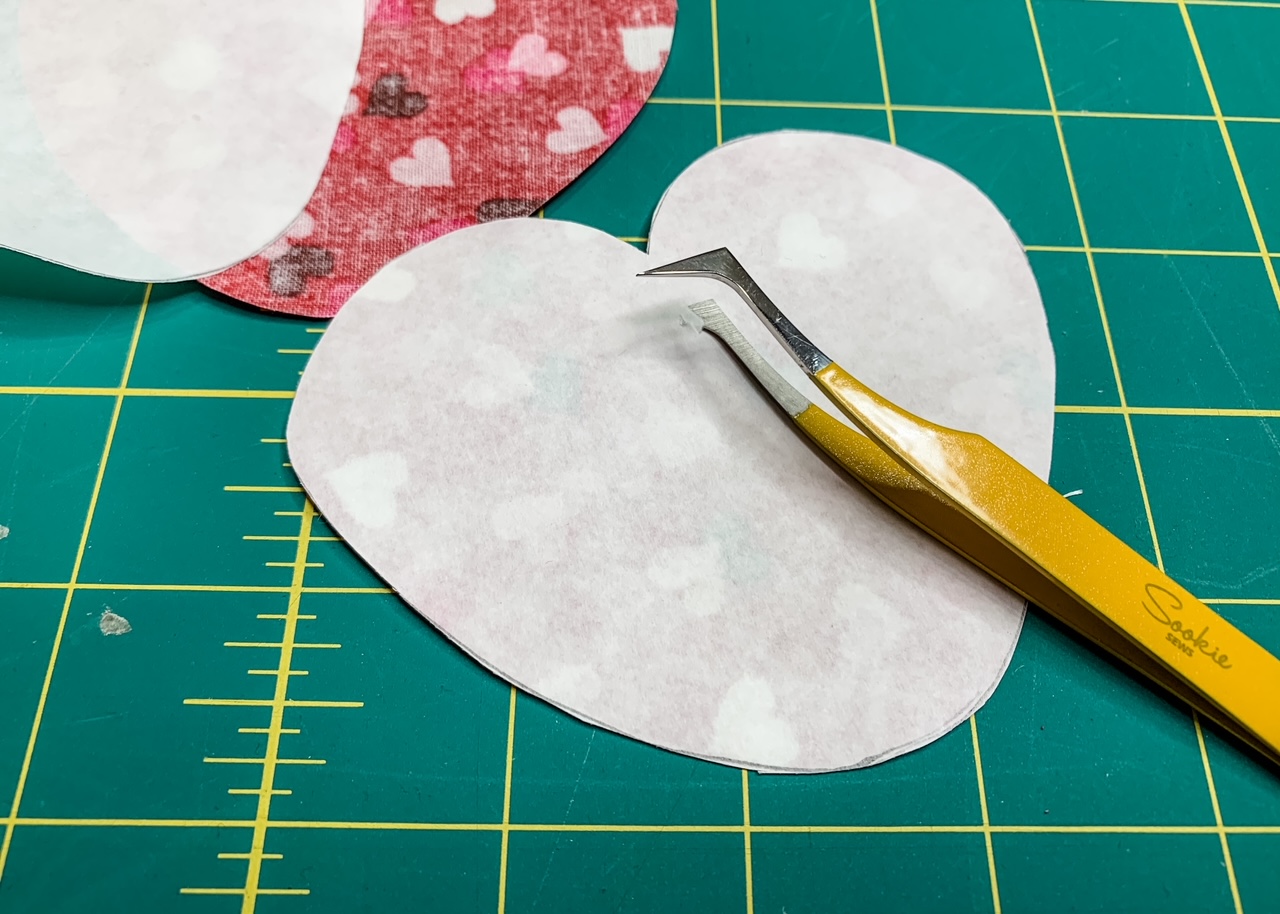
Remove the paper backing from one heart. I sometimes have trouble separating the backing from the fabric and found these Sookie Sews angled precision tweezers helpful. I placed the angled part against the paper backing and gently pushed through to tear the paper, creating an opening I could use to remove the backing. Just be careful to only grab the paper backing and not the fabric.
ADULT – Place one heart in the center of the band, 1” from the top of the band. The heart will be above the lengthwise fold. Fuse following the manufacturer’s instructions.
Remove the paper backing from another heart. Position the heart 1″ from the top of the band and 1-1/2″ from the first heart. Fuse in place.

Repeat for the remaining hearts until all 7 are fused in place.
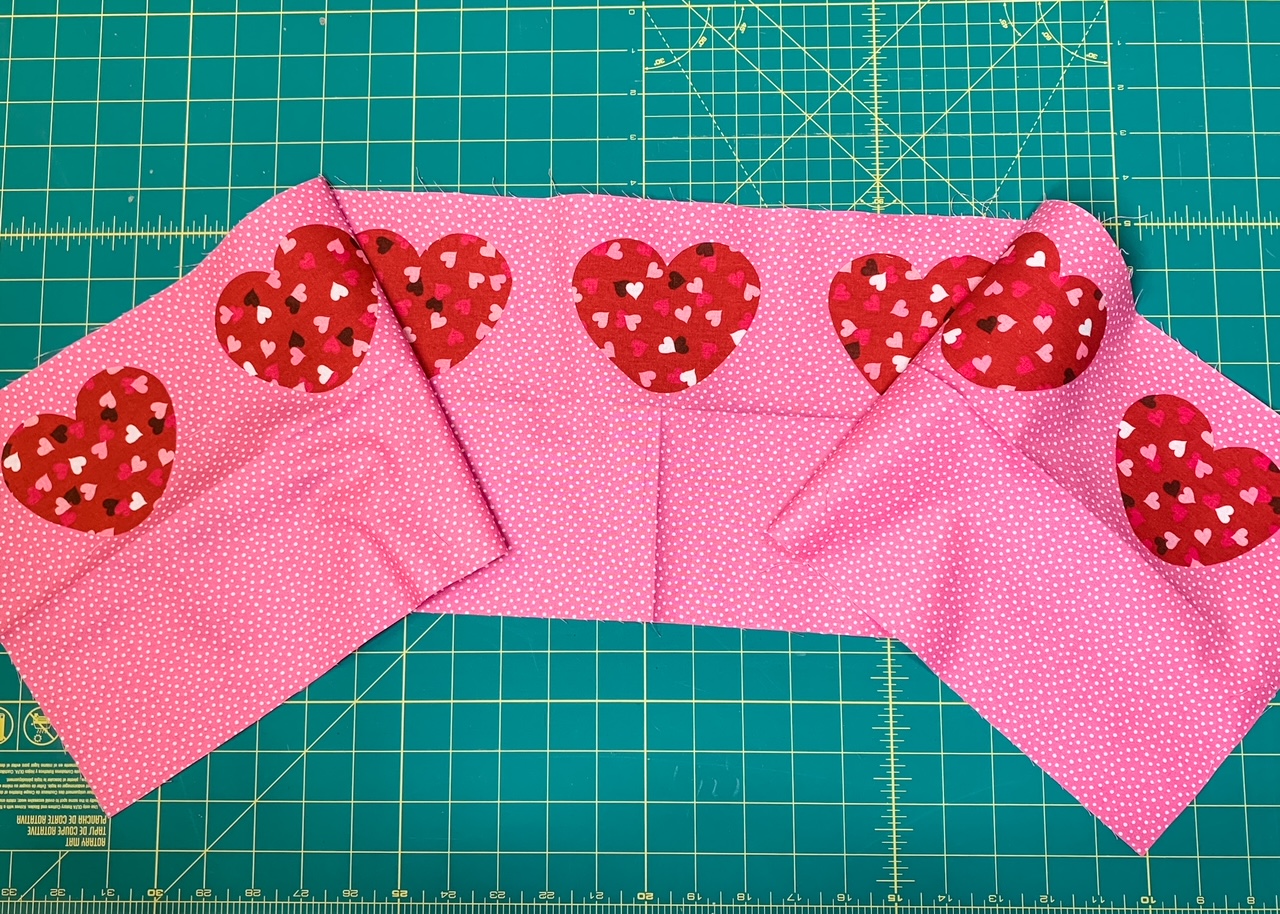
CHILD – Place one heart in the center of the band, 3/4” from the top of the band. The heart will be above the lengthwise fold. Fuse following the manufacturer’s instructions. Remove the paper backing from another heart. Position the heart 3/4″ from the top of the band and 1-1/4″ from the first heart. Fuse in place. Continue until all 5 hearts are fused and ready to be appliquéd.
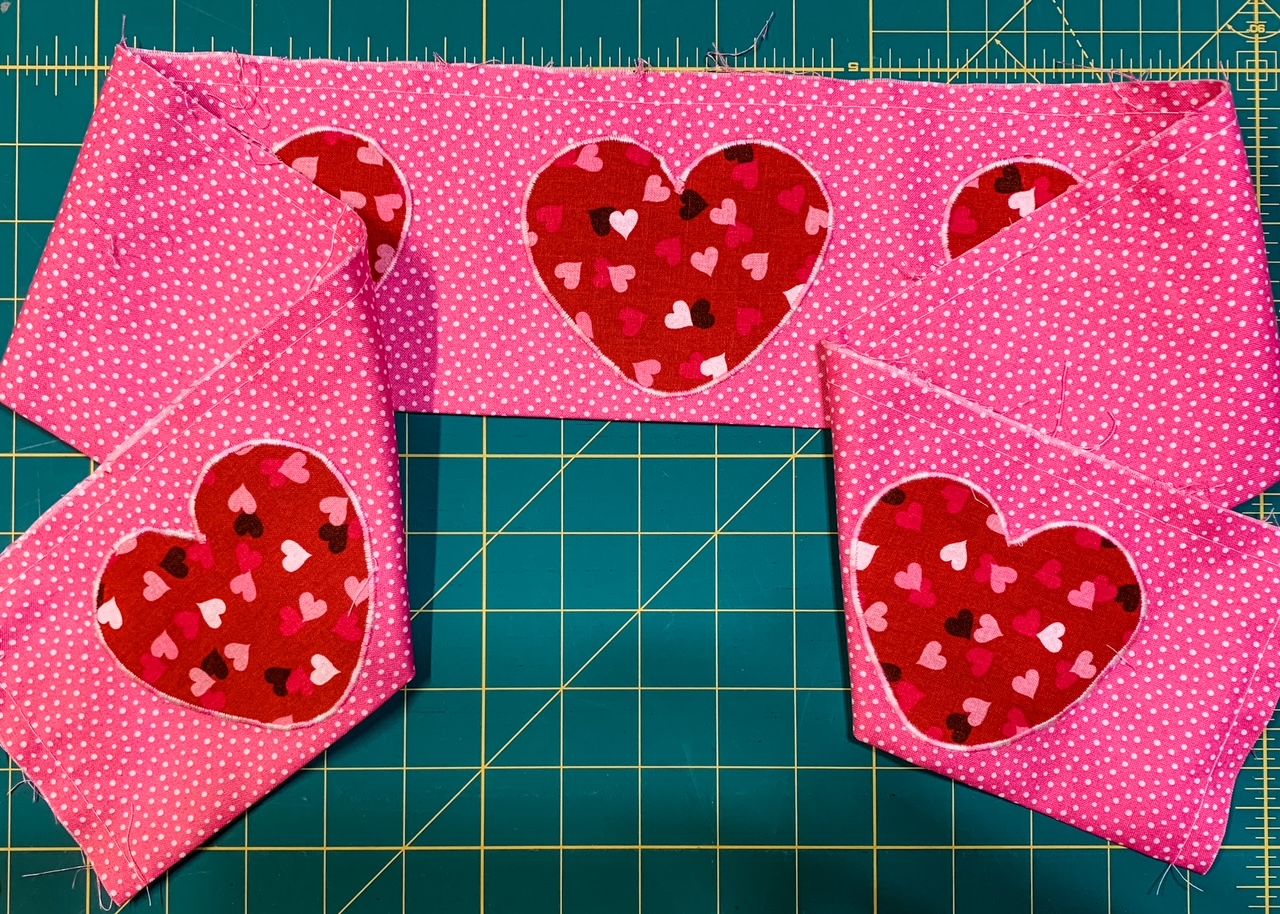
Machine Appliqué the Hearts to the Bottom Band
Thread your machine with a contrasting thread to appliqué the hearts. I used a silk-finish cotton multi 50wt from Mettler.
Put on an open-toe appliqué foot. I used the BERNINA Open Embroidery Foot #20C. The wide opening at the front allowed me to easily see my stitching area.
Set your machine for a narrow zig-zag stitch. On my BERNINA 770 QE PLUS, I used stitch number 2, with the length set to 0.25 mm and the width set to 2.5 mm.
Tip: Experiment on a sample piece of fabric first to determine the exact zigzag width and length to use on your machine before you begin to appliqué your apron hearts. Depending on your fabric, you may need to place a stabilizer on the backside of the fabric before you appliqué. This will help keep the fabric from puckering when you appliqué the hearts.
Oh, one more tip! Go slow.
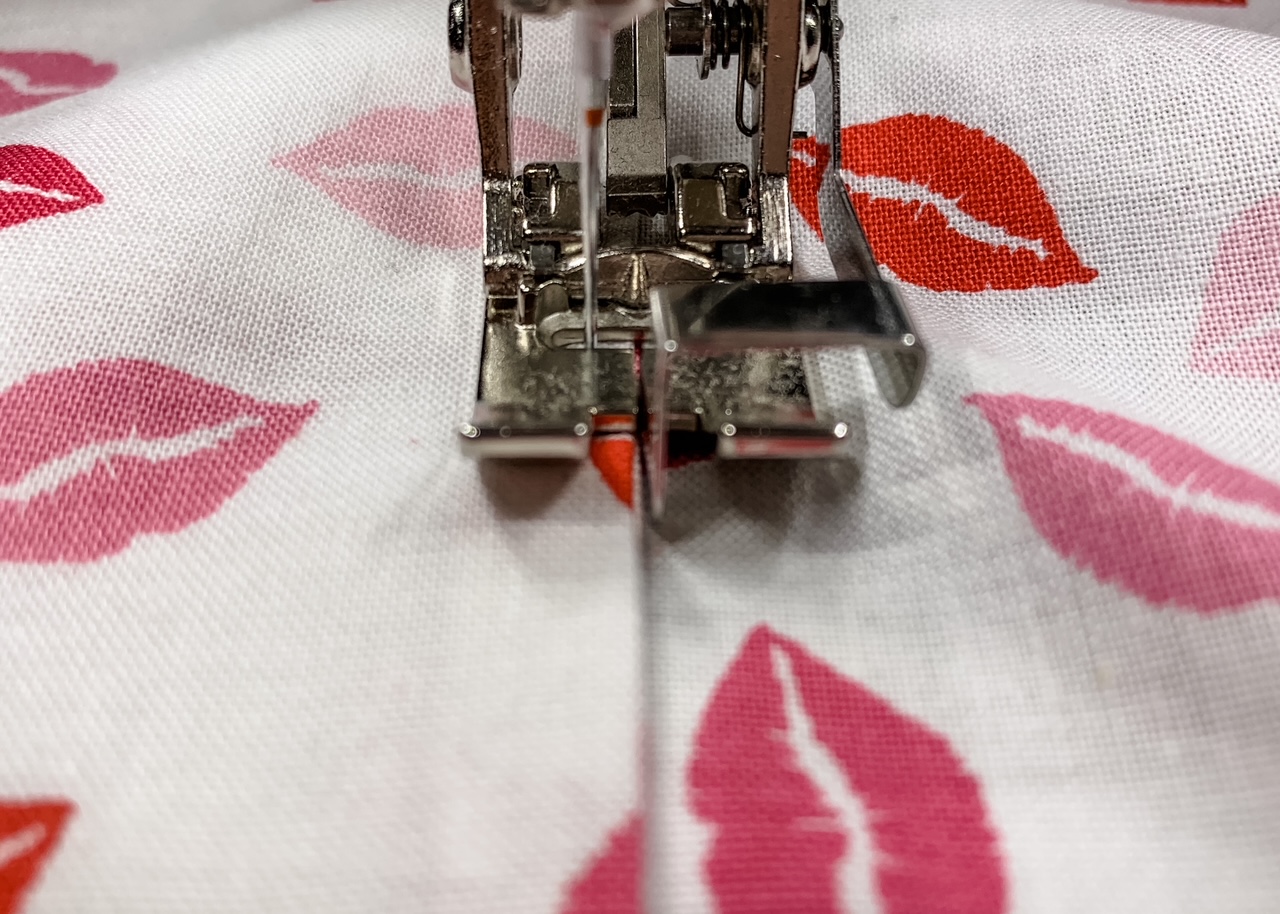
Starting and ending at the top dip of the heart, slowly stitch around each heart. Make sure the left swing of the needle is on the heart and the right swing is on the apron bottom band.

Appliqué all the hearts. Remove the stabilizer from the back (if you used stabilizer).
Fold the band in half lengthwise with wrong sides facing; press. Remove the open toe foot and put on your regular pressure foot. I used the BERNINA Reverse Pattern Foot with Clear Sole #34D. Using a long stitch length, baste 3/8” from the three raw edges.
Sew the Bottom Band to the Body of the Valentine’s Day Apron
Designate one long edge of the apron body as the top. Place the apron body on a flat work surface right side up.
With right sides together, match the upper edge of the band to the lower edge of the apron (your appliquéd hearts will be facing the apron body); pin.

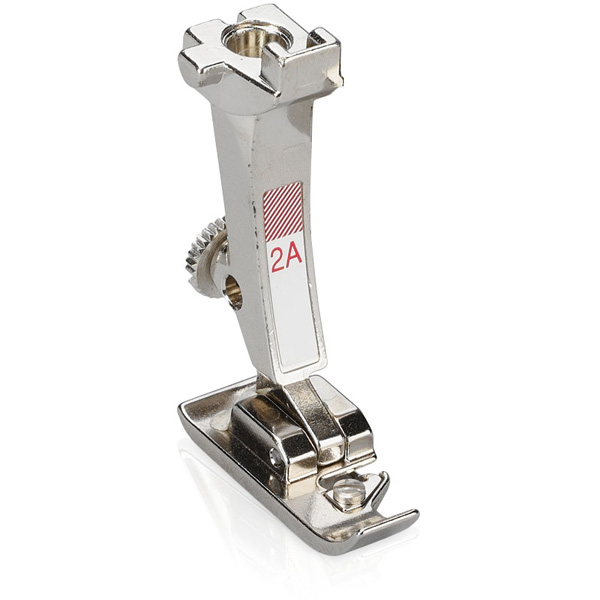
Stitch using a 1/2” seam allowance. Finish your seam as desired. Finish with a serger, a zig-zag stitch or an overcast stitch. I used a serger to finish my seam, but I have used the overcast stitch with the BERNINA Overlock Foot #2A to neaten the edges when I don’t have my serger set up.
Press the seam toward the apron body.
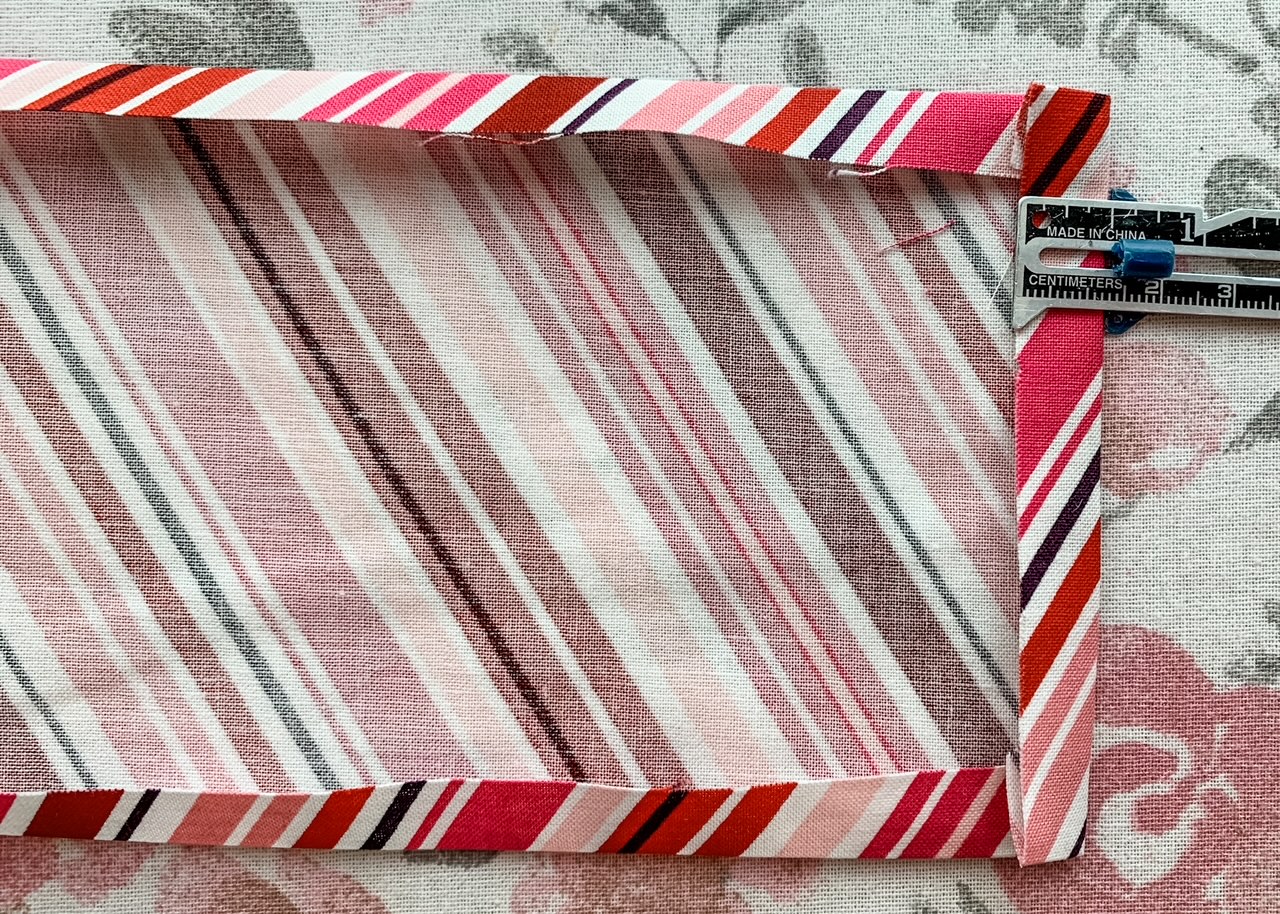
Along one side edge of the apron, fold 1/4” to the wrong side; press. Fold another 1/4” to the wrong side; press. Repeat for the other side.
Stitch close to the folded edge. If you have any difficulty stitching over the seam connecting the apron body and band, use the height compensation tool.
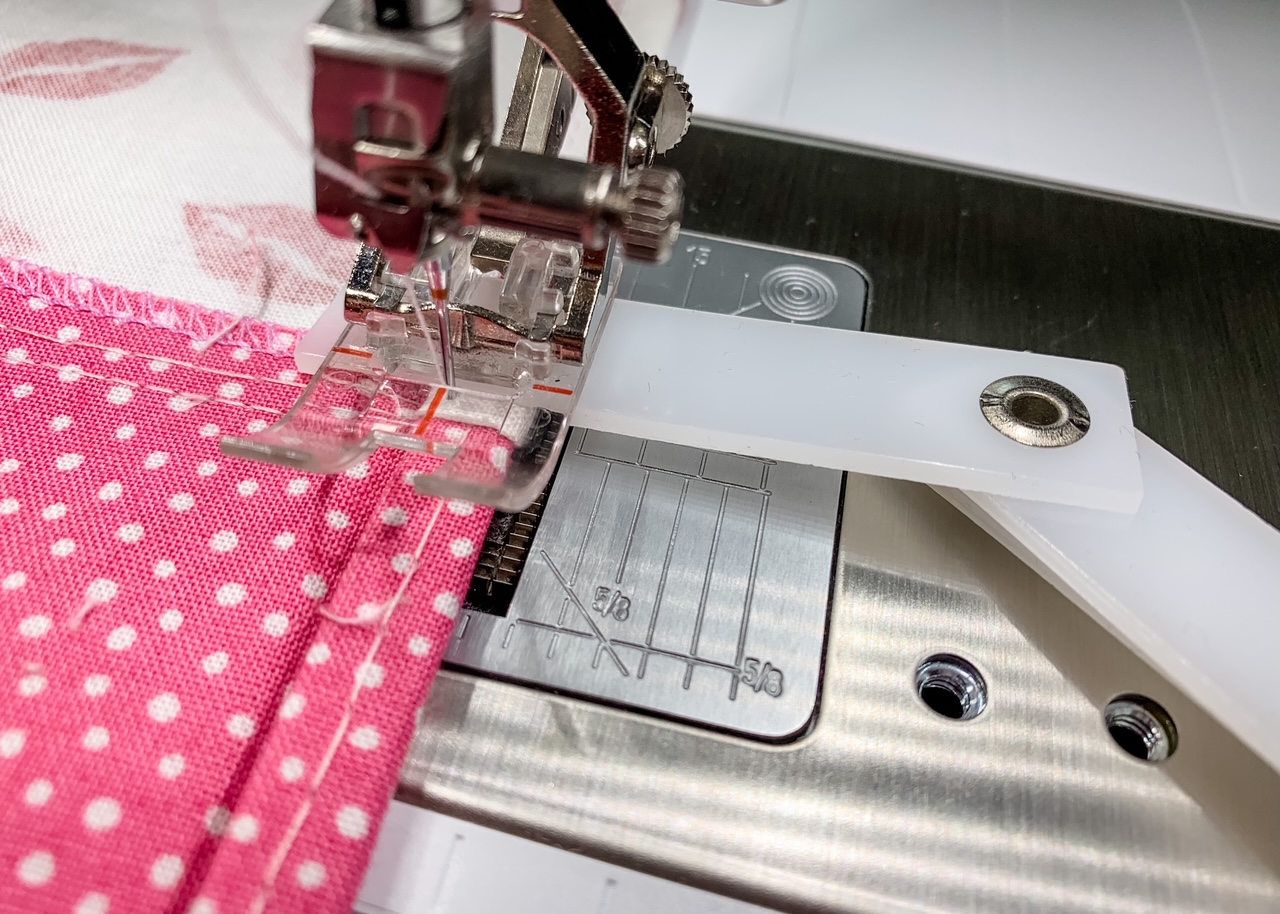
Using a long basting stitch, stitch a row of gathering stitches 1/2” from the upper edge of the apron body, leaving long thread tails at the beginning and the end. Stitch a second row of gathering stitches 1/4” from the upper edge, leaving long thread tails at the beginning and the end.
Sew the Pocket to the Valentine’s Apron
Place the pocket pieces right sides together; pin. Mark a 2- 3” opening at the bottom. Stitch around all edges, leaving 2-3″ open for turning.
Trim the seam allowance and snip off a small triangle piece at each corner. Be careful not to snip through your stitches. Turn the pocket right side out. Press, turning in the seam allowance of the opening.
Position the apron body on a flat work surface with the right side facing up.
ADULT – Measure 3″ from the upper edge and 5-1/2” from the right side edge (the left side when you are looking at the apron right side up on the flat work surface); mark. If you are left-handed you may want to place the pocket on the left side of the apron.
Place the pocket at the mark with the 3″ opening at the bottom. You’ll stitch over that opening in the next step. Pin.

CHILD – Measure 2″ from the top of the apron and 3-1/2″ from the side of the apron. Place the pocket at the mark with the opening at the bottom. You’ll stitch over that opening in the next step. Pin.

Stitch the pocket to the apron along three edges, keeping the upper pocket edge open. The guide on the BERNINA Edgestitch Foot #10D made it easy for me to stitch accurately. I love tools that make my sewing easier, don’t you?
Sew the Waistband and Ties to the Valentine’s Day Apron
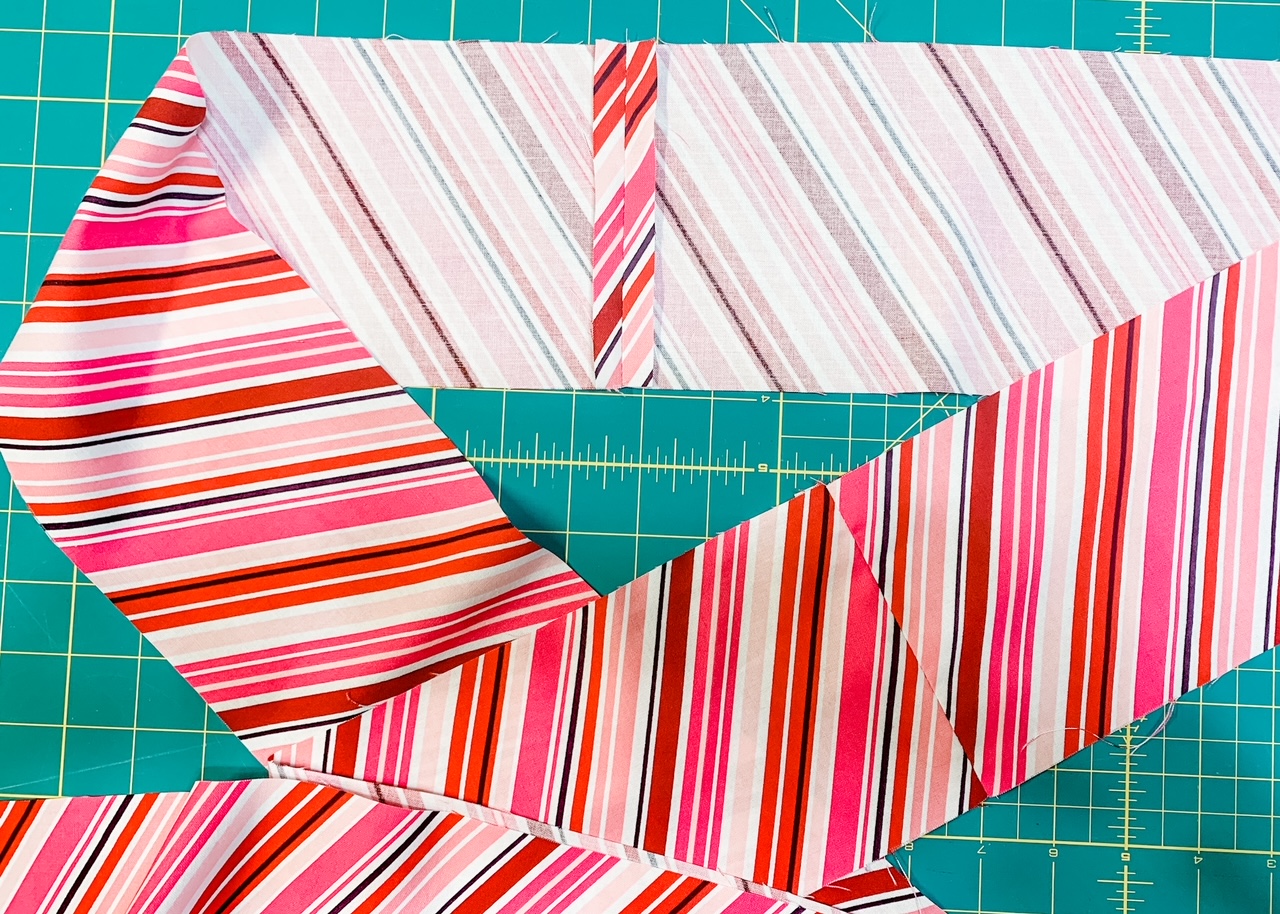
With right sides together, align one tie short edge with one waistband short edge; pin. Stitch using a 1/2” seam allowance.
Repeat to attach the remaining tie to the opposite waistband short edge. Press both seams open.
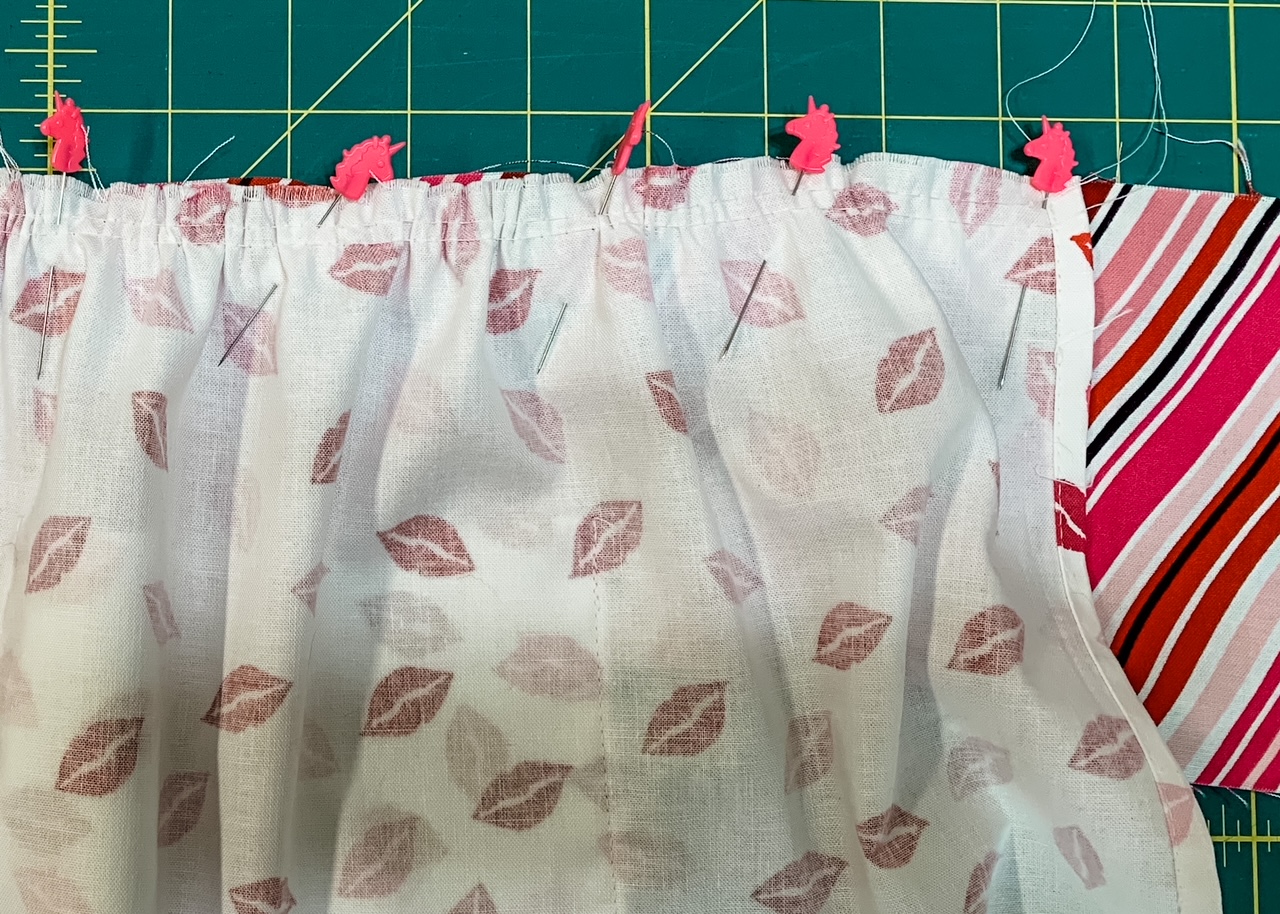
Designate one waistband edge as the upper edge. Fold the waistband/tie in half and mark the center with a pin; unfold. Fold the apron body in half and mark the center with a pin; unfold.
By the way, did you notice my cute unicorn pins? They make me smile when I use them. Why not have fun when you’re creating 🙂
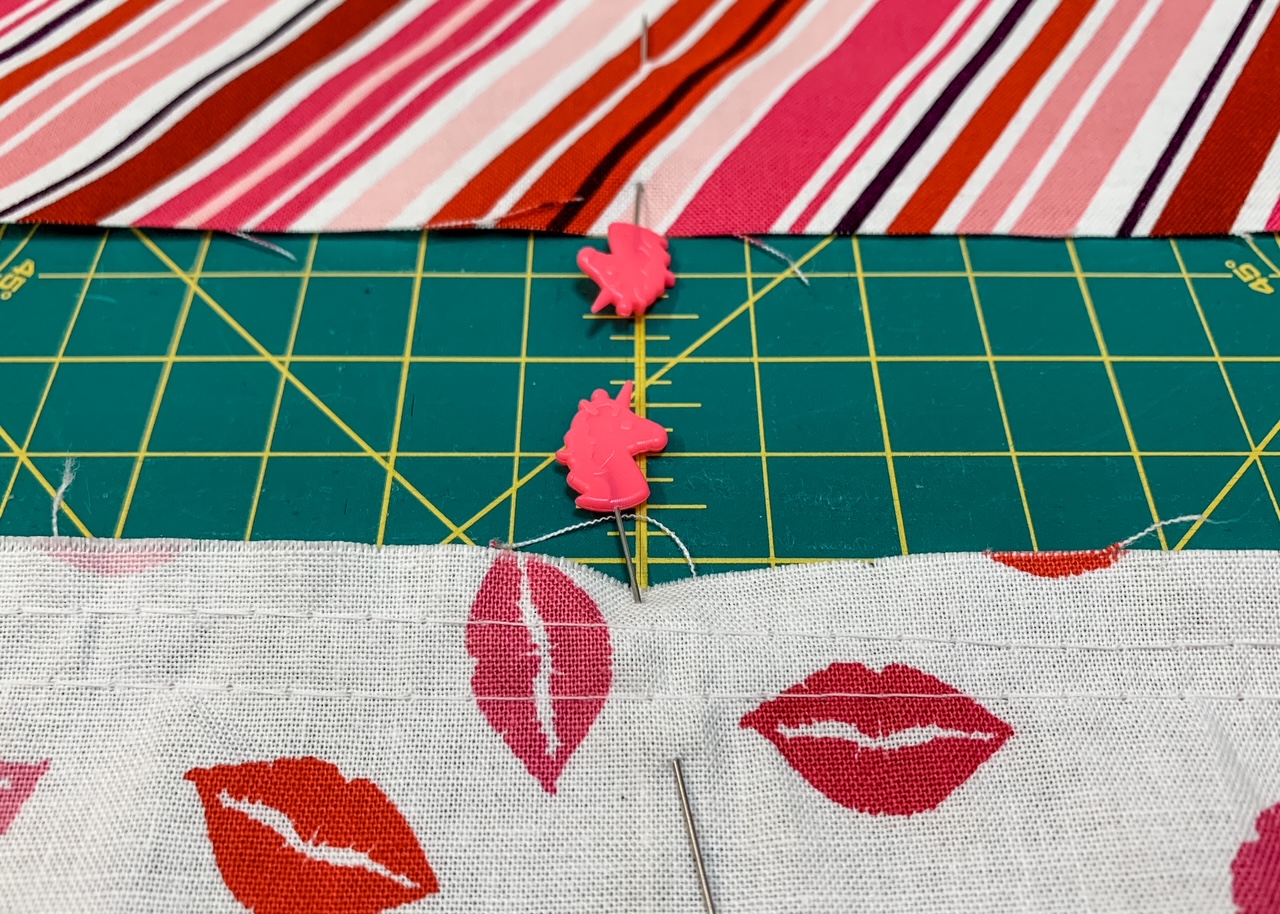
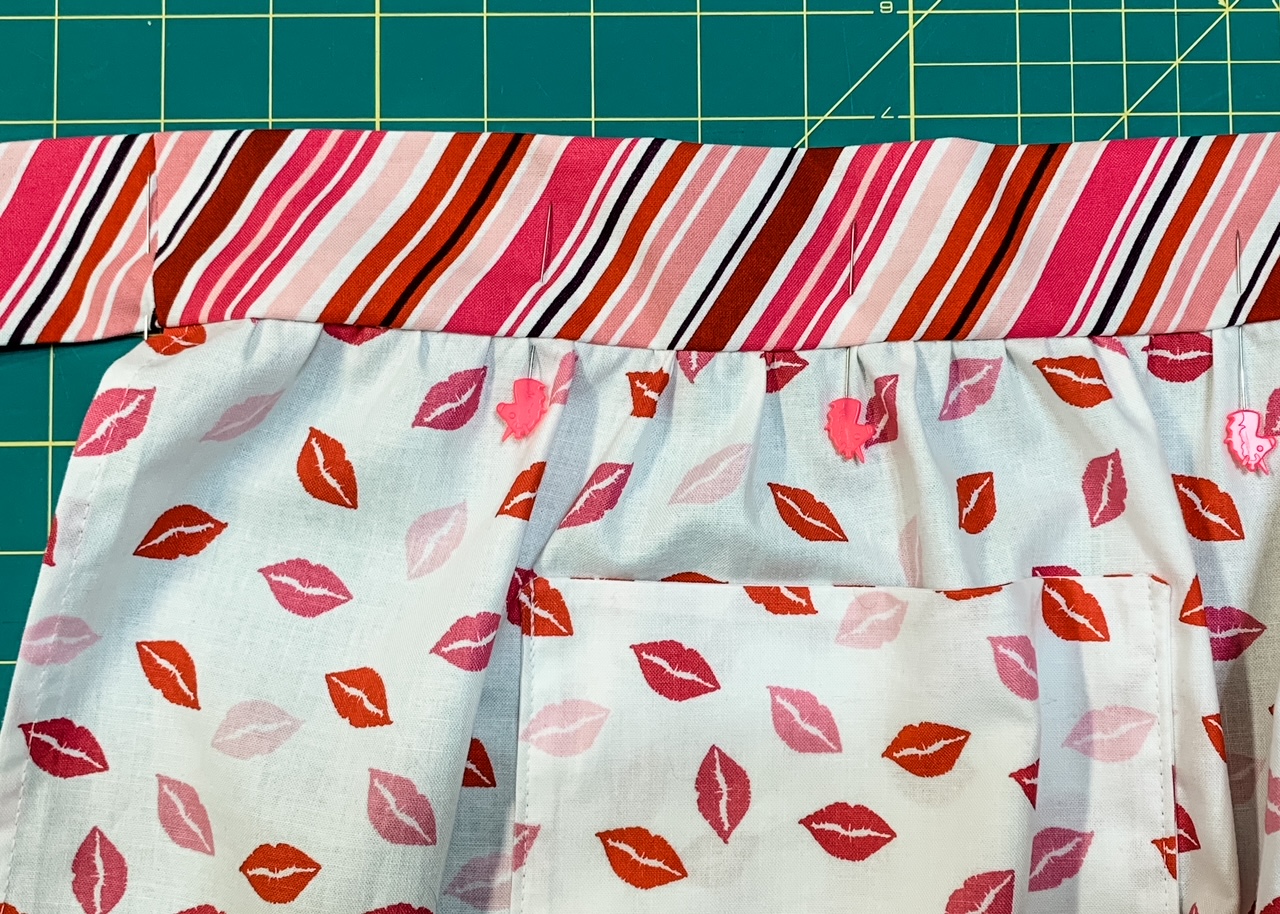
Position the apron body on a flat work surface with the right side facing up. Place the apron over the waistband with wrong sides together, matching the upper edges. Align the center of the apron with the center of the waistband, and the side seams of the waistband with the side edges of the apron; pin.

Pull the bobbin thread to gather the upper edge of the apron body to match the width of the waistband; pin.
Stitch using a 1/2” seam allowance. Press the seam toward the waistband.
Press the remaining waistband/tie raw long edges 1/2” toward the wrong side.

Press the short edges of the tie ends 1/2” toward the wrong side.
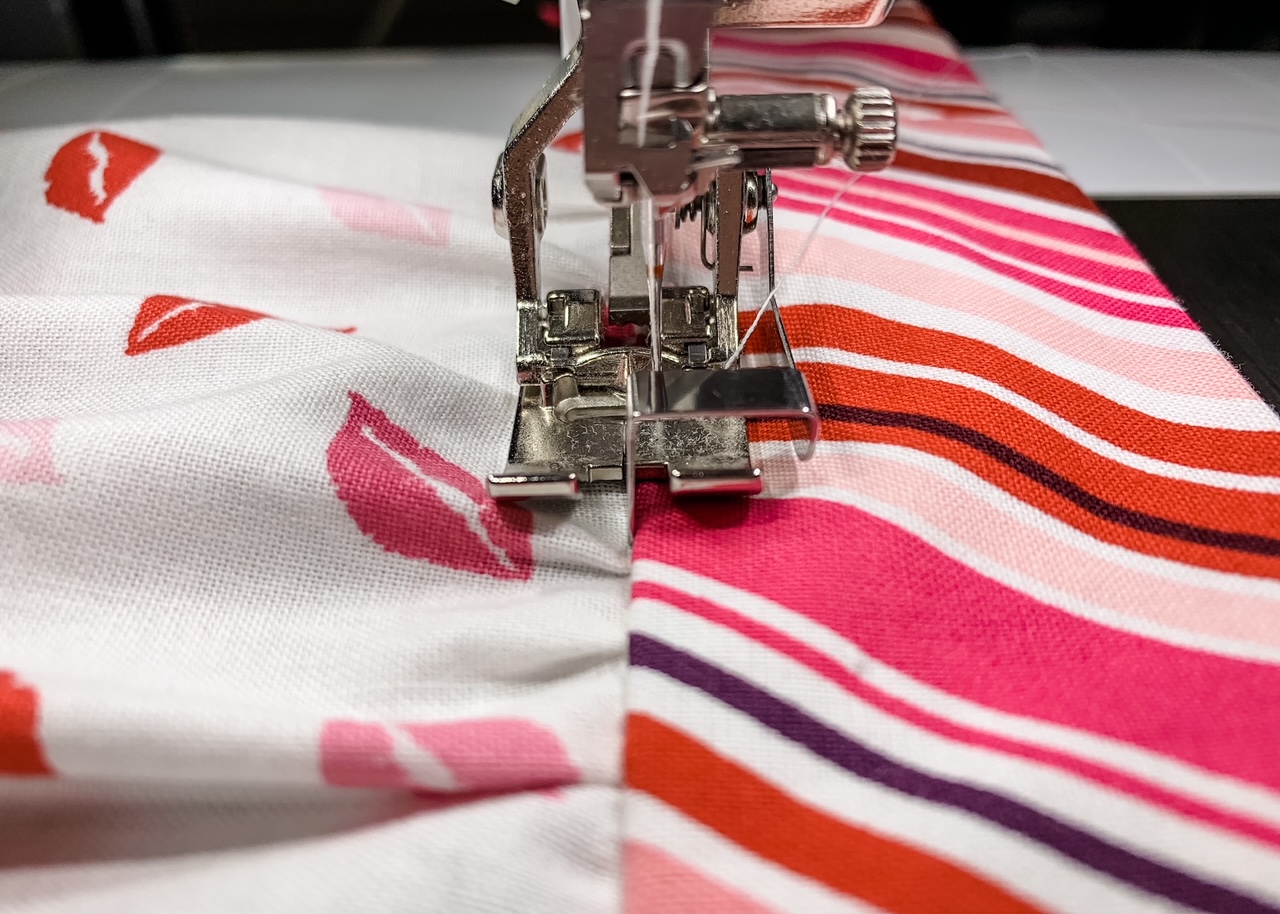
With wrong sides together, fold the waistband in half lengthwise, enclosing the raw edges. Press, then pin in place.
Edgestitch the waistband/ties long and short ends. I find it easier to stitch from the right side of the apron. If you do this just make sure you are catching the edge of the waistband on the backside in your stitching.
Ta-da! Done! Put your adorable aprons on and admire your beautiful work!
Used Products


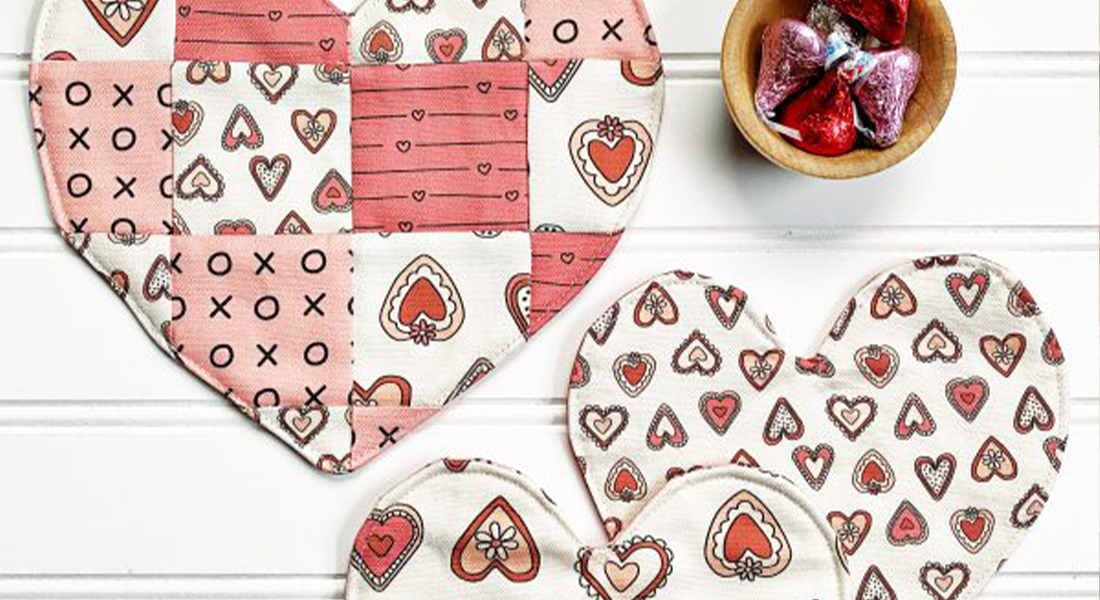
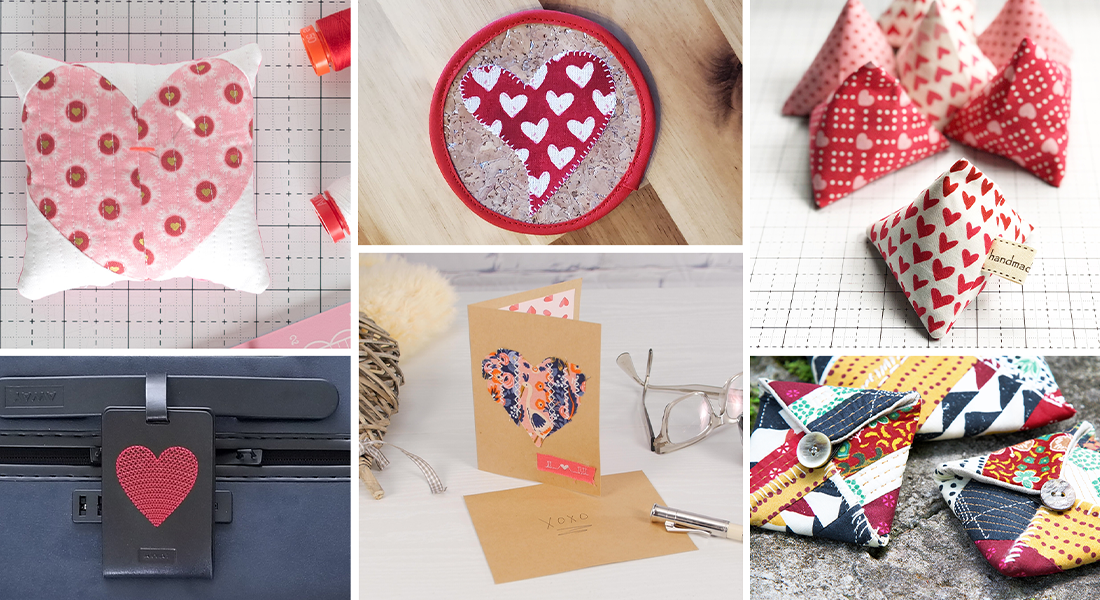
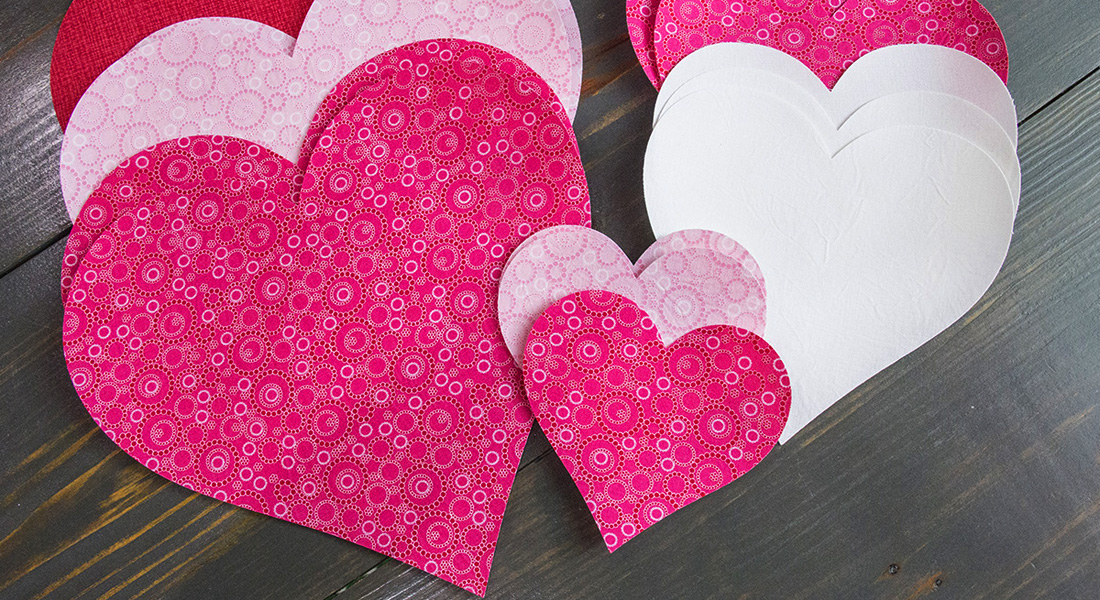
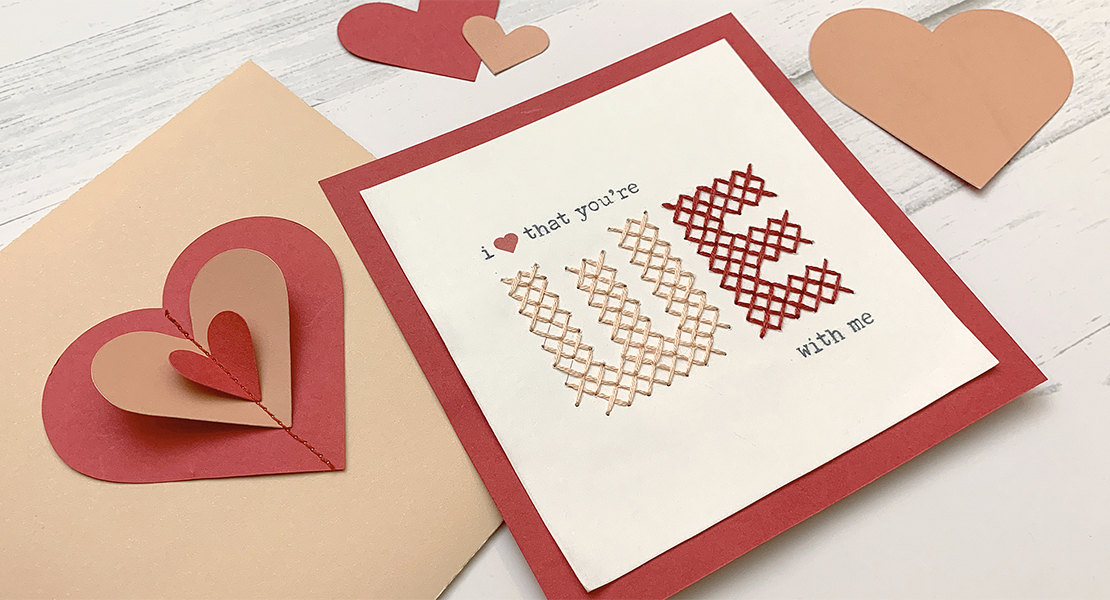
What you might also like


4 comments on “Sew Mommy and Me Valentine’s Day Aprons with Heart Appliqués”
-
-
I love that idea! Oh please share if you do ❤️
-
You must post a picture if you do. Lovely idea!!
-
-
These aprons are so fun. Great project!
Leave a Reply
You must be logged in to post a comment.

Cute! I might try to make an adaptation of the pattern for my dogs! ???