Sewing Machine Dust Cover Tutorial
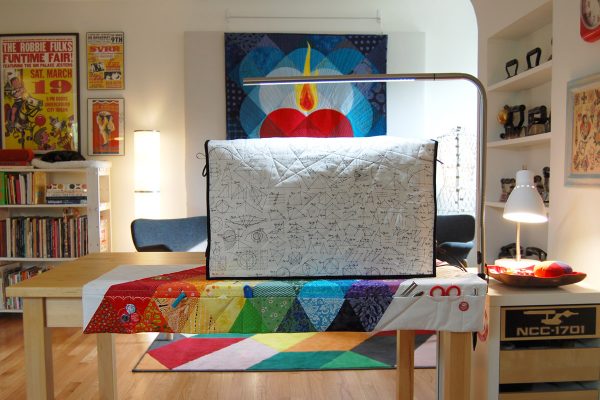
Sometimes I just need to walk away from a project when I’m right in the middle of sewing. In these situations I don’t want to get out the full sized sewing machine cover because I’m going to be right back, but I sure don’t want any little fingers or paws messing around with my thread or sewing machine settings! That’s why I created this simple cover.
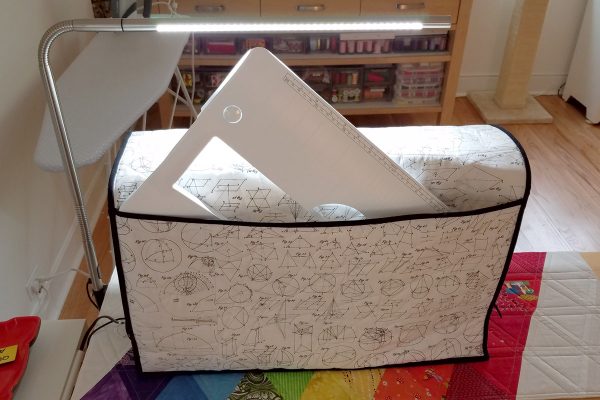
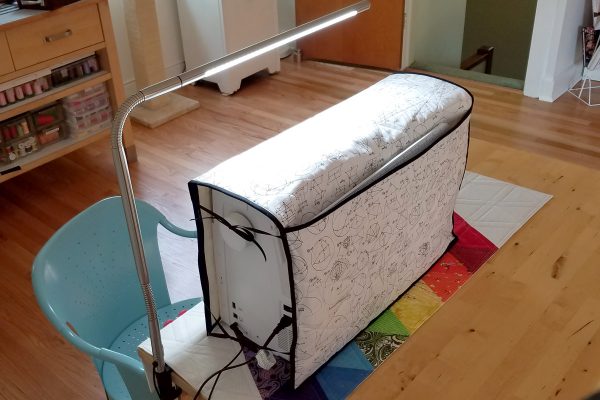
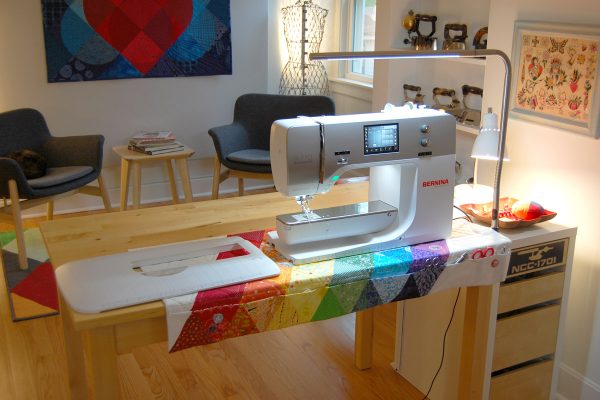
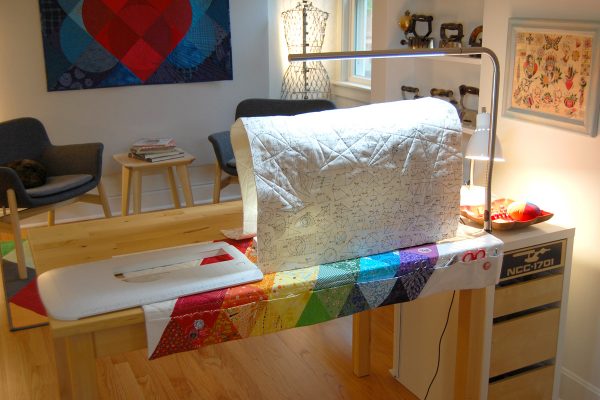
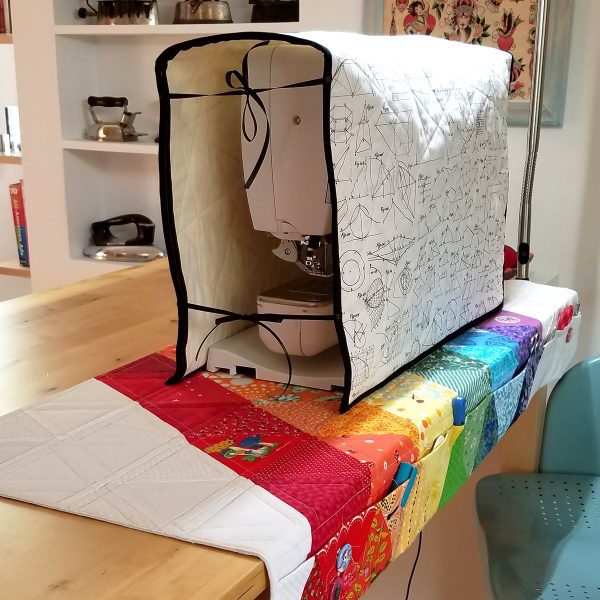
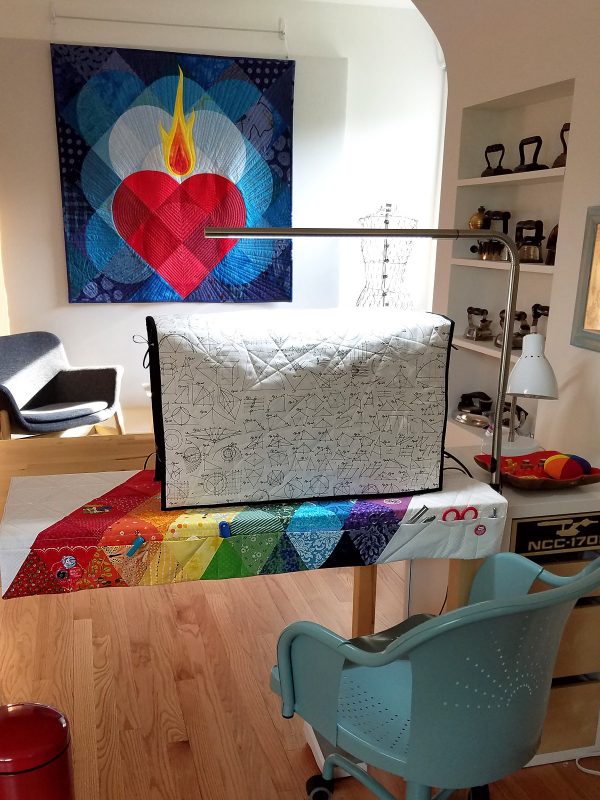
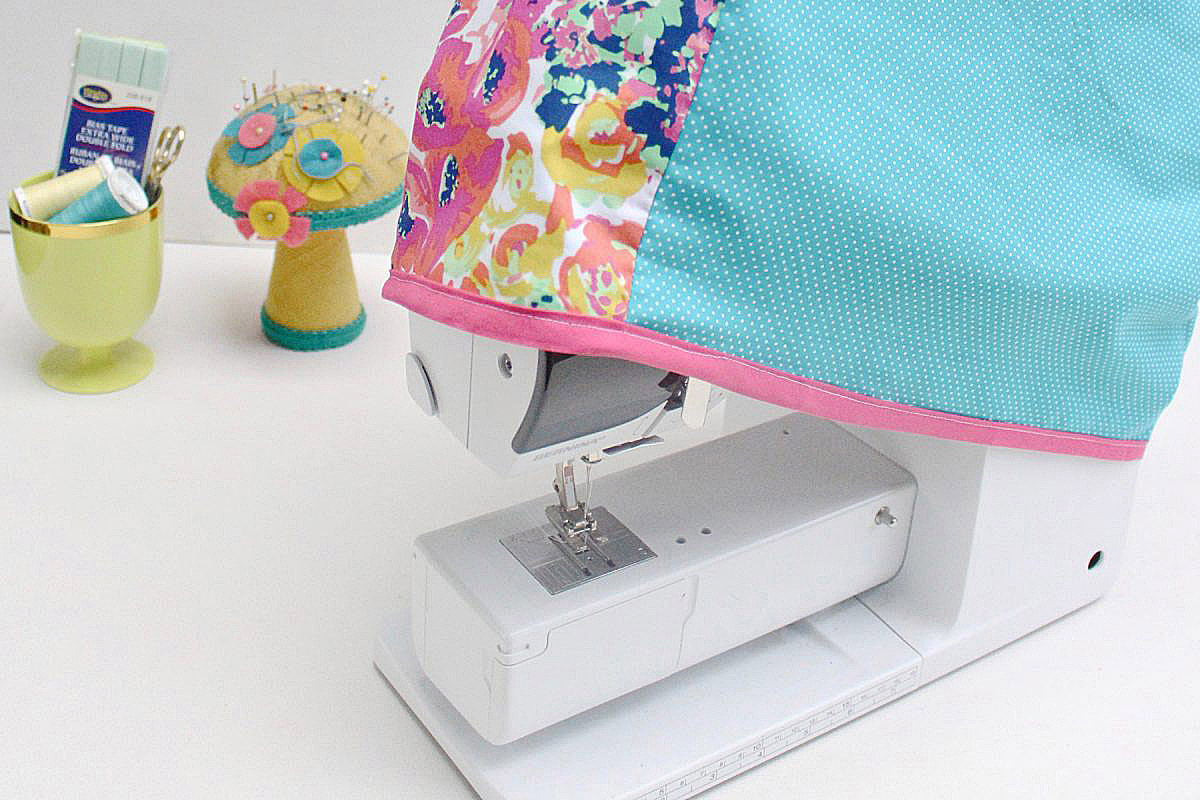
It’s easy to pop over the machine without having to remove the power cord, and even has a handy pocket in the back to hold your removable sewing table. Just slide the free-arm slide-on table off, pop the dust cover over your machine, and let the table slide right in the back pocket—and your machine is covered. If you are literally going to be right back, you don’t even have to turn off the machine!
This is a simple project to make for any sewing machine by measuring your machine to make your own pattern. I used a simple fabric, but the pattern is a simple rectangle that can also be made from patchwork. Are you ready to make your own “be right back” pop-over sewing machine dust cover?
Materials to Make a Sewing Machine Dust Cover
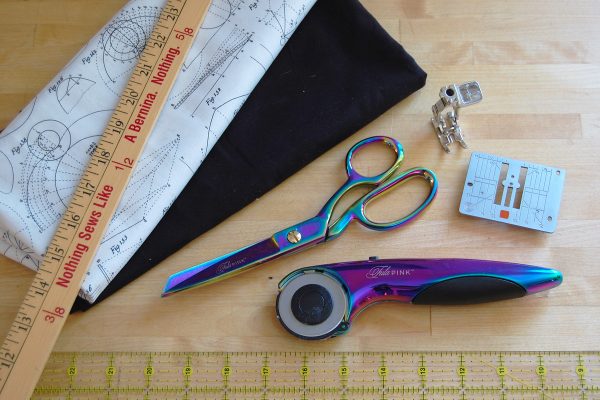
Gather all the tools and materials you’ll need to make a dust cover!
- Cotton fabric for the top cover and pocket (see instructions below to make the pattern)
- Cotton batting for the top cover and pocket (use measurements from your pattern)
- Backing fabric for the top cover and pocket (use measurements from your pattern)
- 2 1/2″ strips for binding the cover and pocket (use measurements from your pattern)
- Pencil, note paper, and yardstick
- Rotary cutter, cutting mat, and quilting rulers
- Coordinating thread
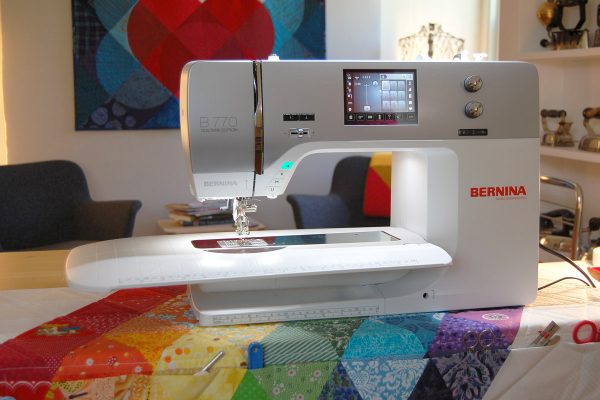
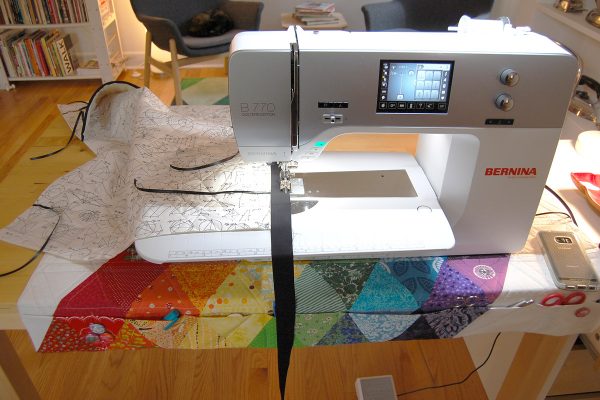
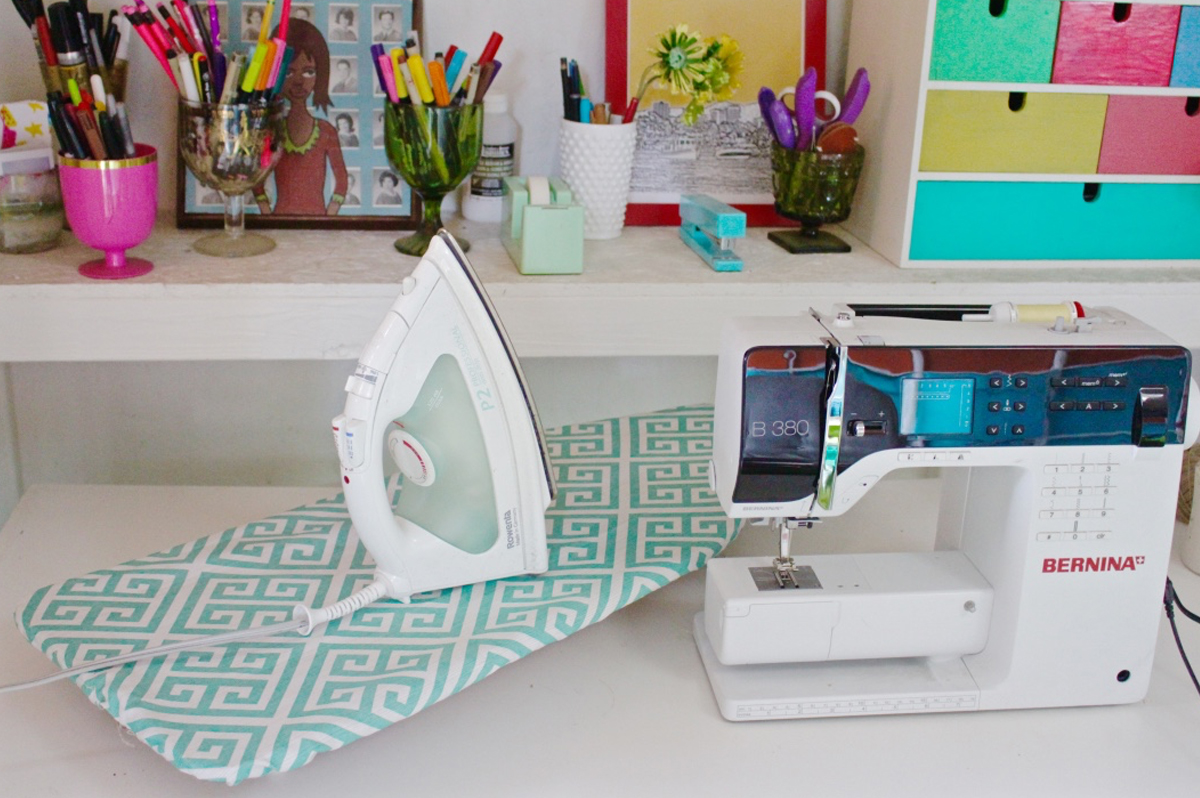
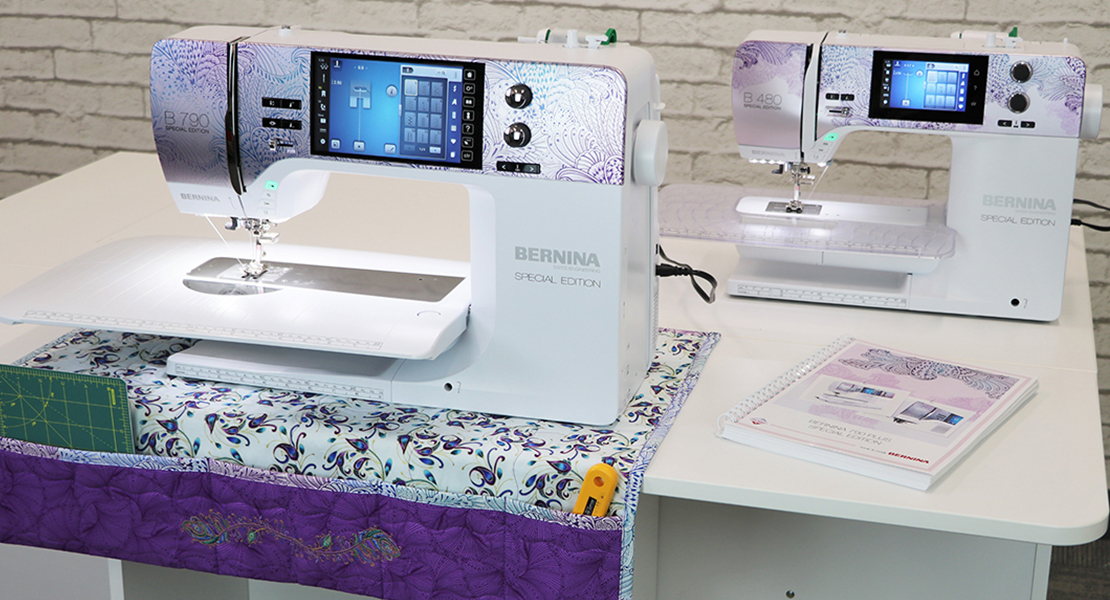
- Sewing machine (I use a BERNINA 770 QE)
- Straight stitch needle plate
- Patchwork foot #97D (or straight stitch foot of your choice)
- 3 yards of 1/4″ or 1/2″ ribbon for ties
How to Measure for a Sewing Machine Dust Cover
Using a pencil, note paper, and a yardstick, record the following measurements to the nearest half-inch. Remove the sewing table from your machine. If you have an older machine that does not have a free-arm with a removable sewing table, just measure the machine as is and do not include a pocket.
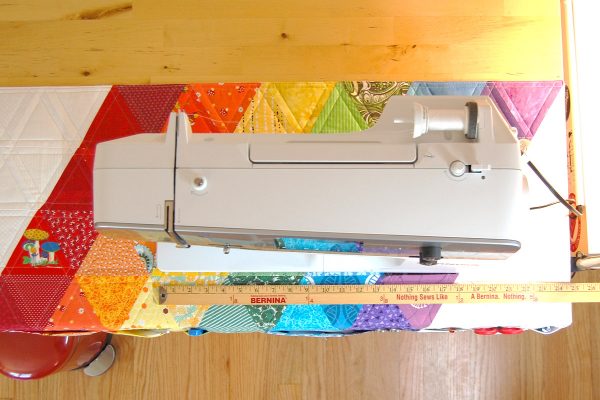
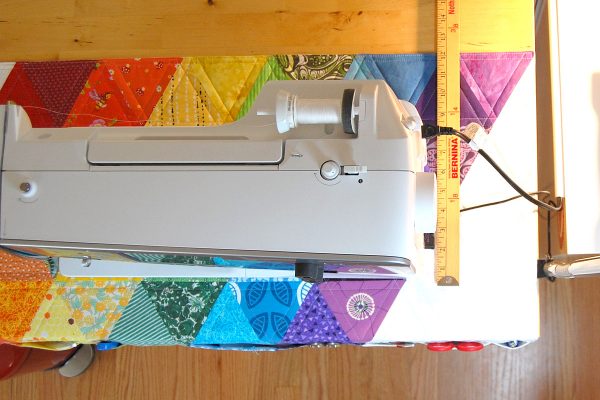
Measure the width of your machine at the widest point, remembering to take into account the hand wheel. Record this as measurement A.
Measure the depth of your machine at the widest point. Record this as measurement B.
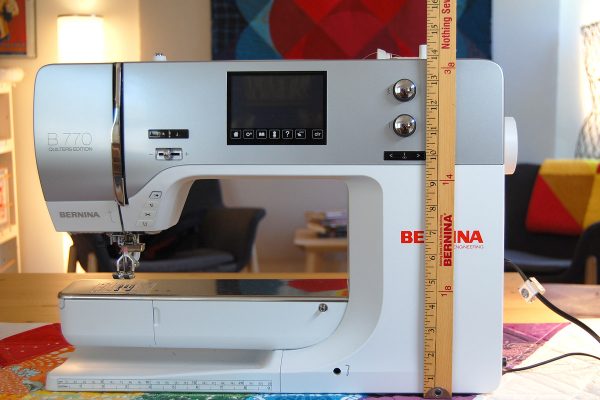
Measure the height of your machine at the tallest point. Record this as measurement C.
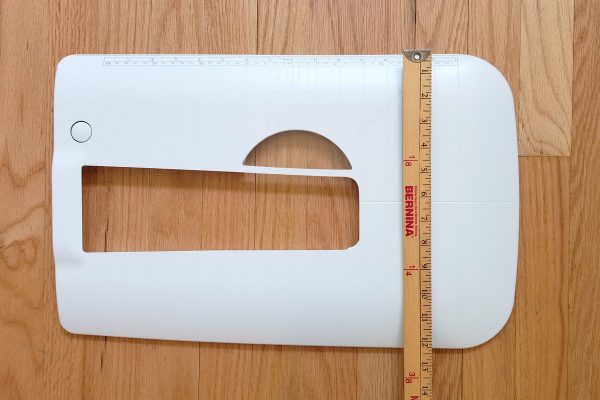
Measure the width of your sewing machine table at the widest point. Record this as measurement D.
Here are the 4 measurements you will have. (If your machine does not have a free-arm with removable sewing table, you should have measurements A, B, and C. Skip the instructions for making the pocket with measurement D.)
- A=width of machine
- B=depth of machine
- C=height of machine
- D=width of sewing machine table
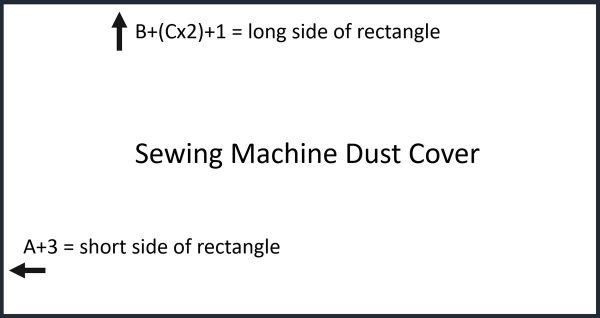
To make the pattern for the main dust cover, follow the formulas below to find the measurements for the short and long sides of the rectangular pattern.
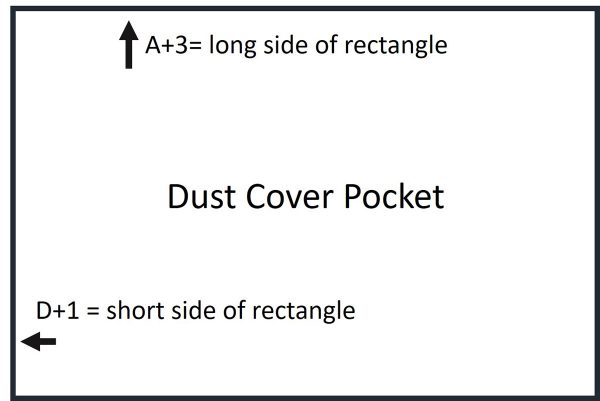
If you are adding a pocket, follow the formulas below to find the measurements to cut the rectangular pocket pattern.
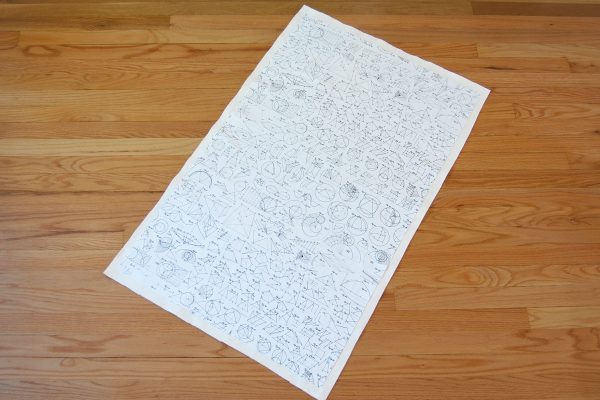
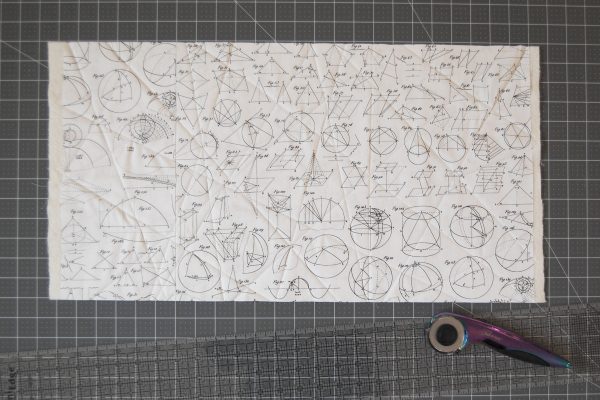
Before you cut the pattern, look closely at your fabric. For fabrics that have a one-way design (a definite up and down) make sure to cut the patterns to follow the direction of the fabric design. Cut the main pattern piece long-ways with the pattern. The pocket piece is oriented as a horizontal rectangle, the top of the pocket will be at the back of the dust cover: think about this when cutting the pattern piece.
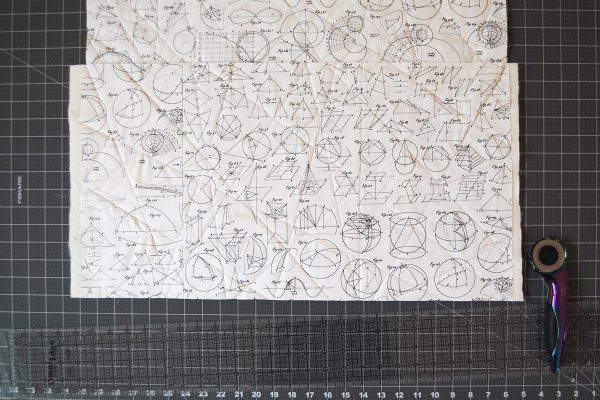
Cut one main dust cover and pocket from your main fabrics. Do not cut the batting and batting the exact same size. Lay the main fabric on top of the backing and batting and cut about 1″ wider all the way around. I used a piece of cotton quilt batting and 100% cotton muslin for the backing. Cutting a bit of extra backing and batting will help you to quilt from edge-to-edge on the main fabric. Do this step for both the main dust cover and pocket.
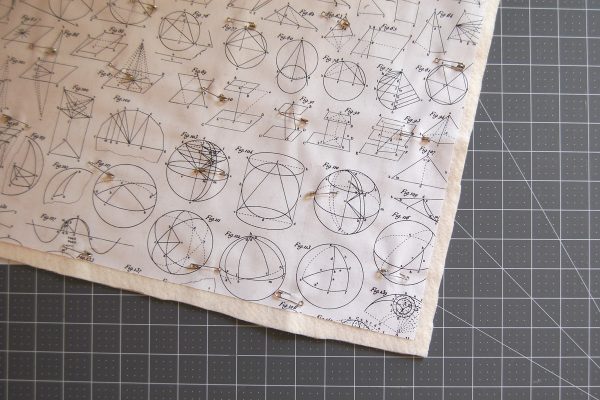
Next, smooth out all layers of backing, batting, and main fabric. Baste layers together well. I use basting pins, but you can also use basting spray for this step.
How to Sew a Sewing Machine Dust Cover
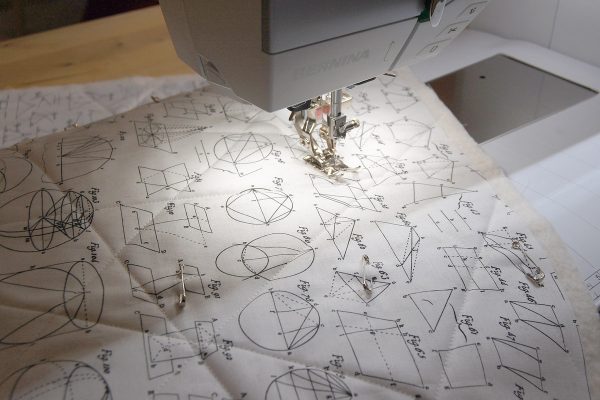
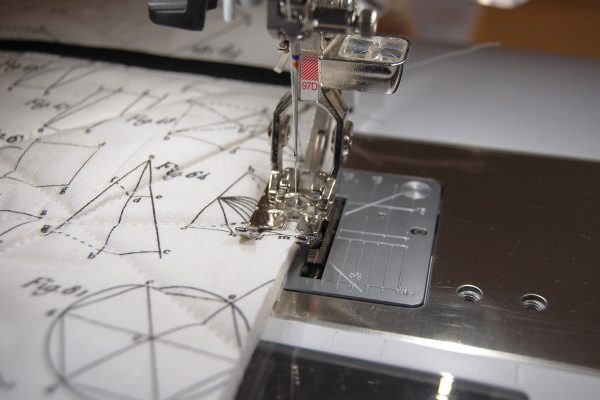
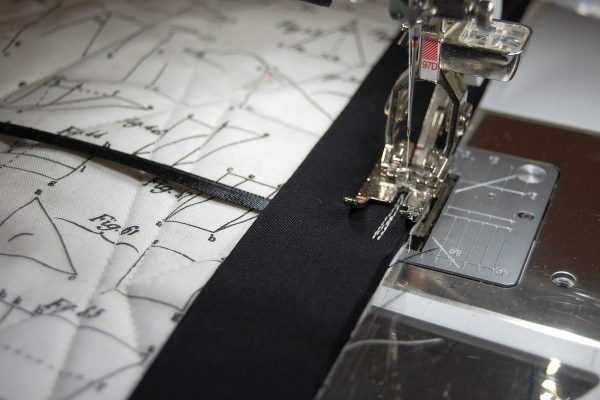
Set up your machine for quilting. I use a straight stitch needle plate with the Patchwork foot #97D and Dual Feed. You can use the Walking foot #50 for this step or free-motion quilting, and quilt the dust cover and pocket any way you wish.
I chose a random straight linen pattern because I thought it went well with the geometric shapes on the fabric. Quilt both the pocket and main dust cover as desired.
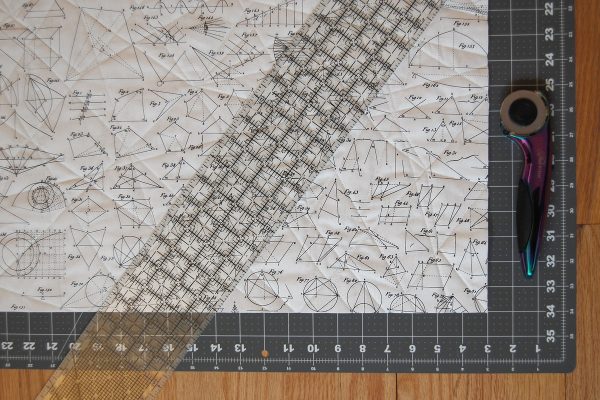
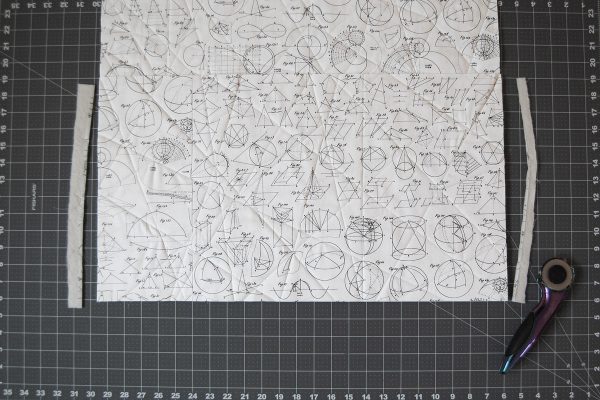
After you have finished quilting, set the pocket piece to the side and trim the edges of the main dust cover. Trim close to the main fabric edge and straighten up all edges using a cutting mat, rotary cutter, and long quilting ruler.
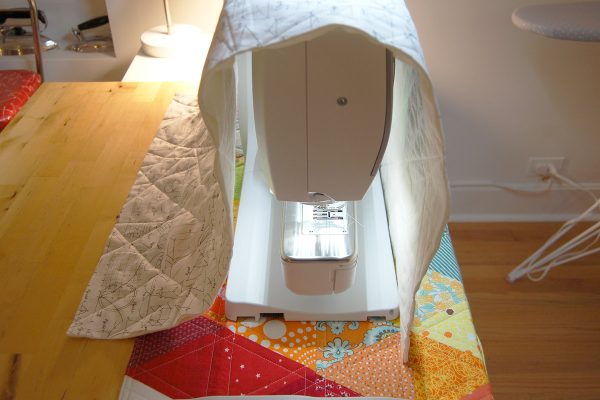
Let’s test fit the top before moving on. Pop off your sewing table (or just go on to the next step if your machine doesn’t have a free-arm with removable table) and drape the dust cover over the machine.
Make the front edge of the dust cover even with your sewing surface.
Check out how the dust cover looks on the back. The back edge should also rest right on the edge of your sewing surface. Trim it now if you need to. This is also the perfect time to look at the edges of the dust cover to decide where you want your ties. If your machine is large like my B 770 QE, you might want two ties on each side; one set towards the top and one towards the bottom. If your machine is smaller, one set of ties on the side might work just fine.
Now that your main dust cover is trimmed to size, let’s trim the pocket piece. First, trim just the top and bottom edge of the pocket.
Next, lay the pocket on top of the back edge of the dust cover, matching the bottom edges.
And finally, trim sides even.
Prepare enough double-fold binding to finish the top edge of the pocket and all sides of the dust cover. I used the directions in this Double Fold Quilt Binding tutorial here at WeAllSew, cutting my strips 2 1/2″ wide just as in the tutorial. I also attached my binding exactly the same as in the tutorial, but finished the final steps by machine.
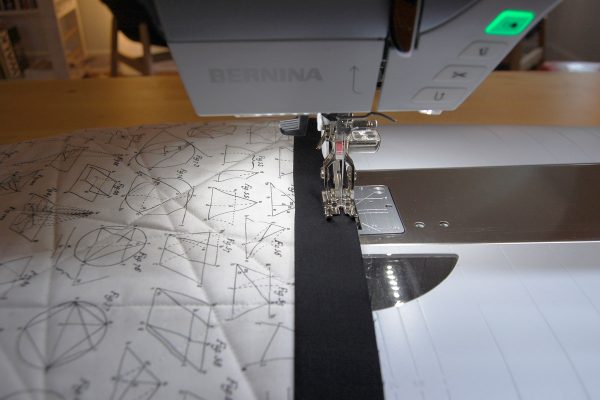
First, sew the double fold binding on the top edge of the pocket. Match raw edges of the binding to the pocket edge, and stitch 1/4″ away from the edge.
I pressed the binding over the edge, pinned from the top side of the pocket, and finished attaching the binding by straight stitching along the binding seam. You can hand sew the binding to the back if you wish.
Now that the top edge of the pocket is finished, let’s attach it to the back of the dust cover. Pin the pocket to the bottom edge of the dust cover, matching raw edges.
Baste stitch the pocket to the dust cover by sewing about 1/8″ away from edges along the pocket sides and bottom.
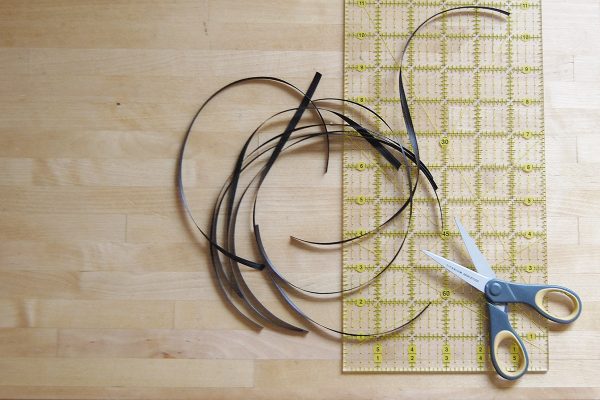
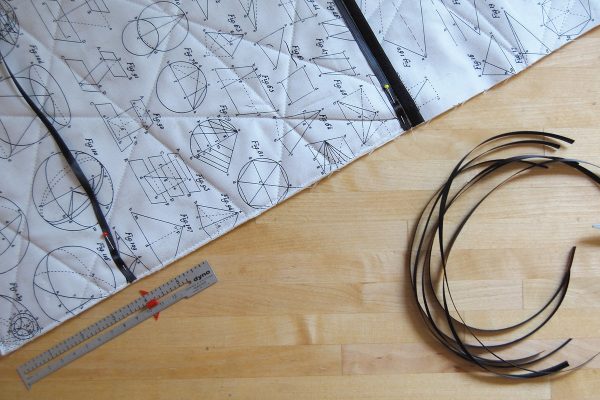
Now we will pin the ribbon in place to tie the sides of the dust cover together. If you’re still not sure where you want to place the ribbons, test fit your dust cover over your machine now and mark where the ribbons will go. Cut ribbon pieces 12″ long, you will need two pieces of ribbon for each tie.
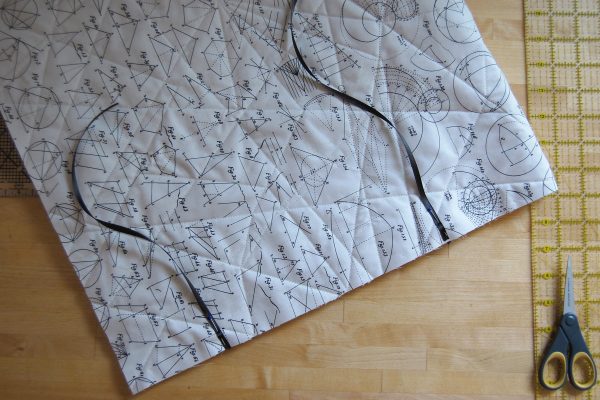
I am placing one tie about 4″ up from the bottom of the dust cover, and one tie towards the top edge. To make sure the ribbons are in the same place on both the front and back of the dust cover, I pinned them first to the back of the dust cover.
Then I folded the dust cover in half, matching the bottom edges, and pinned the ribbon in the same place on the front side.
With ribbons pinned in place on both edges, it’s time to add the finishing binding to all sides. Leave a tail of 10″ – 12″ of binding where you begin so that you will have enough to finish at the end (and again, you can follow all the instructions for binding at this tutorial here).
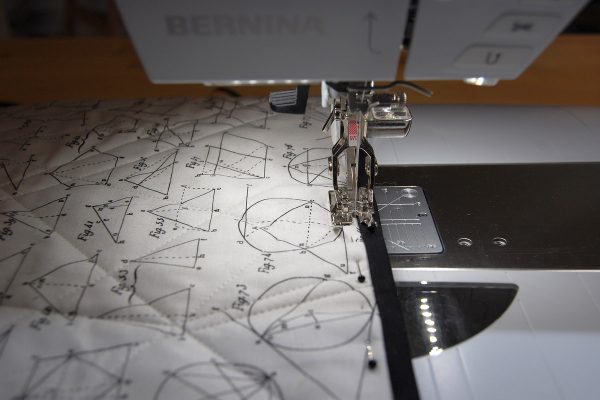
When you sew the binding over a ribbon tie, back-stitch a few times to make sure the ribbon is really secured in the dust cover. Finish the binding by pressing to the back side. You can finish the binding by hand if you wish, I stitched the binding by machine from the front of the dust cover along the seam edge.
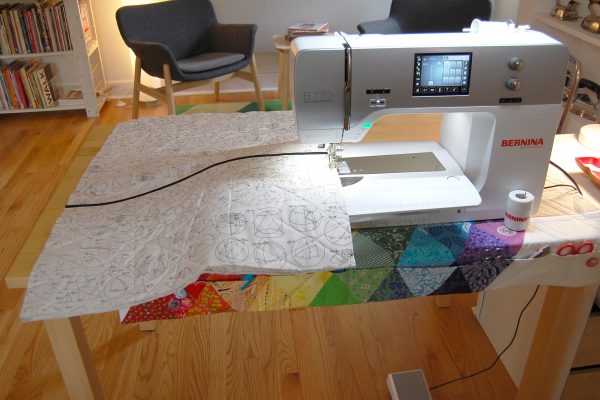
Once you have finished the binding you are ready to use your dust cover! Pop it right over your machine.
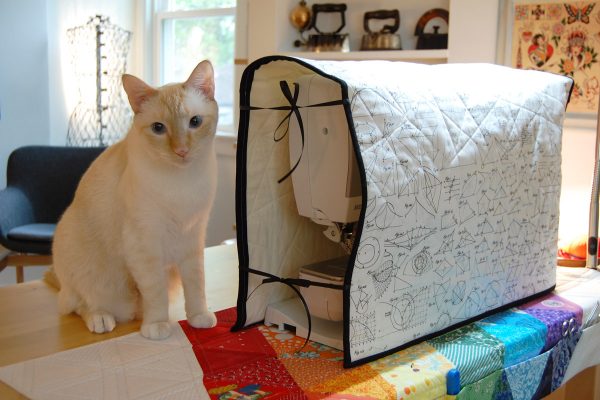
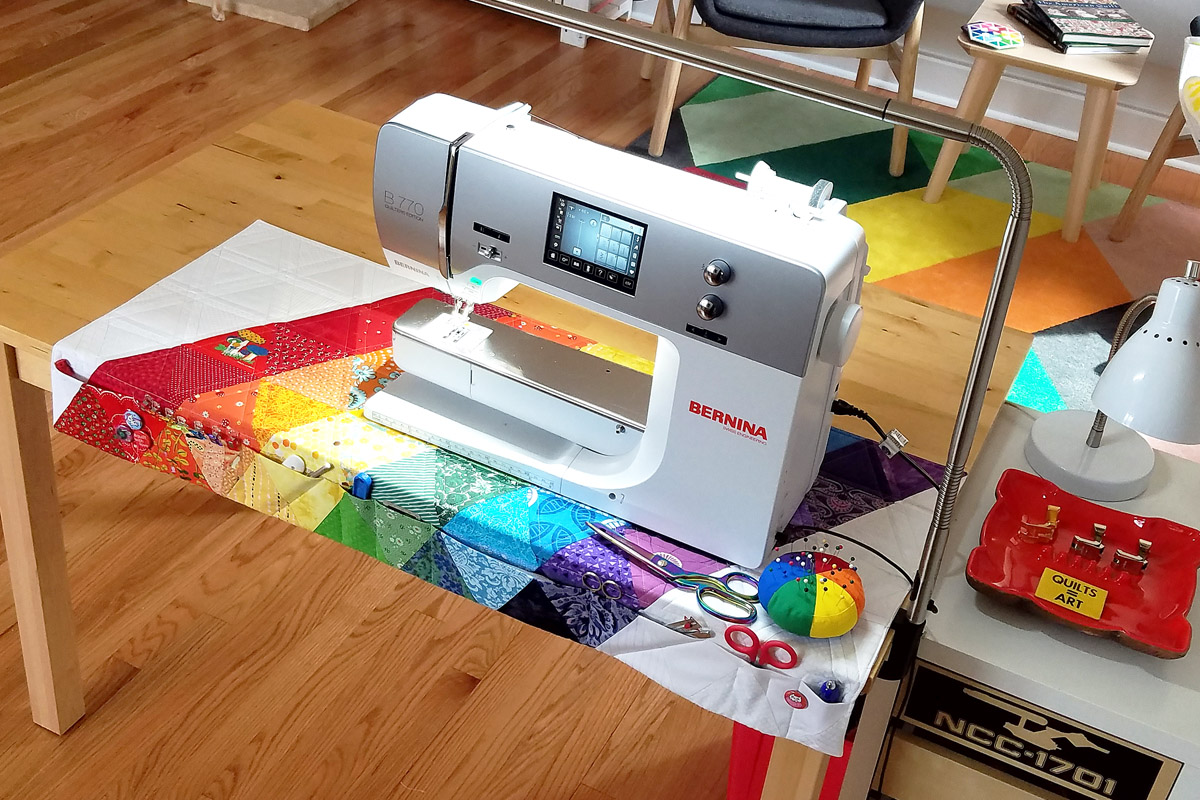
Like I said, this is the perfect cover to keep those little paws from messing with my machine! I hope you enjoy this project, and if you also noticed my sewing machine mat with front pocket holding all my tools, you can find the tutorial to make your own right here at WeAllSew.
What you might also like
14 comments on “Sewing Machine Dust Cover Tutorial”
-
-
Hi steinmetzsue, I used an Andover fabric in the Encyclopedia Historica collection called Trajectories. You can see it on the Andover website here: https://www.andoverfabrics.com/Grid.php?groupId=26252&GroupName=Encyclopedia%20Historica Happy sewing! – Erika
-
-
Thank you for sharing!
I, too, have a 770QEE but also have a 530 and Q20 sitdown. Since I am only one person, there’s always at least one, if not two, machines sitting and waiting to be used. I love this idea of a “cover-up” instead of a full cover.
-
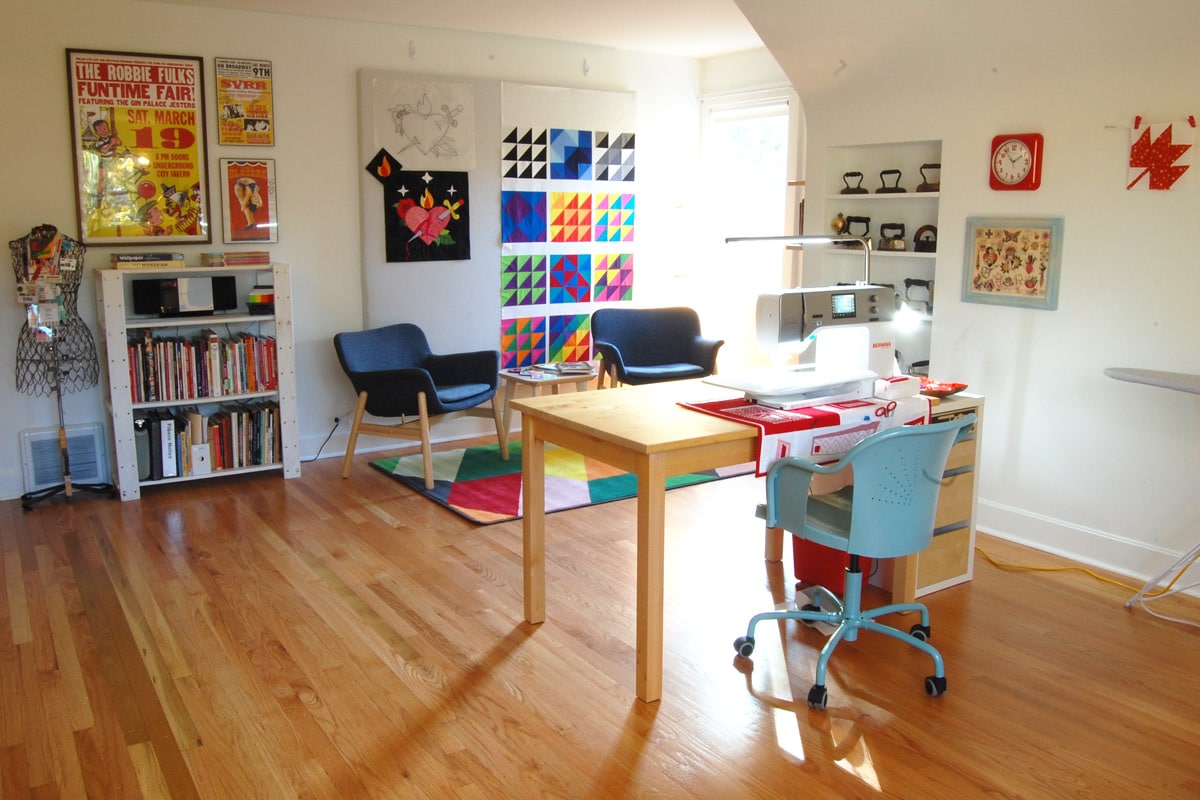
I like the idea of the quick cover. BUT where can I find this beautiful chair? I have an OLD typewriter table(goes with my vintage typewriter that I have had over 40 yrs) It’s painted this color and it would be a beautiful addition to my sewing room.
-
Hi theduchess! Thanks for checking out my sewing machine dust cover tutorial. Yes, the color of that swivel chair is pretty awesome, I got it from Ikea a few years ago. Not sure if it is still available but you might check online. Happy stitching!
-
-
-
If would be so nice if you offered these tutorials in a PDF format to download. It’s hard to sew while trying to get the info from your computer screen.
-
I agree with elhl – a pdf version of the pattern would be very helpful.
-
-
Thanks for this project idea; I like how easy it is to put on and off. Also, your cat is a beauty.
-
I agree with elhi – that these tutorials should be available as PDF. There are so many of your tutorials that I want to use, but can’t always get back to them (or find them again). It would be so very helpful if we could download a PDF> PLEASE CONSIDER DOING THIS ON YOUR WEBSITE….
-
That handsome kitty looks like my guy Pip!
-
I seriously dislike ribbon ….was wondering if a lightweight elastic might be an option? Planning to give it a try later today (after I clean off my cutting table, again)
-
Hi taarna, and thanks for checking out my tutorial! I used ribbon to be able to open up the dust cover all the way and drape it over the machine before tying the ribbon. I like your idea of using elastic! Give it a try and let me know how it works for you. Best – Erika
-
-
The wall hanging (heart with flame) is exquisite. Any possibilities there is a pattern?
-
Thanks so much for your kind comments about my quilt! This is an original design of mine, and is not available as a pattern. Cheers!
-
Leave a Reply
You must be logged in to post a comment.






What is the name of the fabric you used? Thank you!