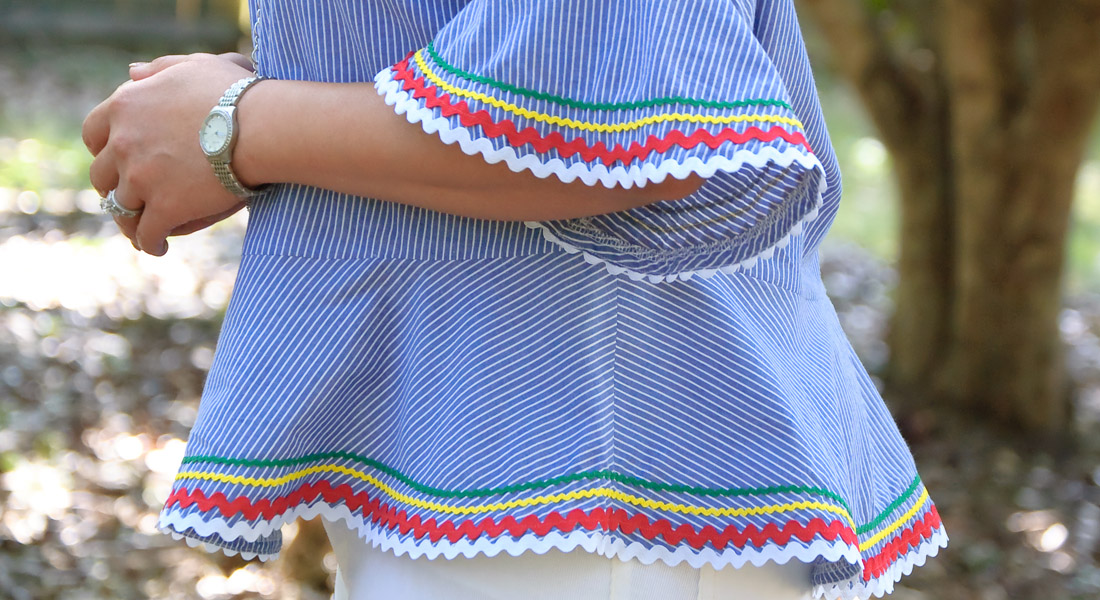
Stacked Trim Tips
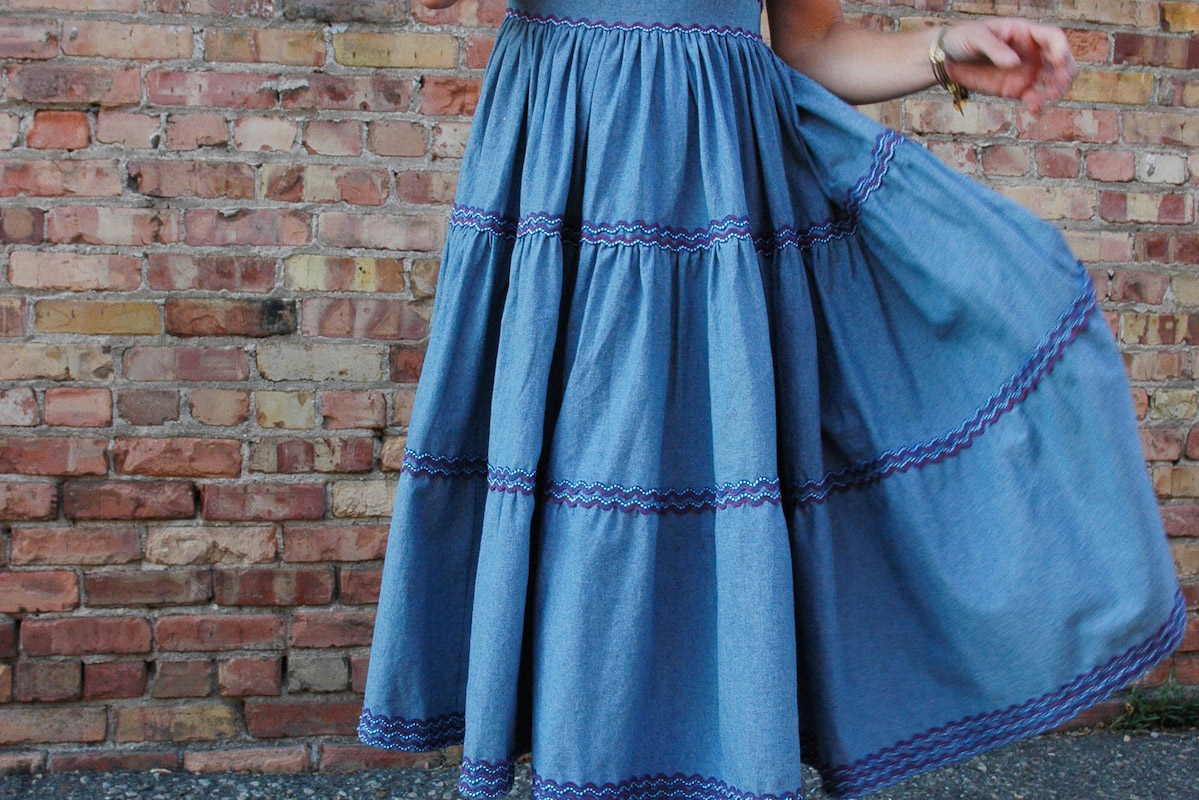
Trims are back! Ready-to-wear shows trims being used to highlight necklines, sleeves, hems, you name it. A commercially available trim may be just what’s needed to complete a project, but have you thought of creating your own? It’s easier than you think, and fun to sew a trim that is uniquely yours.
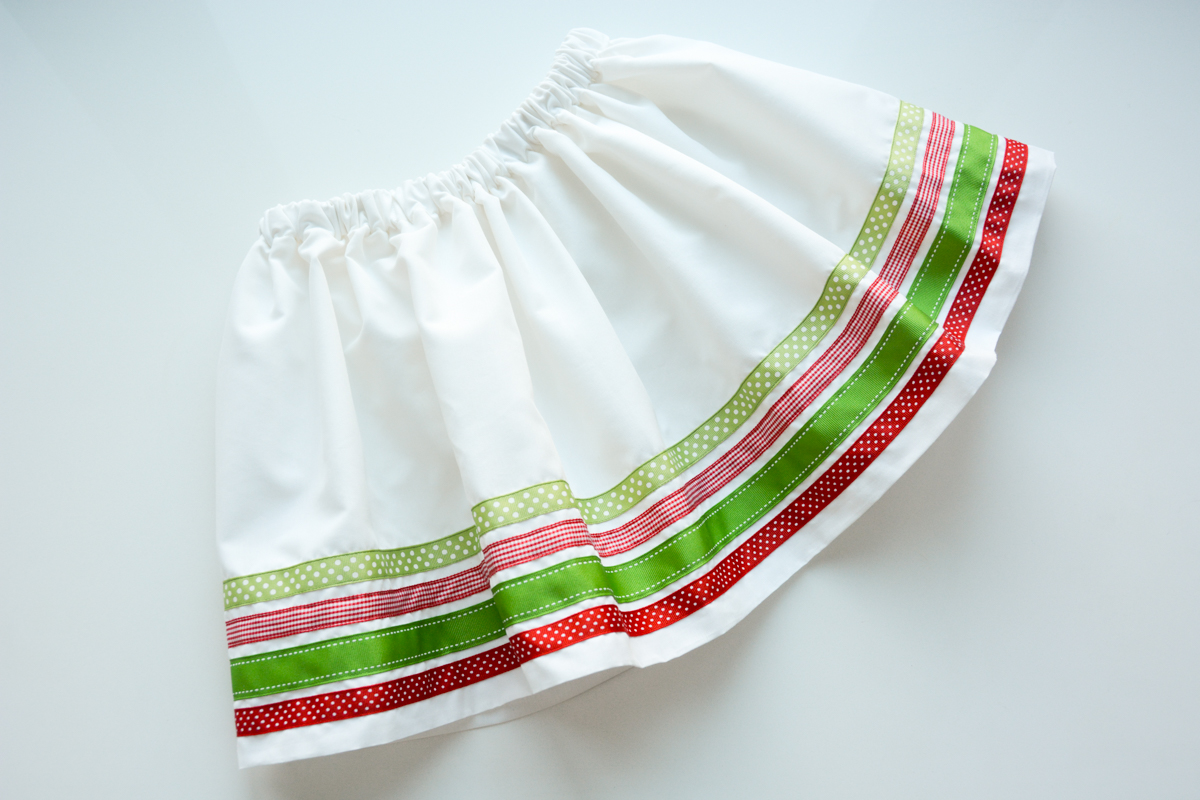
You can create wonderful custom trims by combining simple, readily available twill tape, rayon seam binding, rickrack, or any other trim you have on hand. Leave the stacked trim as is, or add decorative stitching using the thread weight of your choice to create just the right finishing touch for any project.
Materials to Create Stacked Trim
- Twill tape
- Rayon seam binding
- Rickrack
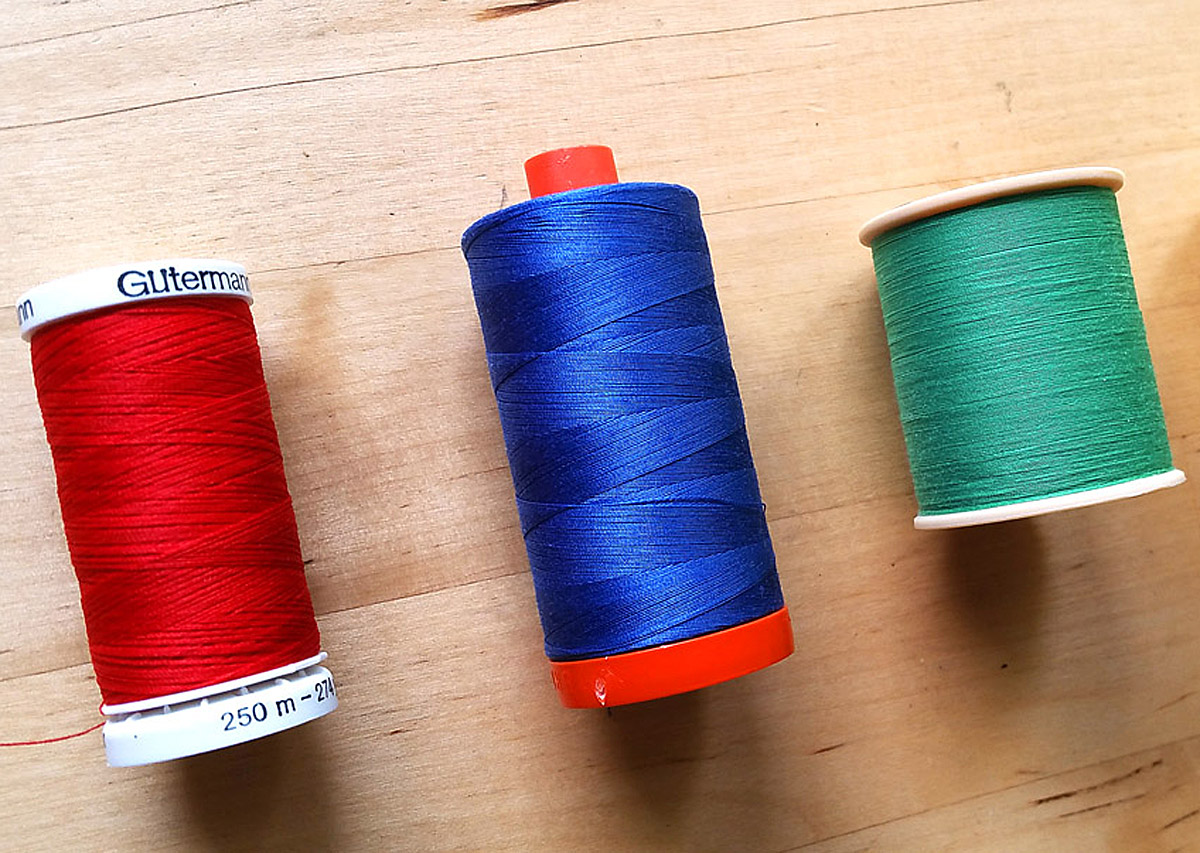
- Thread, 50wt and other as desired for decorative stitching
- Machine Needles, size 80 and sized to match decorative thread
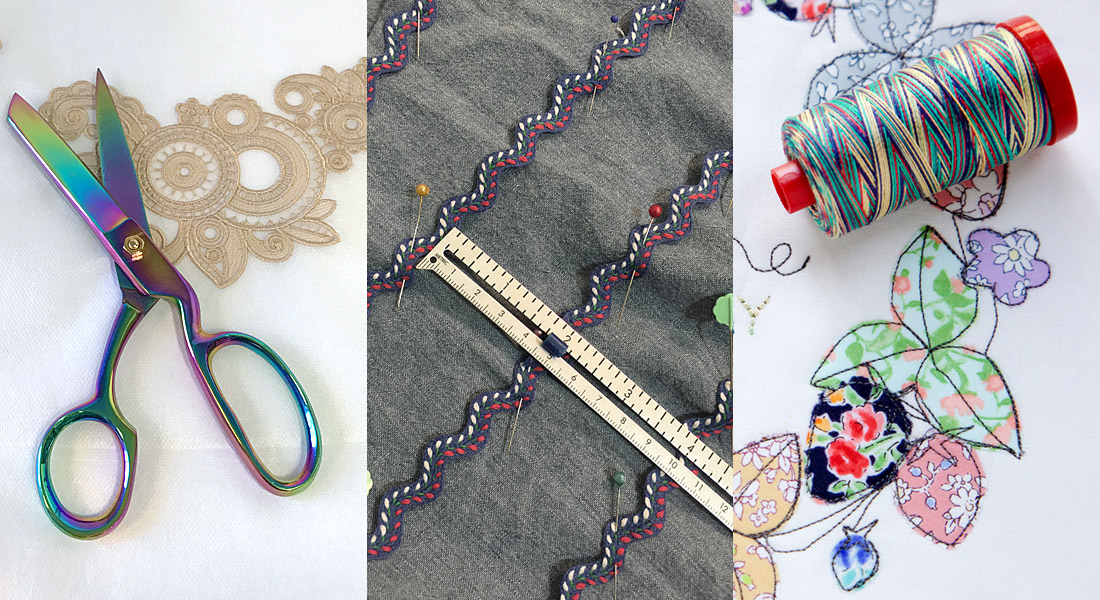
- Sewing Machine (I used a BERNINA 770 QE)
- BERNINA Edgestitch foot #10
- BERNINA Open Embroidery foot #20C
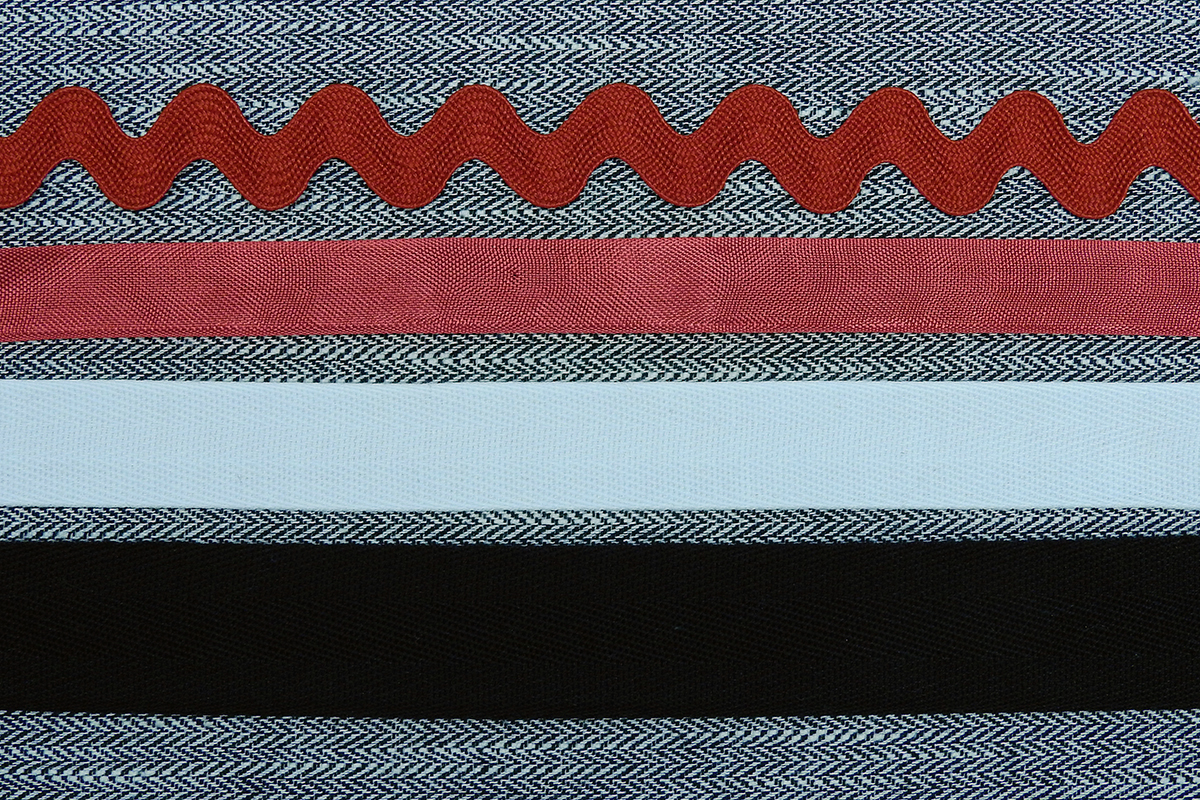
Tips for selecting base trims: I had two widths of twill tape on hand and one width of rayon seam binding. The wider width of the black twill tape allowed me to create a piped look. Try stacking your trims in a different order to produce a coordinating but slightly different look.
It’s always a good idea to create a length of trim that’s longer than you think you might need. That way, if the beginning and end aren’t exactly perfect you can trim them off.
Instructions for Sewing Stacked Trims
Step 1: Cut the trims to your desired length, adding 6 to 12 extra inches just to be sure you have enough. If washable, preshrink the trims by soaking them in hot water then hanging them to dry. Otherwise, consider steaming them.
Step 2: Add a little stiffening to the trims by spraying them with heavy duty spray starch, then pressing. As a result the trim will be easier to sew.
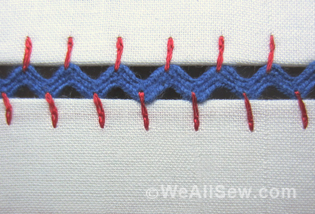
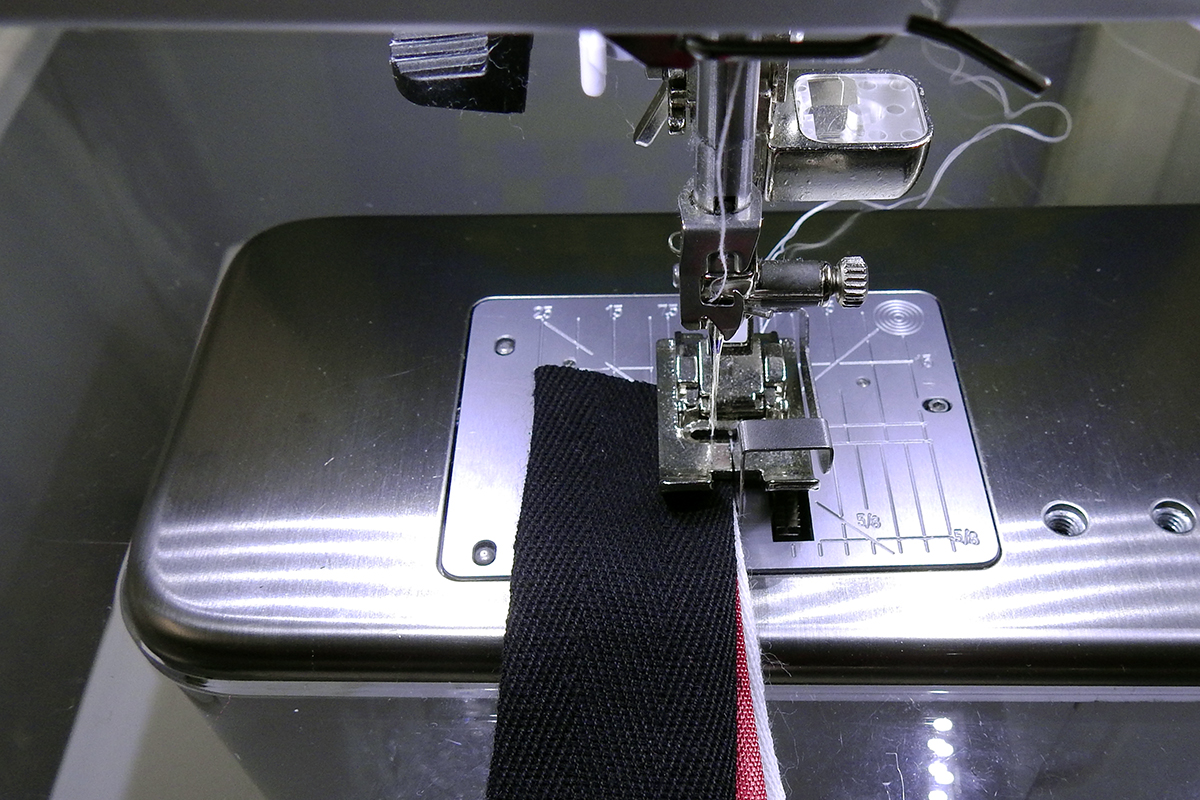
Step 3: Using the BERNINA Edgestitch foot #10C, stack the trims with the widest trim on top and the narrowest sandwiched between the top and bottom trims. The versatile edgestitch foot allows you to keep the seam line even as you butt the three trims against it.
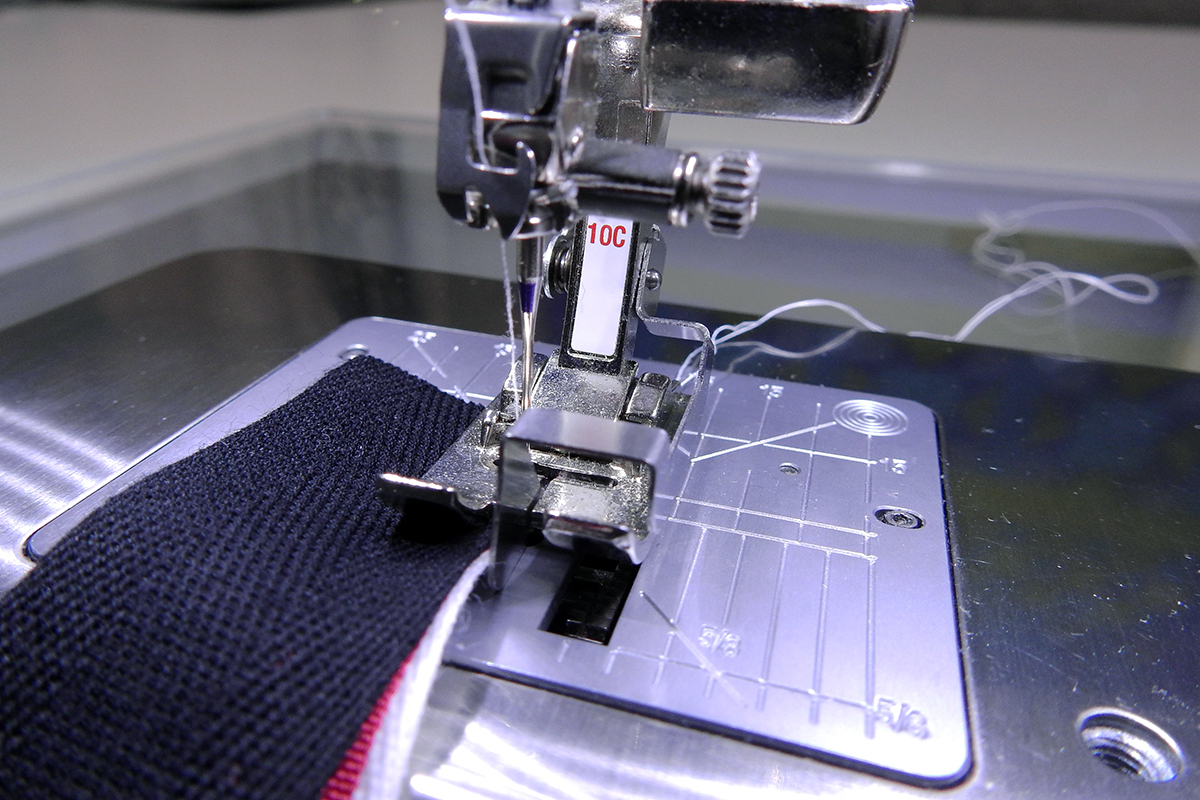
Step 4: Sew a narrow seam to connect the three trims. The width of this seam will determine how wide of a “piped” edge is on the finished trim. I moved my needle to position -.3 to create a narrow “piped” look with the black trim.
Step 5: Gently press the widest trim away from the other two trims. (Here, the black trim is pressed away from the red and white trims.) If you want a simple trim with no decorative stitching skip down to step 8.
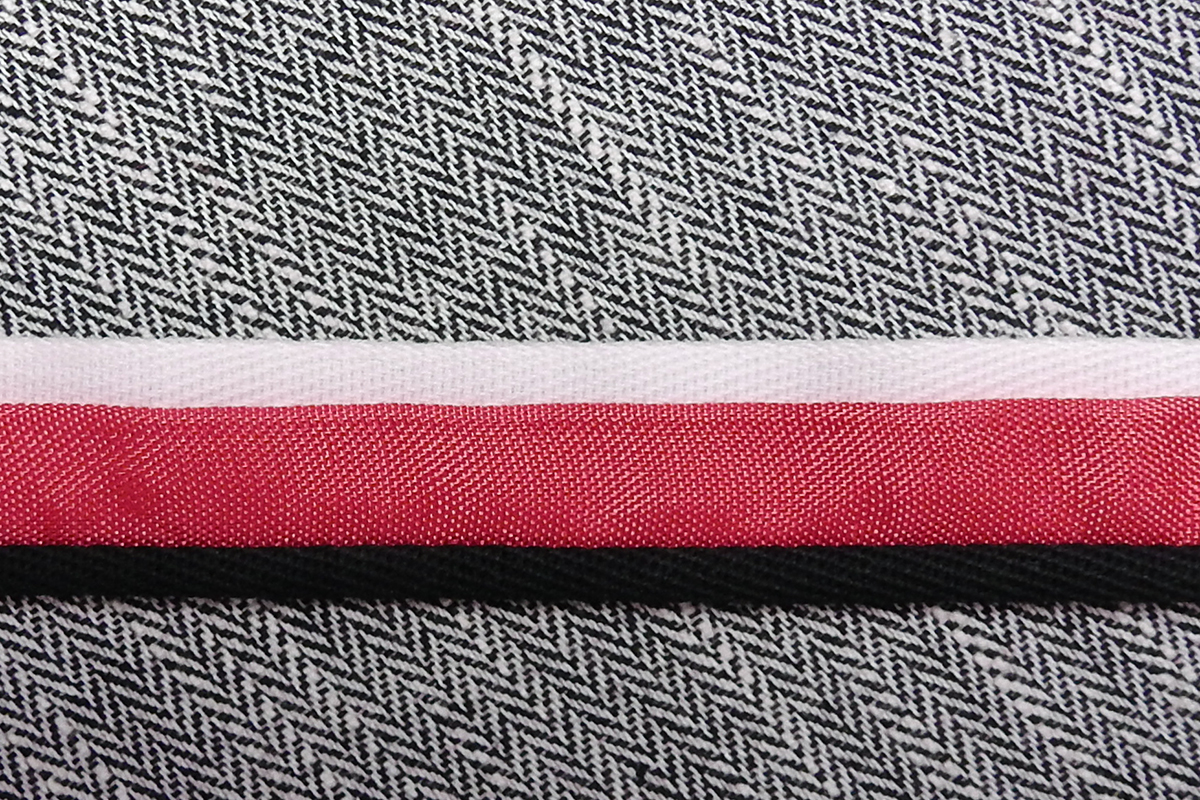
Completed simple trim without decorative stitching. If you wish to add decorative stitching, wait to turn under the widest trim (here, the black trim) until after the decorative stitching is complete.
Step 6: Switch to the Open Embroidery foot 20C and select a decorative stitch. I chose stitch 741 (mirrored) and used a thicker thread (and therefore a larger needle) to create more contrast. The 20C foot gives you great visibility, allowing you to easily align your stitches.
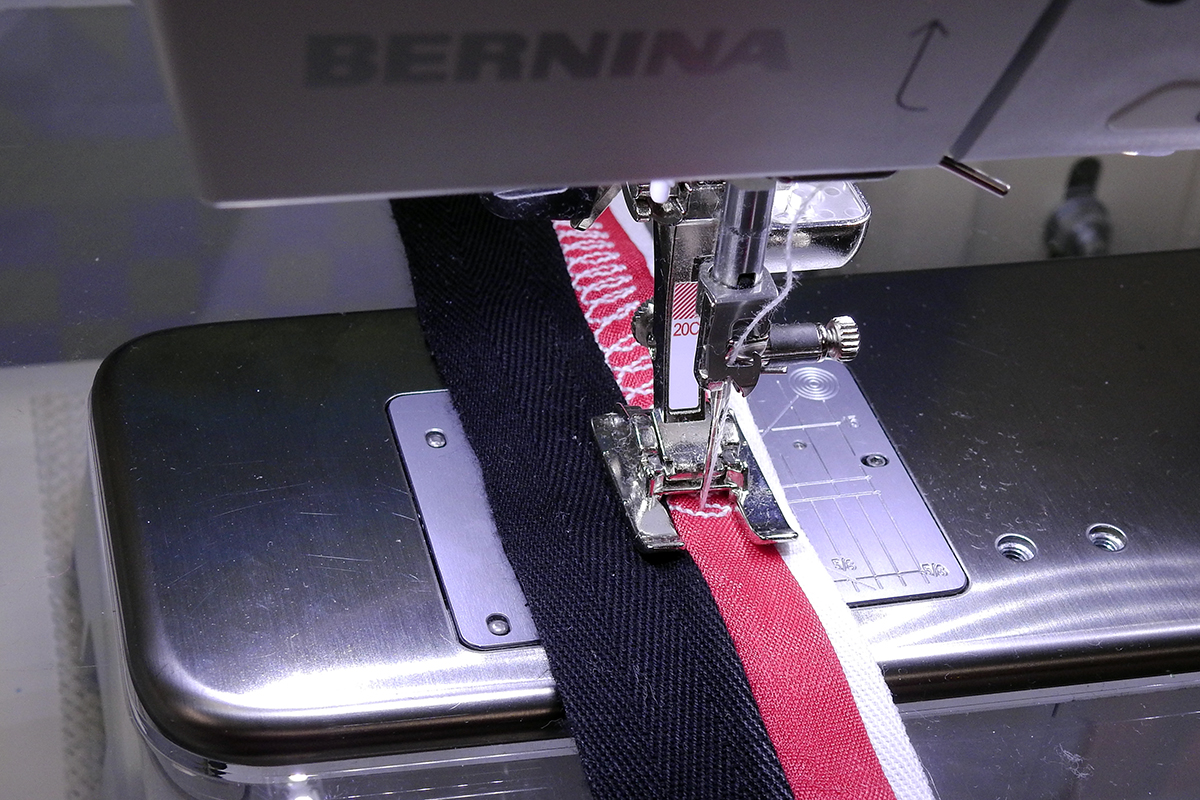
Step 7: Sew the decorative stitch the length of your trim.
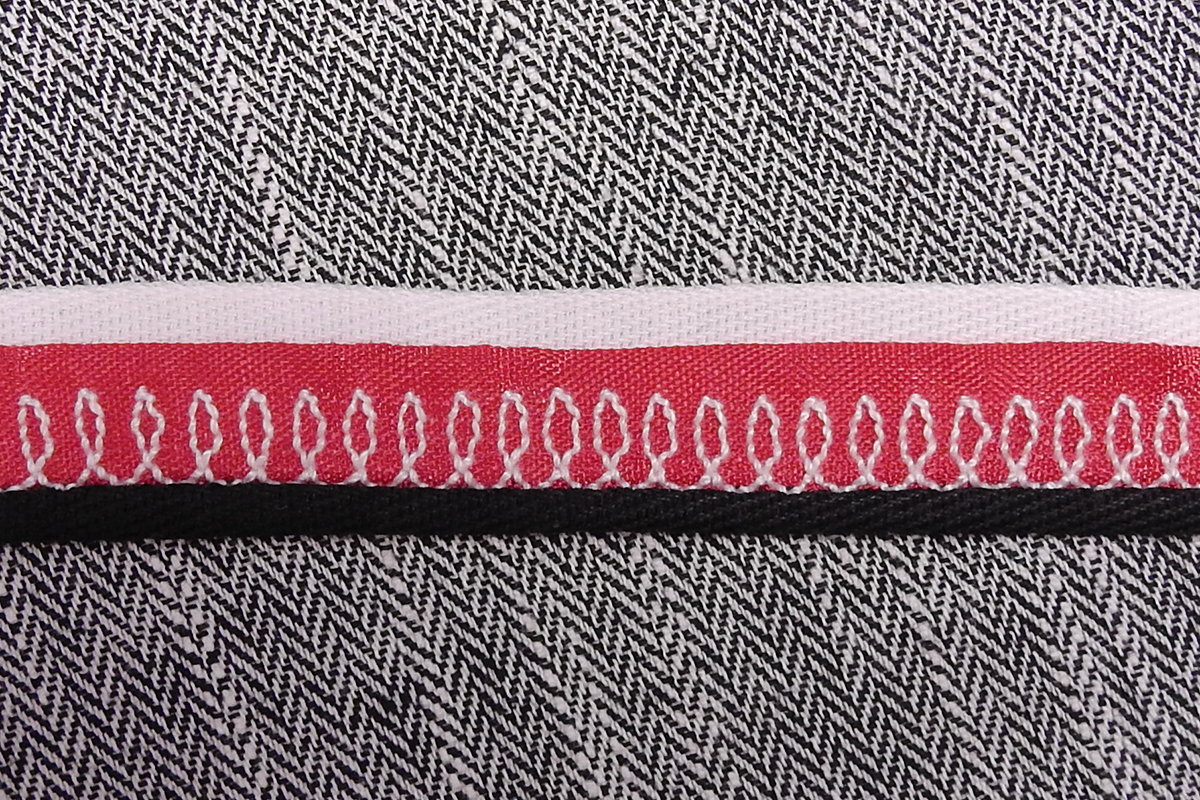
Step 8: Press the widest trim under the other two trims to create a piped look.
Step 9: You now have the option to either stitch in the ditch next to the “piped” edge, or you can glue or fuse baste the three layers together.
Your trim is ready to apply to your garment or project!
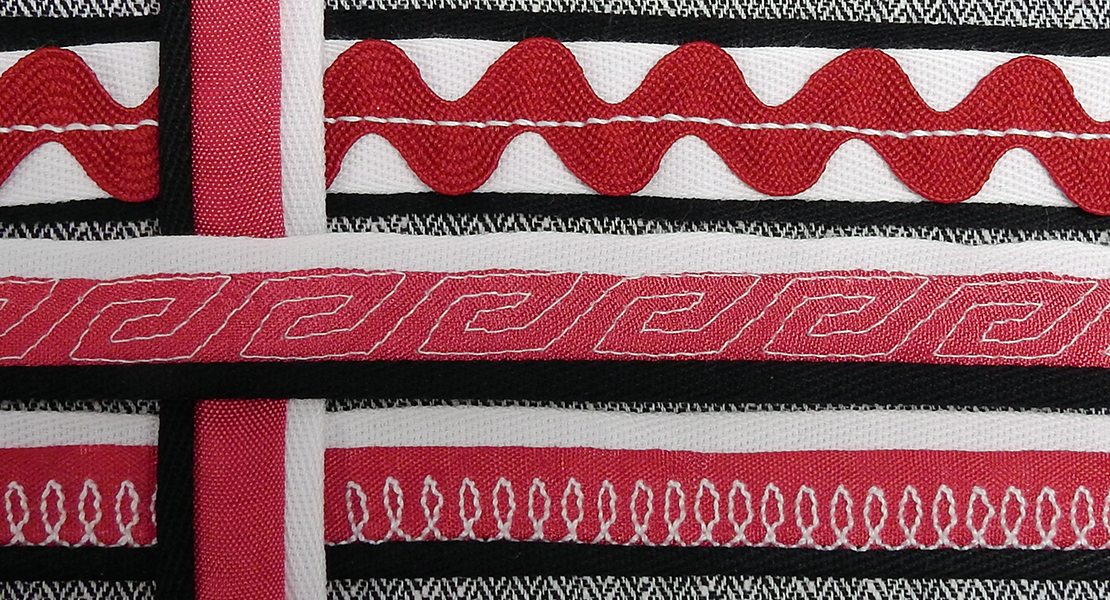
Just for fun, I also tried stacking the two twill tapes with a jumbo rickrack, then sewing down the center with contrasting thread as seen in the header. I love the whimsical, yet tailored look, and it’s another fast and easy option for creating your own design.