Stay Gold Quilt Along, Part 6: Binding and Bonus
Congratulations! You made it to Week 6! It’s been an incredible journey these past few weeks. I hope you have learned new techniques along the way and continue your sewing journey with me or the many other inspiring sewists out there. Let’s learn about the final step in the quiltmaking process – binding.
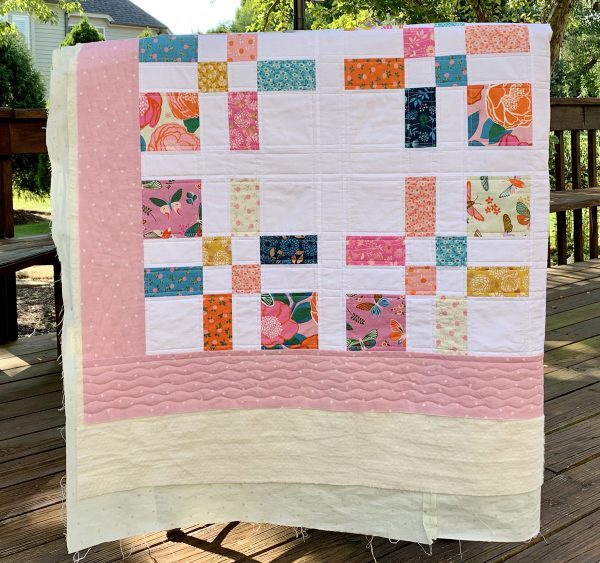
I am covering French fold binding also referred to as double-fold binding or double binding. This is a traditional way to bind a quilt and the most common. I would recommend learning this way first and then exploring other binding methods. Let’s begin!
Trim Excess Batting & Backing
Lay quilt on a flat surface, such as tile or wood floor. We need to trim excess batting and backing.
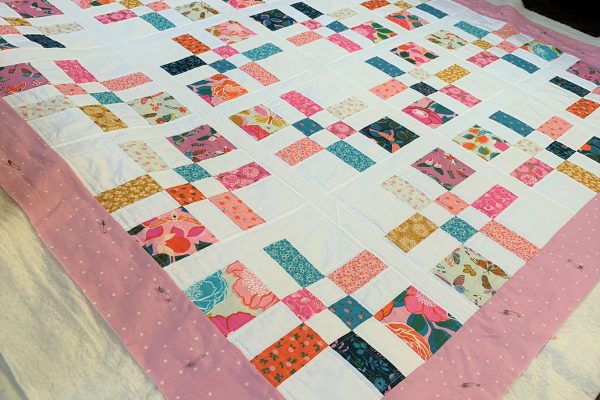
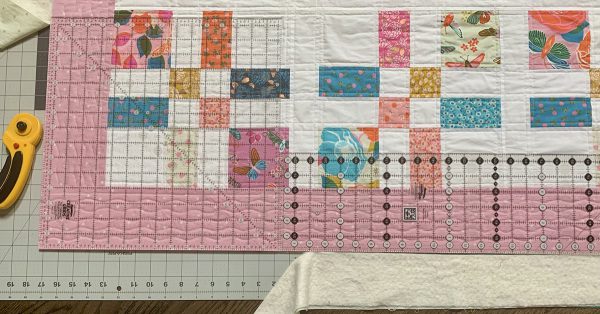
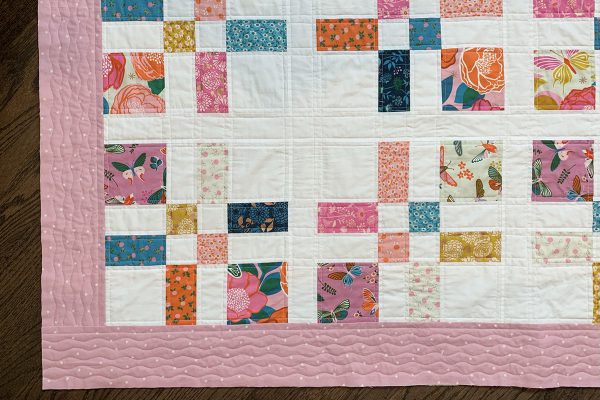
There are a couple of ways to do this. The simplest way is to use fabric scissors to remove the excess around the perimeter of the quilt. The other way is with a rotary cutter. I place 2 large cutting mats underneath the quilt. Then, I place a large square ruler in one corner of the quilt and a long, rectangular ruler along the side butted up against the square ruler. I trim with a rotary cutter making sure to stay on the 2 cutting mats underneath. Then, I reposition the cutting mats and rulers and cut the next section. It sounds cumbersome, but it goes pretty fast and you get a really nice straight edge and perfect corners.
Make Binding Strips
Measure the perimeter of the quilt and add 20”. Divide the total by 42” (width of fabric). Roundup. This is the number of fabric strips you will need for your binding.
I did the math for you:
- 54 1/2″ x 4 = 218 + 20 = 238 / 40 = 5.95
Let’s cut 6 1/2 strips, just to be safe. Decide how wide you want your binding. A very narrow binding is cut 2” and a good choice for mini quilts. A wide binding starts at 2 1/2″ strips which I tend to use for kid quilts. The most common size is 2 1/4” and the one I use the most. Traditionally, binding is cut on the bias but I never seem to have enough fabric and end up cutting on the straight grain. I would not recommend this for scalloped or curved binding but for something rectangular, it is just fine and many quilters do this. Cut 6 1/2 strips 2 1/4” x WOF.
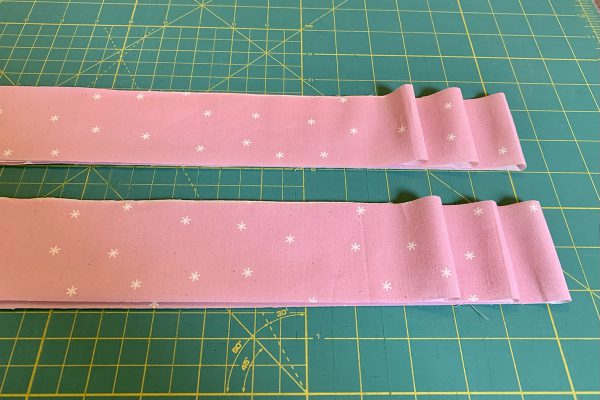
Attach your Patchwork Foot to the machine. Sew the strips together using the same technique we did for the sashing and the border. Place two strips right sides together at a 90-degree angle. Mark a 45-degree line across the top strip. Place a pin to hold in place. Rather than sewing on the marked line, sew a hairline to the right of the line. Soon enough you’ll be able to sew without having to mark the line.
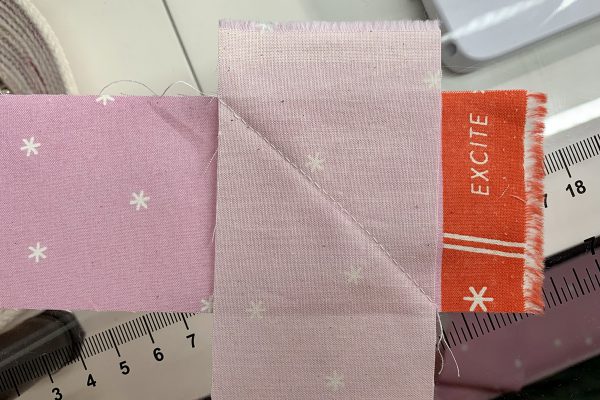
Trim seam allowance to 1/4” and press seams to one side. Continue until all strips are sewn together into one long strip. Press binding in half lengthwise. Now the binding is ready to be sewn onto the quilt!
Binding the Stay Gold Quilt
Sew Binding on Quilt
With French fold binding, the binding is machine sewn onto the front of the quilt and hand-stitched to the back. Layout the quilt on the floor right side up. Place one end of binding at the bottom on the right side. You will not be pinning during this step. Lay binding around the perimeter of the quilt making sure no seams will land in the corners. If so, adjust the beginning placement a couple of inches. Having a seam in the corner makes it difficult to get a nice mitered corner. Also, make sure you have enough binding to go around the quilt plus some excess. When you determine your start point, place a pin there.
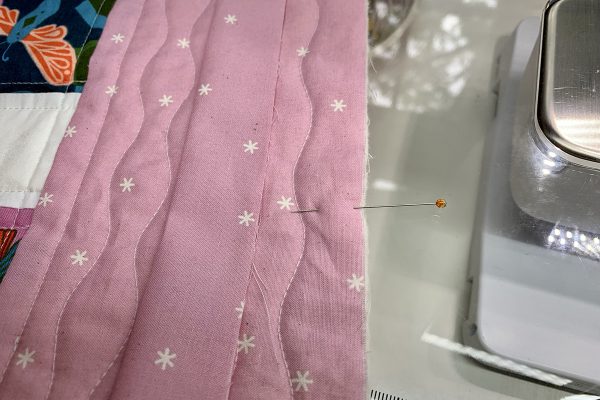
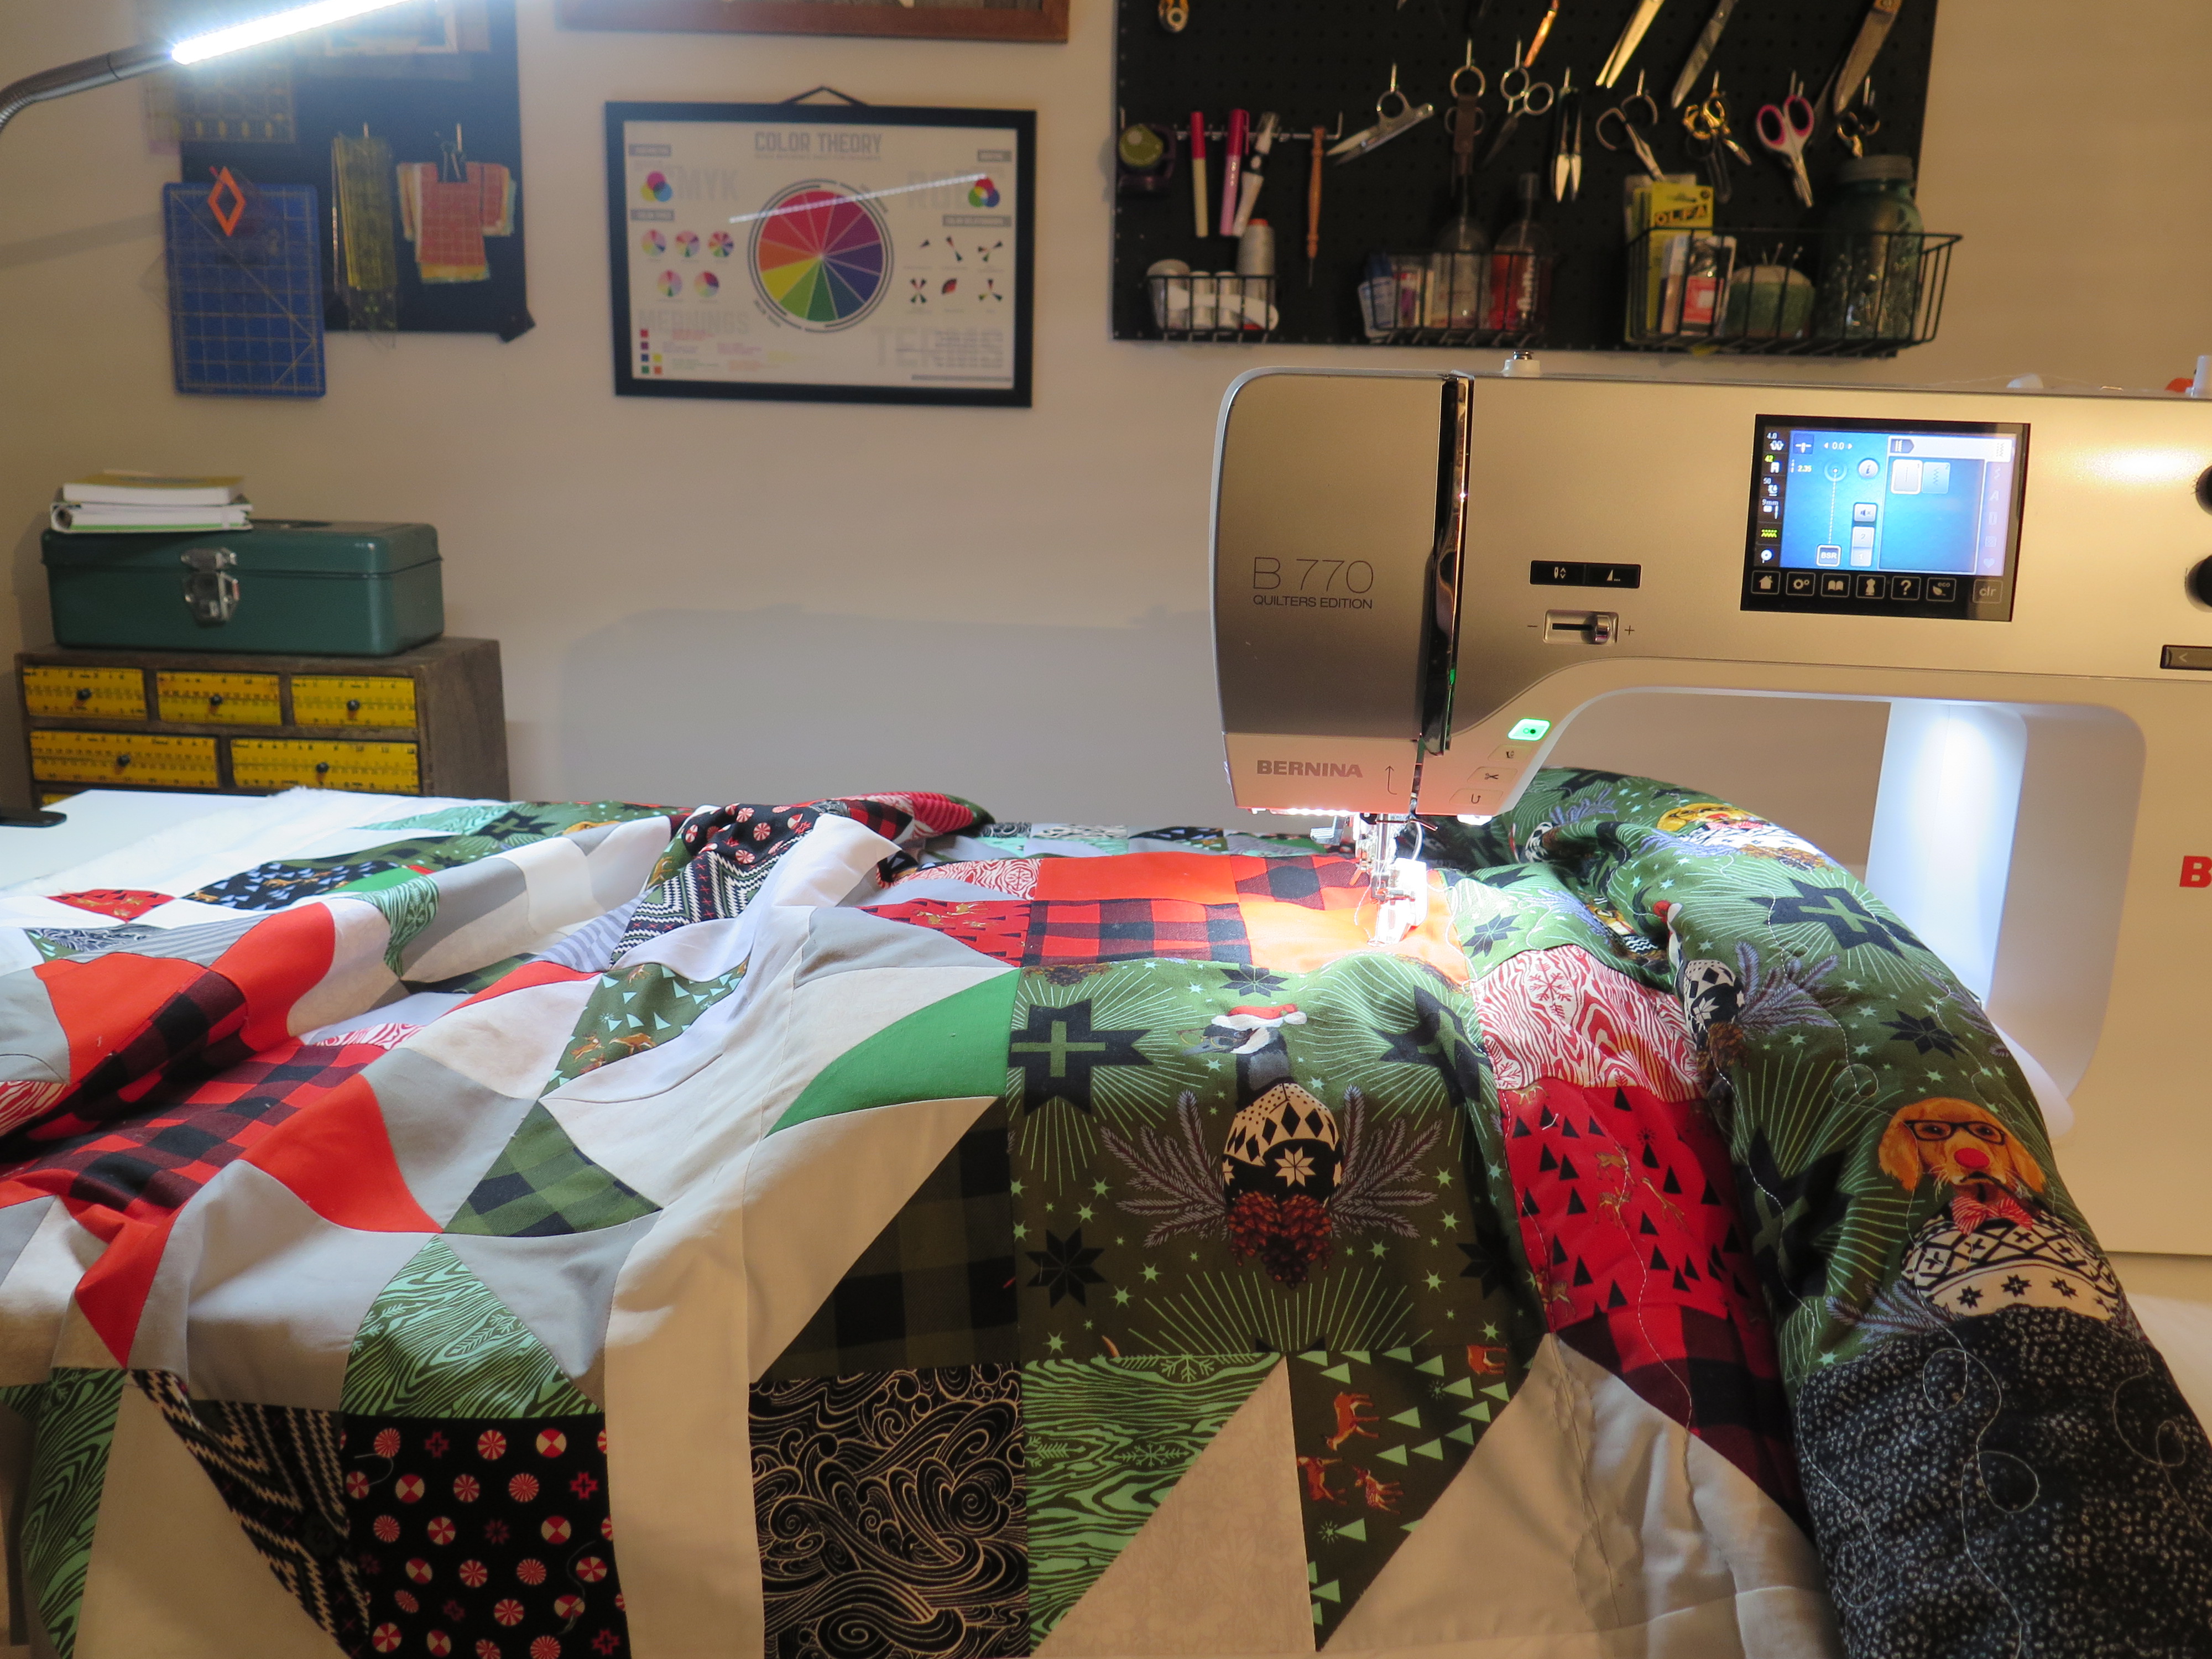
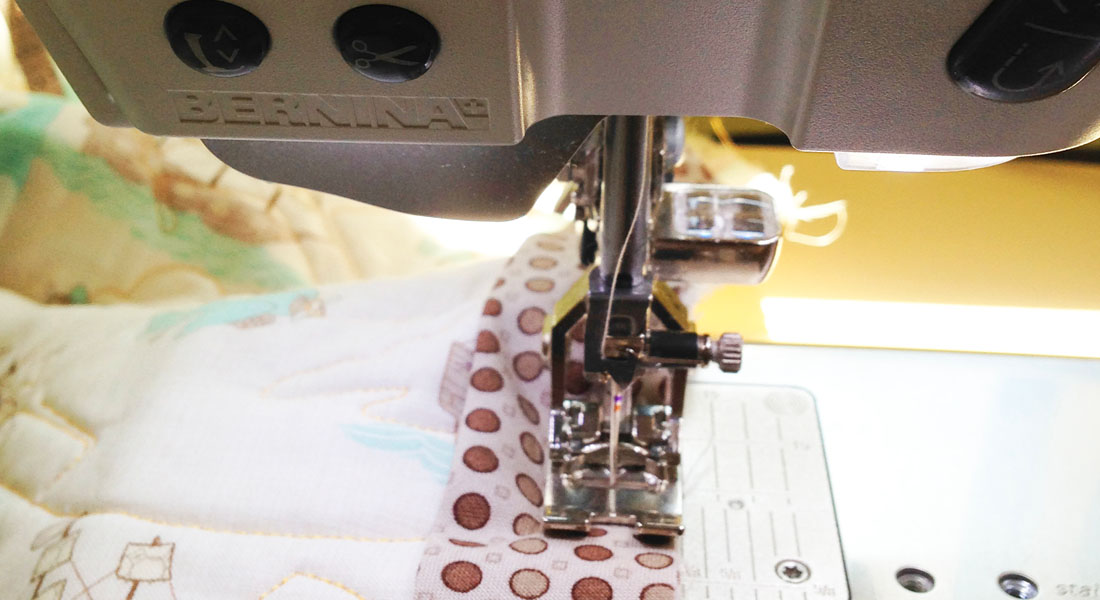
Many quilters use Patchwork Foot #37D/57D/97D to sew on the binding, but I prefer Three-Sole Walking Foot with Seam Guide #50. We are sewing through several layers—two layers of binding, quilt top, batting and backing! Leave an 8” tail and align the raw edges of the binding with the raw edges of the quilt. Lower walking foot.
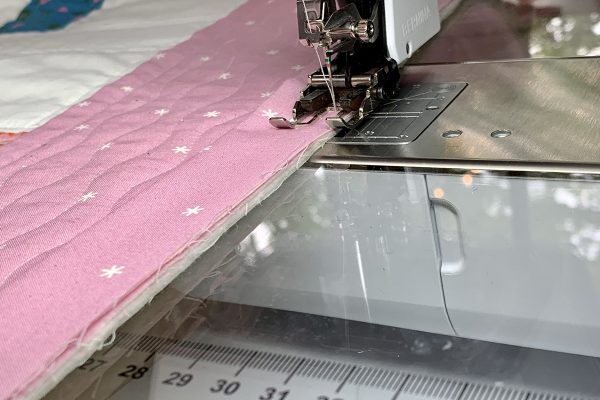
Line up the raw edges with the 1/4” mark on the right toe. Sew a securing stitch and sew about 1” from the first corner.
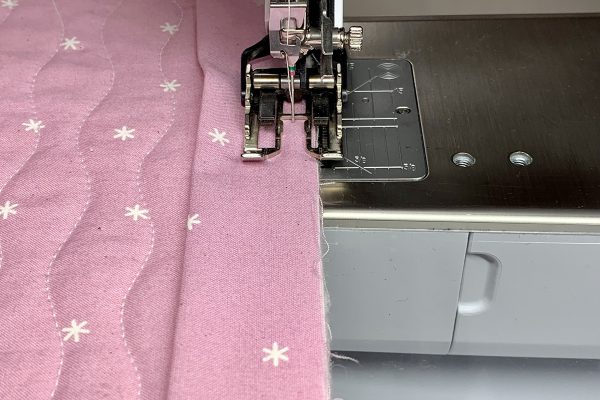
Slow down as you near the corner and stop 1/4” from the end. There is a 1/4” mark on the foot that indicates 1/4” in front of the needle.
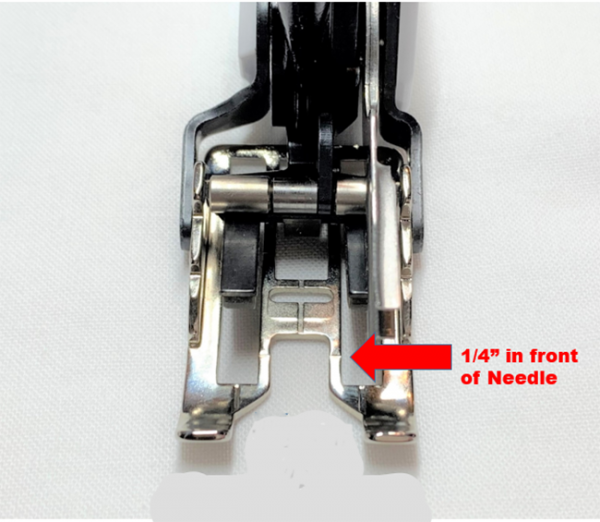
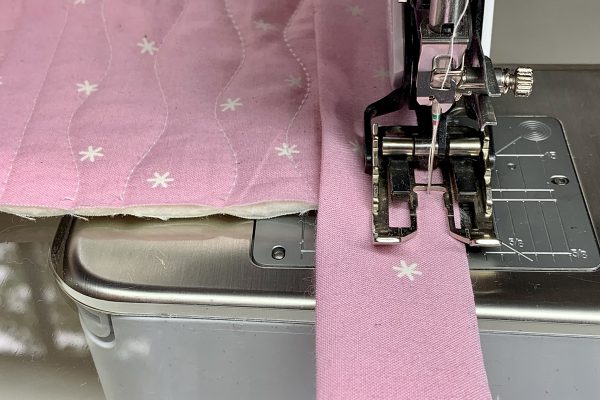
Raise needle. Gently pull the quilt out from under needle so that the stitched line is horizontal to you. Fold the binding up and away from the quilt at a 45-degree angle. Keep the edge of the binding in line with the edge of the quilt. Finger press in place.
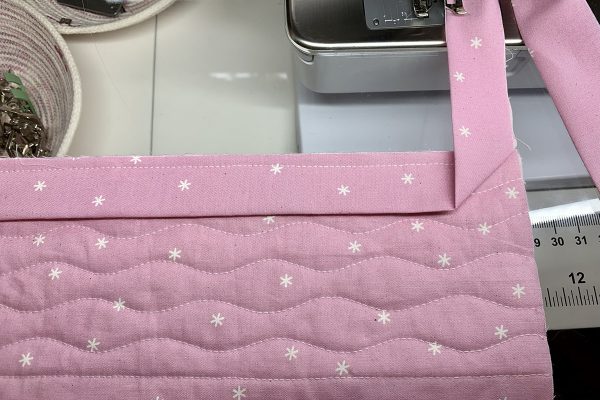
Fold binding down so the edge of the binding is even with the raw edge of the quilt. Keep the edge of binding aligned with the edge of the quilt. Finger press in place.
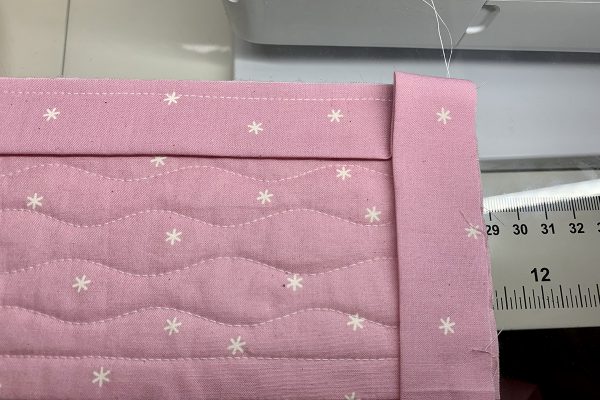
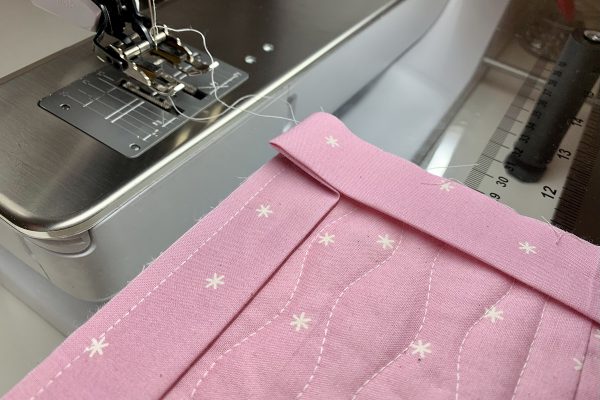
Place quilt binding under foot. Lower foot about 1/4” from the top edge and adjust so raw edges are on the 1/4” mark of the right toe.
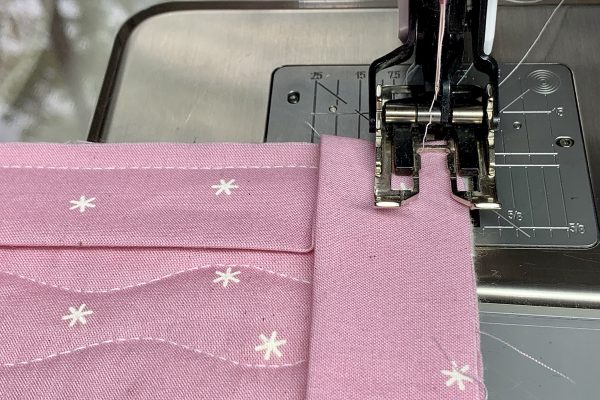
Sew a securing stitch and sew until you reach 1/4” from the next corner. Follow the same process mitering the corners until you are about 12” from the start point.
Join Binding Tails
Stop stitching about 12” from where you started. Place the end tail over the excess start tail. Cut a 2” piece of the end tail and lay it on top. Basically, the end tail should overlap the start tail by the width of the binding. For example, if your binding is 2 1/4” then the end tail should overlap the start tail by 2 1/4″.
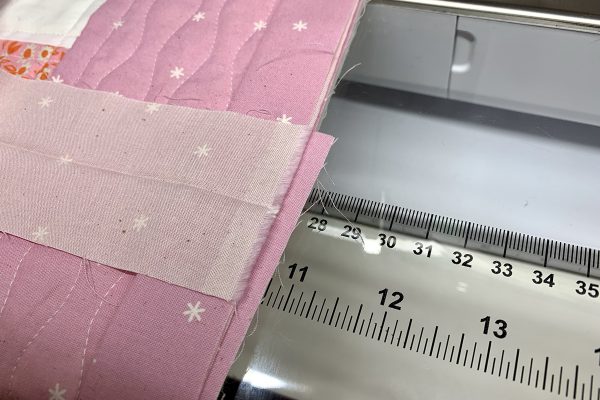
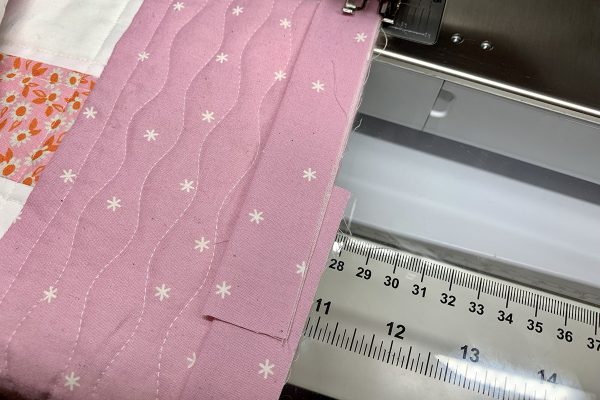
Place the end tail right side up. Place the start tail right side down. Being careful not to twist the binding ends, place them right sides together at a 90-degree angle. We’re joining them the same way we joined the binding strips. It’s a bit fiddly now because the strips are attached to the quilt. Pin in place.
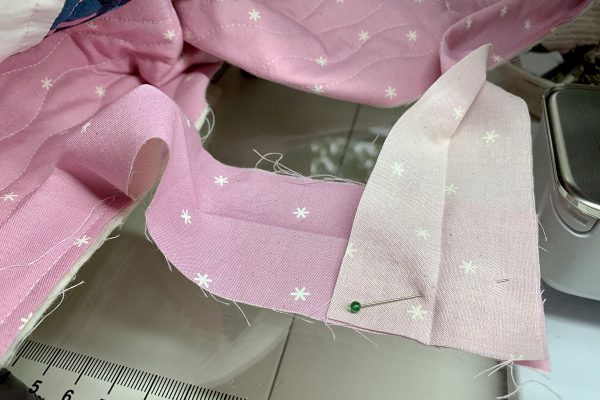
Sew. If it helps, draw a diagonal line first. Place the joined binding along the raw edge. If all looks good, trim seam allowance and stitch in place.
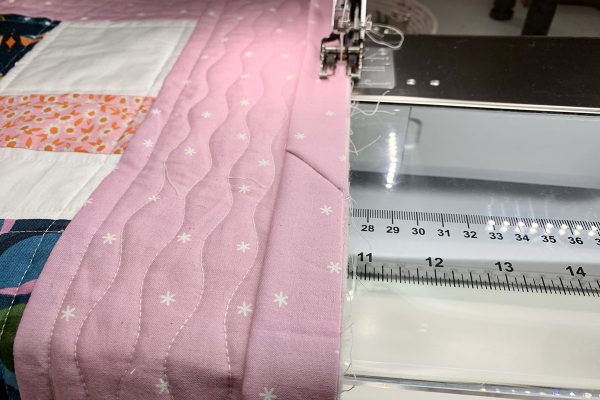
Hand Sewing to Back
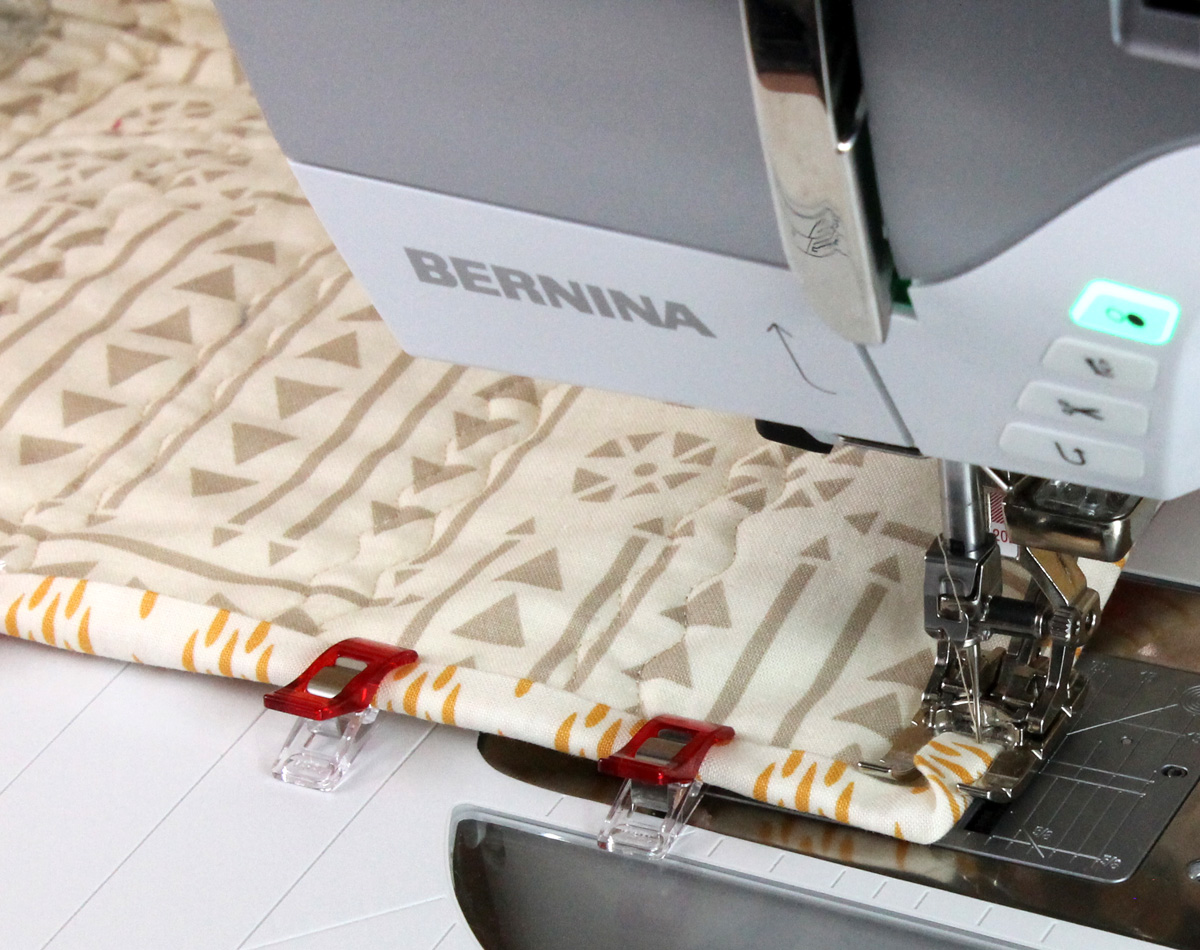
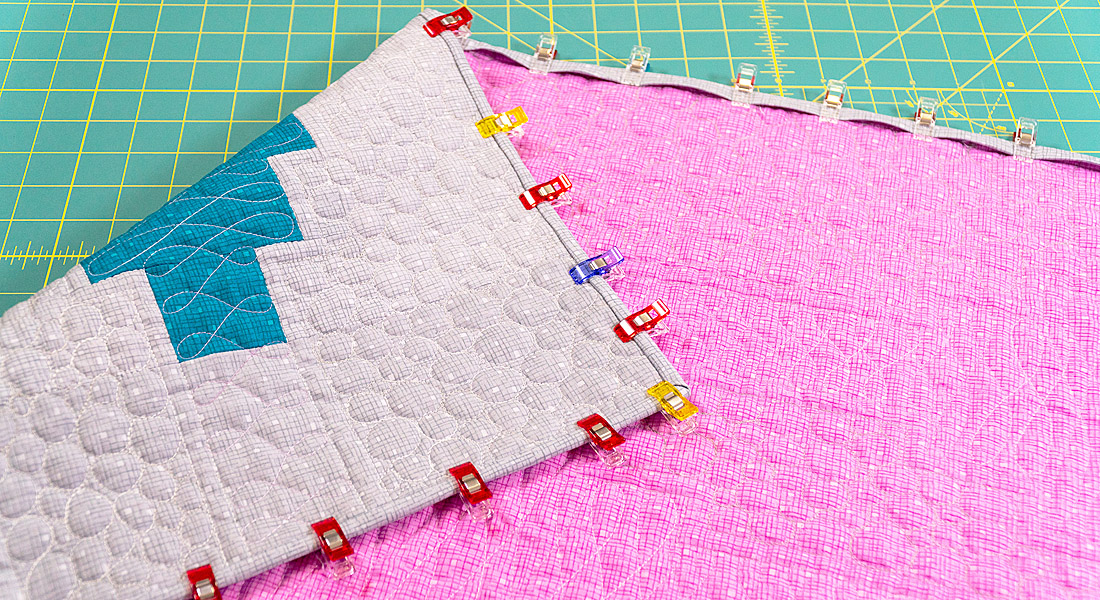
Wrap binding to the back by placing wonder clips every 6” – 8”. You will also notice how the corners form a nice miter!
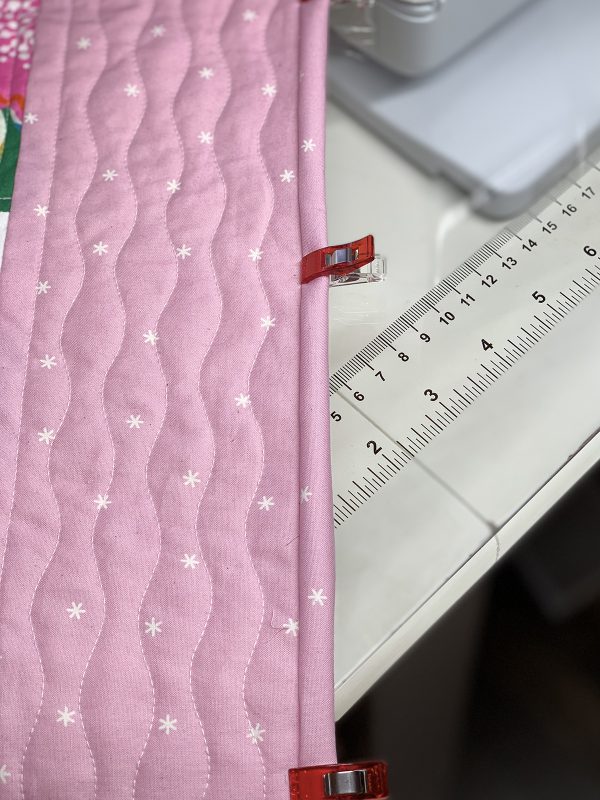
Thread your sewing needle. I am using a Betweens/Quilting needle in size 9. Use a Mettler Cotton Thread 60 wt in a color that matches the binding. Some say to match the backing, but for me matching the binding works better. Thread the needle and knot the end. Decide where you want to start and make a stitch in the seam allowance.
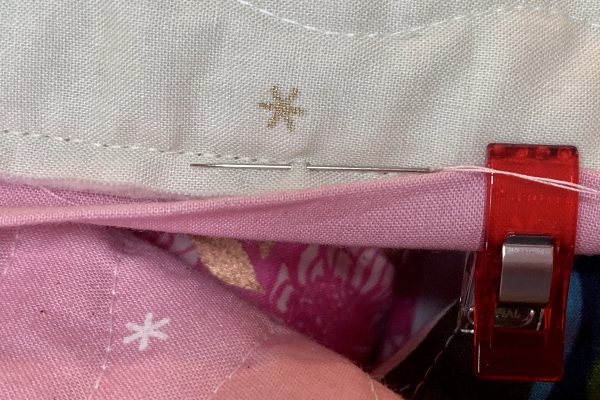
Directly above the stitch, push the needle through the fold of binding 1/4” in and out.
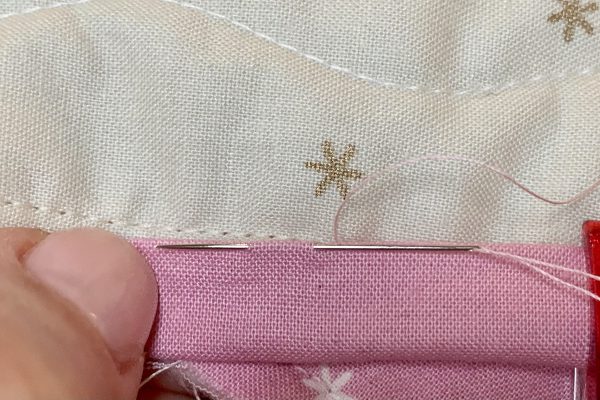
Then, take a small stitch into the backing fabric.
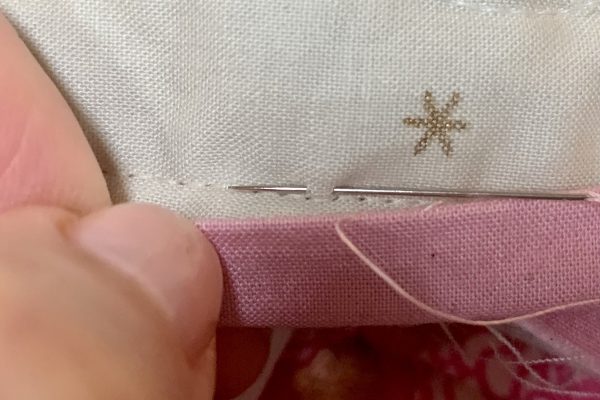
Continue sewing through the binding fold and then into the backing fabric until you reach a corner.
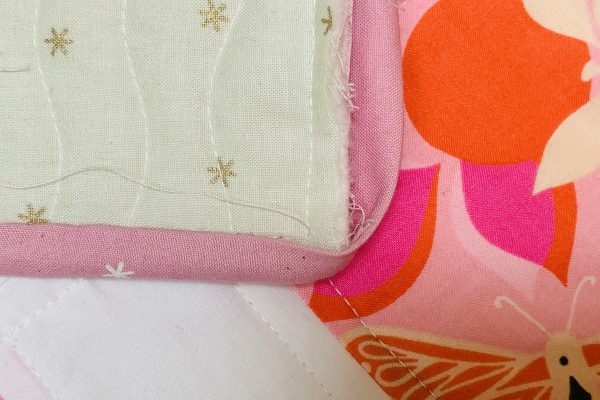
Miter the corner and take a couple of stitches to secure.
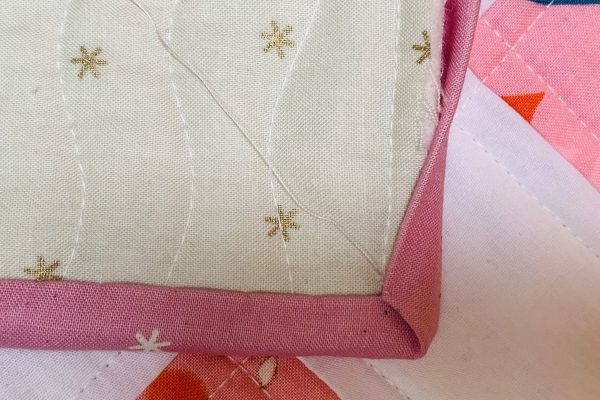
Continue to sew on the binding. I enjoy this part of the quiltmaking process – it’s one of the few times I get to do hand sewing. During this process, I think about what to put on the quilt label. Speaking of quilt labels, remember the selvedges we saved when cutting the fabric in Blog Post 1?
Ruby Star Selvedges
We’re going to piece the selvedges together. I usually don’t save selvedges, but these were too pretty to toss. There are some quilters who save all their selvedges and come up with creative ideas to use them. We’re going to make a quilt block with them to add to the back as our quilt label. This way we have the fabric company, fabric lines and designer’s name on the quilt back.
Start by sewing the strips together. You can use a flat, base fabric to sew the strips onto, but it’s not necessary.
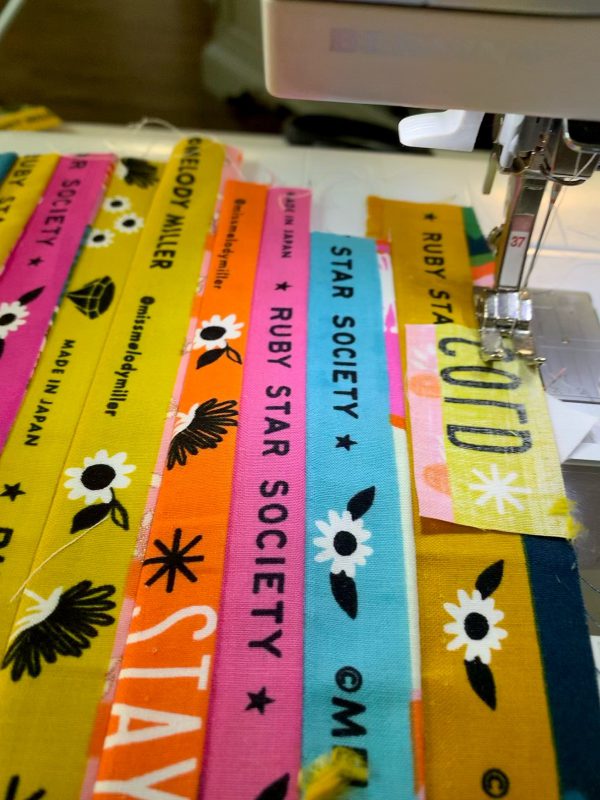
Sew 4 sets that are roughly 6” x 6”. Note: If you want to make this your quilt label, replace one of the selvedges with a white fabric strip where you can add your name and date.
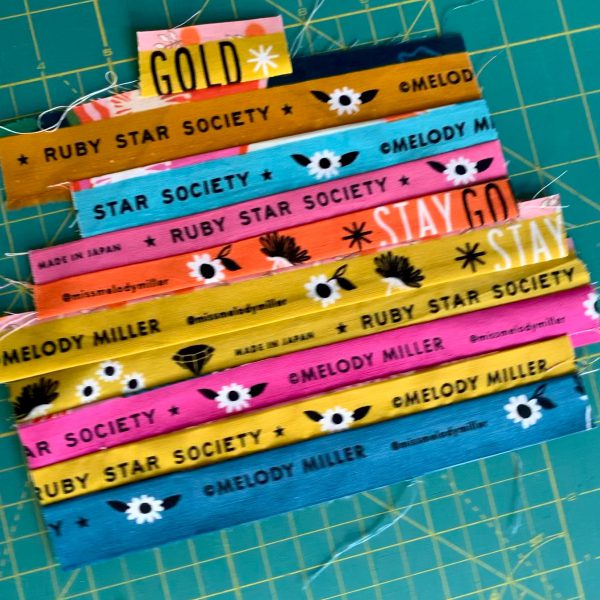
Press and trim the 4 pieces so they are the same size. Mine are 5” square. You can make them smaller as long as you have 4 squares that are the same size.
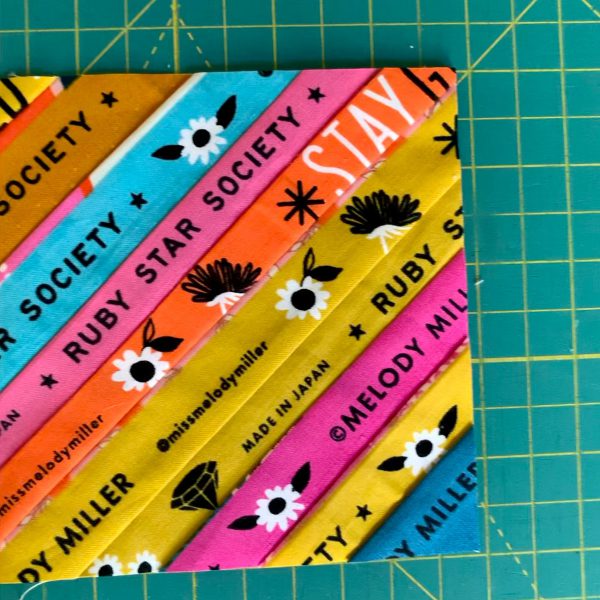
Layout the blocks so they form an “X”.
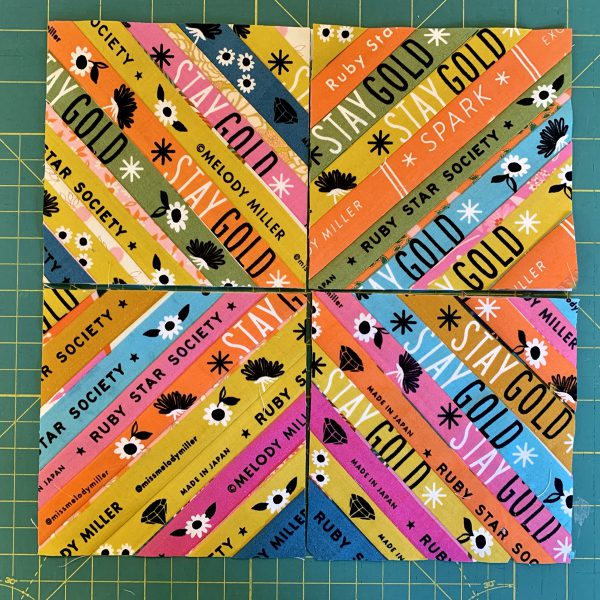
With Patchwork Foot #37/37D, 57/57D, 97/97D, sew the top two blocks together. Then, sew the bottom two blocks together. Lastly, sew the two rows together and press. You should have a 9 1/2” square block.
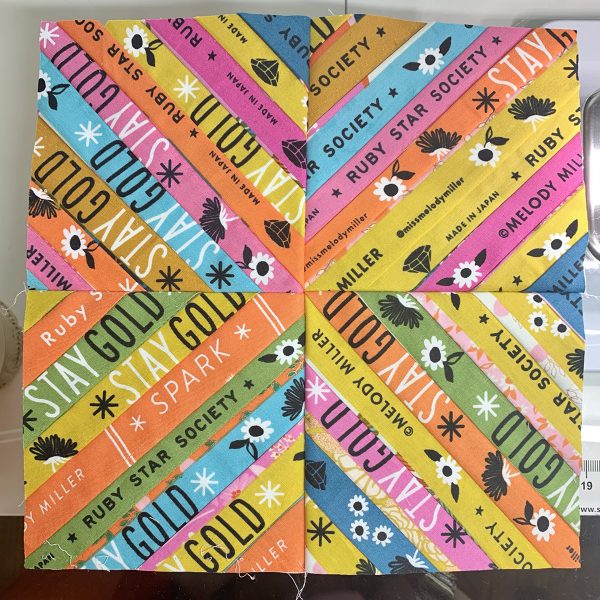
Cut a 9 1/2” square from scrap fabric and place right sides together with the pieced block. Stitch around the perimeter leaving a 3”-4” opening. Trim corners.
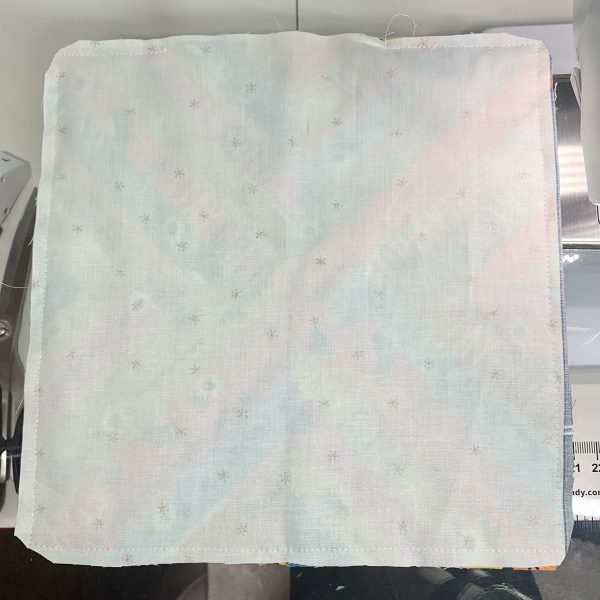
Turn right side out. Carefully form corners using a point turner, such as Clover Point 2 Point Turner. Press and stitch opening closed. For the final touch, hand stitch to the quilt back with a whip stitch.
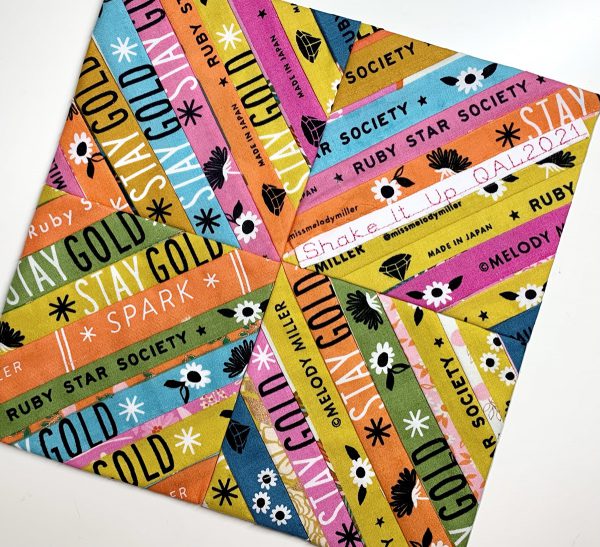
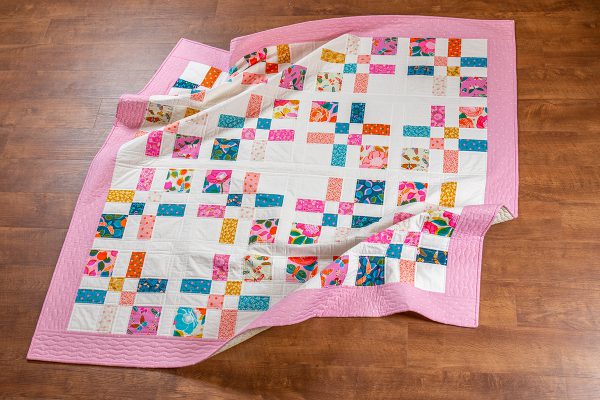
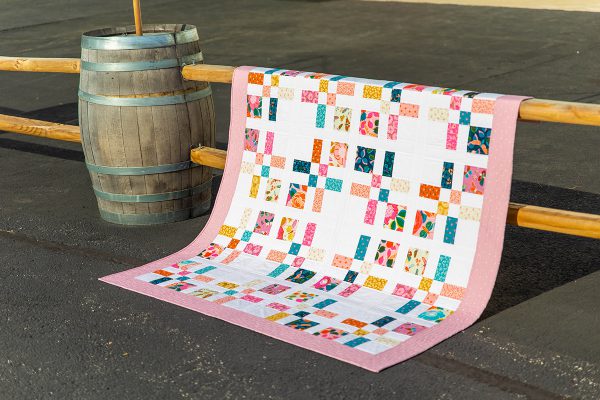
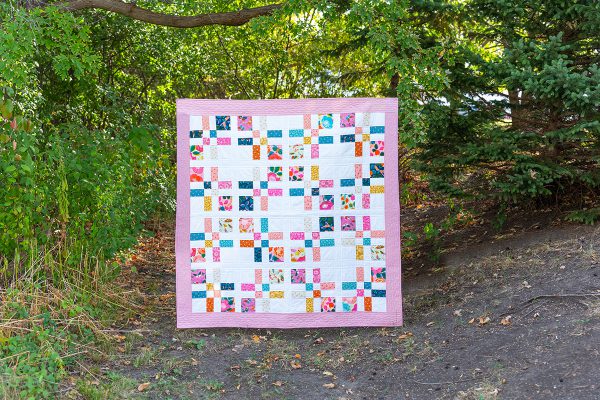
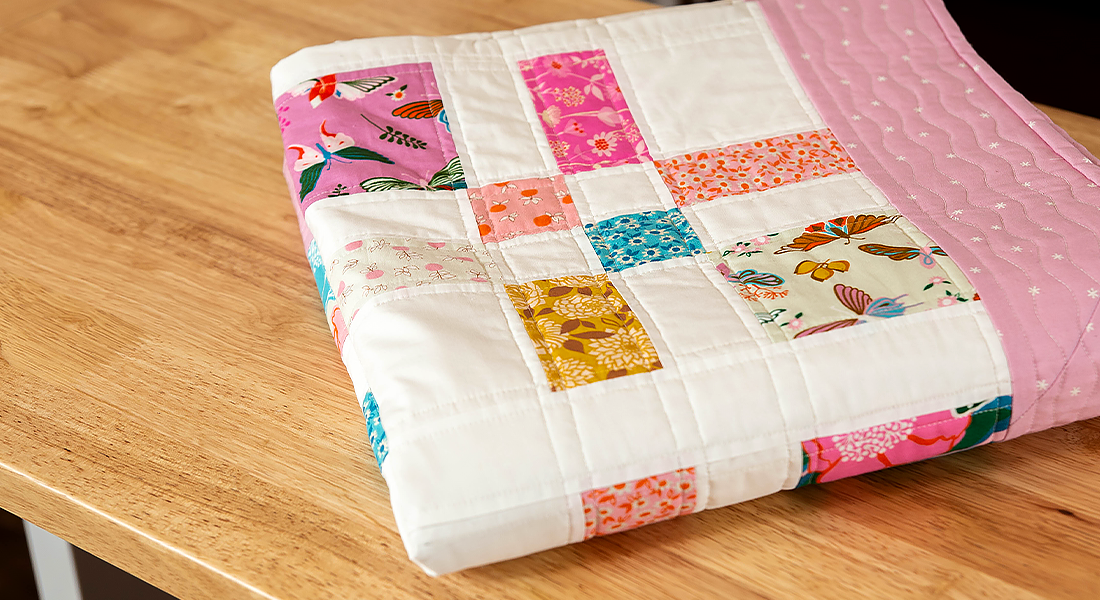
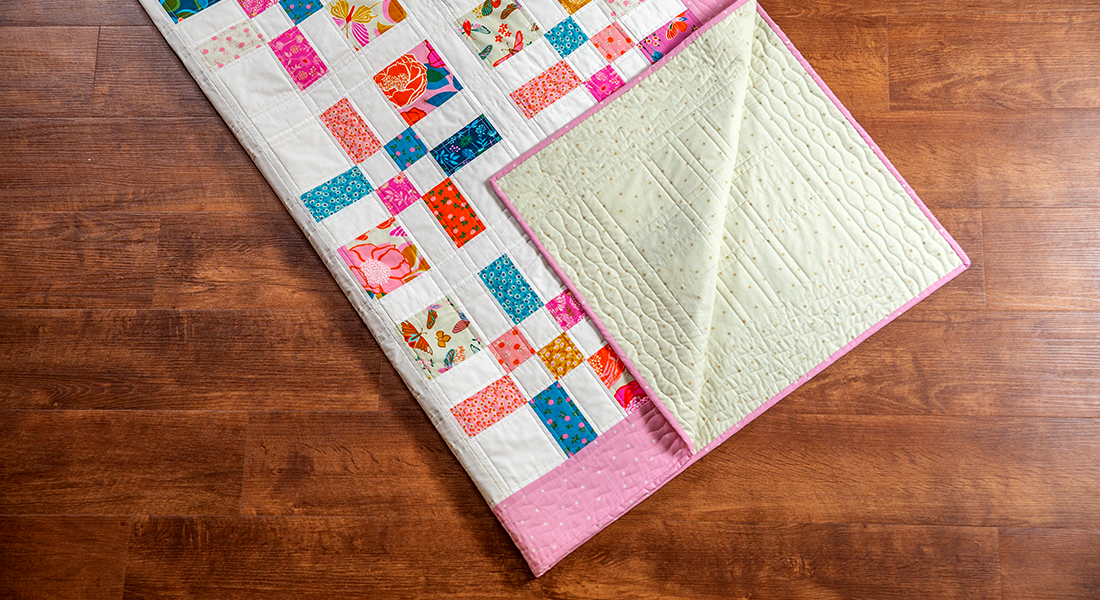
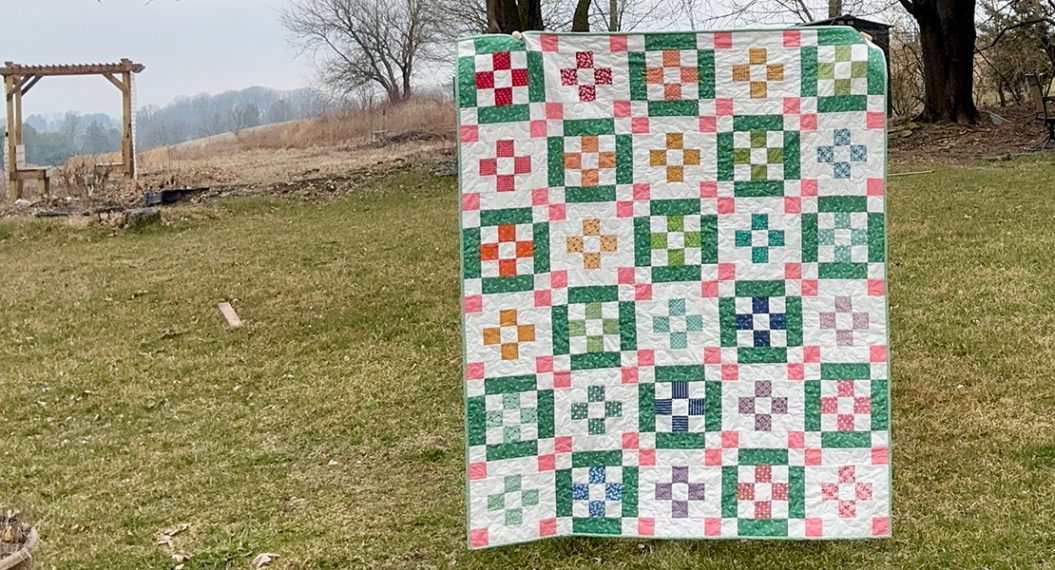
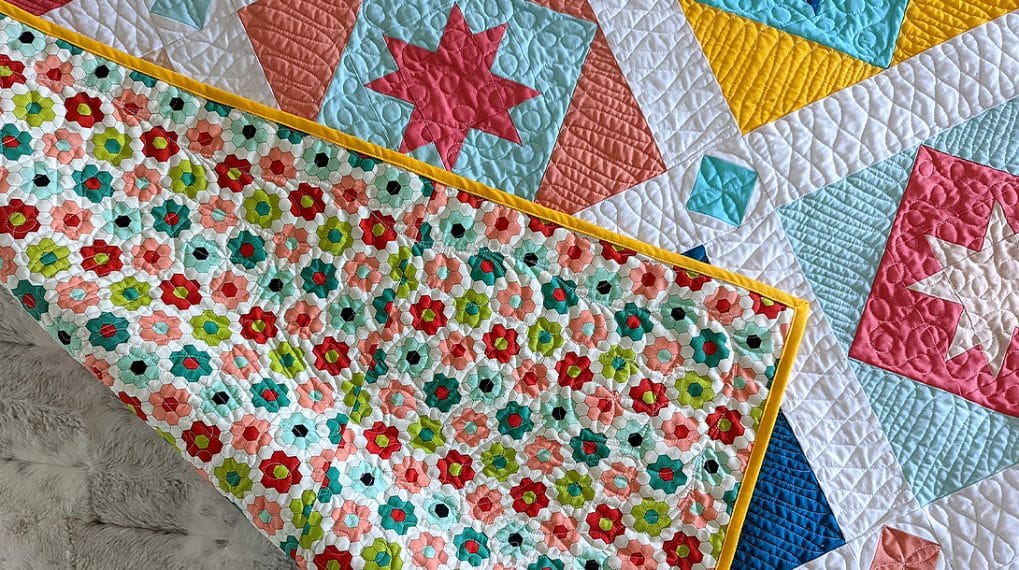
Congratulations on your Stay Gold Quilt! I hope my tutorials were easy to understand. You may have discovered that you like certain parts of the process more than others. Maybe you liked the piecing better than the quilting. Or maybe you liked selecting your own fabric or changing the pattern a bit. It’s your quilt and there’s no such thing as the quilt police. I encourage you to continue making quilts, continue learning and most importantly, continue making friends in the sewing and quilting community (in-person and online). Welcome to the community! Aren’t you glad you decided to Stay Gold? ?
Stay Gold Quilt Along
- Part 1: Prep and Cut Fabric
- Part 2: Counterchange Cross Blocks
- Part 3: Finish Blocks, Layout and Sashing
- Part 4: Finish the Quilt Top and Quilting Prep
- Part 5: Straight Line Quilting
- Part 6: Binding and Bonus
What you might also like
2 comments on “Stay Gold Quilt Along, Part 6: Binding and Bonus”
-
-
I’m happy to hear you benefited from the tutorials! I hope your quilt turned out beautiful! Look out for more quilt alongs in the future! Happy sewing!
-
Leave a Reply
You must be logged in to post a comment.






Please continue making tutorials like this. So helpful and easy to understand!