Twelve Steps to Free-Motion Quilting
Are you ready to machine quilt? In less than five minutes, you can have your machine ready to create gorgeous free motion quilting (FMQ).
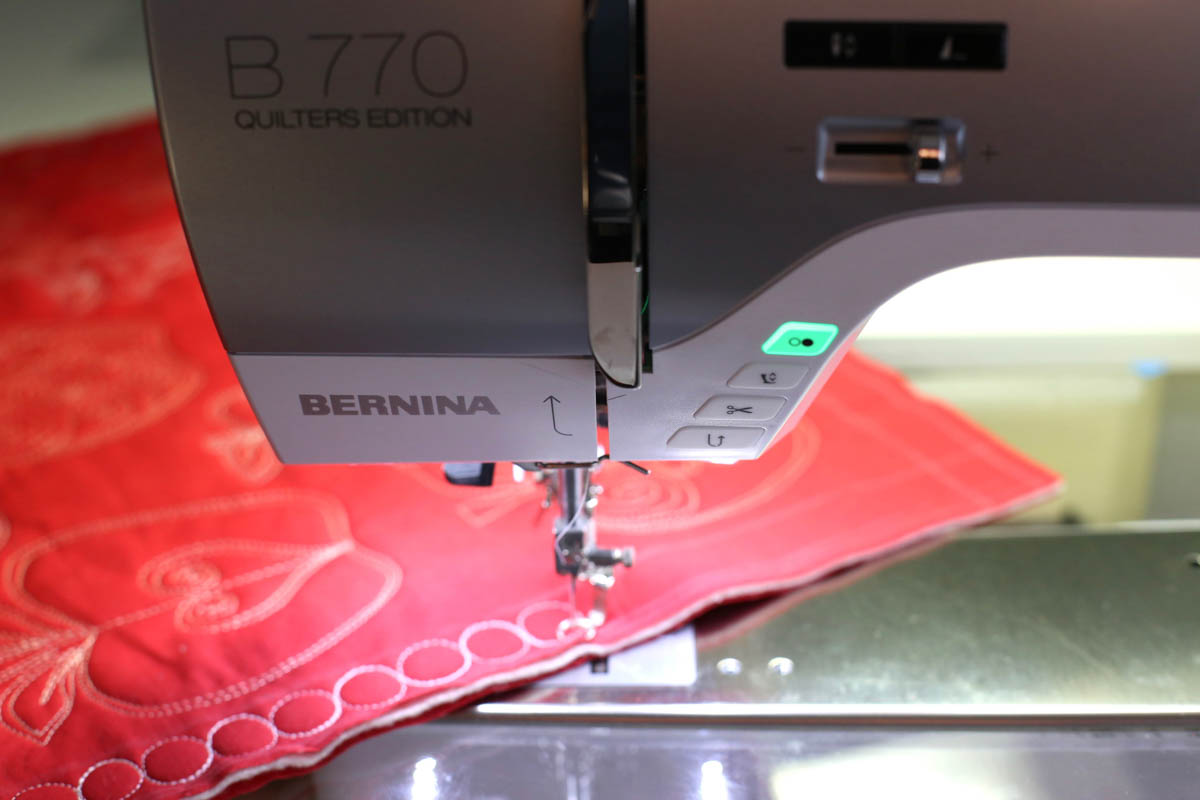
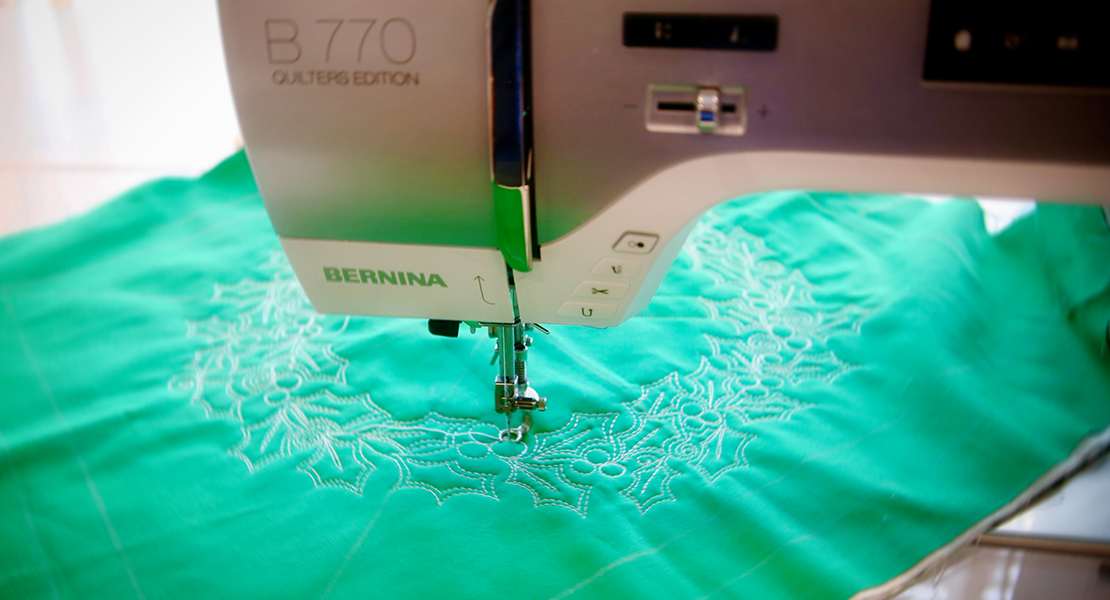
Whether your sewing machine is old or new, like the BERNINA 770 QE that I use for all of my quilting, there are a few machine adjustments required to allow the quilt to move freely and to ensure perfect stitches.
- Clean and oil
- Thread the bobbin
- Attach a Straight Stitch Plate
- Insert a new needle
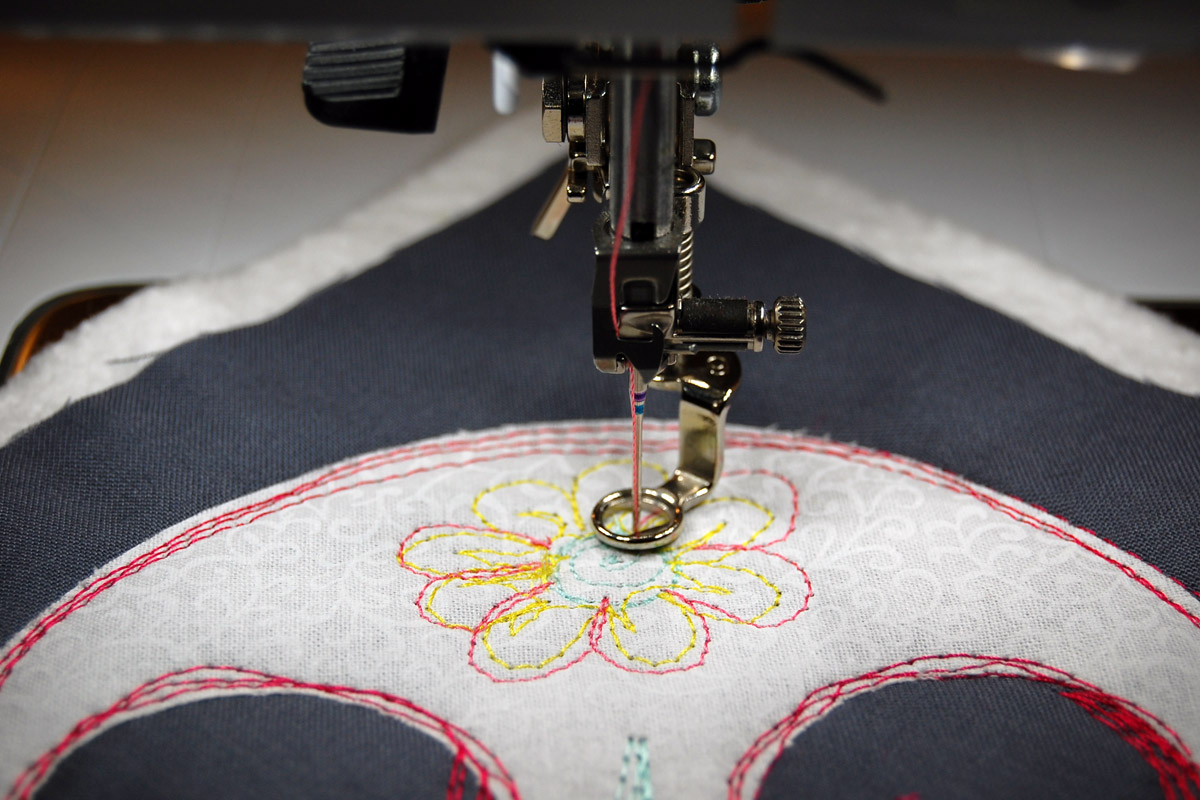
- Attach a Darning Foot
- Tape Down a Teflon Sheet
- Lower the Feed Dogs
- Set Needle Down Function
- Thread the top thread
- Stitch a sample
- Adjust tension
- Start quilting!
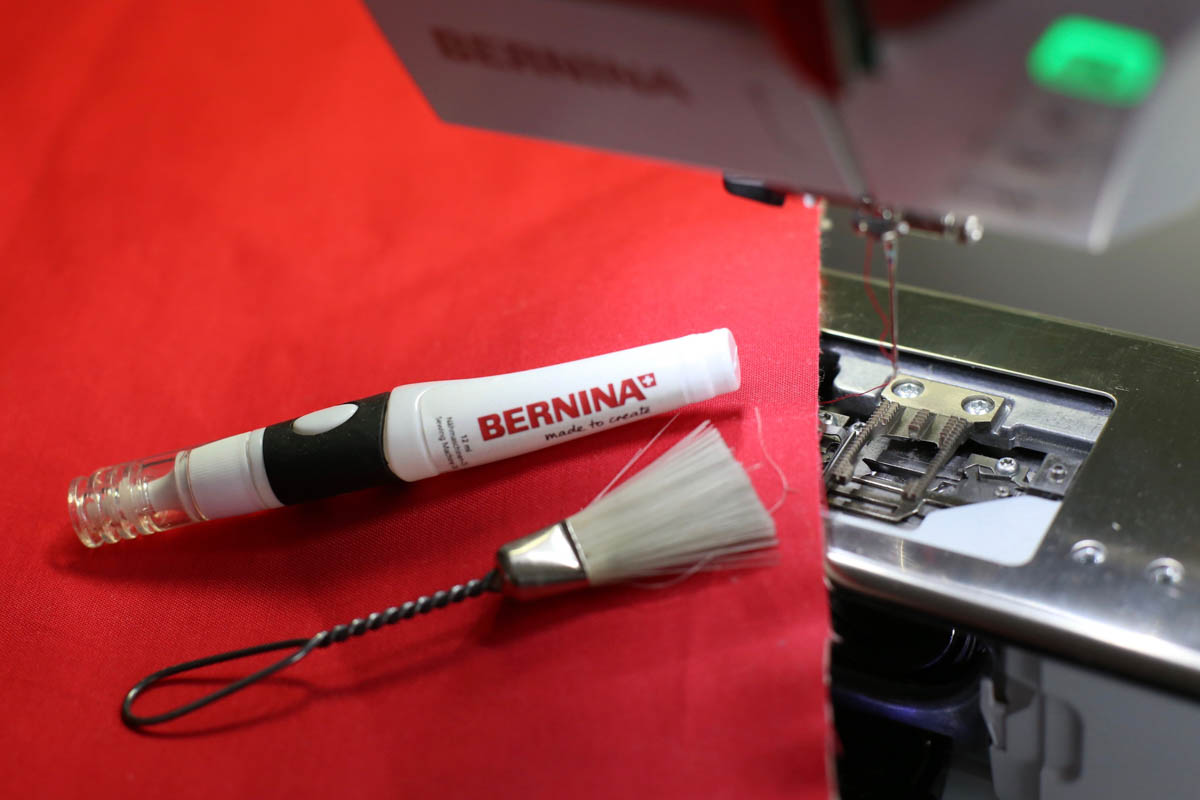
Clean and Oil
The rapid stitch rate (up to 1000 stitches/minute) of quilting over fabric and batting leads to lint build up in the bobbin case. Keep your bobbin case clear of lint and loose threads with frequent cleaning and oiling so the hook can make a perfect stitch.
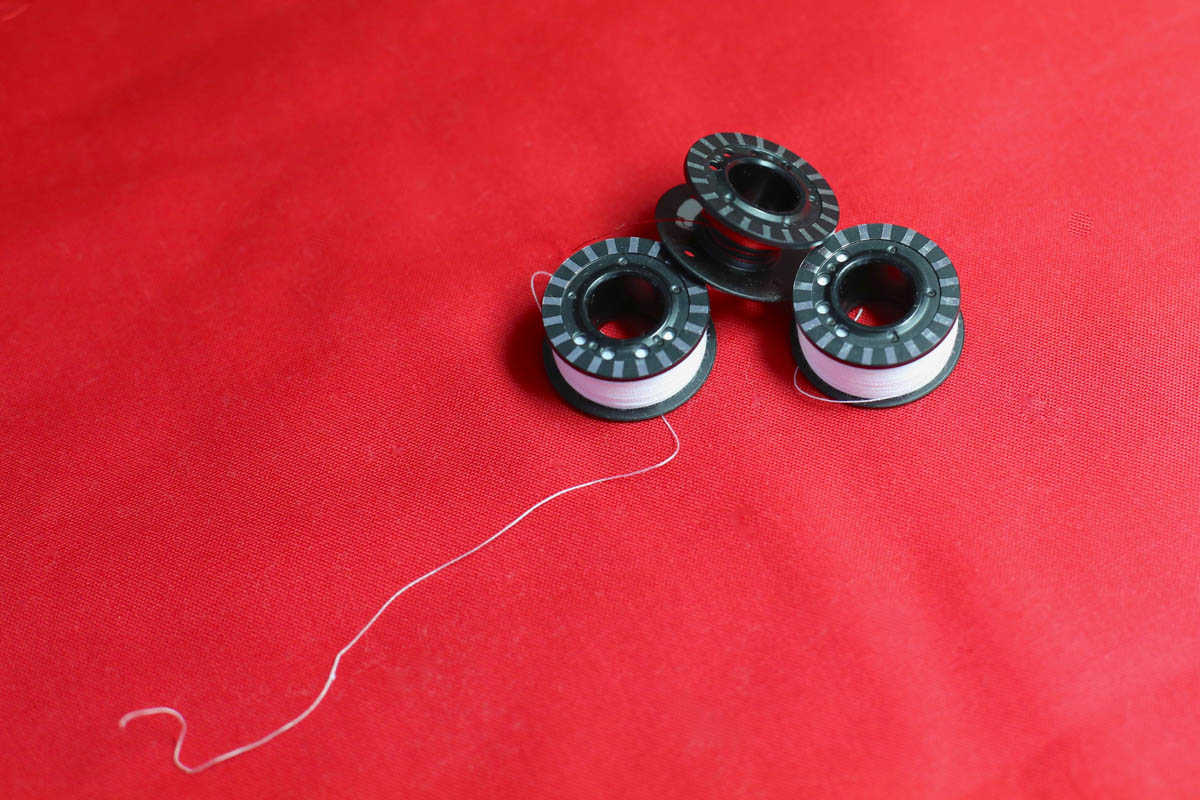
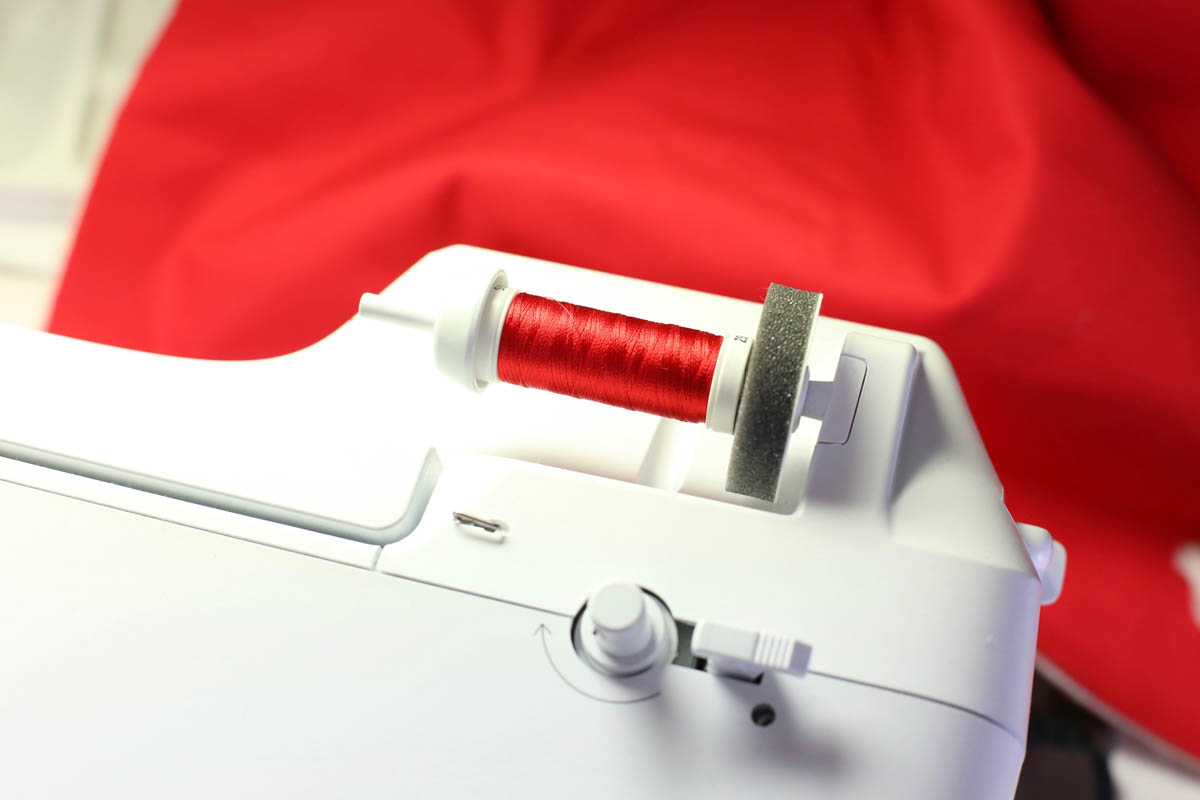
Thread the Bobbin
Once you start quilting you won’t want to stop, so make extra bobbins. Even with BERNINA’s extra large bobbins, you’ll need at least three full bobbins to get started.
Attach a Straight Stitch Plate
The Straight Stitch Plate has a smaller opening than the Standard Stitch Plate used for general sewing. The narrow opening provides more support to the quilt as the needle penetrates it and prevents the fabric from being pushed into the needle opening.
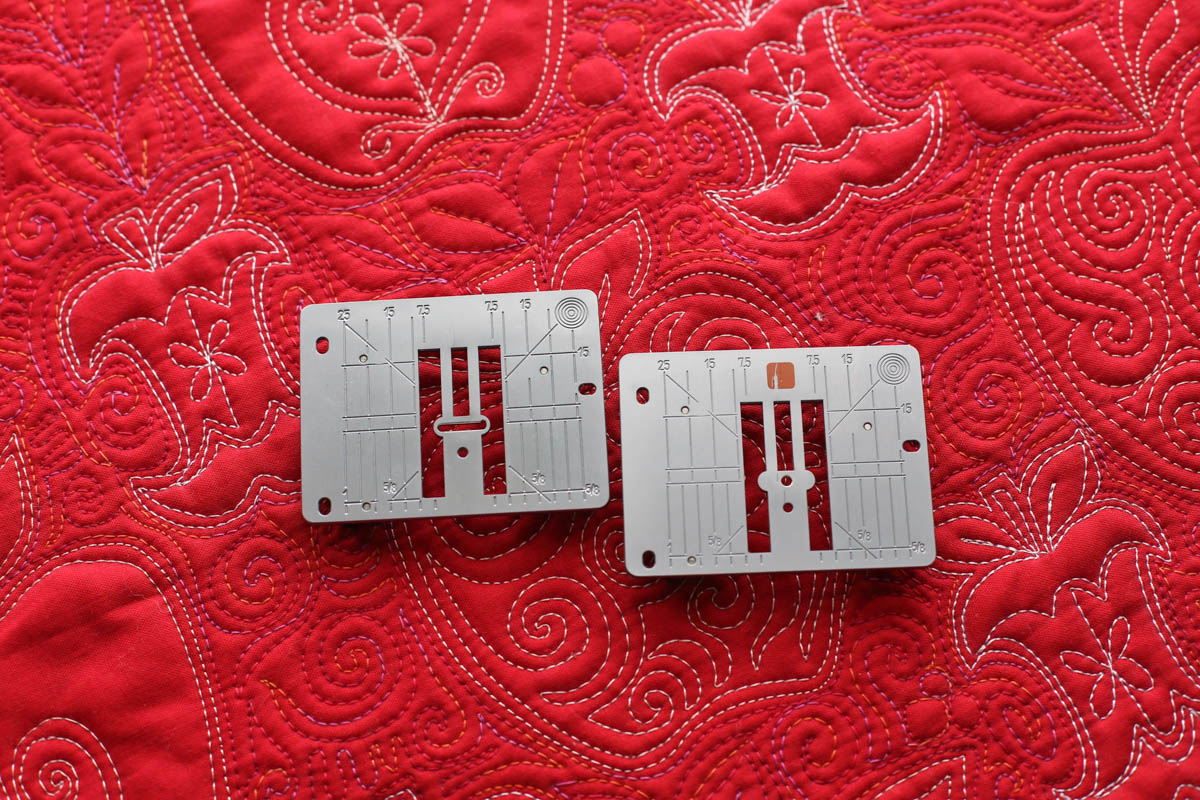
The Straight Stitch Plate is essential to create beautiful quilting stitches.
If your machine has a Security Function, enter the Straight Stitch Plate option. Your machine will then prevent stitching a wider stitch and damaging the needle when you return to general sewing.
Insert a New Needle
There are many needle types that are appropriate for Free Motion Quilting including Universal, Embroidery, Denim, Quilting, and my favorite, the Topstitch needle. Choose the size of the needle to match the weight of your thread. Replace your needle whenever starting a new project for best possible stitch formation.

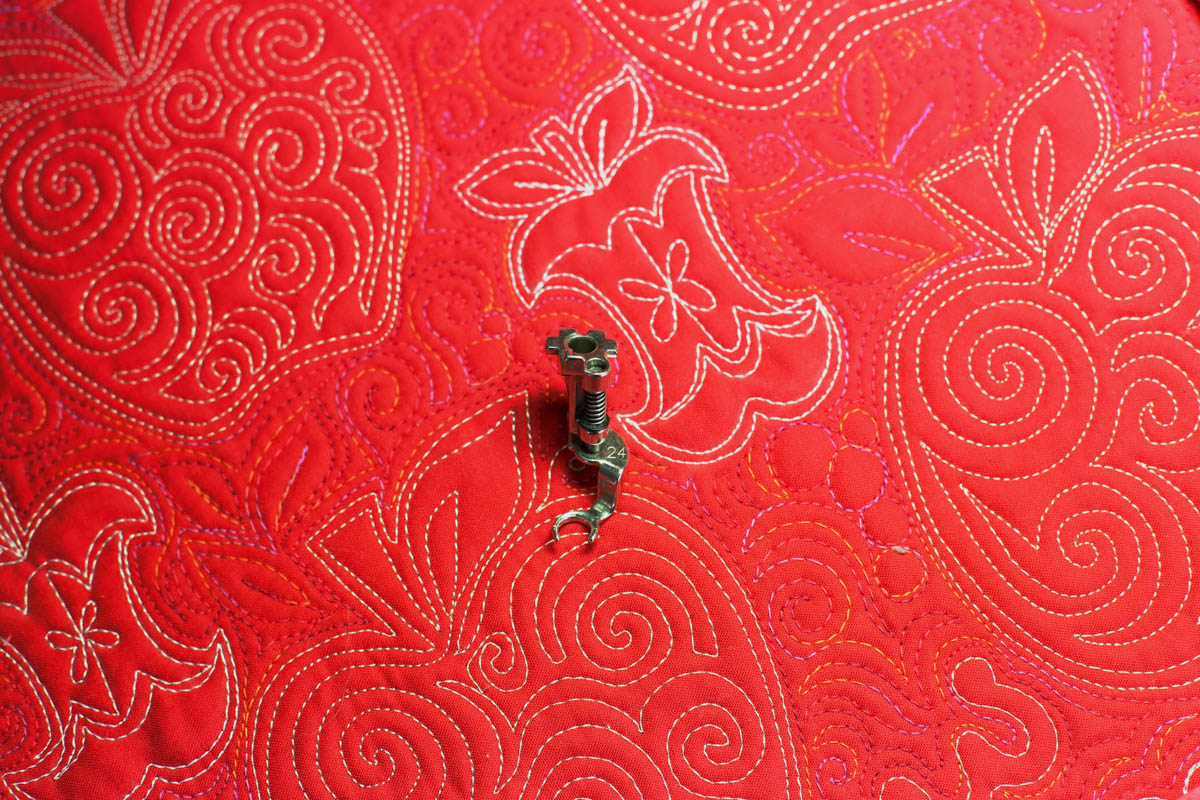
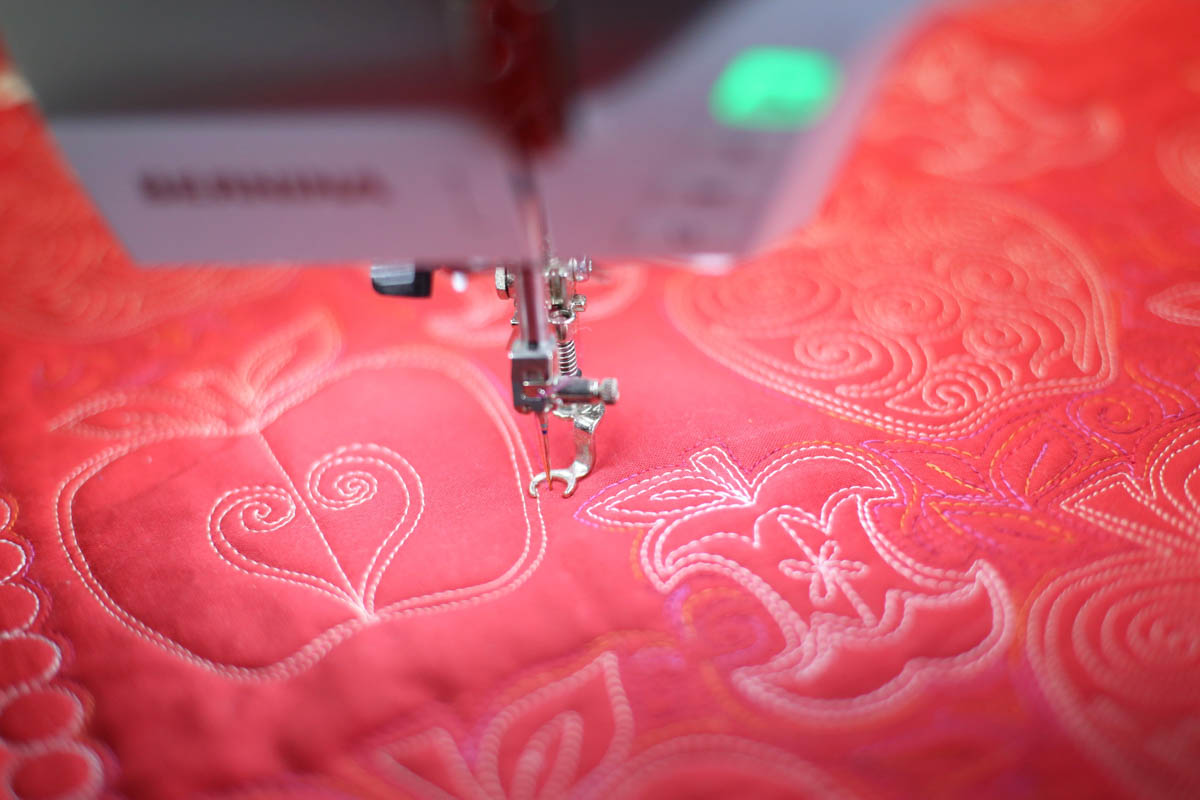
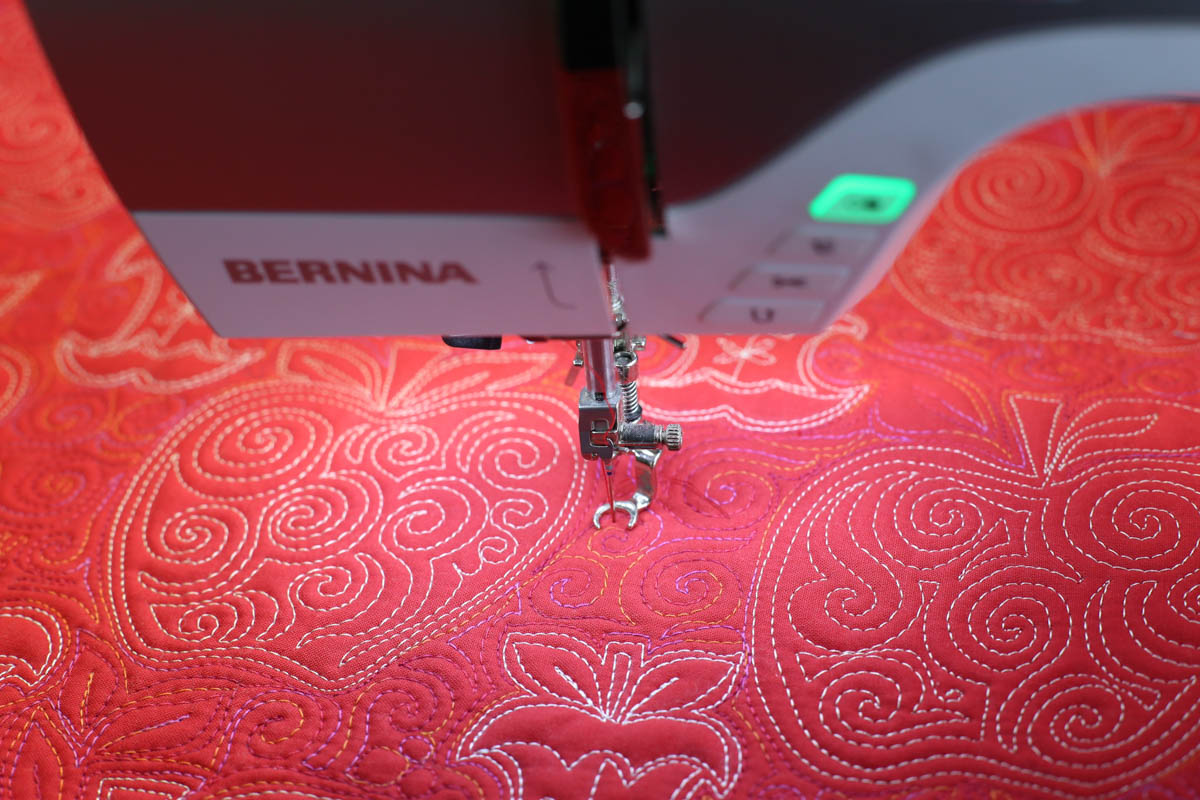
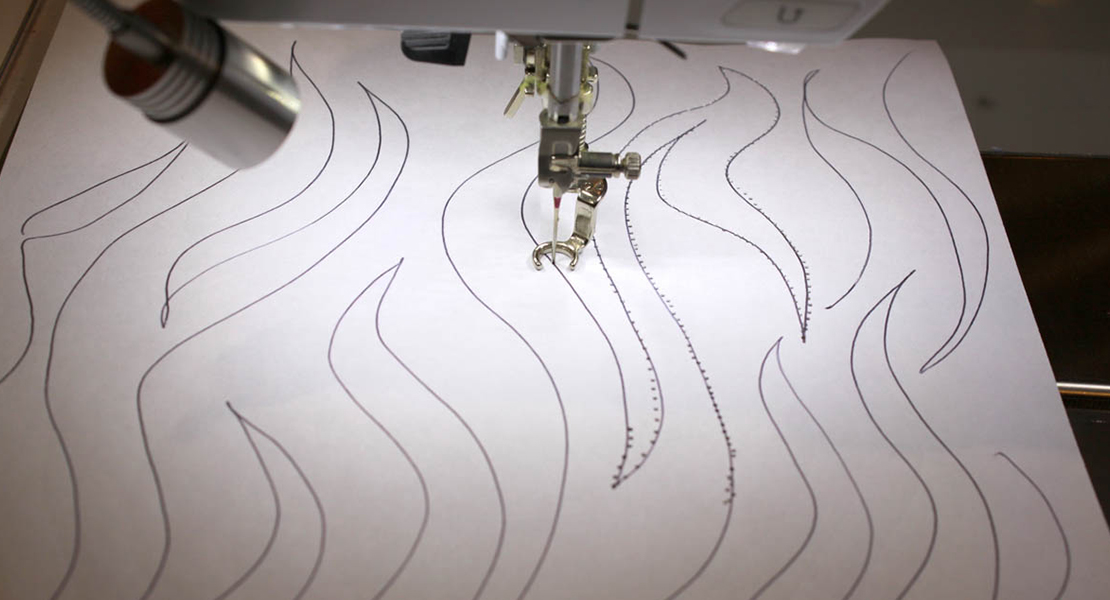
Attach a Quilting Foot
There are several BERNINA presser feet available for free motion quilting. Choose Darning Foot #9, Freehand Quilting Foot #29, Embroidery Foot #15, Drop Shaped Embroidery Foot #26, or my favorite, Freehand Embroidery Foot #24. I prefer Foot #24 because it is open-toed and offset, providing the greatest visibility.
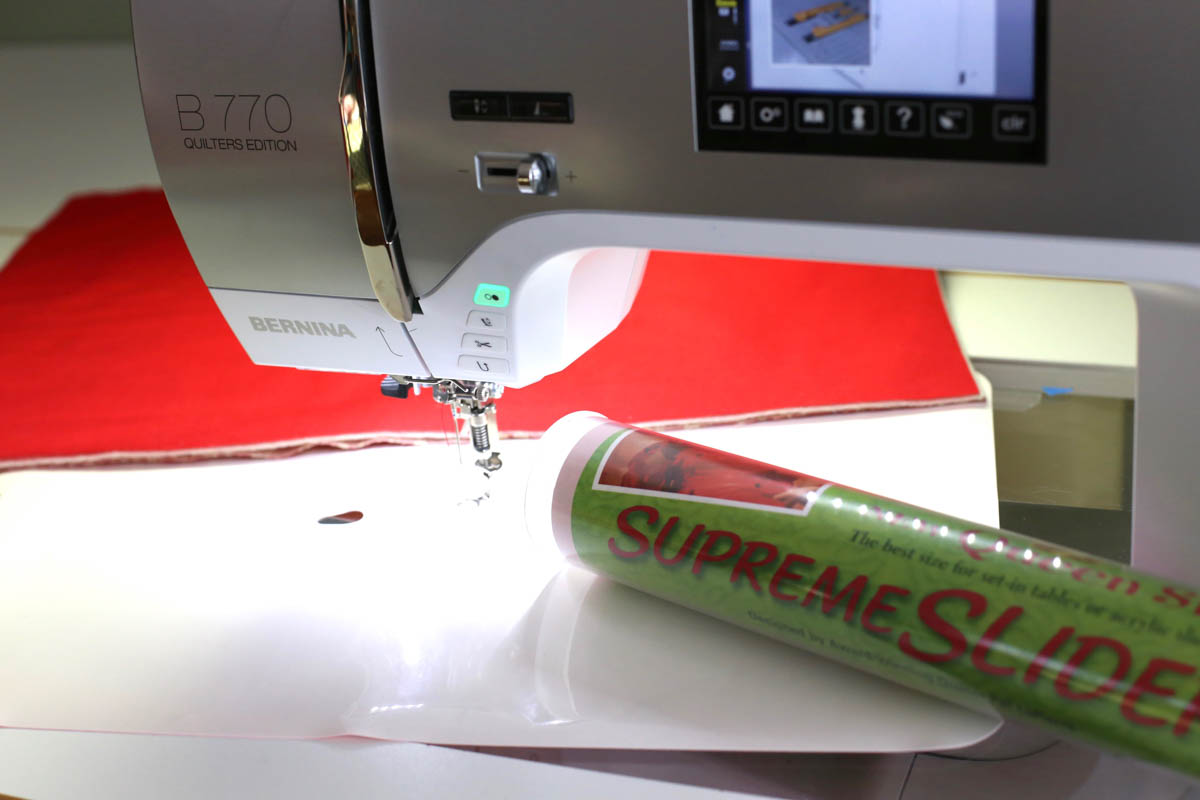
Tape Down a Teflon Sheet (Optional)
Many quilters attach a Teflon sheet over the sewing machine bed to reduce friction while quilting. The sheet helps the fabric move smoothly and results in more fluid stitches. Although the Supreme Slider clings to the sewing table, I always tape it down to prevent slippage.
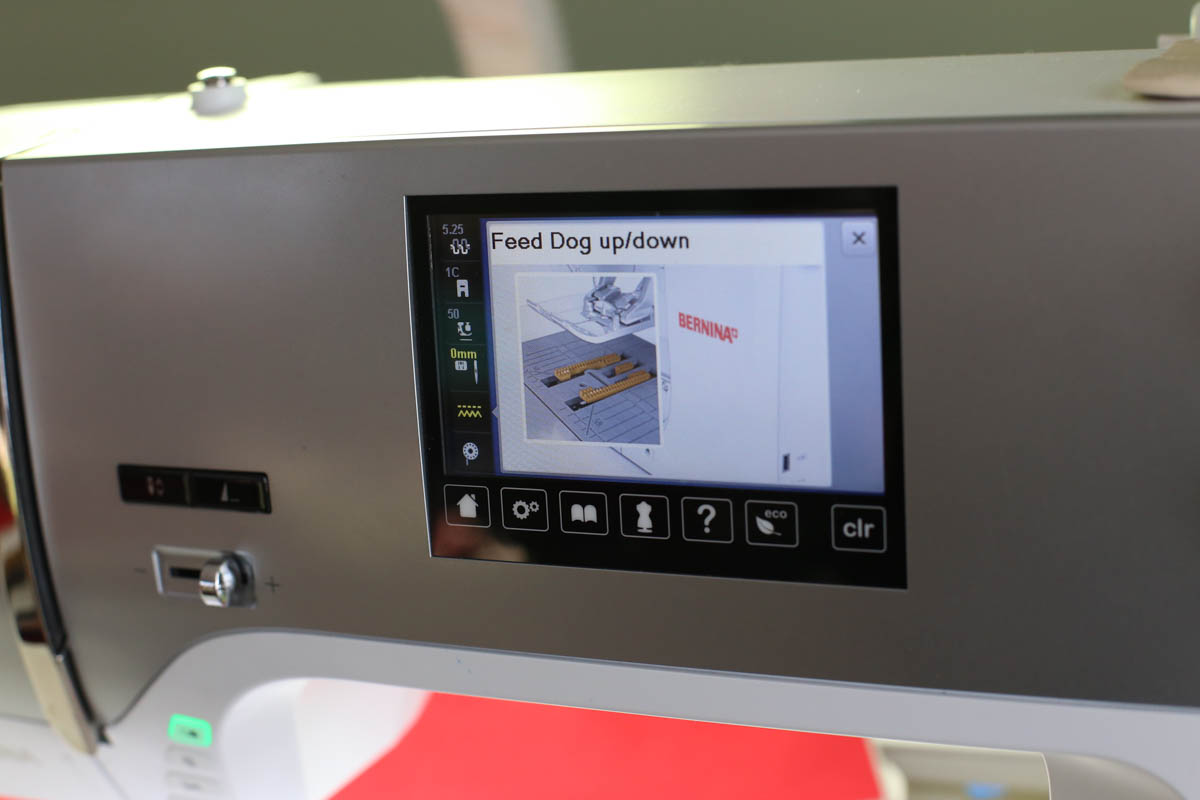
Lower the Feed Dogs
In normal sewing, the feed dogs advance the fabric with every stitch. In free motion quilting, the quilter controls the speed and the direction of the quilt without interference from the feed dogs. Lower the feed dogs (usually a button on the side of the sewing machine) before quilting. Alternatively, set the stitch length to zero and the feed dogs will remain in the original position, but will not advance to fabric with each stitch.
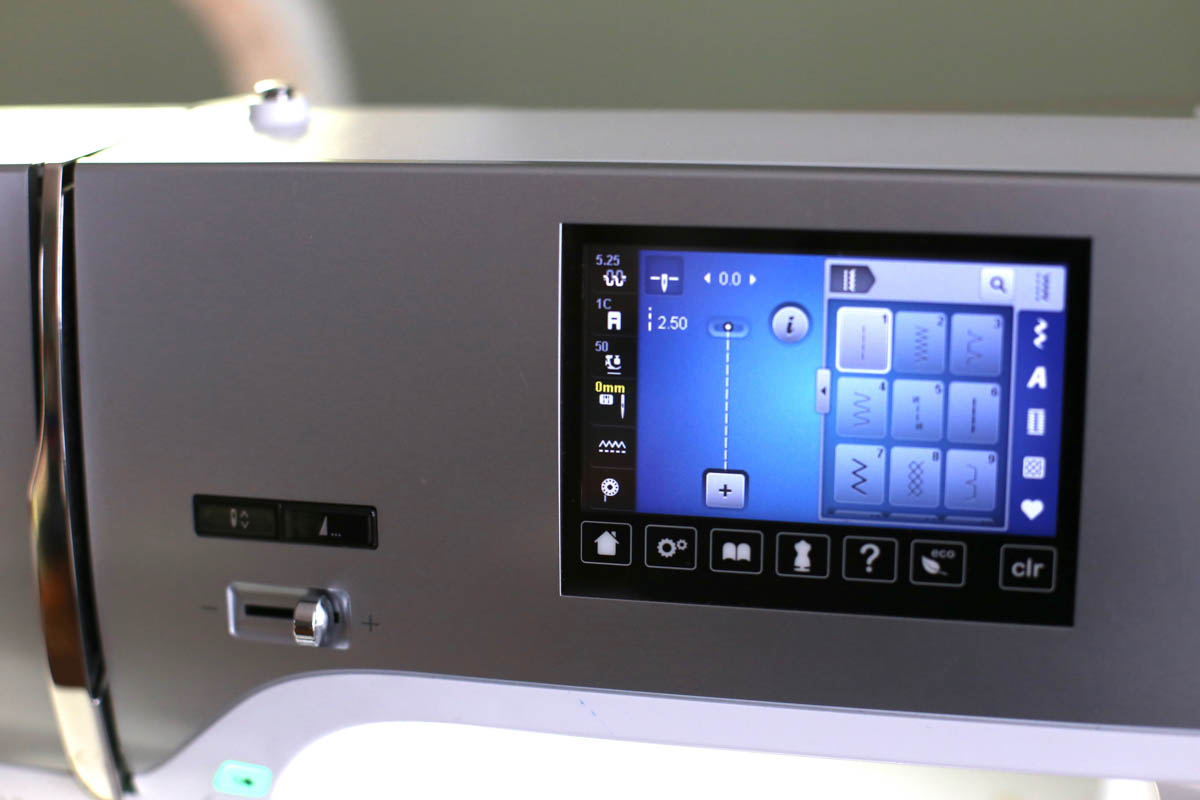
Set Needle Down Function
By setting the Needle Down function, every time sewing stops, the needle will be in the down position. This is helpful to keep a continuous line of stitching when stopping to adjust the quilt position.
Thread the Upper Thread
Thread the top thread as for normal sewing. Choose a decorative or embroidery thread for best results. Remember to have the presser foot in the “up” position for proper threading.
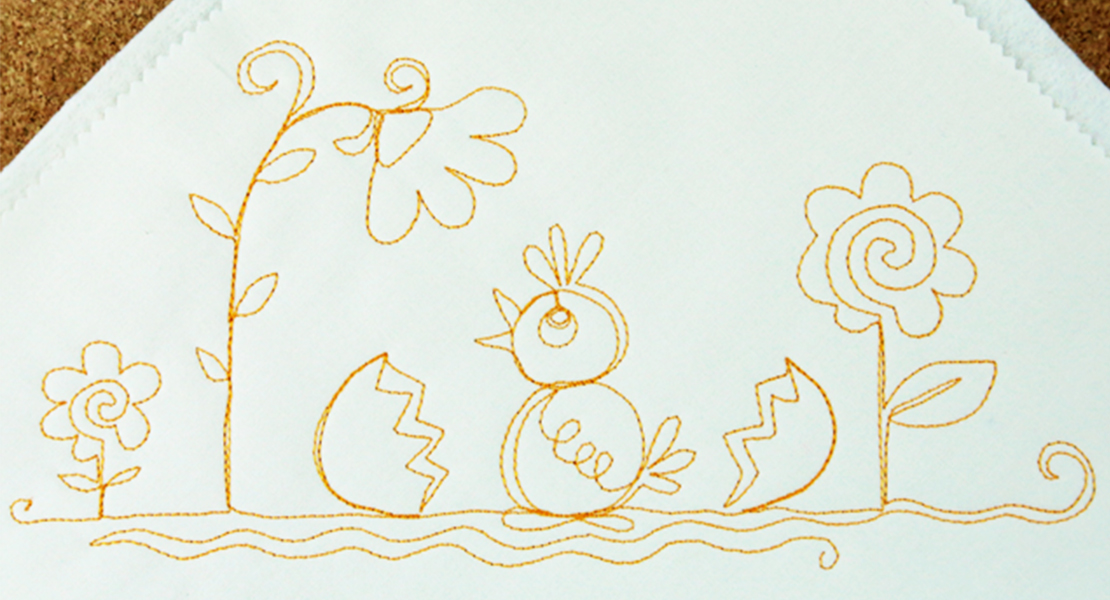
Stitch a Sample
Stitch a sample whenever starting to sew or re-threading to test tension, thread color, etc.
Adjust Tension
The tension settings on BERNINA sewing machines are set for straight stitch sewing with Metrosene thread in both the upper and bobbin thread. Metrosene is a 50 weight polyester general purpose thread. Free motion quilting involves a bit of tugging and pulling and a wide variety of threads. Consequently, it is likely that tension adjustments will be required. I usually lower tension on my BERNINA 770QE to around 4.25 for the thread/fabric/batting combinations that I use. Tension will require adjusting for each project and each day as factors like humidity can also affect tension.

Start Quilting!
Once your tension is adjusted, and your stitches look perfect, you are ready to stitch! For more detailed explanations of the steps above, consult your sewing manual.
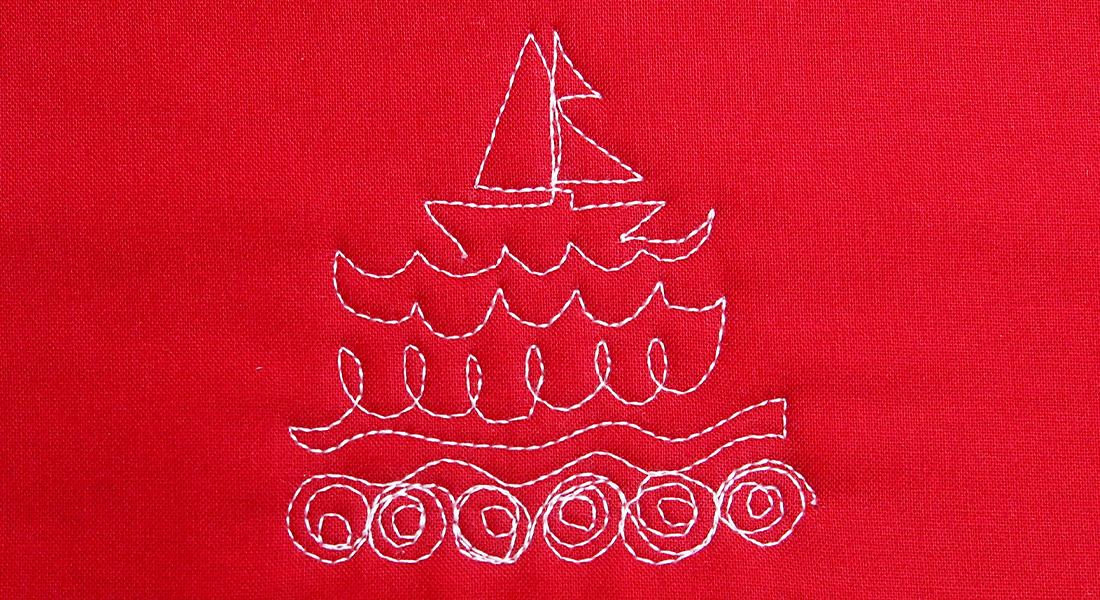
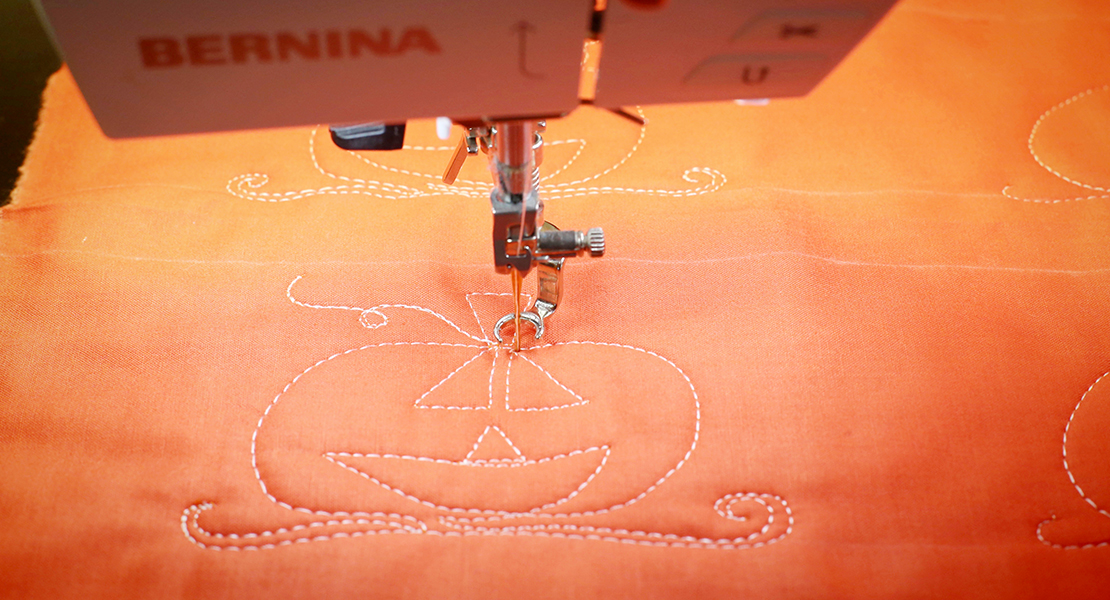
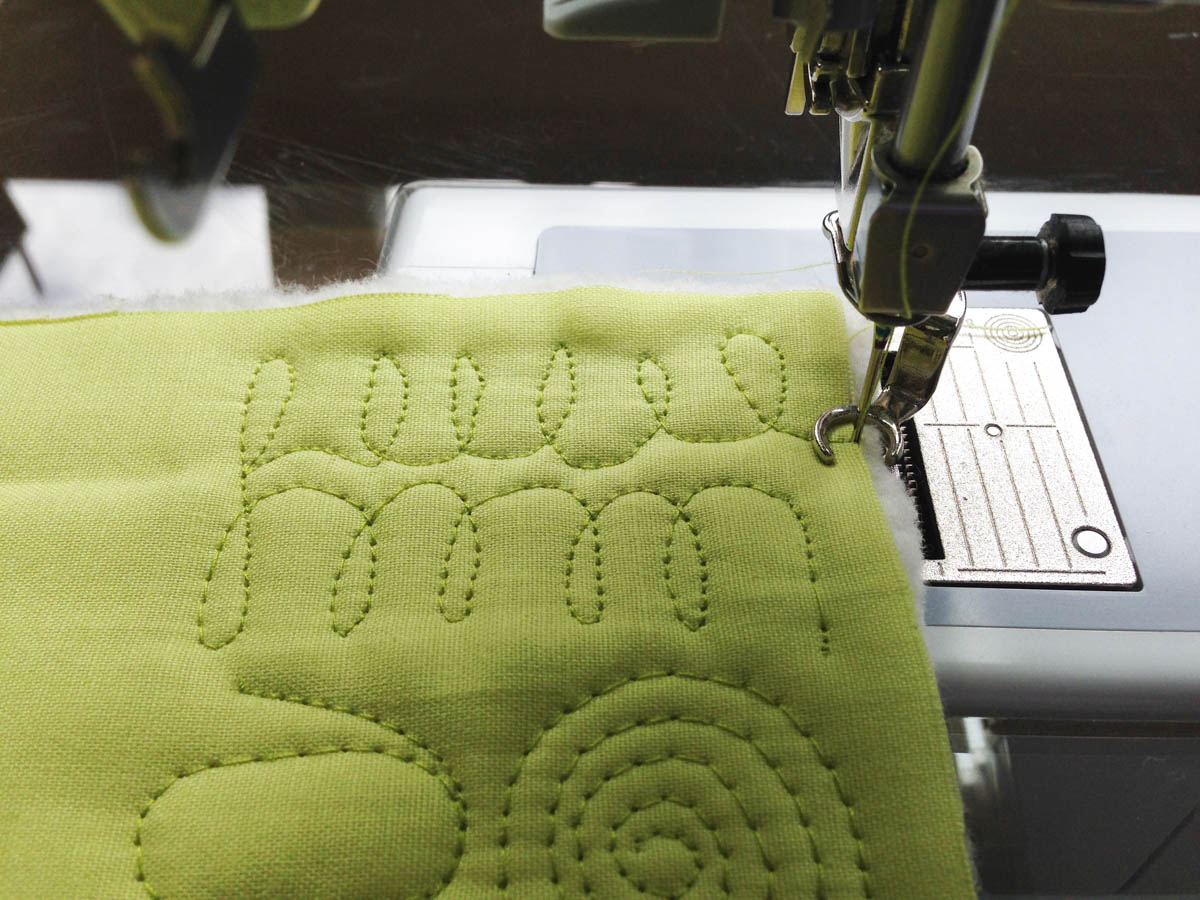
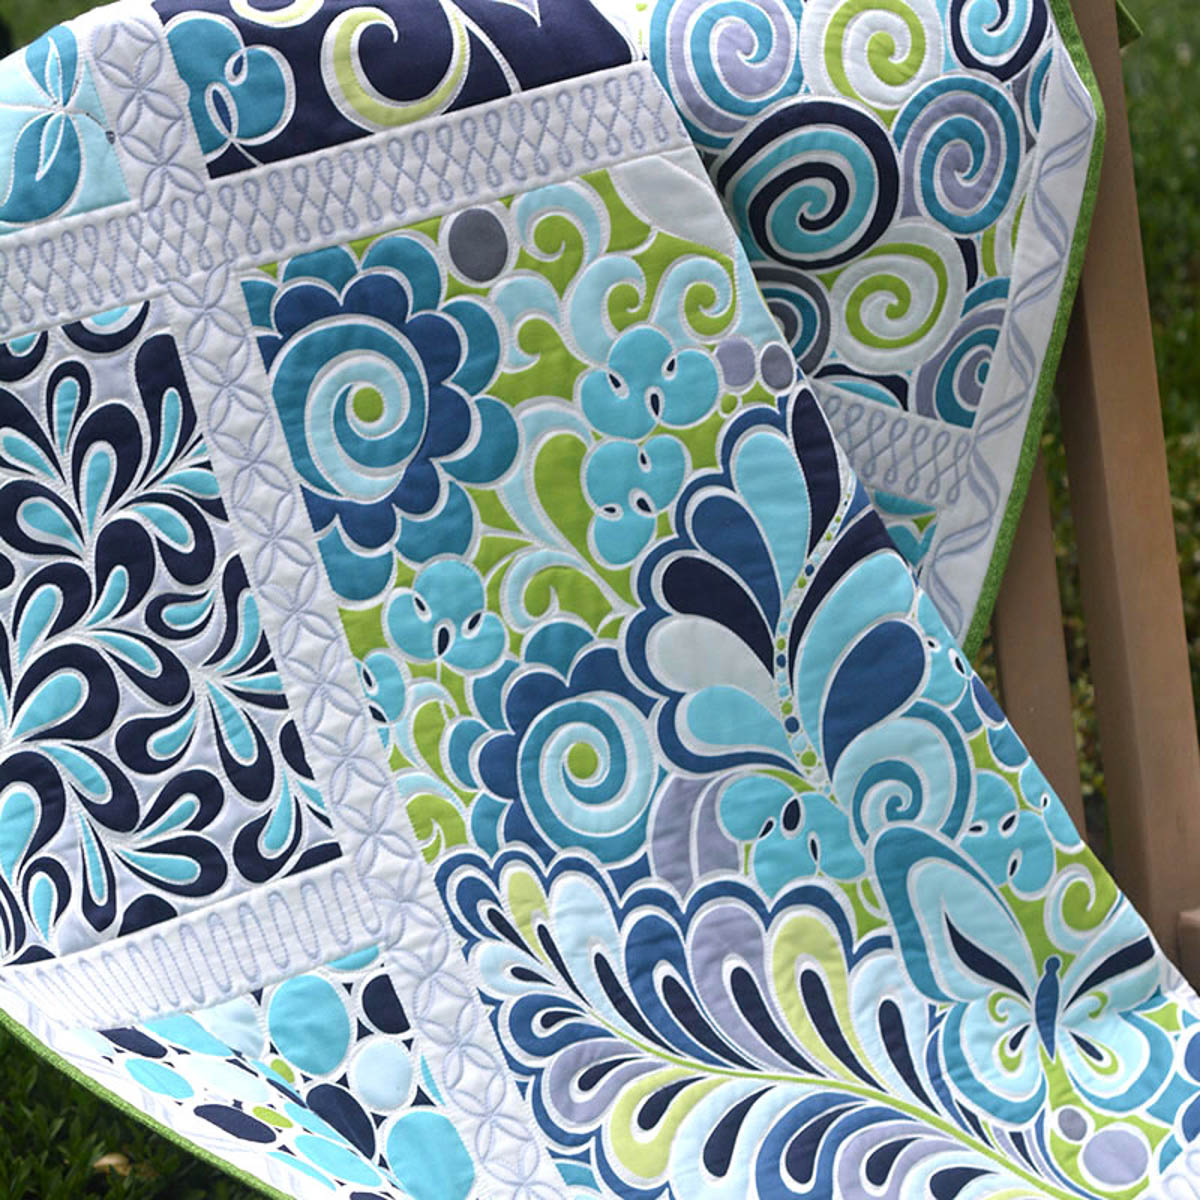
For more than 100 free motion quilt tutorials (all FREE) as well as projects and inspiration, visit me at: www.theinboxjaunt.com.
Happy Stitching,
Lori
Used Products


What you might also like

16 comments on “Twelve Steps to Free-Motion Quilting”
-
-
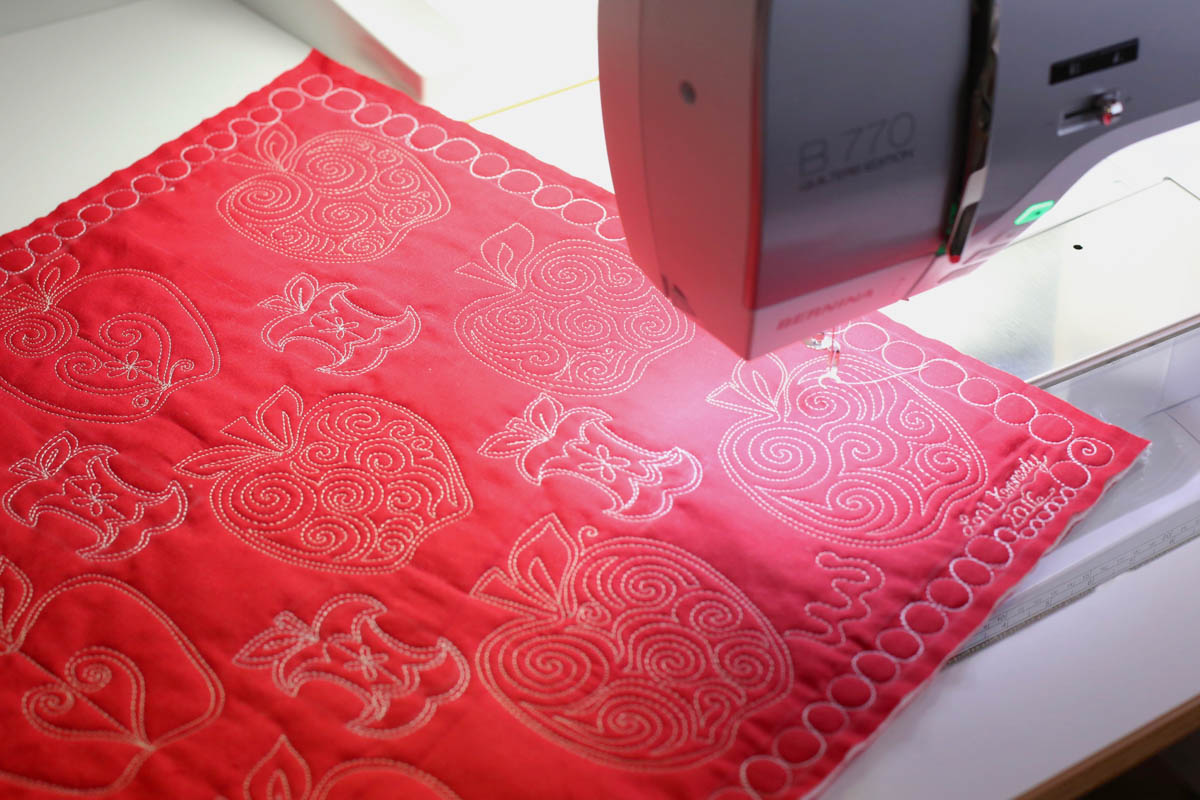
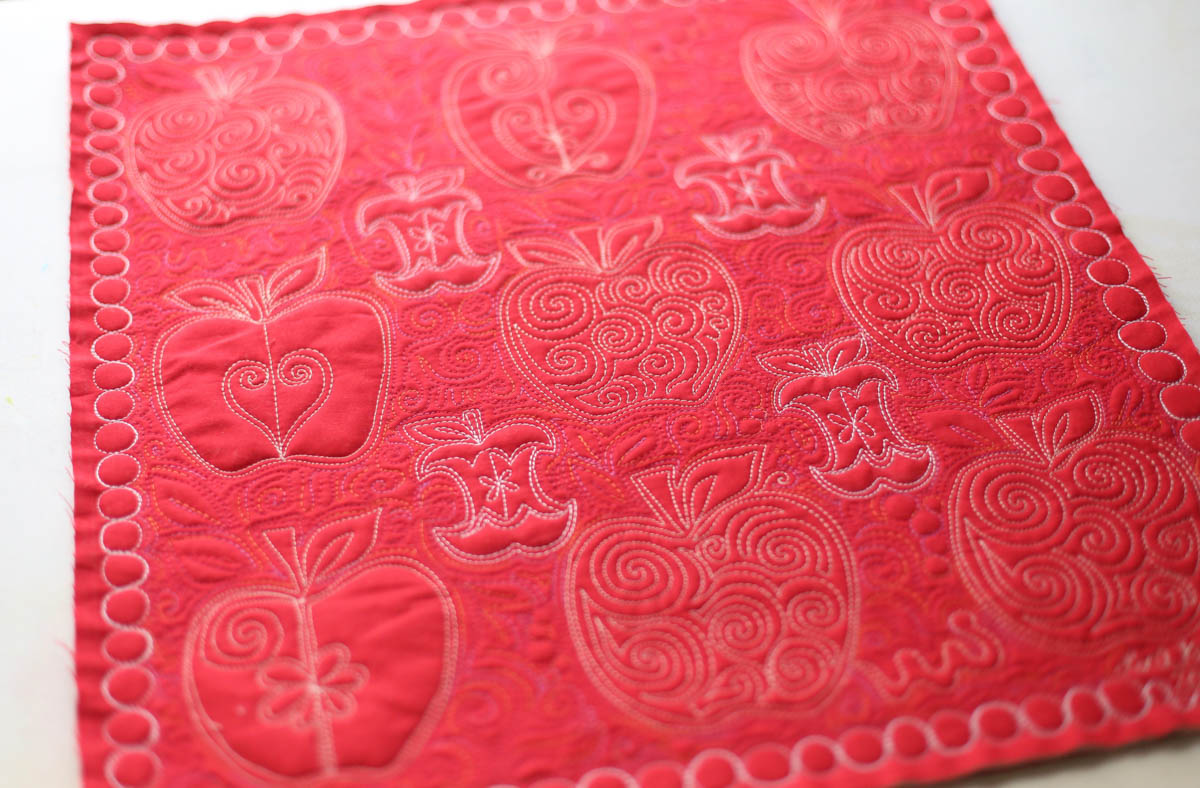
wow I love the apples , I wish i could be as good as you are at FMQ ..
-
Here’s the link to The Apple Core–a step by step tutorial
http://theinboxjaunt.com/2016/02/02/the-apple-core-a-free-motion-quilt-tutorial/and for the Apple:
http://theinboxjaunt.com/2014/04/22/a-is-for-apple-a-free-motion-quilt-tutorial/One more for a different (easy) Apple:
http://theinboxjaunt.com/2015/08/25/the-delicious-apple-a-free-motion-long-arm-quilt-tutorial/Highlight the link and paste.
Enjoy!
Lori -
thanks for the tips – love your apple sampler !
-
Technically, I have a Bernette London 5. My understanding is this machine doesn’t have a straight plate. It honestly looks like the darning plate wouldn’t be much different from the standard plate. Does anyone have any suggestions for me other than to buy a different machine? Dropping the feed dogs is a solid place to start, but will the plate make a significant difference?
-
Hi Hope,
The Bernette is a wonderful machine that allows you to drop the feed dogs–perfect for free motion quilting!
Though a straight stitch plate is recommended for machine quilting–it is most important for machines that do wide embroidery stitches. For these machines, the opening is as wide as 9 mm–great for embroidery, but not for machine quilting.You will be able to quilt without using a single hole stitch plate (most people do!). Once you get addicted to machine quilting–(like so many of us!)…you may consider a machine that has a single hole throat plate as an option.
I always say the BEST machine to learn free motion quilting on is the one you own right now! Don’t delay learning this fun technique because of a minor thing like a stitch plate. It’s a nice thing to have–but not essential!
Please check out my blog, The Inbox Jaunt, for tips and inspiration and more than 100 FREE step by step tutorials for free motion quilting! We’d love to have YOU join our community!
-
-
Thanks for the great information. Do you use the straight stitch plate with the BSR? Thanks, Genie
-
Hi Genie,
That is a great question! Yes–I would use the straight stitch plate with the BSR. The BSR ensure that you have even stitches, the straight stitch plate will help you achieve “pretty” stitches–something all BERNINA sewing machines are known for! It is a small thing, but it can make a difference in the quality of your work especially if you have a machine that has a 9mm opening.I can’t wait to see what YOU create!
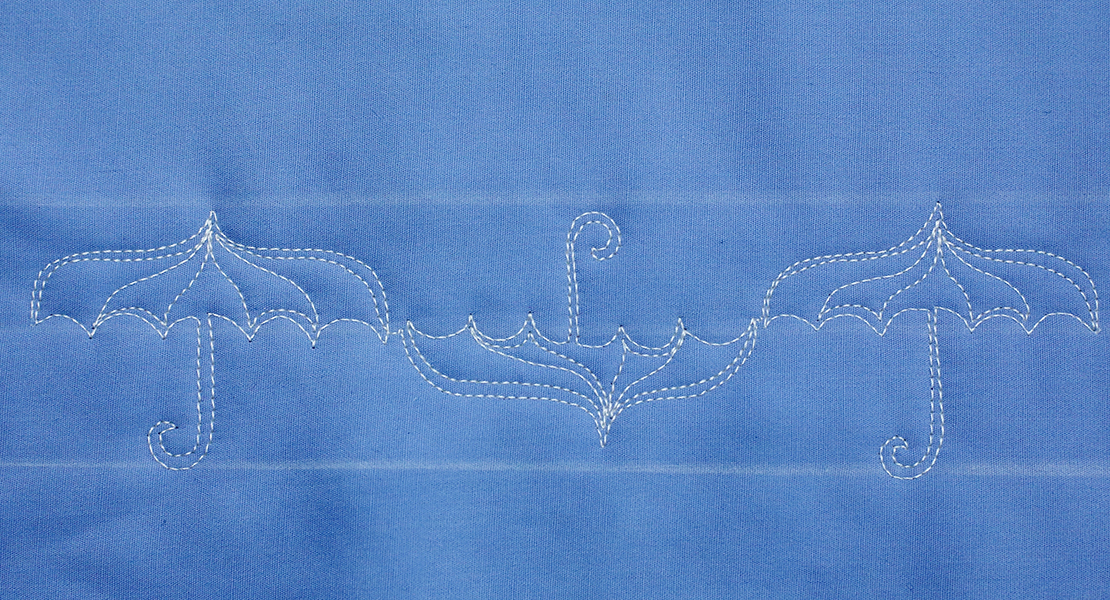
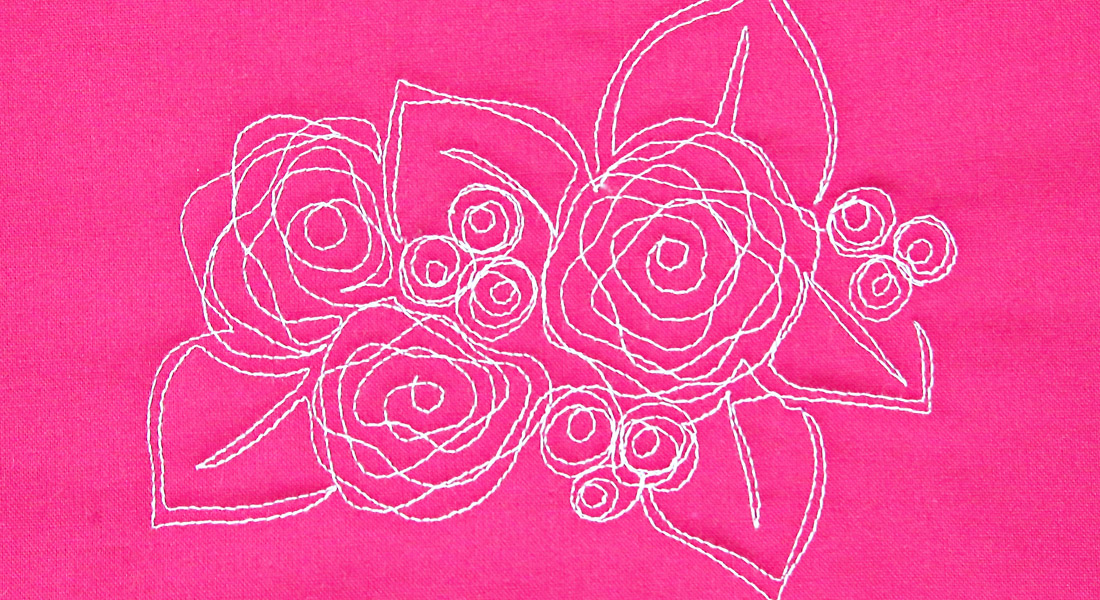
Please join us at The Inbox Jaunt–tons of machine quilting tutorials with step by step photos –everything from flowers to owls, scissors to row houses!
-
-
You said the thread Bernina uses to set the tension is Metrosene thread 100/2 for straight stitching, I thought the usual thread weight was 50 weight not 100, isn’t 100 weight very fine? thanks
-
Thank you for the excellent question. It is my understanding that the machines are calibrated with 50 weight thread. It seems someone from BERNINA corrected the post to Metrosene 100/2. I believe the thread is listed as 100/2 which is two strands of 100 wt thread which is the equivalent of 50 wt. The thread industry does not have consistent thread measuring and labeling so I will do more research on this and let you know if this is not the case. Again–thank you for this excellent question!
-
-
I am still trying to learn Free-motion quilting, tension issues happened. Love the apples.
I think I had best try the single hole needle plate. -
Hi
Love your designs and tips. I am using glide thread and I am using two different colours of thread . The top thread always seems to make tiny beads on the backing. I’ve adjusted the tension but can’t seem to get the threads to meet in the middle of the sand which . Is this normal? Thanks Peggy -
I have a new Bernina 770 QE and have had tremendous problems free motion quilting. The issue is that when I reverse directions in my design, especially if I start and stop to readjust, I get a bunching of bobbin thread underneath. I have had the machine to the National Service Center twice. I have changed thread, needles, stitch plate, top tension, pressure foot height and pressure. I have sat at the dealer’s for 3 hours showing how I sew and nobody has been able to tell me what I’m doing wrong. I need help!! This is a wonderful machine but I haven’t been able to free motion quilt on it! I am frustrated beyond belief.
-
Id like to access the free motion tutorials but I just get a Blue host page How do I access the links you suggest please
-
Re: 12 steps to free-motion quilting…do you ever lower the presser foot pressure? On a favorite youtube channel called Quilting in the Valley, she recommends setting the presser foot pressure down to zero (default is 50 on my 770QE), and the upper thread tension to 2.25 and this seemed to work well on thin layers but not so well on very thick layers (currently making hot pads with 2 layers of fabric, 2 layers of batting, and 1 layer of insul-brite.
Also, bringing up the bottom thread is tricky; I have learned to make sure i have a minimum of 4 inches of bobbin thread coming out of the stitch plate first because it won’t work if I have just used the auto thread cutter or just inserted the bobbin.
Any suggestions you have would be appreciated. Thanks.
Leave a Reply
You must be logged in to post a comment.
Love the apples!