Upholstery 101: The Tuffet
Learning the art of upholstery and re-covering furniture is one step in the DIY direction that can be pretty intimidating. Going for a simple shape is a great place to start and get your feet wet before tackling a more complicated project like a chair or headboard.
A covered tuffet or ottoman like this is a fun way to start that journey and requires very few new tools to invest in while learning basic skills to carry on to future projects like construction, fitting, and setting some of those bulky trims often featured in furniture and home décor upholstery.
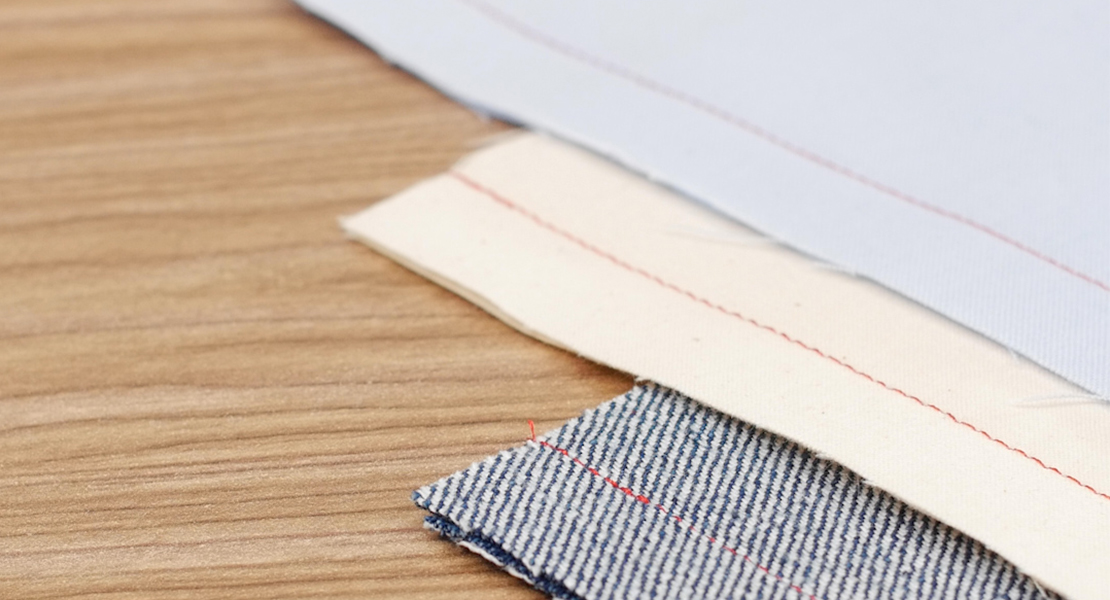
One thing to keep in mind as you’re planning a DIY project like this is your choice of materials. It’s important to choose something that will hold up to the kind of wear and tear that furniture sees. Choose more durable substrates like cotton canvas, heavier weight linen, denim, or twill for the longest-lasting results. Otherwise, be sure to interface lighter weight fabrics.
Materials for Tuffet or Ottoman Upholstery
- Home décor weight or interfaced fabric
- Try fusible fleece like Pellon 987F for interfacing
- Accent fabric
- Fabric marking pen
- Home décor piping cord (3/8”)
- 18″ round tuffet kit
- Spray adhesive
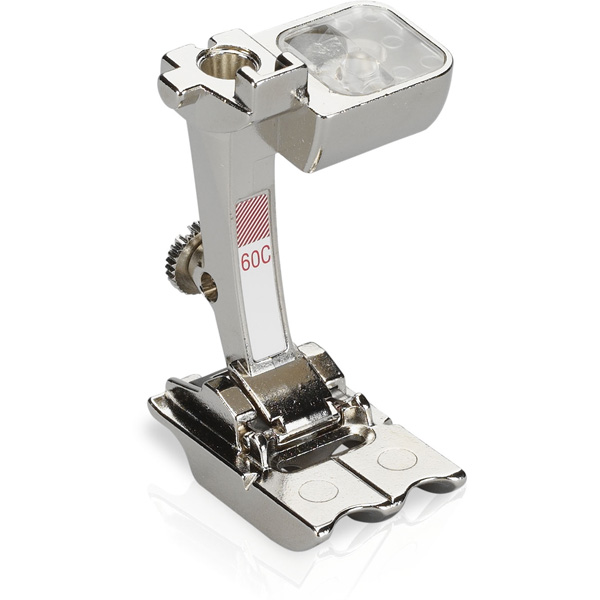
- BERNINA Double-cording foot #60C
- BRNINA 790 Plus
Instructions for Tuffet or Ottoman Upholstery
Step 1: Do the Math
For the top
This is the least fun part of any sewing project, in my opinion. However, it’s crucial to get good results! Since our tuffet is round, we need to know the diameter and circumference of our object. As a refresher, the diameter is the distance across the widest part of a circle and the circumference is the linear distance around the edge.
For this tuffet kit, our round will be 18″ in diameter. This means the top piece will need to be a 19″ circle, to accommodate a ½″ seam allowance on all sides. This part is simple enough.
Diameter + ½″+ ½″= cut size for top circle
18″+ ½″+ ½ = 19″
For the sides
The sides of the tuffet will be created from one long strip sewn into a tube. To calculate the length of this strip, we need to calculate the circumference of an 18″ circle. My math education from many moons ago has taught me that the circumference of a circle is the diameter multiplied by the figure Pi. While Pi is a complicated and literally infinite number, we can simplify it to 3.14.
3.14 x diameter = length of strip
3.14 x 18 = 56.52 (or 56.5)
We need to also calculate the width of the strip, which is how thick the tuffet will be. This needs to accommodate for our seam allowance as well as wrapping fabric around to the bottom for stapling. Our tuffet kit includes a 1″ thick board as a base, a 6″ thick foam core, and high loft polyester batting to wrap around both of those. This means our constructed base will be about 7.5″ thick. I want to add ½″ for the seam at the top edge and 3″ for wrapping around the base at the bottom. This means my strip will be 11″ wide.
1″ board + 6″ foam + ½″ batting = 7.5″
7.5″ + ½″ seam allowance + 3″ to wrap = 11″ for the piping
The final element that we need to think about here is the piping on our top edge. Since we’ve already calculated the circumference of our circle, I know I need at least 56.5″ of bias piping to wrap all the way around that edge. I want to make sure I include at least 6″ of wiggle room to overlap our ends at the start and finish so I’ll plan for 62.5″ of piping.
Step 2: Cut
Now that we’ve done all the proper calculations, we can cut into our fabrics. Starting with the tuffet top, I need to cut one 19″ circle.
For the side panel, cut a rectangle in the size we sorted in step one.
For the piping, you may either purchase premade piping or make it yourself. If using premade, purchase the continuous length that you’ll need (a.k.a. don’t seam two pieces together) and skip ahead to step 4. If making your own, you’ll want to cut your fabric on the bias to make sure you get nice smooth curves without puckering.
I use 4mm piping cord for home dec. In order to wrap around the cord and include my seam allowances, I’ll be cutting 1.5″ wide strips of fabric on the bias. Piece your bias strips together to create one strip in the length we determined in step one (62.5″).
Step 3: Baste piping
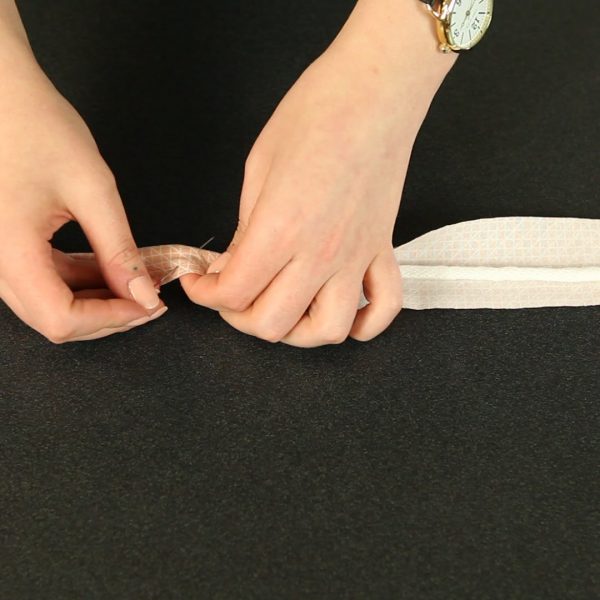
Wrap your bias strips around the piping cord and pin in place.
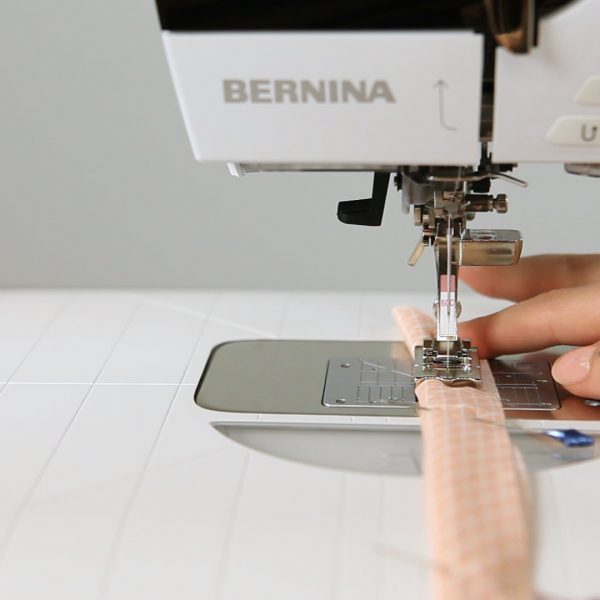
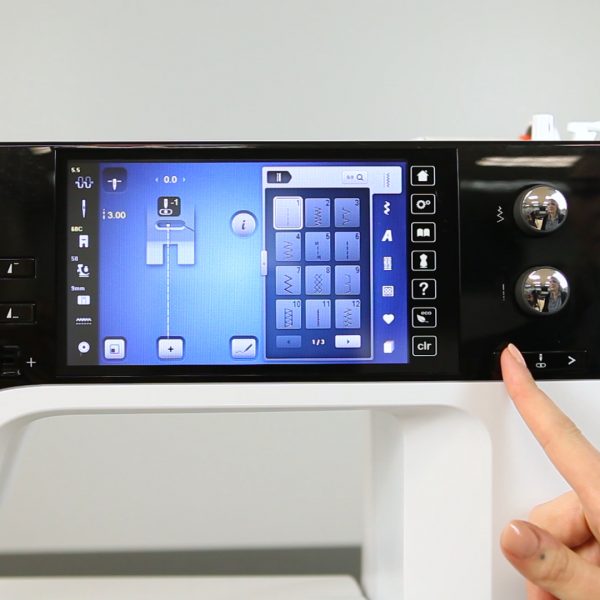
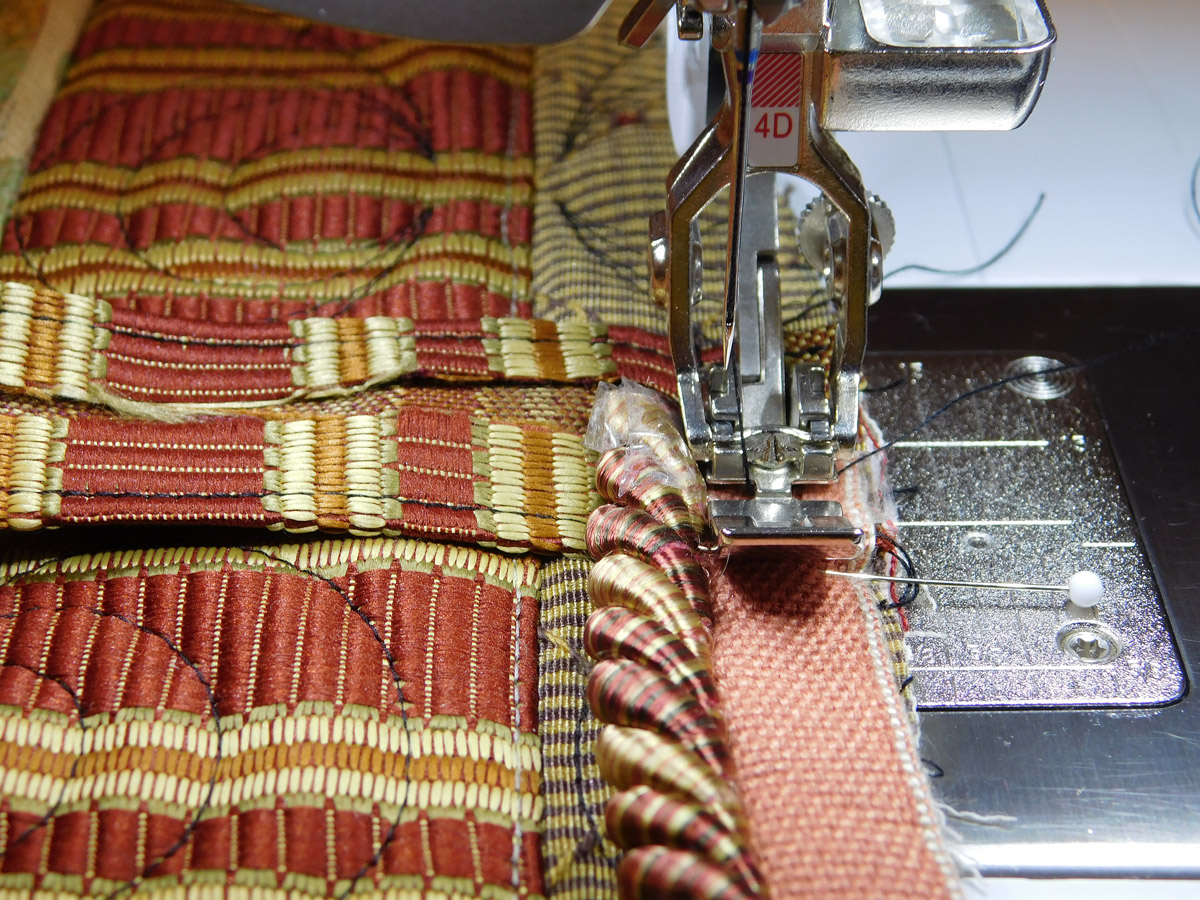
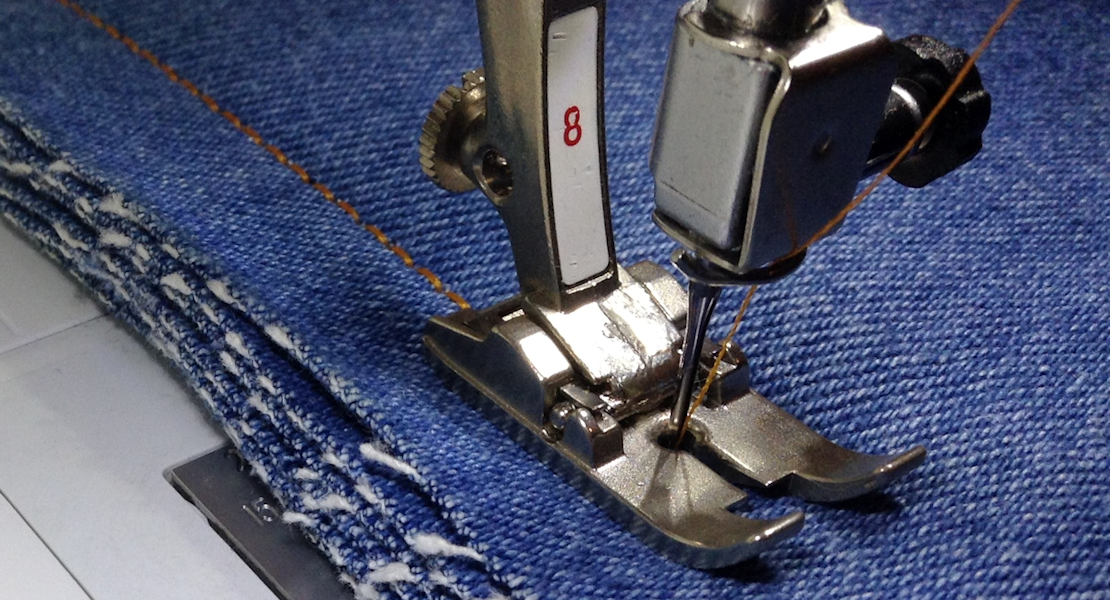
Baste this casing closed using the BERNINA Double-cord foot #60C foot and the cord set in the left groove of the foot. Move your needle position to the right to create a smaller seam allowance. This will ensure that our basting stitch falls within our finished seam allowance.
The grooves on the bottom of the #60C foot are just the right size for a 4mm cord to nest neatly. Bulky piping cord will move smoothly under your machine with a straight seam and no puckers!
Step 4: Seam side panel
Line up the short ends of your rectangular side panel and stitch together with a ½″ seam allowance to create a tube. Press the seam to one side.
Step 5: Pin together
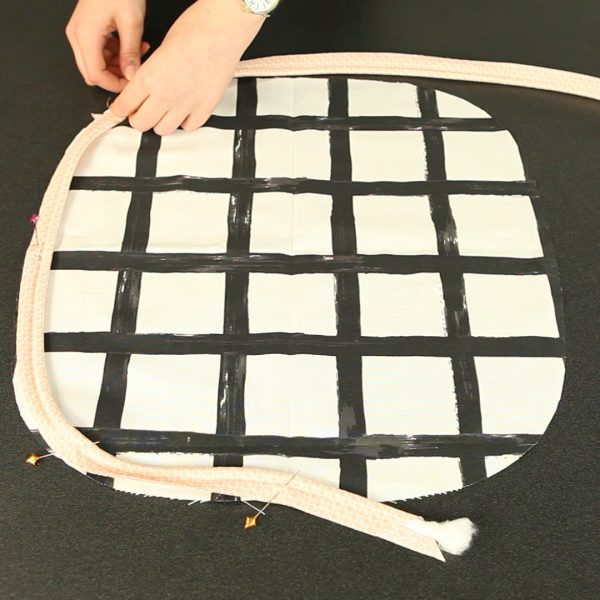
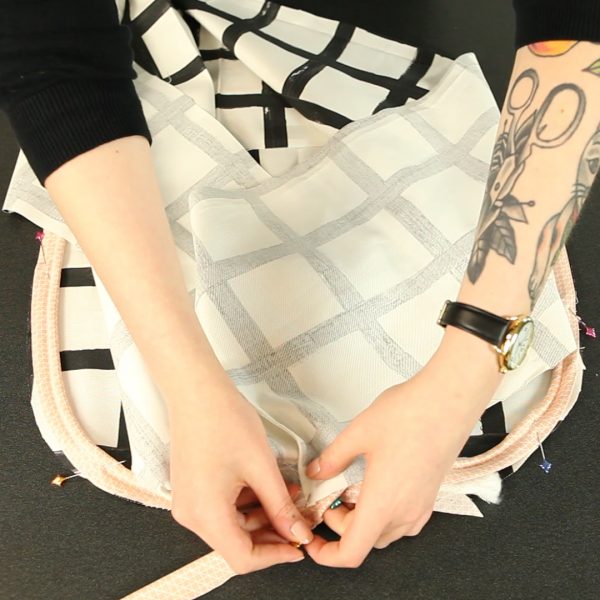
Align the raw edges of your piping to the edge of your circle tuffet top and pin all the way around. When you reach your starting point, overlap the piping about ½ to ¾″, leaving ends hanging off toward the raw edge.
Next, with right sides together, pin the side panel to the top. Take the time to pin this thoroughly to avoid pleats and puckers in your finished product.
Step 6: Stitch together
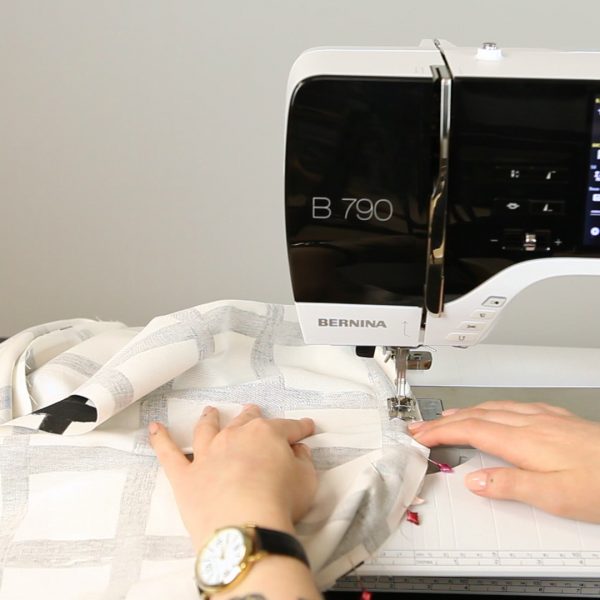
We basted our cord using the #60C foot and our needle in the center position and we’ll use the #60C again to stitch these three pieces together. But this time, to make sure our basting stitches fall within the seam allowance, move your needle to the left.
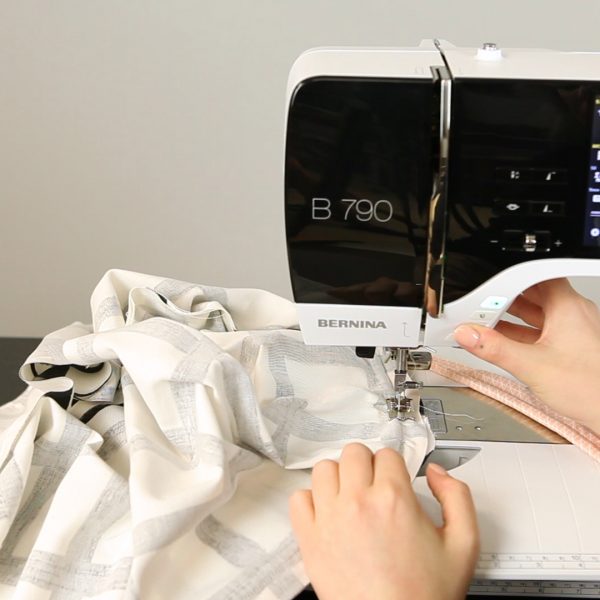
When approaching the area where the piping cord ends meet and overlap, be sure to slow down and carefully stitch through this area. The groove in the foot should do most of the work to find the next piece but take your time maneuvering this!
When you make it all the way around your circle, be sure to overlap your seams and/or back stitch to make sure things are nice and secure.
Take this cover away from the machine, trim away the excess piping ends, and flip it right side out!
Step 7: Assemble the tuffet base
Adhere your 6″ foam on top of the tuffet base board with a spray adhesive.
Next, center the polyester batting on top of the foam and wood base. Use spray adhesive to attach the batting to the top only.
Next, flip the base upside down. The batting will be on the ground, then the foam, then wood side up. Wrap the polyester batting tightly around the base and use a staple gun to secure in place. Be sure not to wrap this too far in toward the center of the base—about 1 to 1.5″ will suffice. Make sure this batting is nice and snug and evenly distributed around the tuffet so there are no lumps or bumps. Trim away excess.
Step 8: Cover the tuffet
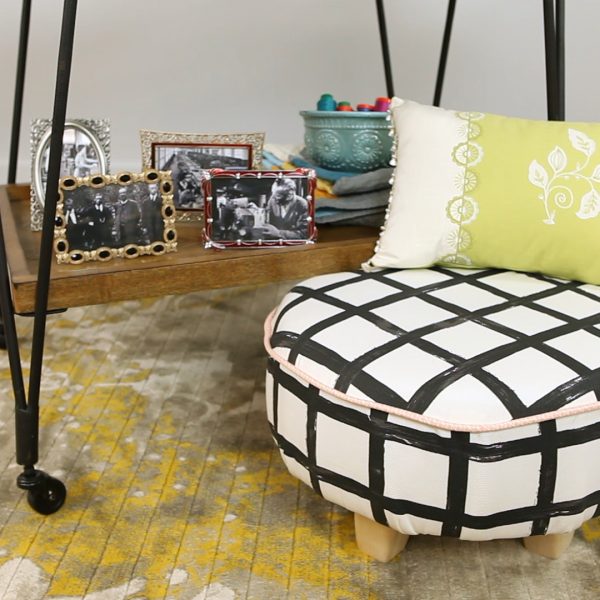
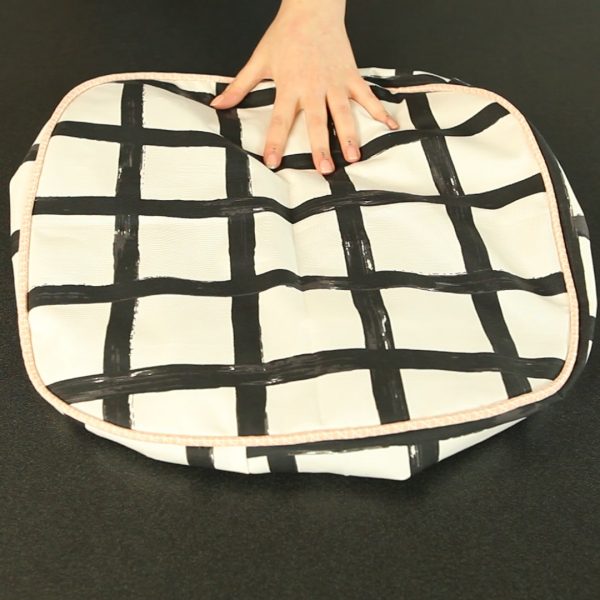
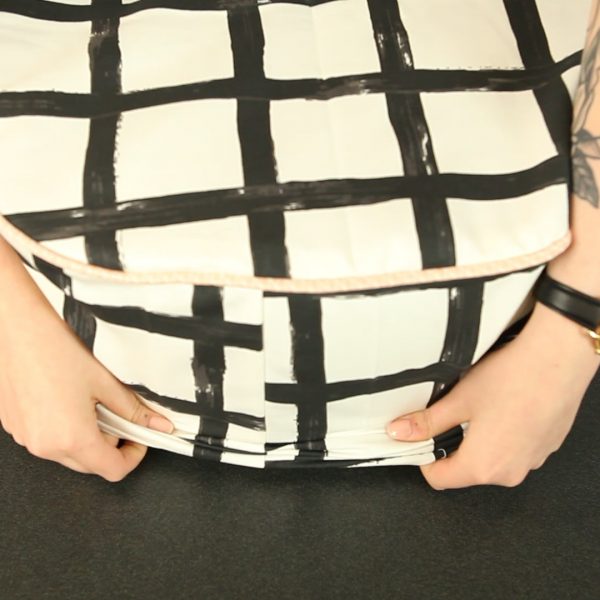
Slide your fabric cover over the assembled base. The cover should be taut and fitted but not stressing the seams. Your piping should create a straight, clean edge around the surface of the tuffet.
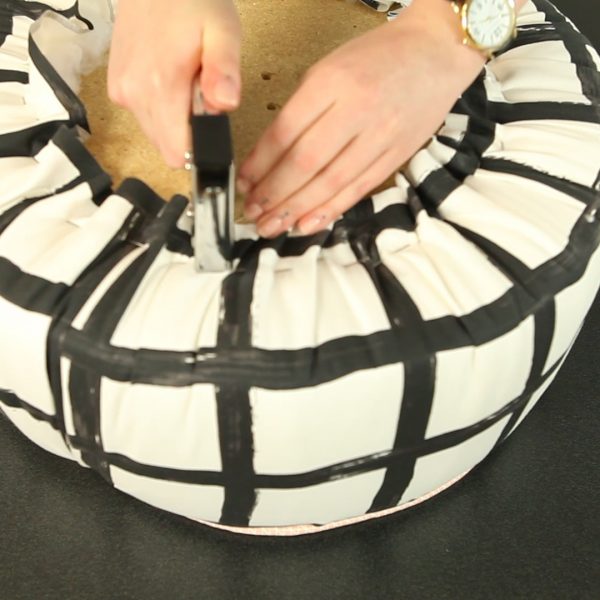
Wrap the fabric around to the wood base at the bottom. Staple the fabric in place, wrapping in just enough to cover the stapled and trimmed batting. Work carefully stapling around the tuffet to make sure there are again no puckers, lumps, or bumps.
Step 9: Finishing touches
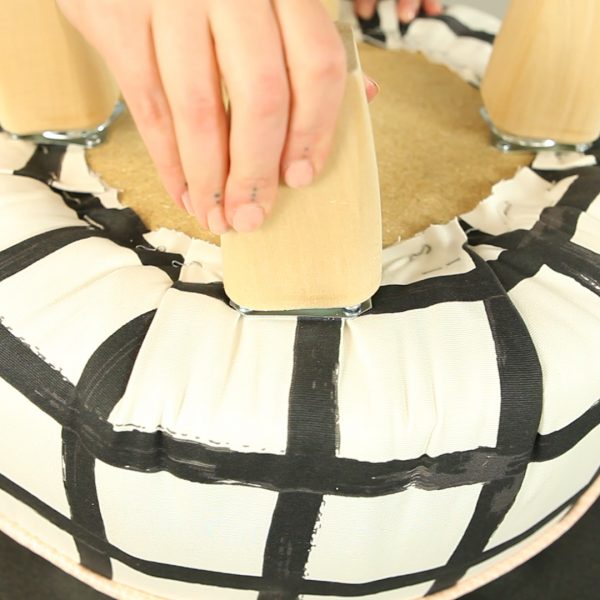
The last step is to decide how you want to finish your newly upholstered tuffet or ottoman! There are plenty of options here, depending on the look you want to achieve. I’ve purchased furniture feet and small brackets from a local hardware store and attached them to the bottom.








Hello–I just discovered your site today and I’ve been on it for hours getting inspiration!! I love all the smaller things to use up some of the fat quarters I’ve collected, thank you so much for sharing.