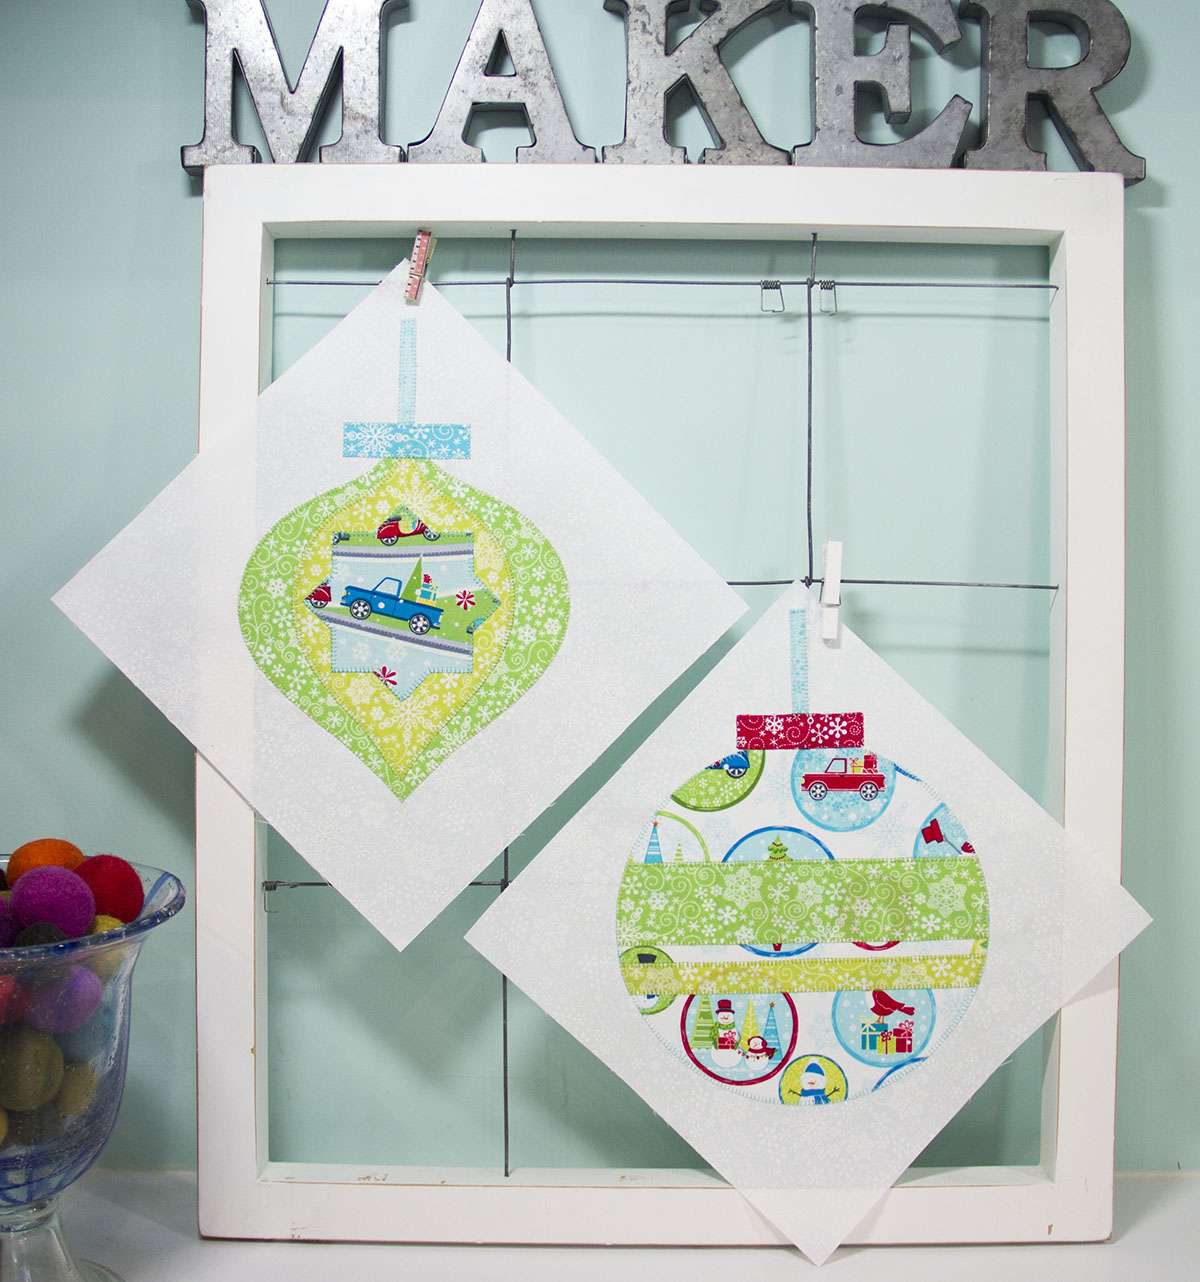
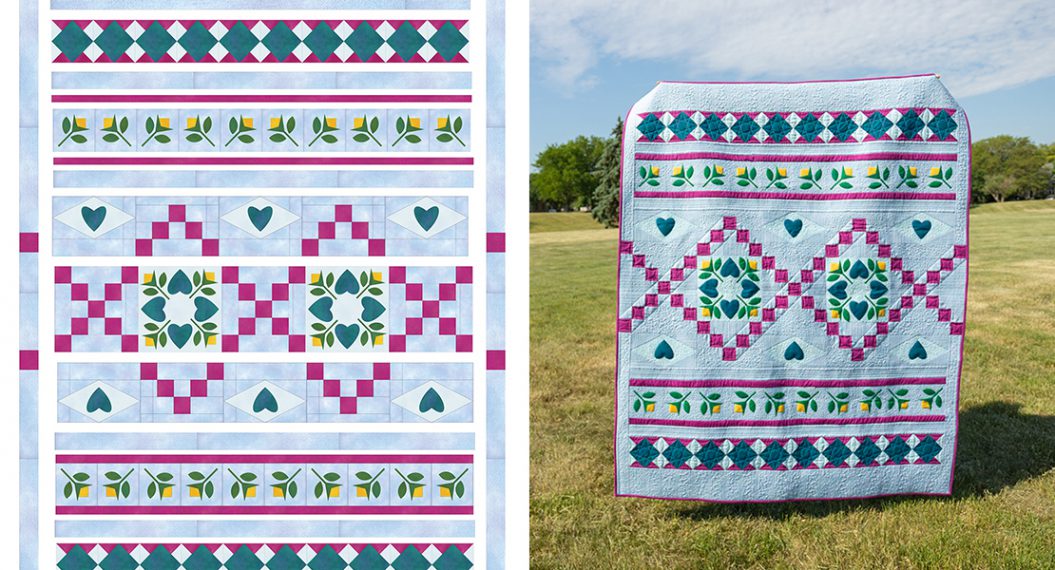
Vintage Ornaments Quilt-Along: Block Assembly
Welcome to our last installment in the Vintage Ornaments Quilt-Along! I hope you’ve been enjoying the applique process and are ready to assemble your quilt top.
There’s still time to make your own Vintage Ornaments quilt before the holidays, just click on the previous posts below to get started!
- Vintage Ornaments Quilt Fabric Requirements
- Vintage Ornaments Quilt Blocks 1 and 2
- Vintage Ornaments Quilt Blocks 3 and 4
- Vintage Ornaments Quilt Blocks 5 and 6
- Vintage Ornaments Quilt Blocks 7 and 8
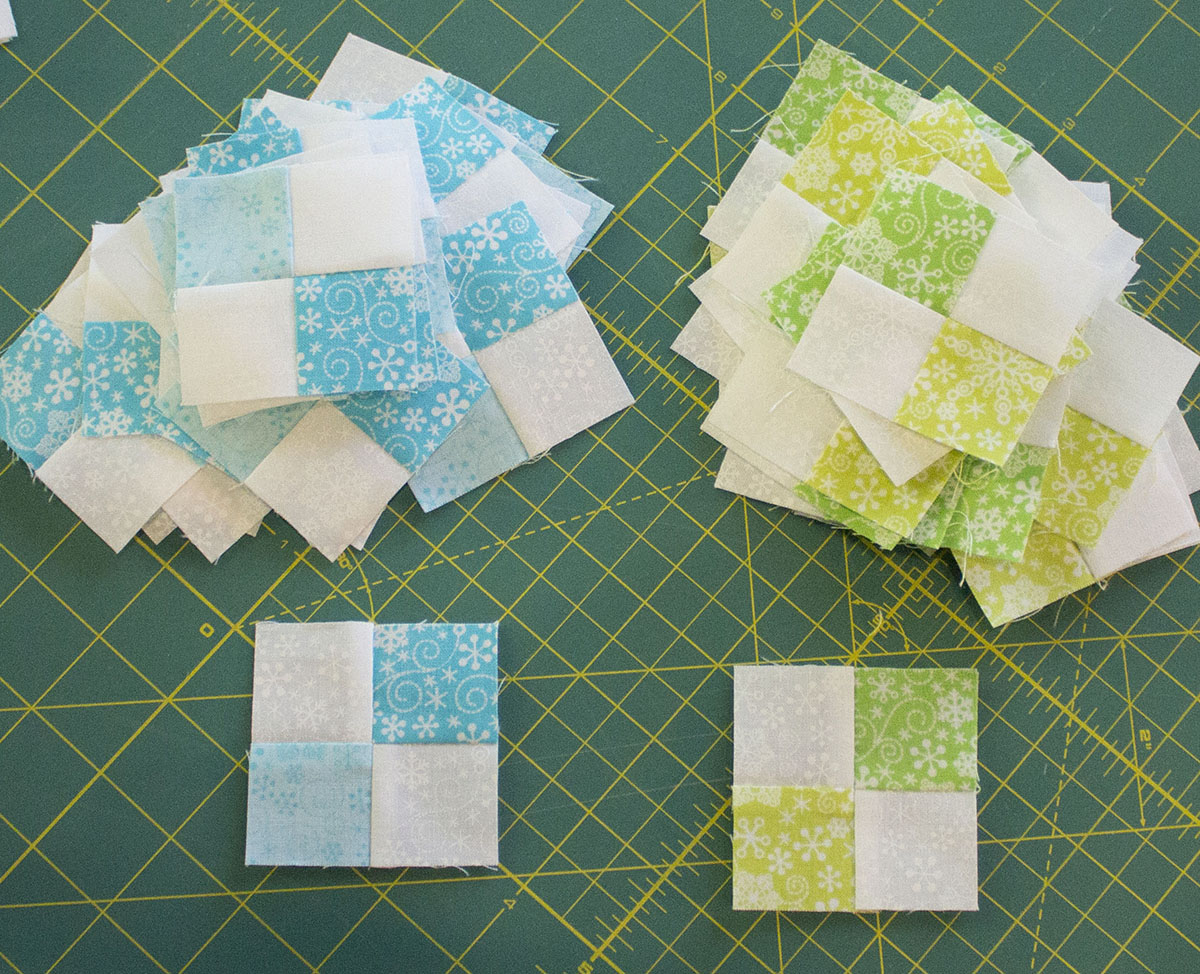
Gather your appliqued blocks and the cut and labeled fabrics from the first month’s post.
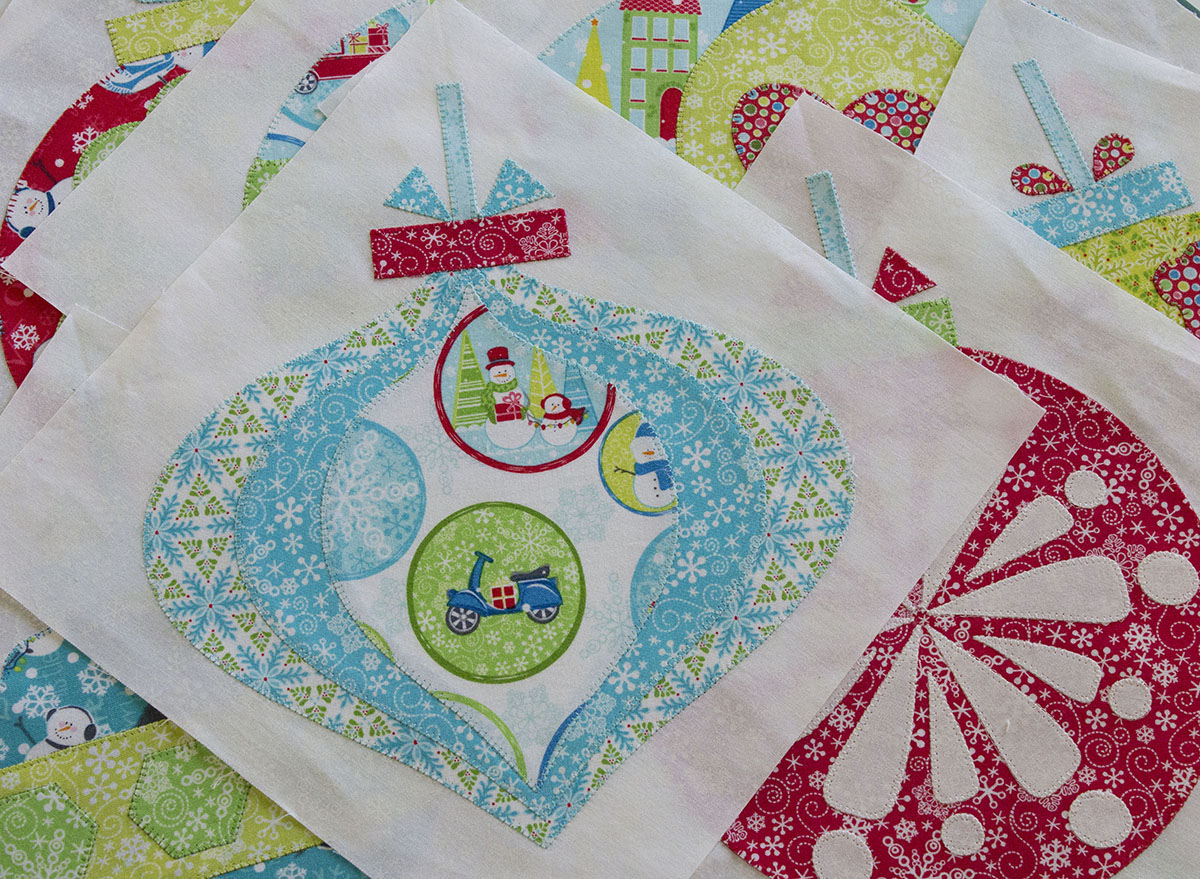
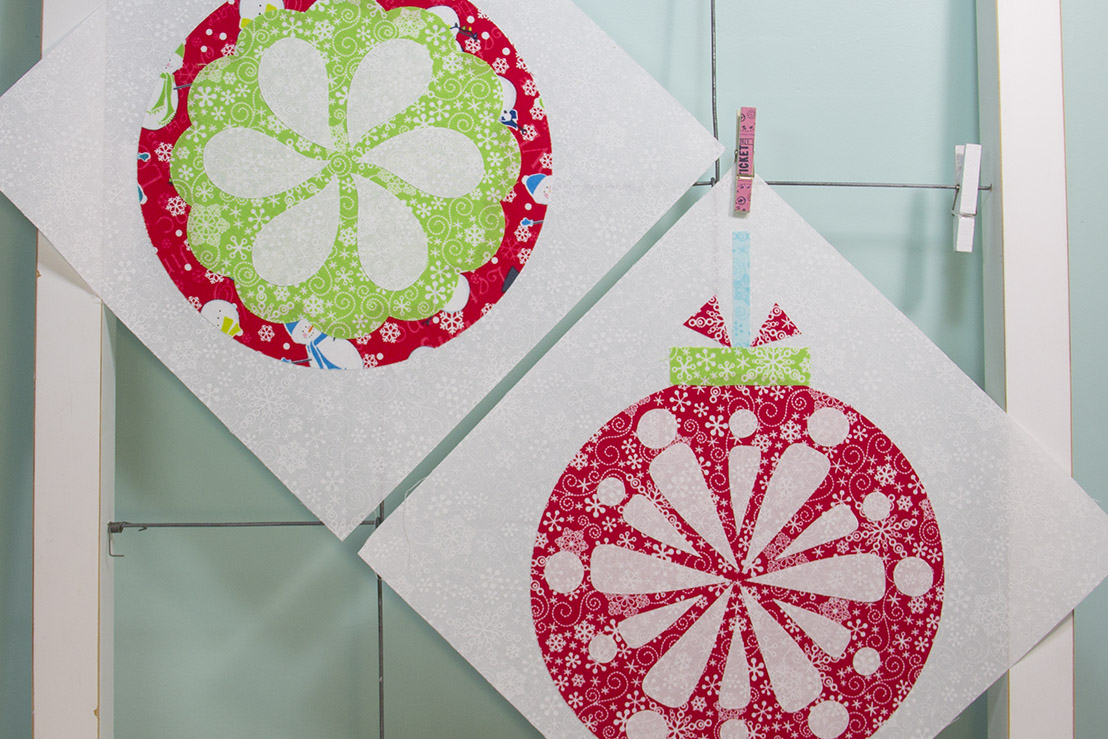
Prepare the Vintage Ornaments Appliqué Blocks
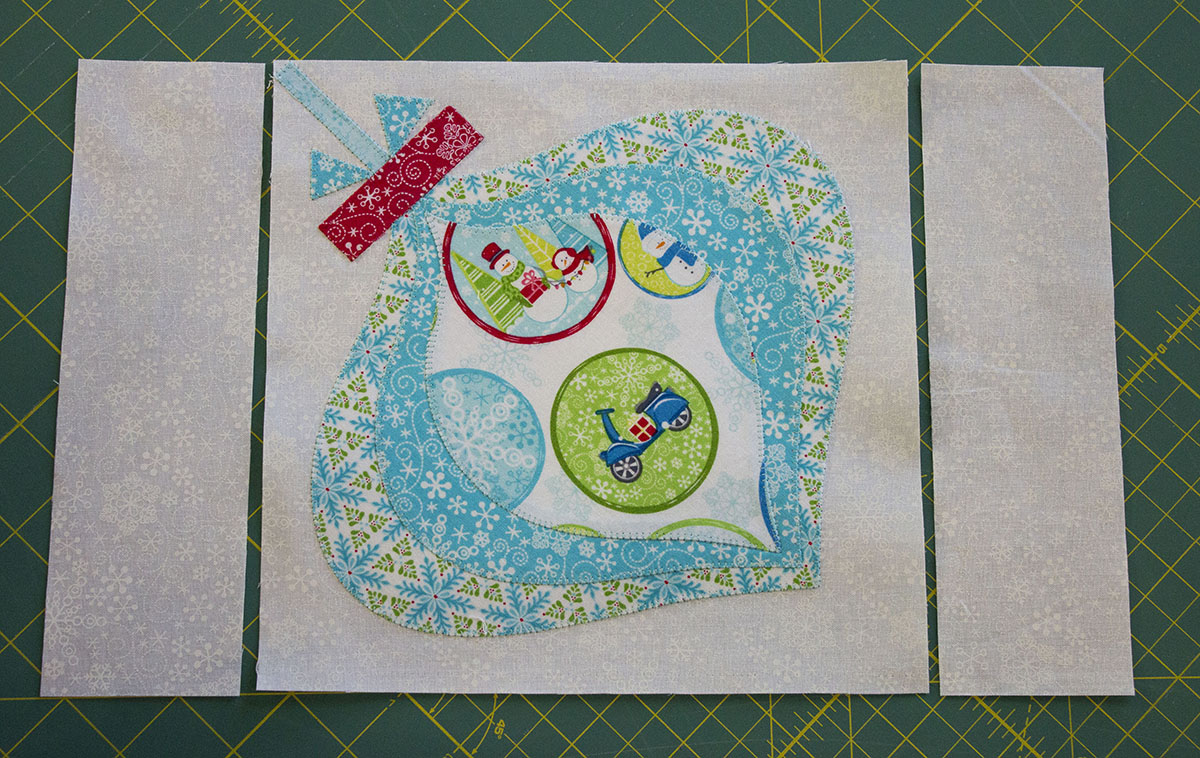
Trim each of your appliquéd blocks to measure 8 1/2″ x 8 1/2″ square. I like to use tape to mark my ruler to keep from making a mistake when trimming to size.

Start by aligning the tip of the ruler at the top of the ornament’s string so the edges of this shape are sewn under the bordering strips.

Repeat with the remaining seven appliqued blocks.
Sew a White Snowflake 2 1/2″ x 8 1/2″ block strip B to the left and right edges of the trimmed blocks; press seam allowance to the strips.
Prepare the Vintage Ornaments Four-Patch Units
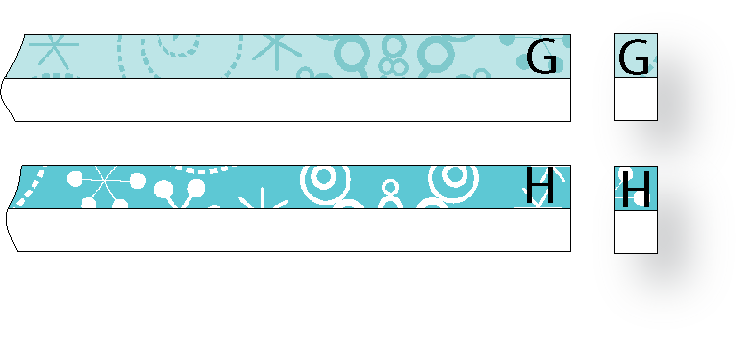
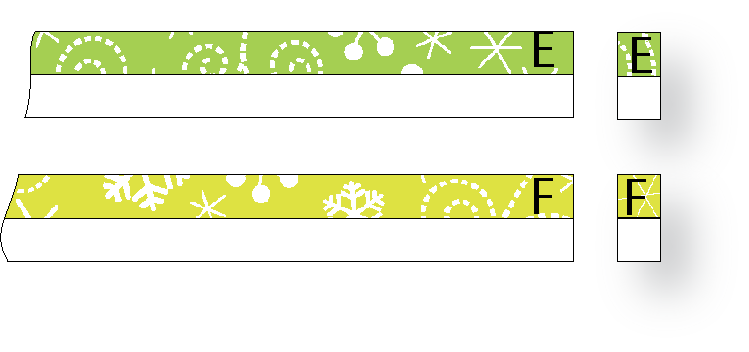
Sew a 1 1/2″ x WOF White Snowflake strip to the long edge of the (2) Lt Turquoise G and Turquoise H strips, and to a Lime E and Green F four-patch strips.
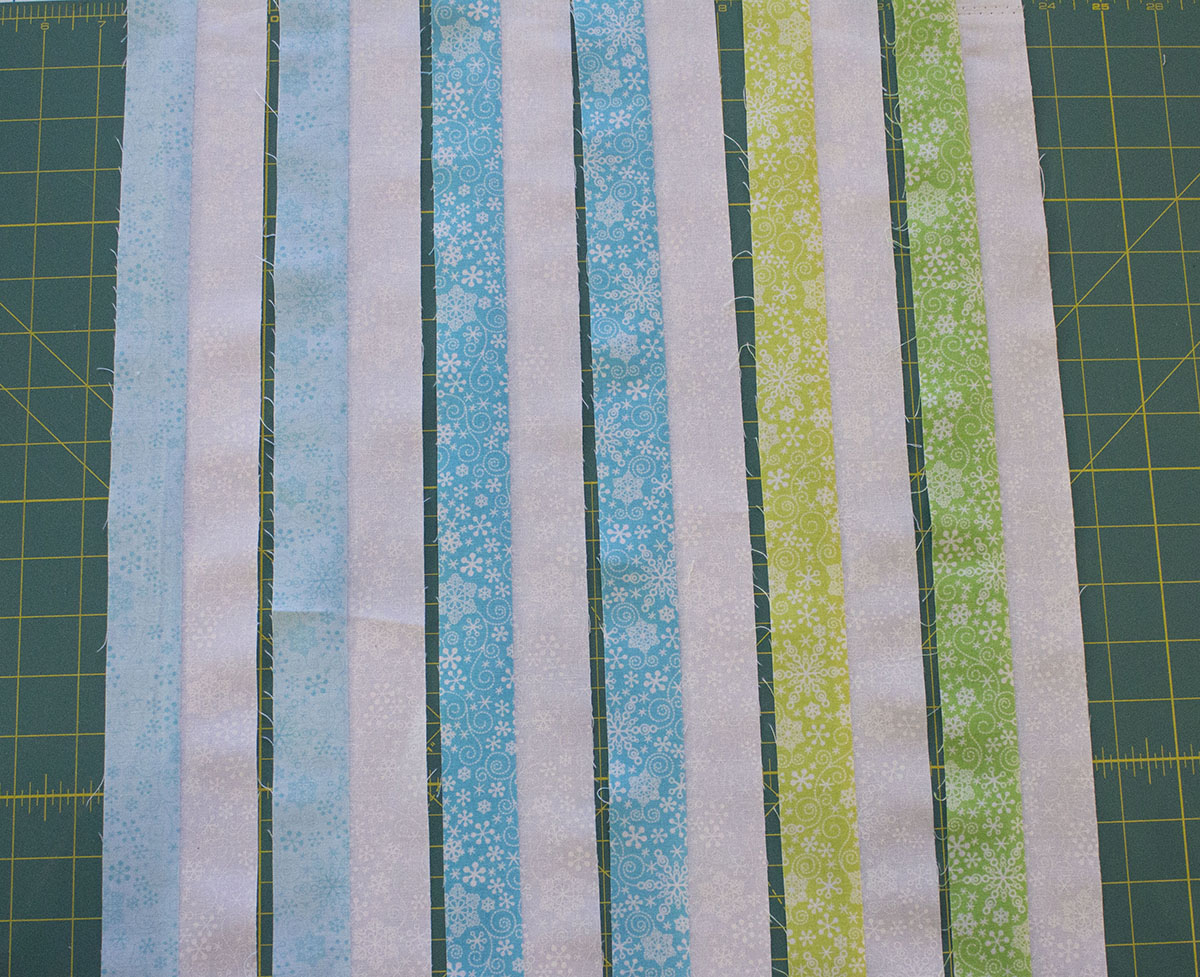
Cut the sewn strips into 1 1/2″ x 2 1/2″ units:
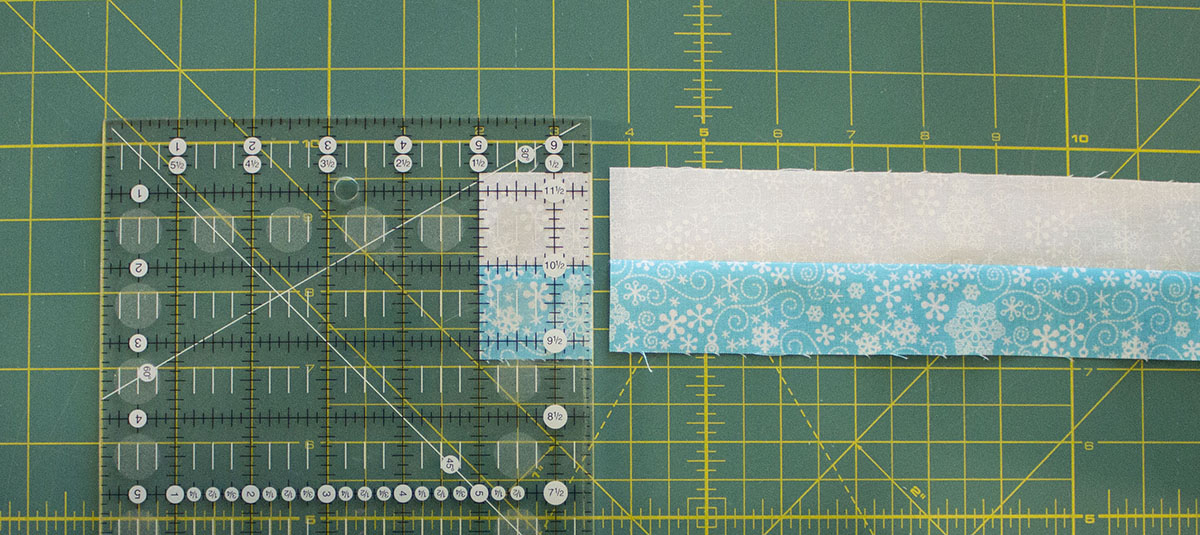
Cut (30) G and H units…
and (28) E and F units:
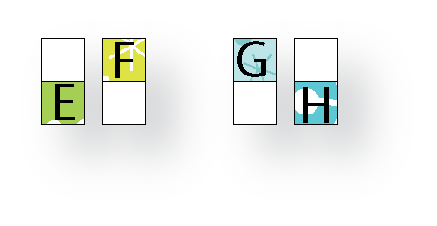
Sew (28) E/F and (30) G/H Four-Patch blocks:
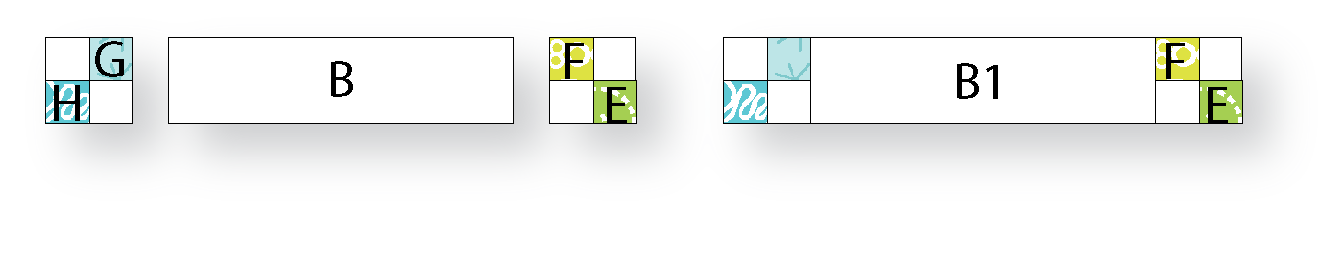
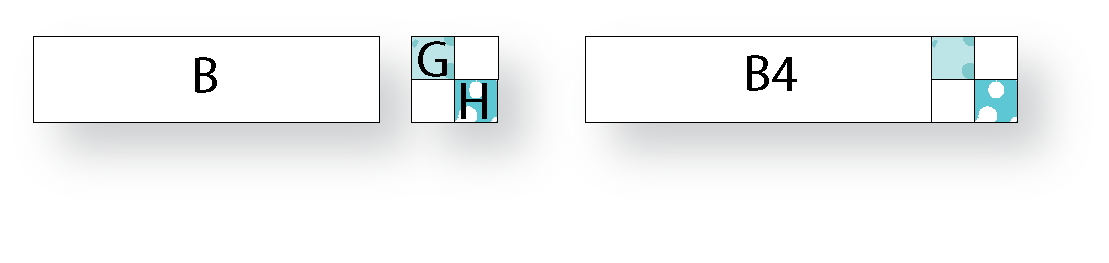
Sew the Four-Patch blocks to the White Snowflake 2 1/2″ x 8 1/2″ block strips B as follows:
- (24) B1 units
- (2) B2 units
- (2) B3 units
- (4) B4) units


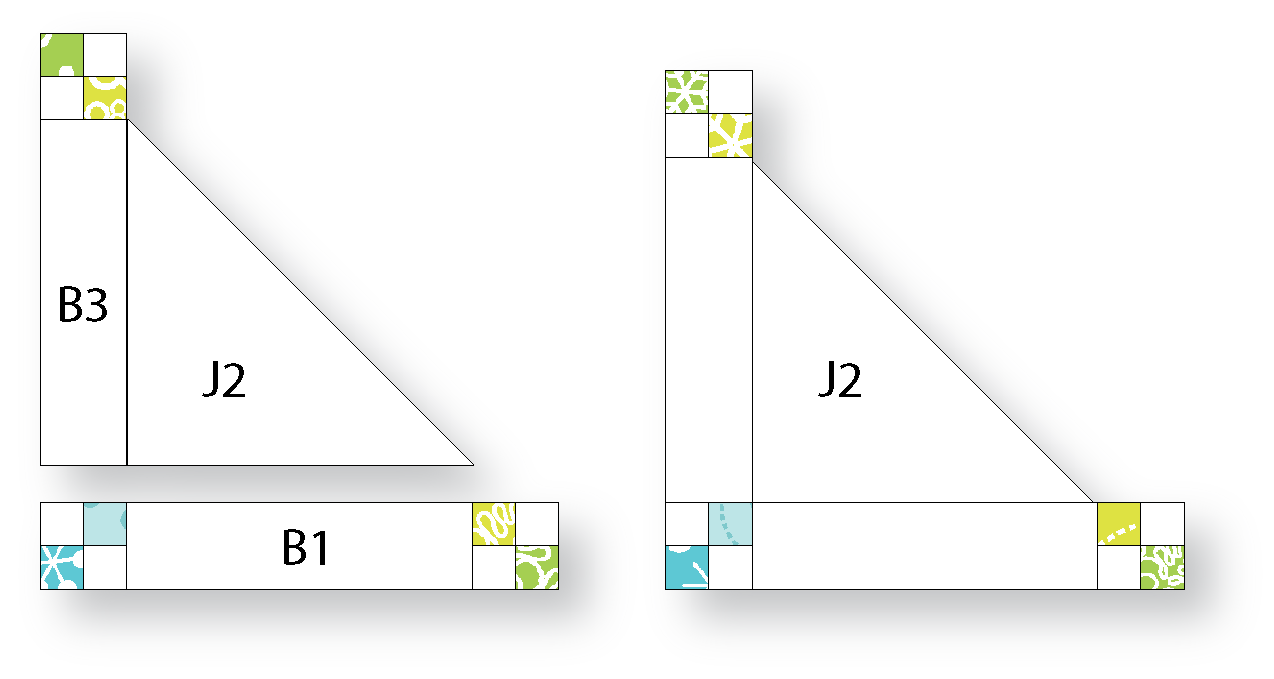
Prepare the Vintage Ornaments Triangle Blocks
Sew a B4 unit to the bottom edge of a White Snowflake set-in J triangle; press seams to the triangle.
Sew a B1 unit to the left edge of J1; make a total of (4) J1 units.

Sew a B3 unit to the left edge of a White Snowflake set-in triangle J; press seams to the triangle.
Sew a B1 unit to the bottom edge of J2; make a total of (2) J2 units.
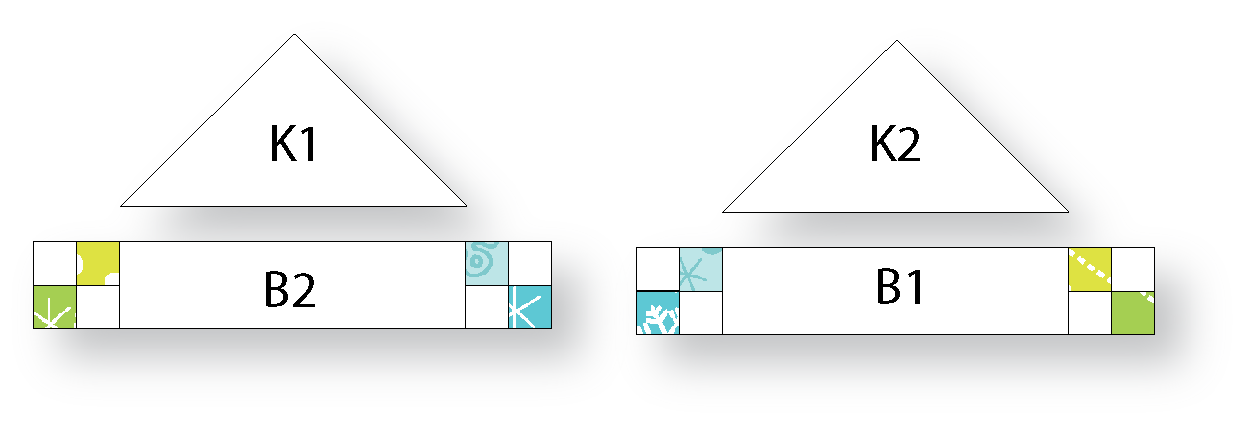
Sew a B2 unit to the bottom edge of a White Snowflake set-in triangle K, being careful not to stretch the biased edge; make a total of (2) K1 units.
Sew a B1 unit to the bottom of a set-in triangle K; make a total of (2) K2 units.
Sashing Strips
Sew a Star Geo Turquoise 1 1/2″ 1 1/2″ cornerstone D square to the left and right short sides of a 1 1/2″ x 12 1/2″ sashing I strip; repeat for a total of (2) S1 sashing strips.
Sew (3) sashing I strips and (4) D squares to make S2; make a total of (2) S2 sashing strips.
Sew (4) sashing I strips and (5) D squares to make (1) S3 sashing strip.
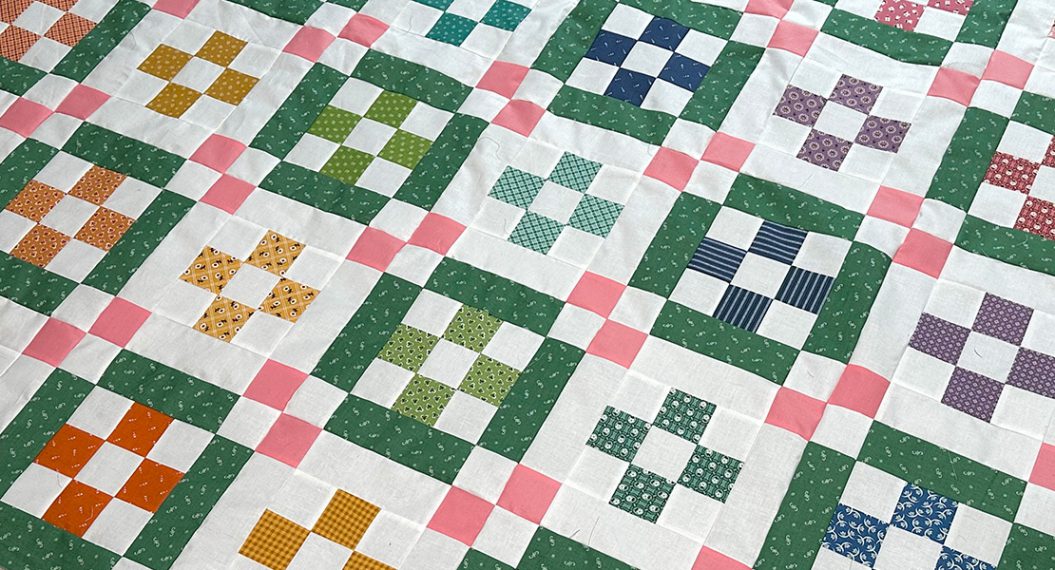
Quilt Assembly
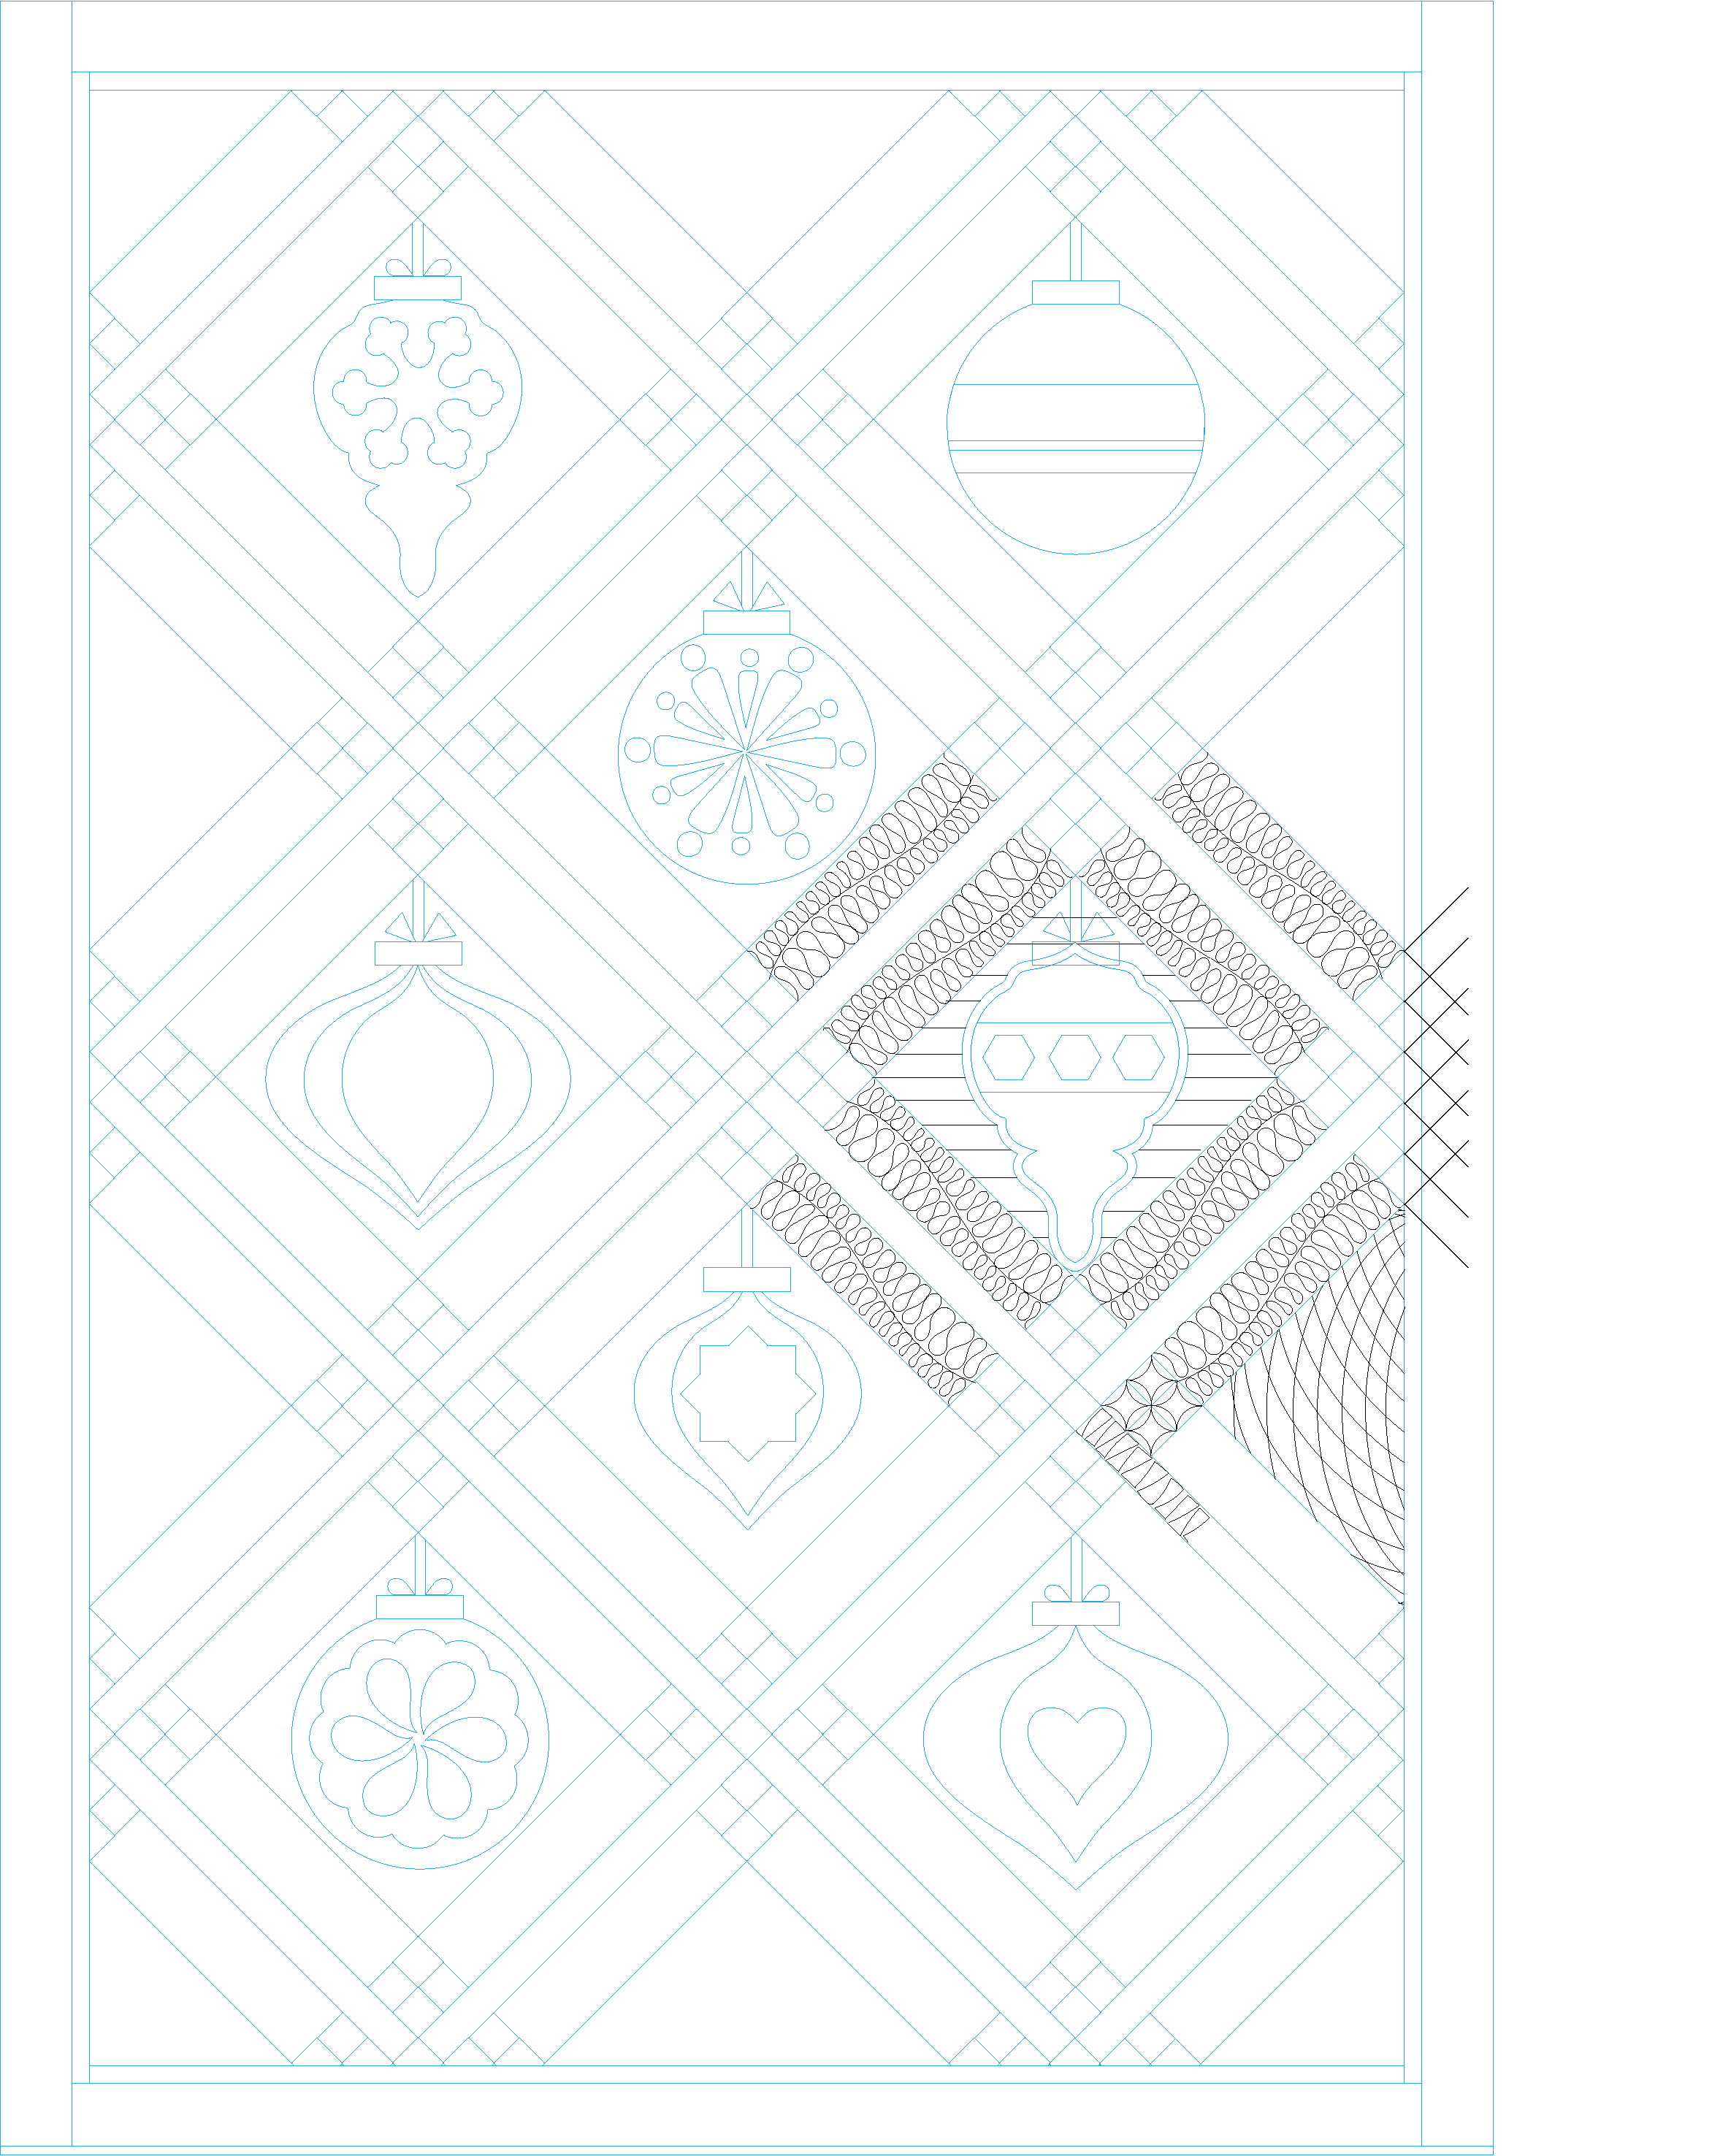
Follow the diagram below to determine block placement and assemble the four quilt rows. Sew the White Snowflake 1 1/2″ x 12 1/2″ sashing I strips in between the blocks/triangle units:
Assemble the four rows, sashing strips S1, S2, S3, and the K1 triangle blocks as follows:
 Trim the edges of the sewn quilt, leaving a 1/4″ seam allowance from the center of the four-patch units:
Make the Vintage Ornament Quilt Borders
From the Turquoise Snowflake 1″ x WOF strips, cut (2) 1″ x 37 1/4″ border strips and sew onto the top and bottom edges of the quilt center.
Sew the remaining 1″ Turquoise strips end to end and cut (2) 1″ x 56 3/4″ border strips; sew onto the left and right edges of the quilt center.
Cut (2) 2 1/2″ x 38 1/2″ border strips from the White Snowflake 2 1/2″ x WOF border strips and sew onto the top and bottom edges.
Sew the remaining 2 1/2″ White Snowflake strips end to end and cut (2) 2 1/2″ x 60 3/4″ border strips; sew onto the left and right edges of the quilt center.
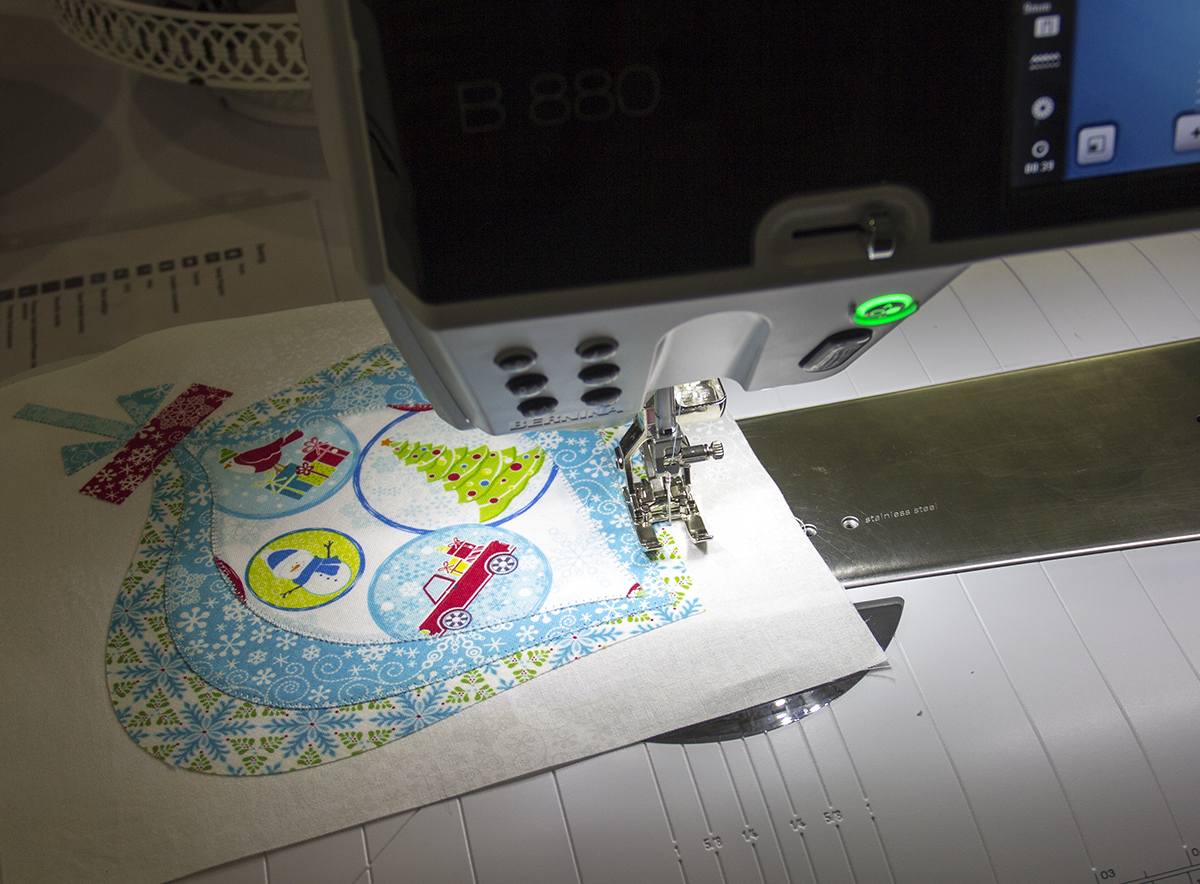
How to Quilt the Vintage Ornaments Quilt
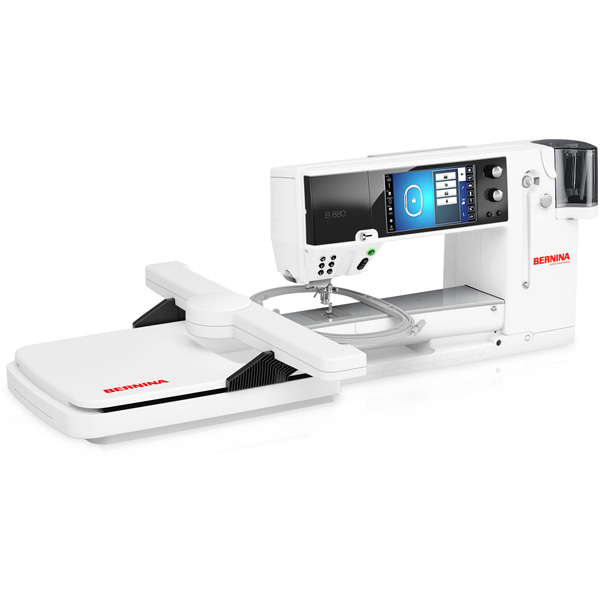
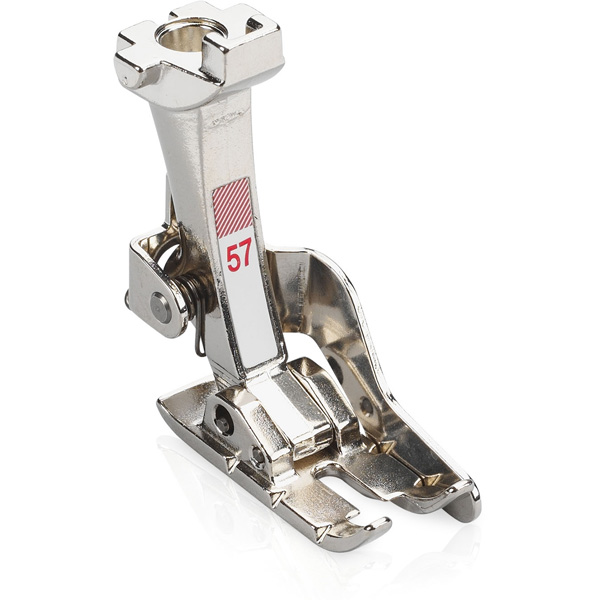
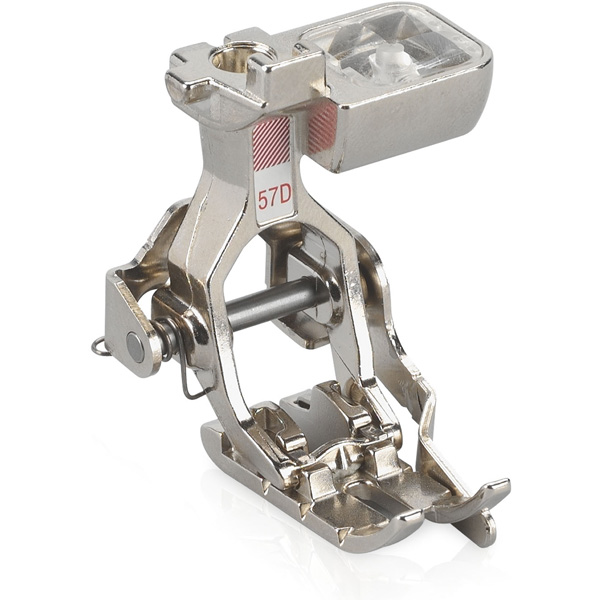
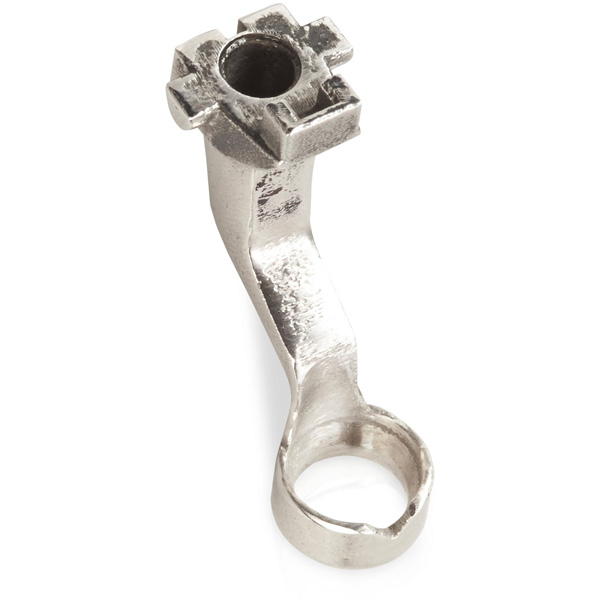
I love ruler work! For this quilt, I stitched in the ditch around the blocks and the appliqués using a straight ruler and presser foot #96 on my Q24 Longarm. I added simple straight lines to the ornament’s backgrounds, and used a curved ruler to quilt a dividing spine in the large sashing strips, then filled the area with an easy to free motion quilt ribbon candy. The set-in triangles were quilted with a curved ruler and crosshatching—love this look. The borders were filled by continuing the in-the-ditch quilting lines around the Four-patch blocks. The thin sashing is filled with a wonky ladder that is free motion quilted. I’ve included the diagram below as a PDF so you can play with quilting lines before working on your quilt. Download the printable Vintage Ornaments Quilt Ideas template here.
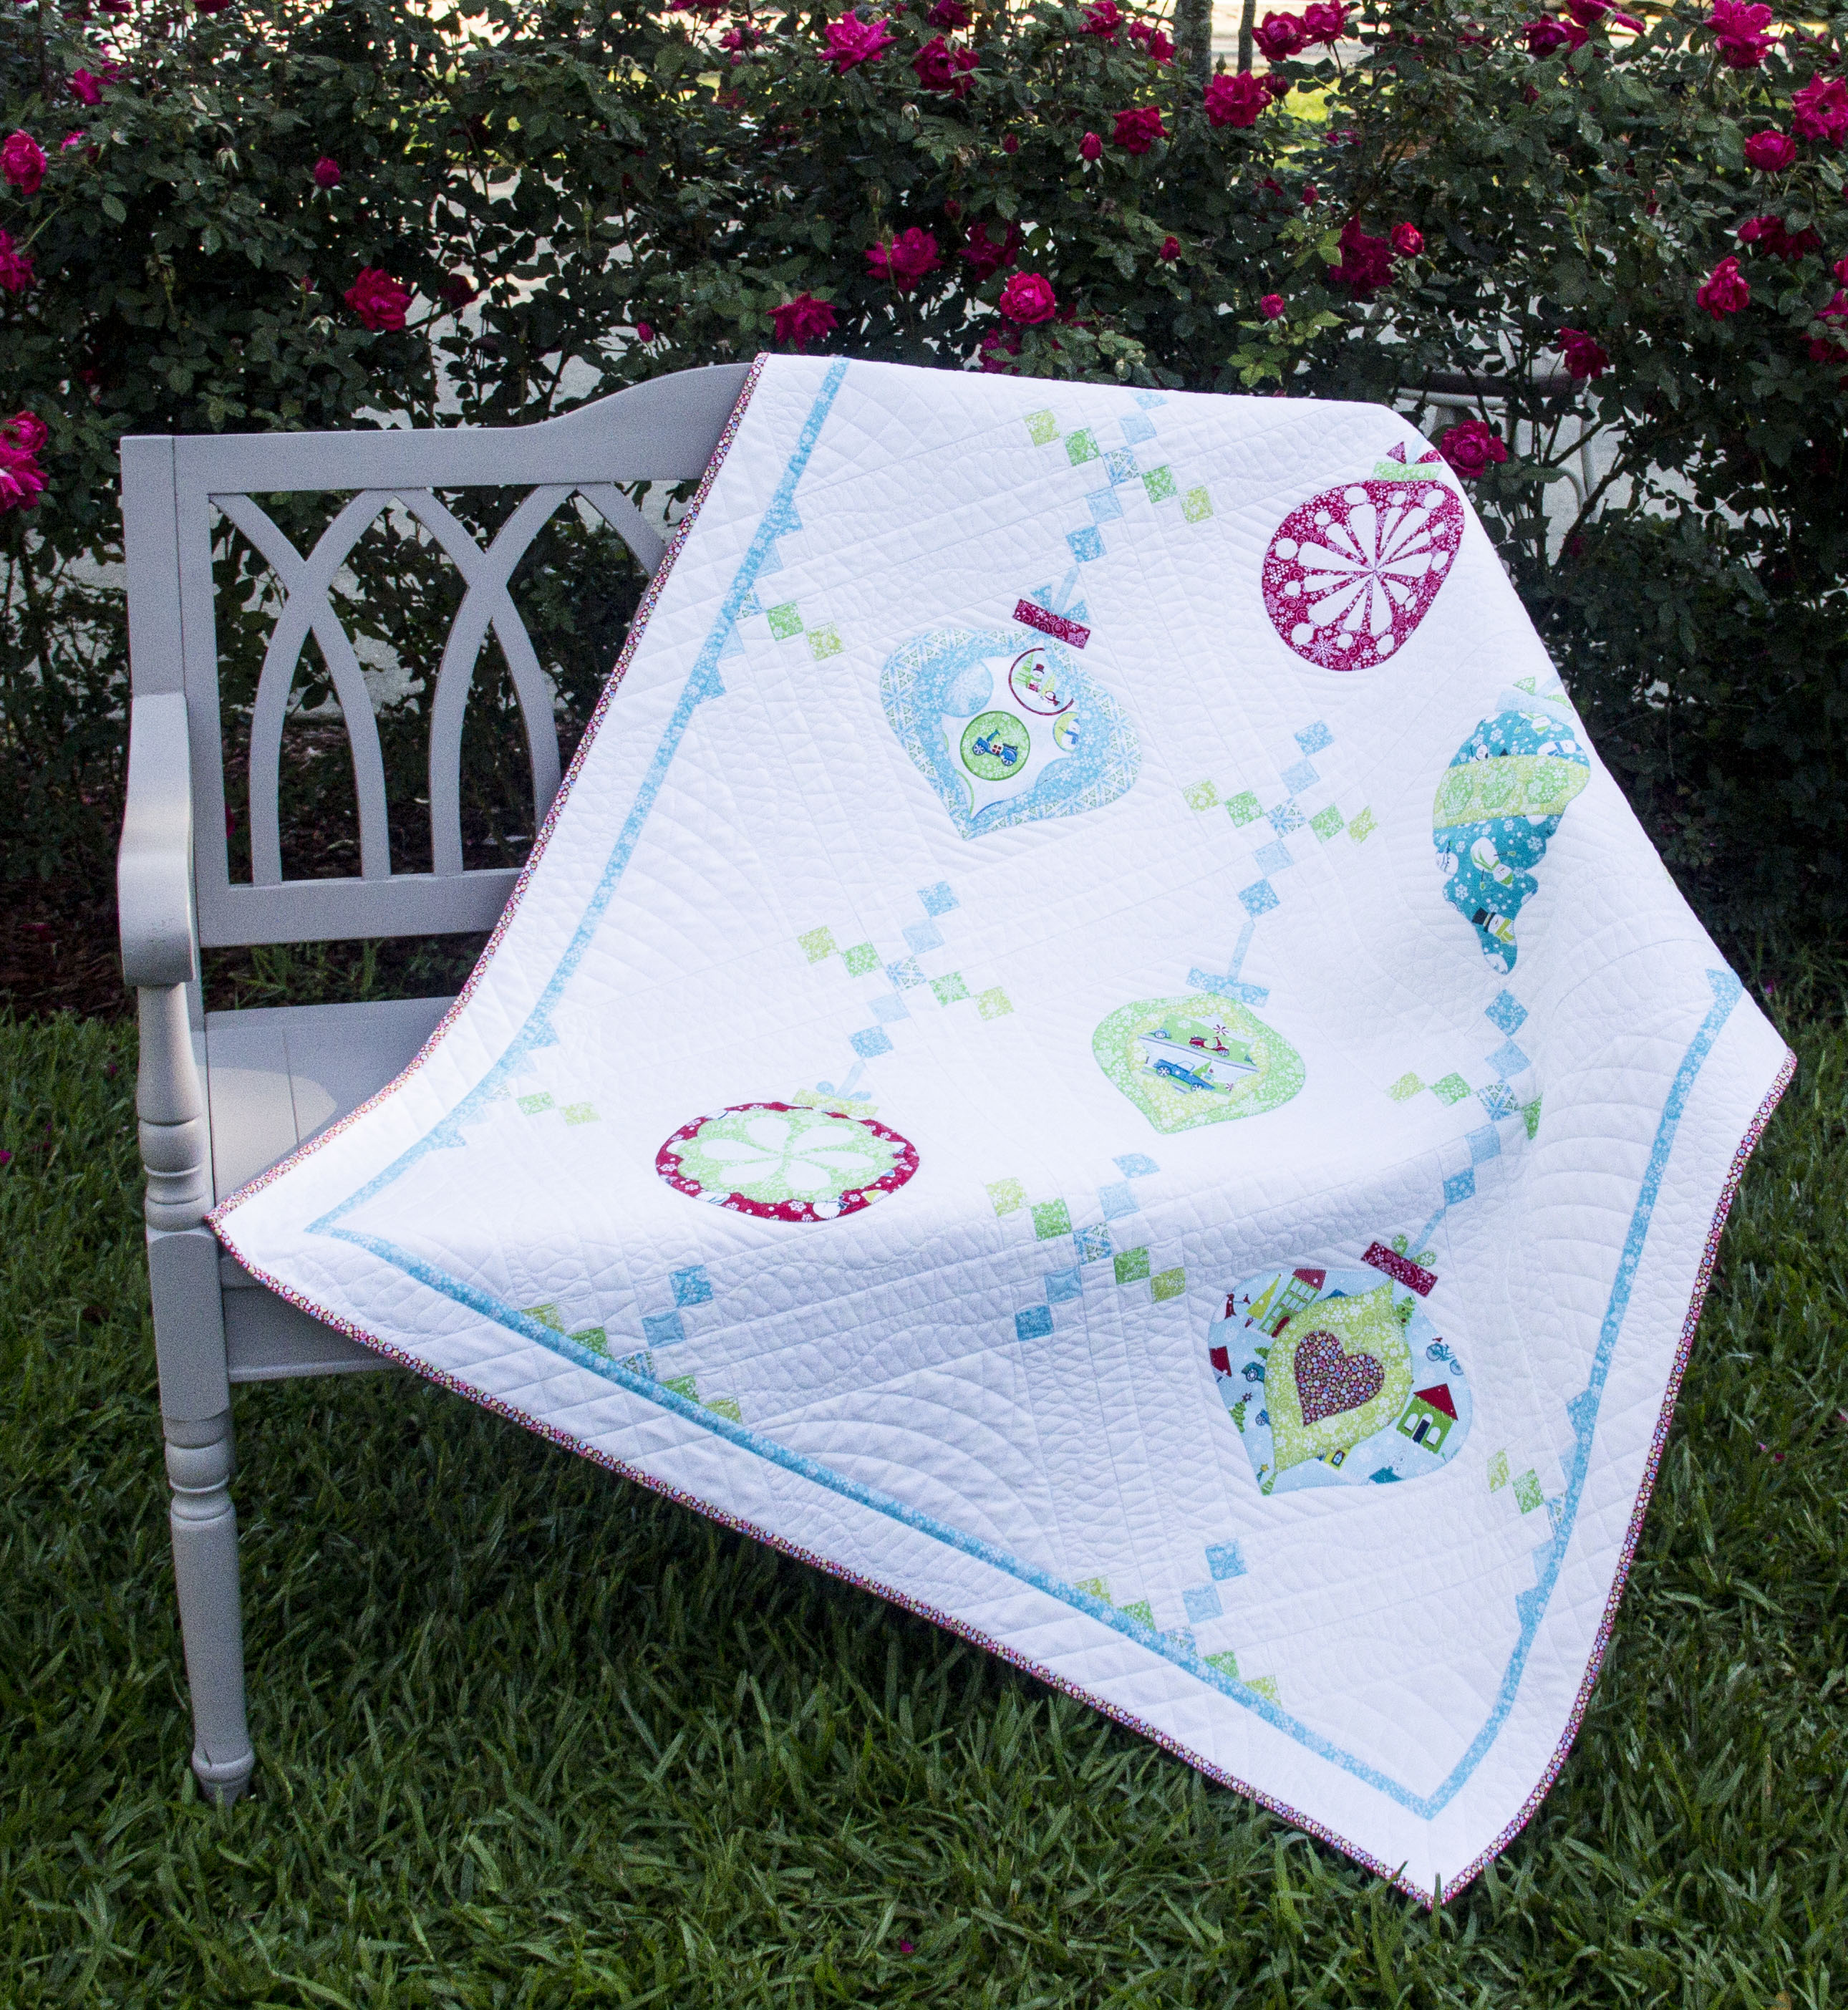
Layer your backing, batting, and quilt top, and quilt as desired! Bind with the (6) 2 1/4″ x WOF Red Circle Dot binding strips using your favorite method, label, and enjoy!
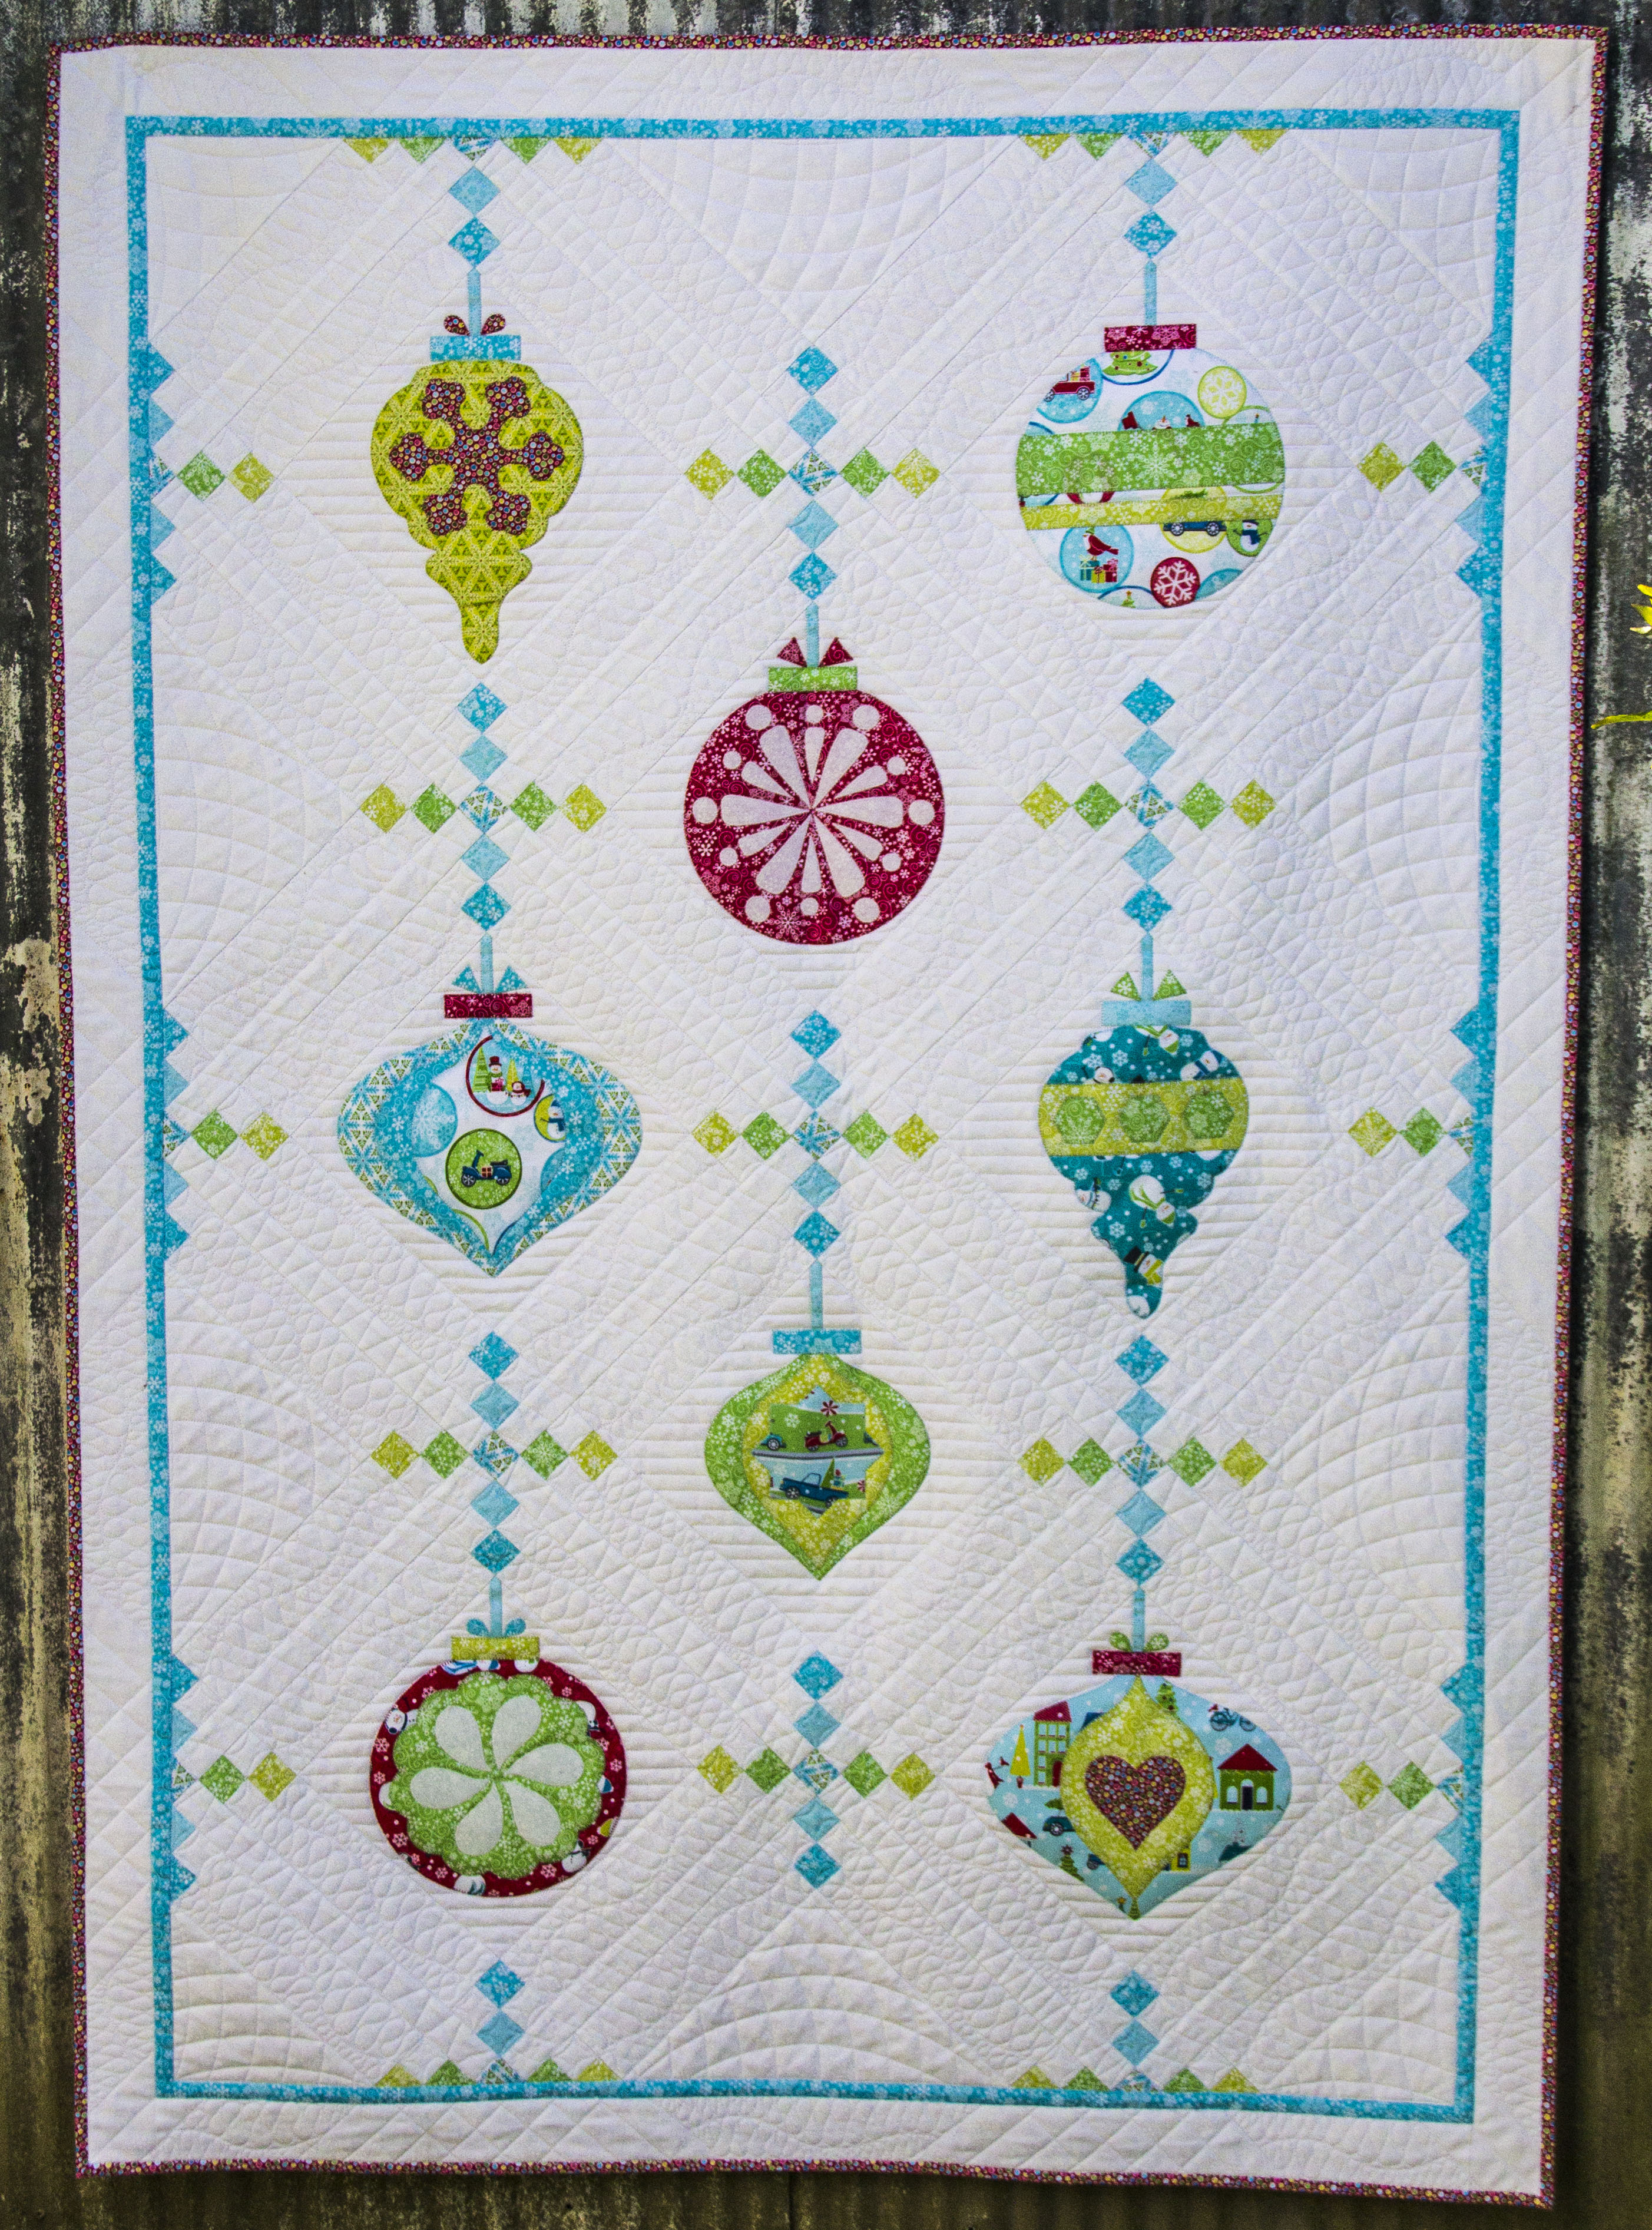
I hope you’ve had a good time working on Vintage Ornaments. Would love to see pictures of your quilt, so don’t forget to share.
Hugs,
Cherry
Used Products

What you might also like


12 comments on “Vintage Ornaments Quilt-Along: Block Assembly”
-
-
You will need to print the ornament patterns
-
-
Is anyone else having issues with assembling these blocks? The J and K set in triangles are too large. The B rectangles are also giving we problems when I try to attach them to the ornament blocks according to the diagram shown. Any help would be appreciated.
-
Hi. I just started to attach the strips to the K triangle pieces and mine are too big also. 🙁 I’ll go back and reread the cutting instructions to be sure I did it correctly and remeasure the triangle. Did you figure it out?
-
Hi Julia, please see my reply to Karen…
-
-
Hi Karen, the length of the B rectangles are cut to match the squared applique blocks. You are right, the set in triangles are a bit larger compared to the diagram, so sorry about the confusion. When sewing the J triangles to the pieced B units, align the straight edges of the triangles to the B units keeping the diagonal-cut edge to the outside of the block; the excess fabric will be trimmed once the entire quilt has been assembled. For the K triangles, I also allowed a bit extra fabric for squaring the quilt in the end. To sew the K triangles to the sewn B units, find the center of the pieced B unit and the center of the diagonal-cut edge of the K triangle and align these centers, then sew the blocks together; don’t worry about the extra fabric, it will make it easier in the end. I hope this helps, if not, give me a call!
-
-
I’ve started cutting all the fabric and have a question. The cut instructions lists the Red Snowflake and Red Circle Dot fabric for binding. Is it suppose to be a choice of which one to use? It would seem a waste of fabric to be cutting binding for both since the final instructions on the Block Assembly states only one of them was used for the binding. Did I miss something?
-
Hi Julia, so sorry about the mistake with the binding! Please use the Red Circle Dot fabric to cut the binding.
-
-
I did it! It was a fun project! Seemed like I machine quilted it “to death” but it fits nicely. Now to figure out the border yet … this has been a fun learning project. How do I post a picture of it?
-
Hi bharder, so glad to hear you’ve enjoyed working on Vintage Ornaments, would love to see pictures of your quilt! You can share pictures in the “Community” section, just go the the navigation bar at the top of the page, select Community, then “Upload Project”, fill in the info, and upload your image! Hope this helps!
-
-
I loved this project and wonder if you will be doing another one this year?
-
LOVE,LOVE,LOVE this quilt! I really enjoyed completing each month’s project. I am attaching a picture of my final quilt. Thanks for posting the instructions.
Leave a Reply
You must be logged in to post a comment.

Do you have a printout of the instructions to complete the Quilt?