Vintage Ornaments Quilt-Along: Medallion Blocks
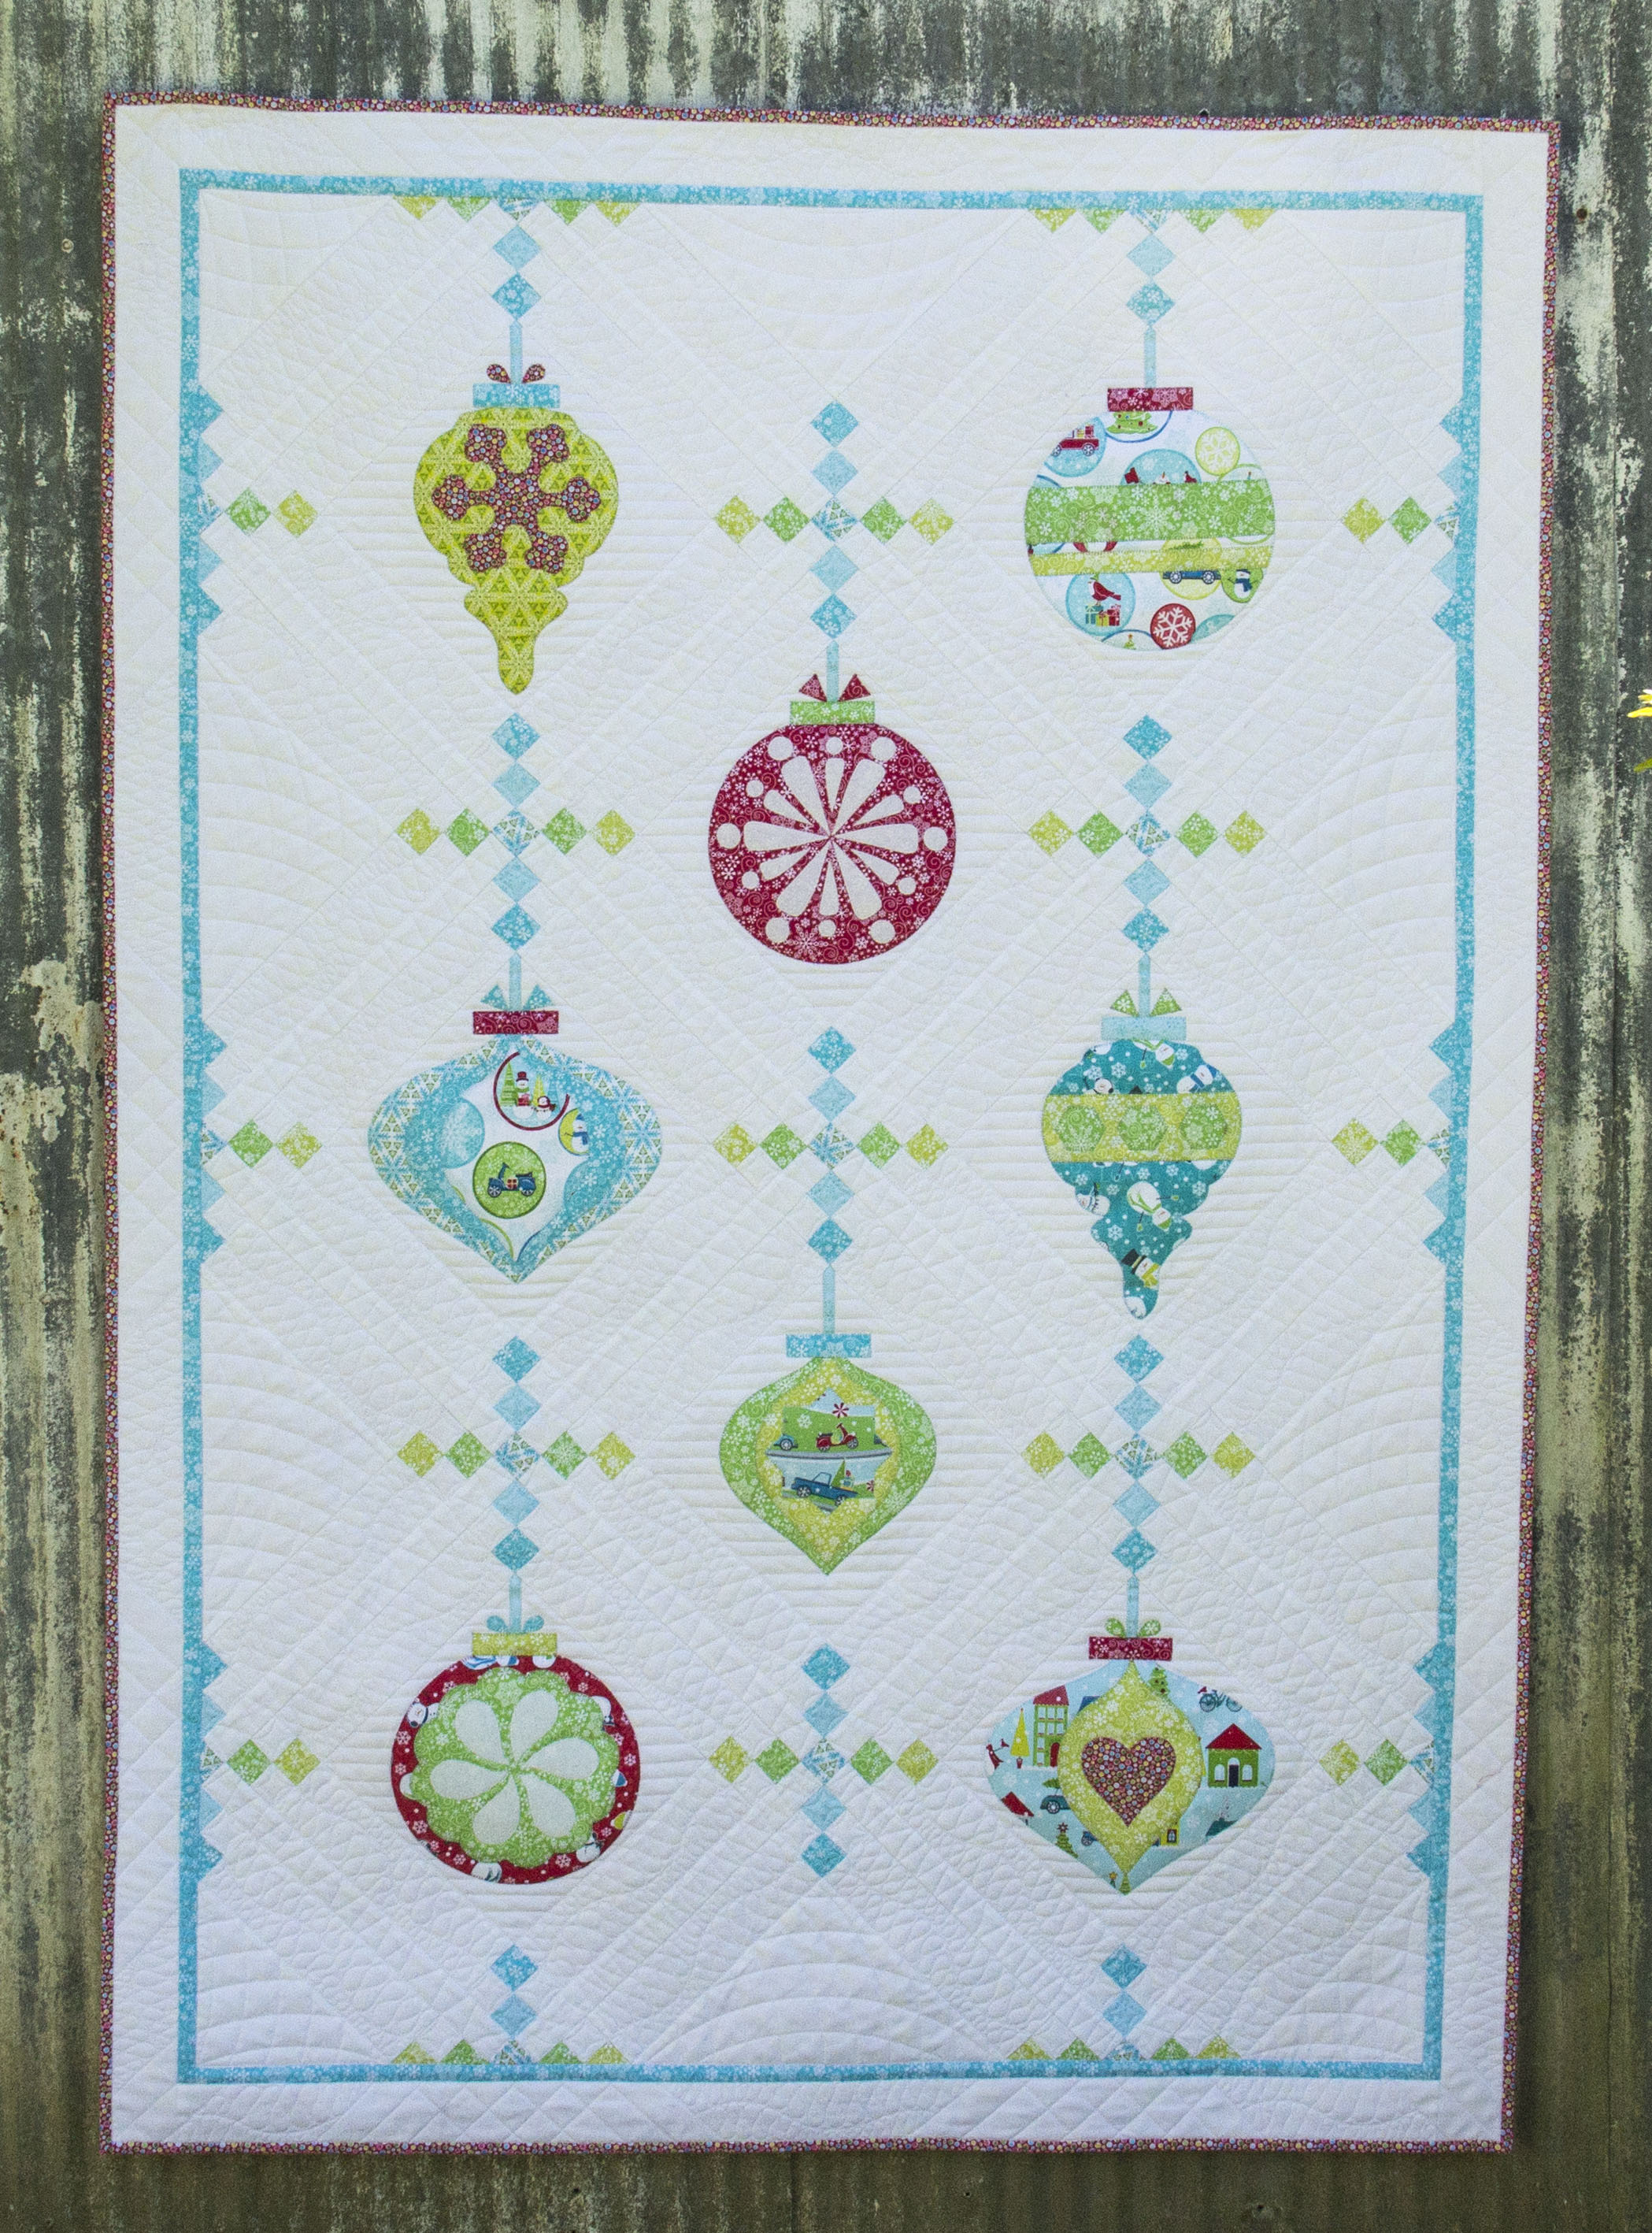
Welcome to month three in the Vintage Ornaments Quilt-Along, I’m so happy to have you here and hope you enjoyed working on the first two applique blocks. If you are new to the Quilt-Along, you can find information on cutting and the first two blocks here: Vintage Ornaments Snowflake and Stripe Applique Blocks.
Materials to Make Vintage Ornament Medallion Blocks
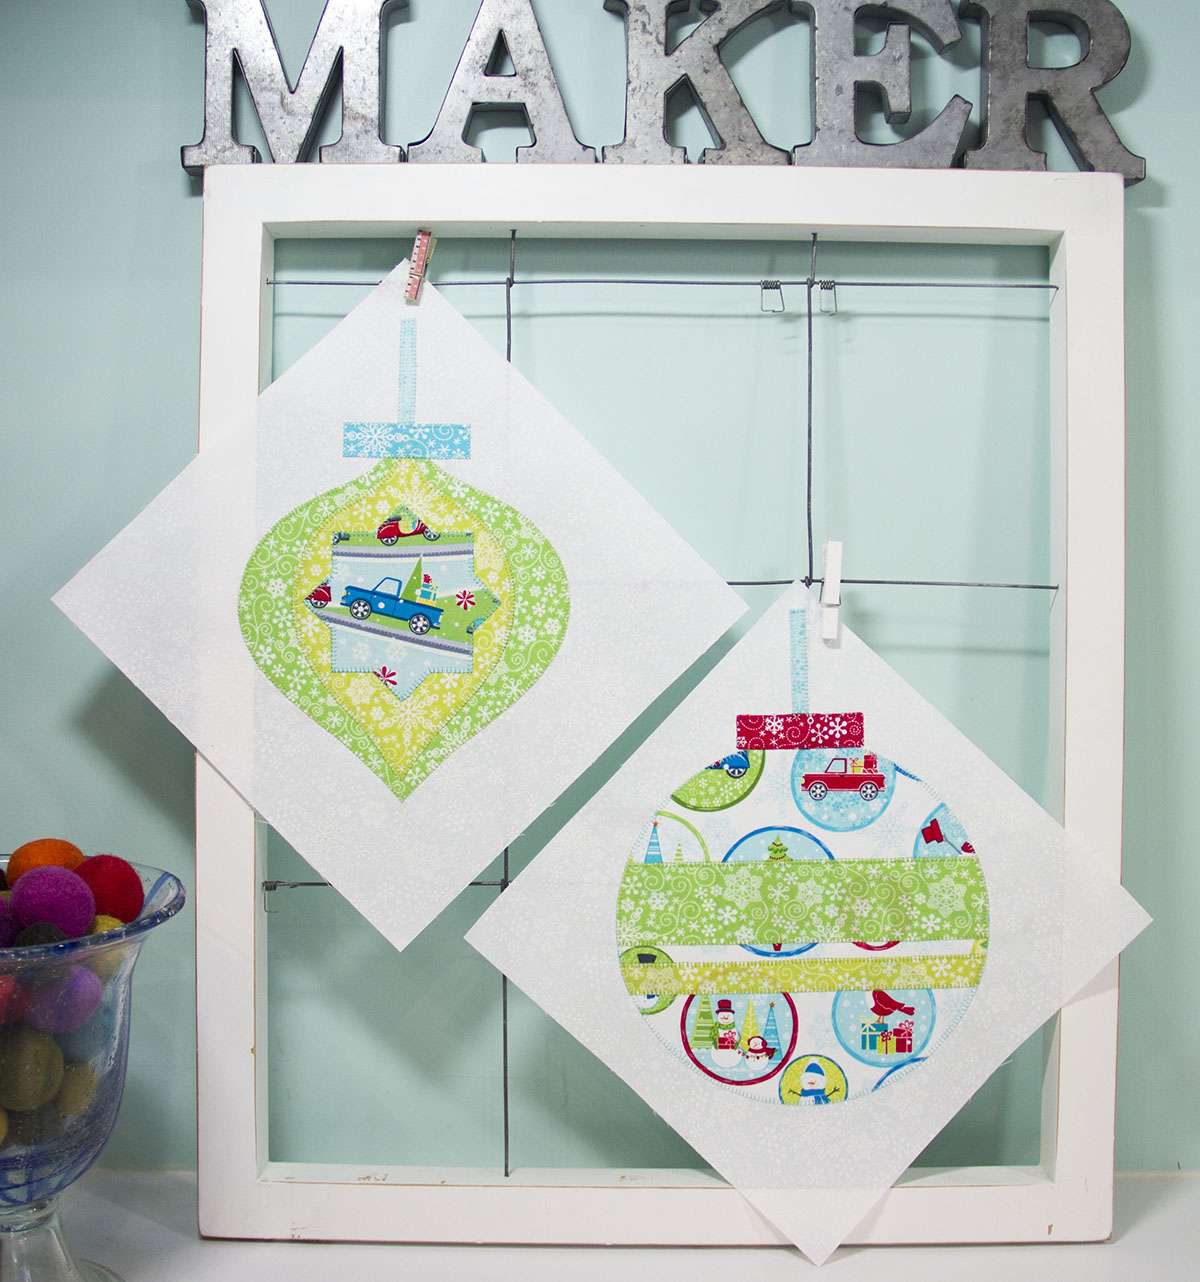
- Download and print the Vintage Ornaments Medallion Block Three and the Vintage Ornaments Medallion Block Four; make sure your printer is set to no scale
- 17″ Wide paper-backed fusible webbing
- Fabric scissors
- Paper scissors
- Fine tip permanent pen (black Sharpie)
- Light box (optional)
- Coordinating Aurifil 50wt thread for the appliques
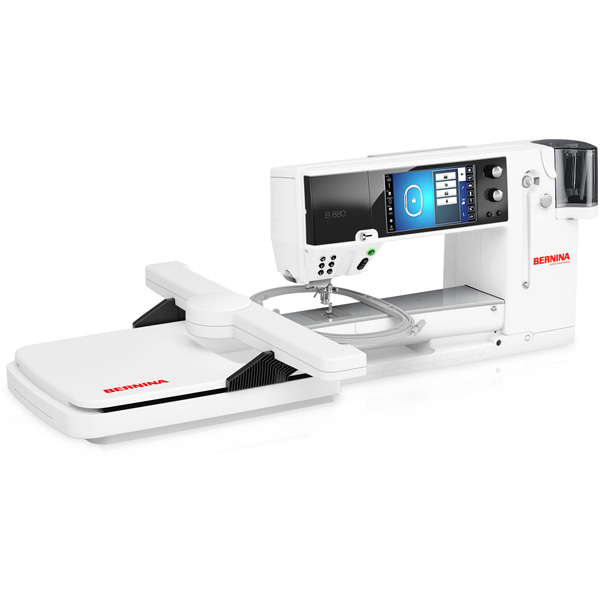
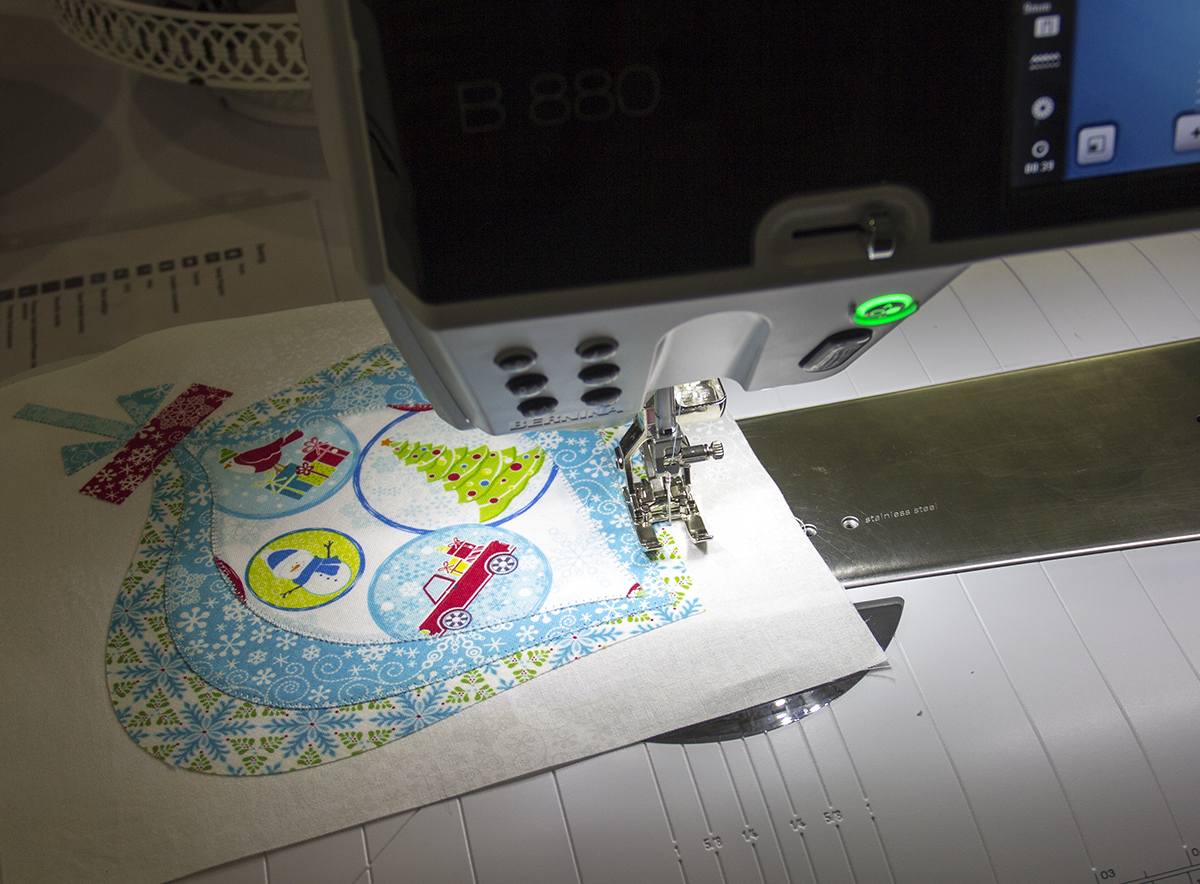
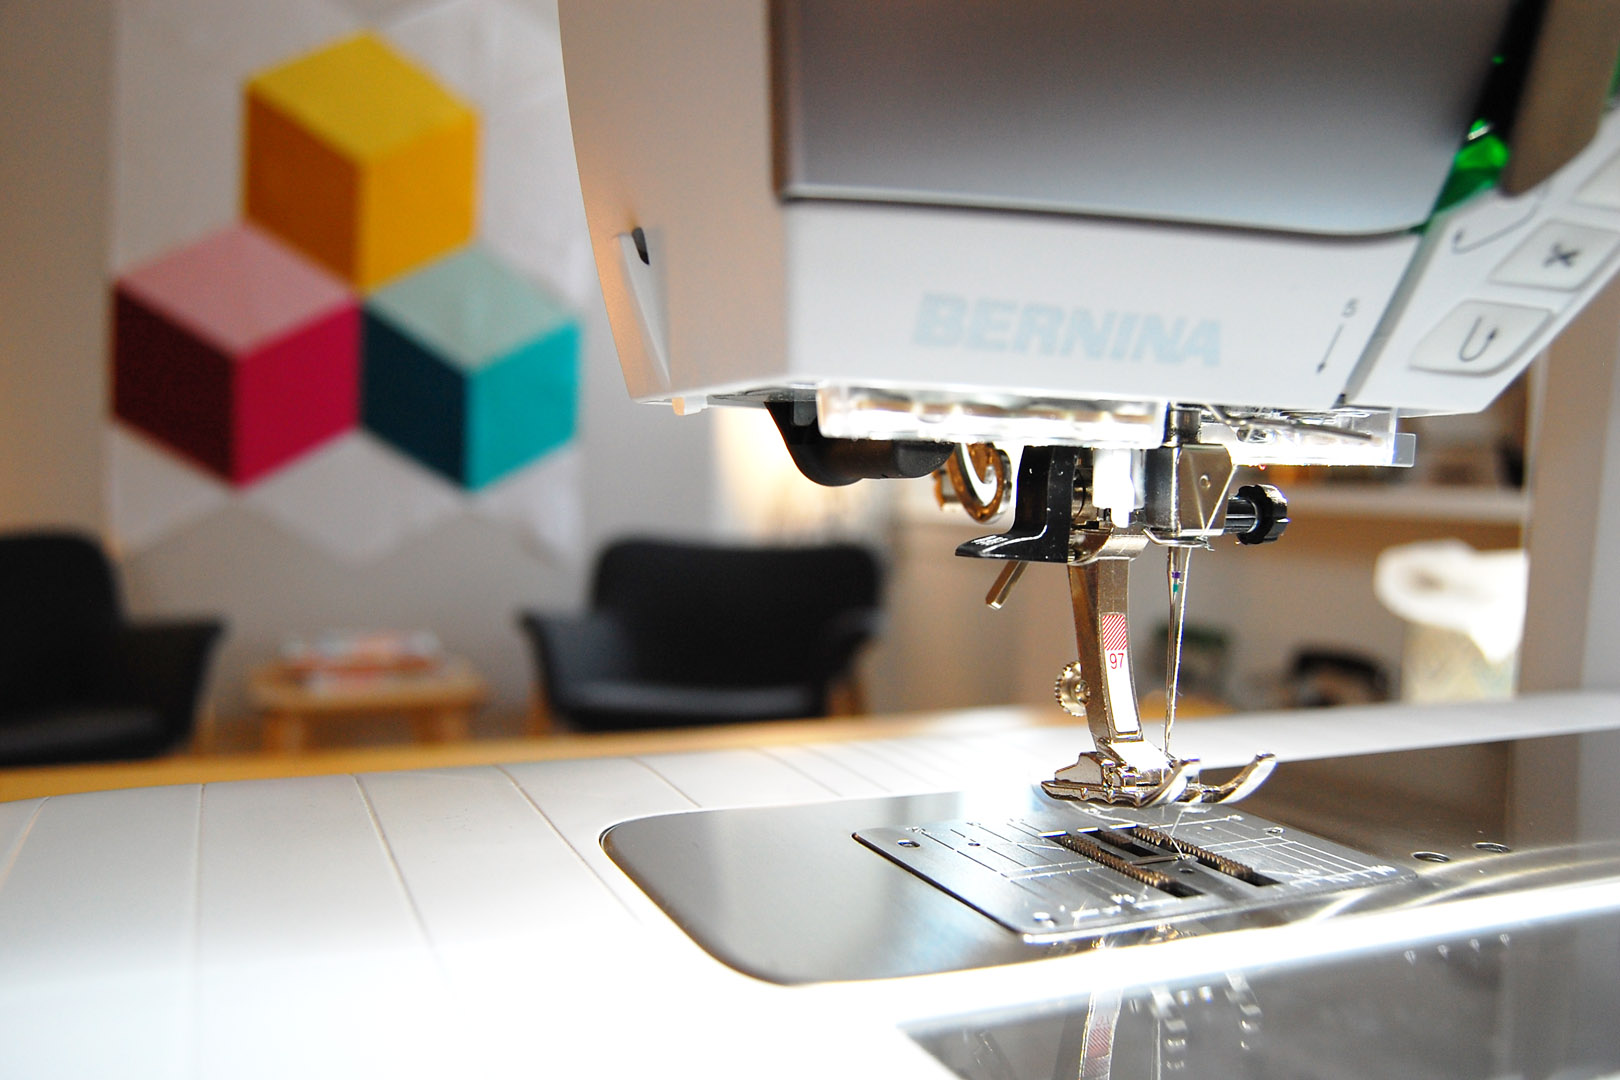
- Sewing machine (I use a BERNINA 880)
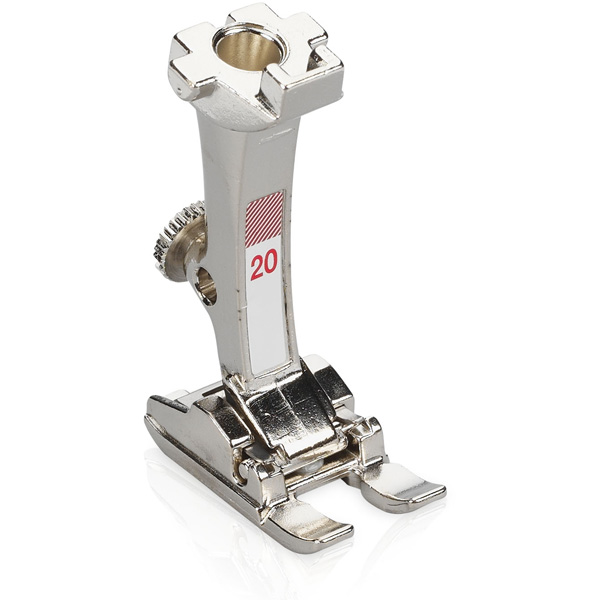
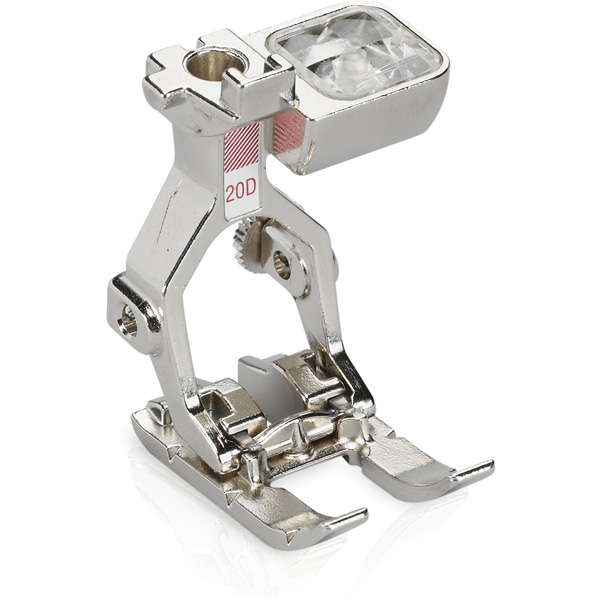
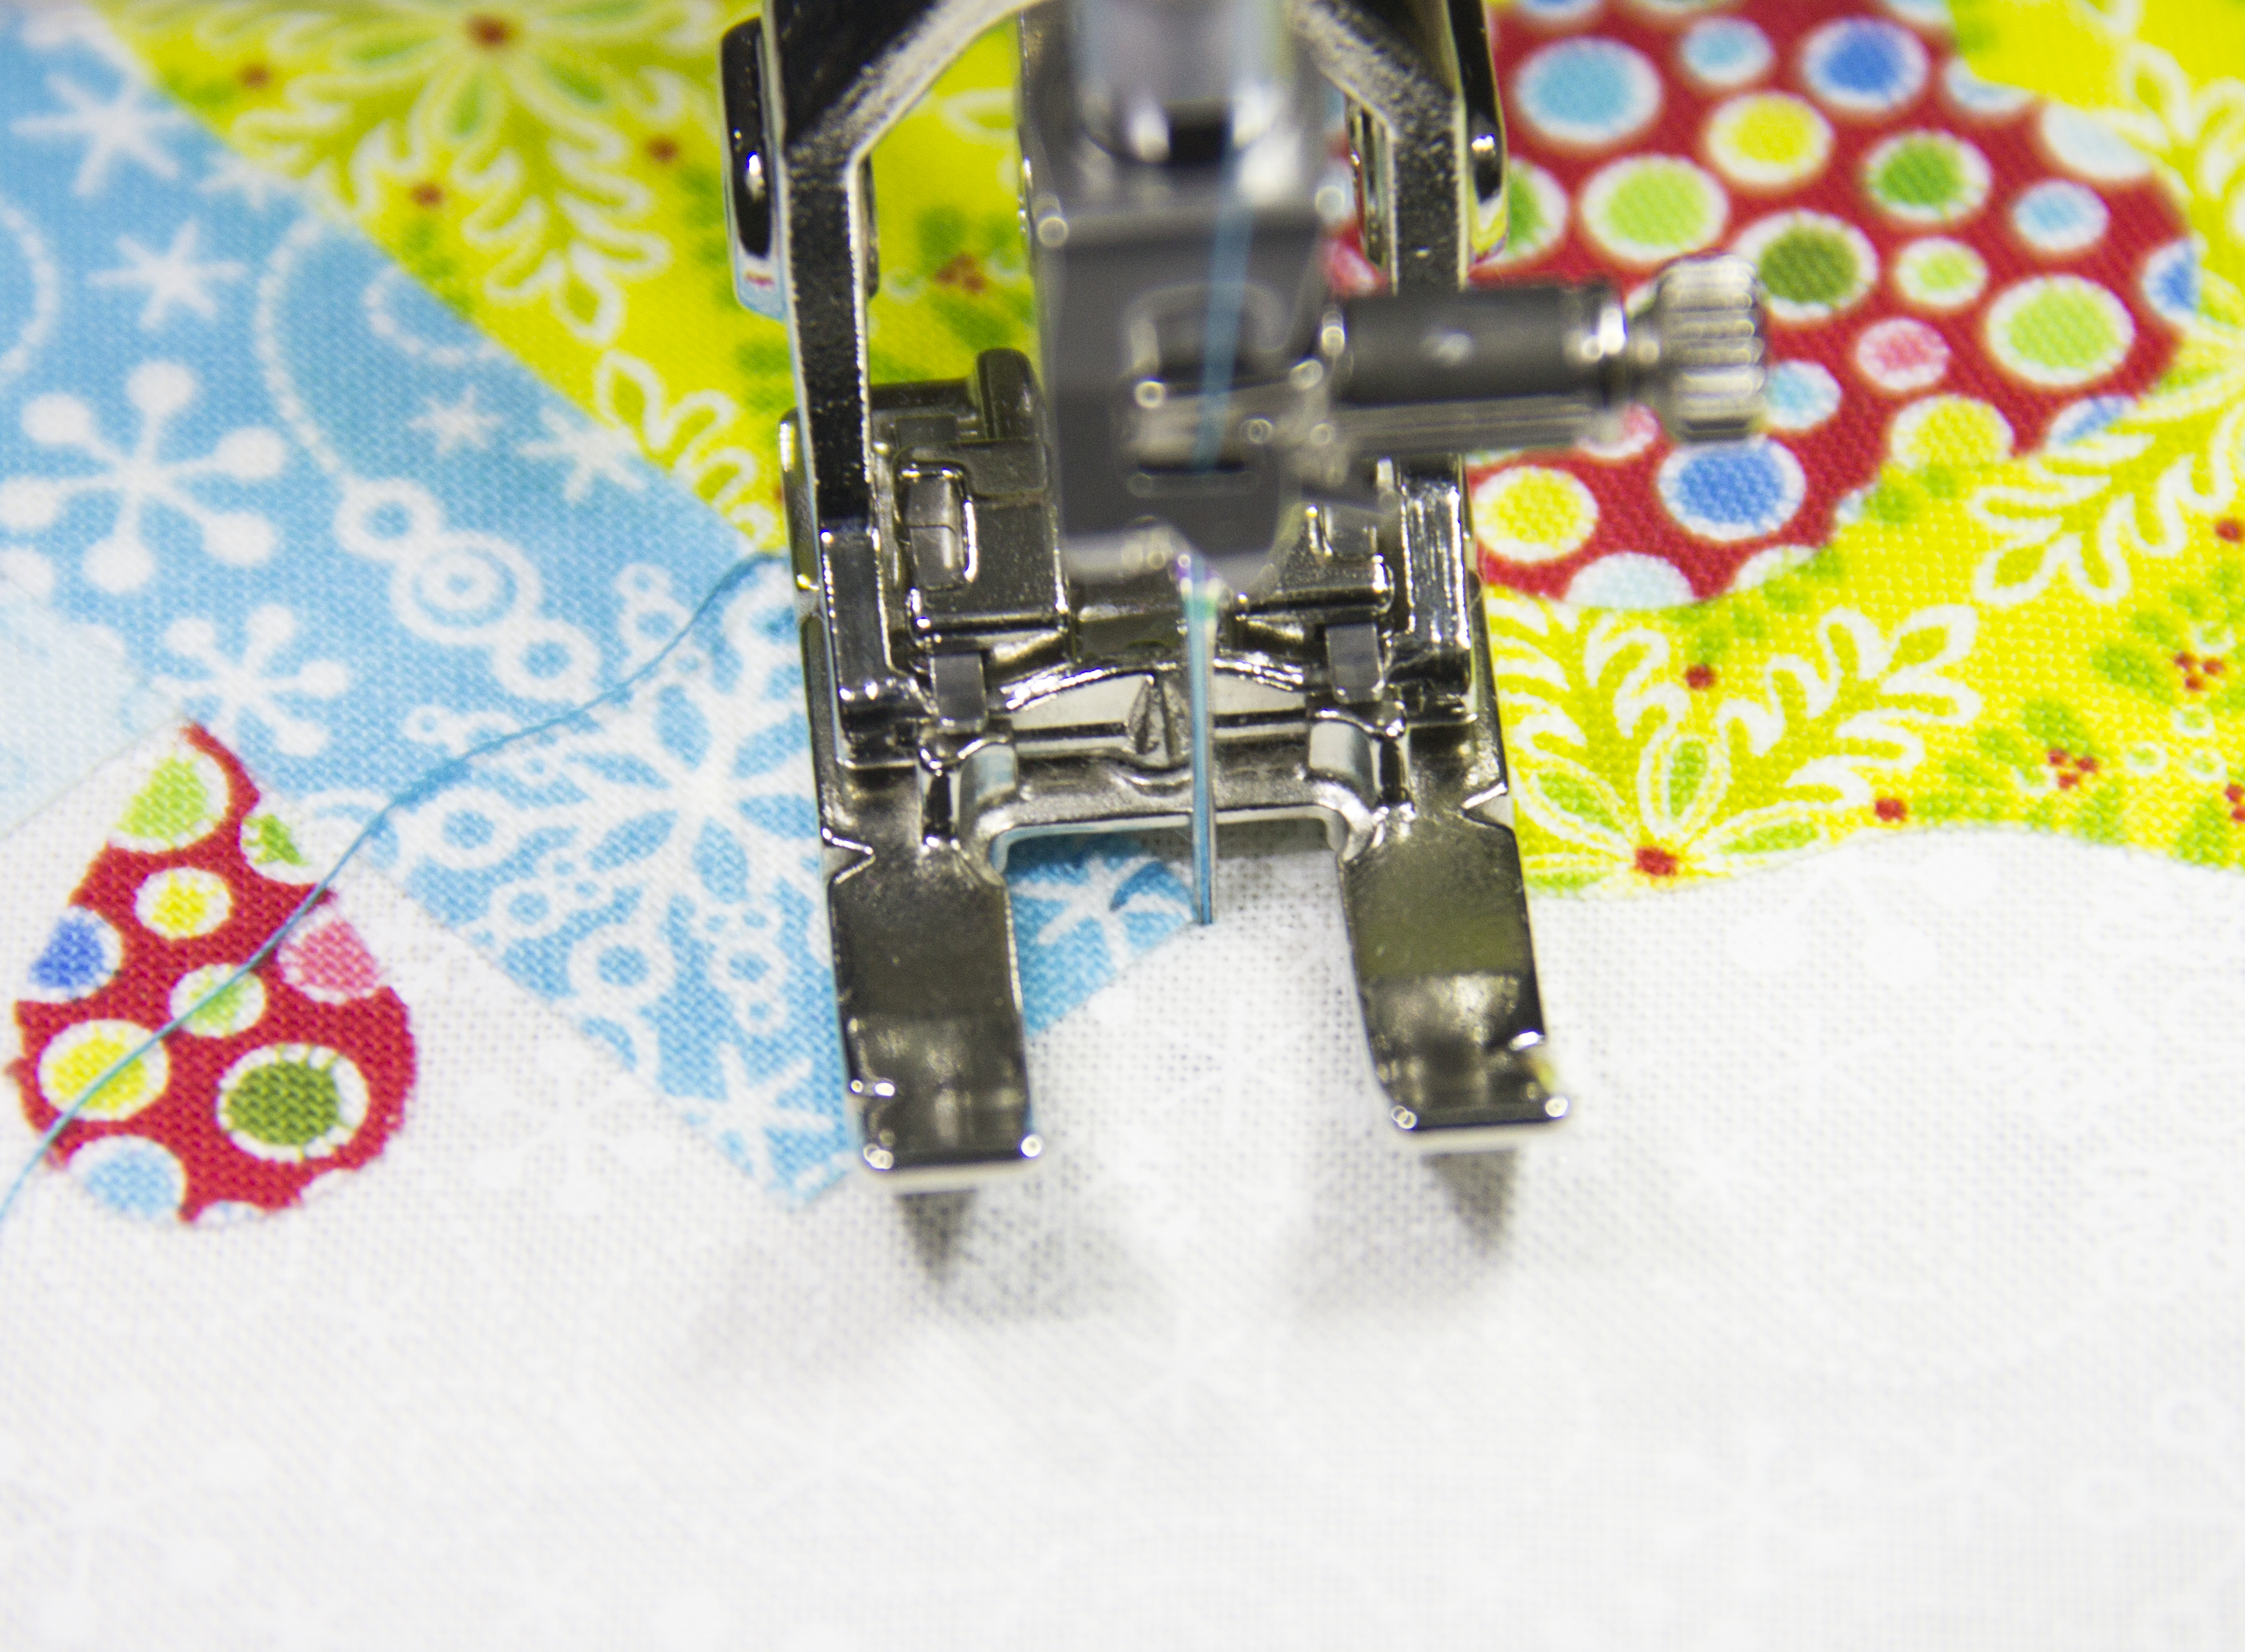
- Open embroidery foot #20/20C/20D
- Sewing machine needles: Microtex 70/10
Create the Vintage Ornament Medallion Appliqué Blocks
Refer to the previous post for detailed instructions on fusible applique.
To avoid a stiff quilt, I prefer using the lightest paper backed fusible possible; favorites are Soft Fuse, Pellon Wonder Under, and Lite Steam A Seam 2, which is also repositionable like a sticky note! But even with the softest fusible, if the design has several layers of applique shapes, the finished quilt will be a bit stiff; a simple solution is to trim away or “window” some of the fusible to keep it soft.
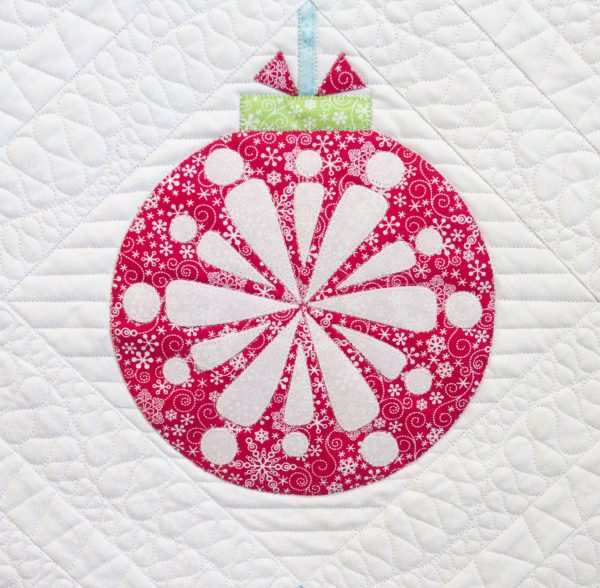
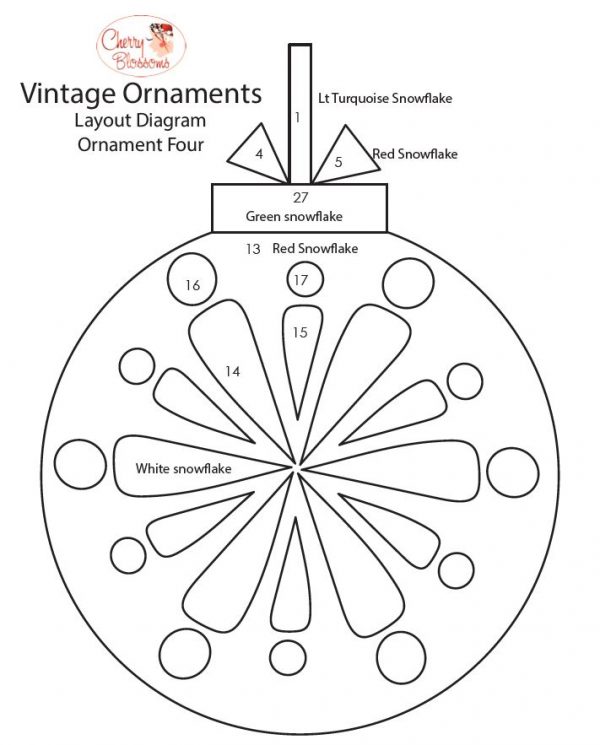
Start by looking at the design to determine which shape could be windowed. Let’s use Medallion Block Four for our example:
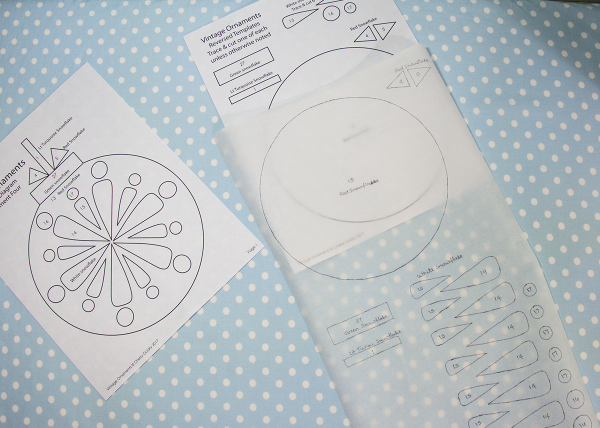
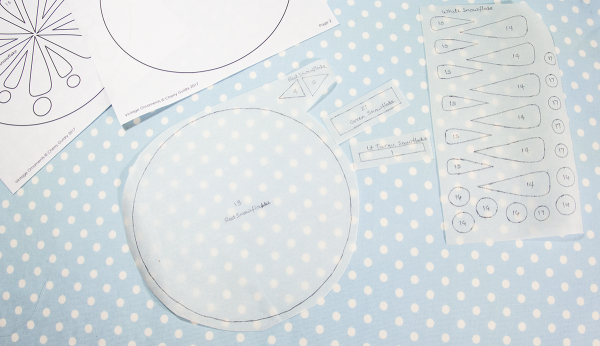
Trace the reversed applique shapes onto the paper side of the fusible…
…cut them apart by fabric.
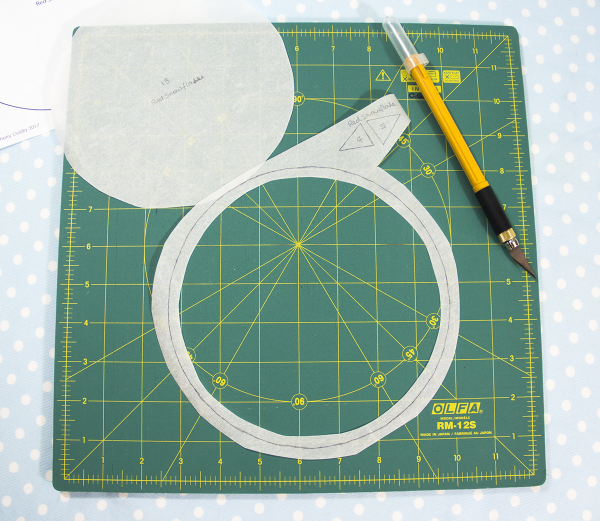
Since shape 13 is the largest shape and lays under shapes 14-17, trim or “window” the center portion of the fusible about a 1/4″ from the inside of the traced line.
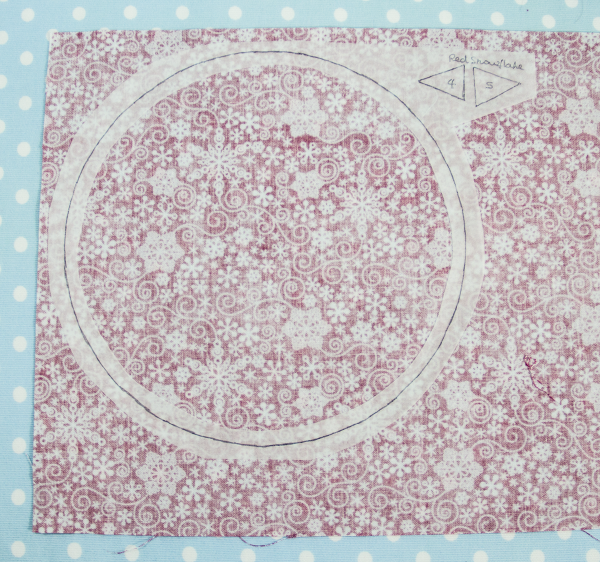
Fuse the windowed fusible onto the wrong side of the fabric, fusible side down…
…and cut the shapes out on the traced line.
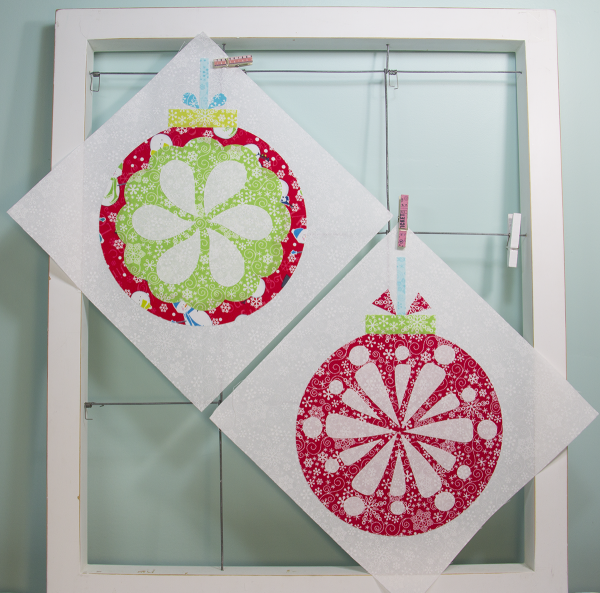
The rest of the shapes are too small to trim and not necessary for this design. Fuse the rest of the shapes onto their corresponding fabrics, cut them out, and following the layout diagram, fuse the shapes onto a starched 9 ½” x 9 ½” background square A (see previous post for cutting instructions). You’ll be able to feel the difference when you compare a windowed designed to one not trimmed.
Repeat with the Medallion Block Three and stitch the appliques down.
See you next month!
What you might also like
One comment on “Vintage Ornaments Quilt-Along: Medallion Blocks”
Leave a Reply
You must be logged in to post a comment.






I have found the instructions for blocks 1 and 2 and 3 and 4. Where are the rest of the instructions for this quilt?
Thanks