Zero Waste Quilting with Patty Murphy
I grew up using BERNINA sewing machines. In fact, every time Mom got a new machine, she’d give me her “old but still new to me” machine until I was able to buy one as an adult. I’m really excited to share some of the features, feet, and accessories that I used on my B 770 QE while I was making the projects for my third book, Zero Waste Quilting.
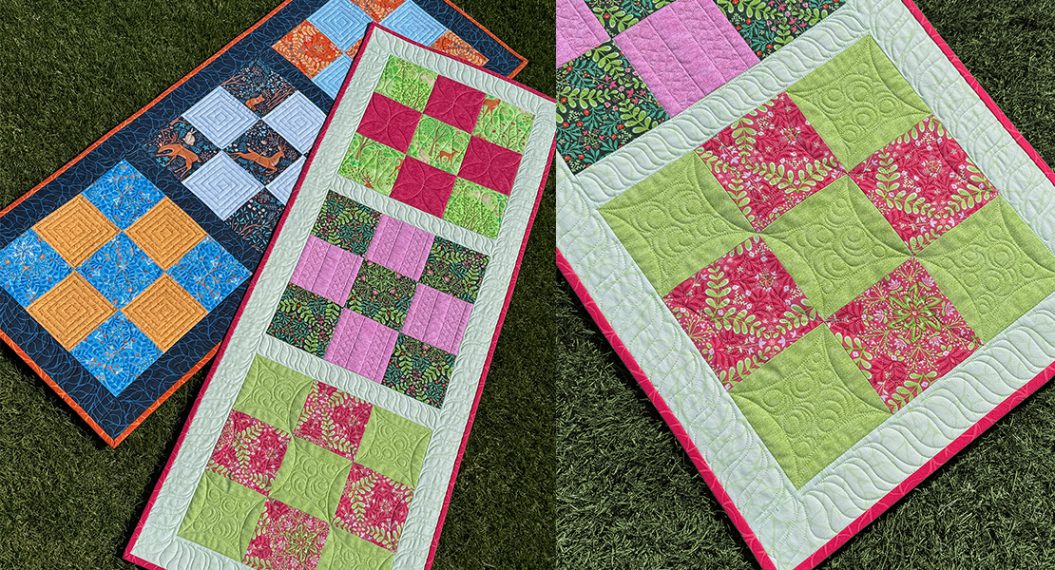
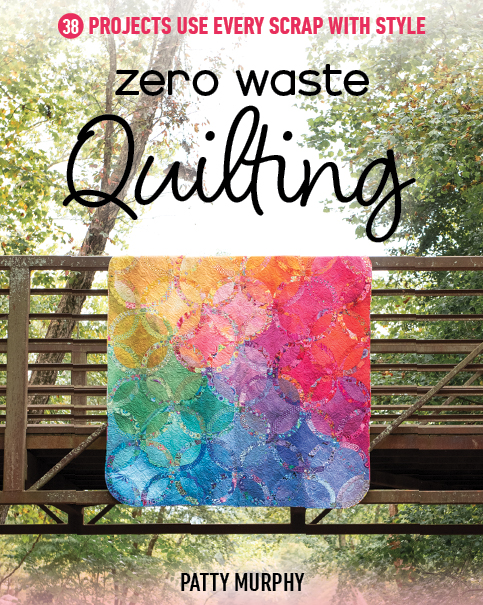
Zero Waste Quilting challenges how we think about fabric waste. It’s a mindful approach to buying and using material to stretch our resources with beginning to end use of goods. The book has four main projects and 34 small projects. The leftover material from each main quilt is re-designed into a collection of other items. The secondary projects include details on how to cut the leftover fabric to create subsequent projects in the book; however, yardage and cutting requirements are in the book so you can make each item as a stand alone project.
Patchwork Foot #97D and Seam Guide
The BERNINA Patchwork Foot #97D is my go-to foot for piecing and I relied on both my #97D foot and the seam guide while writing Zero Waste Quilting. 97D is the 1/4’’ foot with the dual feed feature. This foot is made for quilters. Your sewing machine needle goes through the opening in the center of the foot and it’s a perfect scant 1/4’’ to the edge of the foot on the right – the perfect seam allowance for piecing your quilts! However, this foot is easy to use when you need 1/8’’, 3/8’’ or 1/3’’ seam allowance (mostly in Europe) so in addition to the practical patchwork applications it’s got some versatility.
There’s an optional seam guide that you can screw into your throat plate to use with a patchwork foot. I like it because it ensures that fabric is always fed under my foot straight.
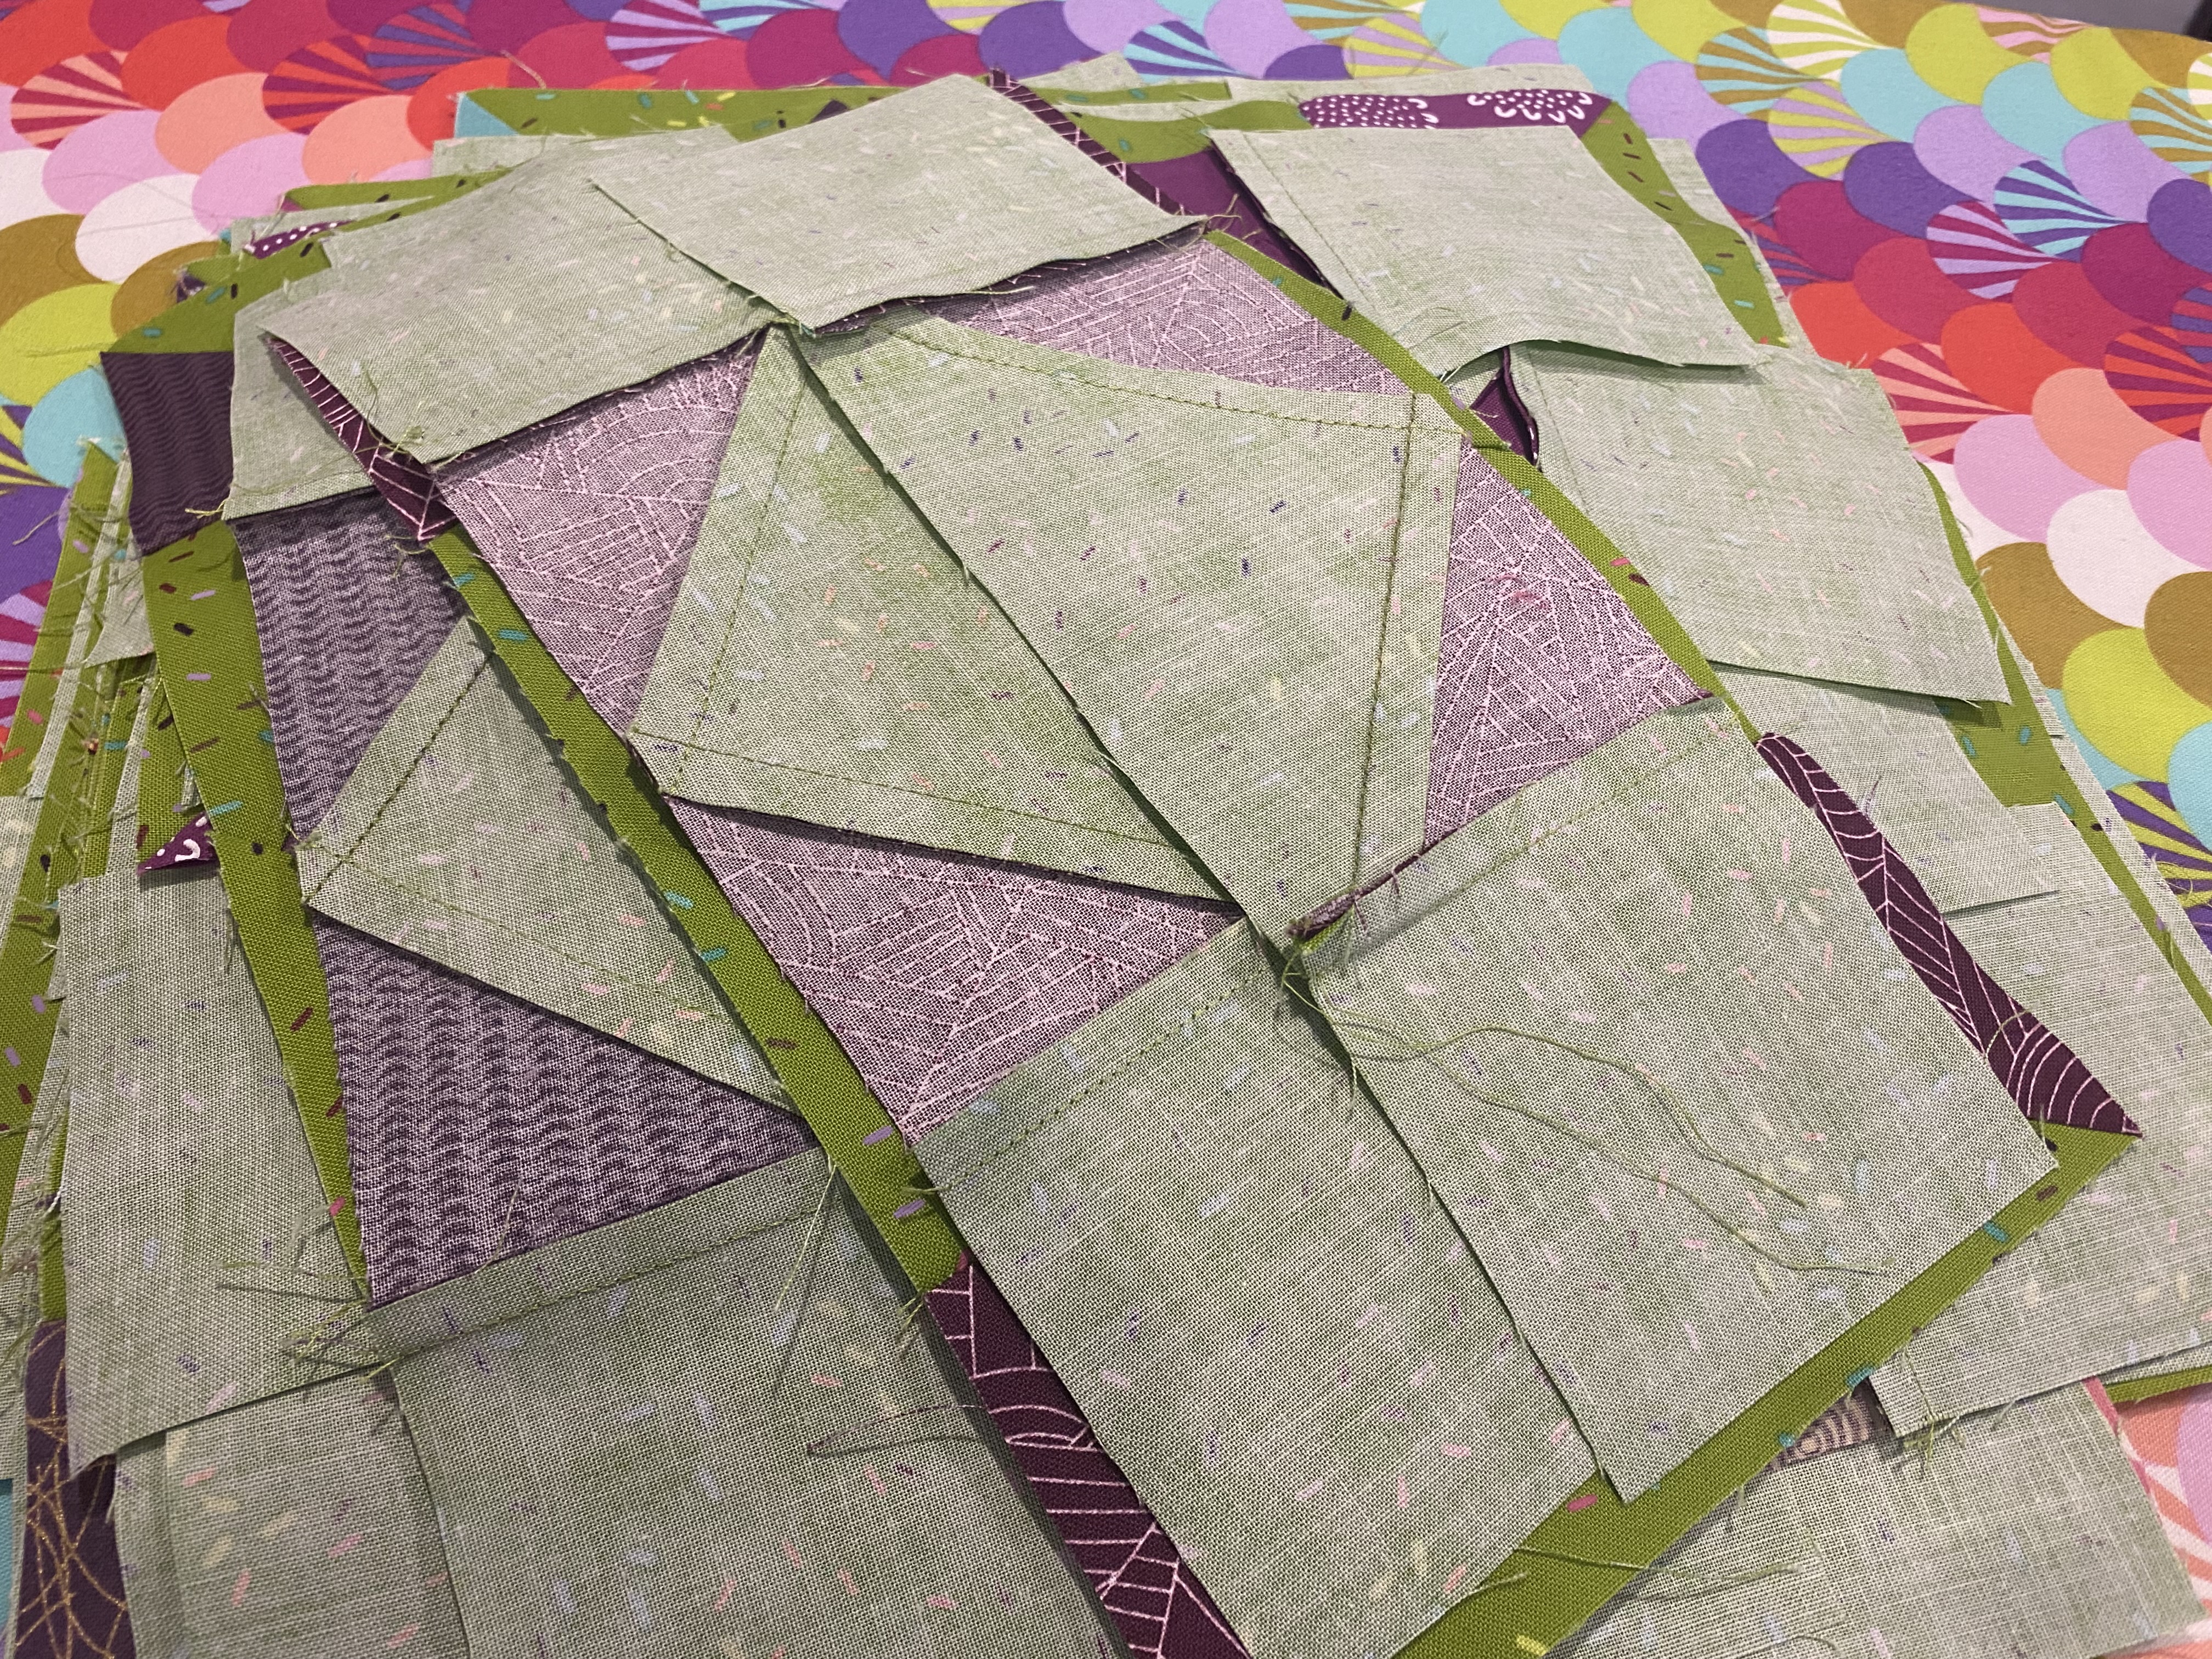
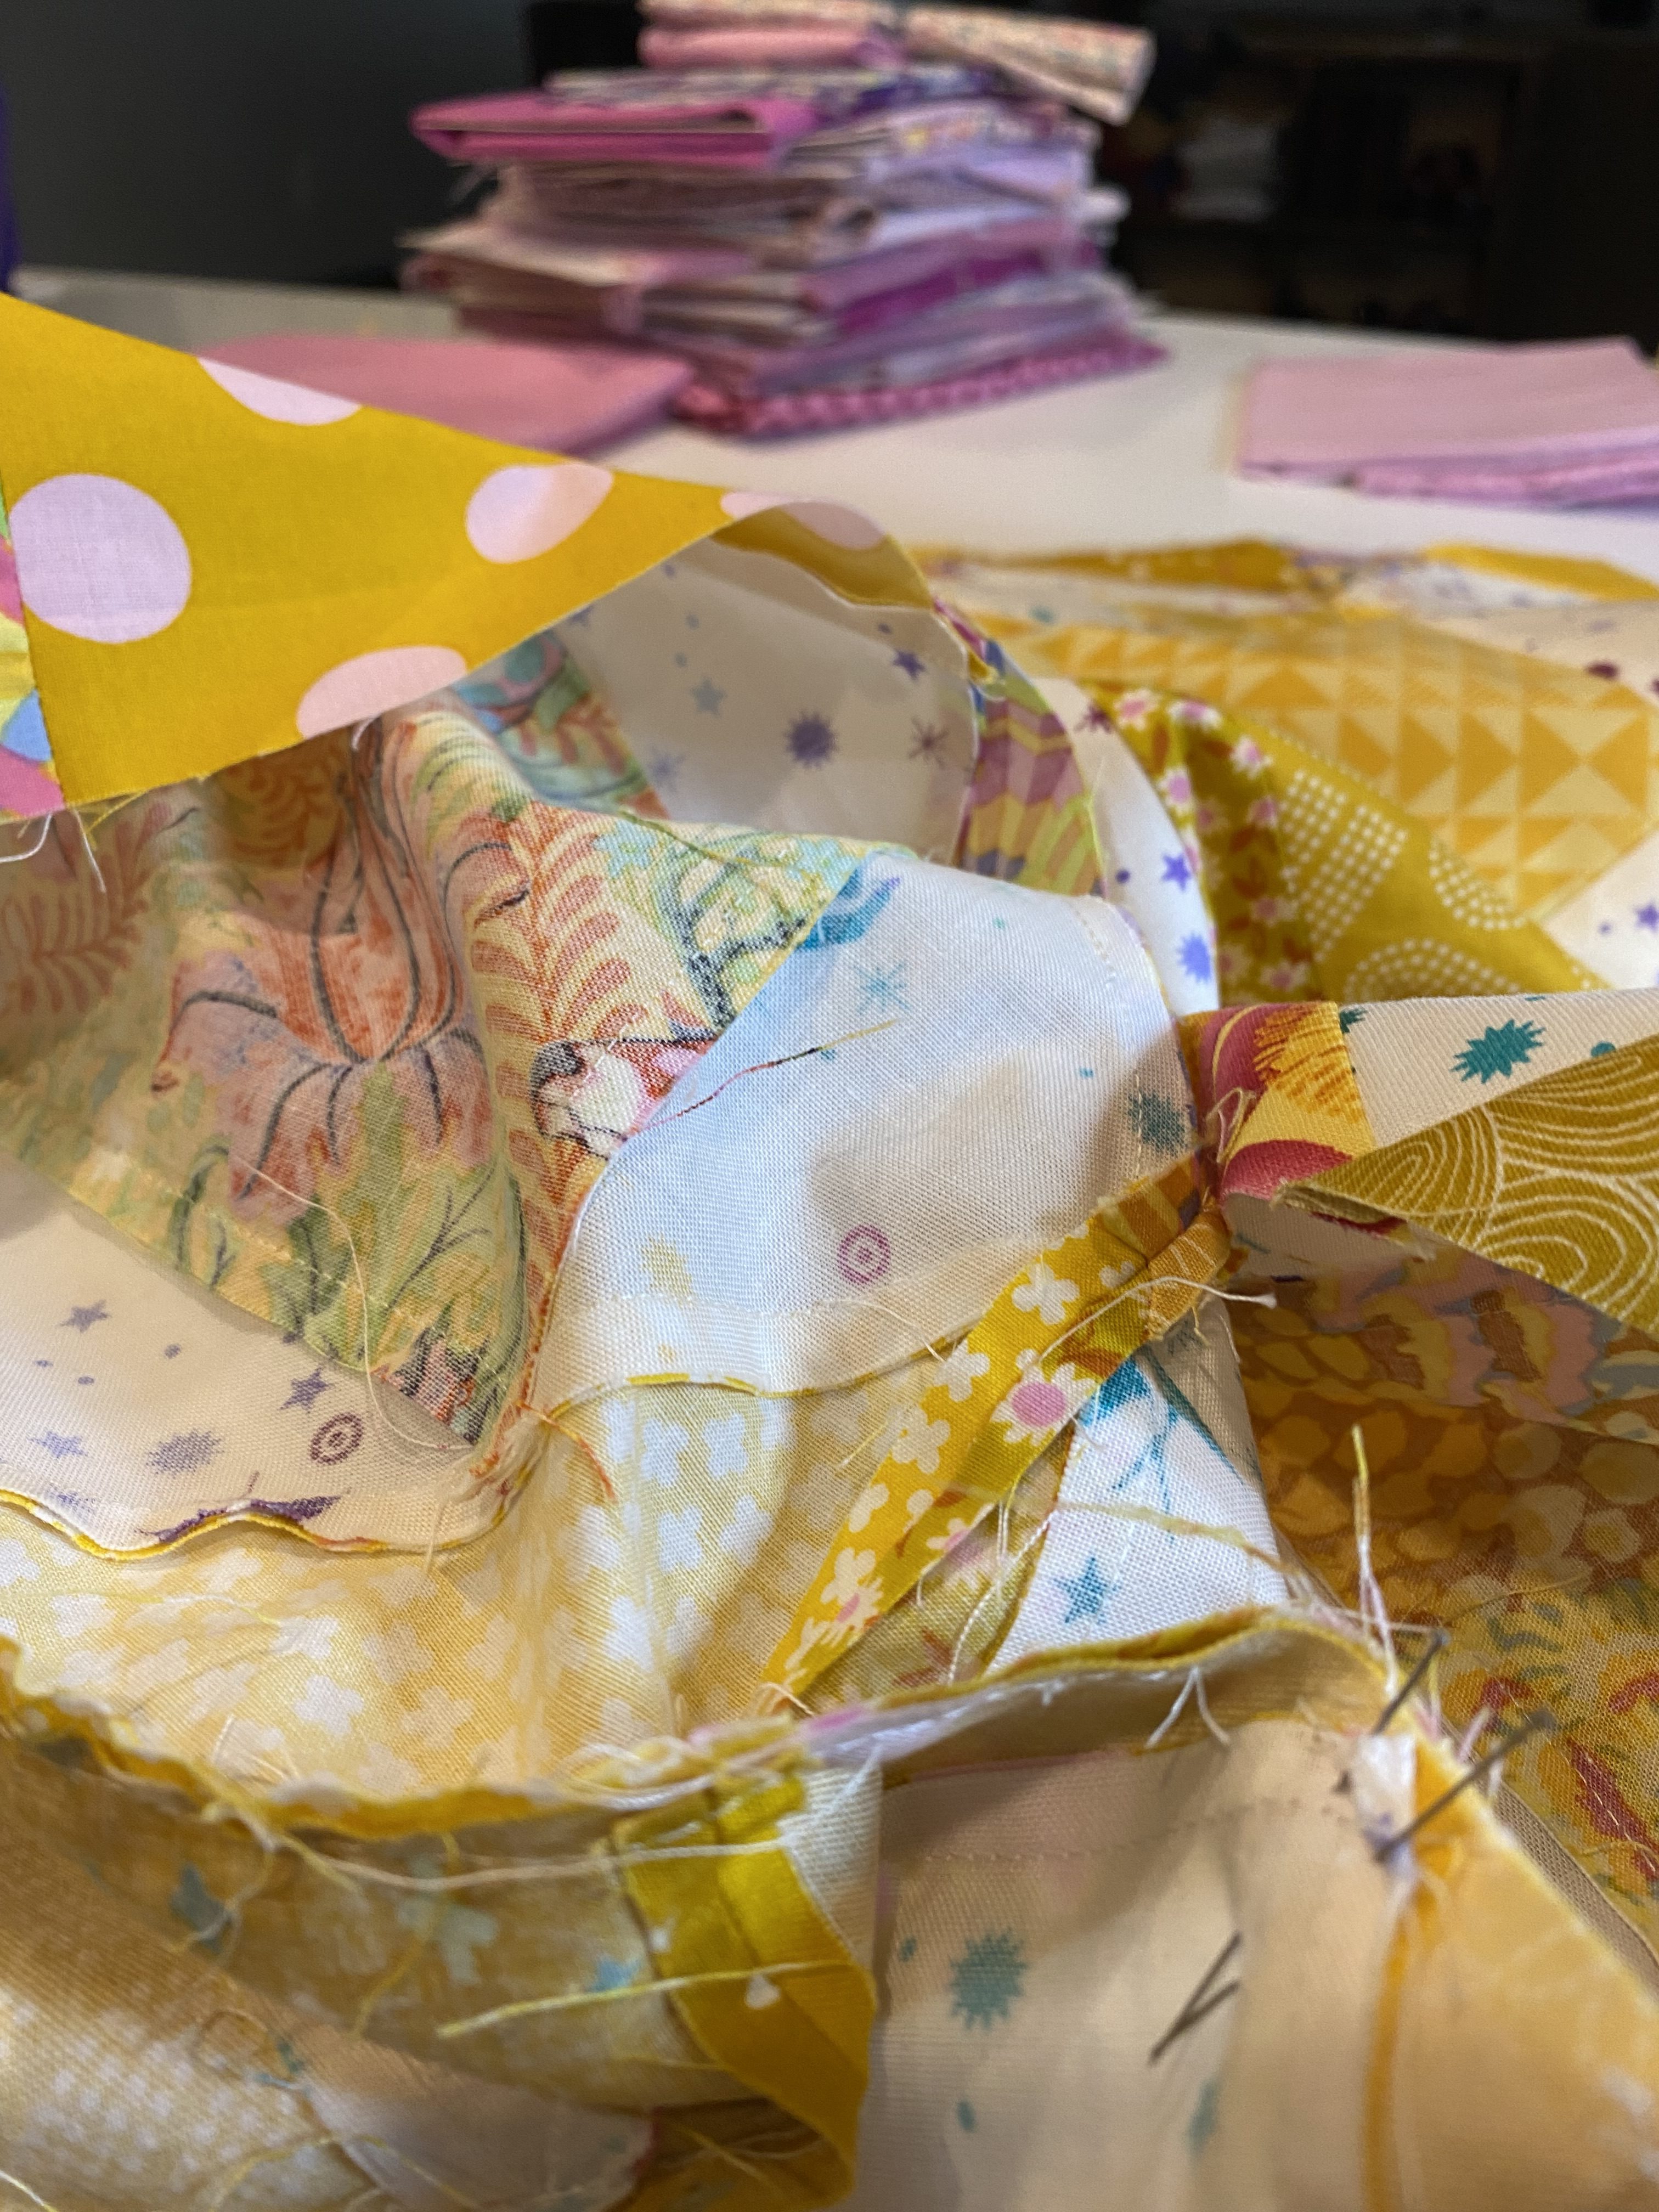
Some other features of this foot that I use are found if you look at the marks on the bottom. Do you see the marks? Those marks are 1/4’’ apart so if you need to stop 1/4’’ from the edge to miter a seam or stop to make a y-seam you know exactly where to stop sewing and you can pivot or backstitch. I use this feature for sewing on quilt bindings all the time!
Let’s Talk About Dual Feed
The D beside the number on the foot is how you know it’s for machines with the dual feed feature.
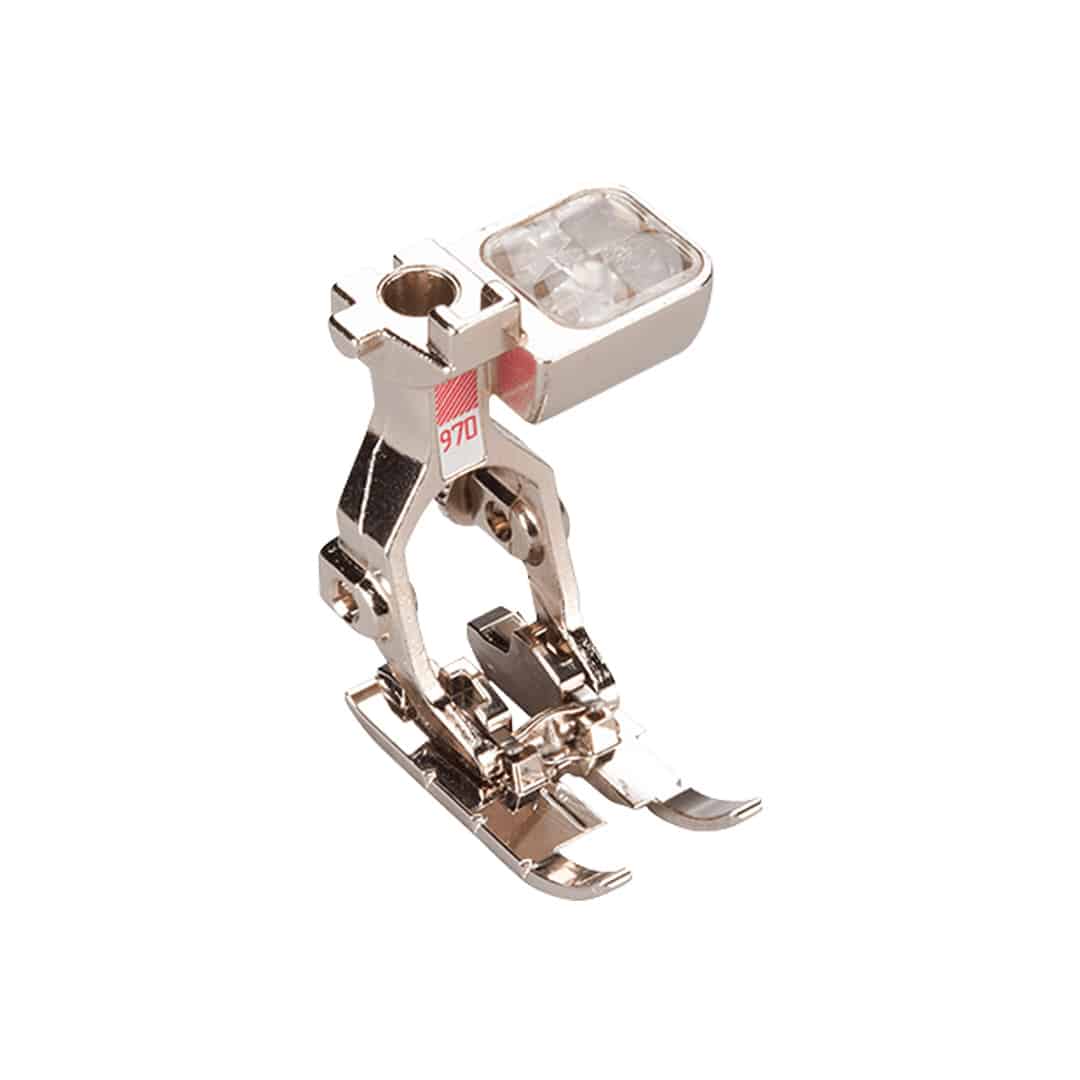
What that means is when a lever behind the foot is engaged, the top fabric is pulled through the machine at the same rate as the fabric on the bottom layer, which is moved by the feed dogs. This keeps the pieces even and it’s an extra layer of precision and accuracy and the results are always beautiful!
*BERNINA also has Patchwork Foot #37 and Patchwork Foot #97 for machines. These feet are for machines without the dual feed feature. I have the Patchwork Foot #37 for my 1530.
Other Ways to Use Patchwork Foot #97D
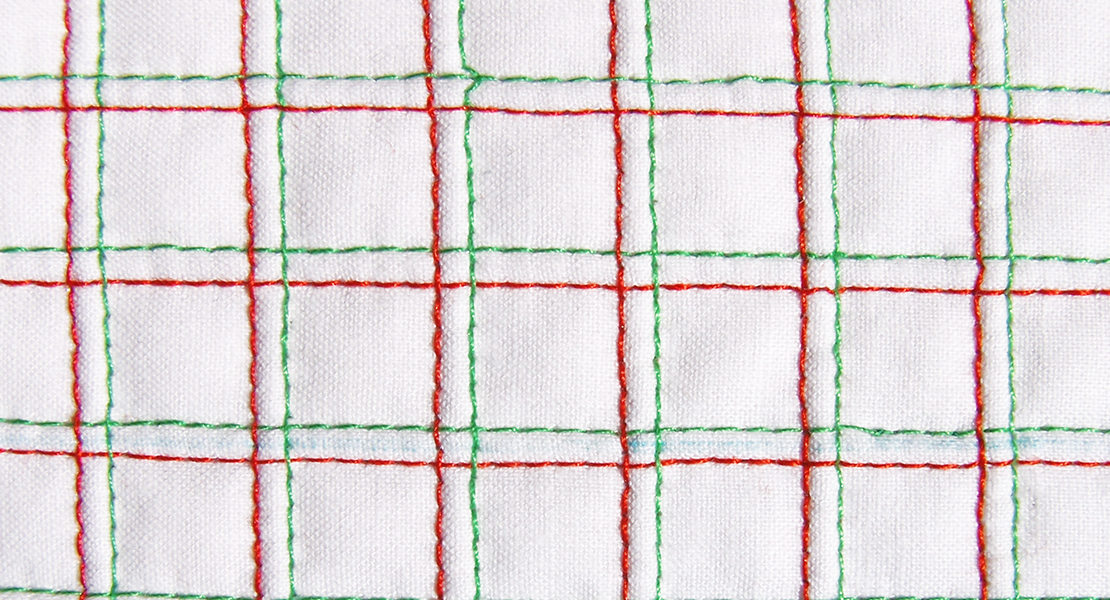
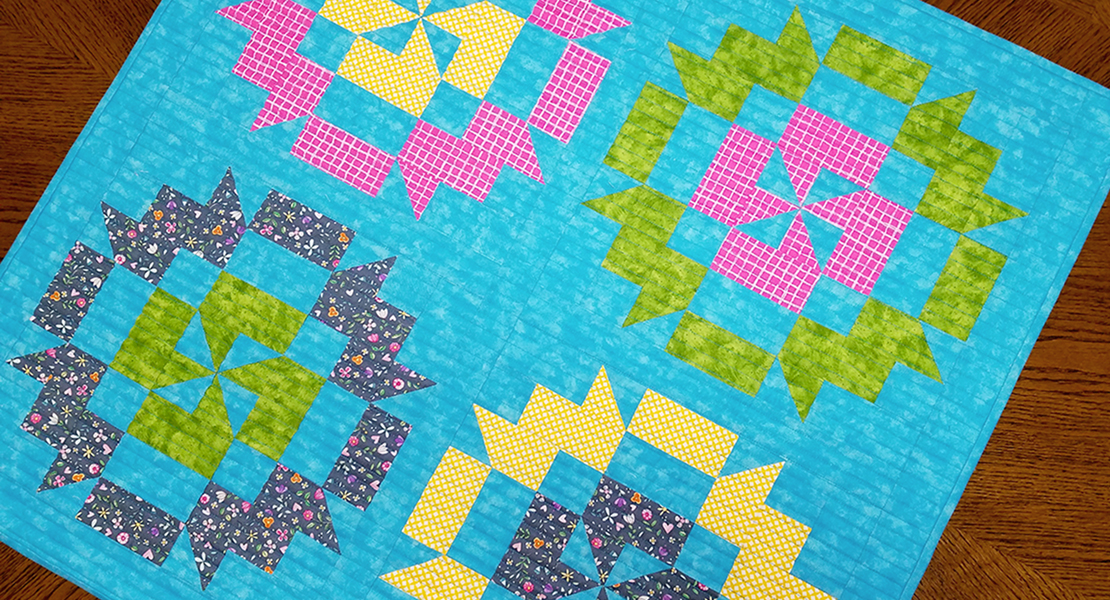
The Tea at Twilight tea mat finishes at 14’’ square so I decided that matchstick quilting would work well for it. Because the mat is small I opted to use my 97D to quilt the project instead of my walking foot. The dual feed feature can be used to quilt small projects like a tea mat or mug rug.
Piecing Metaphor. Dual feed engaged. Seam gauge not attached for the video.
Quilting Tea at Twilight with the 97D foot
Walking Foot
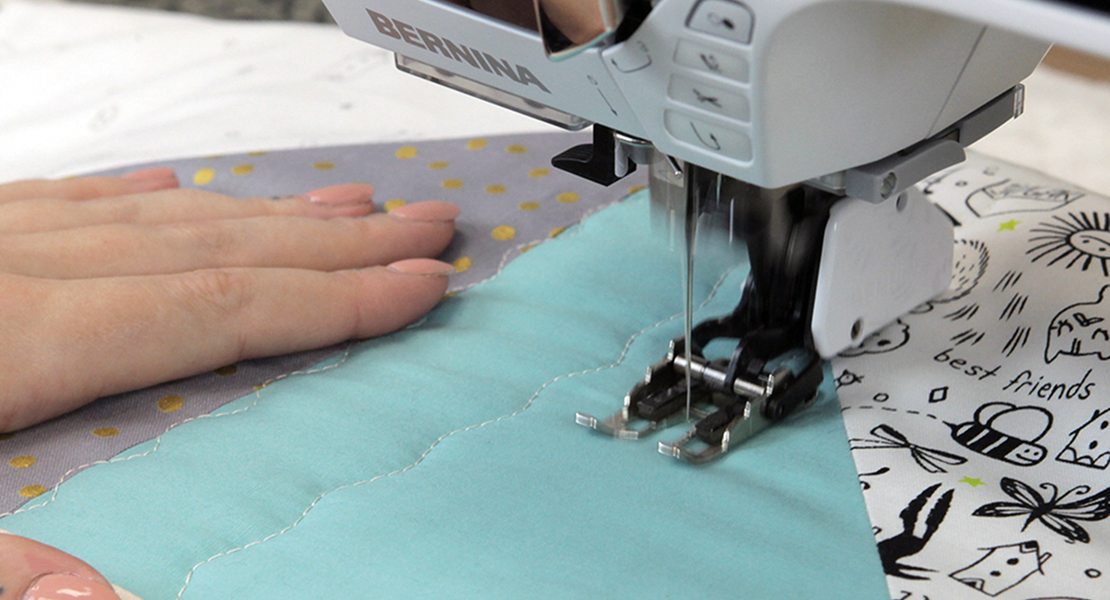
I use my walking foot a lot. In fact, it’s one of my favorite feet! A walking foot feeds fabric under the foot (ie. over the feed dogs) and through the machine evenly with the help of some pads that grab the top fabric so when you are using it to quilt, all three layers of the quilt are fed through at the same rate. This prevents waves in your quilt and ensures that nothing is distorted. That’s important because if you have wave or distortion in a quilt once it’s quilted, you can’t always get it out.
The walking foot for my machine came with three soles so I can use it for general sewing, quilting or for ditch work. It also has a seam guide for both the right and left side of the foot so I can use it to keep the quilting distance between stitching evenly spaced.
When I quilted Misunderstood, I used the width of the walking foot as my guide between rows to keep my rows evenly spaced.
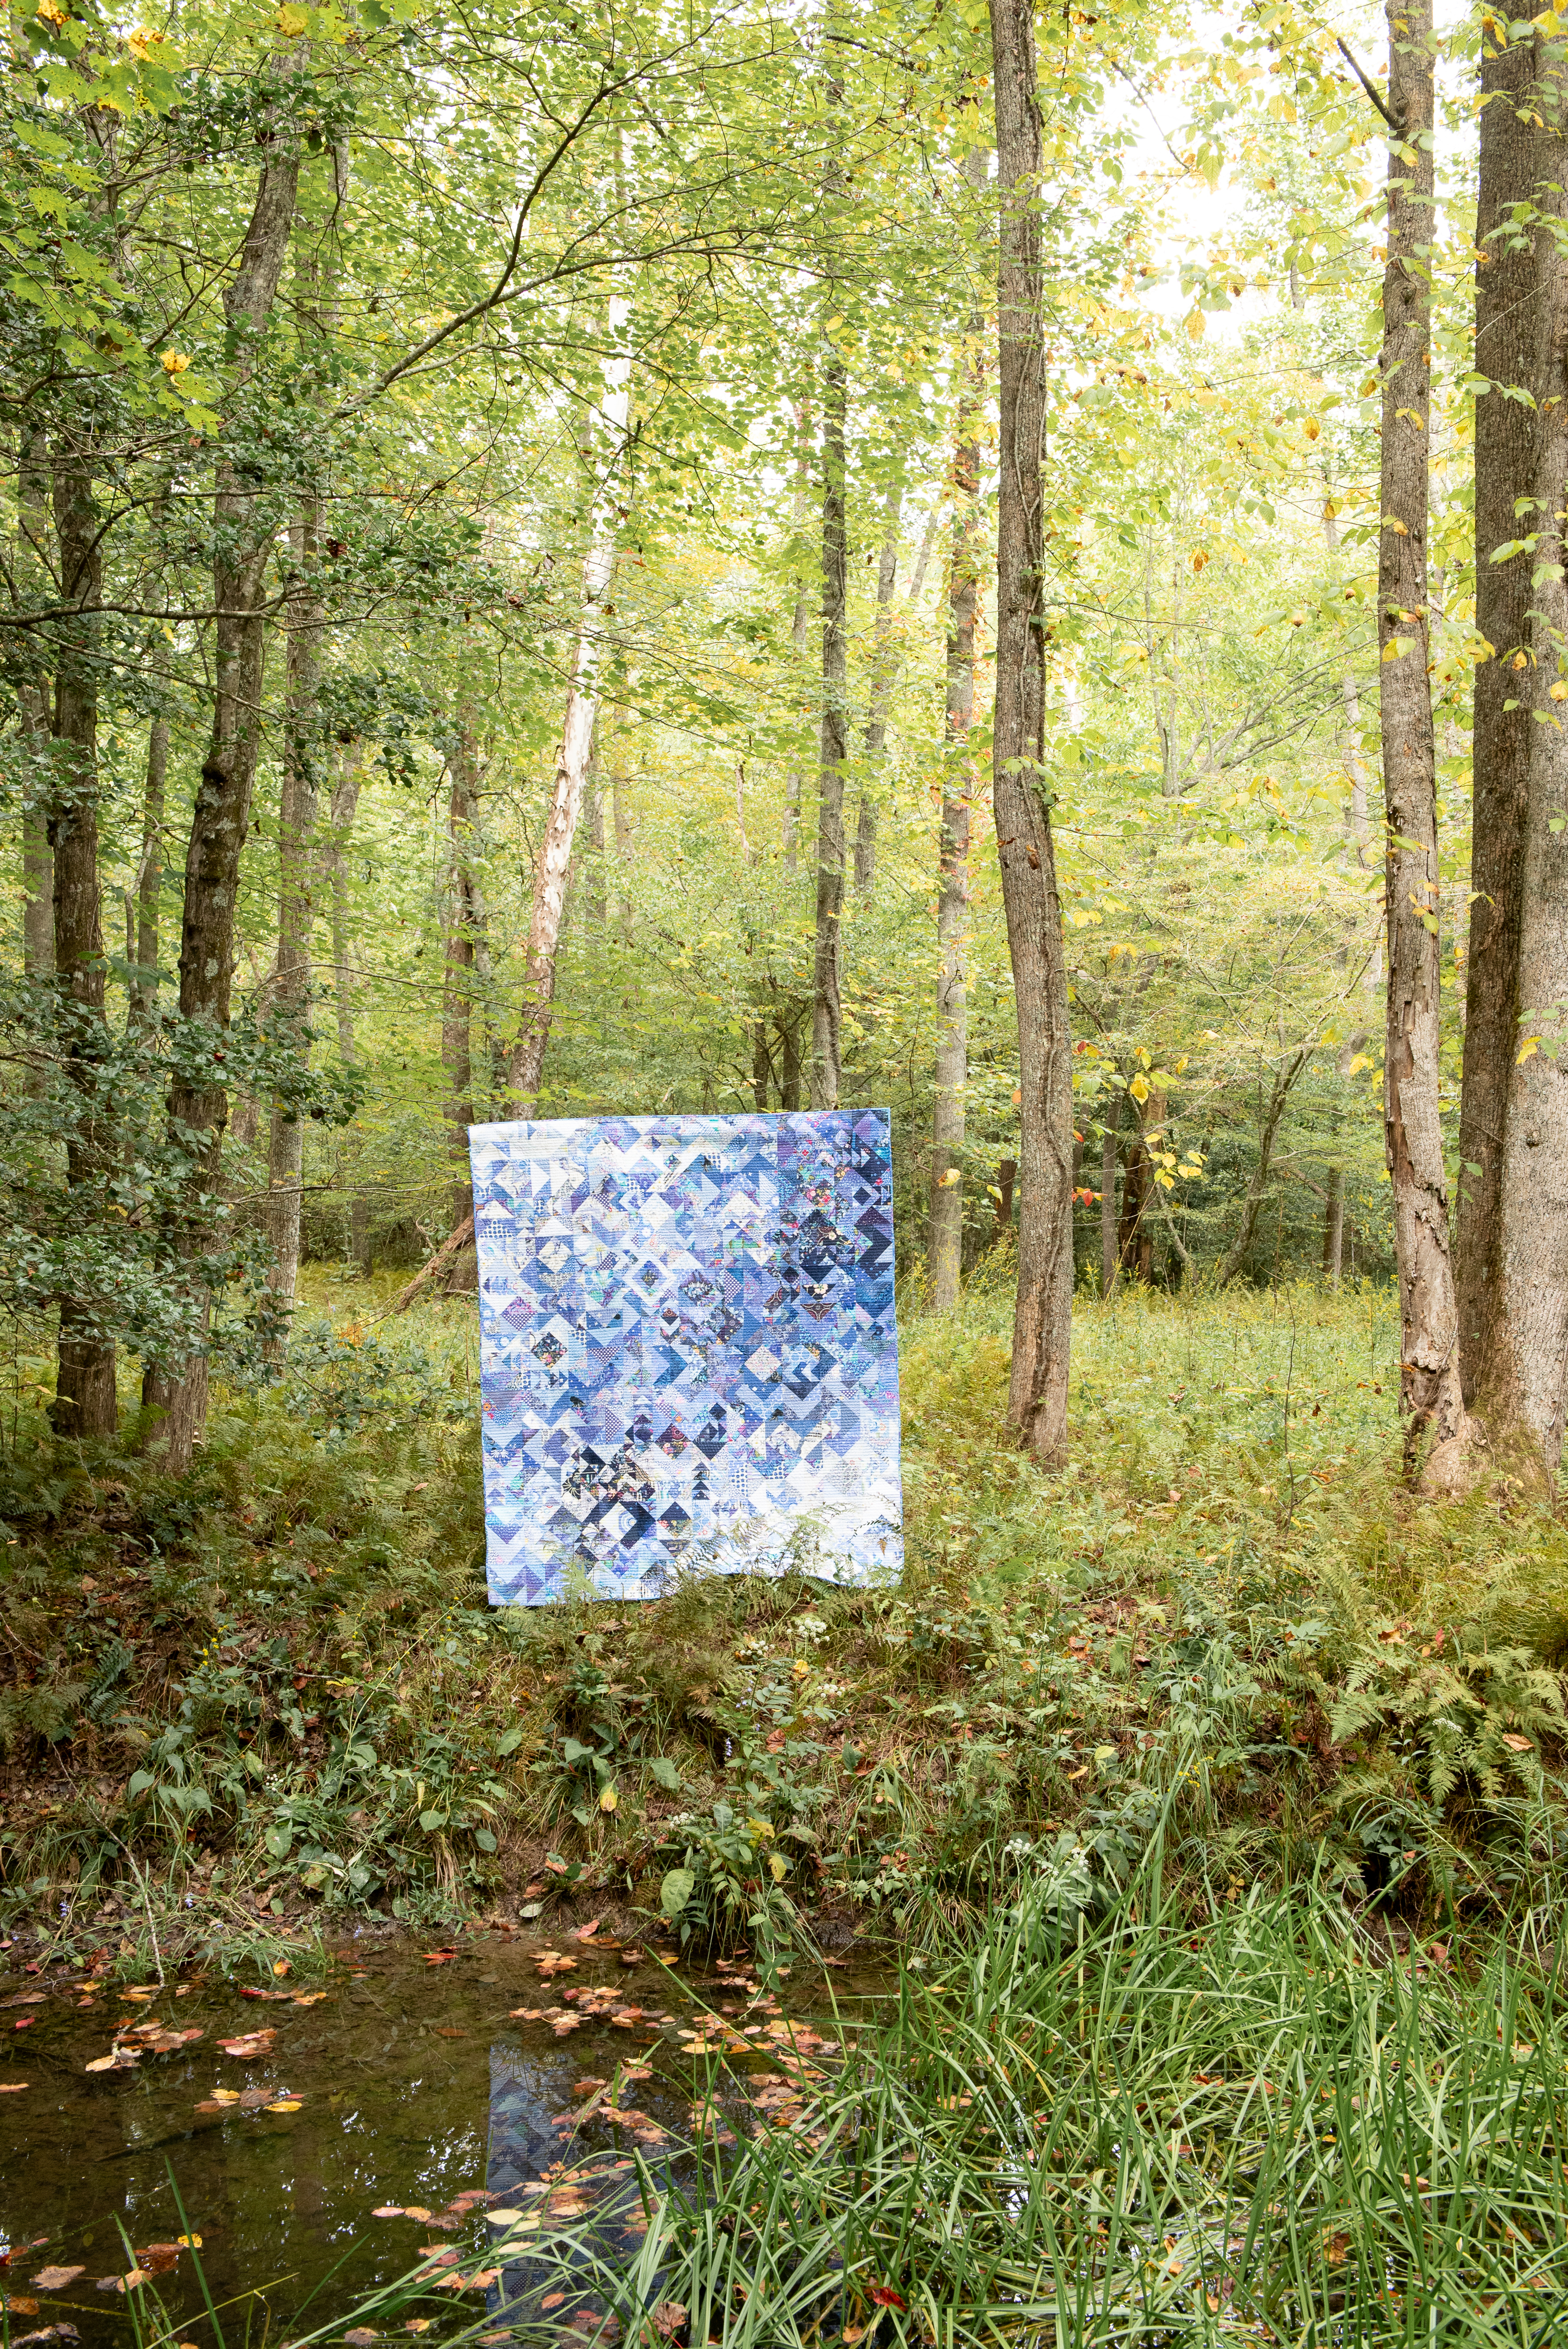
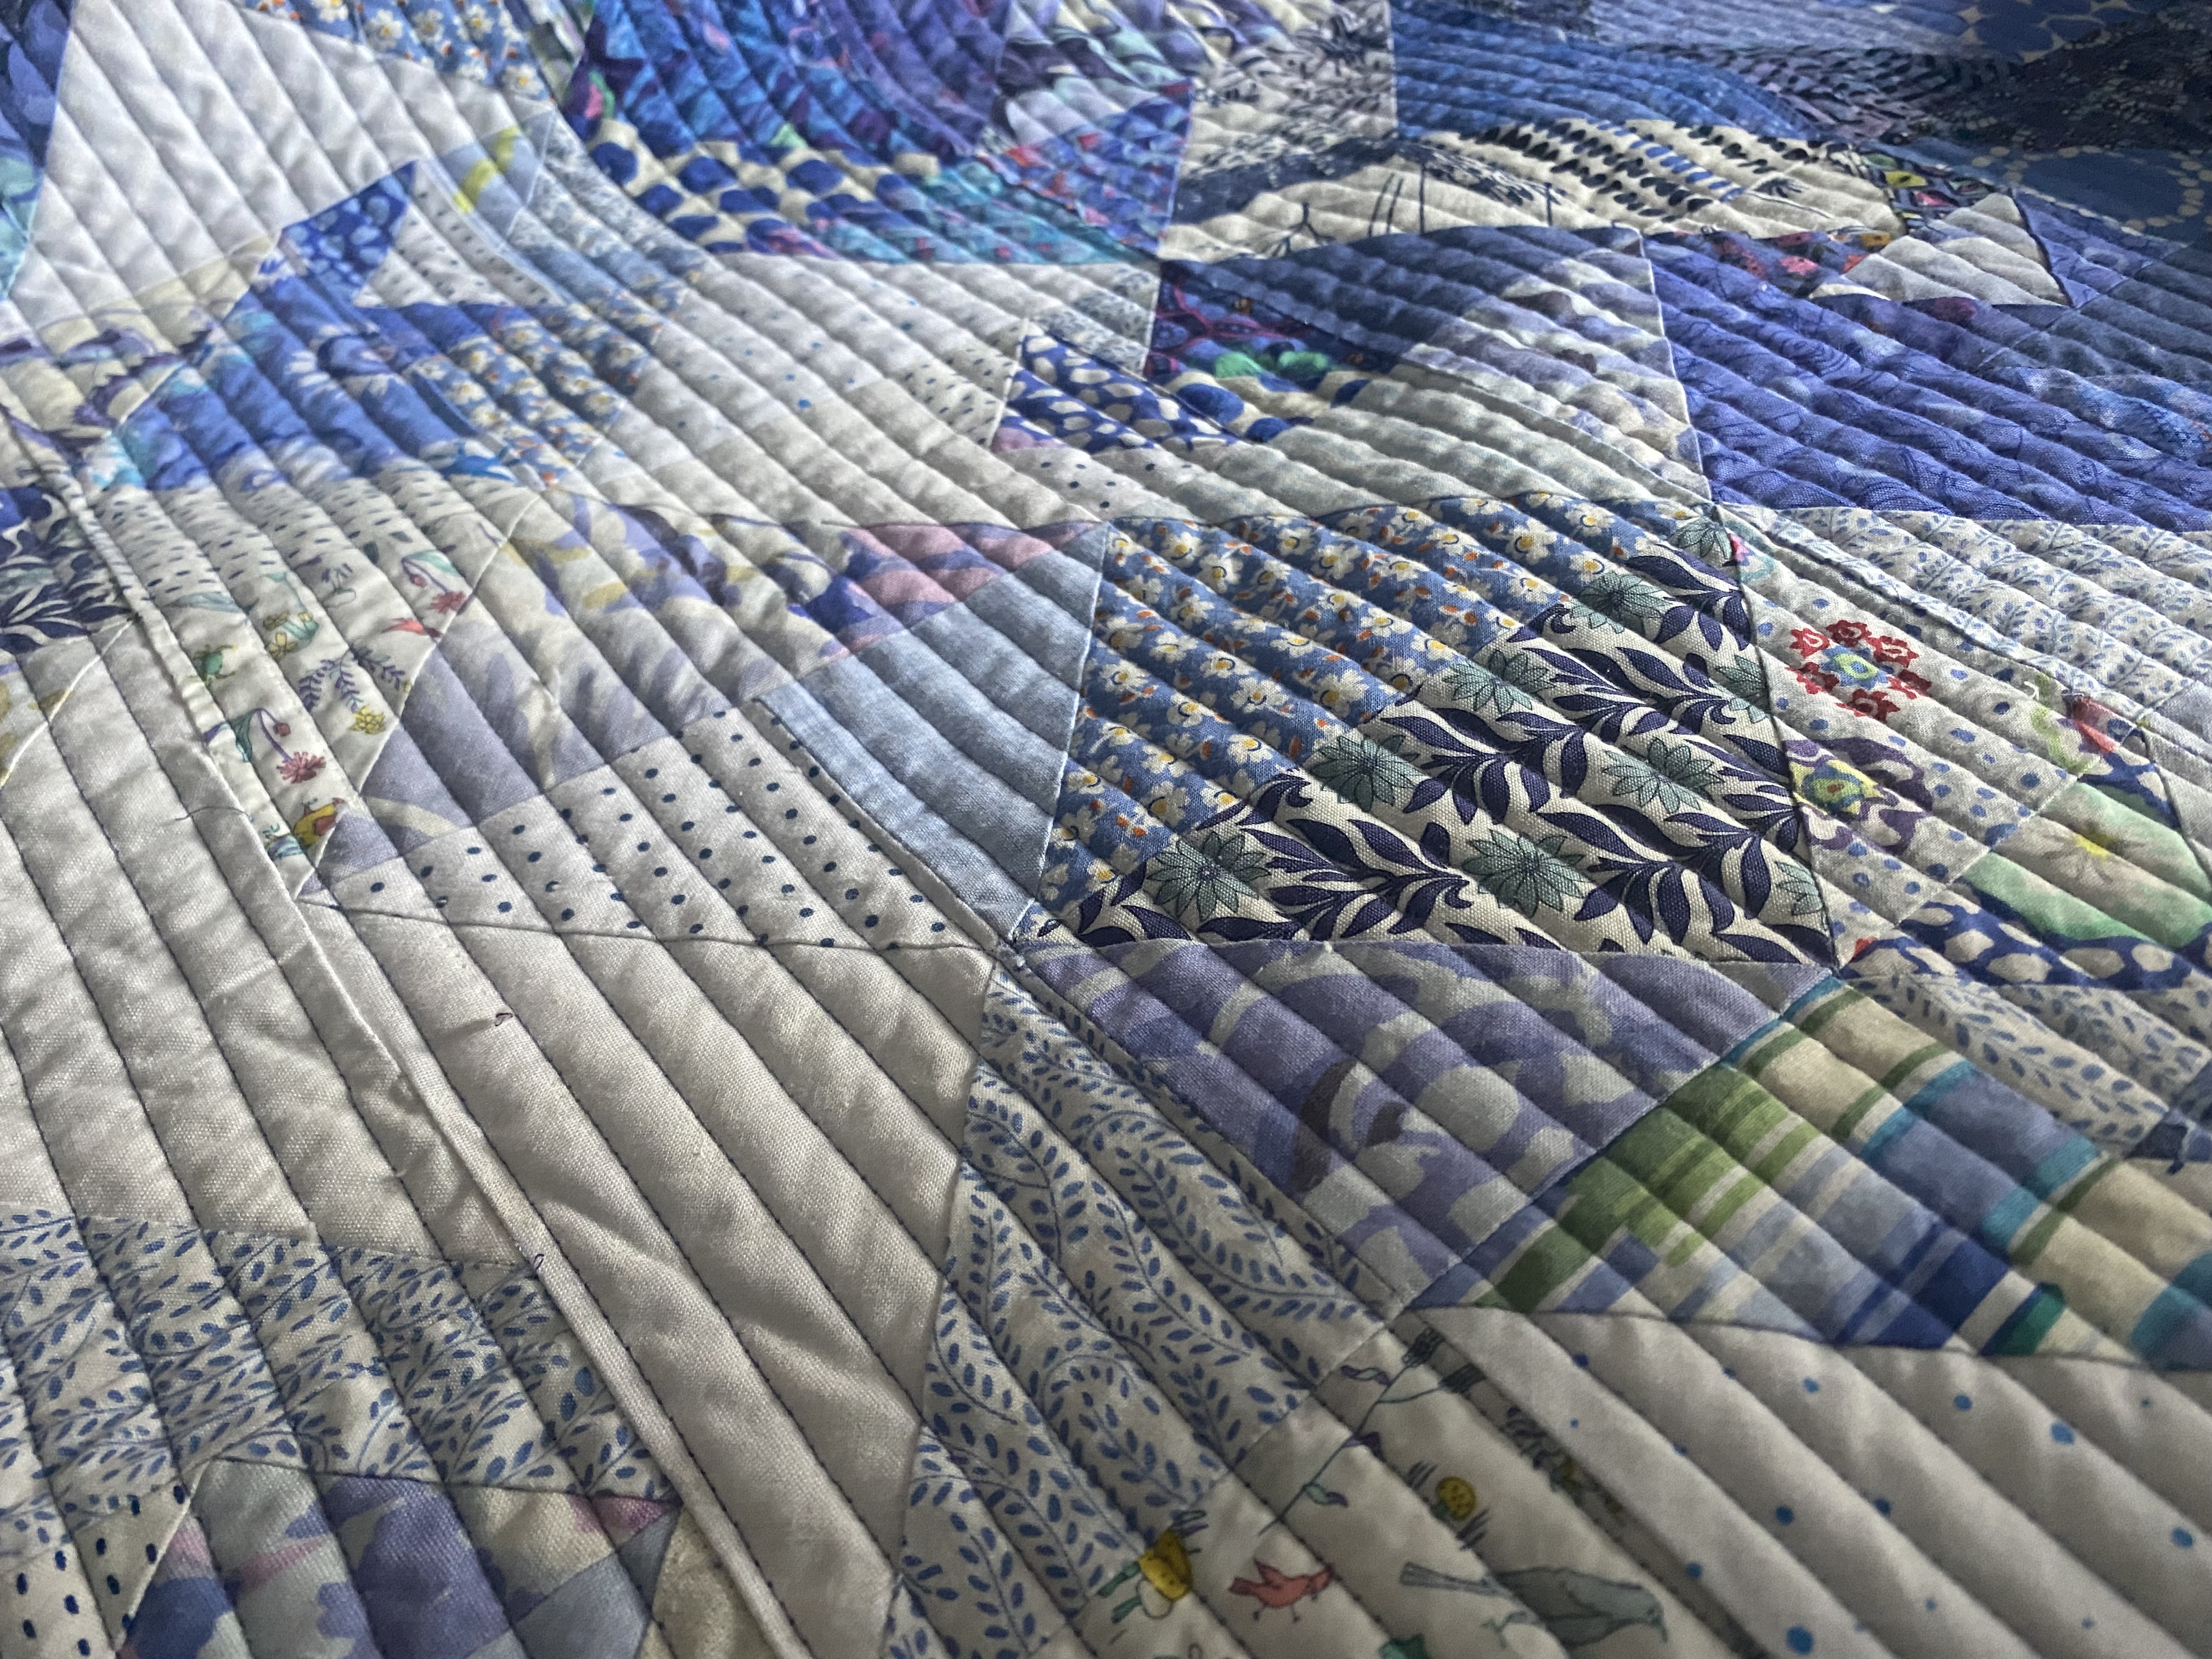
Quilting Misunderstood using my walking foot
Quilting Lavender for Days using my walking foot
Oh, and do you see the green light on the video? It’s a great feature on my machine. You don’t see me press it here but if you press the button your machine will start to sew for you. How cool is that? I don’t use it a lot but when I had a stress fracture in my foot while I was working on this book and had to wear an air cast, that button was the reason I could keep sewing!
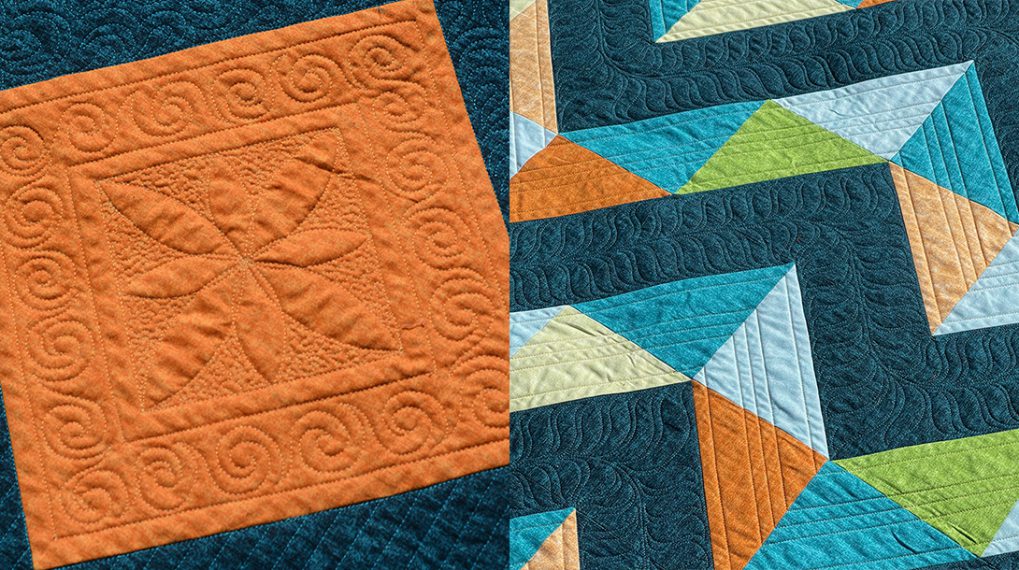
For Metaphor, I very slowly created concentric circles using my walking foot. It is v e r y slow to start and I had to pivot a fair amount but the end result is worth it. The circles were intentionally unevenly spaced so I could fill in larger areas with some perle cotton to add texture and dimension.
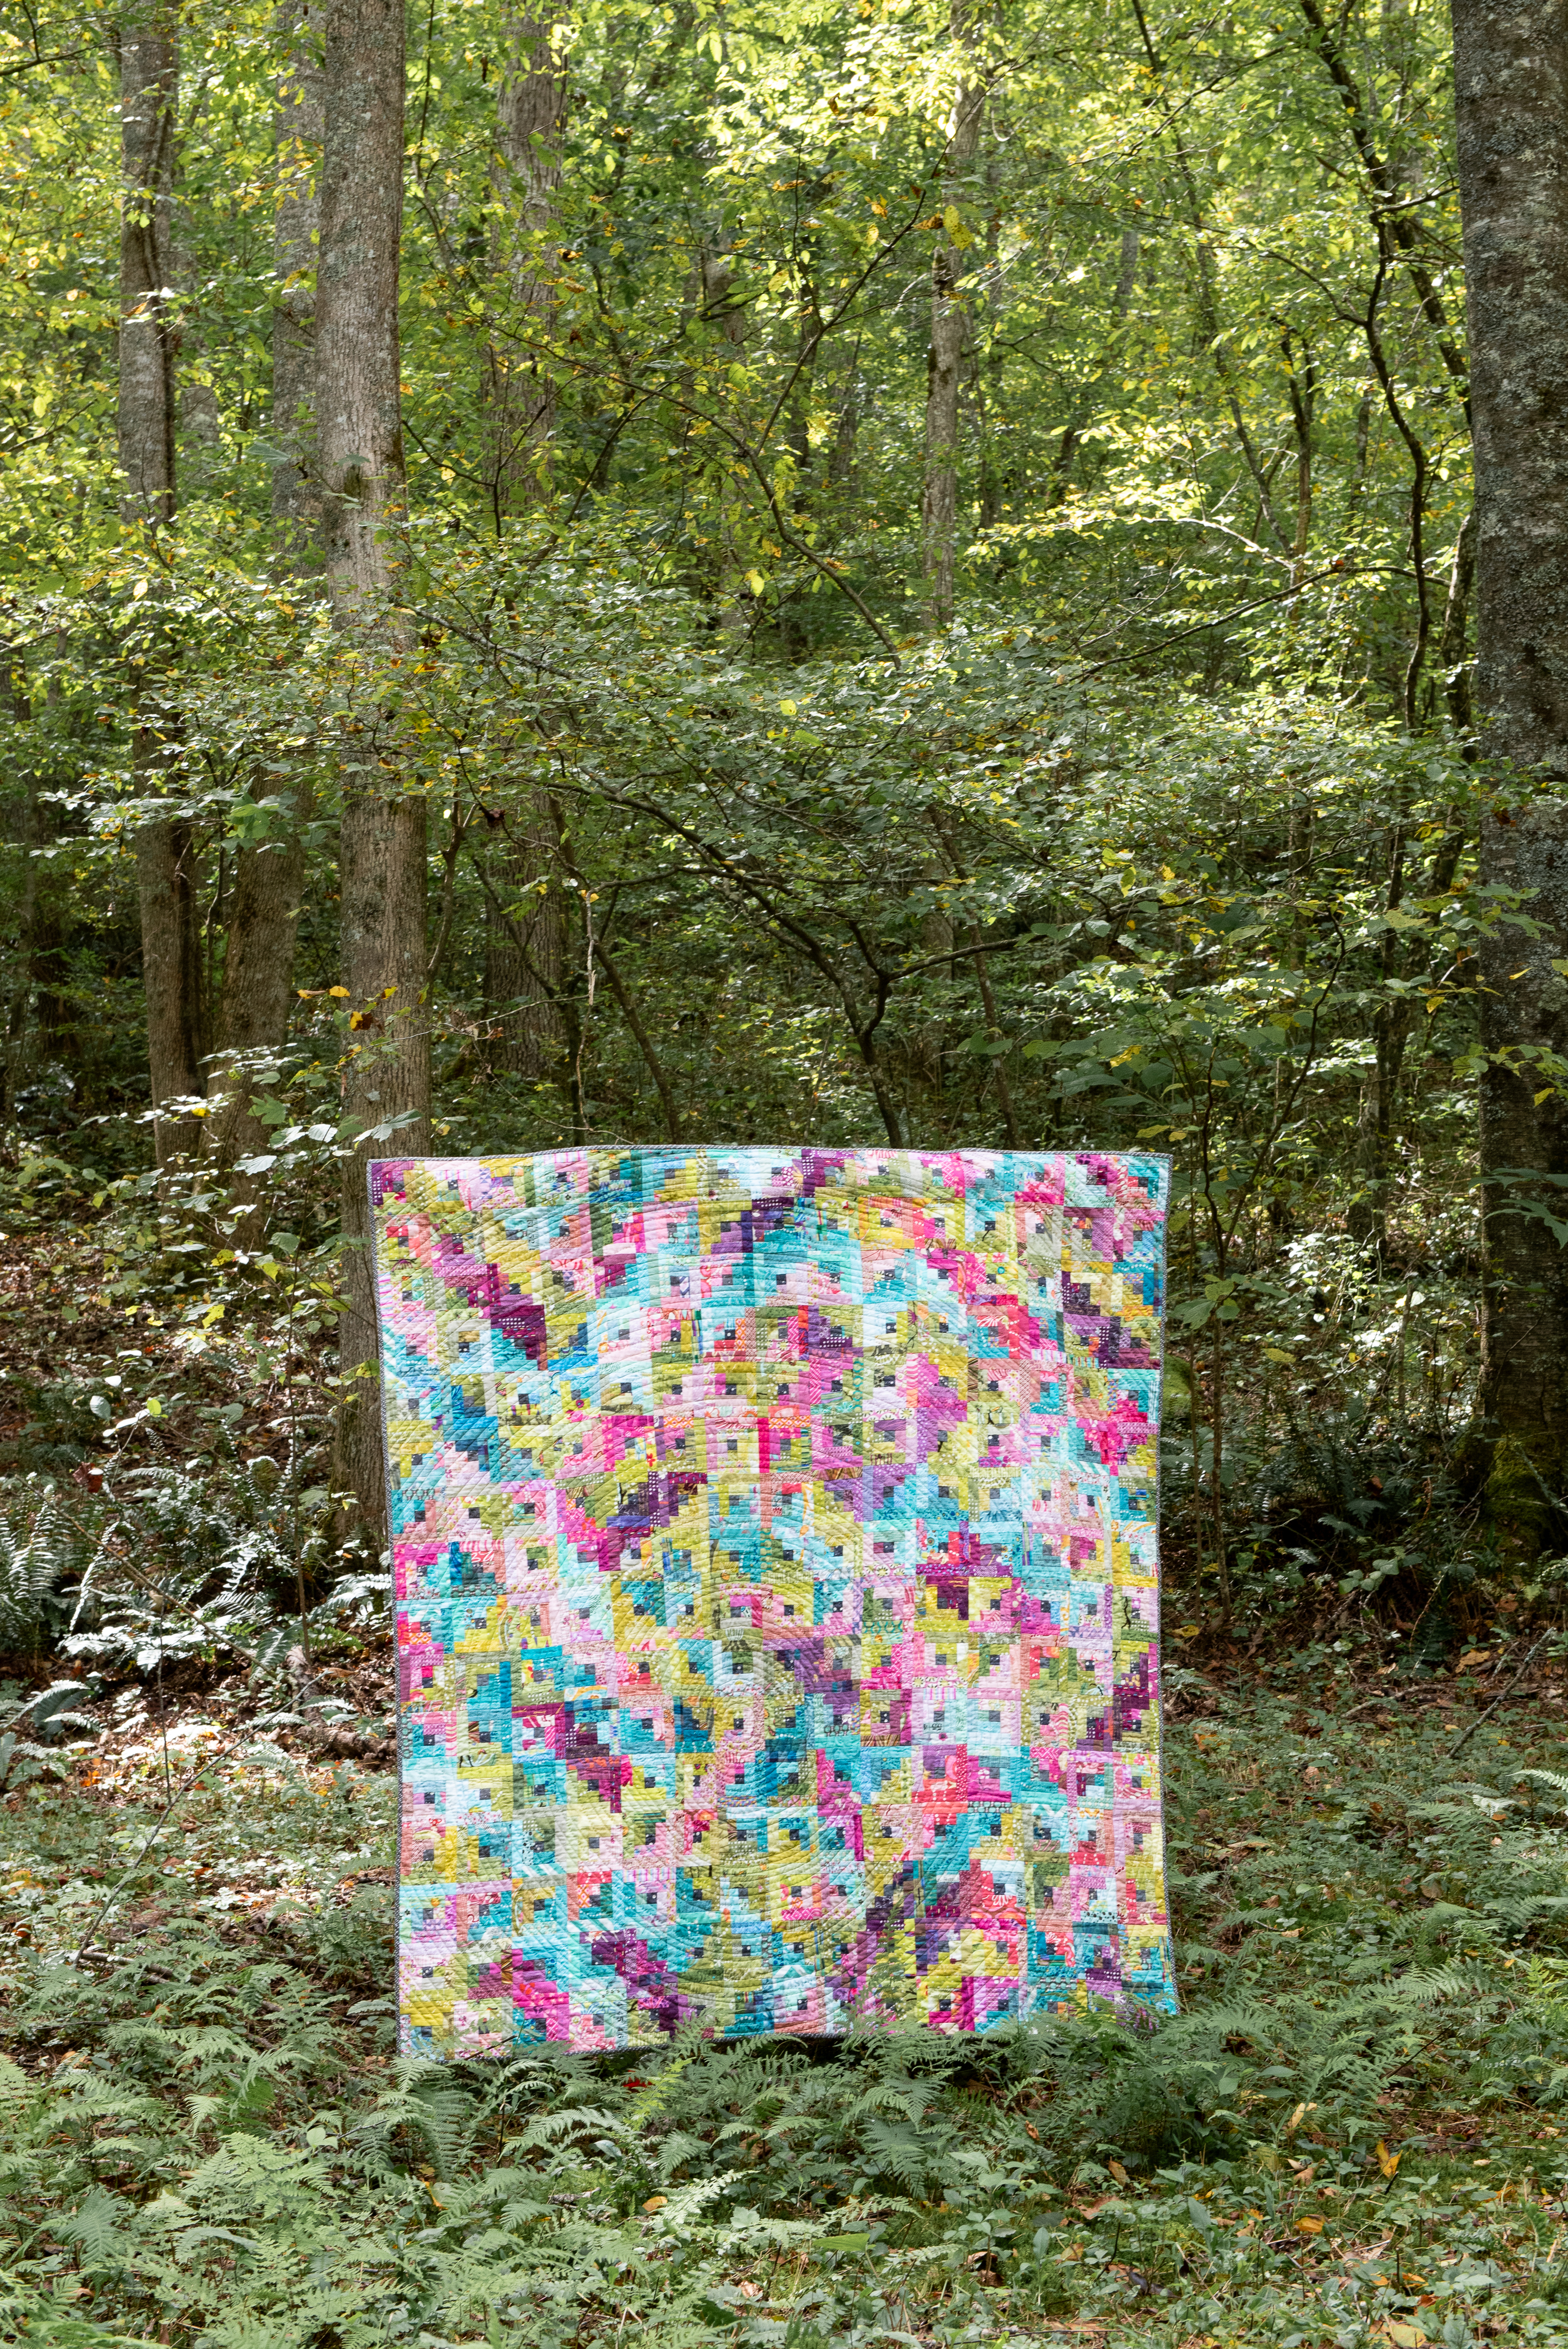
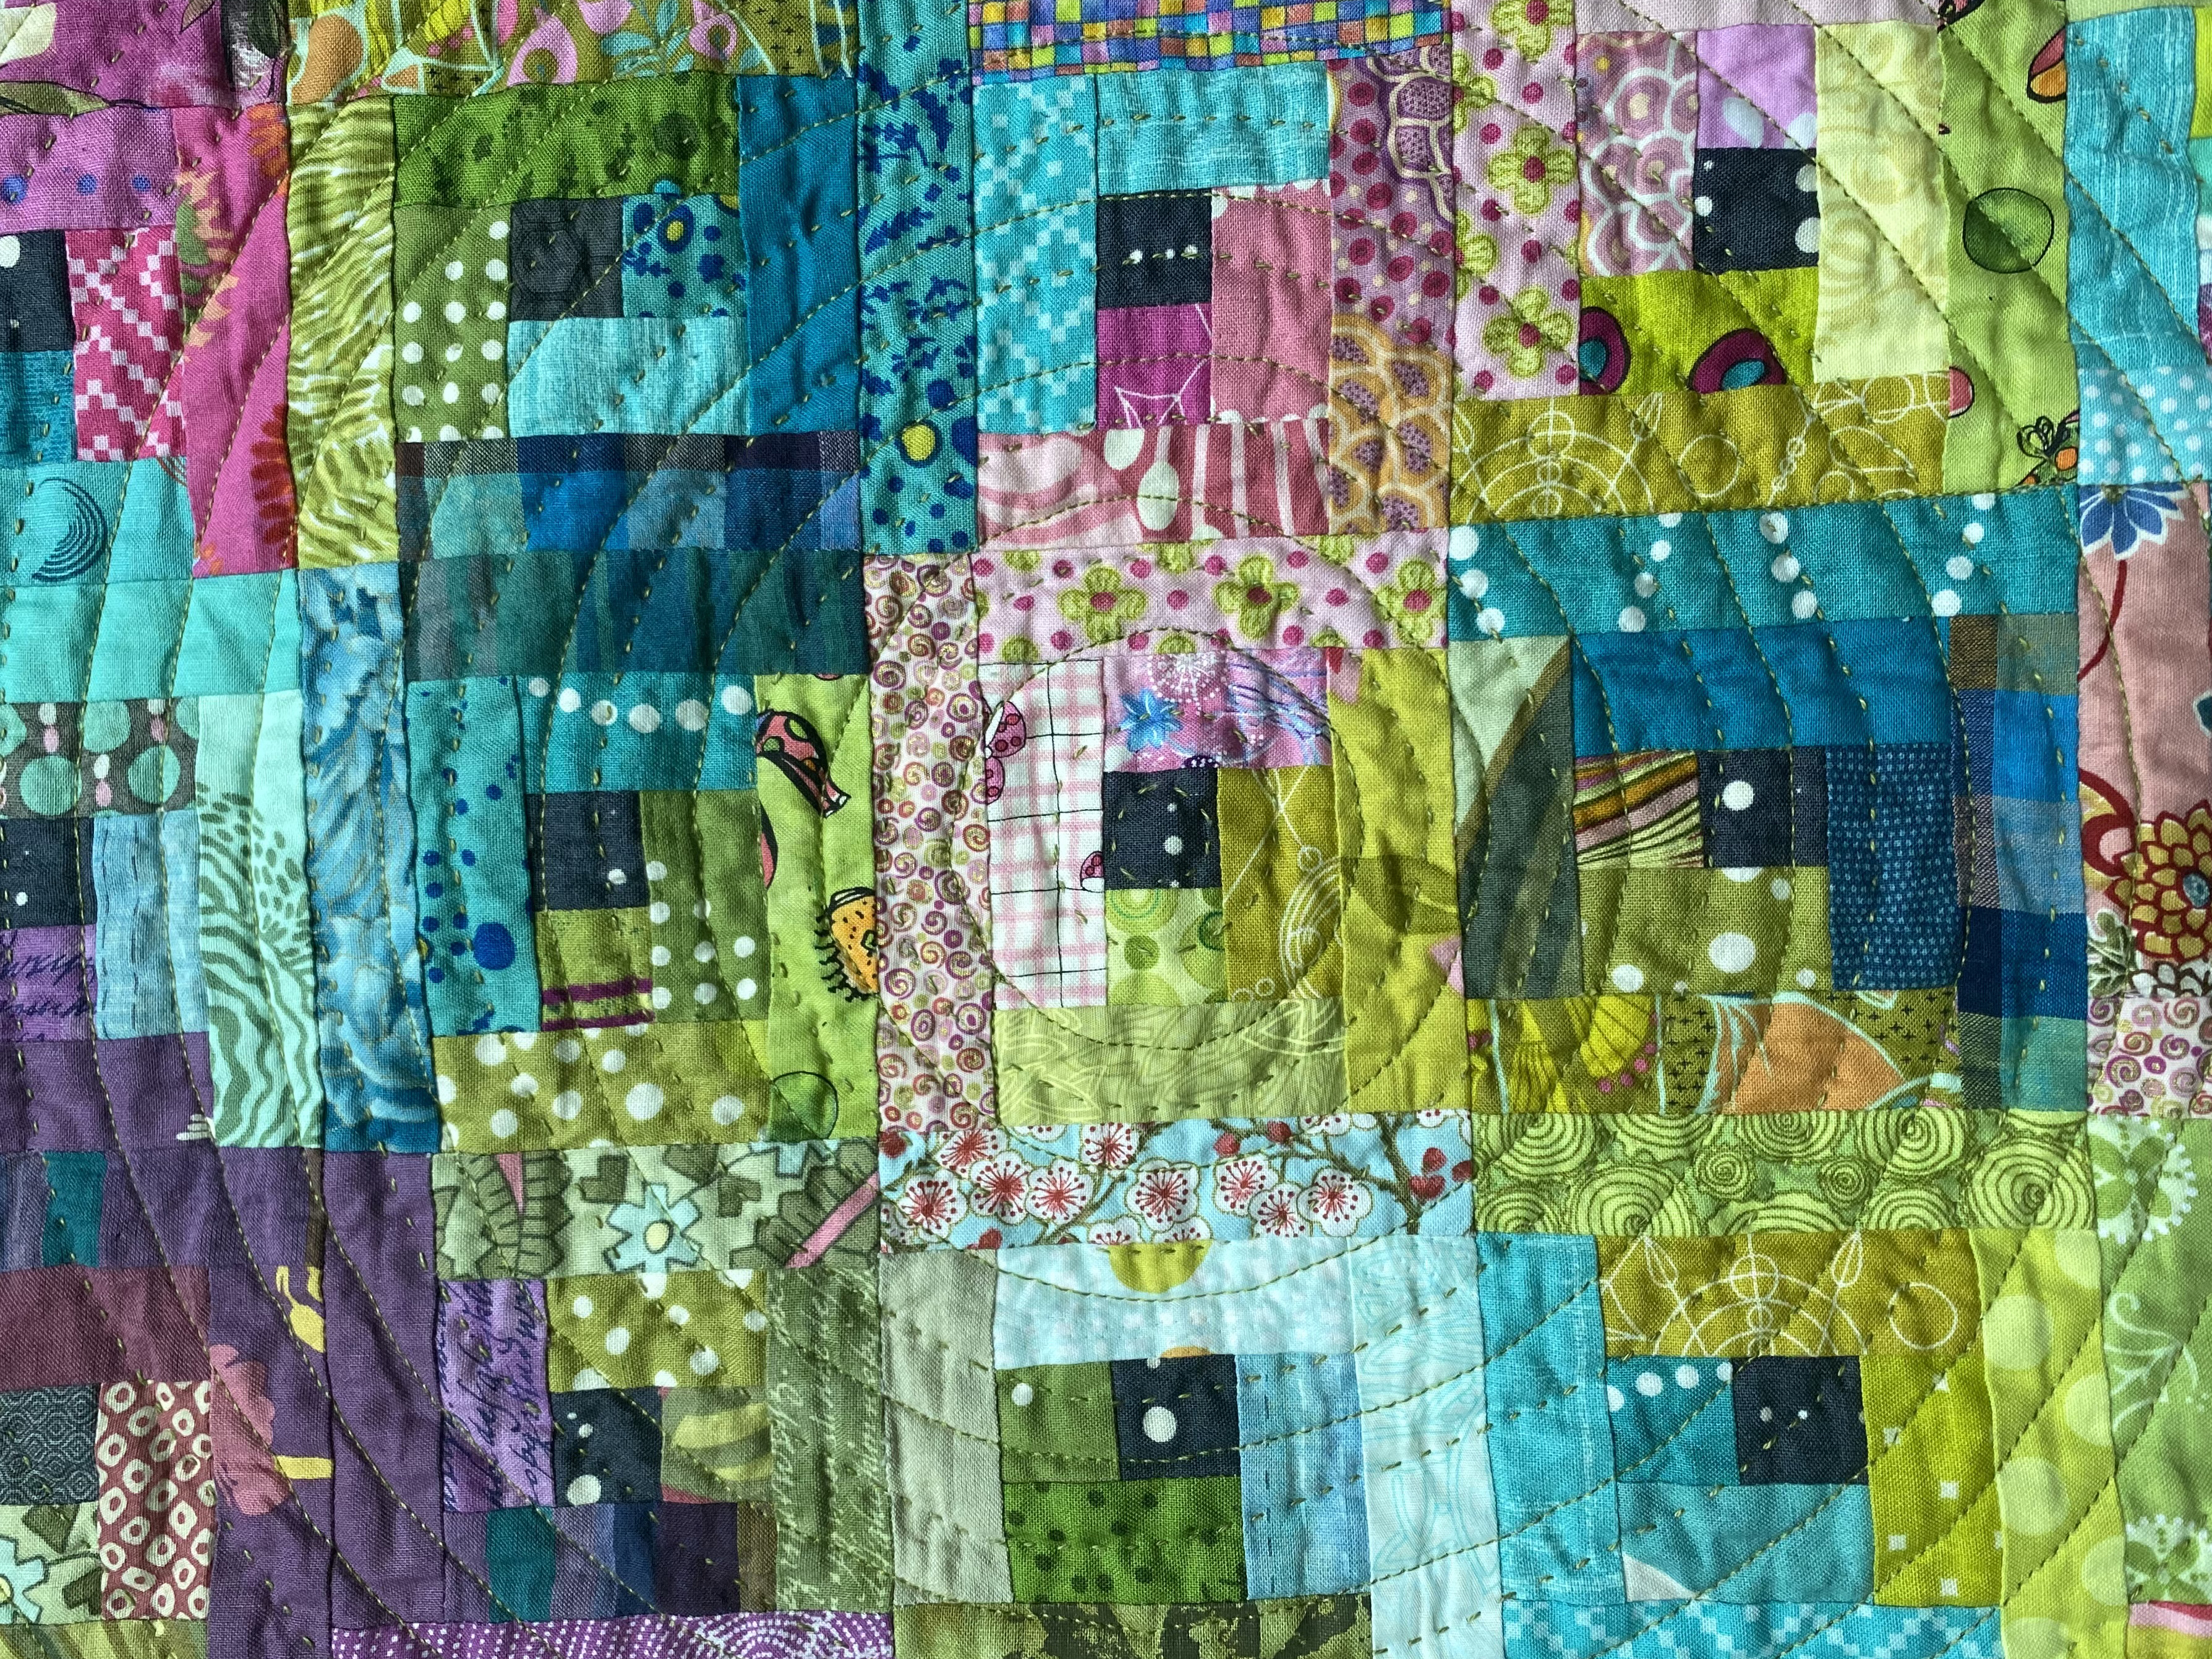
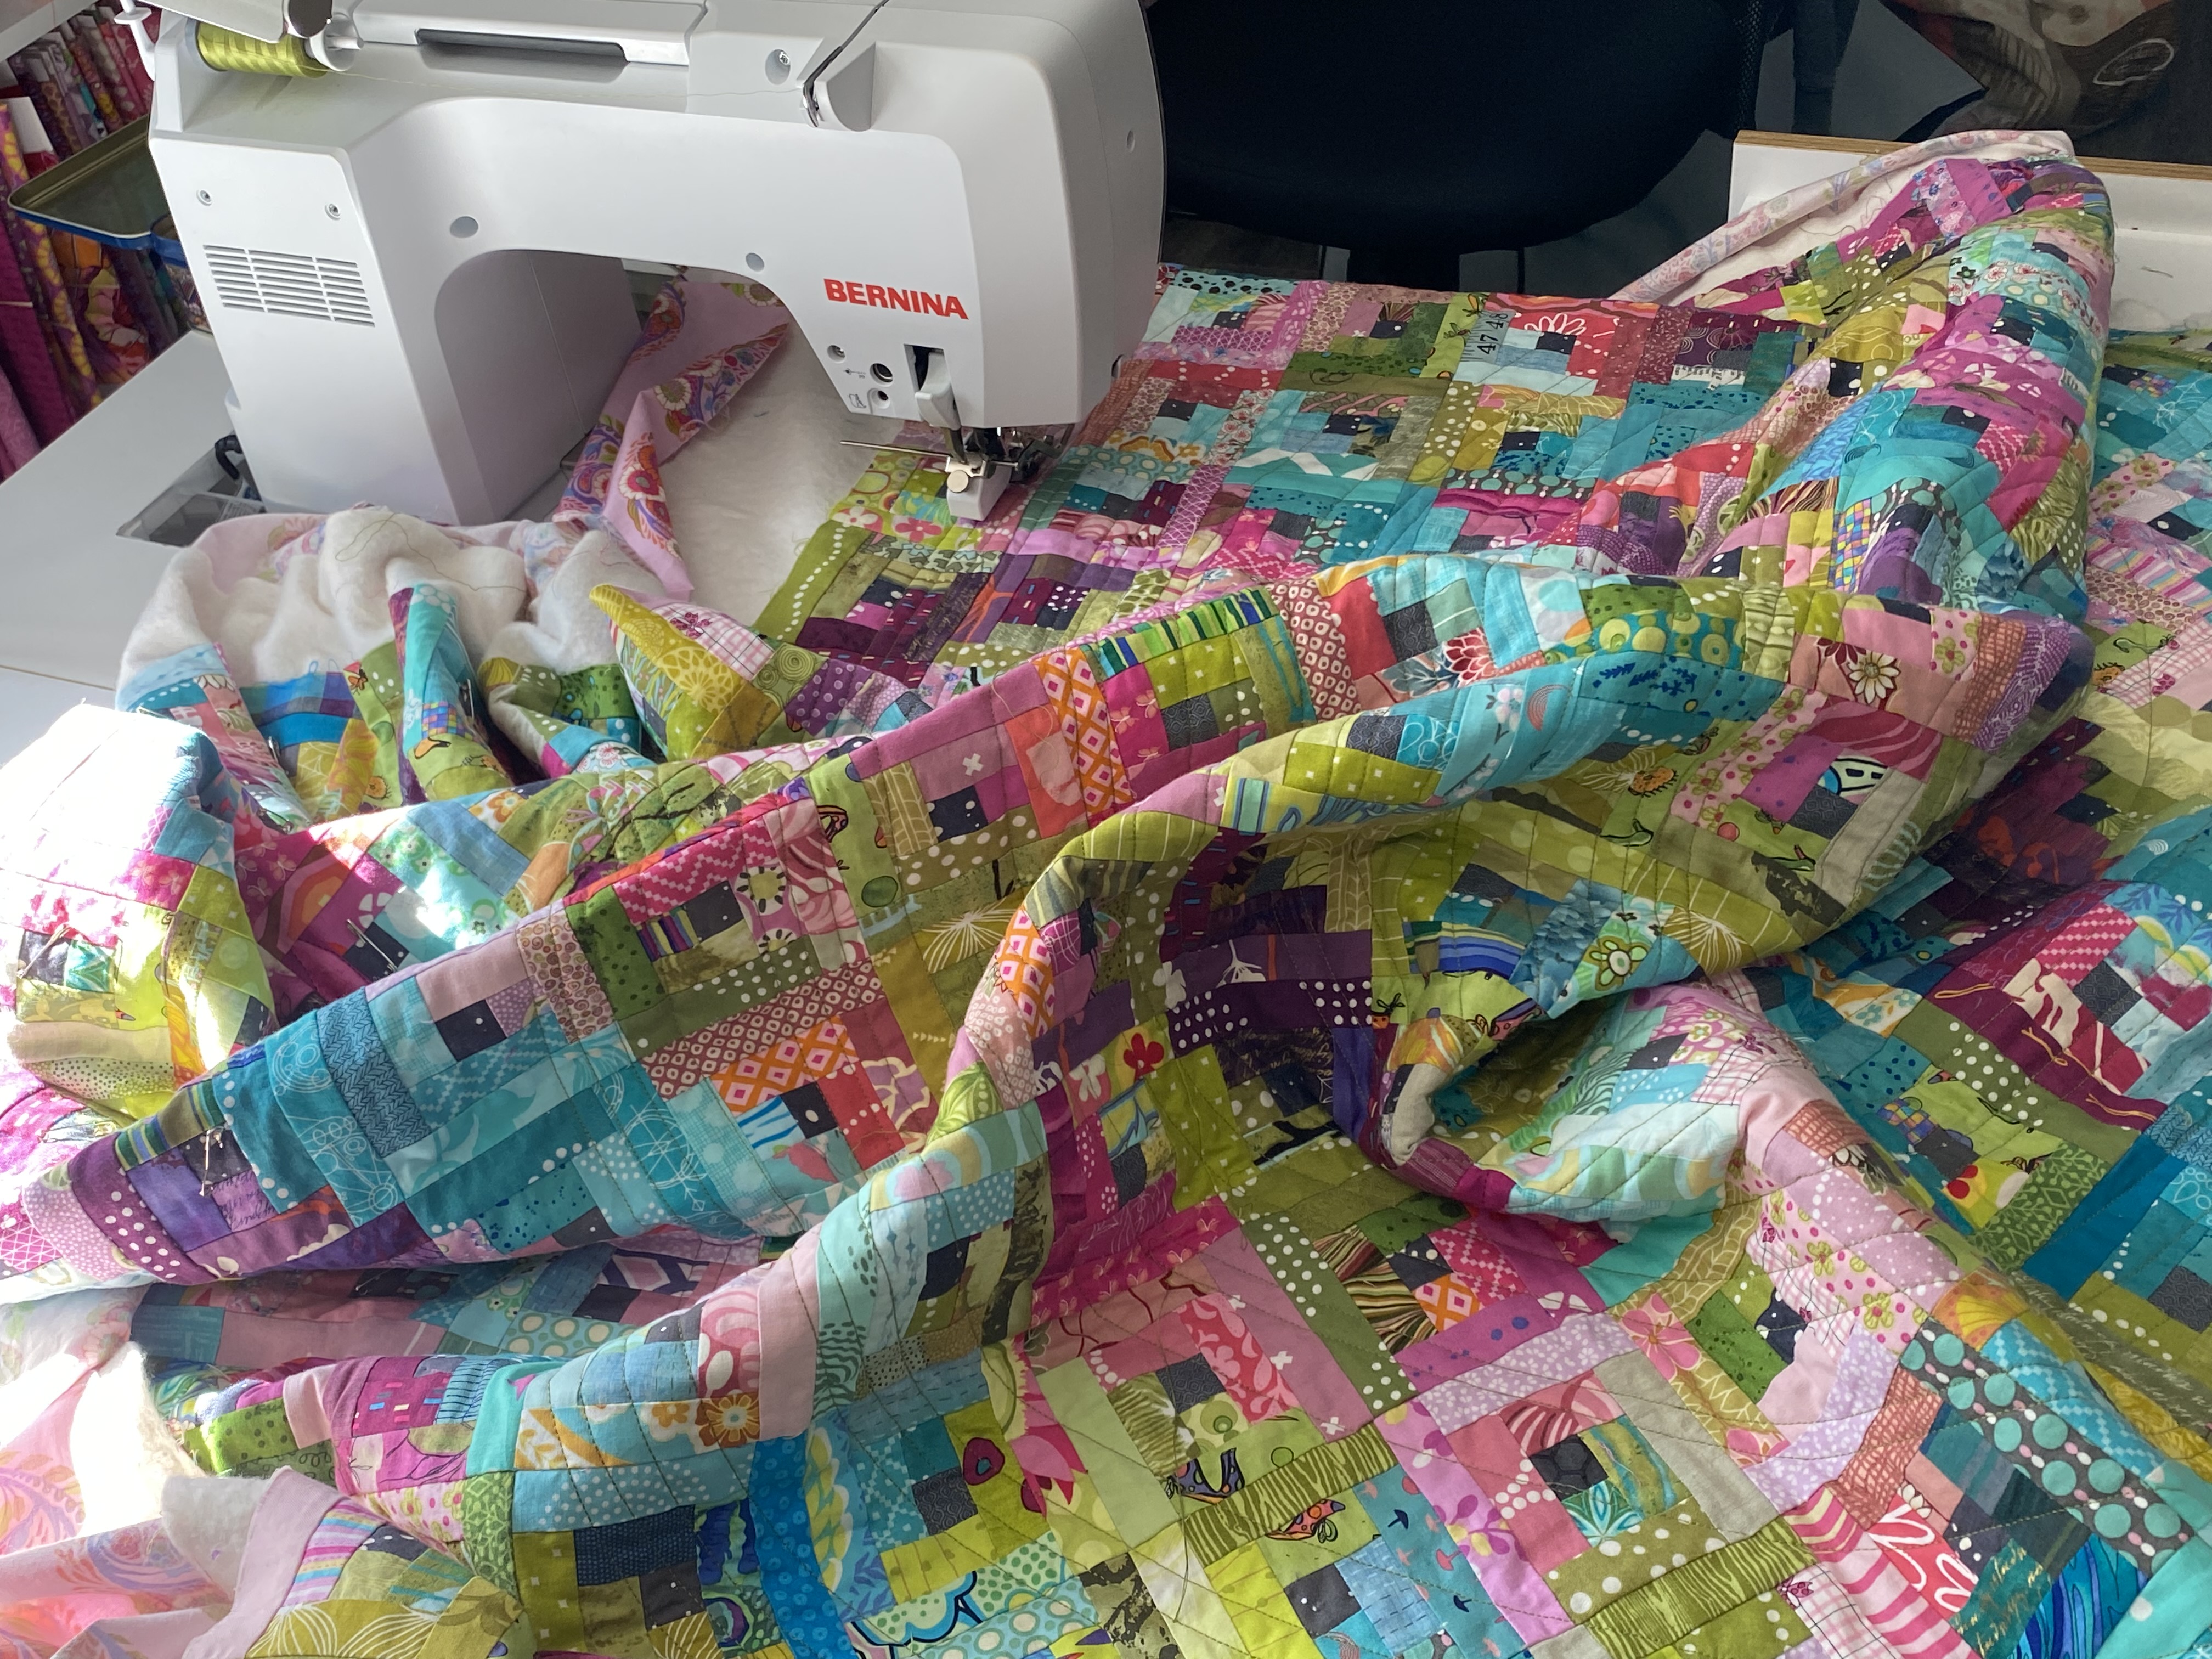
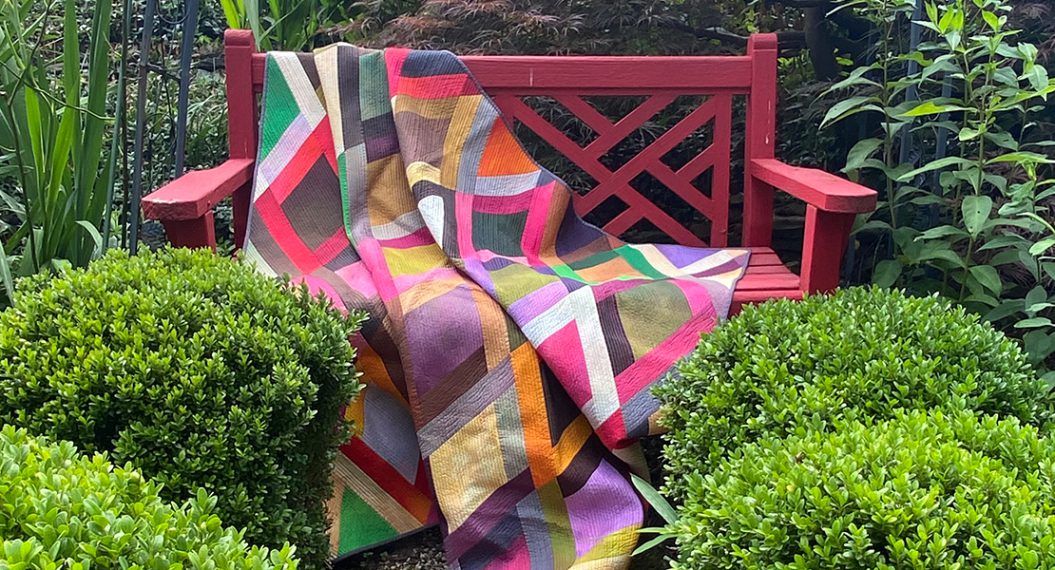
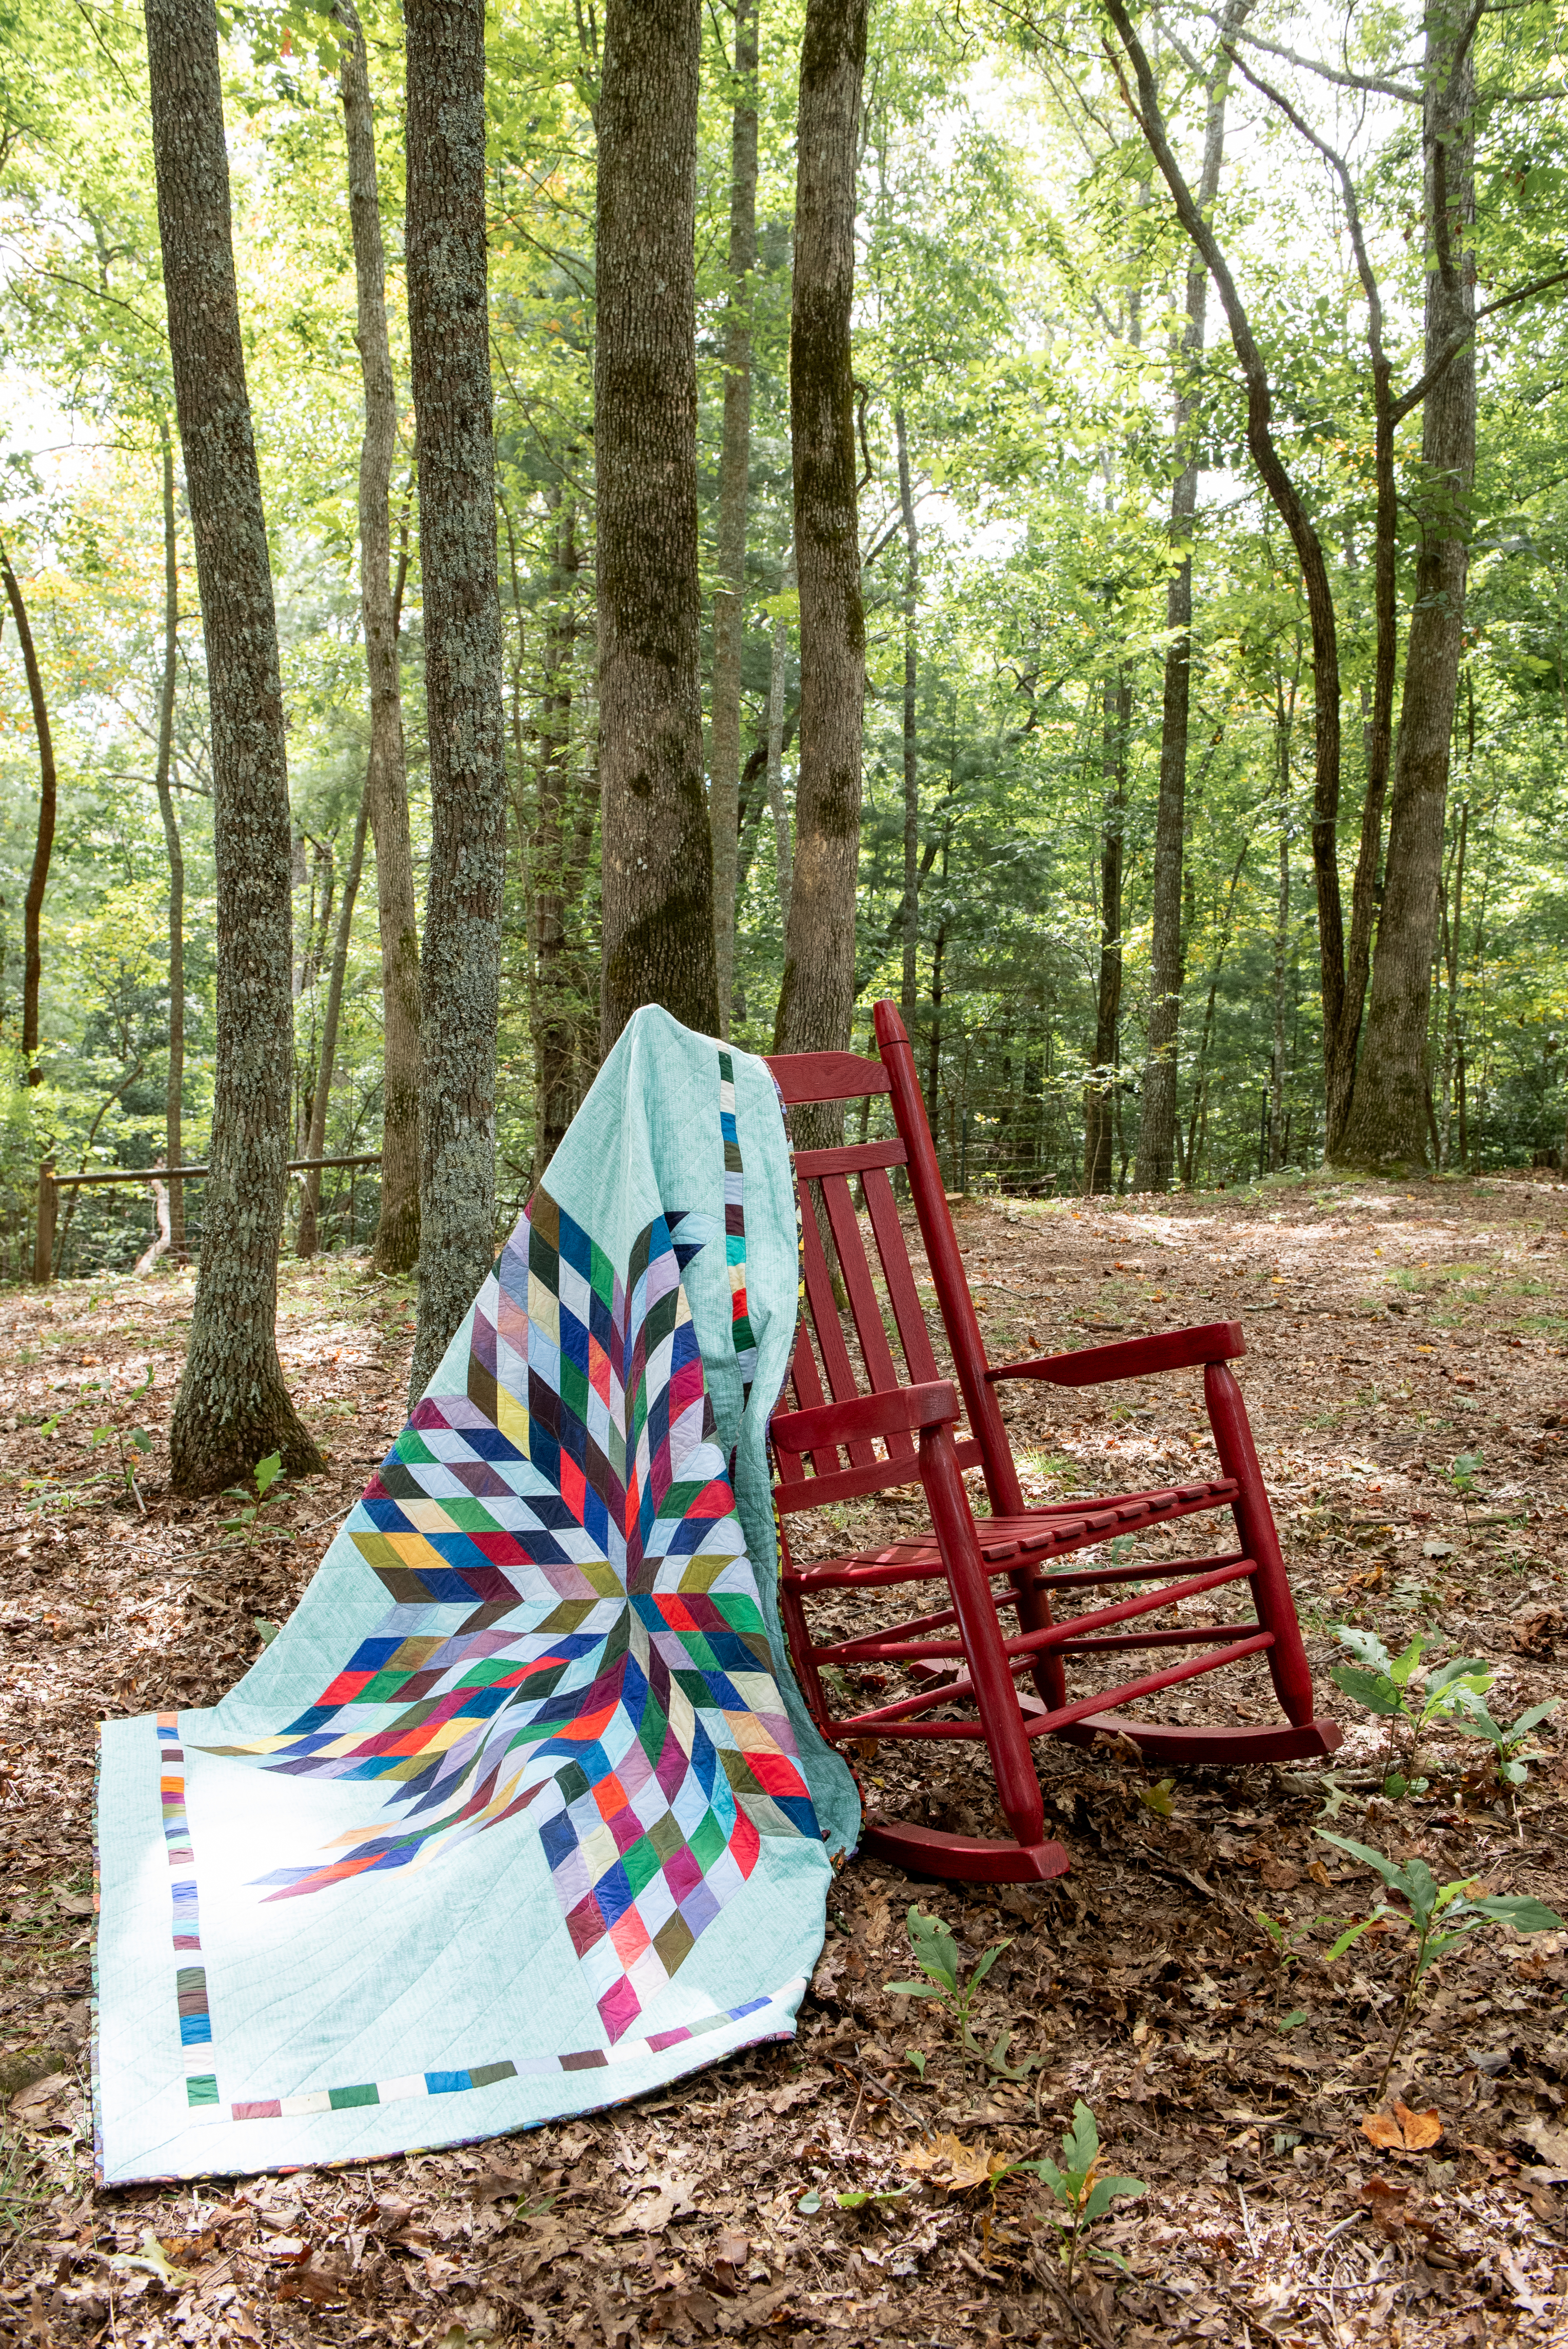
My Ombré Lone Star used both my 72 ruler foot and rulers (more on that later) and my walking foot. The walking foot was used to create long, straight lines in the setting squares and triangles along the outside of the quilt. I used the seam guides that came with the walking foot to keep the lines evenly spaced.
Adjustable Ruler Foot #72 and Rulers
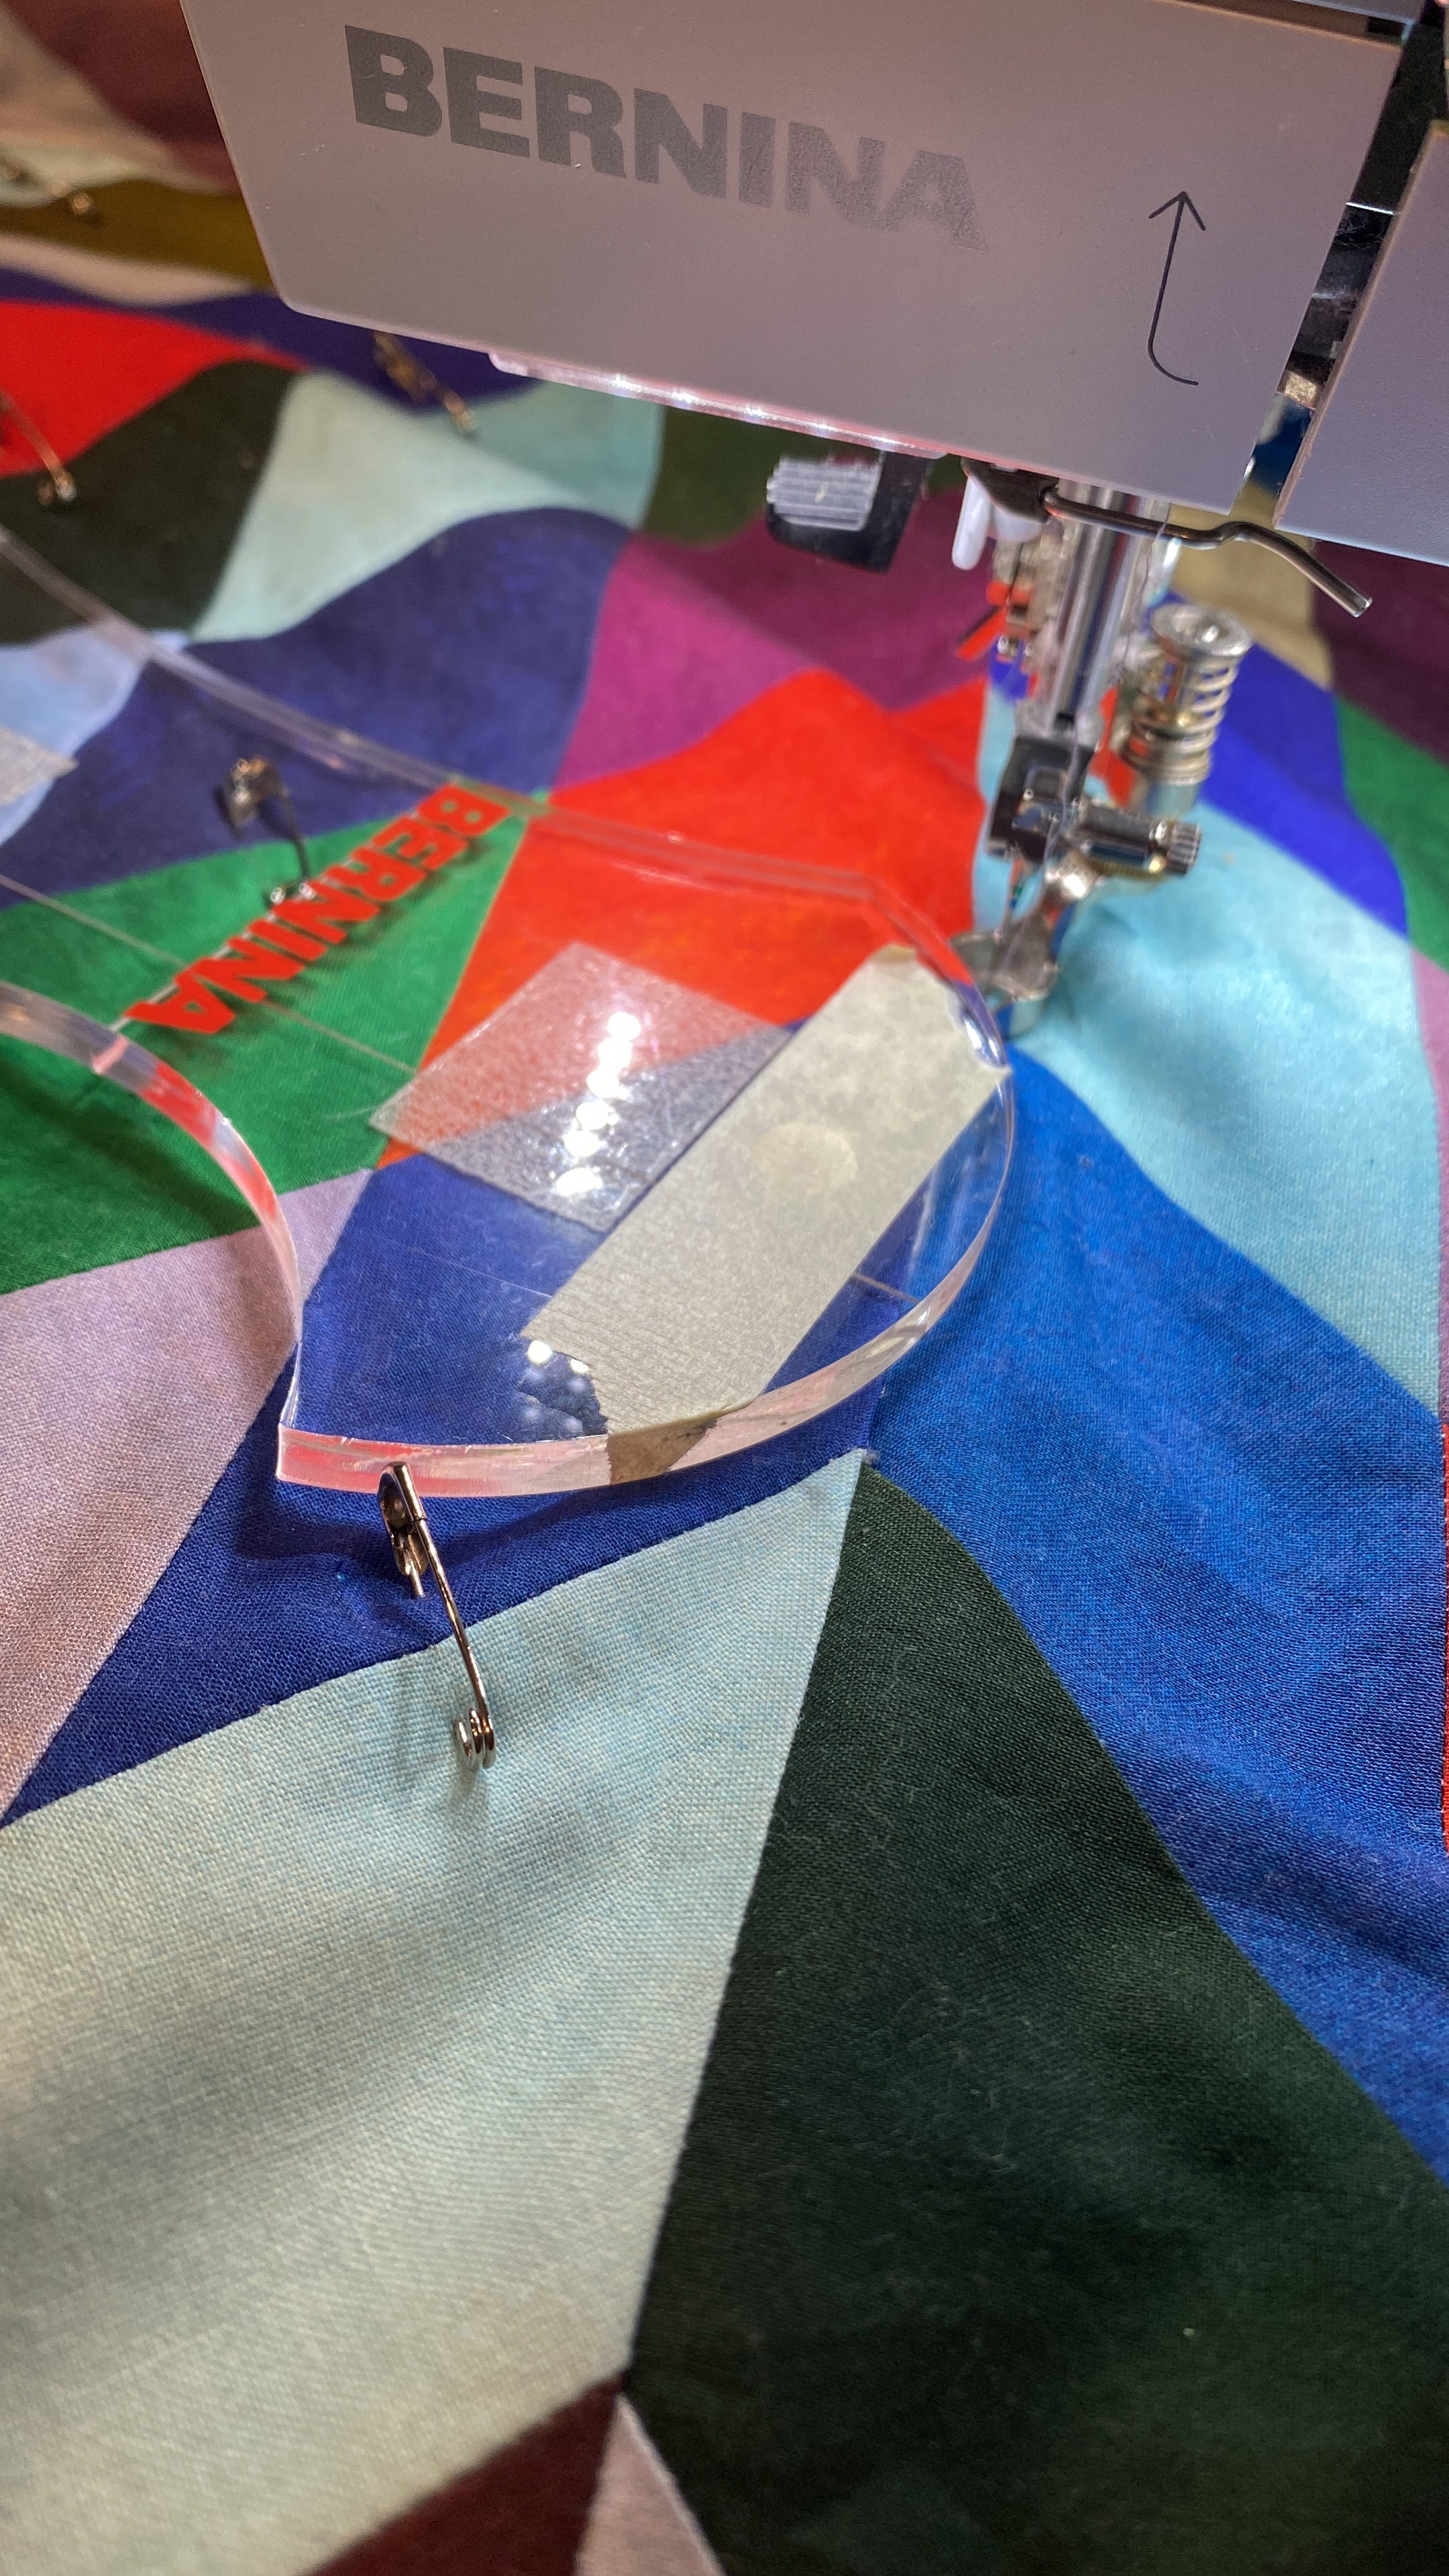
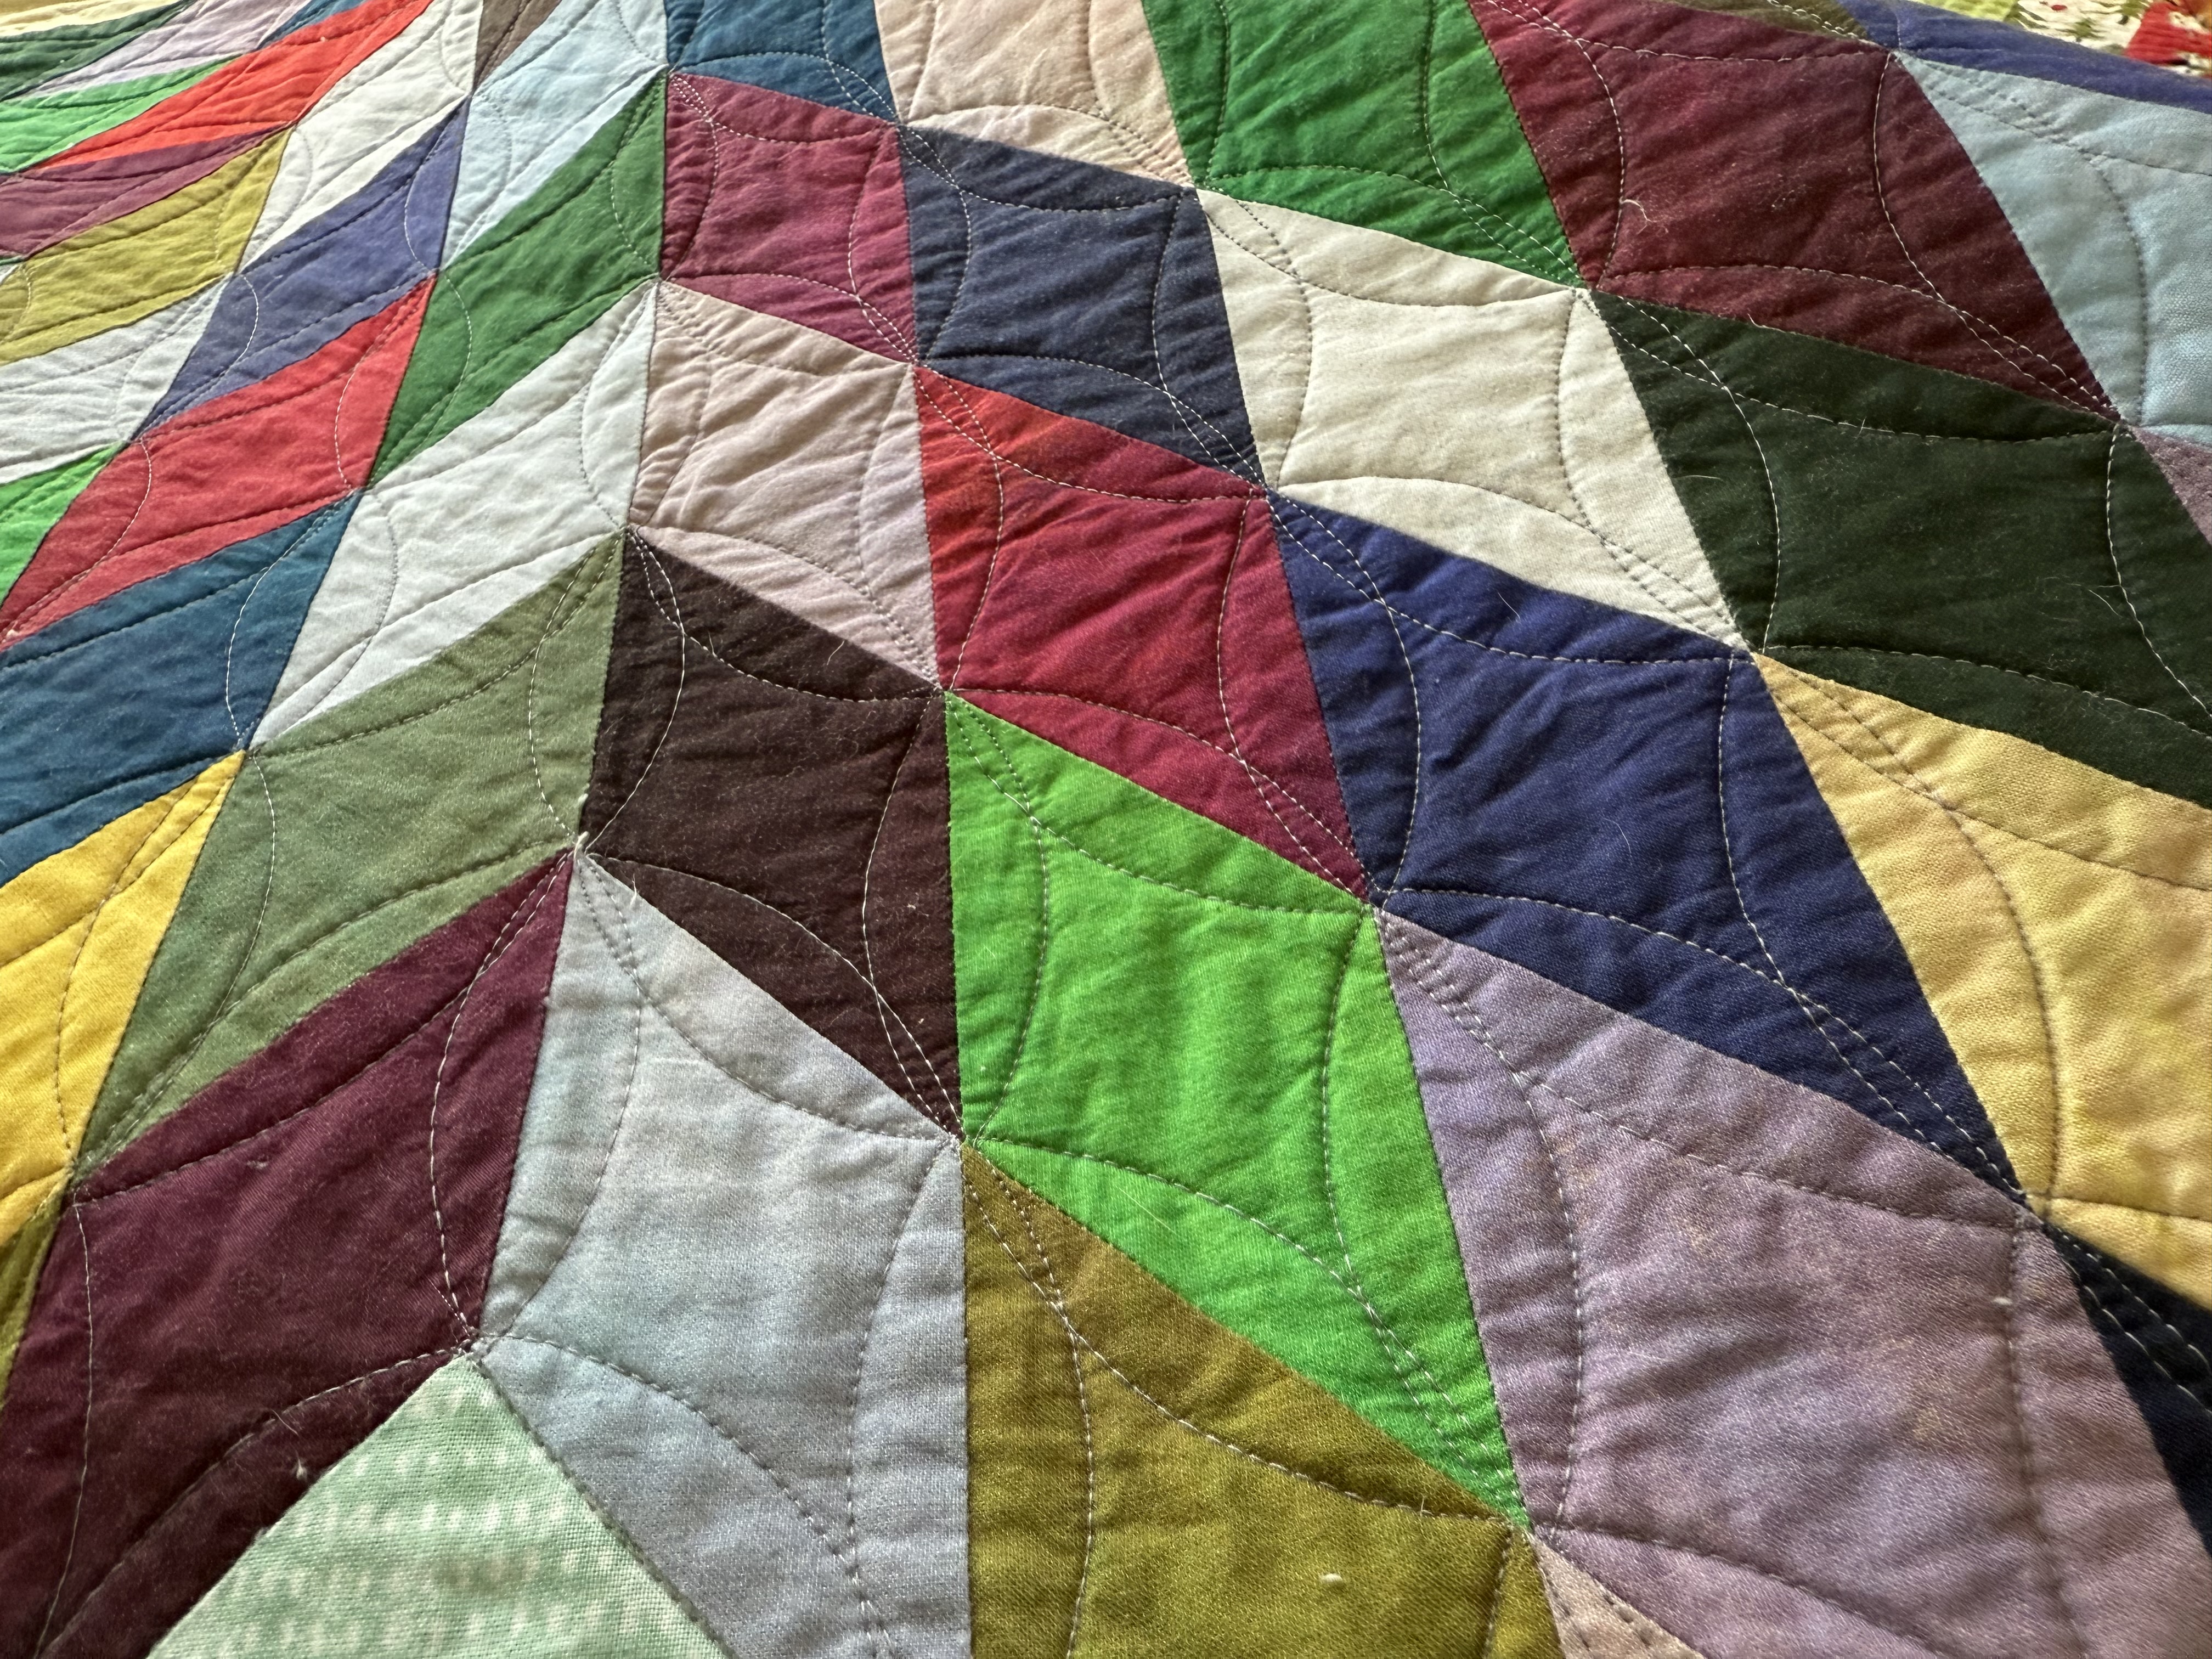
I quilted the center of my Ombré Lone Star using the Adjustable Ruler Foot #72 and the apple core acrylic ruler. When you use this foot, the needle goes into the center of the foot and it’s 1/4’’ to the outside edge in all directions. The sole of the foot is thick and the edges of the foot are deep enough that rulers 3/16’’ or thicker won’t allow the foot to jump over the ruler.
Zipper Foot #4
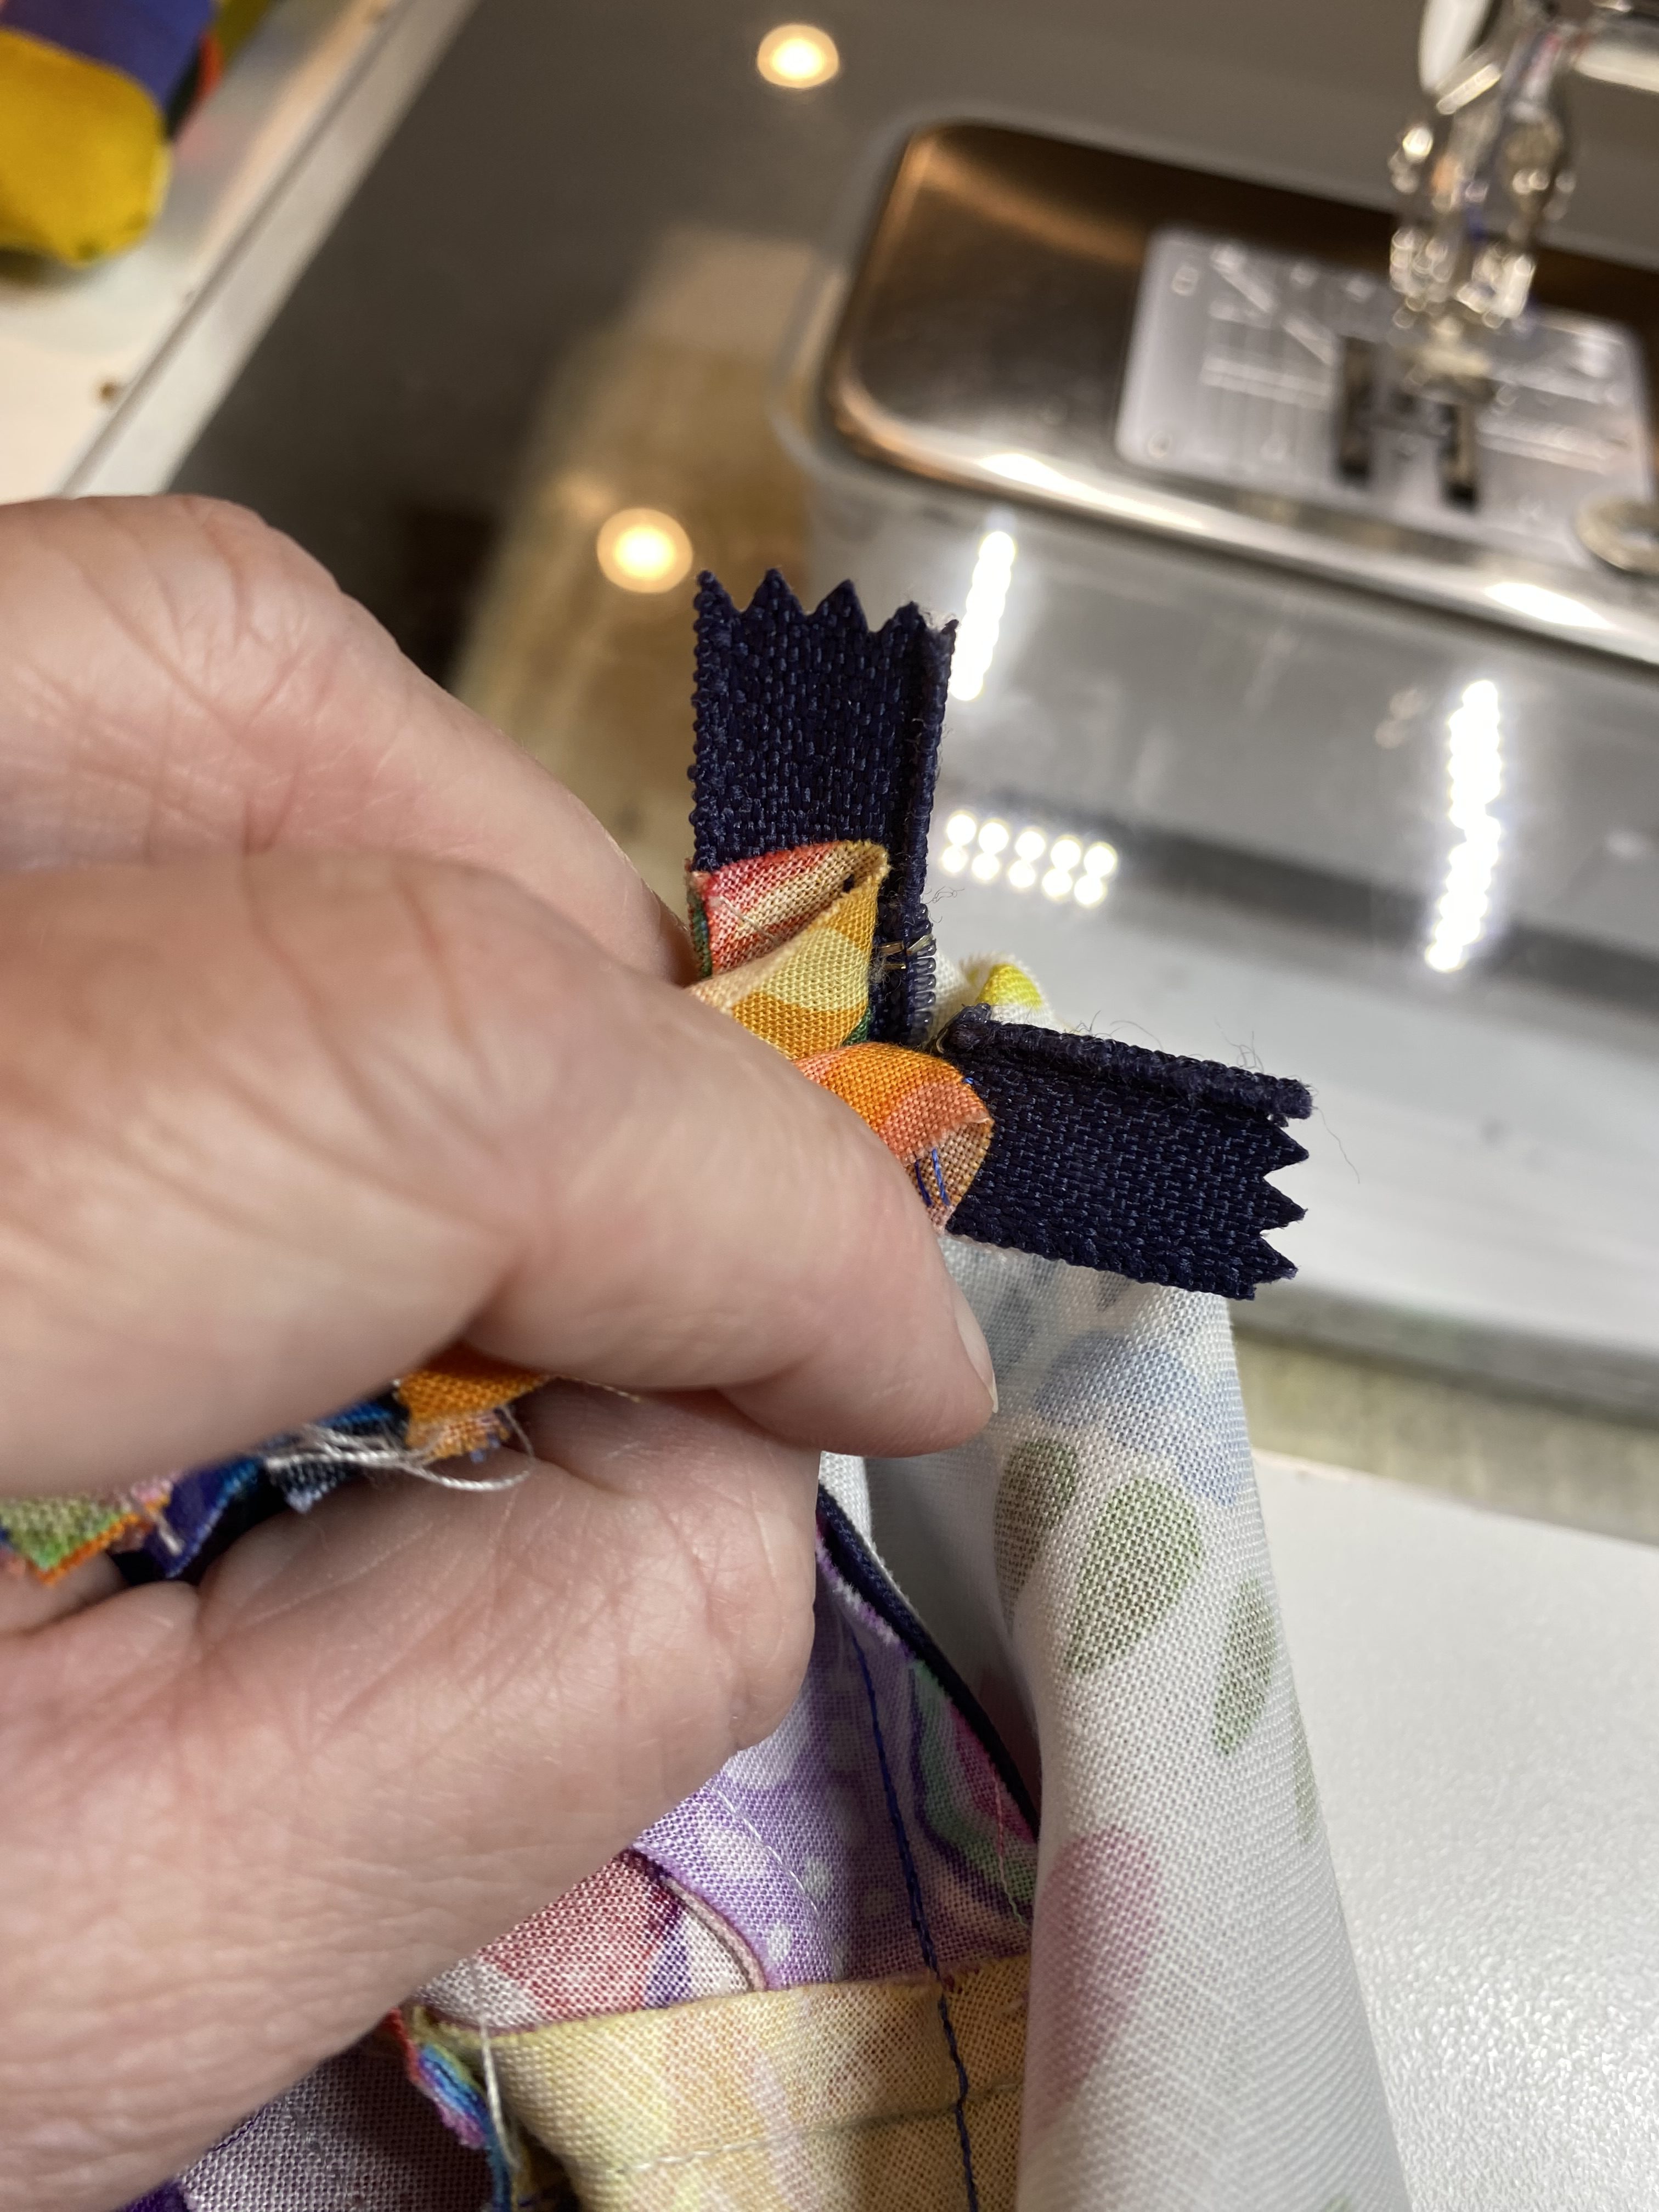
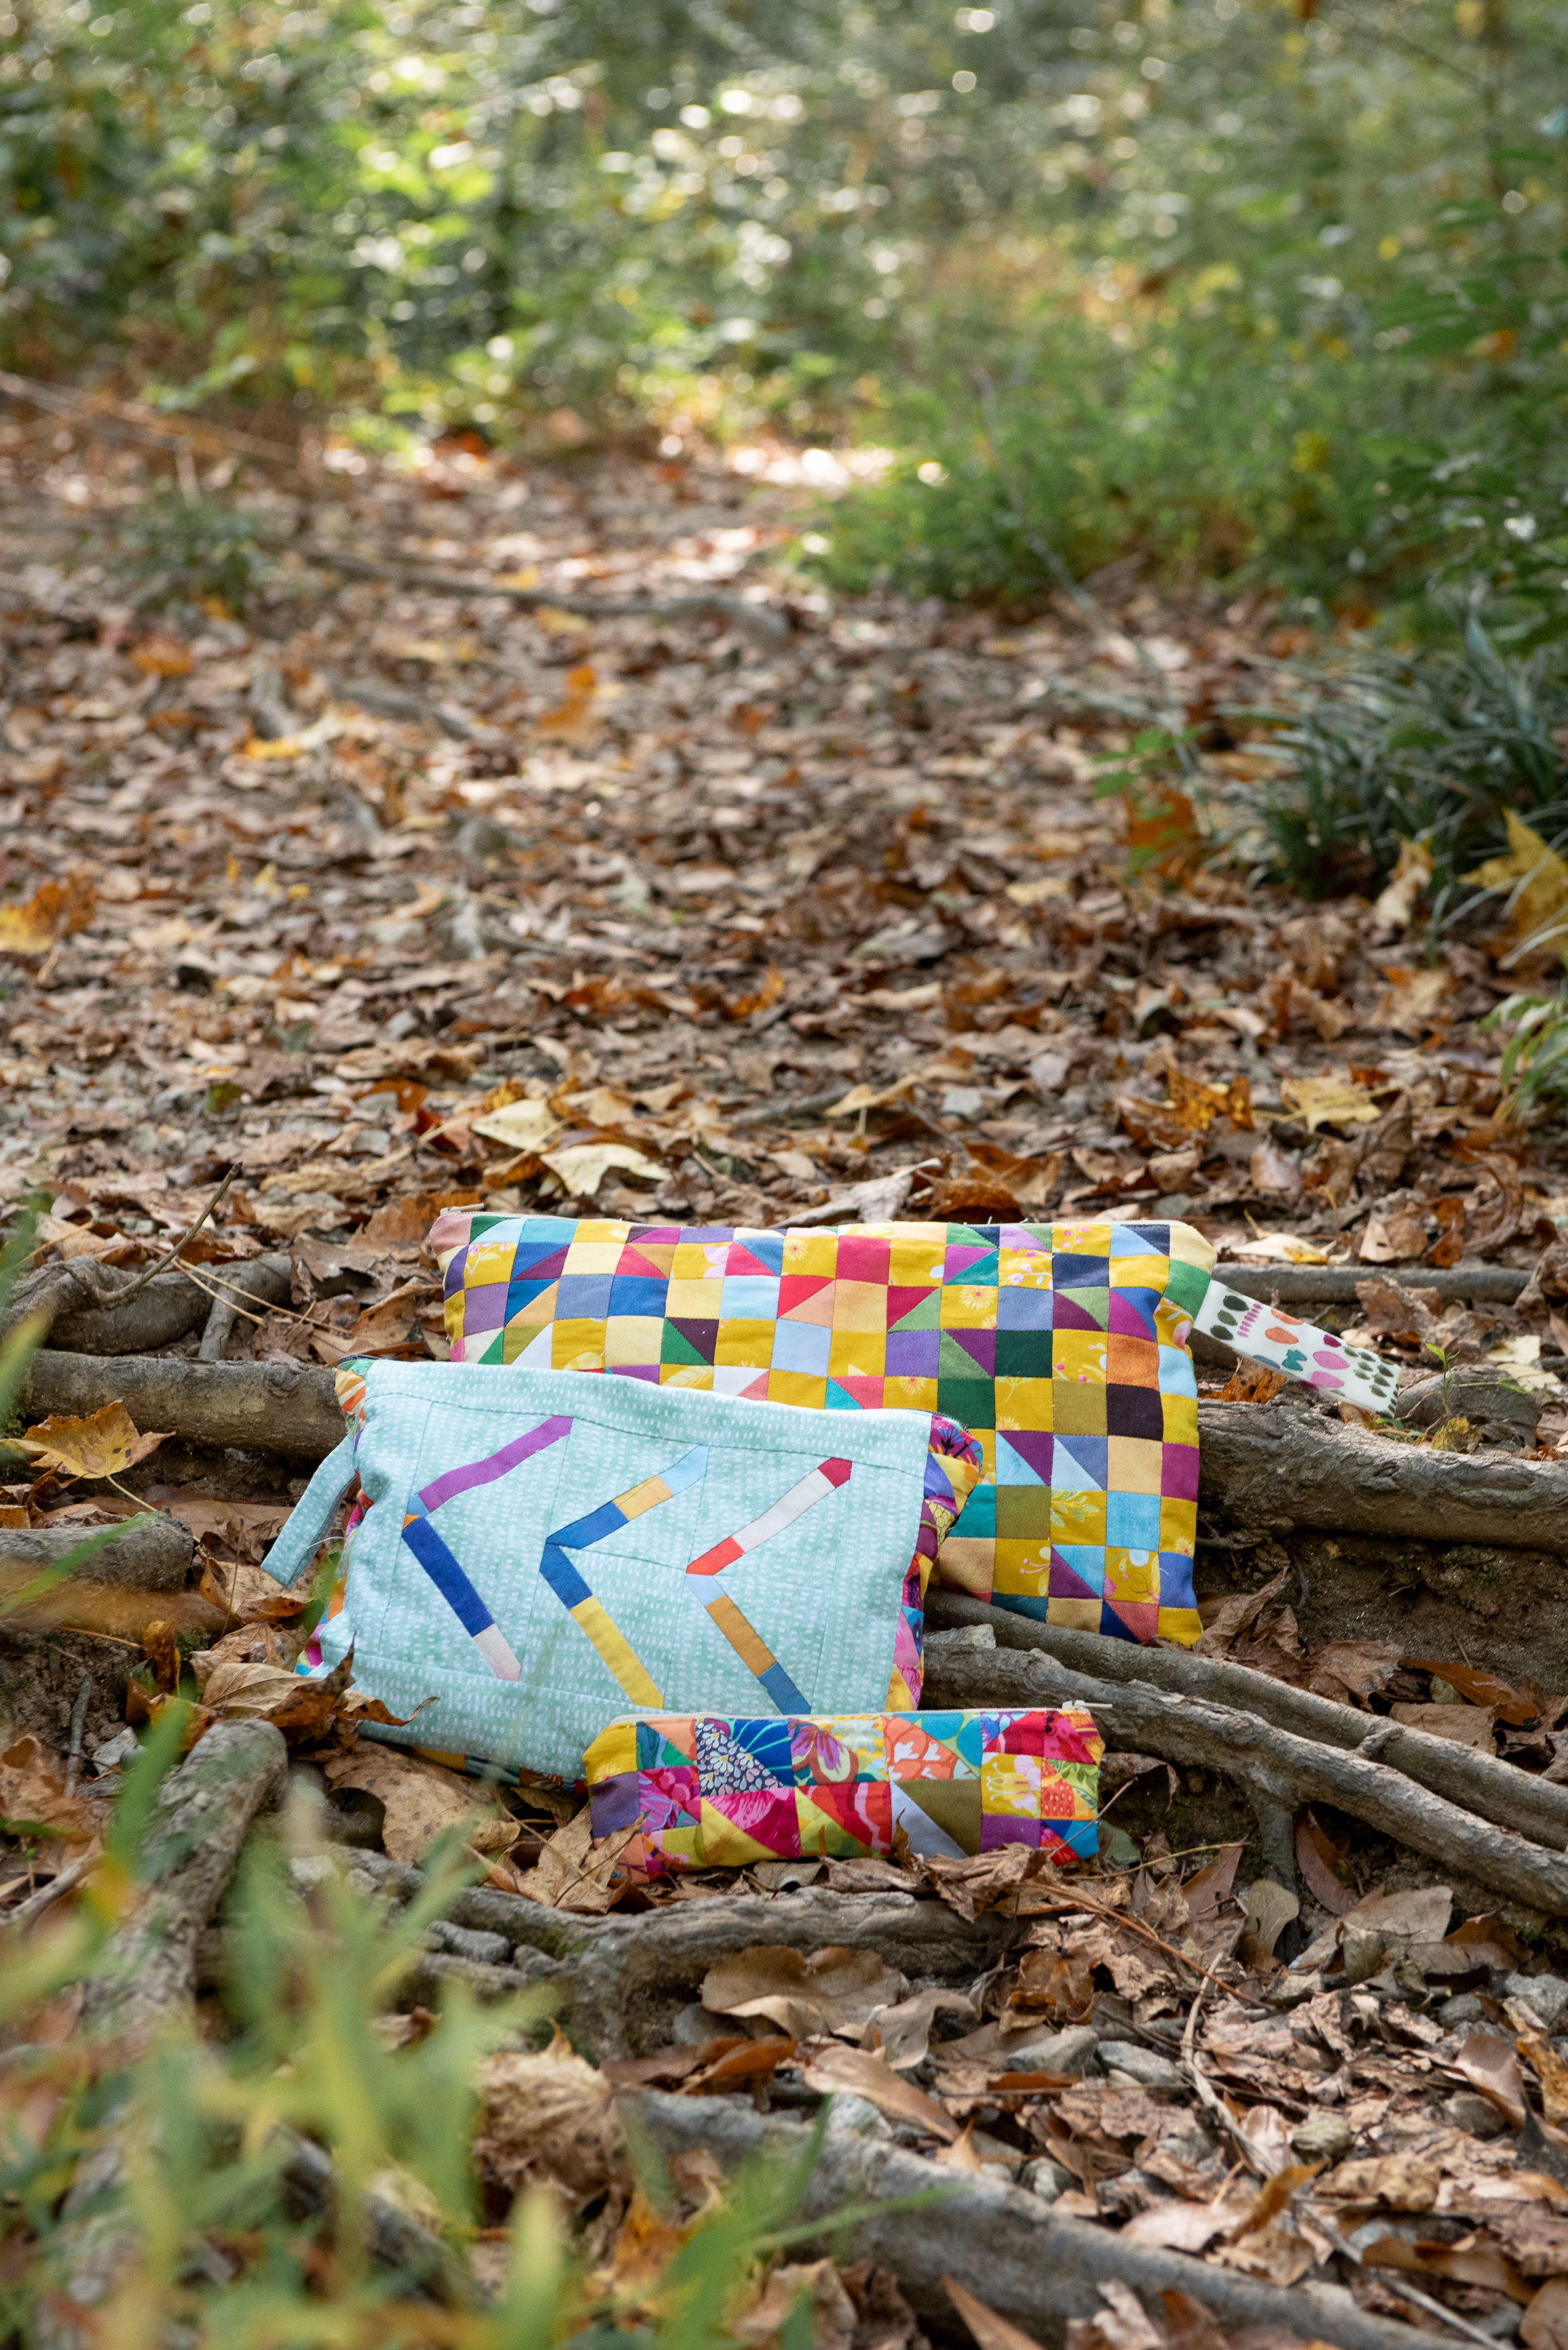
The three zipper pouches each needed a zipper. I used the BERNINA Zipper Foot #4 for each of the pouches. Sadly, this is the only photo I have of the zipper and my (blurry) zipper foot! Rest assured, though, NONE of the zippers were installed without that #4 foot.

Edgestitch Foot #10
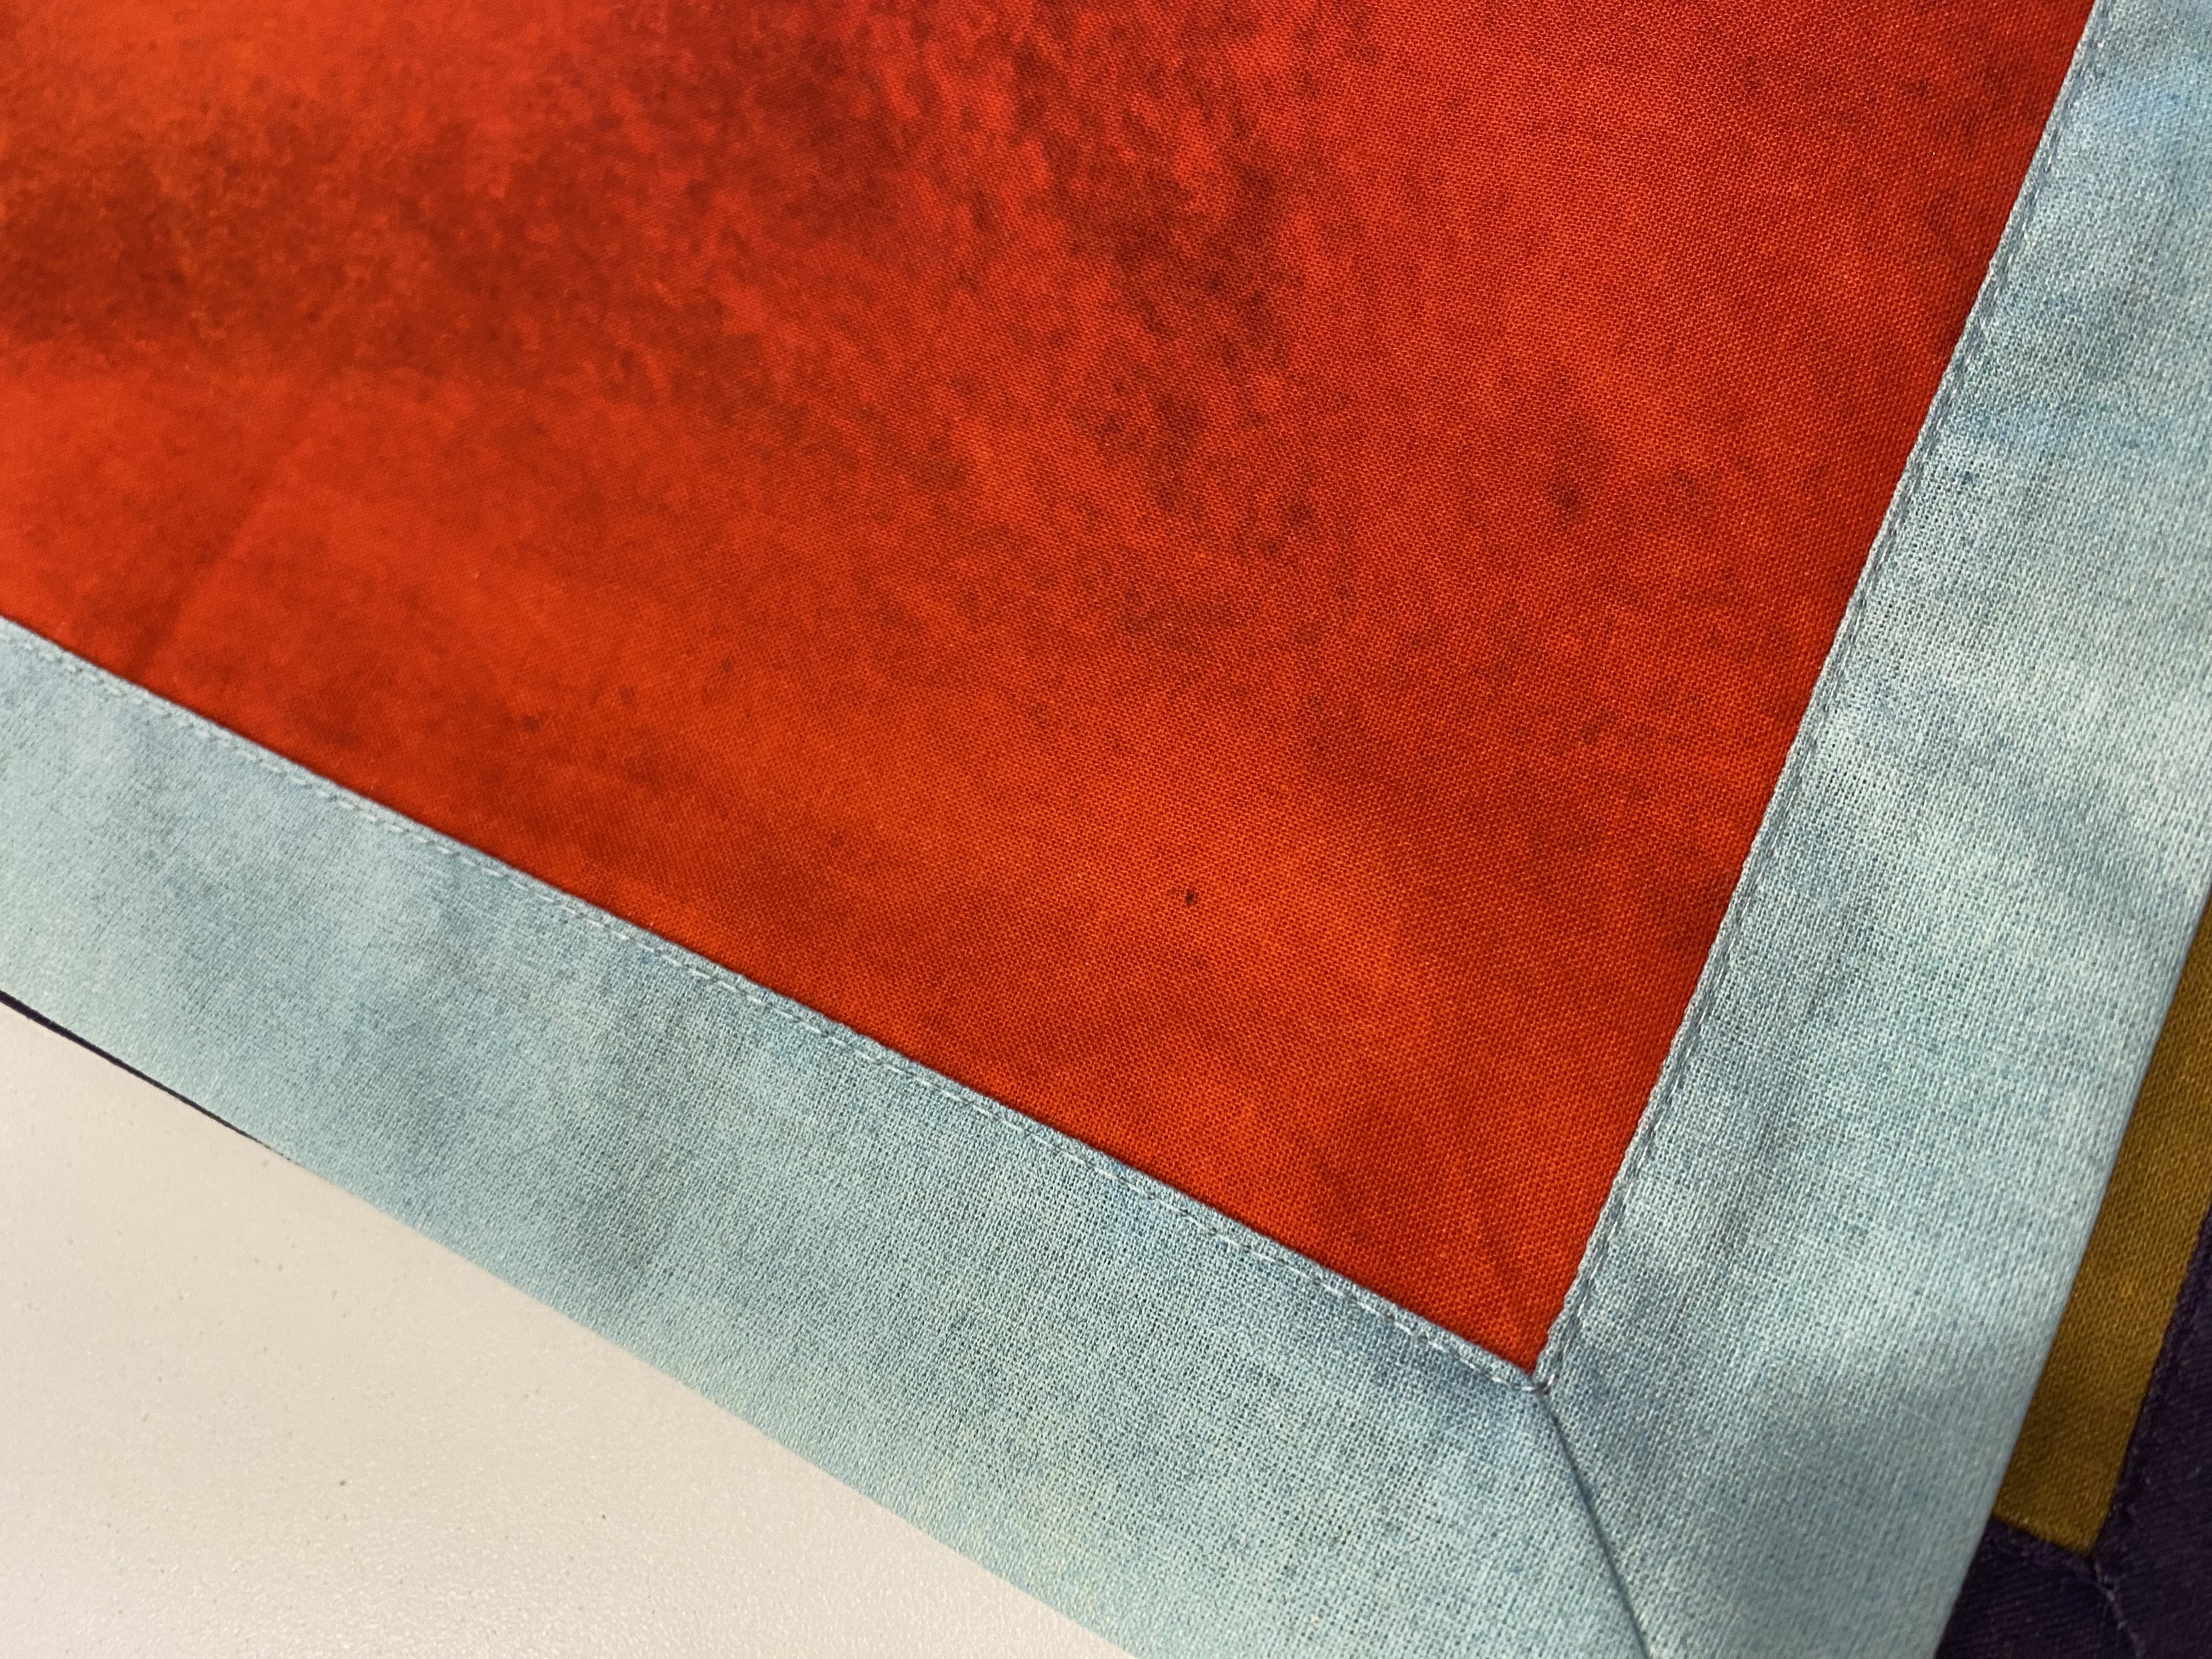
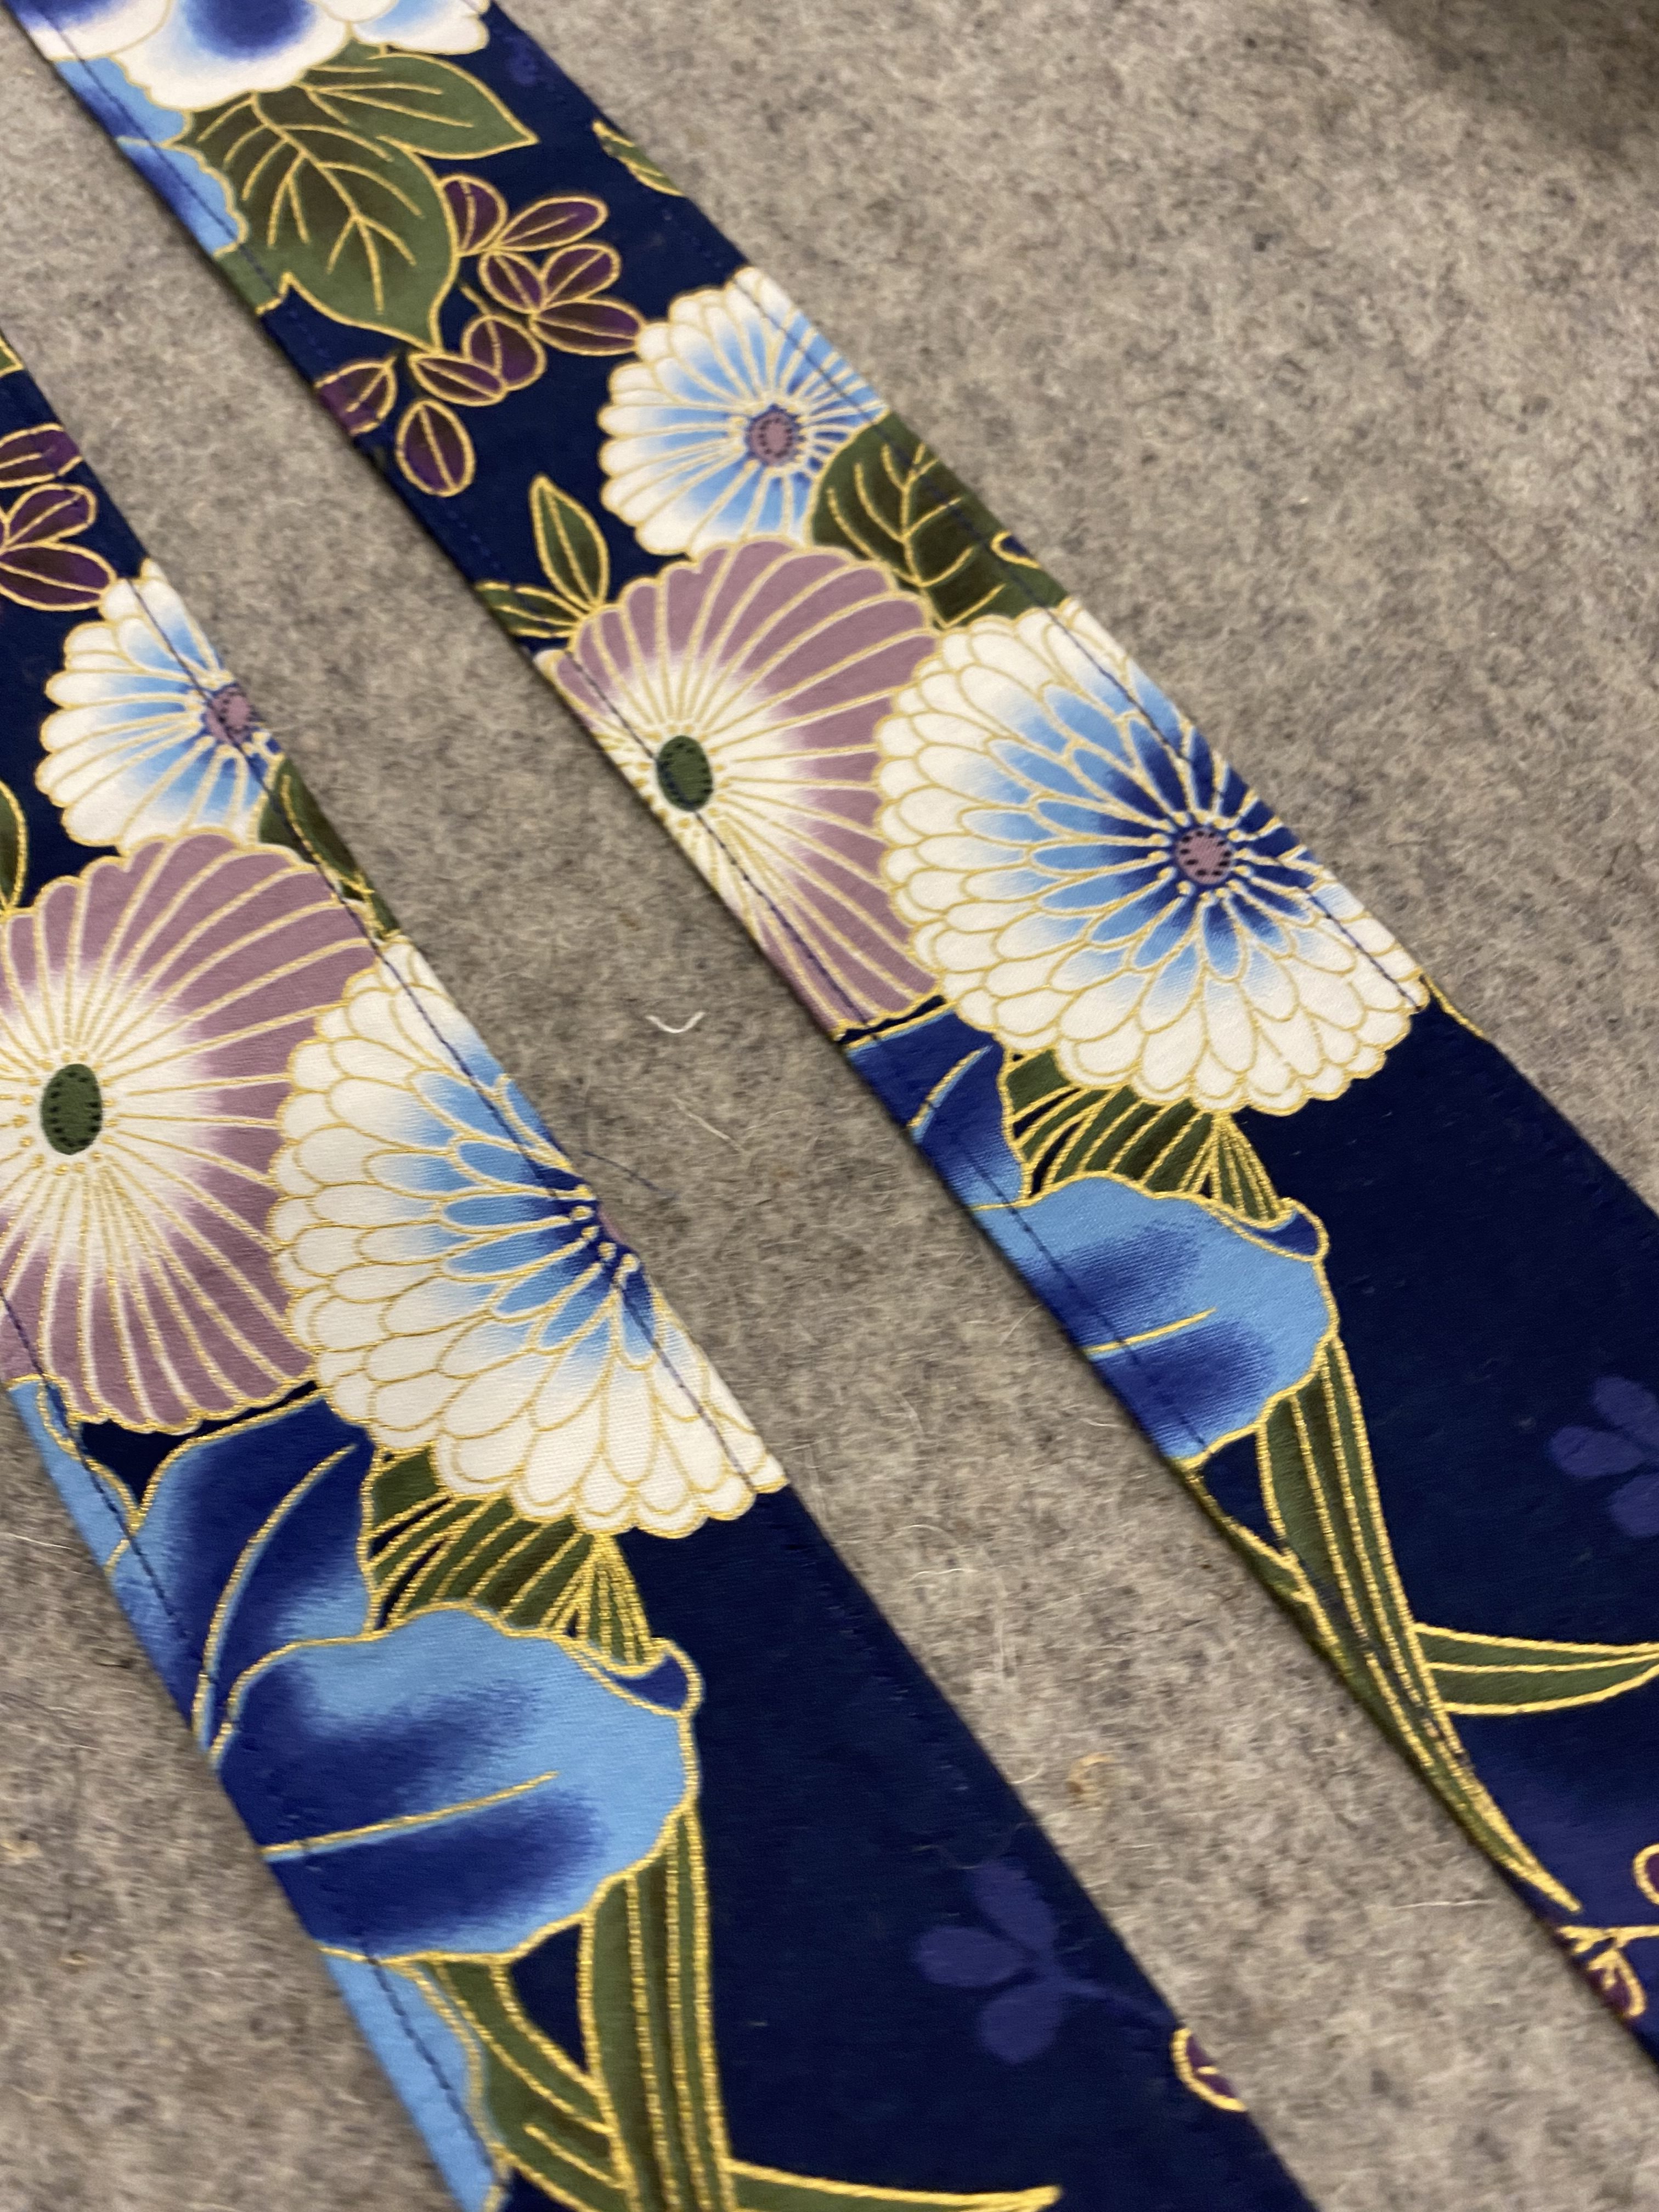
The Edgestitch Foot #10 is a favorite of mine. It’s an easy way to accurately add detail to items you make. I used it on both my Dinner Belle napkins and my Feeling Blue Tote Bag. I didn’t change the needle position for the napkins but I moved the needle a notch or two to the left for the tote bag straps. I also changed my stitch plate to the 9mm stitch plate with the larger hole (think zig zag).
Reverse Pattern Foot #1D
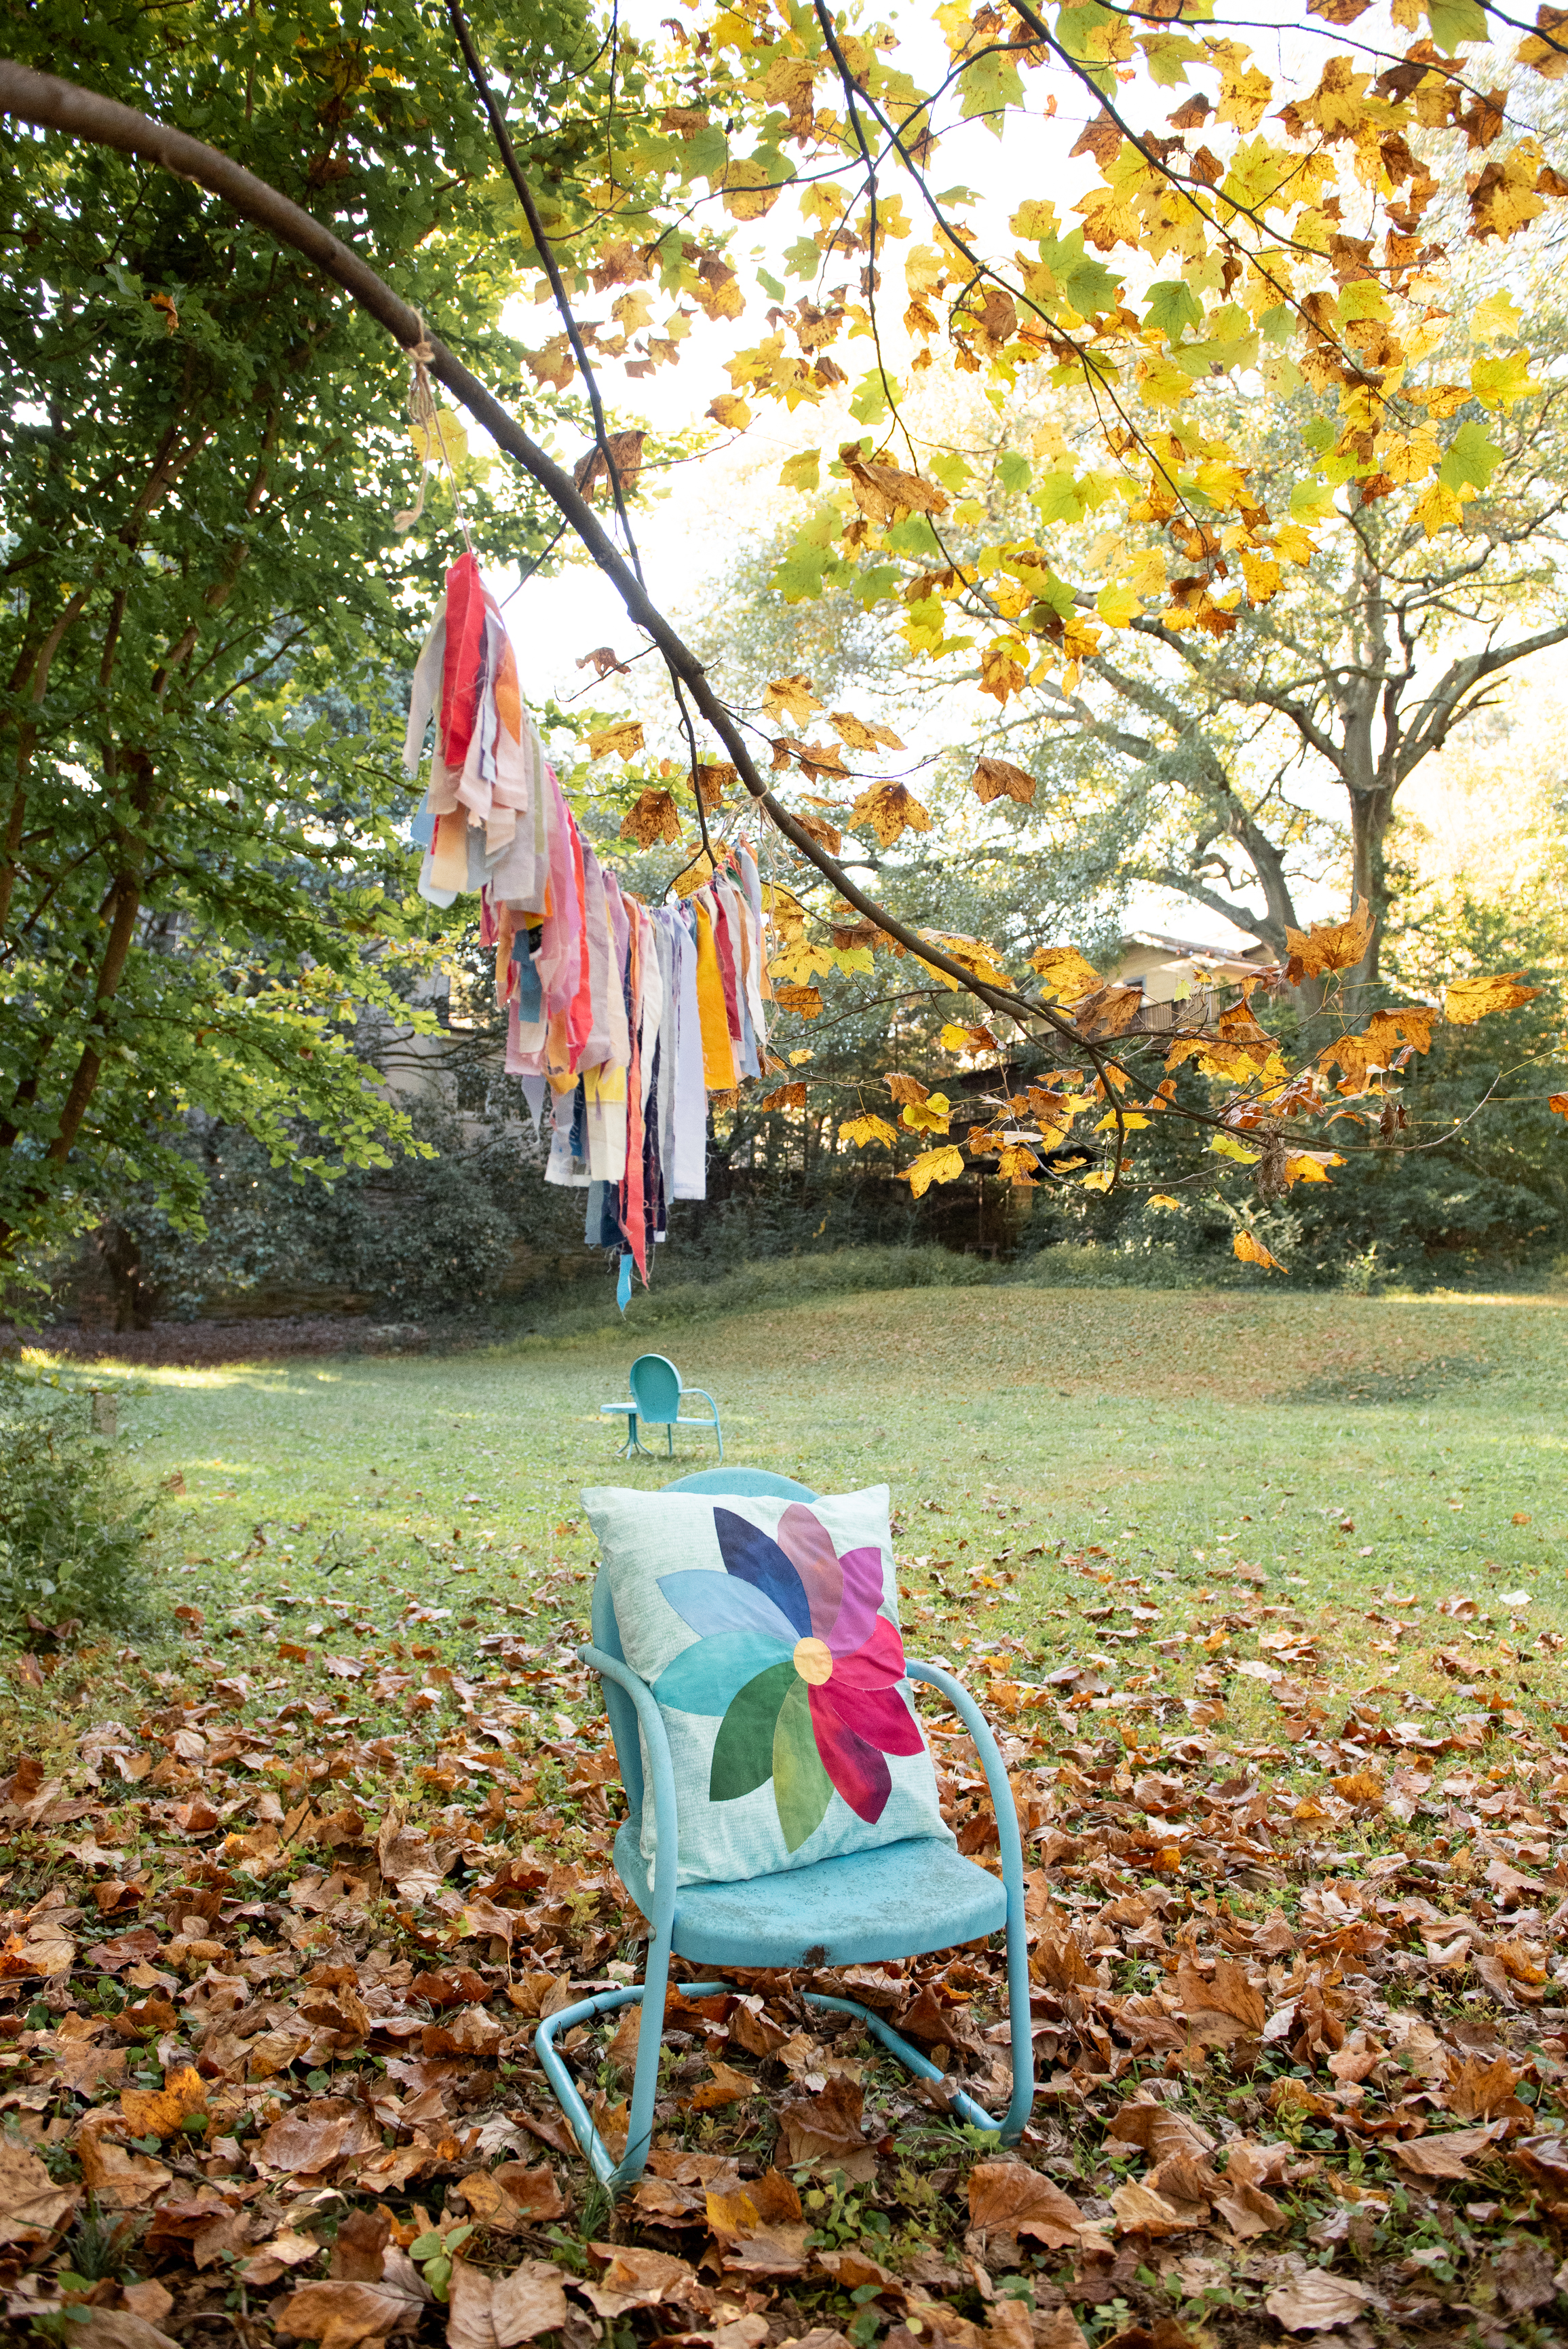
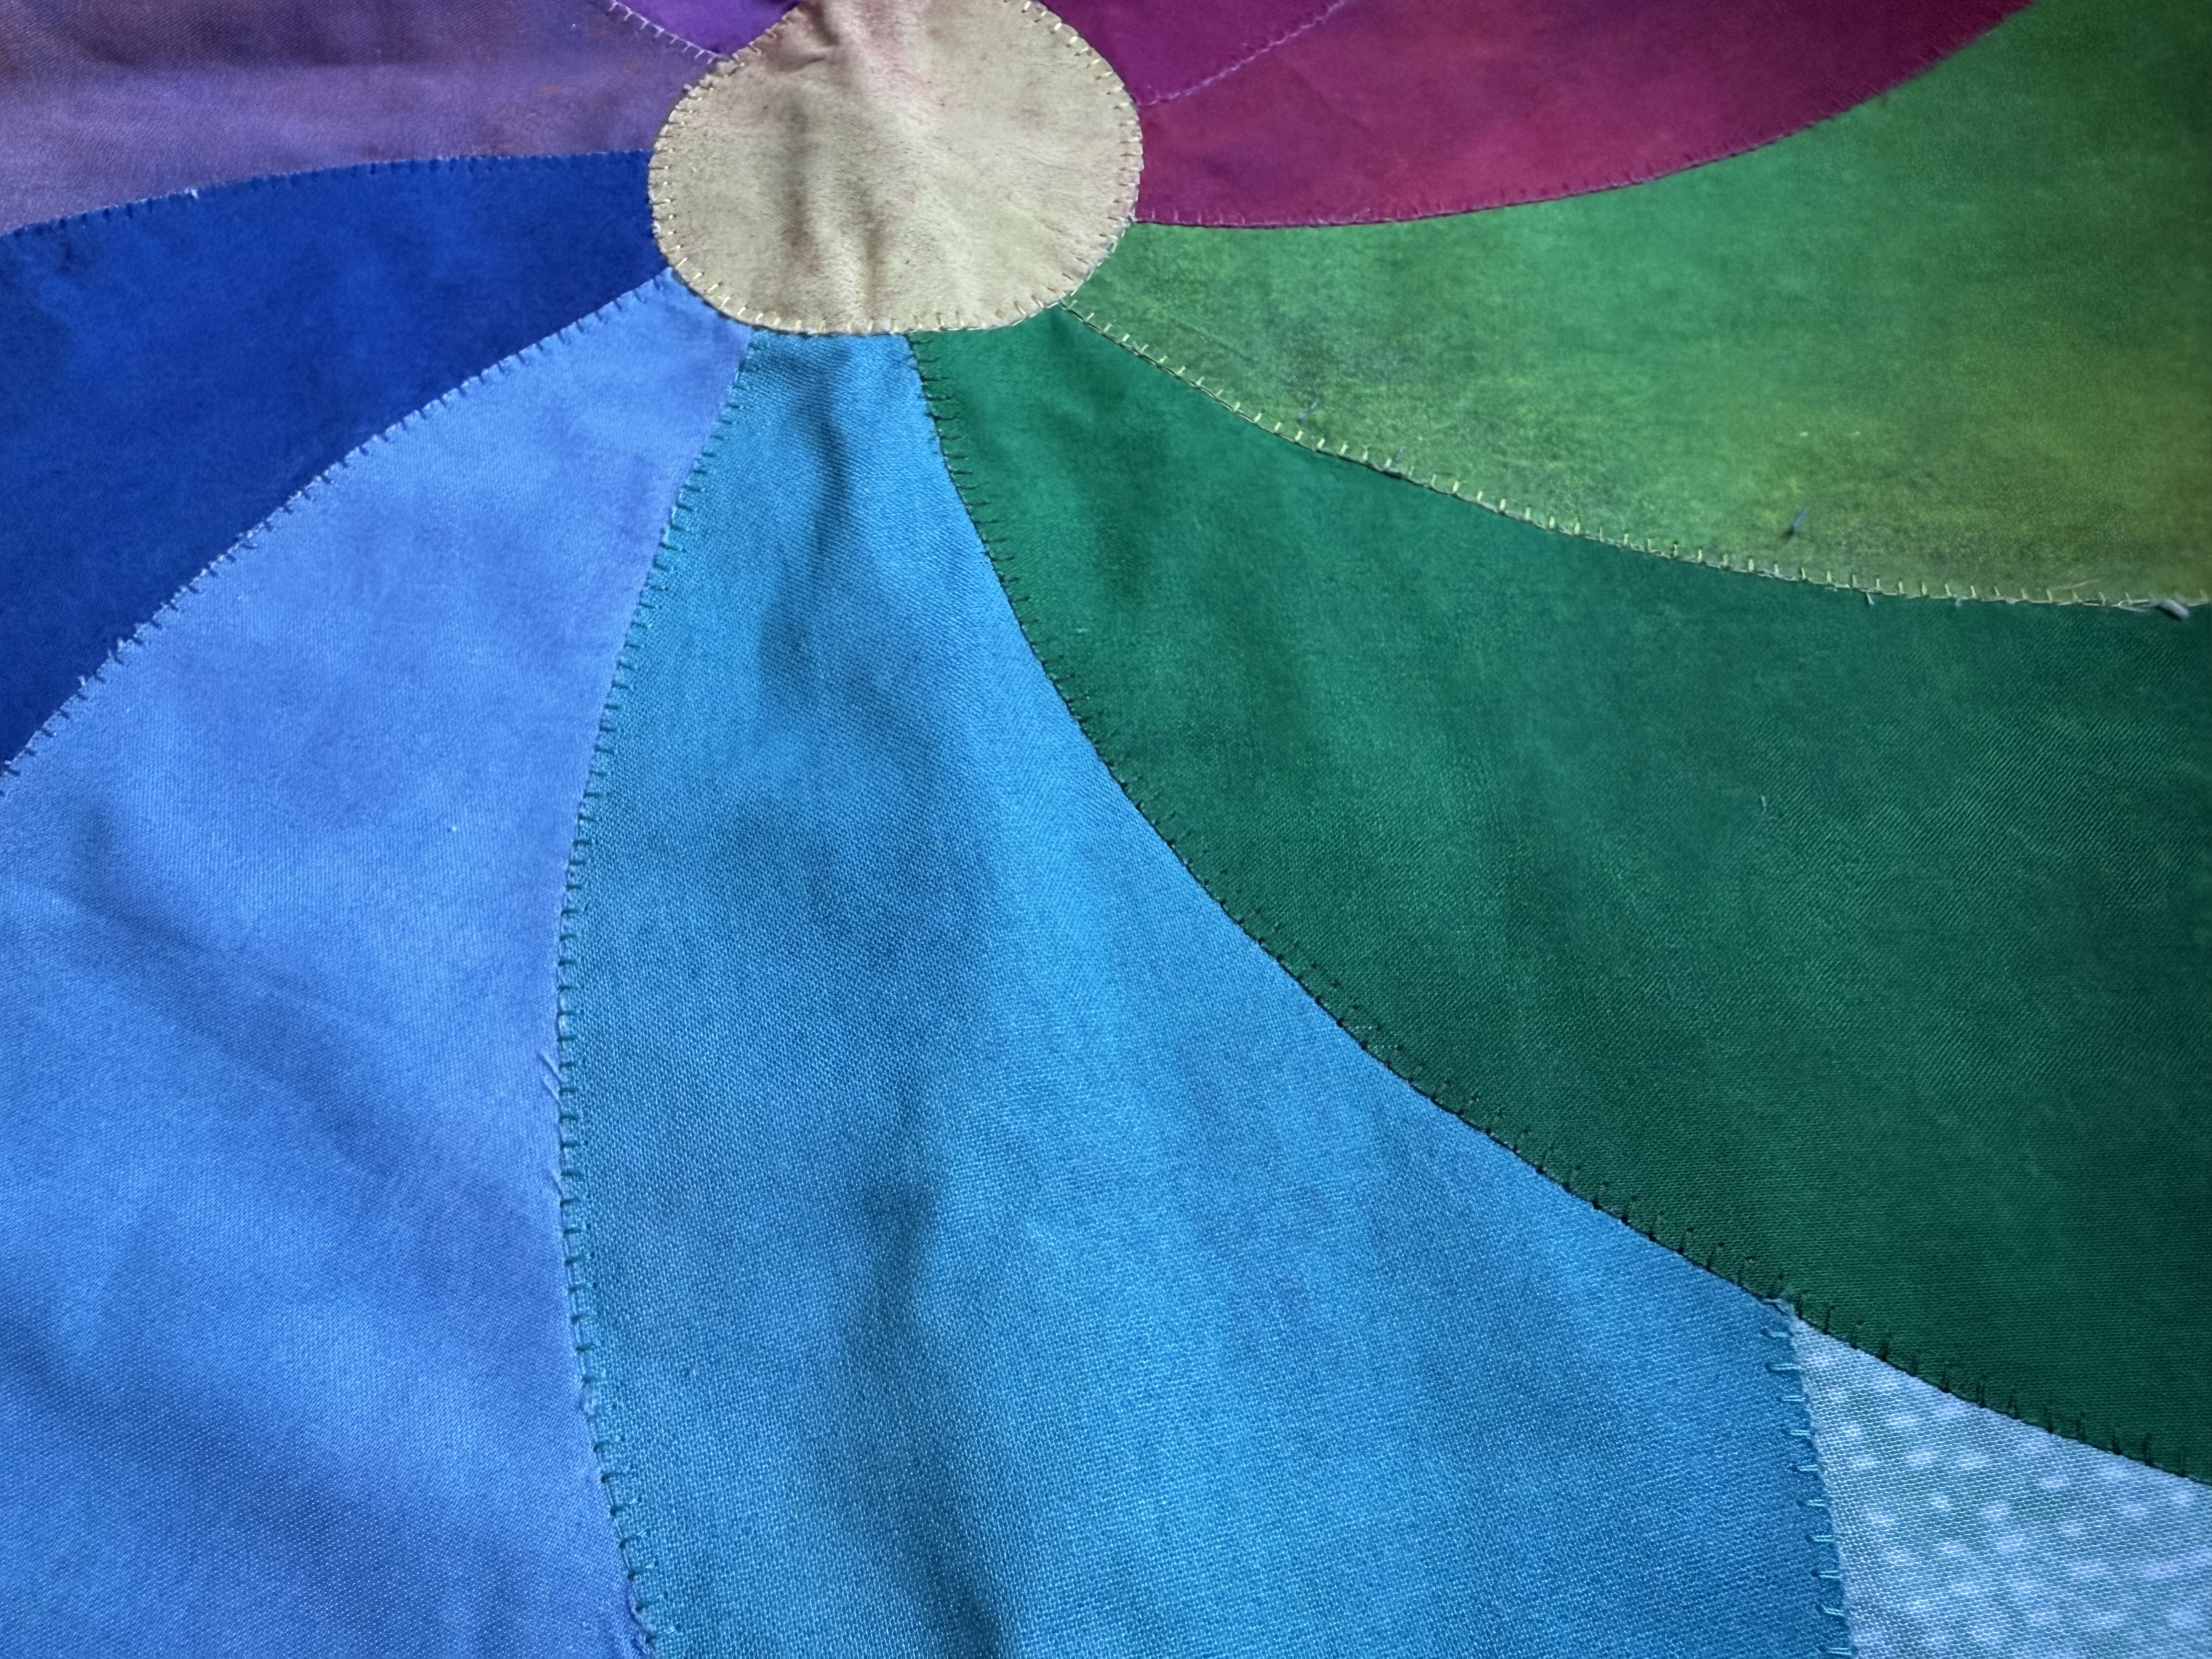
The Petal Pusher Pillow has machine appliquéd melons on it. I used Reverse Pattern Foot #1D for the decorative stitches around each melon. I like this foot because it has a mark in the center so I can make sure I follow the edge of the piece I want appliquéd AND the center of the foot is open so it’s versatile for a wide variety of decorative stitches. I used a blanket stitch (1329 on my machine) for the pillow but you can use any stitch you’d like.
Height Compensation Tool
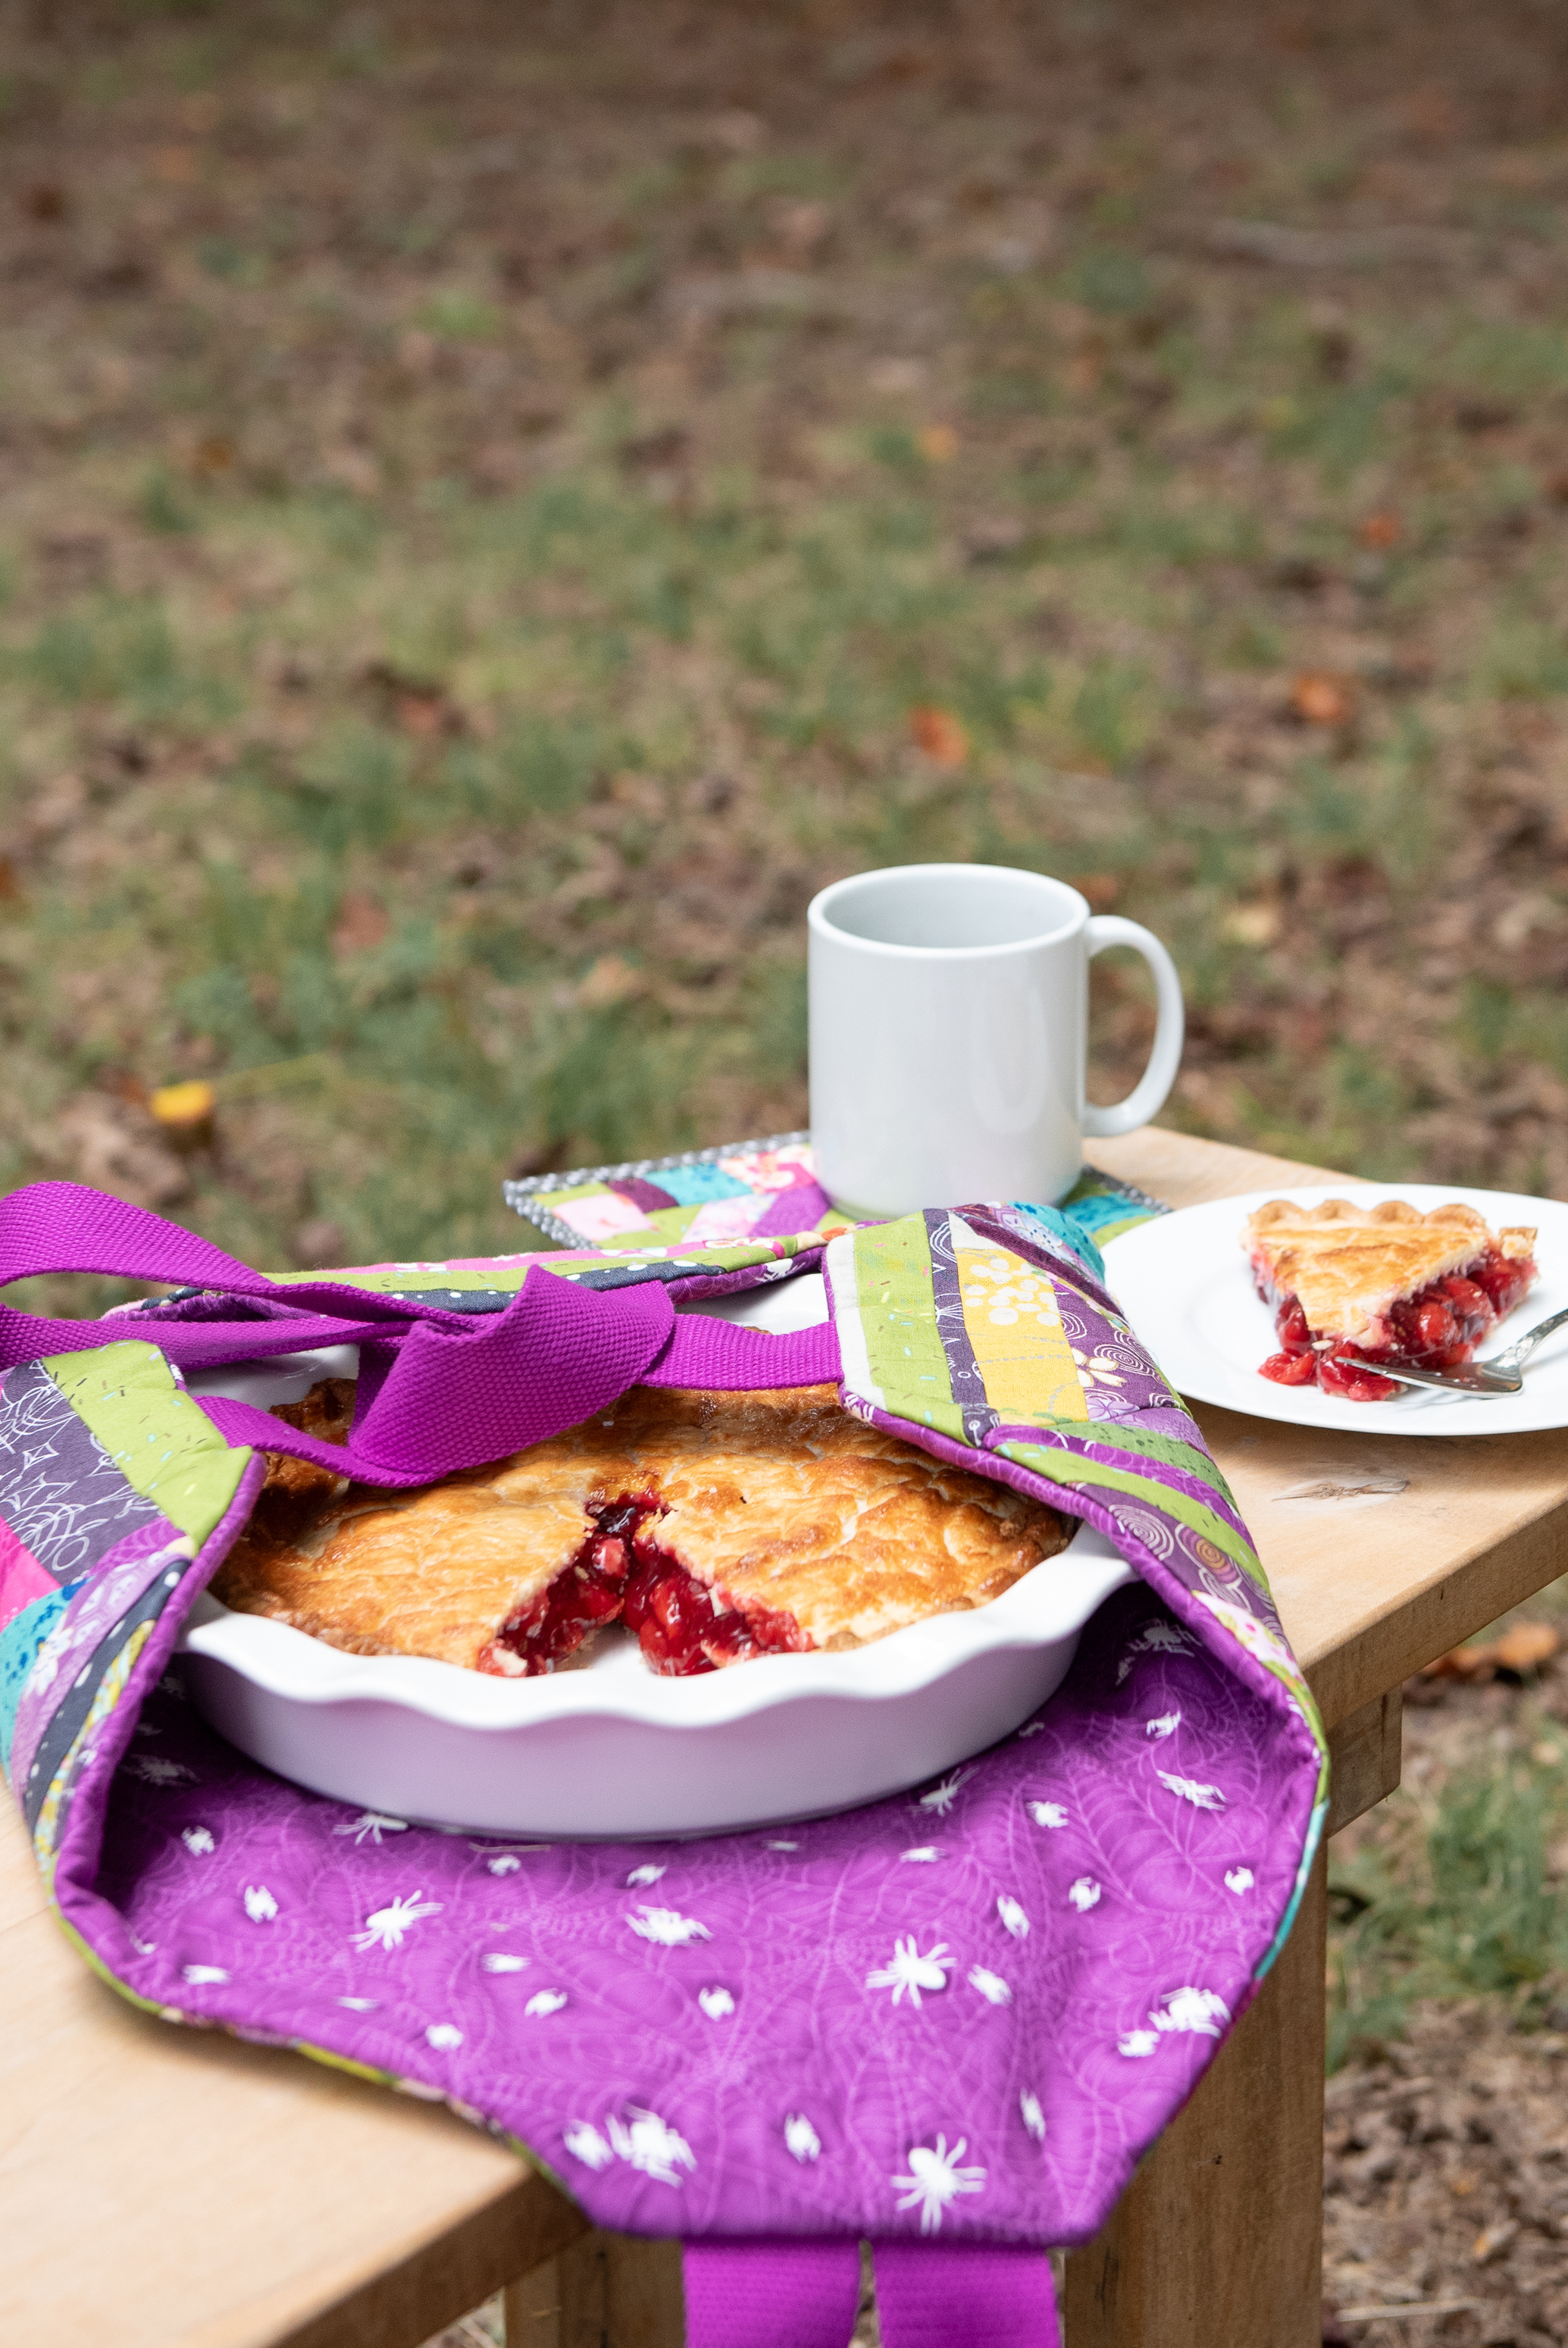
I love the BERNINA Jumper Tool. The technical name is the Height Compensation Tool but Mom always called it the Jumper tool so I call it the jumper tool. When you are sewing with thick fabrics, like hemming denim, or in my book when I was sewing multiple thick layers of fabric for the Cute as Pie Carrier, I needed this tool.
When bulky fabrics go under your presser foot, the foot can end up at an angle and create uneven stitches. You put the jumper tool behind the presser foot so it’s flat. Then start stitching. You may need to move the jumper to the front or side of the foot as you go, depending on where the bulk is, but once you’ve sewn past the bulk you can remove the tool, or add it back, as needed.
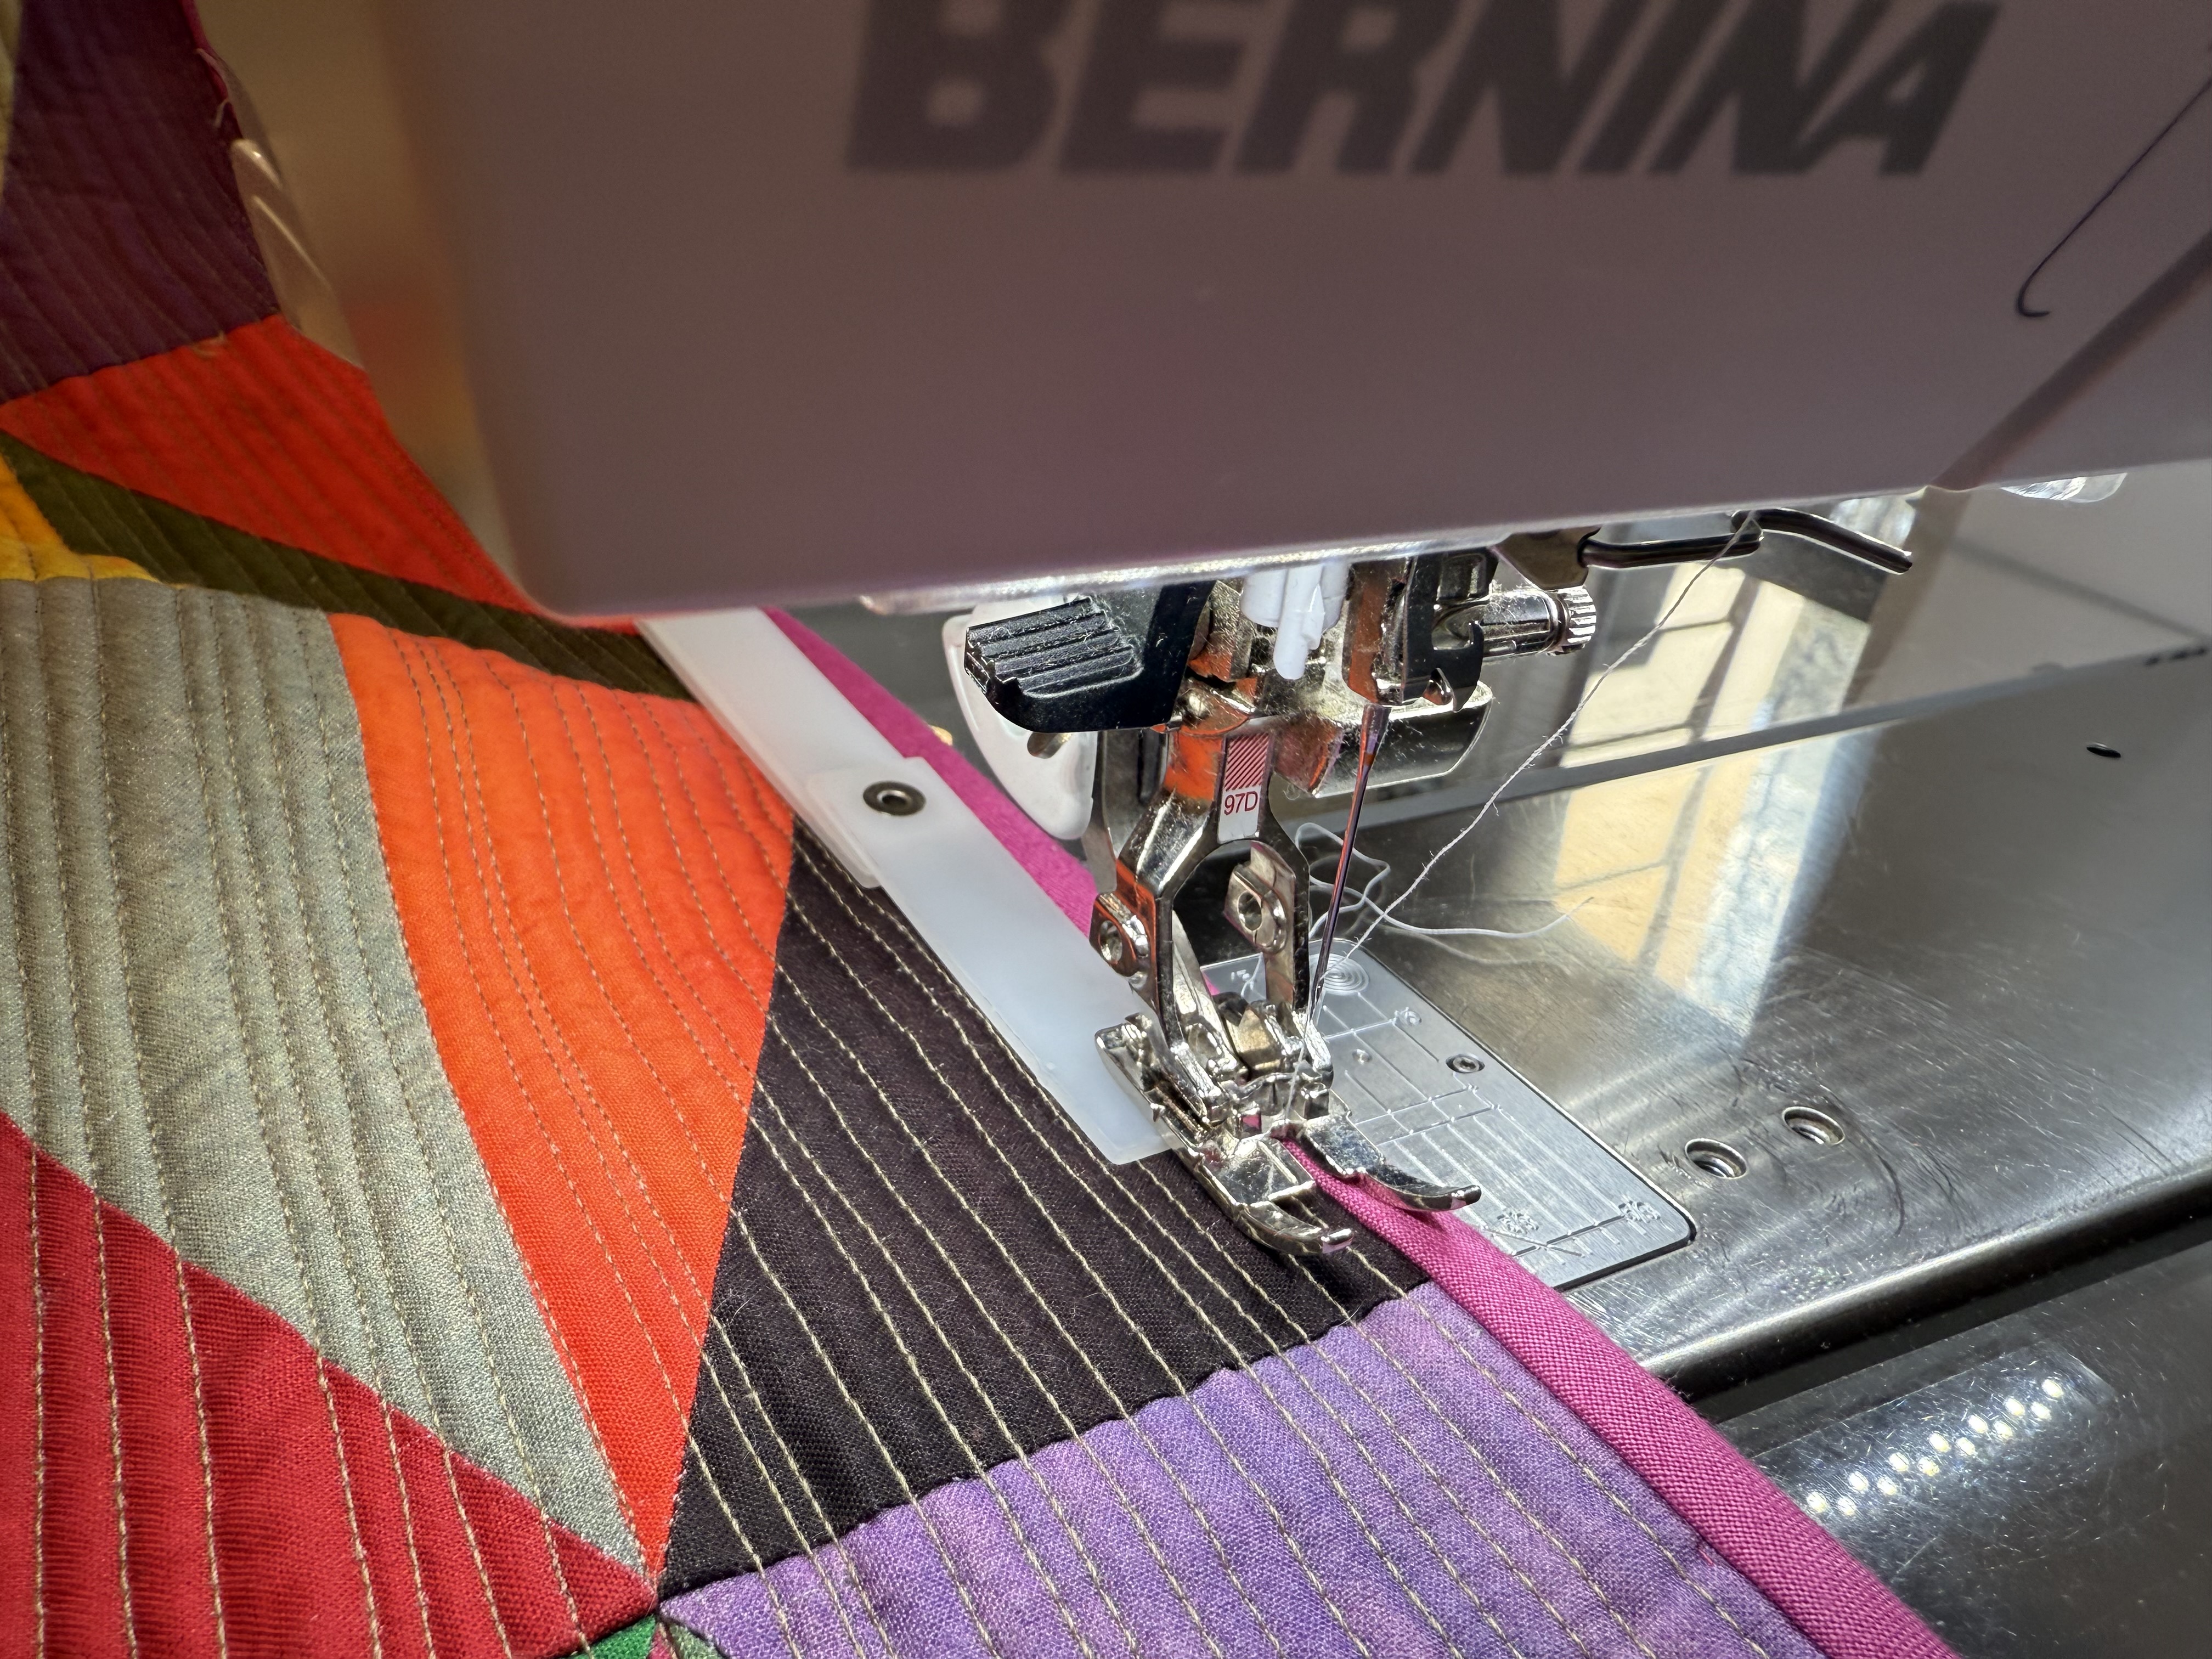
This quilt isn’t a project in the book but it shows you how you can use the height compensation tool to keep your presser foot level when you sew a binding on by machine.
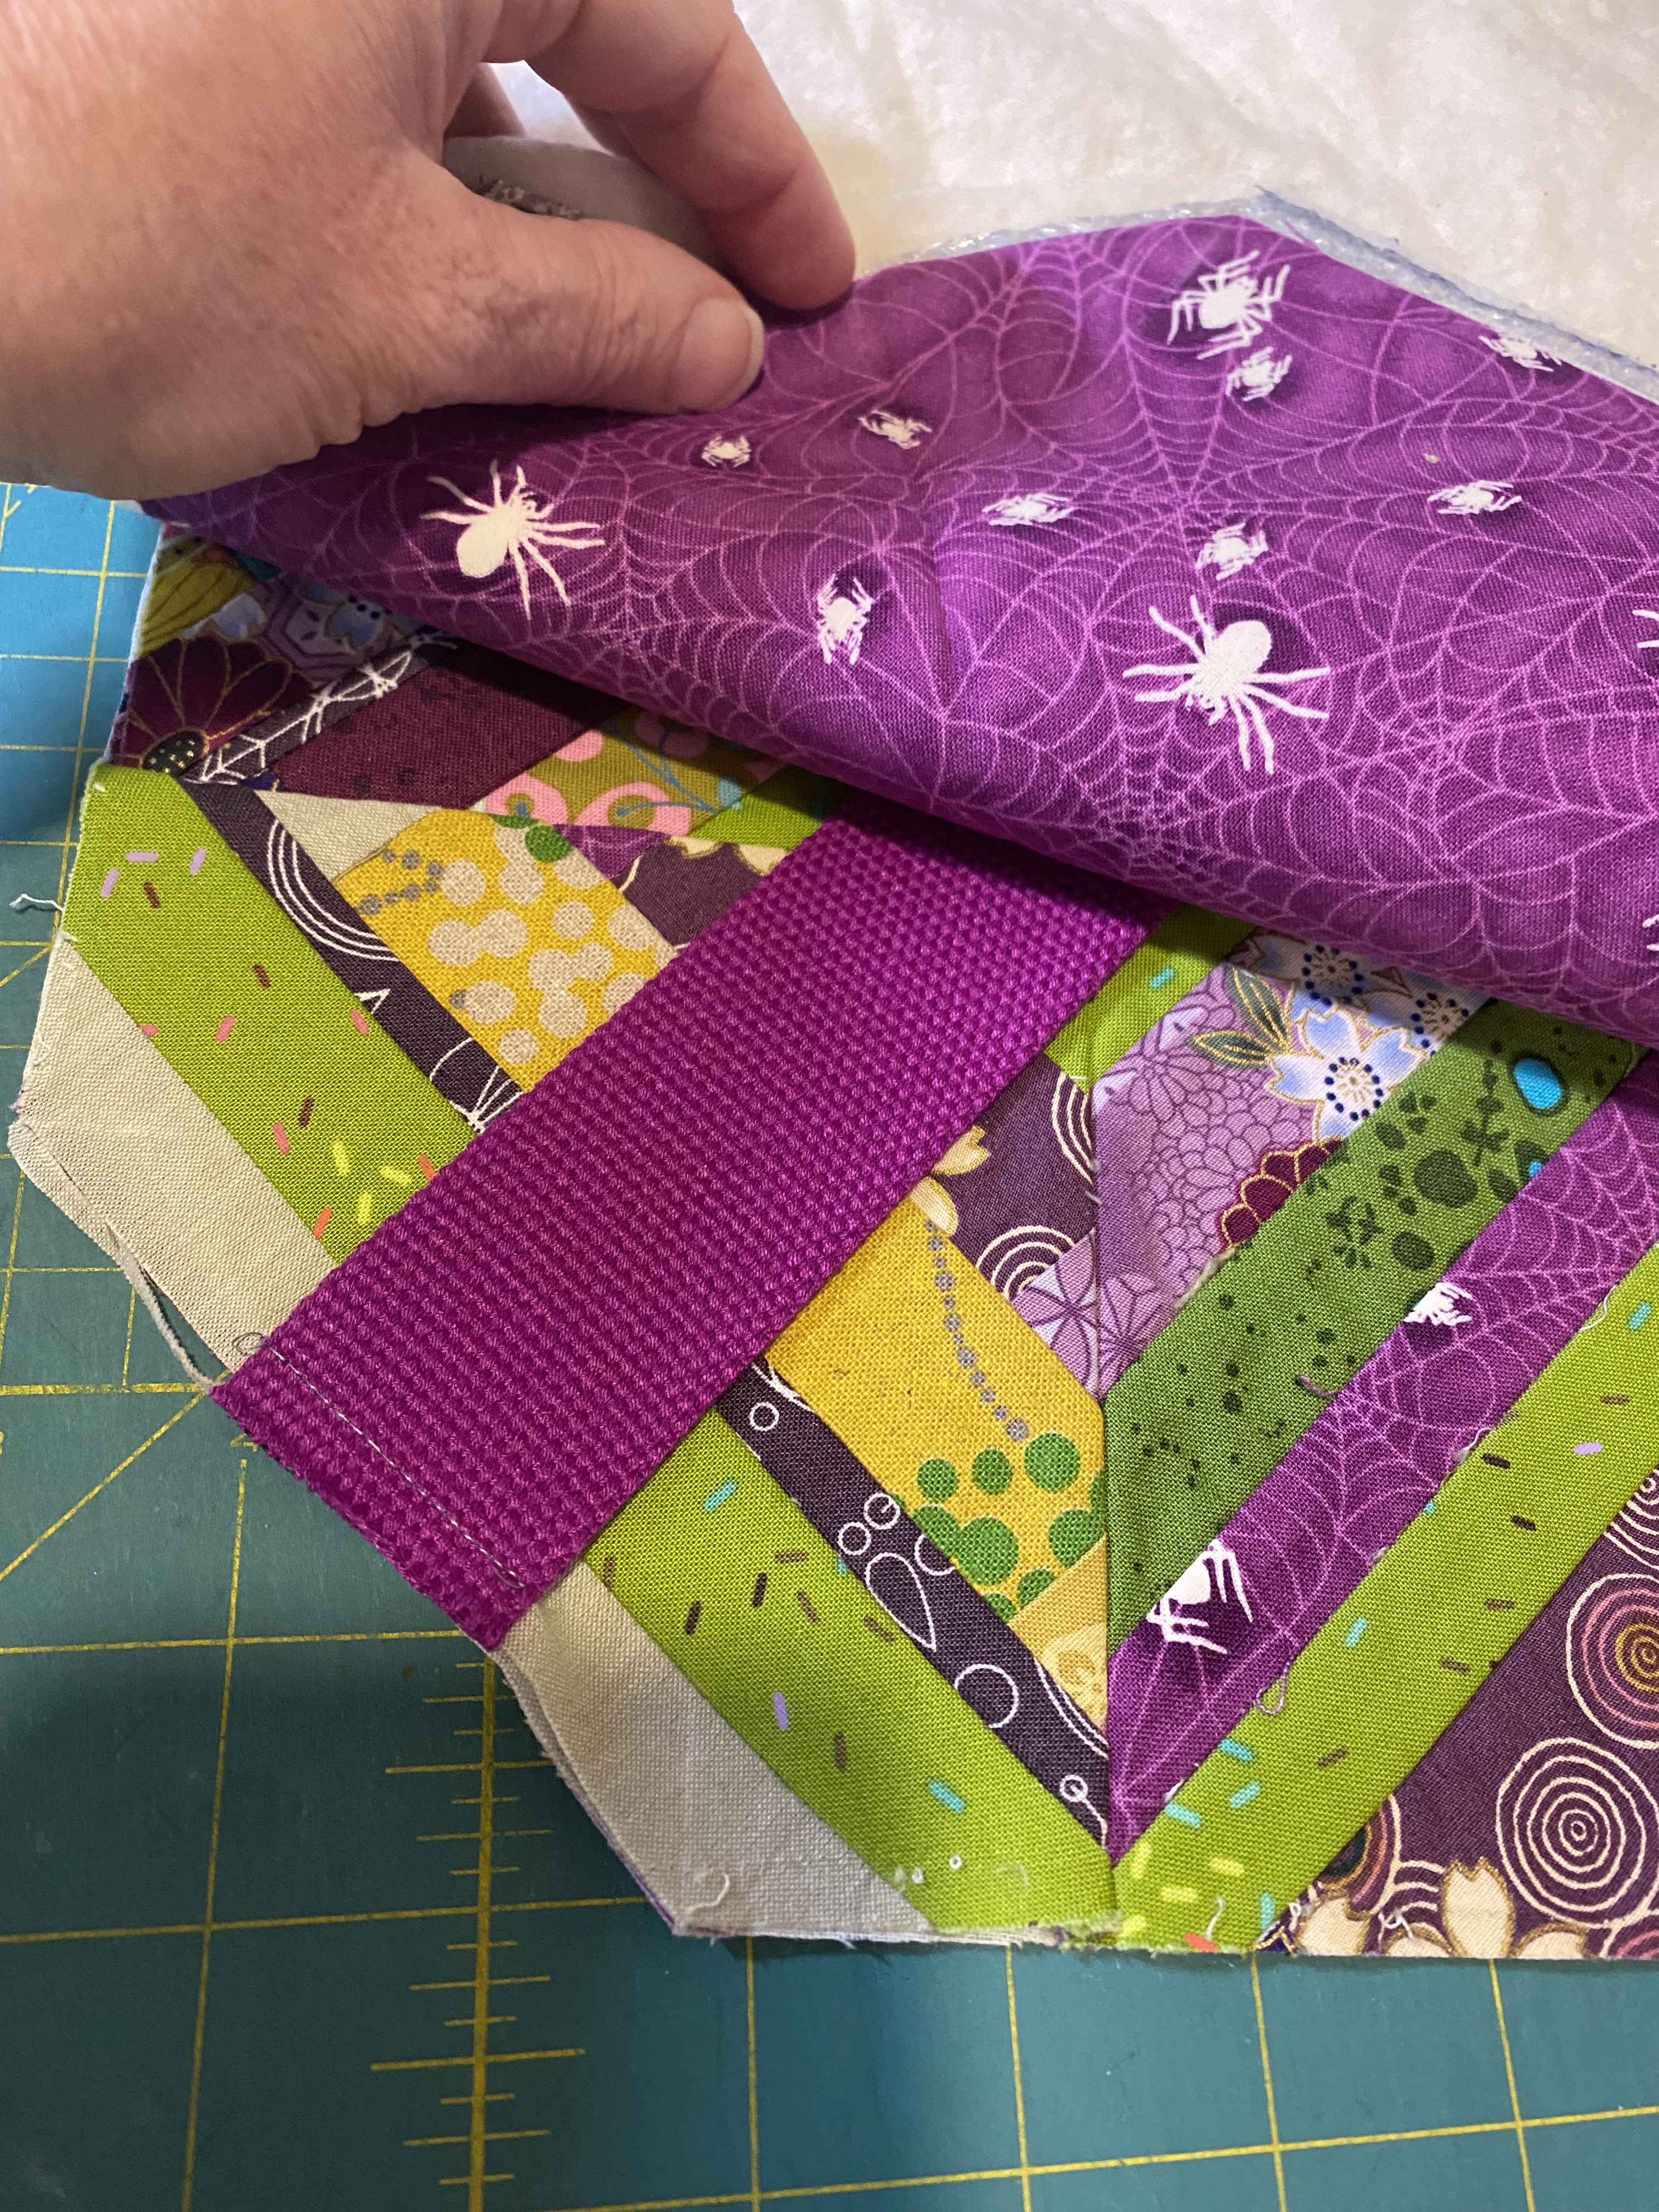
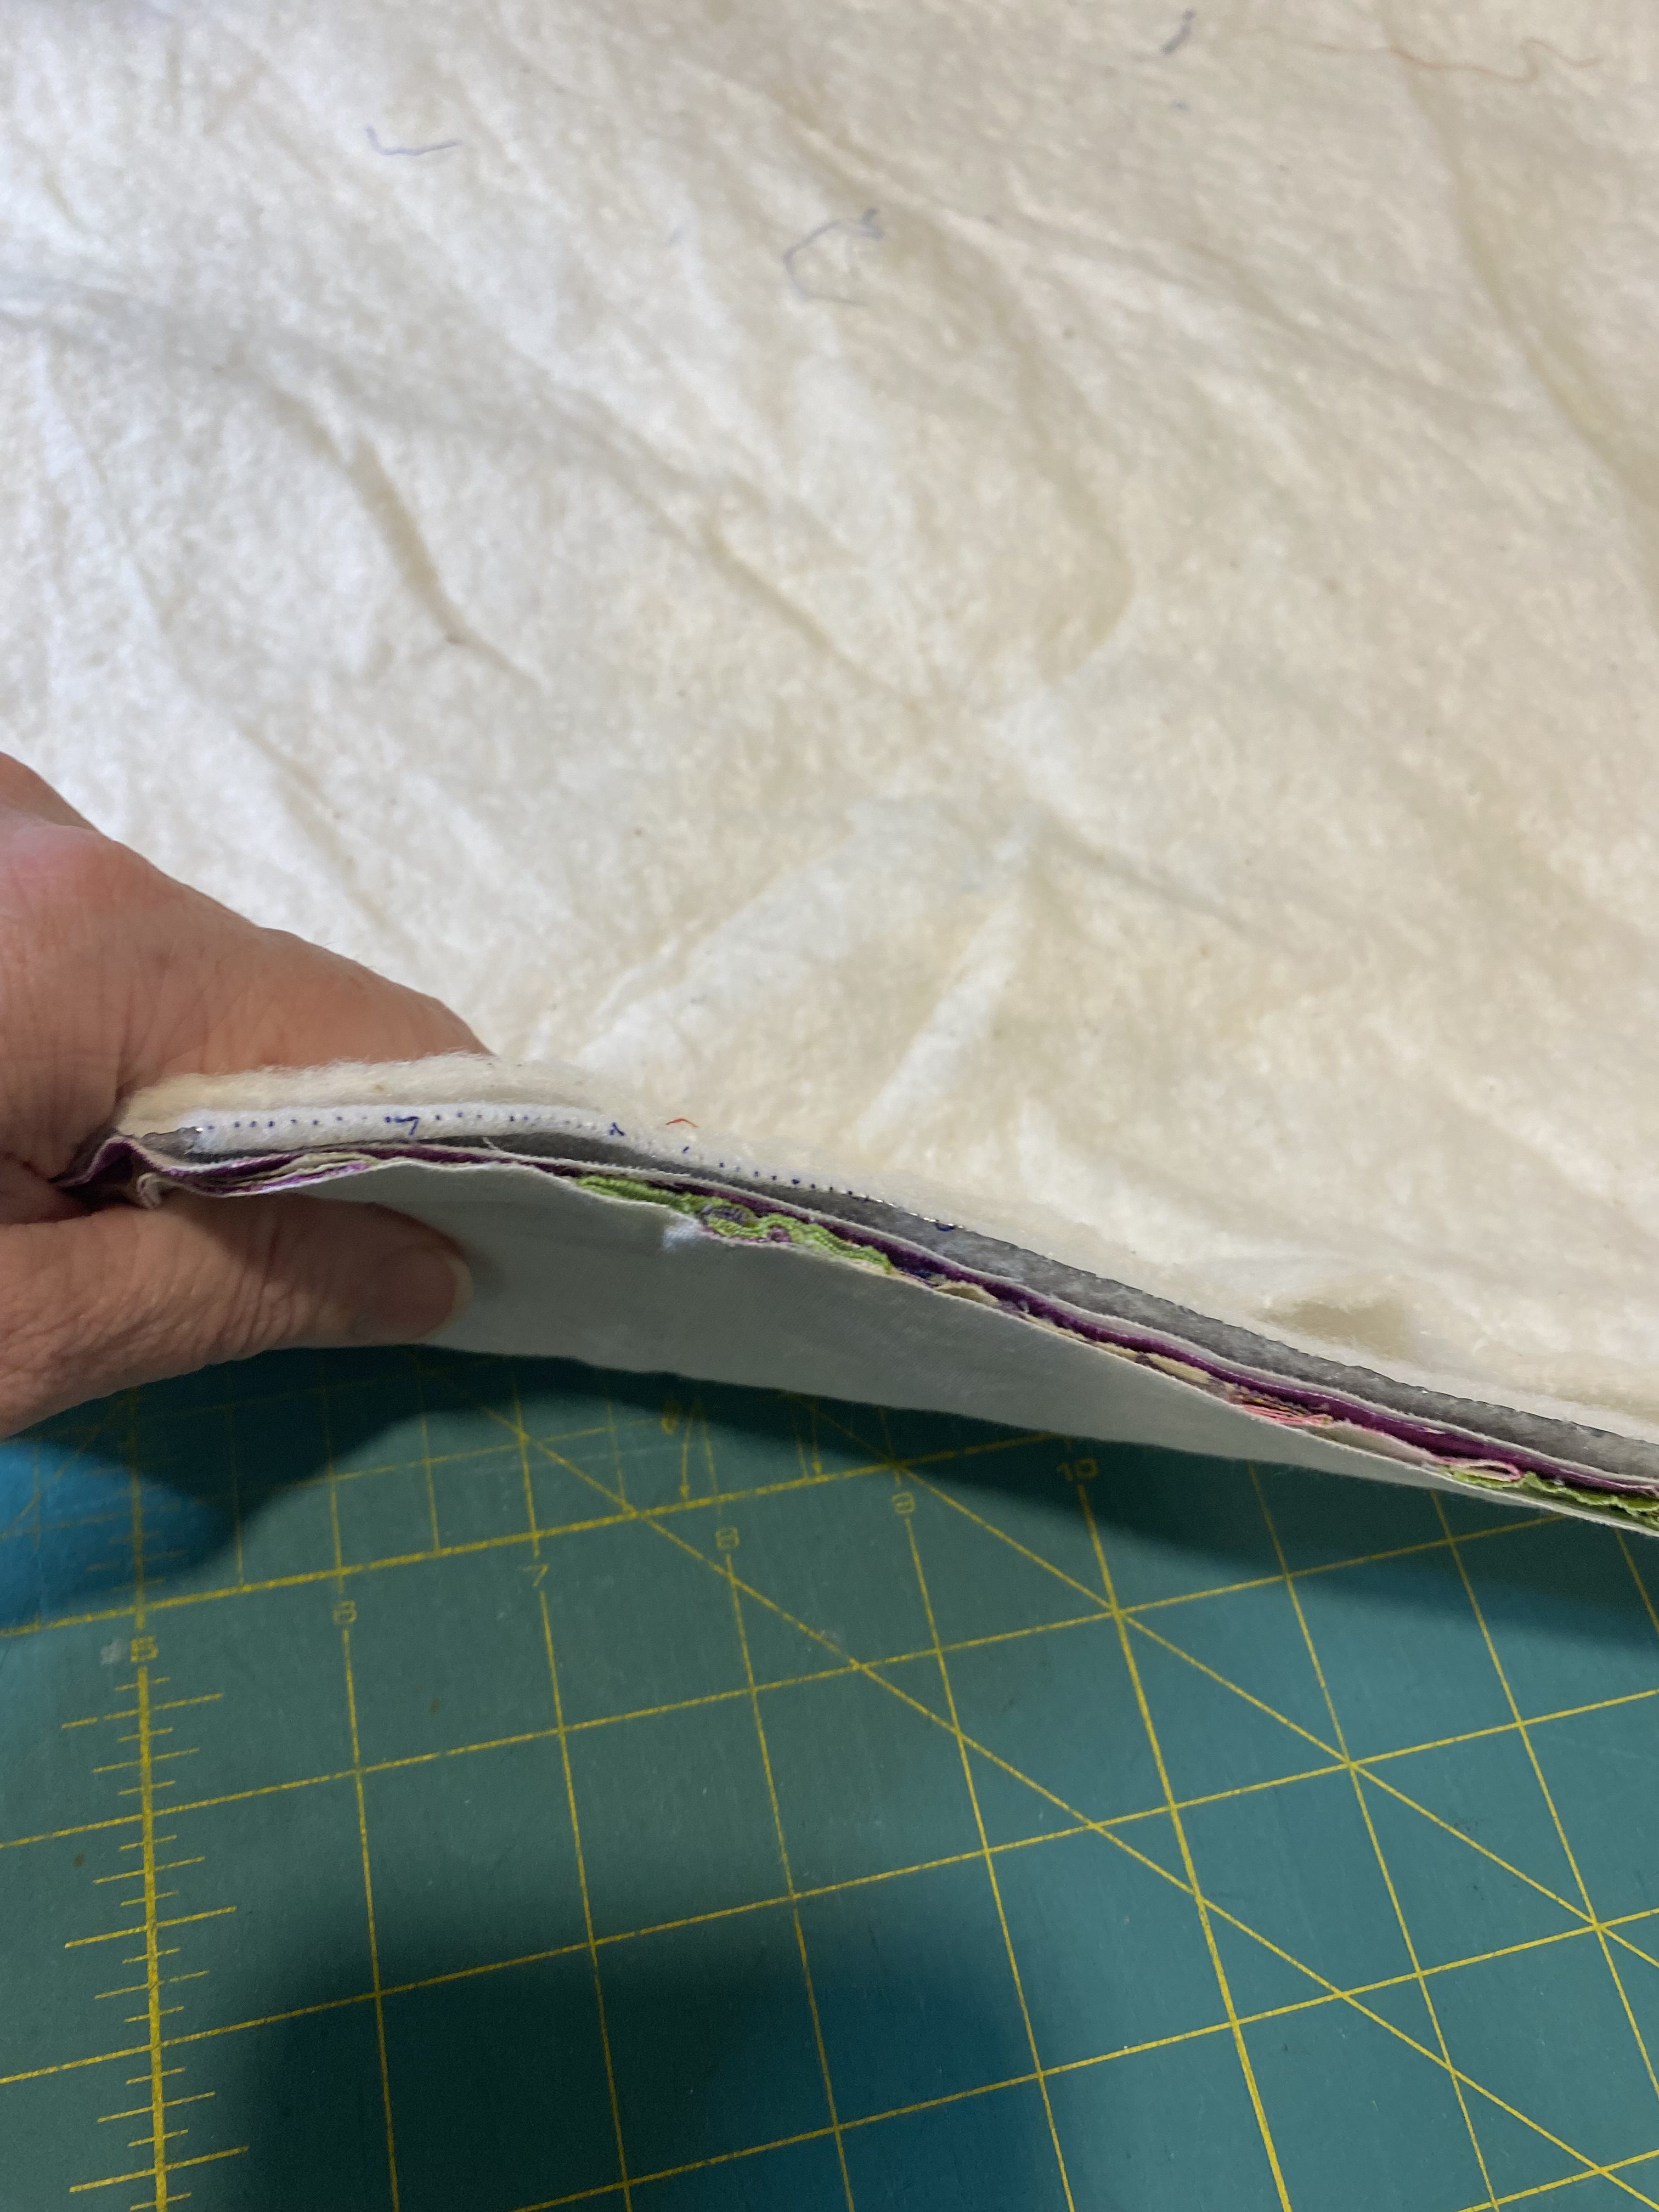
BERNINA has so many feet and tools available to make all your sewing, quilting and embroidery needs hassle-free. While I have more feet in my sewing arsenal, these are the feet I use regularly and used to create the projects in my book. What I’ve found over the years is that many feet can serve more than one purpose. Don’t be afraid to experiment with them! And remember, the right tools make the job easier. Happy sewing!
Patty
- I estimate that I am responsible for approximately 13,000 plastic bags not going into landfills because I’ve taken roughly 10 bags a week to stores for 25 years.
- It is estimated that 20% of global water pollution is from dyeing and treating textiles.
Source: European Environmental Agency. The Impact of Textile Production and Waste on the Environment


