DIY Shower Cap with Optional Ribbon Rosette
It’s no secret that you love to sing in the shower…and now you can do it in fabulous style. A bit of rip stop nylon and polyester chiffon will set the stage for an over-the-top, yet practical accessory. You can sing your heart out secure in the knowledge that your hair will emerge impeccable!
Supplies
- 1/2 to 5/8 yard ripstop nylon fabric
- 1/2 to 5/8 yard sheer polyester chiffon
- 1/4”-wide elastic
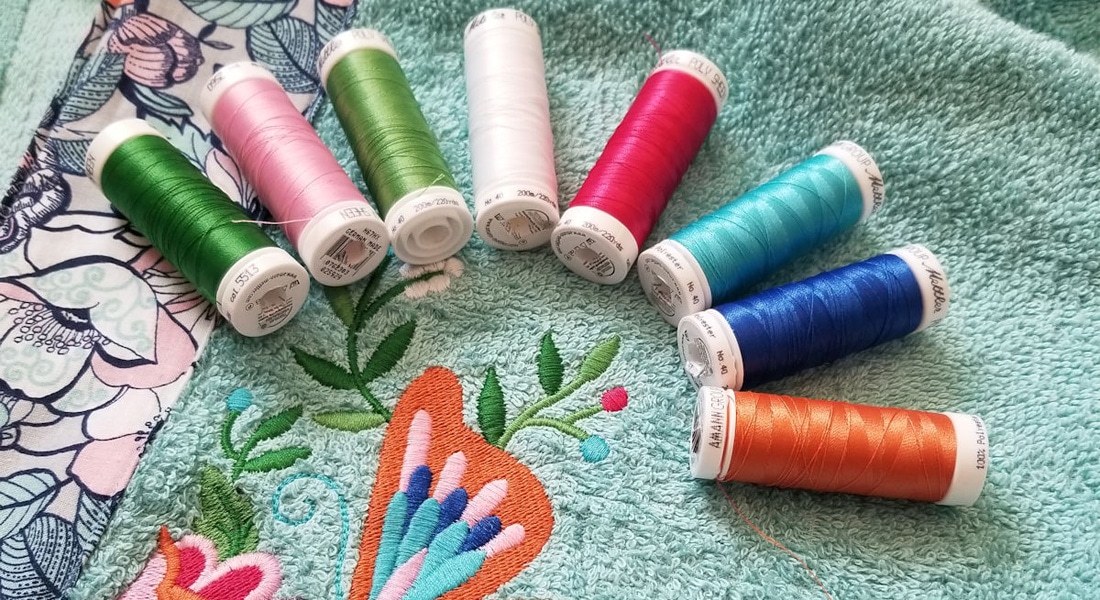
- Thread to match fabrics
- Small button
- Pin back (optional)
- Hand-sewing needle
- Pen or marker
- String
- Large piece of paper (about 24″ in diameter)
- Dowel or chopstick
- 1/4″ presser foot (BERNINA Patchwork Foot #37) (optional)
- Rotary cutter, mat, and ruler (optional)
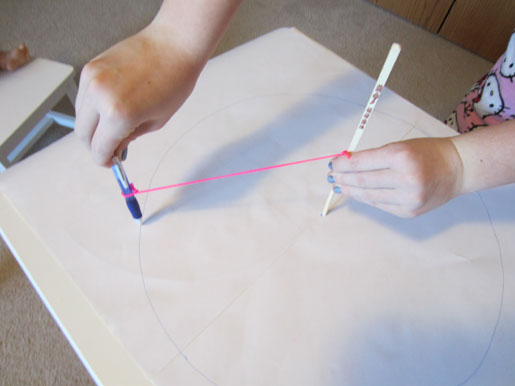
Step 1) Make your pattern.
Cut a piece of string about 18″ long.
Tie one end to a dowel or chopstick and the other to the pen so the string measures 9″ between the two.

Holding the point of the dowel in place in the center of the paper piece, pull the string taut so there is no slack.
Move the pen in a circle, keeping the string taut, and draw a circle.
Cut out the circle; this is your pattern piece.
Tip: Tape several pieces of paper together to make one large sheet, or use newspaper for your pattern.
Tip: Be sure to use string, not yarn. Yarn stretches, which will make your circle larger than intended.
Tip: Before drawing your circle, make a mark at the center (where the dowel is). If your dowel moves, you can easily get “back on track.”
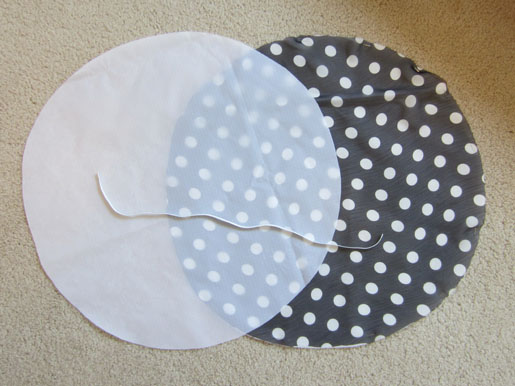
Step 2) Cut your fabric.
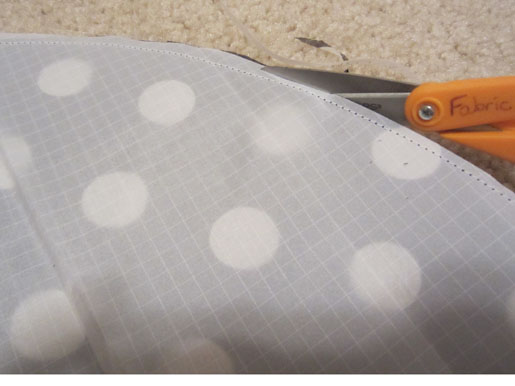
Using your paper pattern piece, cut one circle from ripstop nylon and one from chiffon.
Cut an 18-1/2″-long strip of elastic.
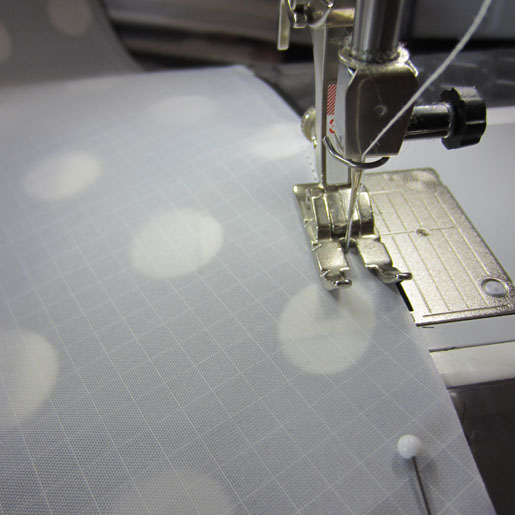
Step 3) Construct the shower cap.
Note: All seam allowances at ¼” unless otherwise noted.
With right sides together, sew the circles together, leaving an opening for turning. If you are using pins, keep them within the seam allowance to avoid making permanent holes in the ripstop nylon.
Trim the seam allowances, being sure not to cut into the stitching. This will help keep the elastic from getting hung up on the seams. In addition, as they are visible through the sheer chiffon, this will neaten the appearance on the right side of the shower cap.
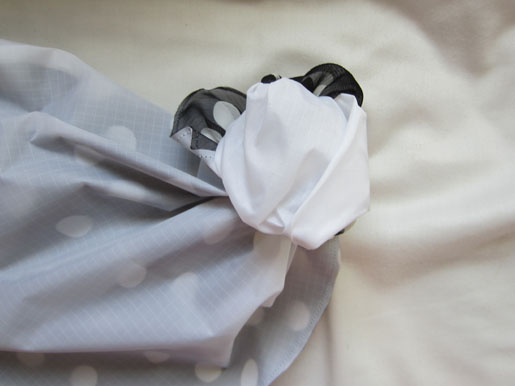
Turn the cap right side out through the opening.
Using low heat, carefully iron the seam along the outer edge of the cap. Alter
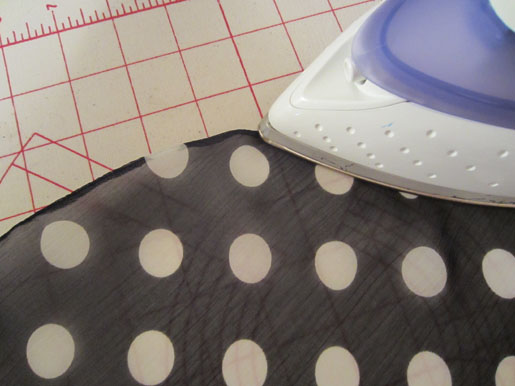
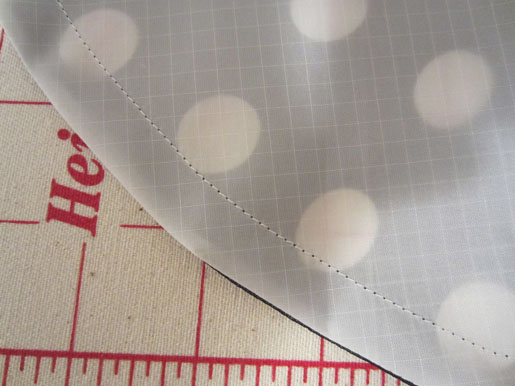
Create a channel for the elastic by sewing 1/2″ away from the finished edge.
Insert elastic through the opening.
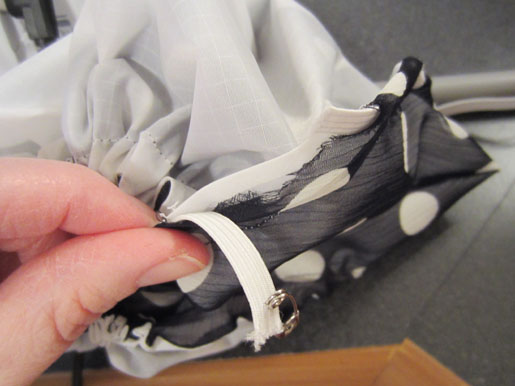
Overlap the edges by 1/4″ and stitch the ends together.

Slipstitch the opening closed.

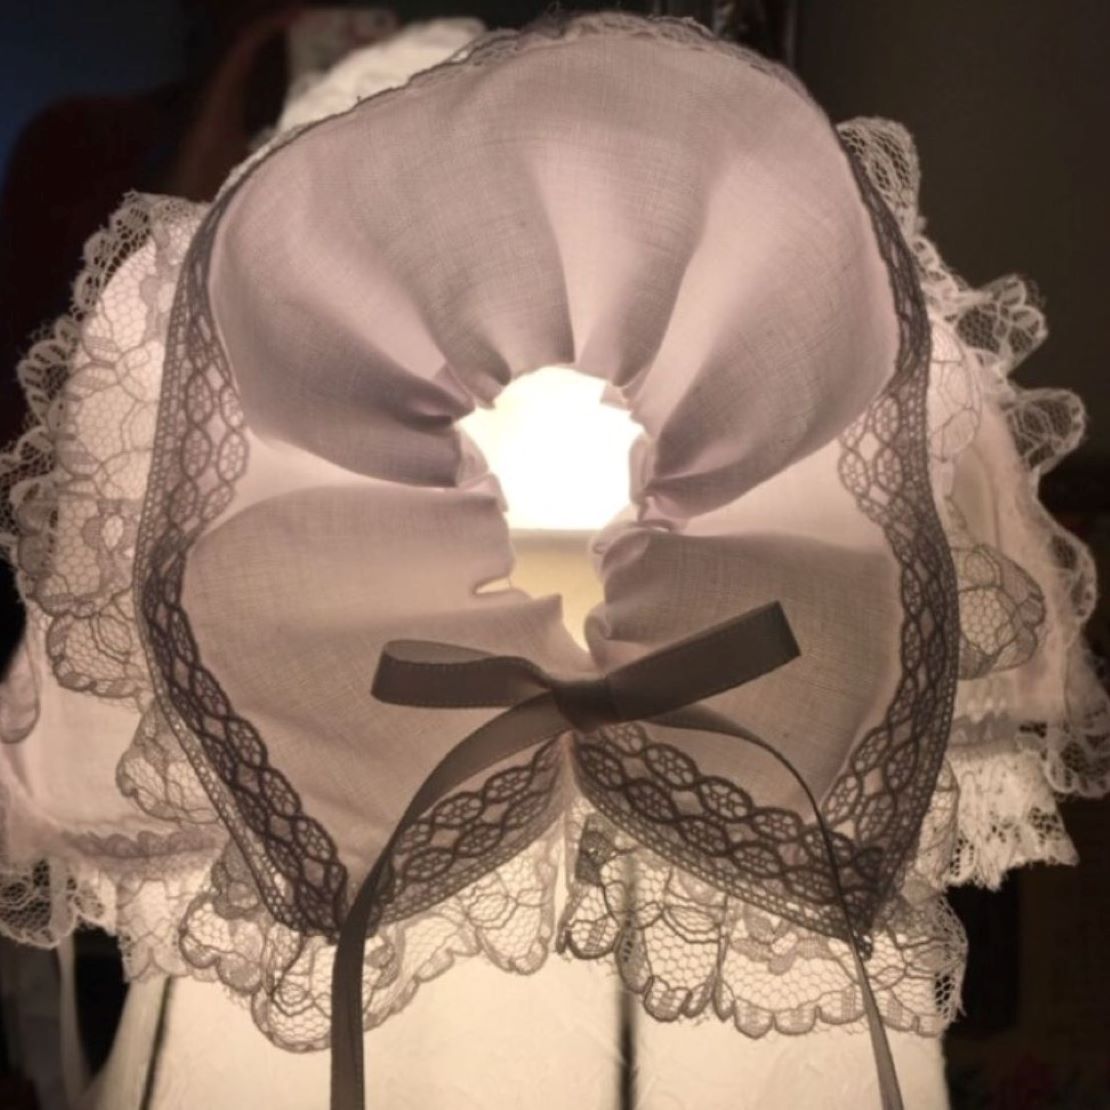
Distribute the fullness evenly around the cap.
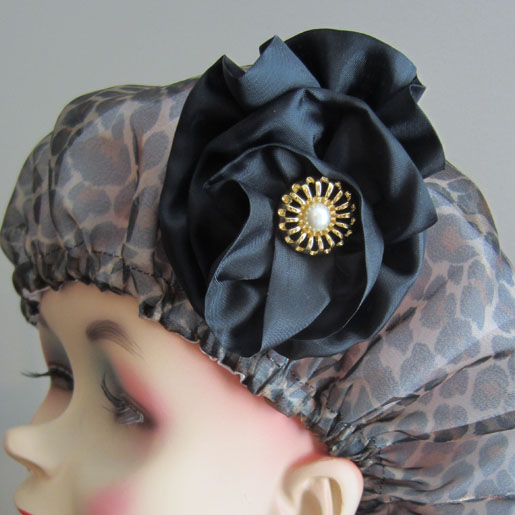
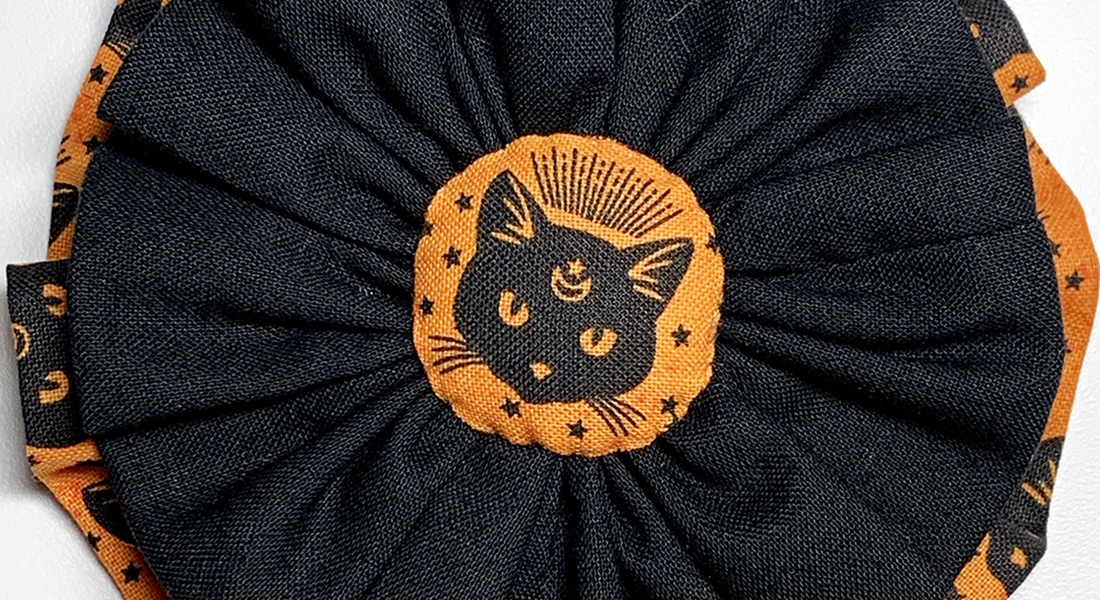
Step 4) Construct the ribbon rosette.
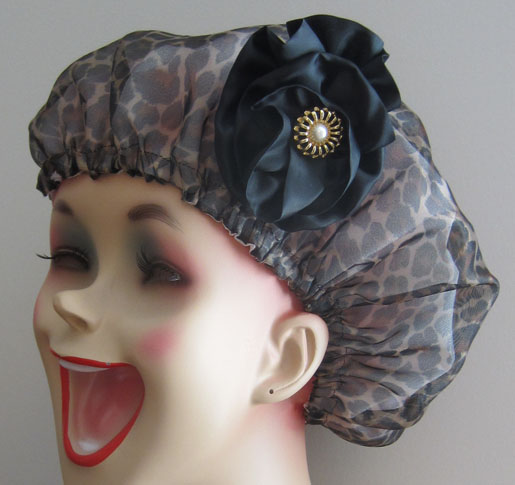
Cut a 3″-wide strip of chiffon as long as desired. The rosette in the photographs used a 34″-long strip.
Tip: The fullness of your finished flower is dependent on the length of your strip: a short strip (around 25″) will make a small flower, while a 60″ strip will create a large, full rosette.
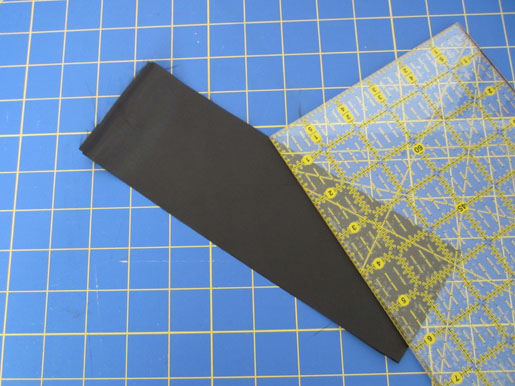
With wrong sides together, fold the strip in half lengthwise.
If desired, finish the edge with a small zigzag stitch to prevent fraying.
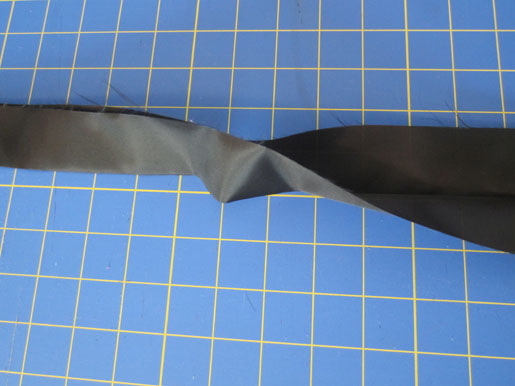
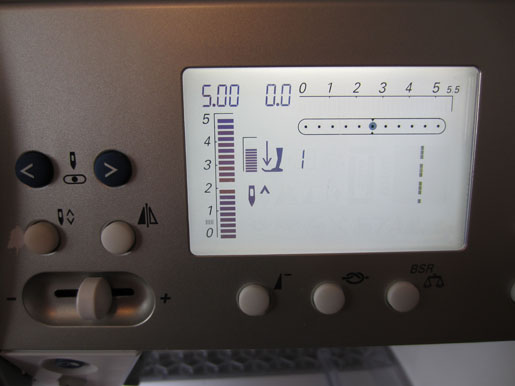
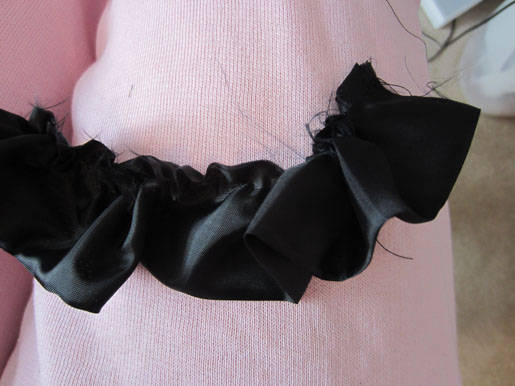
Using the longest straight stitch available on your machine (generally 5.0 mm), sew ¼″ away from the raw edges of the strip. Leave thread tails on both ends of the strip.

On one end of the strip, knot the thread tails together. This will prevent the threads from pulling through the material.
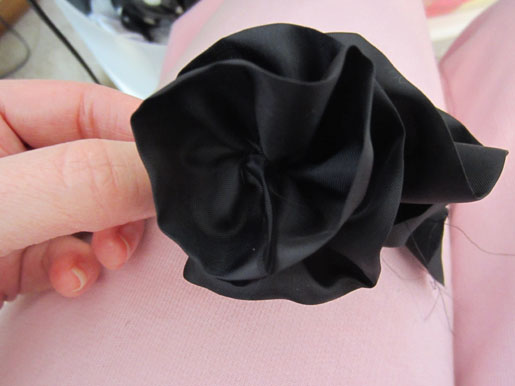
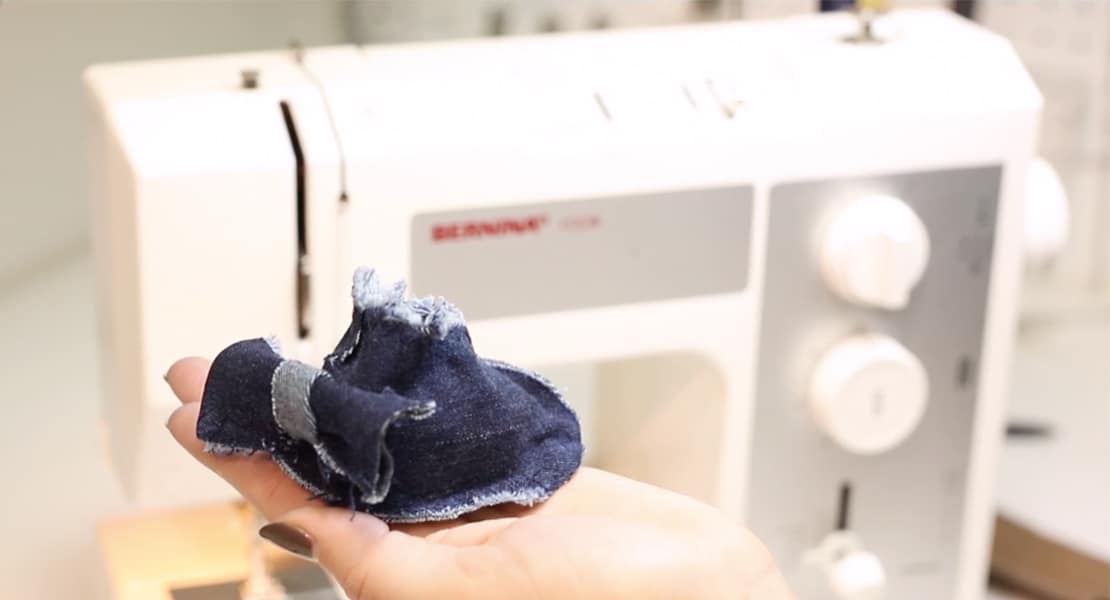
At the other end of the strip, pull on the bobbin thread and begin tightly gathering the fabric strip. The fabric will begin curling in on itself, creating a flower-like appearance.
When finished gathering, knot the thread tails.
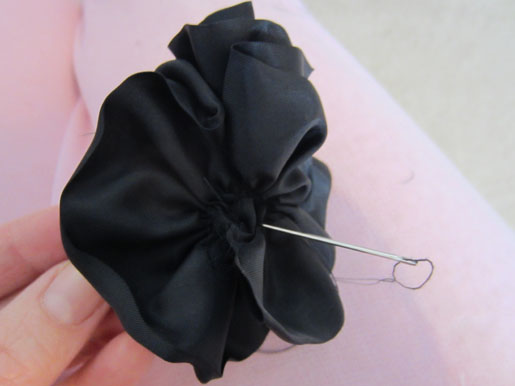
Using a hand-sewing needle, tack the ruffled flower layers together.
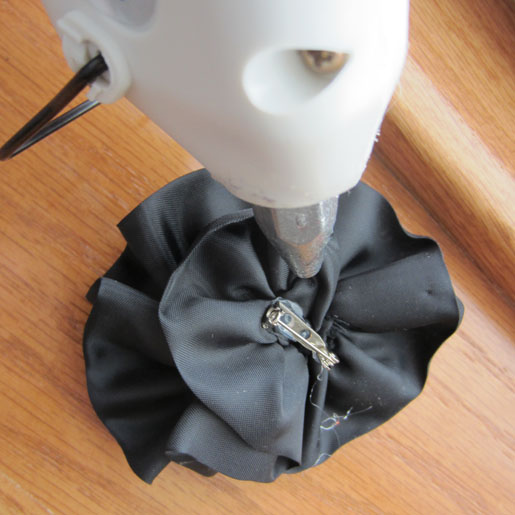
If desired, add a button to the center of the rosette.
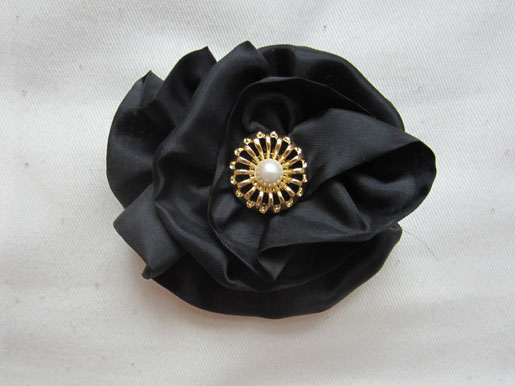
Tack the rosette to the shower cap, or make it removable by hot-gluing a pin back to the underside.

Tip: Make several showercaps to give away, using different chiffon prints for each one.


8 comments on “DIY Shower Cap with Optional Ribbon Rosette”
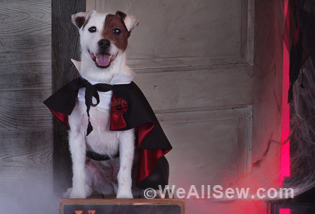
Love the model….great project. Thanks so much!
How or where do I get instructions? Can’t find them anywhere. thx.
Just below the description, above the right side of the yellow box, there should be a link to the instructions — the name of the project, underlined when you pass your cursor over it. On my computer it’s in red, but that could be different on yours. If you still can’t download them, let me know — Jo
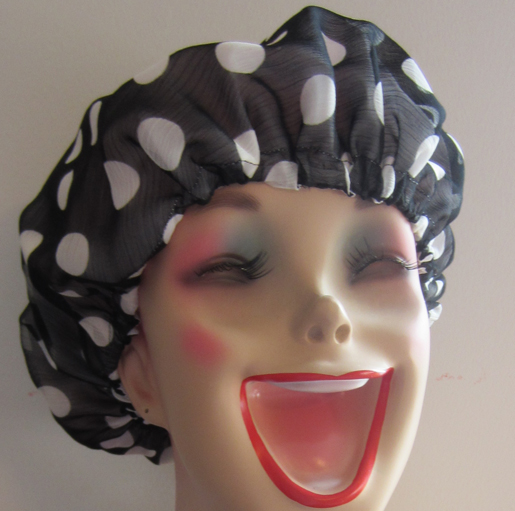
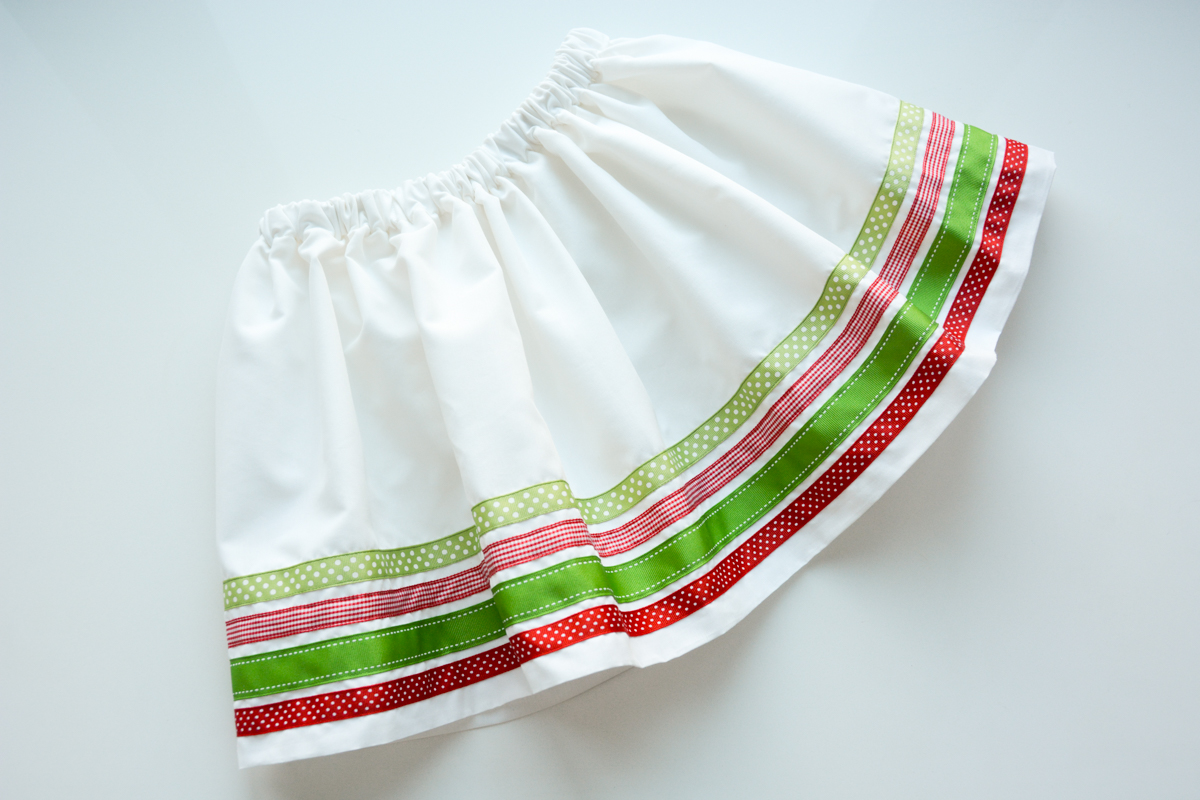
I am just learning about fabric so here’s a dumb question. What goes on the outside…the nylon or the polyester chiffon? In your picture which is the printed material?
There are no dumb questions! I had to check the instructions to see what was what. The ripstop nylon – the white fabric that looks a bit like graph paper – goes on the inside. It comes in a limited number of colors, and always has that grid-like appearance. The chiffon is the polka dot print on the outside; it’s available in an endless number of colors and prints, and since you only need a little, you can splurge on something gorgeous! Jo
Thank you!!!