T-Shirt Appliqué With AquaMesh Plus
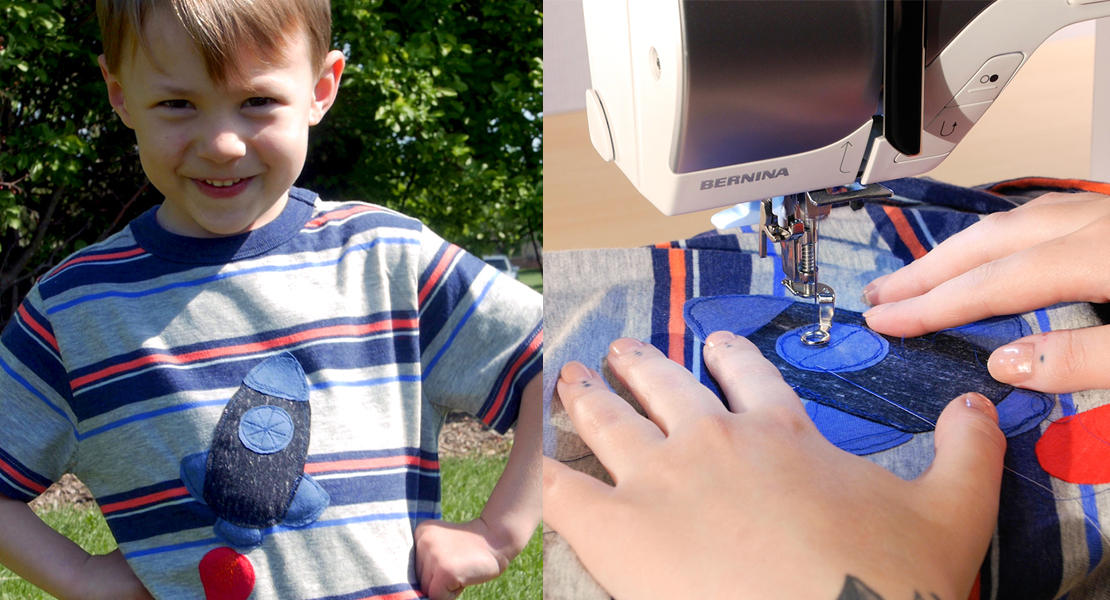
I just learned this great trick for making some simple t-shirt appliqué shapes using OESD’s AquaMesh Plus paper-backed adhesive, water-soluble stabilizer! I used this method to add some stars and stripes to perk up a plain t-shirt scarf. (Read on to the bottom of the post to find out how I made my t-shirt scarf.)
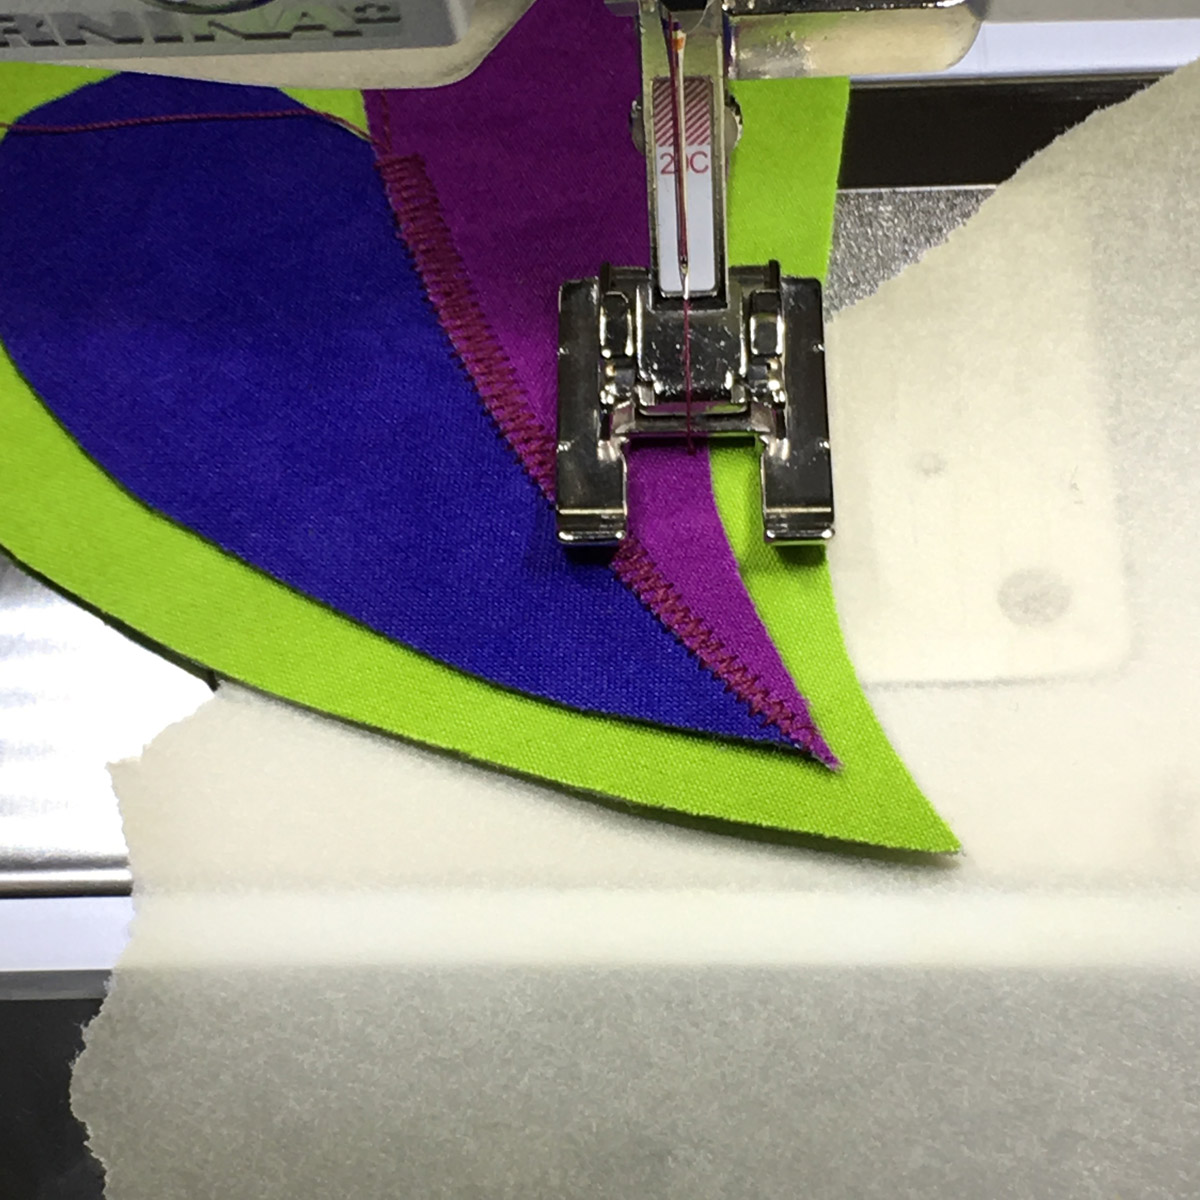
First, I cut out a pattern for my appliqué pieces with plain paper and used this paper pattern to trace the shapes on top of the AquaMesh Plus stabilizer (the stabilizer side, not the paper side).

Then I cut generously around the shape I traced on the AquaMesh Plus, peeled the paper backing off, and carefully pressed the sticky side of the stabilizer onto the wrong side of the t-shirt fabric. Then I cut out the exact shape following my traced pencil lines on the stabilizer.

The AquaMesh Plus stabilizer adds just enough stiffness to the t-shirt fabric to keep it from curling up while working with the shapes and stitching them down. After I cut all my shapes, I laid them out in place and pinned.

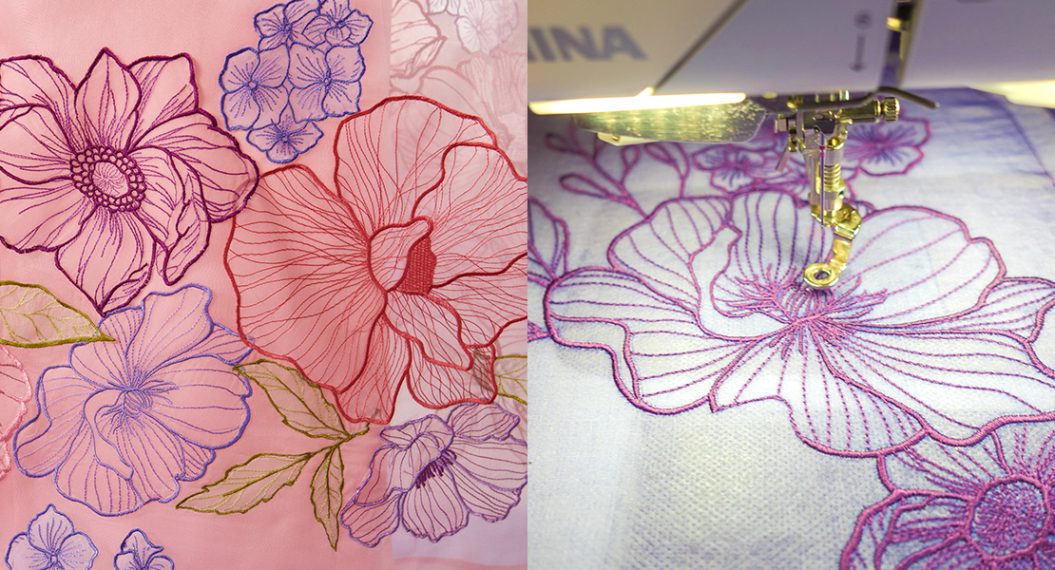
I stitched the shapes down using a narrow zig-zag stitch – 2mm stitch length and 2mm stitch width.

After stitching the shapes down I finished the scarf, sent it through the wash, and it came out as cozy and soft as a well-worn t-shirt!

I have made several t-shirt scarves before, but instead of using printed shirts this time I used six t-shirts all in different shades of gray. This is a very quick how-to, and if you’d like to read more about t-shirt scarves check out this tutorial from MakeZine.com.
First, I started with six t-shirts. I cut two 16″ x 10½” rectangles from each of the gray t-shirts for a total of 12 rectangles. I used a cutting mat, rotary cutter and ruler, cutting through the front and back of the t-shirt at the same time to get two rectangles from each of the six shirts. Each side of the scarf uses 6 of the rectangles, and I played around with different arrangements (connecting the rectangles on the short sides so that they lay long-ways together) until I was happy with the color blocks for each side of the scarf.
I stitched this project with a sewing machine, and used a narrow zig-zag stitch to allow the t-shirt knit fabric some stretch after stitching– 2.5mm stitch lenght and 1.5 mm stitch width. I stitched the t-shirt rectangles right sides together along the short edges with a ½” seam allowance, then pressed the seam open and secured the seam allowance with the same narrow zig-zag stitch. If you have a serger, by all means use it for these seams!

After stitching the front and back sections together, you can appliqué away on the top layer of your scarf. You could choose leaf shapes for fall, Halloween ghosts or pumpkins, or even snowflakes for winter. Since I am a Chicagoan, and since this is my winter windy city scarf, I added the blue stripes and six-pointed red stars from our city flag.

You can see how I laid out the shapes above, one set of stars and stripes on each side of the top part of the scarf. After sewing down my appliqué shapes, I layered the two sides of the scarf wrong sides together, matching the seams as closely as possible. I simply stitched around the outside edge using a ½” seam allowance with a zig-zag stitch – about 1.5mm stitch length and 2mm stitch width. Lastly, I simply trimmed away ¼” of the seam allowance close to the stitching using a cutting mat, rotary cutter and ruler.

And that’s it! This scarf finishes up at about 10″ wide and 90″ long, just perfect for keeping warm during a cold and windy winter.


2 comments on “T-Shirt Appliqué With AquaMesh Plus”
LOVE this scarf! The pops of blue make the whole thing – in addition to those great stars, of course.