How to Make Realistic-Looking 3-D Tree Rings (and other shapes)
I’ve always been fascinated by tree rings, reading a tree’s history by examining changes in the shape and thickness of the rings, and wondering how its surroundings might have changed over the years. Here in the forest, my little cottage is surrounded by huge oak trees that block the sun and help keep my house cool in the summer. (And my driveway full of acorns in the fall.) Some of my trees are 2-3 feet across, but I have a feeling this plot of land was relatively tree-free when my house was built in 1925. How different it must have looked then!
Barbara Schneider, artist and teacher, also has a passion for trees. Last October she shared a technique for creating three-dimensional leaves like those used in her Leaves Series; today she shows us how to make stitched and shaped tree rings.
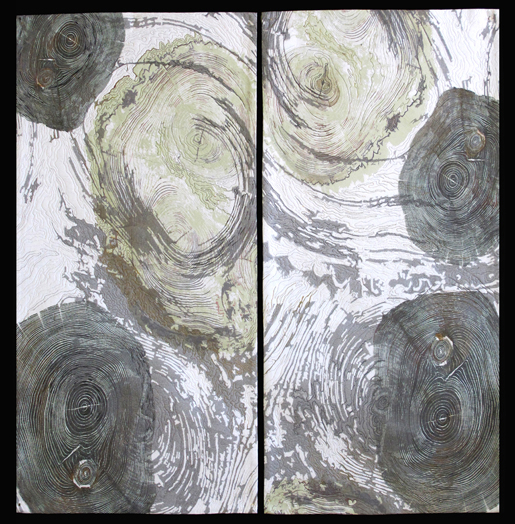
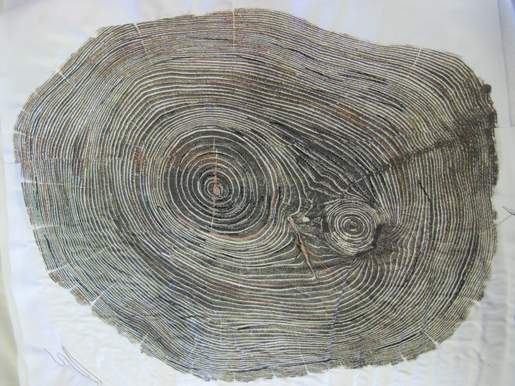
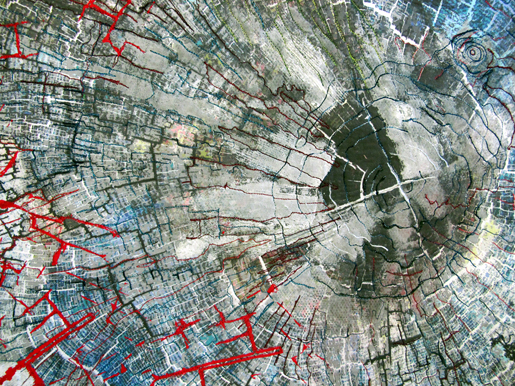
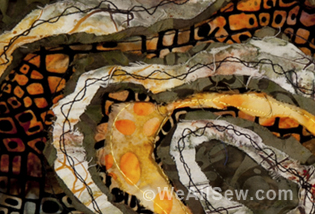
I have been working on a series of pieces that are based on photos of tree rings. When I go walking in the forest I take photos of interesting tree stump with great details and lines.I manipulate the photo to enlarge, reshape, increase contrast and emphasize color and pattern. The tree ring pieces are an extension of the work I have done in the past on shaping leaves into dimensional wall hanging pieces. (See earlier blog article for more info on that process.)
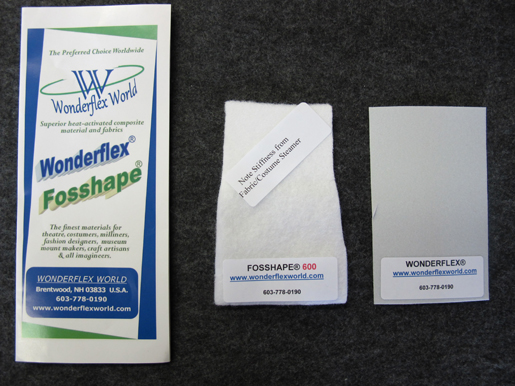
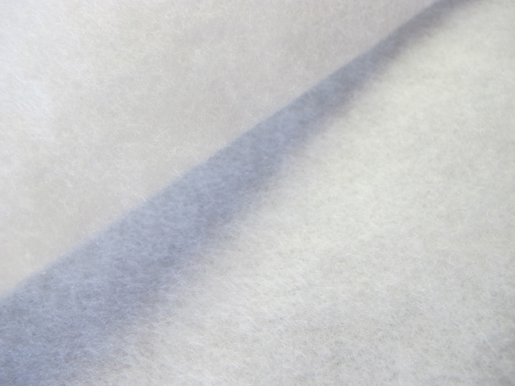
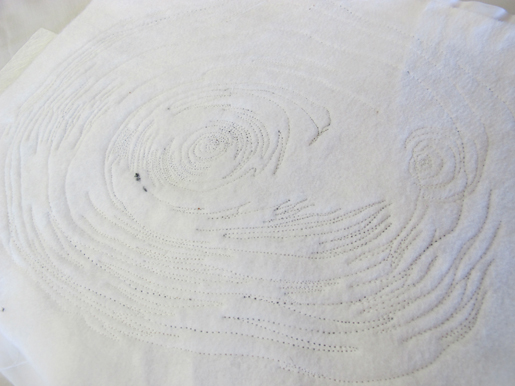
I have been working with a product named FOSSHAPE from WonderflexWorld.com. In its non-activated state, FOSSHAPE looks like a white pliable felt, but it’s a whole lot more. FOSSHAPE is a unique nonwoven fabric, comprised of a low melt synthetic polyester fiber that when exposed to varying degrees of heat (200 degree F range) and pressure, you can create a multitude of crafted items. It allows you to create very dimensional pieces that hold their shape.
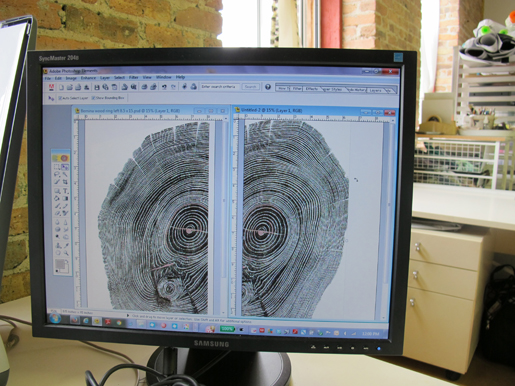
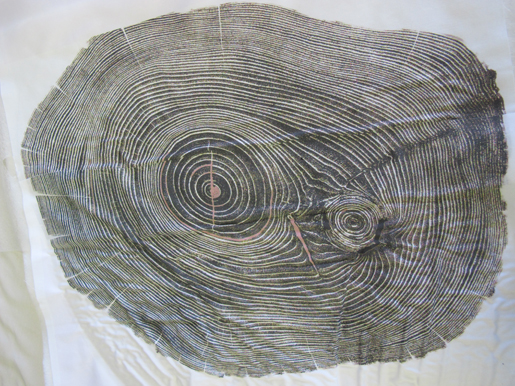
To create each tree ring piece I started with a photo of a tree ring. I uploaded it to my computer and opened it in Photoshop Elements.
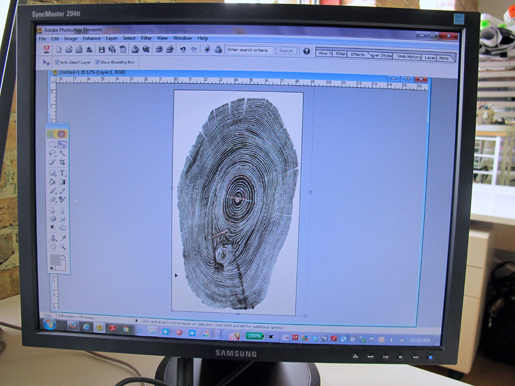
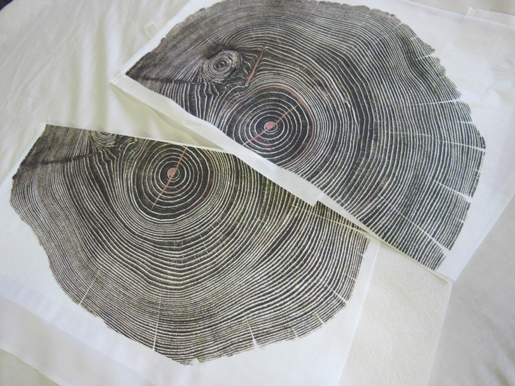
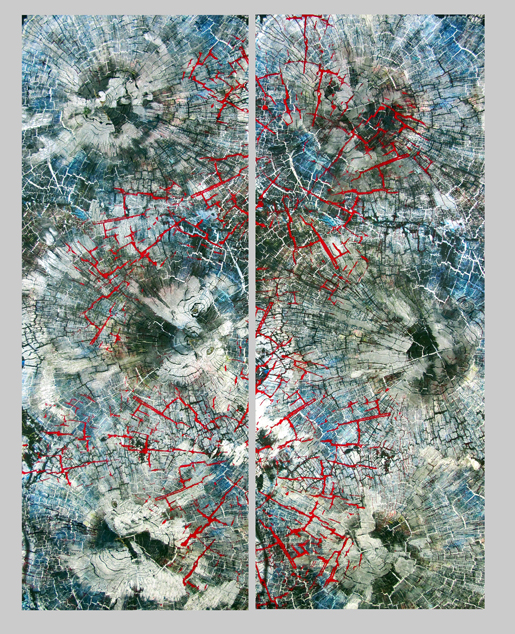
I manipulated it until I had the size, color and detail the way that I wanted it. Because I wanted it to be bigger then 8.5″ x 11″, I split the photo into a left and a right side, and enlarged it to print each half on 8.5 x 17 inch fabric.
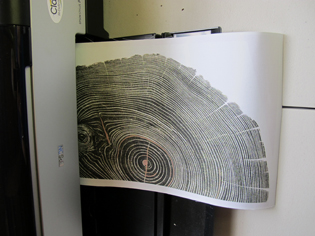
I used PhotoFabric (made by Blumenthal Craft) on a roll so I can cut the fabric to any length that I want. I printed each half and then backed them with Wonder-Under fusible web.
Then I adhered the FOSSHAPE to the back of the Wonder-Under using a very low temp set on the iron. This is important because if the temperature is too high it will start to shape and stiffen the fabric before you have a chance to do any sewing!
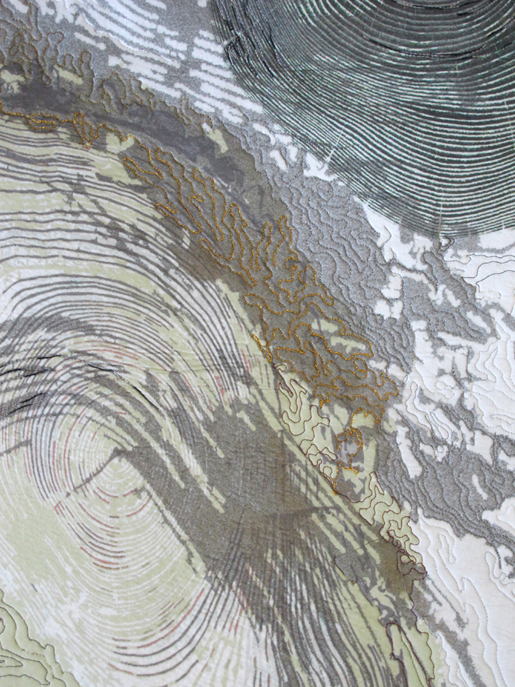
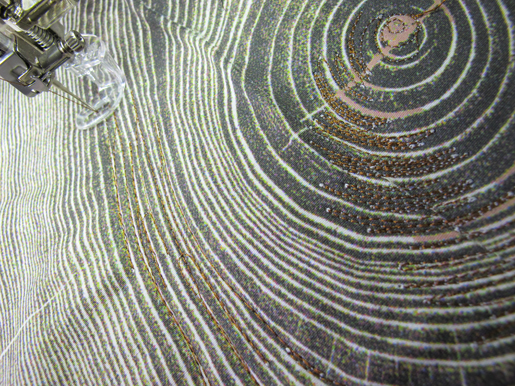
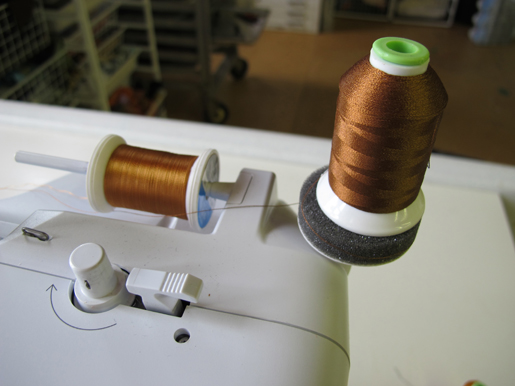
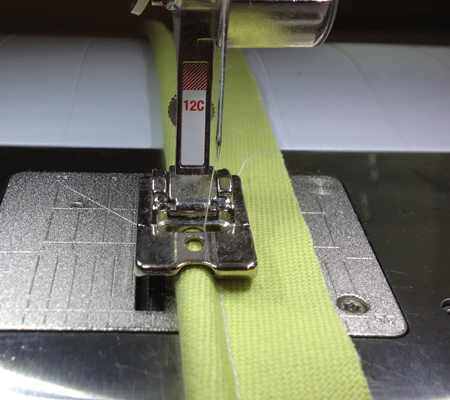
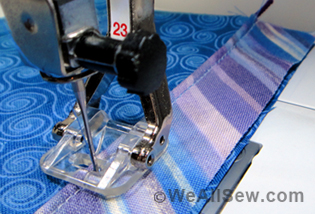
Now I have a sandwich of fabric, Wonder Under and FOSSHAPE ready to stitch. I free-motion stitch the piece to add detail and color into the rings. I often use double threads in the machine, sometimes a variegated and a solid or two solids of slight different colors to add more dimension and texture. (See photos 8-10).
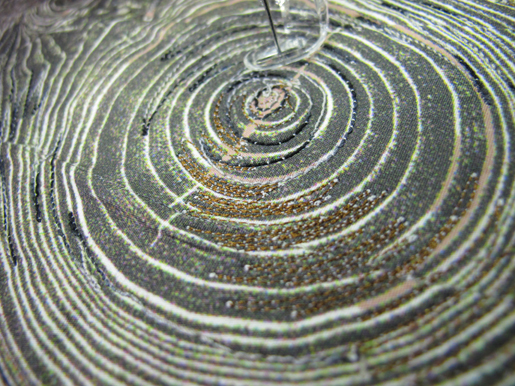
When I have completed the stitching, I trim threads all the extra fabric and FOSSAHPE leaving just a half inch of extra fabric.
Now the fun begins! I look for objects to place under the tree ring that will act as a shaper for the ring. In this case I used some metal strainers and a piece of PVC pipe. You can use all kinds of things depending on what shape you want to make.
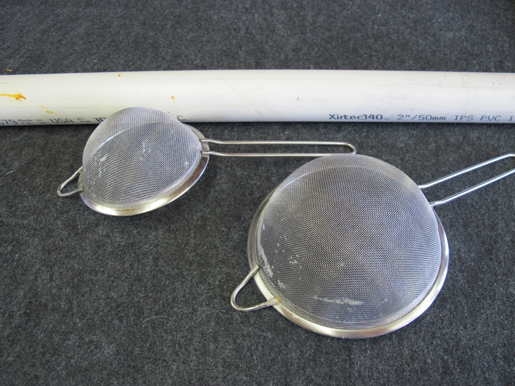
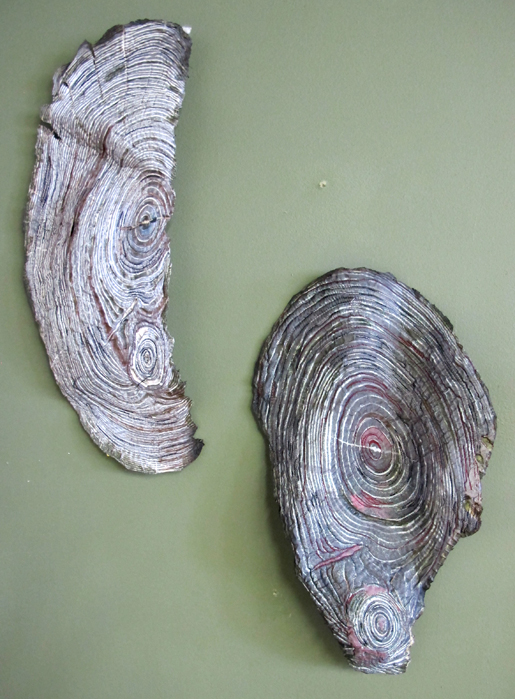
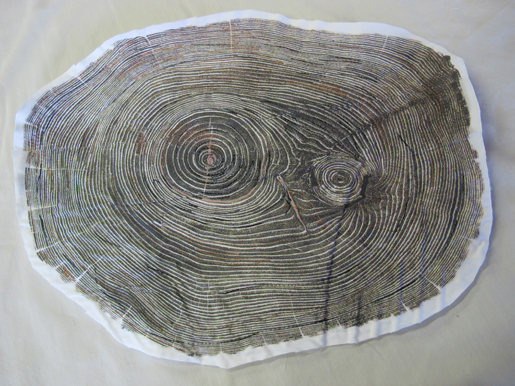
I set my steam iron up to high now and start to press and steam while holding the fabric sandwich closely over the shaper. You need to be careful of the steam or wear protective gloves. As soon as the steam hits the Fosshape it begins to shrink and mold itself to the object you are using as a shaper. I do a small area and then move my my iron to a different spot and shape that. Gradually I get the undulating shape I want for this tree ring. When it is complete it will be shaped and stiff. On this sample piece I cut some indents along the edges to allow for more shrinkage and to get the look of the wood splitting.
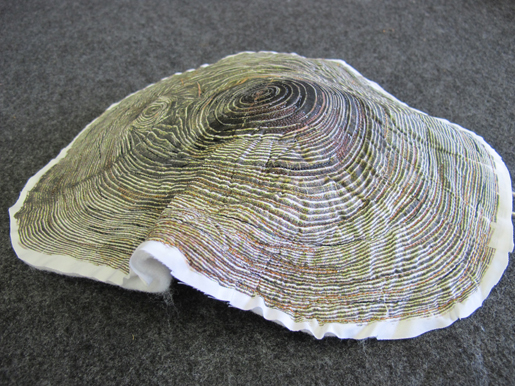

On my finished tree rings I spray paint the back with very lightly to integrate it with the front. I spray carefully along the edge of the front and back so that the paint covers the FOSSHAPE but does not drift onto the front.
I am excited about the possibilities this new material gives me to create more dimensional work. I envision a large wall piece that will have many tree rings of various sizes and configurations. It will be fun to create!


One comment on “How to Make Realistic-Looking 3-D Tree Rings (and other shapes)”