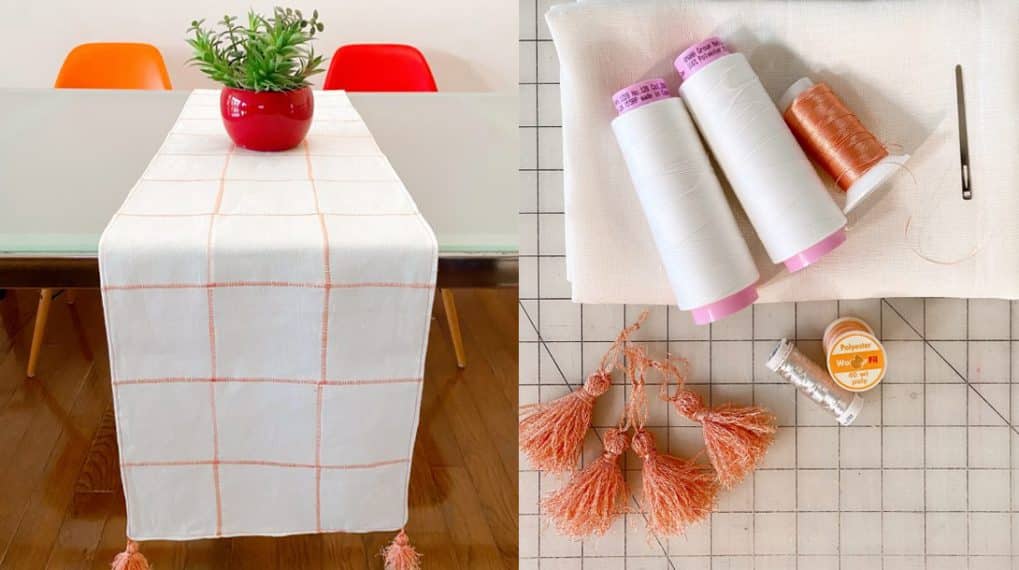
How to Sew a Summer Breeze Table Runner
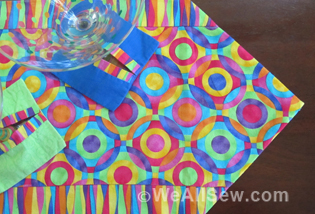
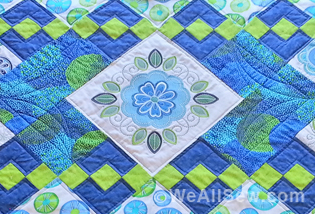
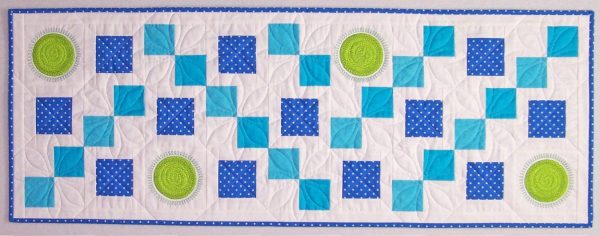
This light, fresh table runner by BERNINA Ambassador Nancy Mahoney is oh-so-easy to make and is sure to brighten any summer table. The bright, cool colors from Timeless Treasures were the inspiration for this refreshing table runner. Rotary cutting makes the Four Patch and Frame blocks quick and easy to make. Machine embroidery add the perfect touch to the circle blocks and is super easy using the BERNINA Circular embroidery attachment #83.
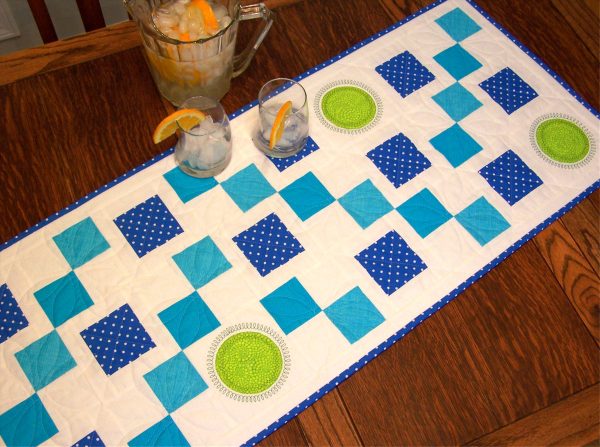
Finished size: 17¹⁄₂” x 47¹⁄₂”
Materials
- ⁷⁄₈ yard of white tone on tone for blocks and border
- ¹⁄₂ yard of blue dot for blocks and binding
- ¹⁄₄ yard of green print for circle appliqués
- ¹⁄₈ yard each of 2 assorted aqua prints for blocks
- 1¹⁄₂ yards of backing fabric
- 22″ x 52″ piece of batting
- ⁵⁄₈ yard of OESD Tear Away Embroidery Stabilizer
- ³⁄₈ yard of OESD Wash Away Embroidery Stabilizer
- Mettler 60-wt. thread to match appliquéd circles
- 30-wt. thread in contrasting color
- BERNINA Patchwork foot # 37/37D or BERNINA Patchwork foot#97/97D
- Circular embroidery attachment #83
- Open embroidery foot (# 20/20C/20D)
- Straight Stitch needle plate
- 9mm needle plate
- Appliqué glue
Cutting
From white tone on tone, cut:
1 strip, 5¹⁄₂” x 42″; crosscut into 24 rectangles, 1¹⁄₂” x 5¹⁄₂”
1 strip, 3¹⁄₂” x 42″; crosscut into 24 rectangles, 1¹⁄₂” x 3¹⁄₂”
2 strips, 3″ x 42″
4 border strips, 1¹⁄₂” x 42″. Piece the strips and cut 2 strips, 1¹⁄₂” x 45¹⁄₂” and 2 strips, 1¹⁄₂” x 17¹⁄₂”.
4 squares, 6″ x 6″
From blue dot, cut:
1 strip, 3¹⁄₂” x 42″; crosscut into 12 squares, 3¹⁄₂” x 3¹⁄₂”
4 binding strips, 2¹⁄₄” x 42″
From green print, cut:
4 squares, 5″ x 5″
From each aqua print, cut:
1 strip, 3″ x 42″ (2 total)
From Tear Away Embroidery Stabilizer, cut:
4 squares, 6″ x 6″
4 squares, 5″ x 5″
From Wash Away Embroidery Stabilizer, cut:
4 squares, 5″ x 5″
Sewing the blocks
Four Patch Blocks
Make 11 blocks. Use a patchwork foot (BERNINA Patchwork foot #37, #97/97D) and a straight-stitch needle plate.
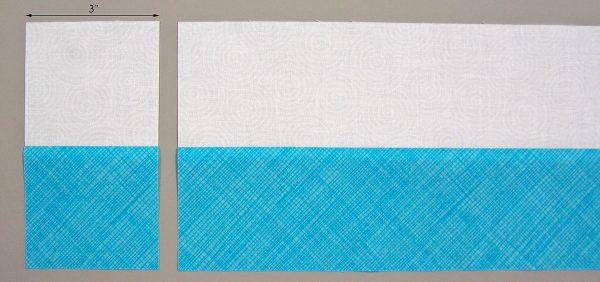
Join an aqua strip and a white 3″-wide strip along the long edges to make a strip set. Make a second strip set using the remaining aqua and white 3″-wide strips. Press the seam allowances toward the aqua strips. Crosscut each strip set into 11 segments, 3″ wide.
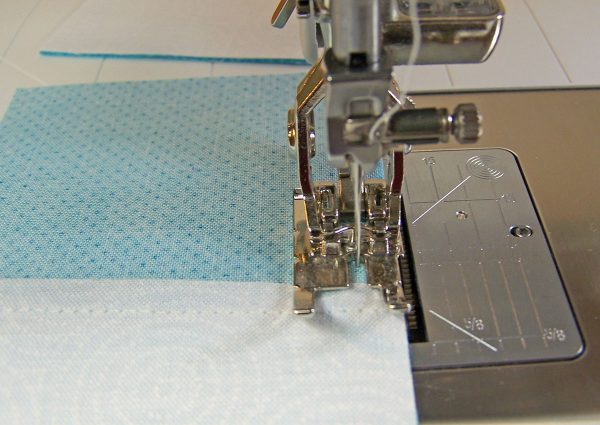
Using a 1/4″ seam allowance, join one segment from each strip set to make a Four Patch block.
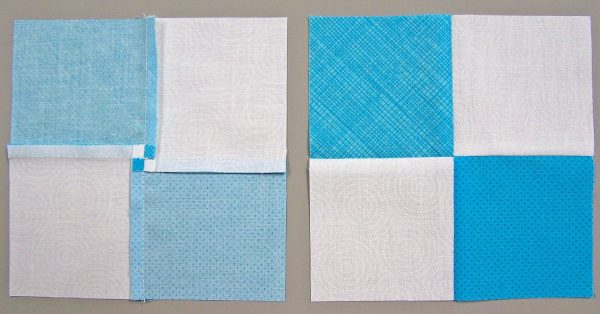
On the wrong side of each block, open the seam and gently reposition the seam allowances to evenly distribute the fabrics as shown. Make 11 blocks.
Frame Blocks
Make 12 blocks. Use a patchwork foot and a straight-stitch needle plate.
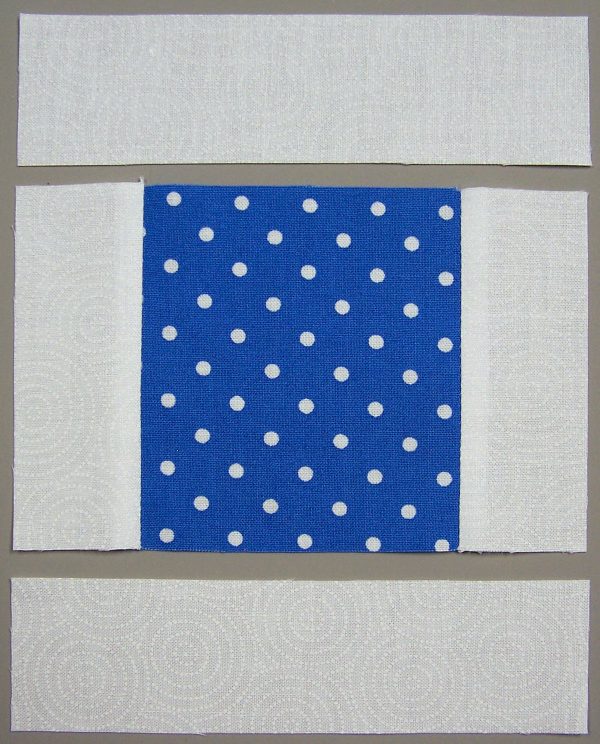
Lay out two white 1¹⁄₂” x 3¹⁄₂” rectangles, two white 1¹⁄₂” x 5¹⁄₂” rectangles, and one blue dot square as shown. Sew the white 1¹⁄₂” x 3¹⁄₂” rectangles to opposite sides of the square. Press the seam allowances toward the white rectangles.
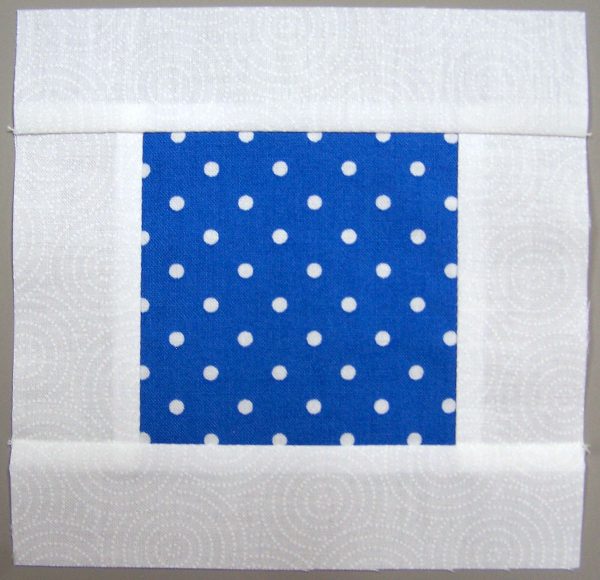
Sew the white 1¹⁄₂” x 5¹⁄₂” rectangles to the top and bottom of the center row to complete the block. Press the seam allowances toward the white rectangles. Make 12 blocks.
Making the Circle Blocks
Make 4 blocks. Use a patchwork foot, the BERNINA Circular embroidery attachment #83 and a straight-stitch needle plate.
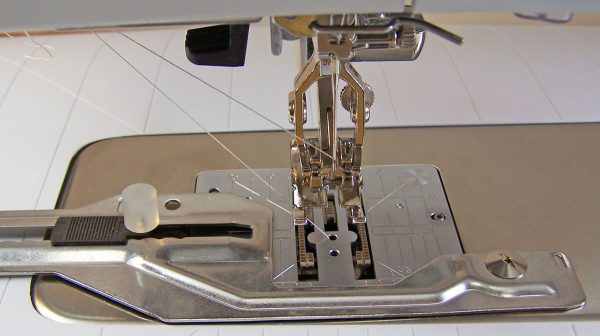
Attach the Circular embroidery attachment #83 to your machine following the instructions for the attachment. Set the positioning pin in the third notch from the right end, which should be 1³⁄₄” from the needle.
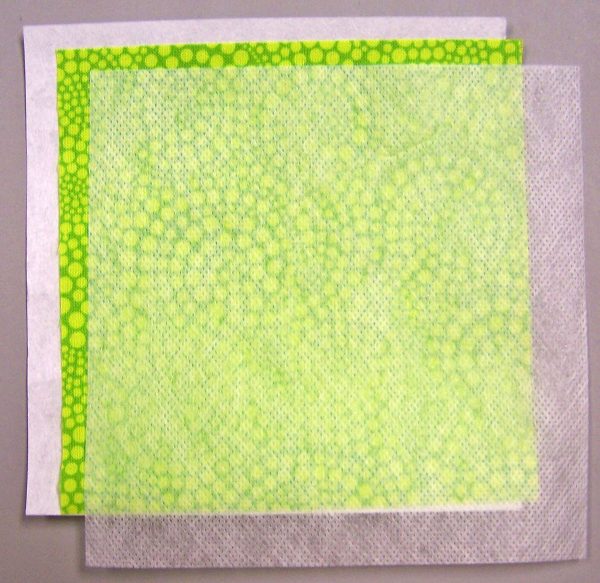
Place a green square right side up on top of a Tear Away Stabilizer 5″ square. Then place a Wash Away Stabilizer on top of the green square as shown.
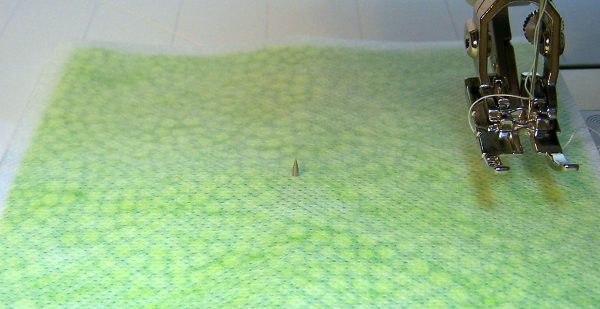
Center the layered squares on top of the pin.
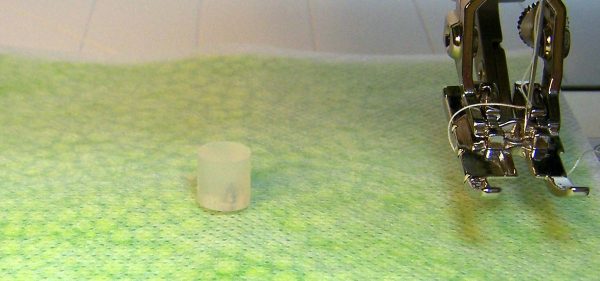
Replace the rubber cap on the pin to avoid injury.
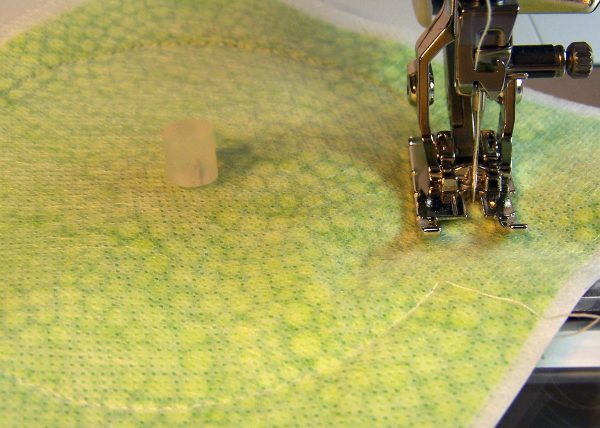
Use a straight stitch and a 2.10 stitch length. Slowly stitch around the circle, stopping as needed to adjust the layers.
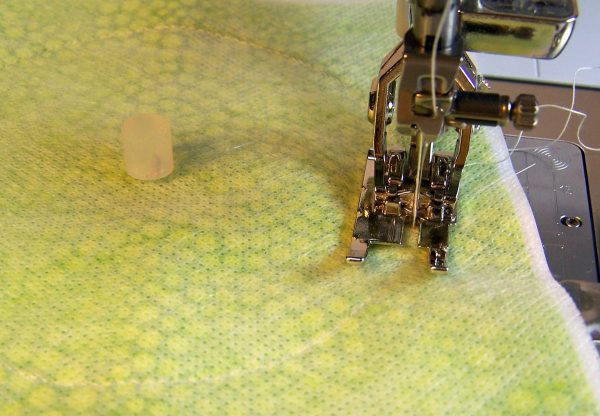
Continue sewing past where you started about 1″ and tie off the stitches.
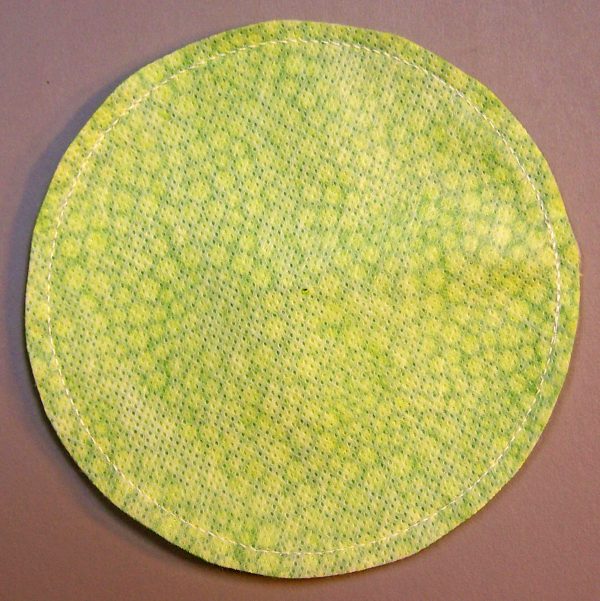
Remove the stitched layers from the machine. Gently remove the Tear Away Stabilizer from the wrong side of the green square. Trim the green and Wash Away squares, leaving a scant ¹⁄₈” seam allowance. Remove the Circular embroidery attachment #83 from the machine.
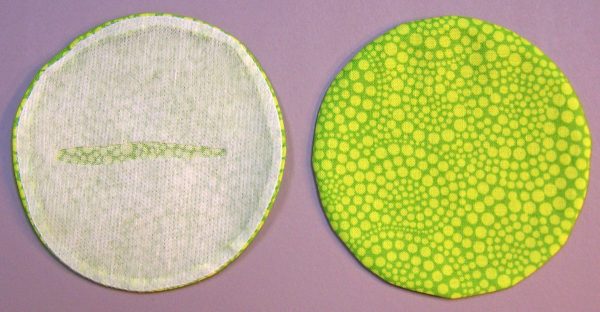
Make a small slit in the stabilizer, just big enough to turn the circle right side out. Then turn the circle right side out and gently push out the curves. With the right side facing up, press the circle using a steam iron. The steam will help draw the stabilizer to the back of the circle.
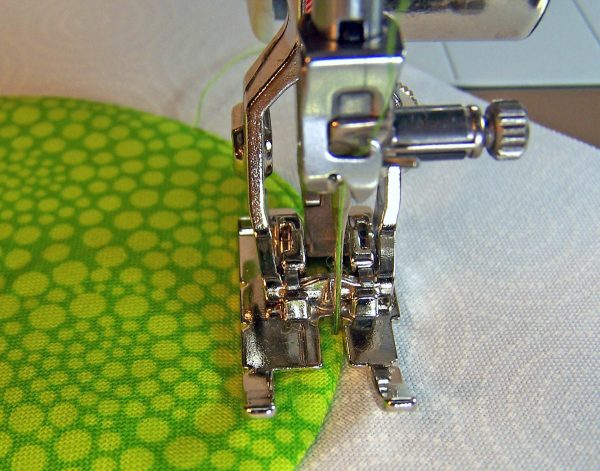
Center a green circle on a white 6″ square and glue baste in place. Following the manufacturer’s instructions, center a square of Tear Away Stabilizer on the wrong side of the white square. Pencil mark the center on the square of stabilizer. Use a straight stitch and 60-wt. thread. Select a 2.50 stitch length and move the needle 1 position to the right. Slowly edgestitch around the circle, using the inside of the right toe as a guide.
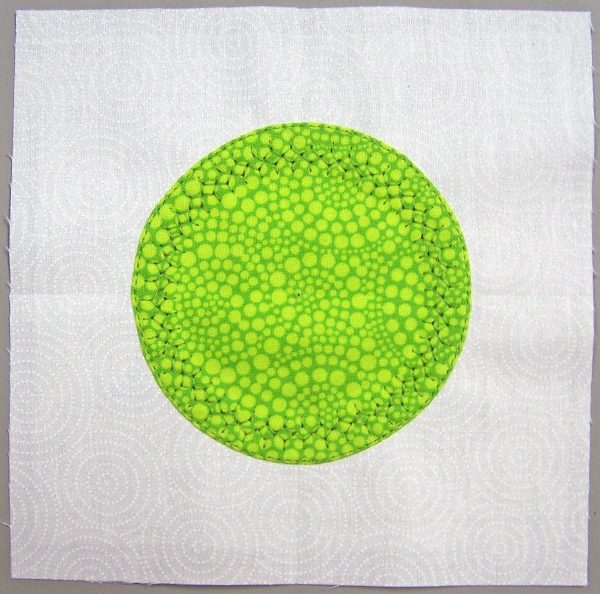
To stitch an embroidery design inside the circle, change to a 9mm stitch plate. Reattach the Circular embroidery attachment #83 on the machine and set the positioning pin in the first notch on the right end. Install an Open Embroidery foot #20. Select stitch 723 and set the stitch length to 5.3. Repeat steps 8 and 9. Start with Pattern Begin and stitch around the circle. Stop sewing 2 to 3 repeats from the end. Increase the stitch length to 5.5 and continue sewing, pushing or holding back the work to stitch the remainder of the circle with a complete pattern.
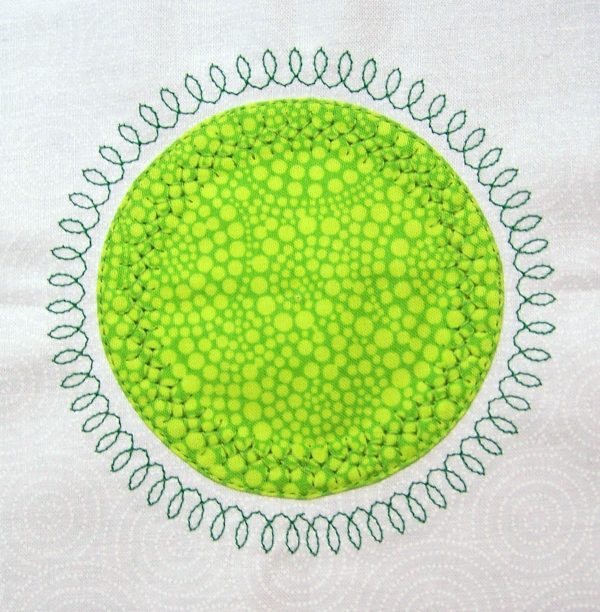
To stitch an embroidery design around the outer edge of the circle, set the positioning pin in the fourth notch from the right end. Select stitch 741, set the stitch length to 6.0, and select Mirror Image. Using a 30-wt. thread and starting with Pattern Begin, stitch around the circle. Stop sewing 2 or 3 repeats from the end. Slowly continue sewing, pushing or holding back the work to stitch the remainder of the circle with a complete pattern. Remove the Tear Away stabilizer and trim the Circle Blocks to measure 5¹⁄₂” x 5¹⁄₂”. Make four blocks.
Table Runner Assembly
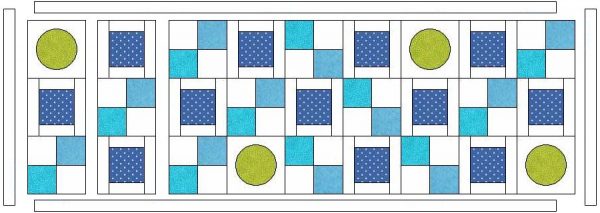
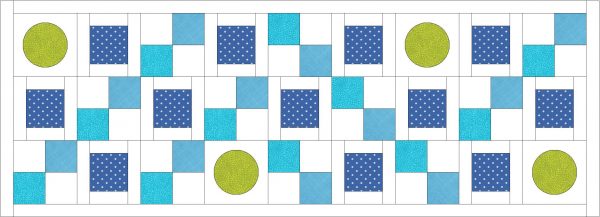
Lay out the blocks in nine rows of three blocks each, alternating and orienting the blocks as shown in the Table Runner assembly diagram. Sew the blocks together into rows. Join the rows. Sew the white 45¹⁄₂”-long strips to long sides of the table runner. Sew the white 17¹⁄₂”-long strips to table runner to the ends of the table runner complete the border.
Finishing
Layer the table runner top with batting and backing; baste. Quilt as desired.
Stitch the blue dot binding strips end to end using diagonal seams. Fold and press the resulting long strip in half lengthwise with wrong sides together. Stitch to the quilt front, matching raw edges and mitering corners.
Fold the binding to the table runner back and hand-stitch the folded edge to the back.


