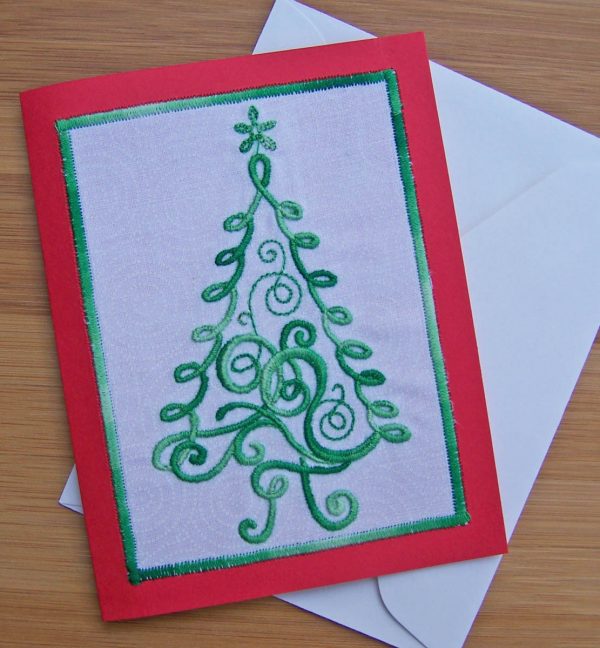
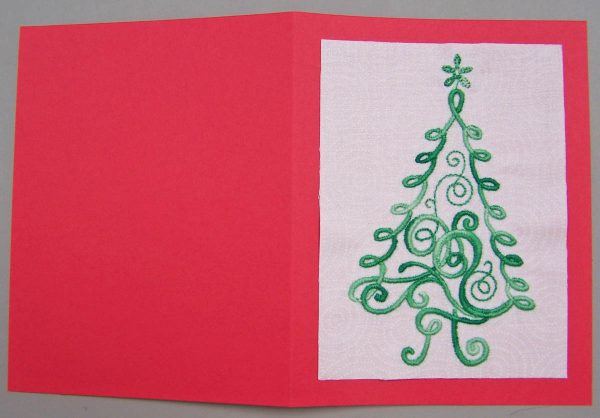
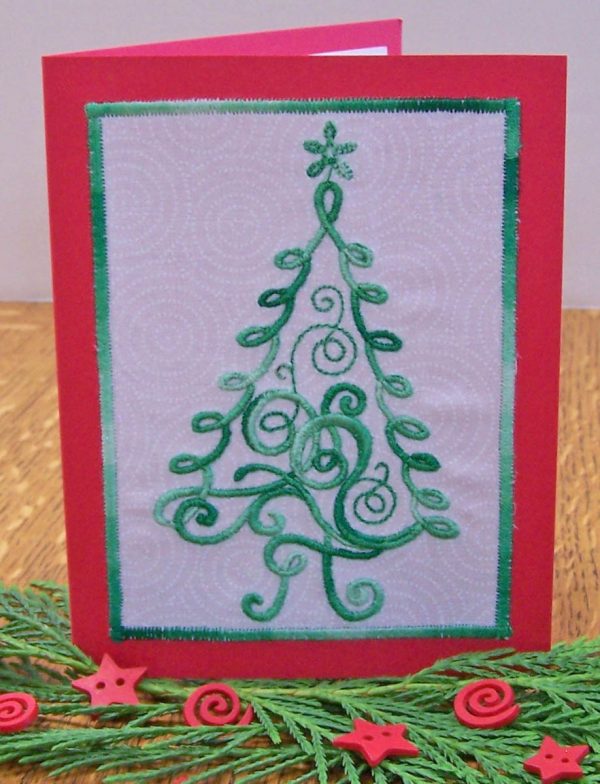
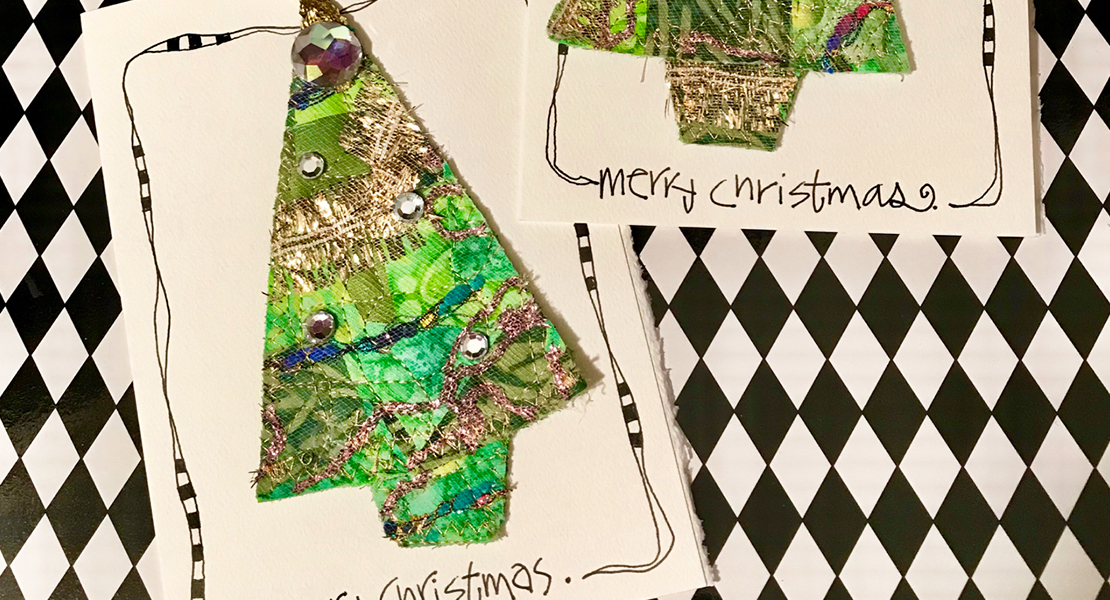
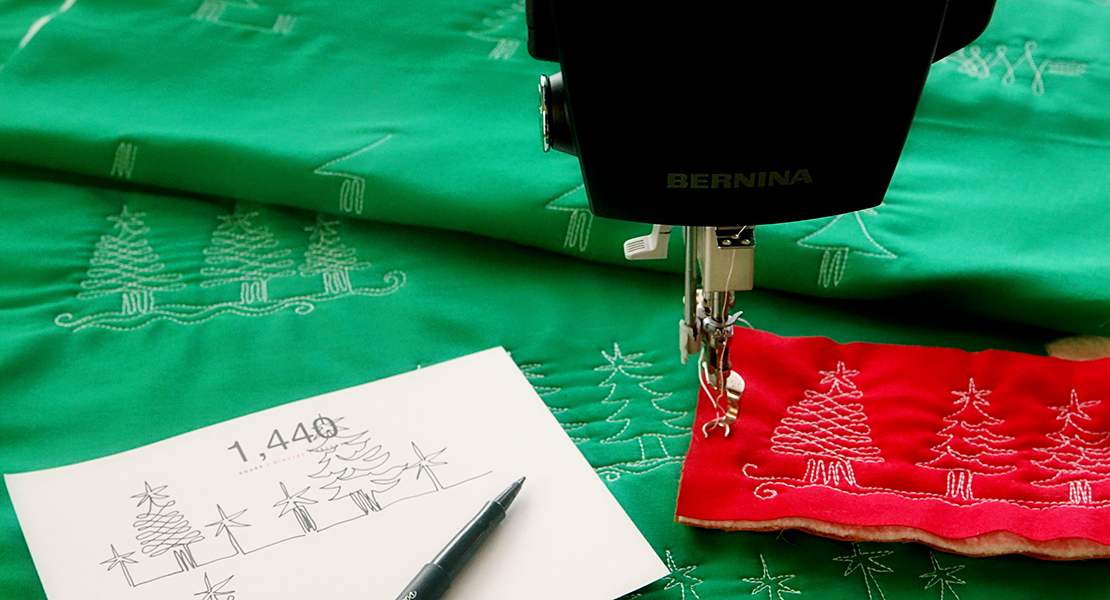
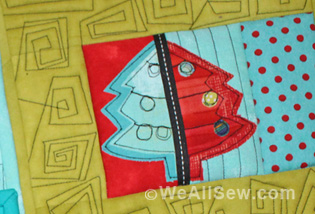
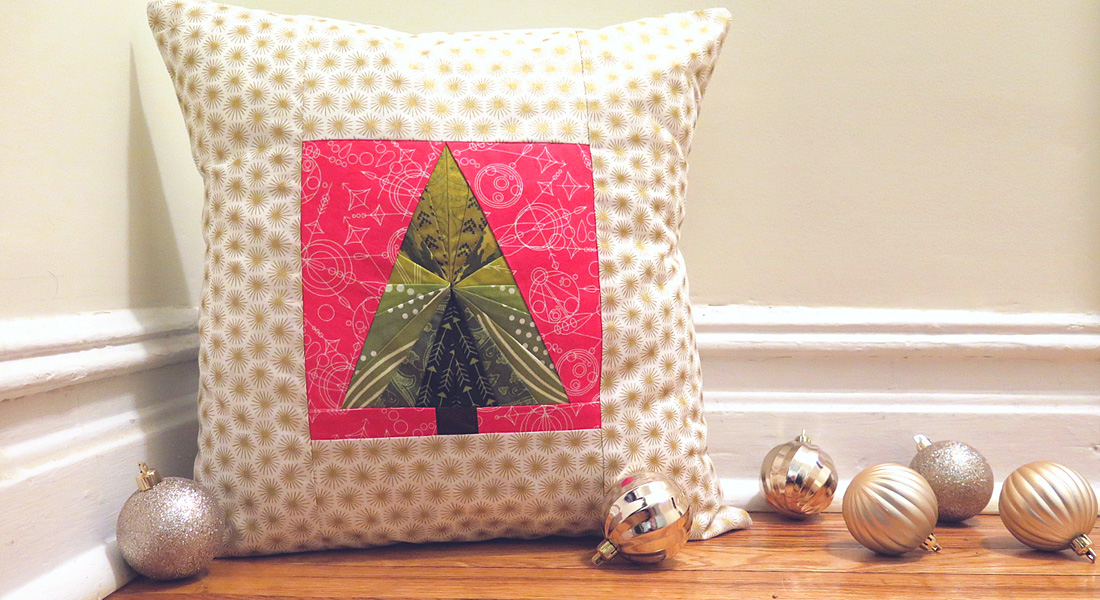
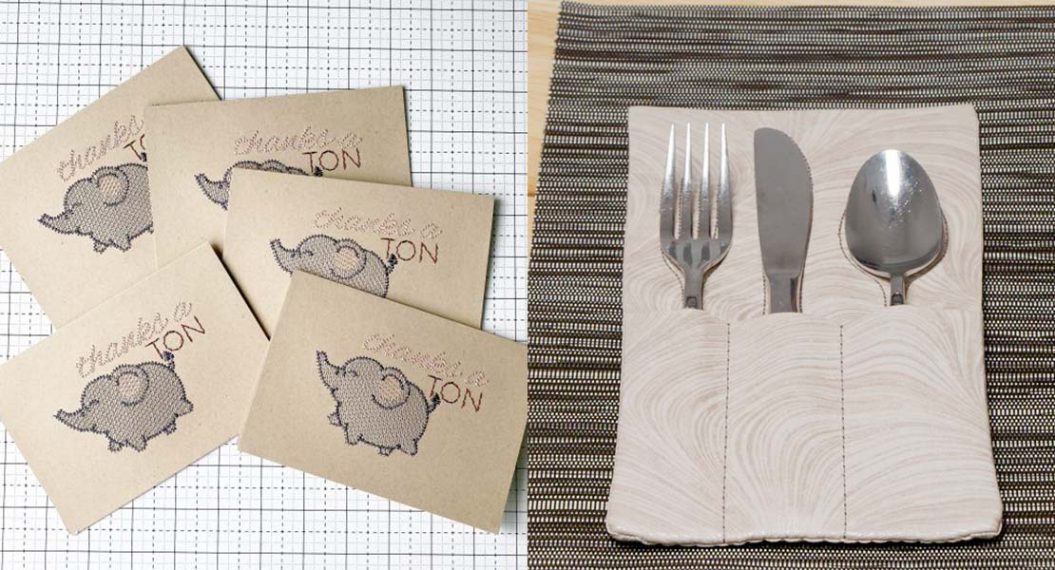
Christmas Tree Greeting Card
Make a one-of-a-kind Greeting Card or Gift card for a special person this Christmas. The machine embroidery is super-easy and the variegated thread adds a ornamental touch.
Size: 4-1/4″ x 5-1/2″ designed by Nancy Mahoney.
Materials to create the Christmas Tree Greeting Card
- 7-1/2″ x 8″ rectangle of white print
- 8-1/2″ x 11″ piece of Self-adhesive Embroidery Stabilizer
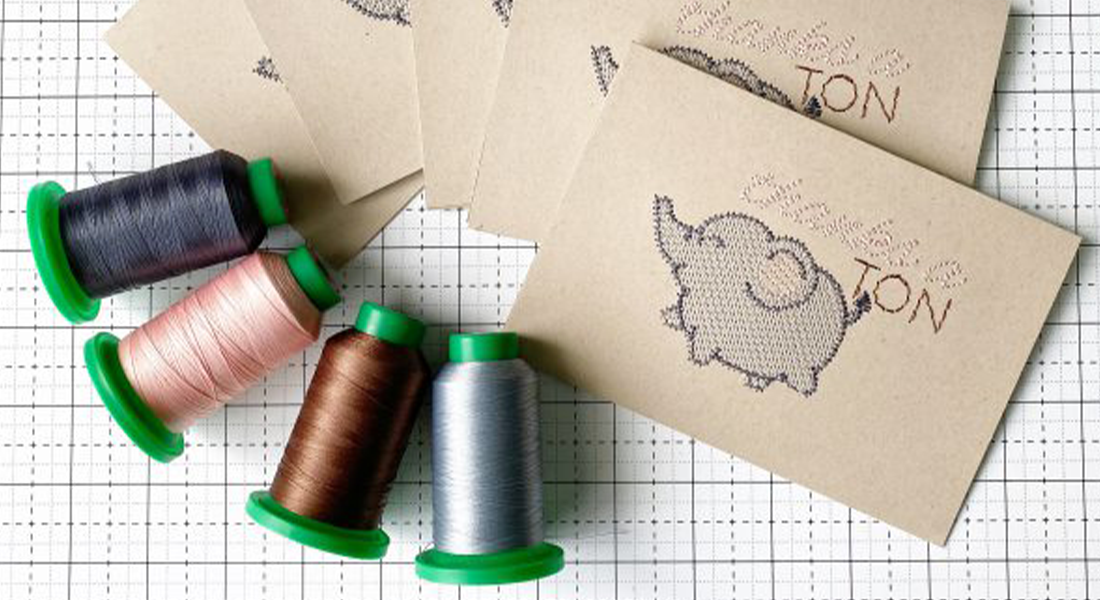
- Mettler 30-wt variegated embroidery thread (I used col. 5381)
- Sewing Machine (I sew on a BERNINA 790)
- Embroidery foot #26
- Reverse pattern foot #1 / 1C / 1D)
- Embroidery needle for machine embroidery
- Sharp 80/12 needle for straight and zigzag stitching
- Straight Stitch plate for machine embroidery
- 5mm or 9mm Stitch plate for zigzag stitch
- Medium hoop for machine embroidery
- 5-1/2″ x 8-1/2″ rectangle of red card stock for card base
- 5″ x 8″ rectangle of white card stock for inside lining of card
- Scoring tool (such as an awl)
- All-purpose glue or double-stick tape
- Glue stick
Instructions to assemble the Card
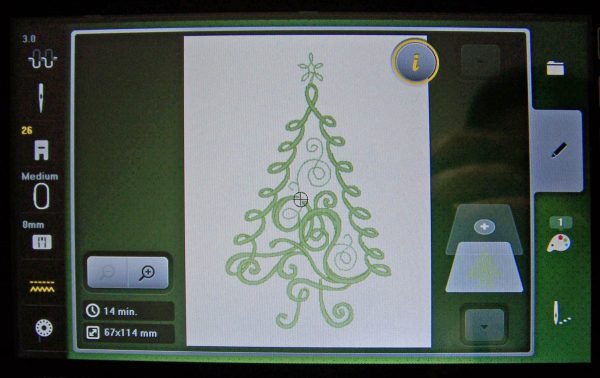
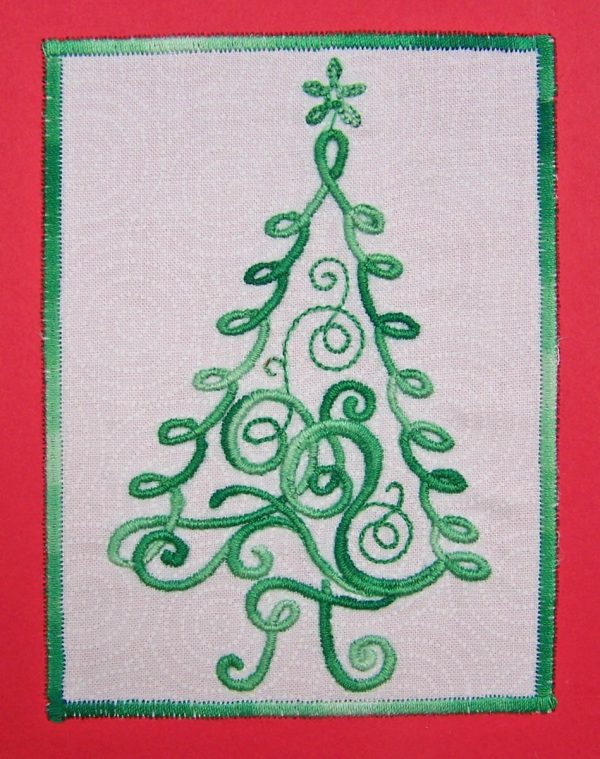
Attach the embroidery module to your machine. Install an embroidery needle and an embroidery foot. Thread the machine with 30-wt thread. Select an embroidery design; on my BERNINA 790, I selected HG319 and reduced the size to 67 x 114 mm, or 75% of the original. Refer to the manual for your machine for help setting up your machine.
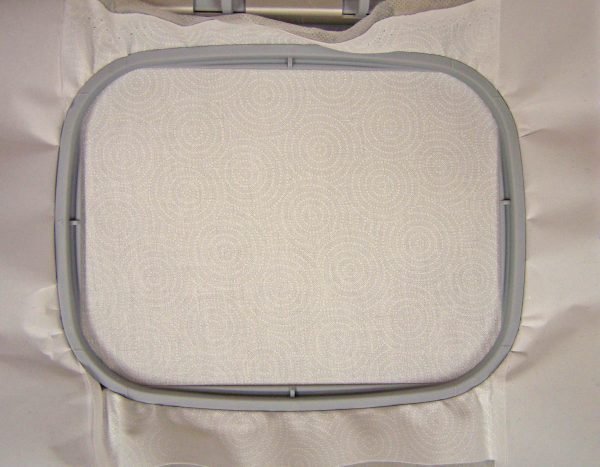
Measure about 2-1/8″ from each short end of the stabilizer. Lightly score the paper with a knife and remove the center section of the paper. Place the white rectangle on top of the adhesive side of the stabilizer; press firmly. Then place the stabilized fabric in the medium hoop.
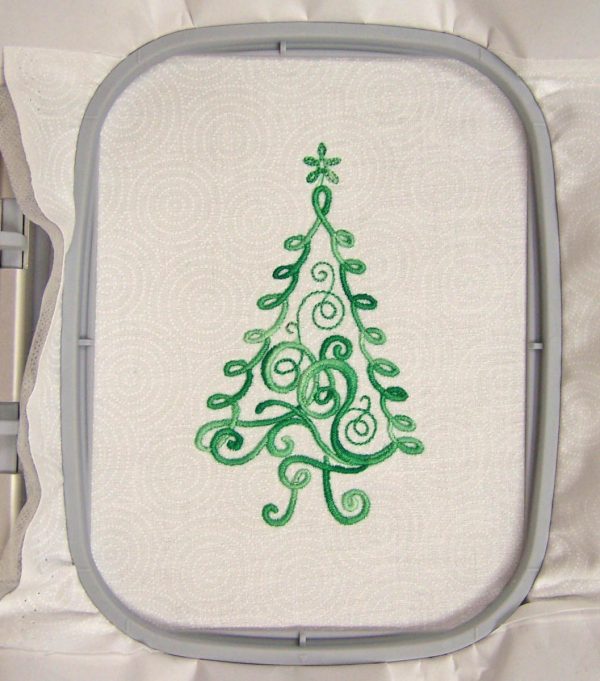
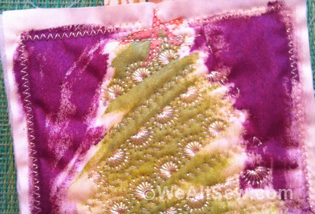
Embroider the design. Remove the hoop from your machine.
Fold the piece of red card stock in half, to make a 4-1/2″ x 5-1/2″ card. (Tip: For a perfectly straight crease, lay a ruler along the desired fold line; then run a scoring tool along the ruler’s edge to score the card.) Remove the embroidered design from the hoop. Trim the stitched design to 3-1/2″ x 4-3/4″, keeping the design centered. Using a glue stick, apply glue to the center of the card front. Then, adhere the trimmed design to the card front.
Install a Reverse patchwork foot, a 5mm or 9mm Stitch plate, and an 80/12 needle. Using a straight stitch, topstitch around the outer edges of the stitched design to secure the piece in place.
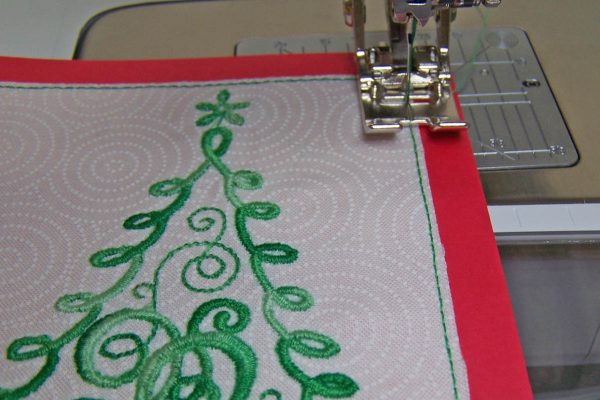
Select a zigzag stitch. Set the width to 3.0 and the length to 0.40. Carefully, satin stitch around the embroidered piece.
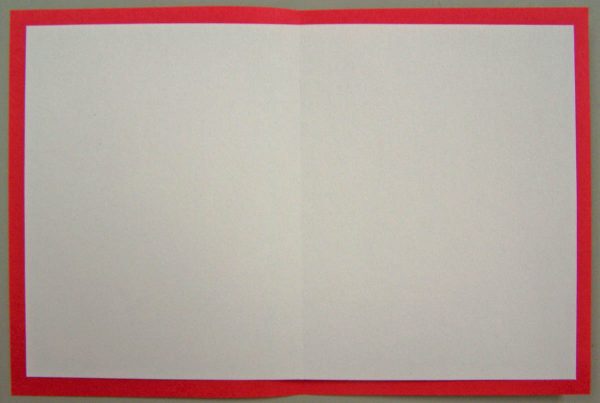
Fold the piece of white card stock in half, to make a 4″ x 5″ inner card. Center and glue (or tape) the white card to the inside of the red card to cover up the machine stitches.
Now, you just have to write your personal greeting and send it to someone you love!
Our December 6 Gift For You
Today’s gift is a BERNINA neoprene laptop sleeve to one awesome WeAllSew fan. All you have to do is post a comment below answering the following question:
What would be your favorite design for your personal Christmas greeting card?
A winner will be chosen at random on December 7, 2015 and announced later this week!
Good luck!
Congratulations to our WeAllSew reader “crathunde”, the winner of the December 6 gift. Enjoy!


What you might also like


98 comments on “Christmas Tree Greeting Card”
-
-
a lovely outline of a horse
-
I really like Christmas trees!
-
Santsa in his sleigh
-
How many of the designs have been posted? Are they removed when a new one is posted? Or will they all be left up to the end? Only one I have found is the Christmas tree card; and the 25th star!!!!! Would like to find the others if more have been posted!!!
-
@myster60, the free embroidery designs will be available for download indefinitely on WeAllSew. Keep on checking back as we will post some more throughout our Countdown to Christmas among a variety of other fun gifts. Enjoy!
-
-
My favorite Christmas design is a snowman.
-
-
I love simple and minimalist looks for my cards so probably some simple silver snowflakes would be my choice
-
I have already made my cards. They are just printed. Beautiful snow Angel with the word Peace written across it.
Very special meaning to us all. -
My favorite design is a Christmas tree.
-
It would be a Santa Claus in memory of my mother who collected Santa Clauses.
-
Well I love all Christmas designs. I usually select a design the receiver would like. But I have to say I seem to collect snowflake designs. I use them for Christmas and winter so they are versatile.
-
My favorite design would include penguins.
-
Nativity scene or an angel.
-
Christmas Trees
-
A world PEACE sign!
-
A world PEACE and LOVE symbol!
-
Peace Dove!
-
It would have to be a sparkly snowflake in crisp white, blue, and silver
-
My favorite design for a personal Christmas greeting card would be drifting snowflakes, an evergreen tree and a Bernina sewing machine with the embroidered “Joy” beneath it.
-
currently i am in love with a nutcracker design pack i got! its so delicate and lace like.
-
I love snowflakes!
-
My favorite image is a snowflake. So many design choices. a few color choices and the option to add sparkle.
-
Oh I think I will use a star!!!
-
a simple outline of a nativity scene, Mary, Joseph, crib with infant and one star above .
-
angels
-
Maybe the star from day 1 of the countdown ?
-
I would use an angel or star. Thank you for the great idea and tutorial.
-
I would choose a snow flake, Keep it simple. Or Peace on Earth would also be a good choice.
-
I really like the design featured today of the Christmas tree. I also like angels and the nativity.
-
I think a redwork nativity scene.
-
I’d do Christmas Teddy Bears, Penquins, and Polar Bears.
-
My favorite design for a card would be a digitized picture of a steam tractor.
-
I love cards with bible verses on them.
-
Probably a tree or maybe a snowman.
-
Lovely reindeer!
-
The favorite design would be the Christmas Star.
-
I love all Christmas designs, and I think any Christmas redwork design would be lovely. Christmas trees, stars, snowflakes, santas and elves would be some of my favorites. I like to add rhinestones and glitter for some glitz.
-
I love cute-sy stuff so I would use that absolutely adorable snowman and elf that you have on the homepage that is included in your countdown promotion. I think that they are adorable! I really hope that Santa brings me an embroidery machine so that I can use them 🙂
-
I would do a simple manger scene with a star above.
-
I have a Berninia 530. I am going to try making the Christmas tree card on my machine!!! I enjoy Christmas trees, the decorations and the fresh smell. Thank you for the pattern.
-
trees, I love to look at photos of trees so I am sure that is what I would choose.
-
I first thought a Christmas tree, then I saw someone’s comment of a silver snowflake, maybe I should make two.
-
I love the tree, but with a golden star on top.
-
Gosh, I don’t think I have a real favorite. Trees, snowflakes, and birds sound great.
-
I love Reindeer themed items for decorating during Christmas time!!
-
I would choose some colorful Christmas bulbs.
-
I love anything white and silvery……snow, Angels, etc.
-
My favorite design is a gingerbread boy or girl. I also like this try design in the demo.
-
I love everything Christmas so any holiday motif would be great, but my favorites are probably trees, ornaments, snowflakes, sleighs. I’m actually making FSL ornaments with OESDs recent CD release and they are stitching beautifully.
QuiltShopGal
http://www.quiltshopgal.com -
I would put a redwork nativity scene on a card ~
-
I collect nativities, so I would embroider a simple manger scene.
-
I’m making Christmas cards with felt and cardstock with the card saying Happy Holiday’s on the front with holly and holly berries with outline stitch around the felt on the edge. Love making cards in the hoop.
-
I like Angels
-
SnowFlakes always..with lots of swirls
-
I would embroider the words “Peace, Joy and Love”” to reflex the meaning of the season. Unfortunately, I had a total shoulder joint replacement surgery and probably not be able to sew my cards. Sandy C from Albuquerque, New Mexico.
-
Sorry, “reflect the meaning of the season” … typing not good yet…
-
-
Either a nativity scene or a snowflake
-
“Peace on Earth” saying
-
I would like to have a picture of our dogs with a snow scene in the background. This is a neat project and quite simple as it appers
-
A snowflake, even though it doesn’t snow where I live (San Diego, CA)!
-
A snowflake would be beautiful!
-
It would be an angel.
-
I’d choose a doe/buck. I have several that visit my yard daily.
Susan in NE PA
[email protected] -
I would choose an angel design. I love angels.
-
I would choose an angel .
-
A manager would be sweet.
-
I have some lovely designs in my collection. I would stitch out a nativity scene or perhaps my favorite reindeer design on my beloved Bernina 830!
-
Snowman and forest critters.
-
I love everything about Christmas. Every design is great!
-
“Peace” & snowflakes
-
I like the idea of a manger with a star above.
-
Snowflakes
-
My favorite design would be an angel.
-
I would like to see a Chanukkah card as well as a Christmas design
-
My favorite Would B the Christmas star in the East with the word. “Behold”
-
This is quite nice. I don’t have an embroidery machine but it inspired me to make a Christmas Card. I’ll be putting it in the mail tomorrow!
-
Snowflake with metallic thread so it would sparkle
-
I would use a combination of three ornaments at different lengths.
-
I know its to late but wanted to reply anyway. My fav design would be the St Judes Childrens symbol and the words “I care.”
-
I think I would pick something from the nativity scene or a snowflake!
-
Love Christmas trees
-
gingerbread man, just love them
-
I love wreaths and redwork scenes! I like to add sparkle by stitching a gold trim or lace around the edge of the fabric as I sew it to the card stock.
-
A manger and a star.
-
There are so many Christmas design possibilities. I think I would do an ornament.
-
I would like a simple outline of the stable with the manger and a star.
-
My favorite design would be baby Jesus in the manger with a bright star overhead. Merry Christmas!
-
Holly leaves and berries! lisajcowell(at)cs(dot)com
-
Love the embroidery – I love snowflakes
-
Nativity scene for sure.
-
My favorites are snowmen and snowflakes!
-
I like designs where words sof ch as “noel”, “joy” or “peace” are included.
-
My favourite design for this year will be the dove of peace carrying an olive branch!
-
I have always liked a card with a Christmas tree and fireplace with hanging stockings scene.
-
And everyone who has received them has loved the cards I have made. This is a great tutorial !
-
-
Where is the design?
-
my favorites are snowmen
Leave a Reply
You must be logged in to post a comment.
My favorite Christmas design is always Santa and his elves!