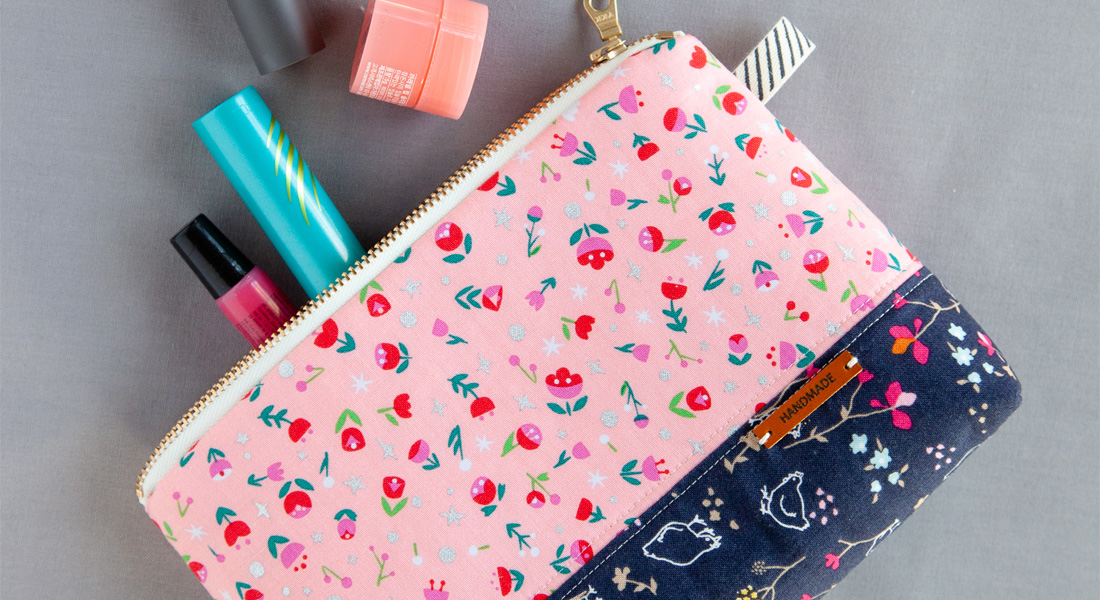
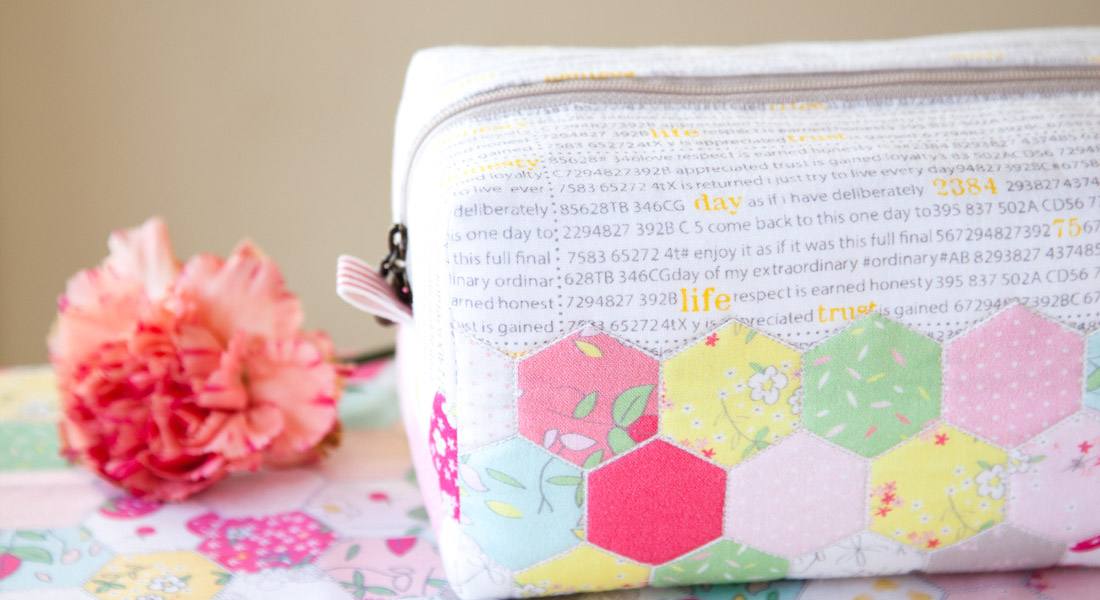
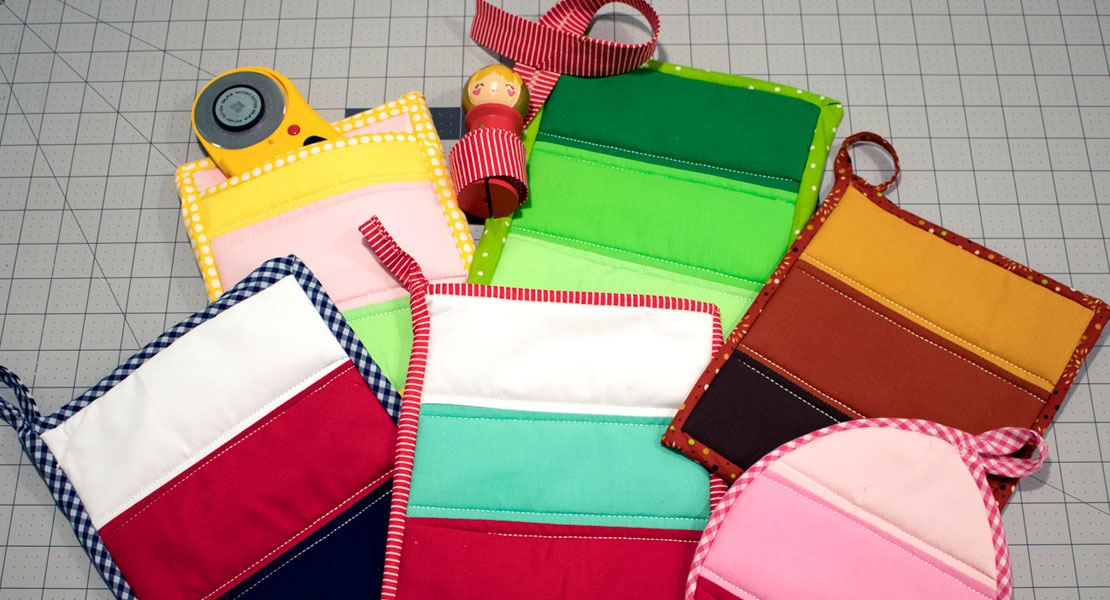
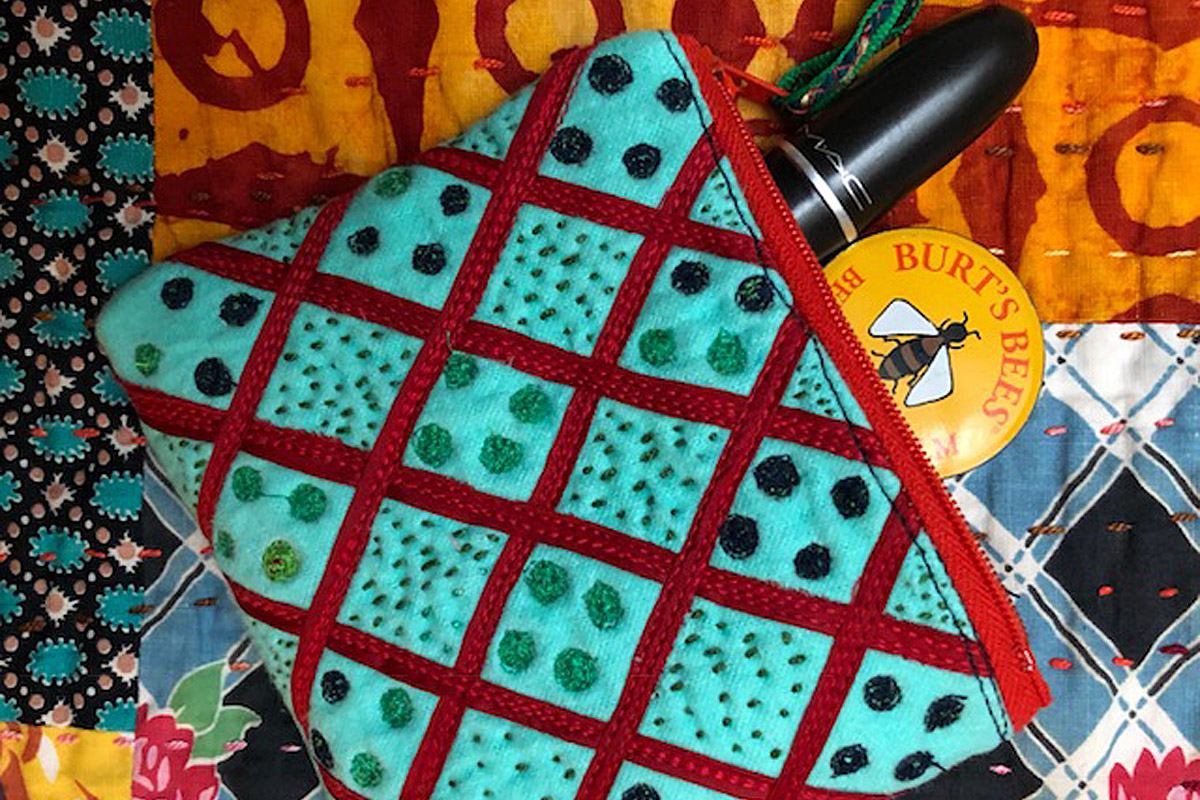
Color Block Zipper Pouch
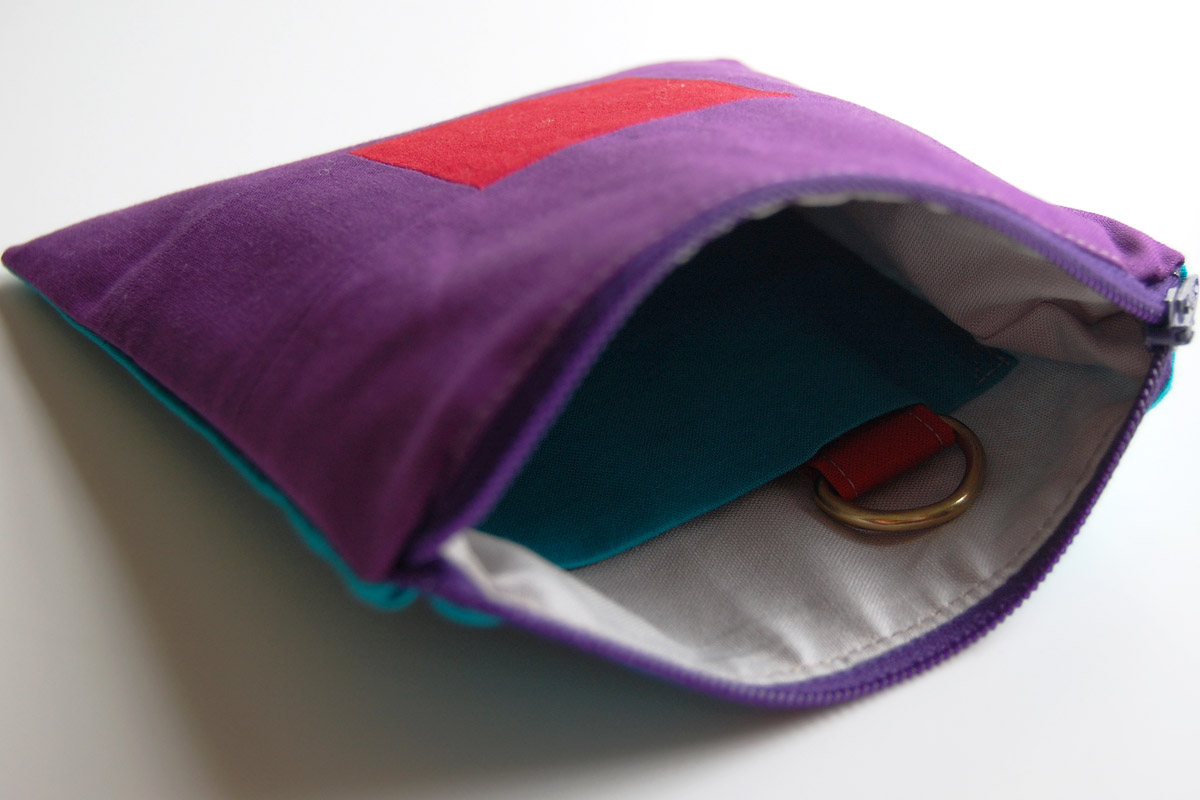
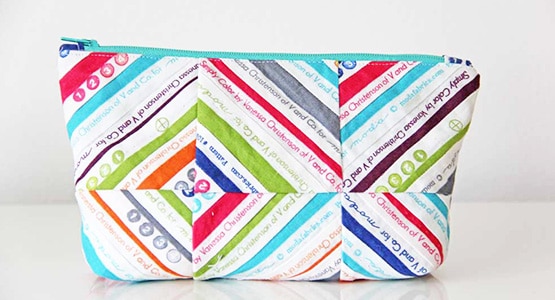
The Color Block Zipper Pouch finishes at 6″ x 6″ square and features a handy inner pocket with a D ring to keep hold of valuables.
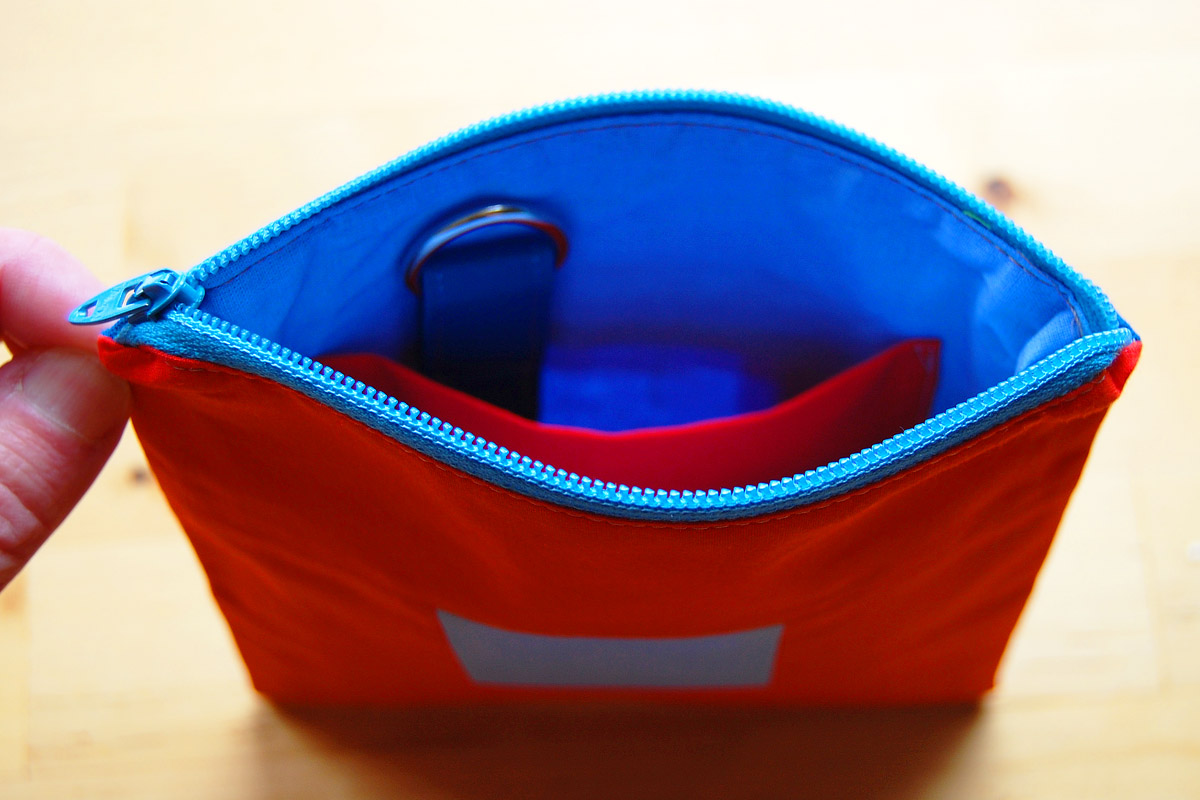
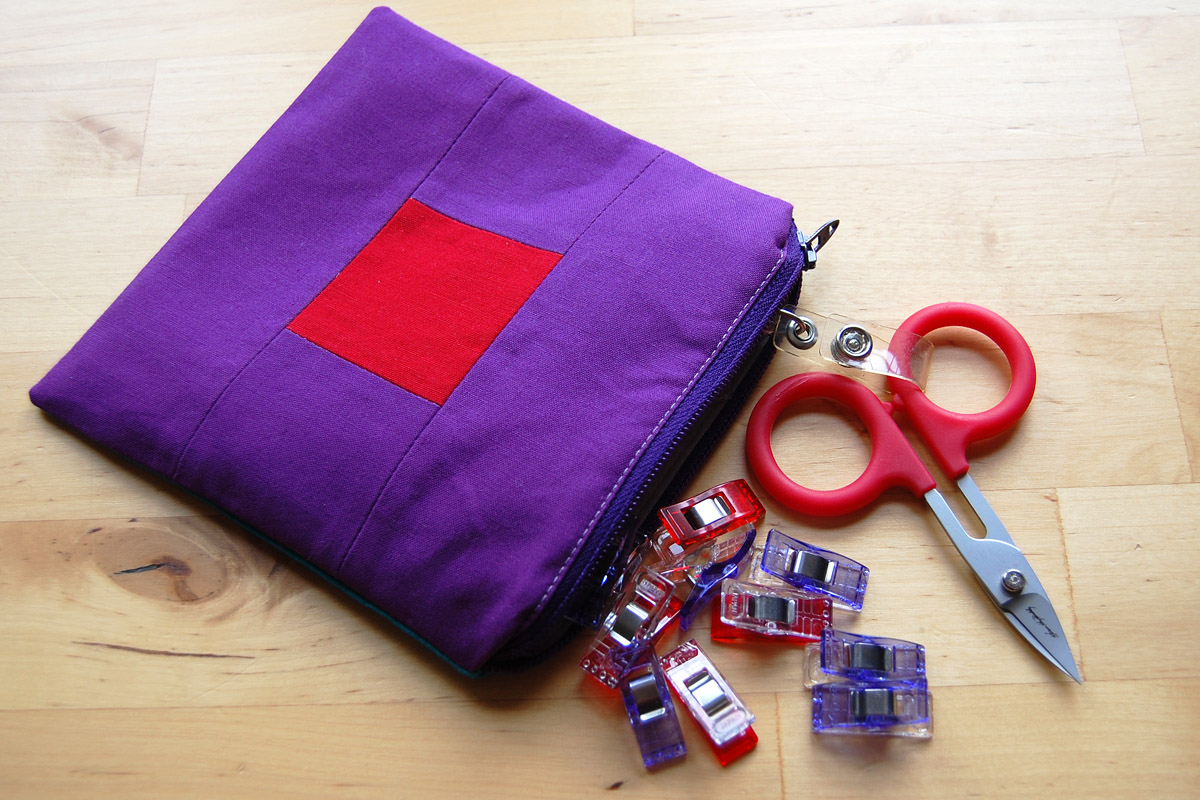
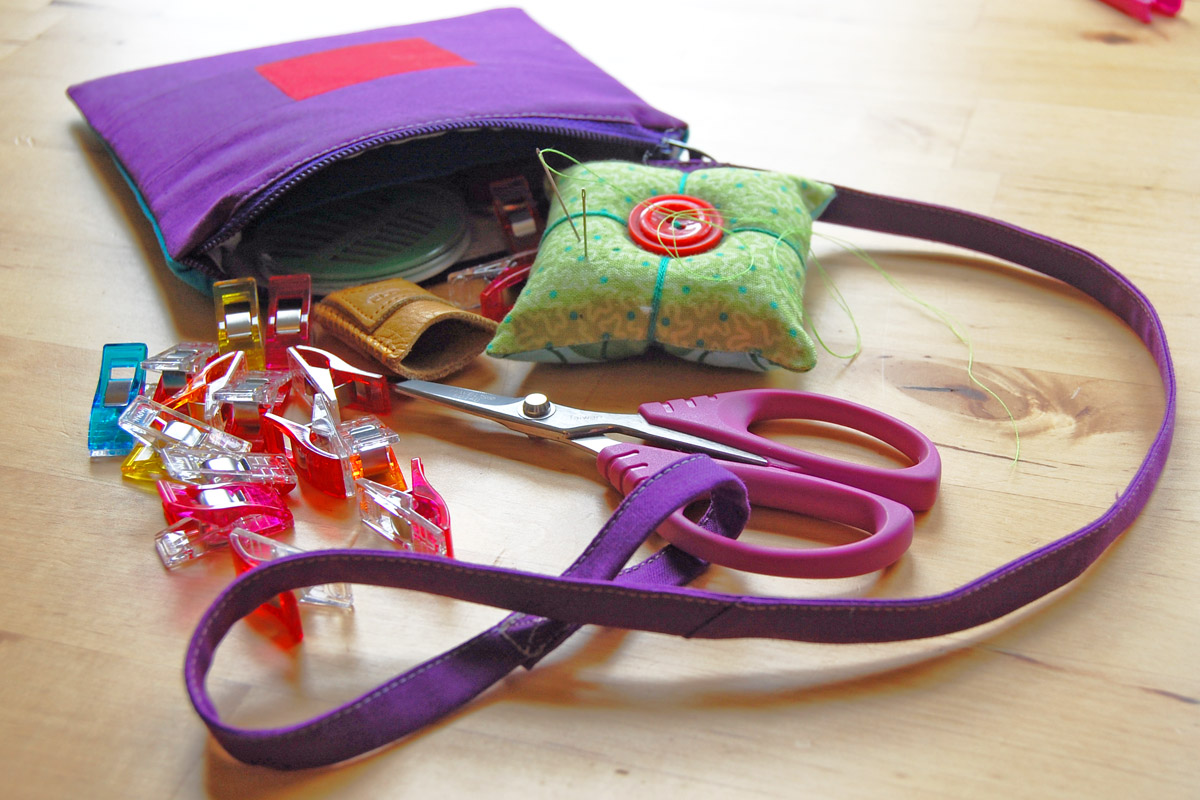
I created this little pouch to keep track of hand sewing supplies for binding quilts—by attaching my snips to the D ring with a bit of ribbon, I won’t lose them in the couch cushions or forget them at the last group sew-in!
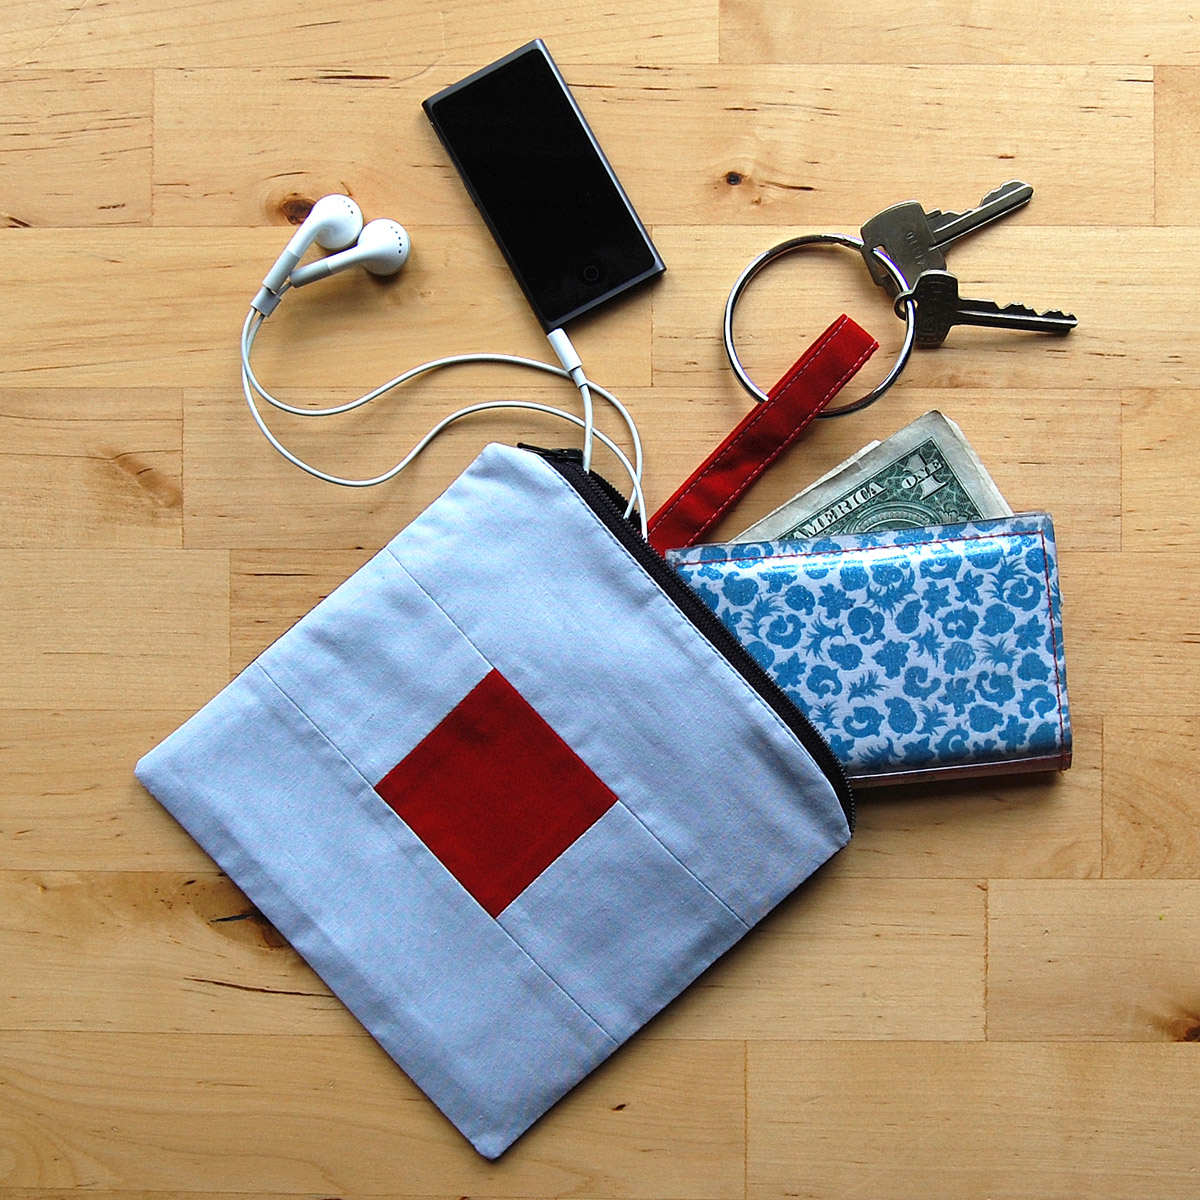
It’s also the perfect size to hold just the essentials for a quick bike ride, a trip to yoga class, or a walk to the park.
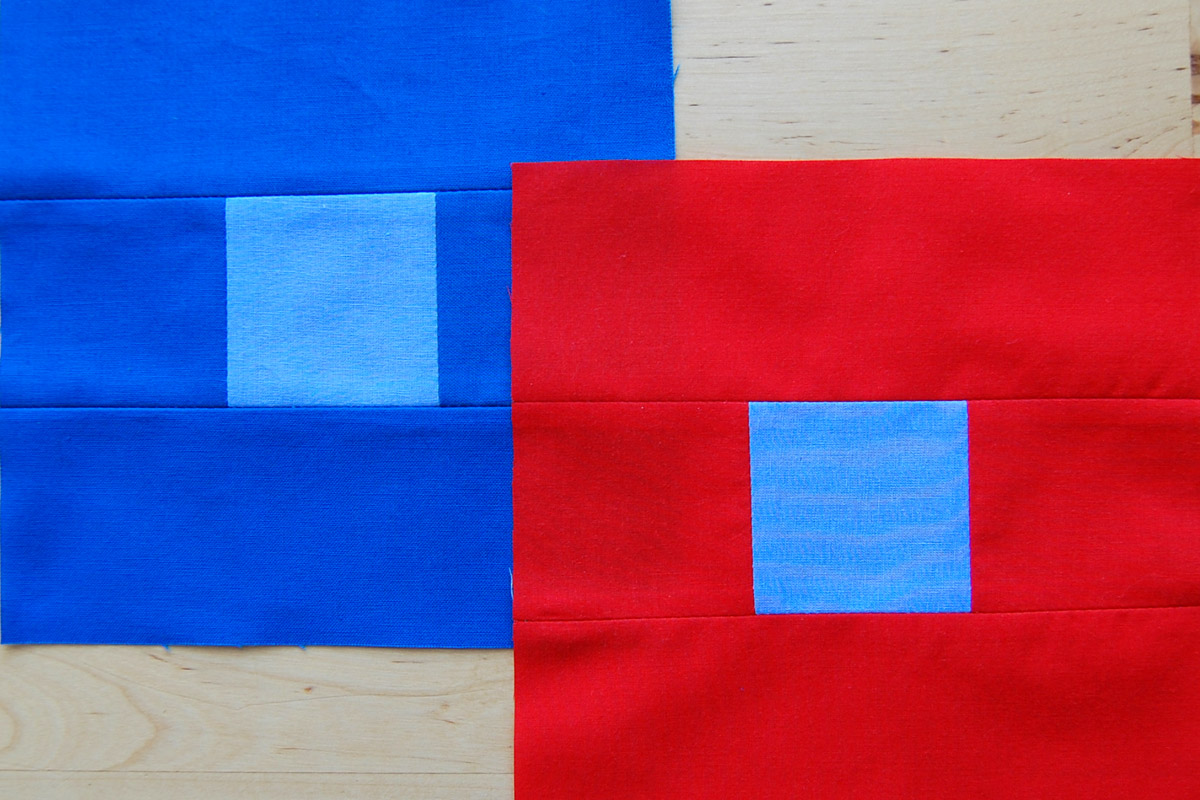
The blocks are made in this post on contrasting colors, which means you’ll be reminded of how colors can play tricks on you when you use your zipper pouch. Let’s get started!

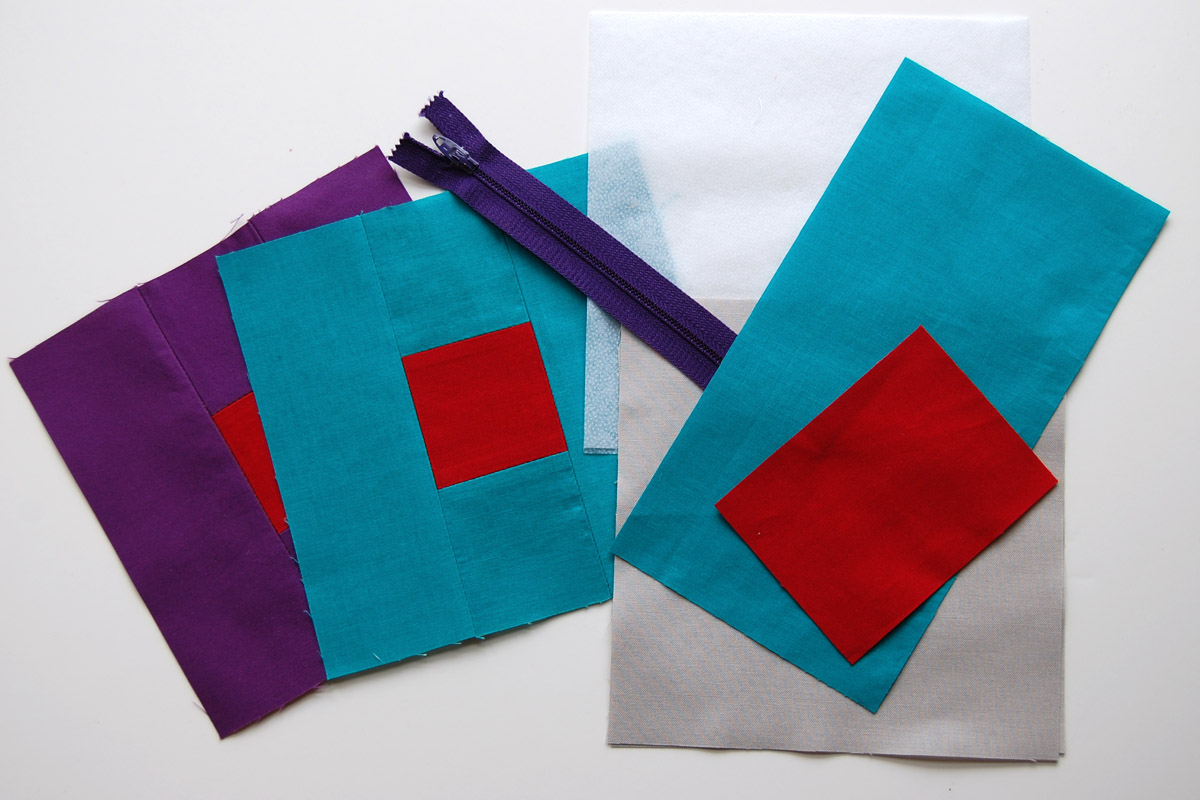
Materials to Make a Color Block Zipper Pouch
- Make 2 Contrasting Color Blocks following the tutorial posted here at WeAllSew
- Two 6.5″ x 6.5″ pieces of fabric for pouch lining
- One 4.5″ x 8.5″ piece of fabric for inner pocket
- One 3″ x 4″ piece of fabric for D ring strap
- Two 6.5″ x 6.5″ pieces of light to medium weight fusible interfacing
- One 3/4″ D ring
- One 7″ or longer nylon zipper
- Coordinating thread
- Sewing machine (I use a BERNINA 770 QE)
- Quarter inch Patchwork foot of choice (I use the Patchwork foot #97D)
How to Sew a Color Block Zipper Pouch
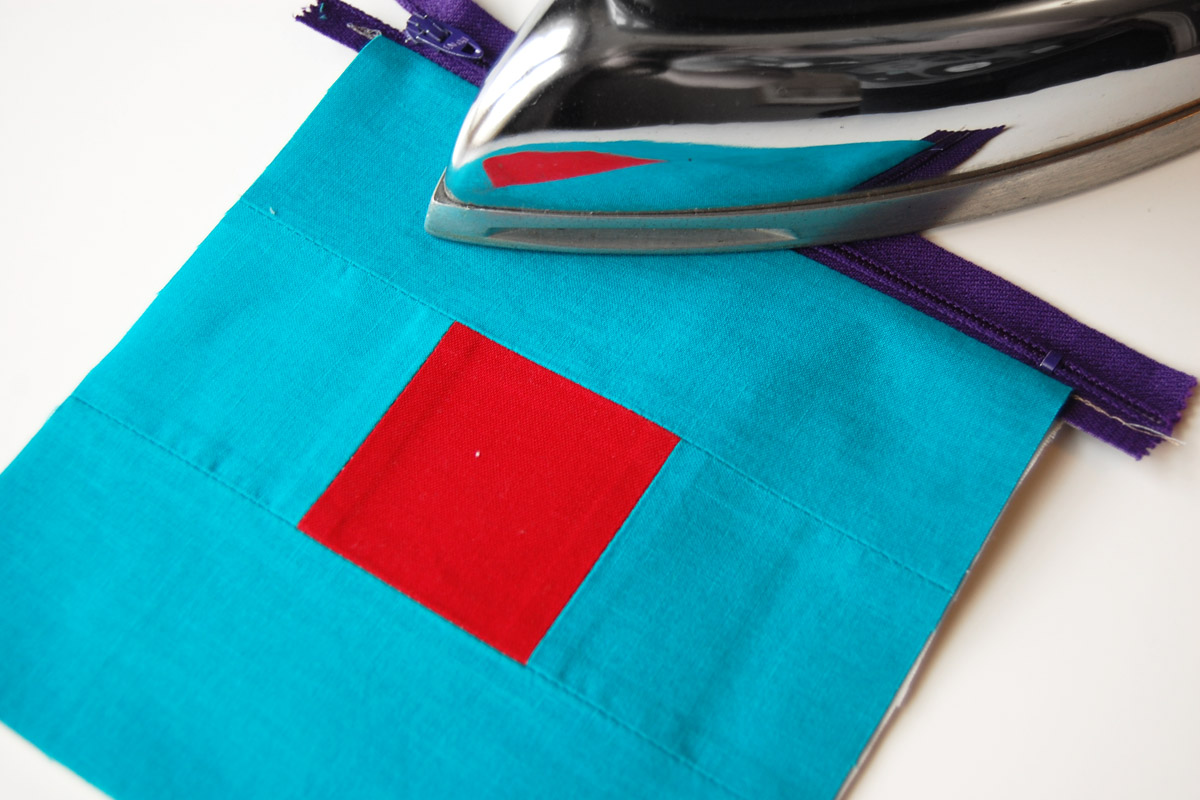
1. Interface the blocks. Grab your two completed Contrasting Color Blocks and apply the 6.5″ x 6.5″ square of fusible interfacing to the back (wrong side) of each block following the manufacturer’s instructions. Set the interfaced blocks aside.

2. Create the D ring strap. Take the 3″ x 4″ rectangle of fabric, and fold in half lengthwise to create a 1.5″ x 4″ rectangle. Lightly press to create a crease. Open up the rectangle of fabric, and fold the two outer edges in to meet the crease in the center, pressing well.

Next, bring the folded edges over together to create the strap, and press well.

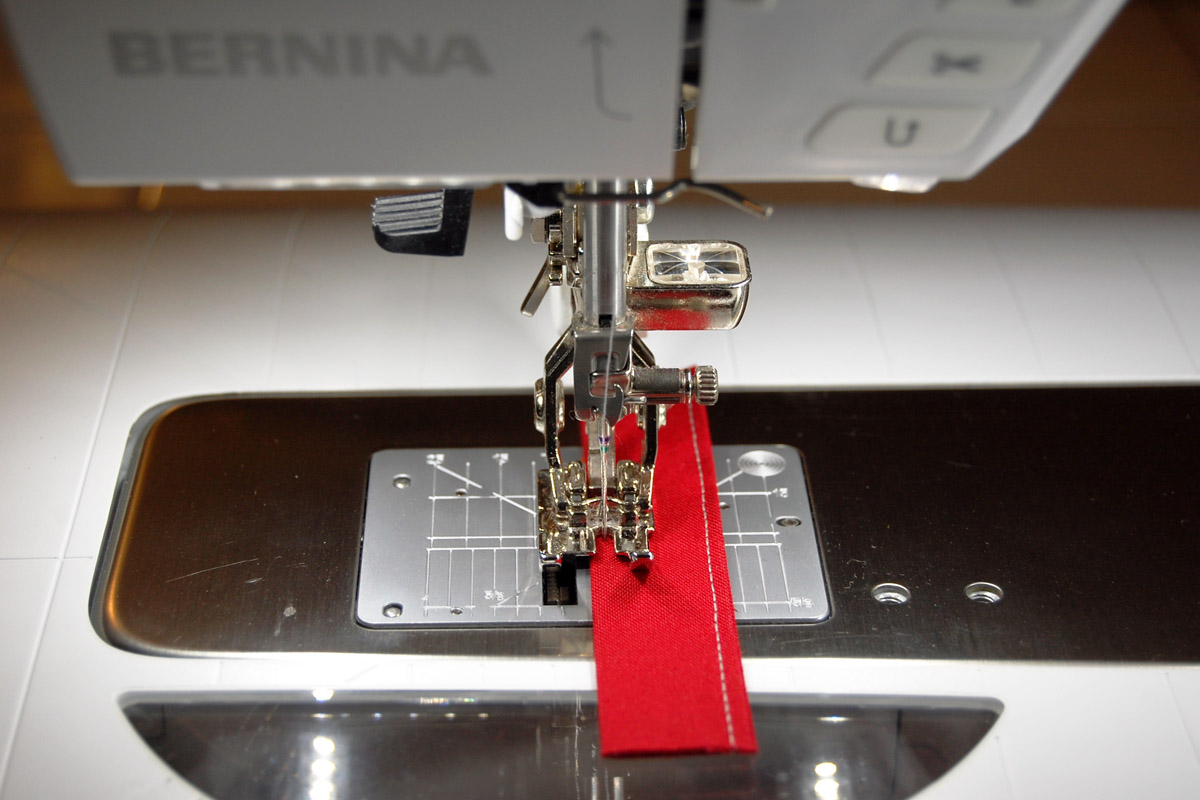
At the sewing machine, edgestitch along both sides of the strap.
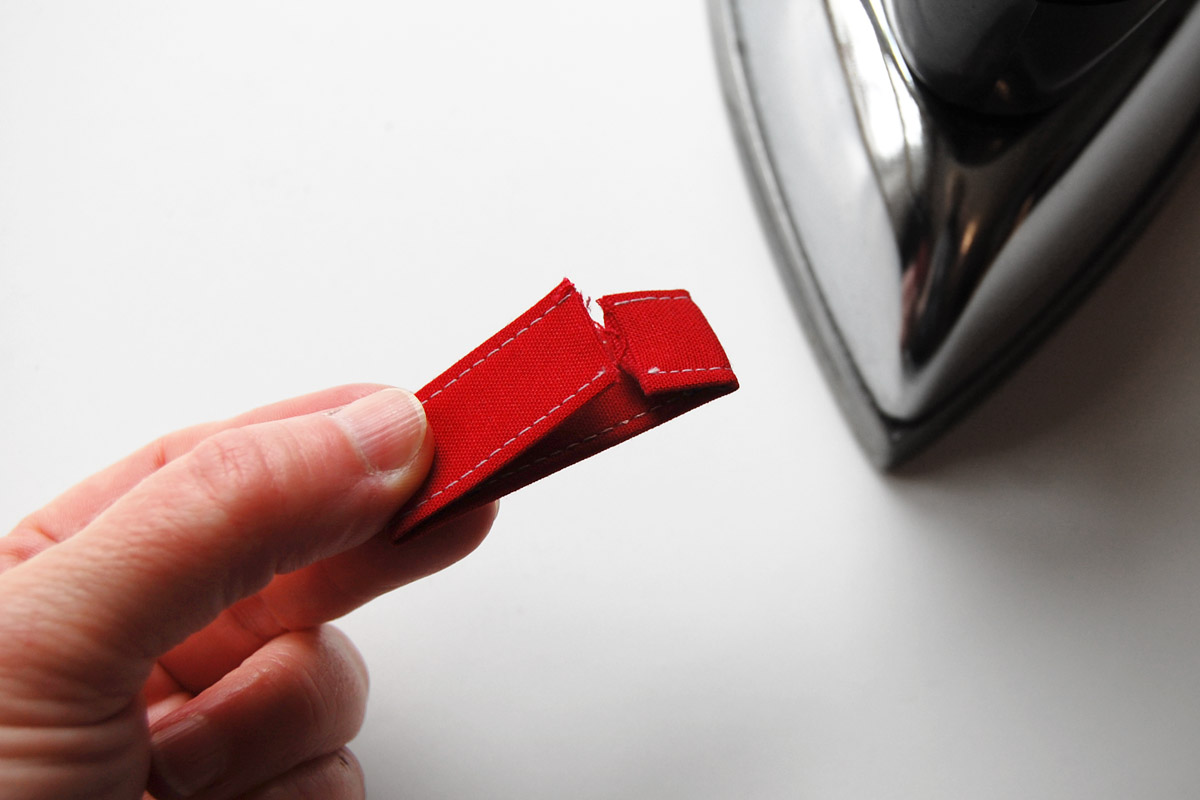
Take your edgestitched strap to the iron, folding one end up .5″ and folding the other end over so the ends meet. Press well. Set pressed strap aside.
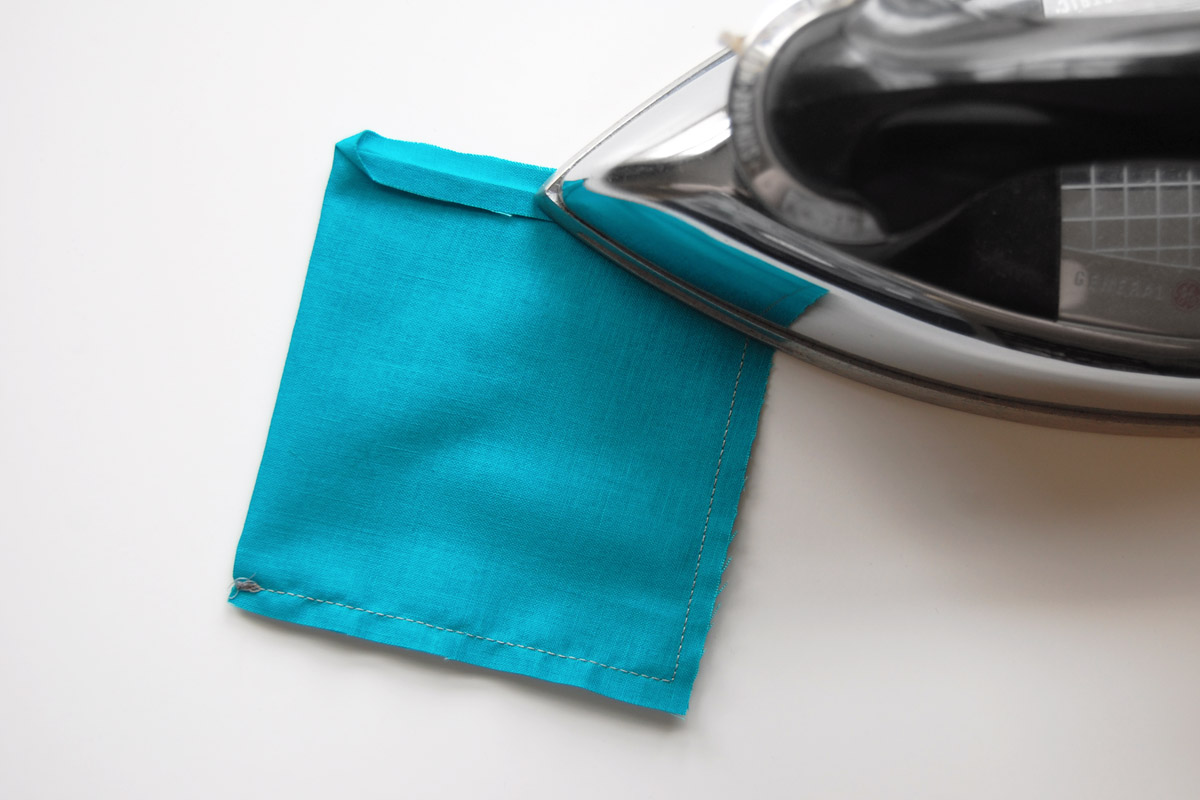
3. Create the inner pocket. Fold the 4.5″ x 8.5″ rectangle of fabric in half the long way to create a 4.5″ x 4.25″ rectangle. Sew along the 3 raw edges with a quarter inch seam beginning at the folded edge, and stopping about 2″ – 2.5″ away from the other folded edge. Backstitch at the beginning and end of the seam.

Press the seam allowance at the opening in the pocket over, even with the stitched seam. Repeat on the other side of the pocket.
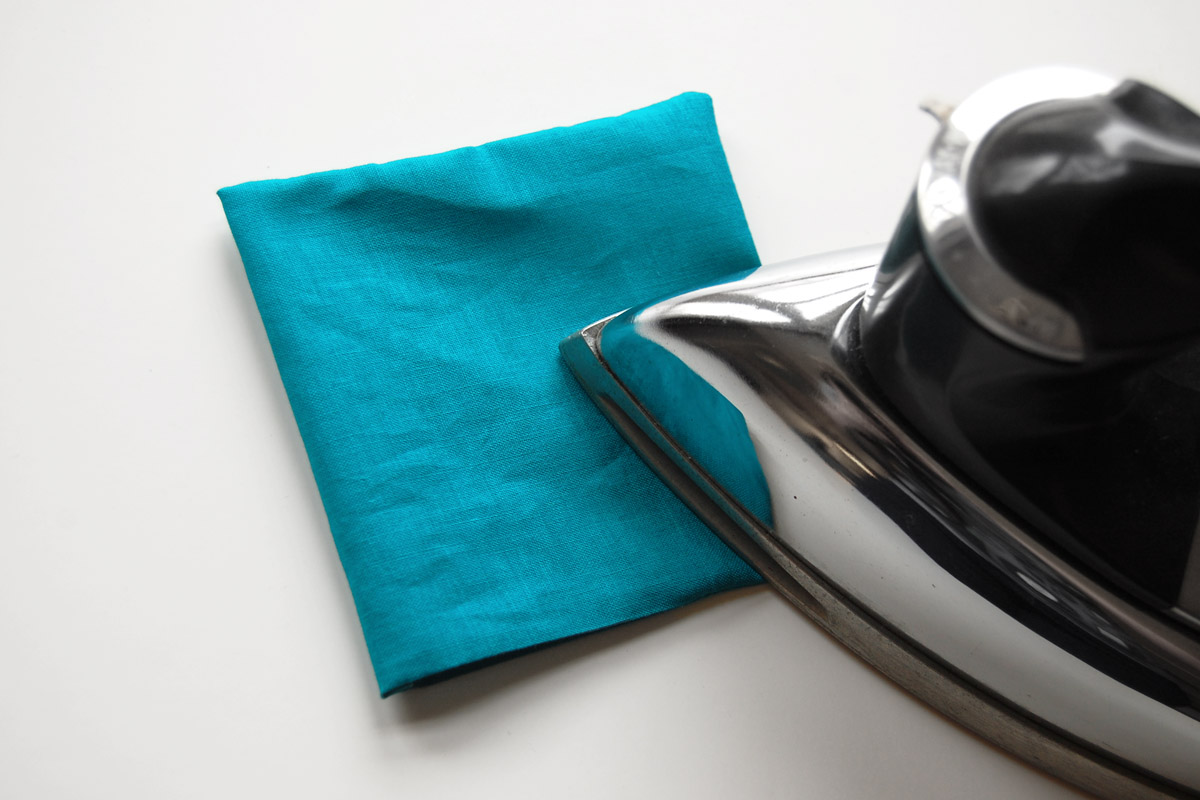
Turn pocket inside-out through the side opening. Use a point turner or blunt end of a chopstick to push out corners. Press the pocket well.
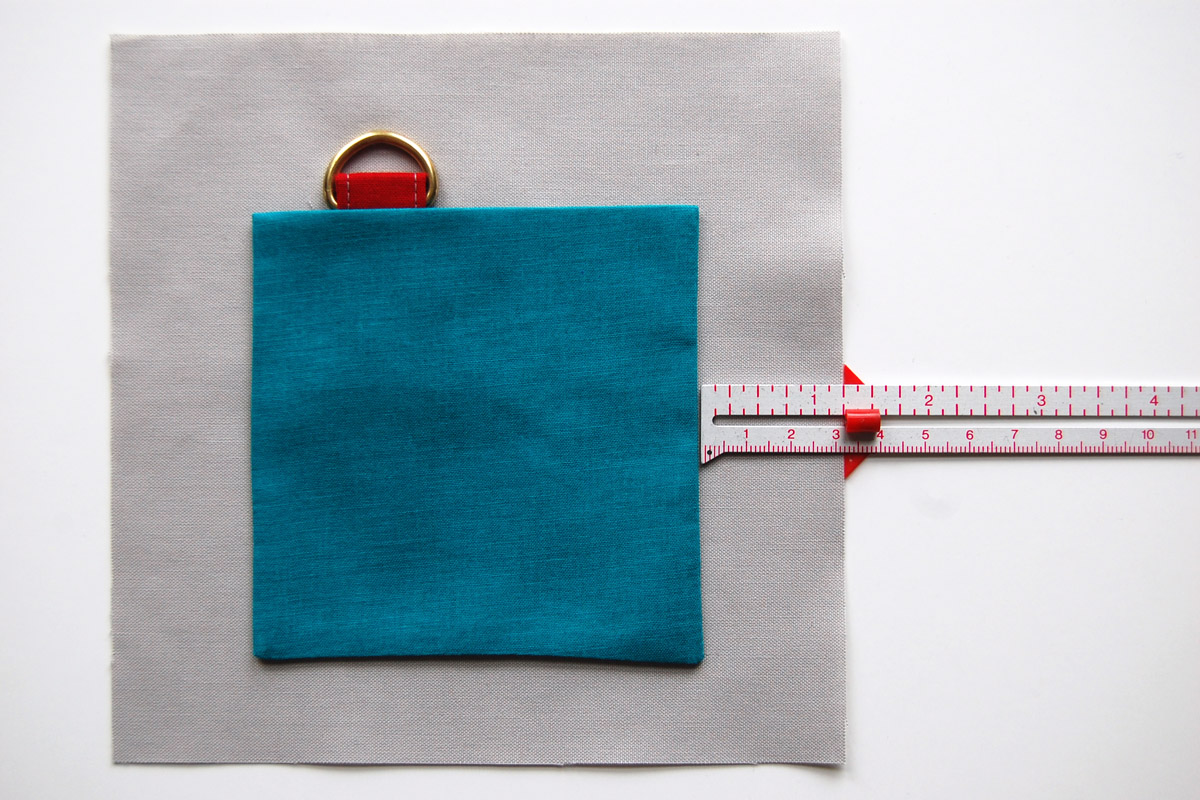
4. Attach D ring strap and pocket. Grab one of the 6.5″ x 6.5″ pieces of inner lining fabric, the D ring, and the D ring strap. Place the D ring into the folded strap, resting at the longer folded over end.
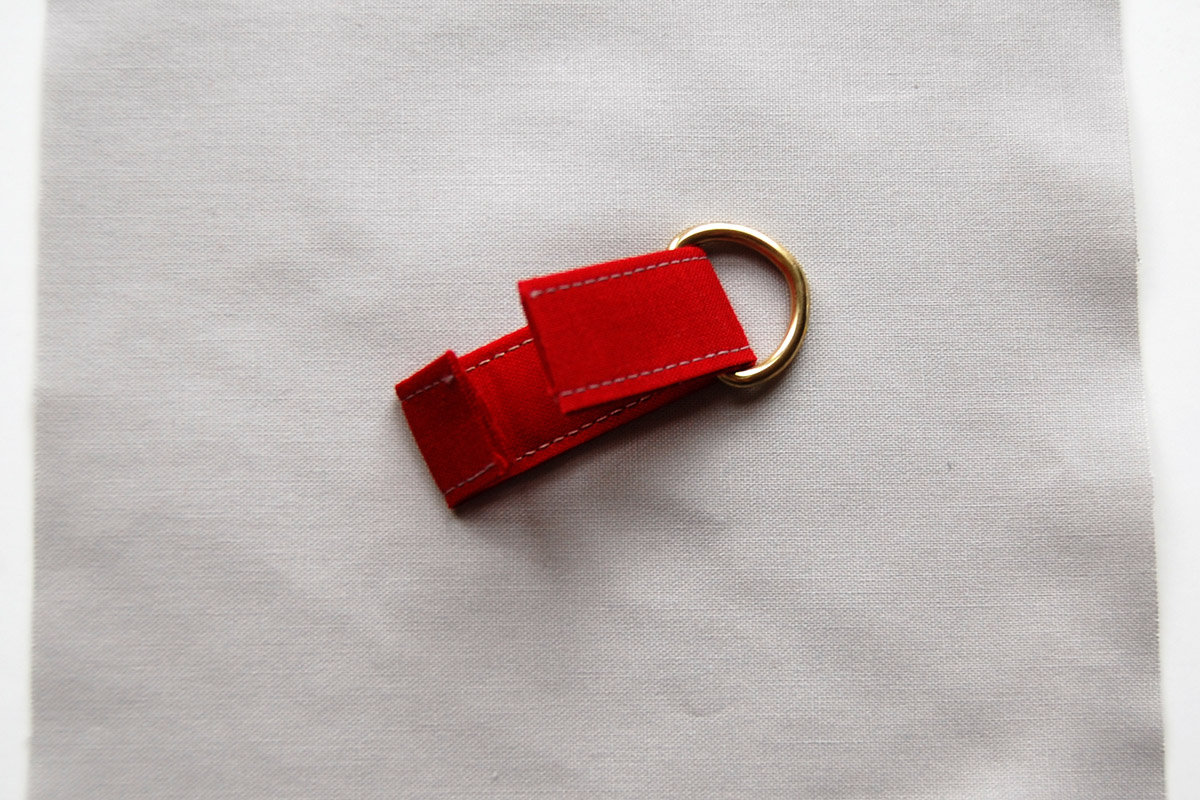
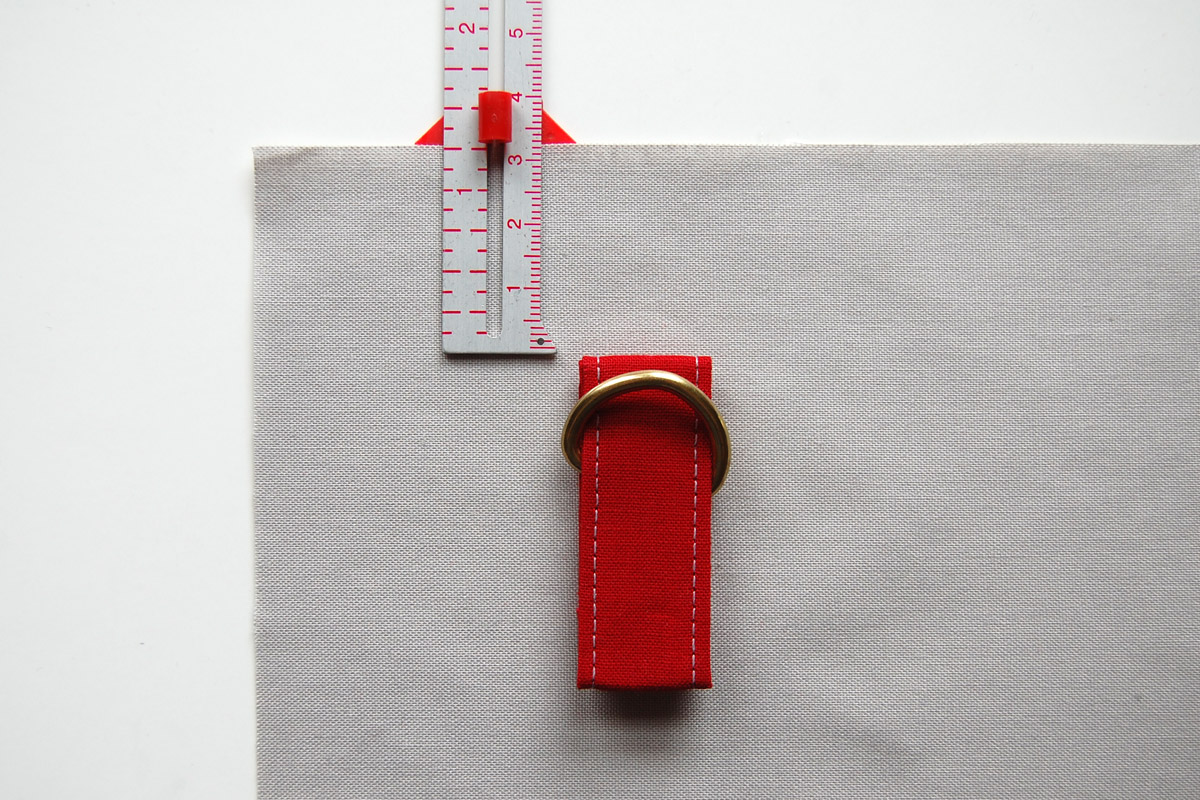
Place the strap with D ring open ends face down. Align the strap 2″ from the left edge of the pouch lining,
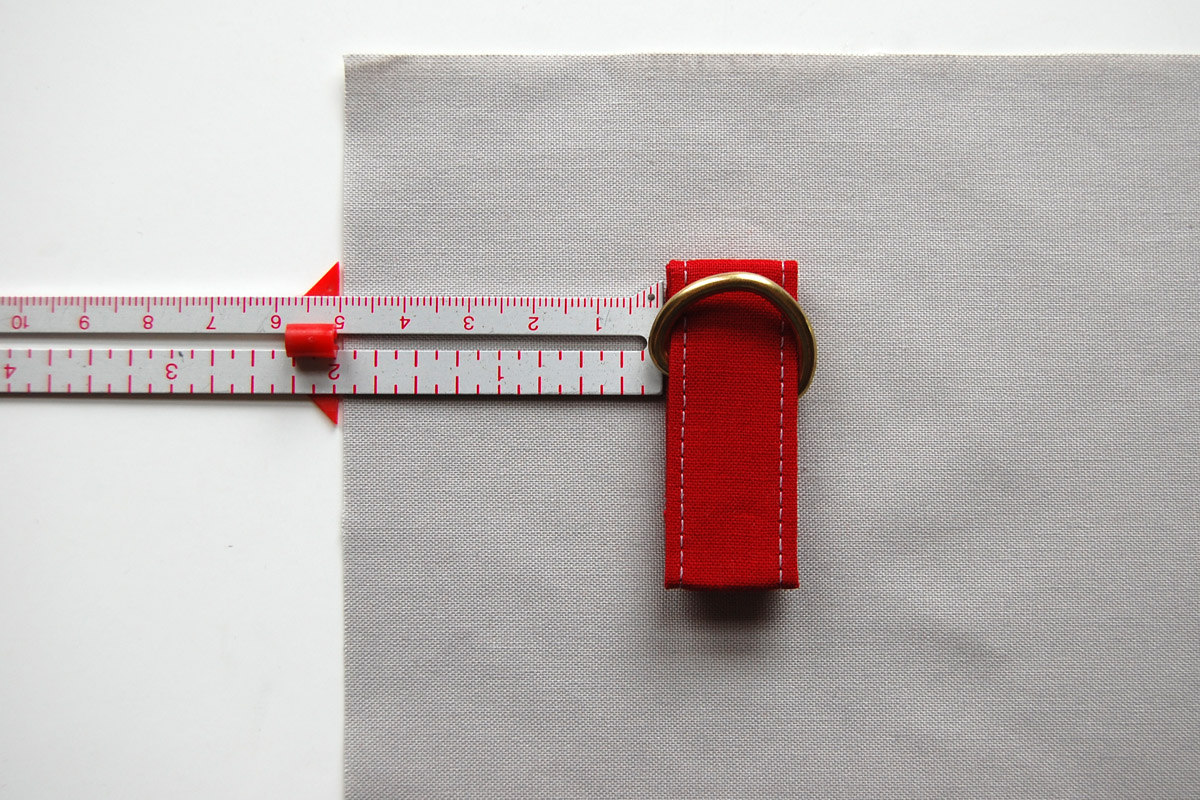
and 1.25″ from the top edge of the pouch lining.
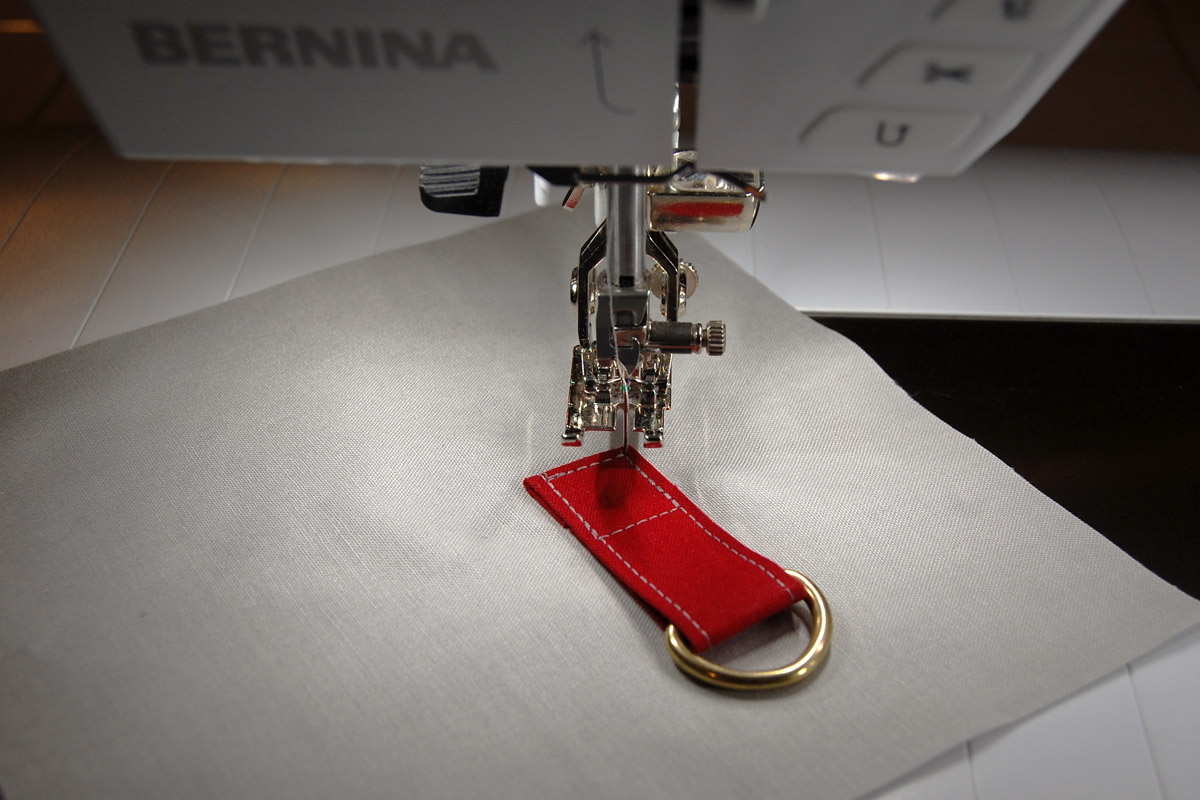
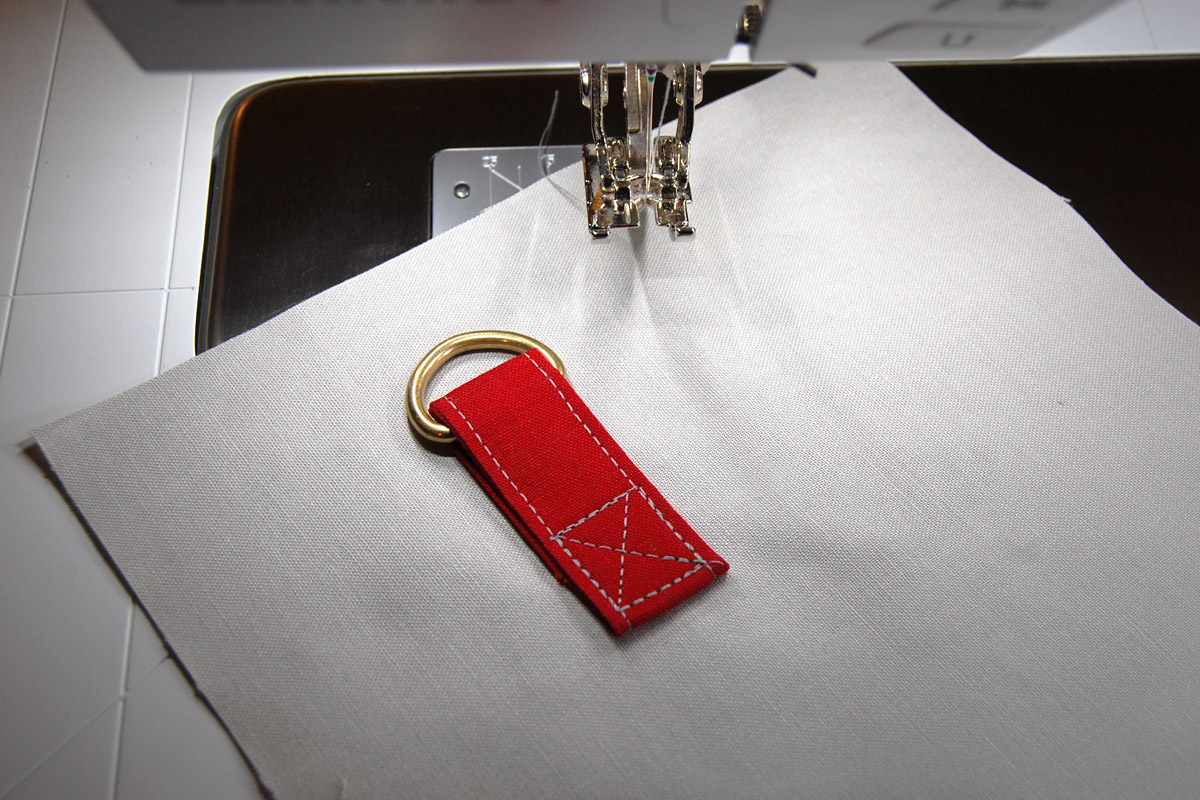
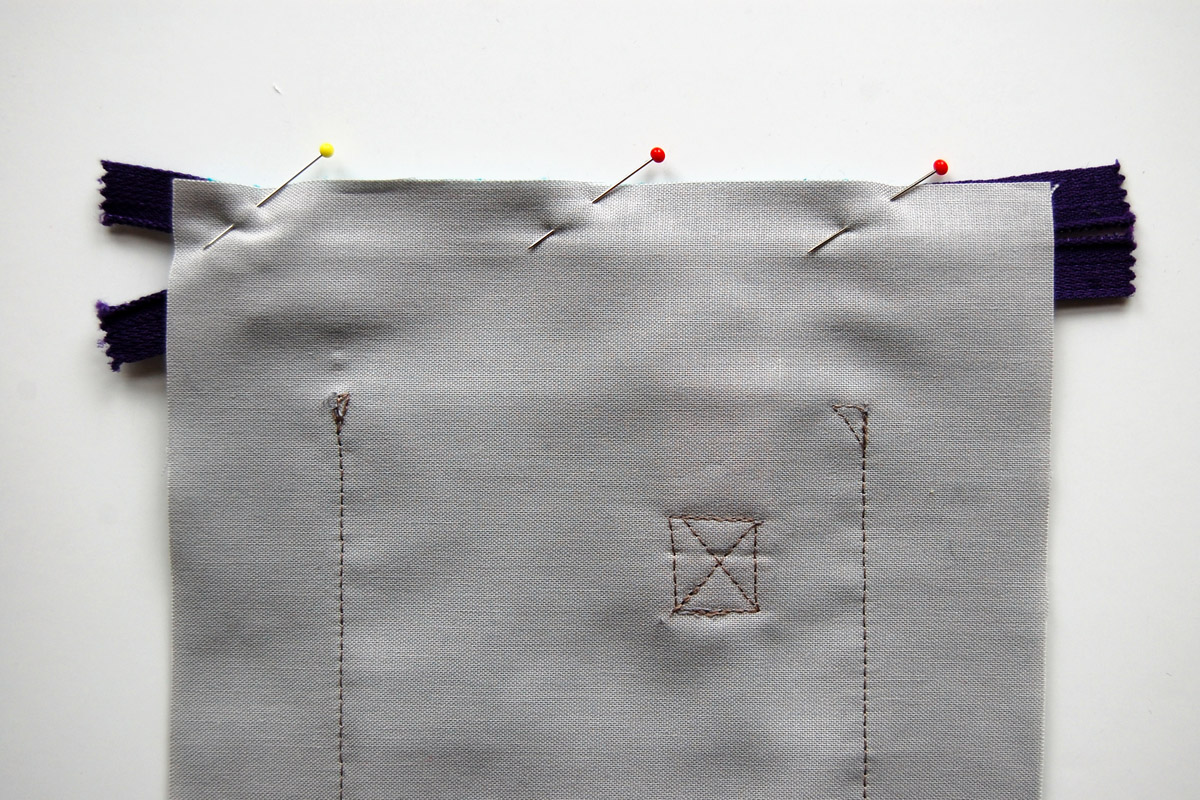
Stitch the strap to the pouch lining, sewing a square around the bottom of the strap. After sewing the square, leave the needle in the down position at one corner of the square, and stitch an X pattern across the square.
Next, center the pressed inner pocket over the strap, with folded side of pocket facing up. Space the inner pocket about 1″ from the bottom edge and centered about 1.25″ from each side. Pin in place.
Edgestitch pocket in place. The side opening on the pocket will be stitched closed in this step.

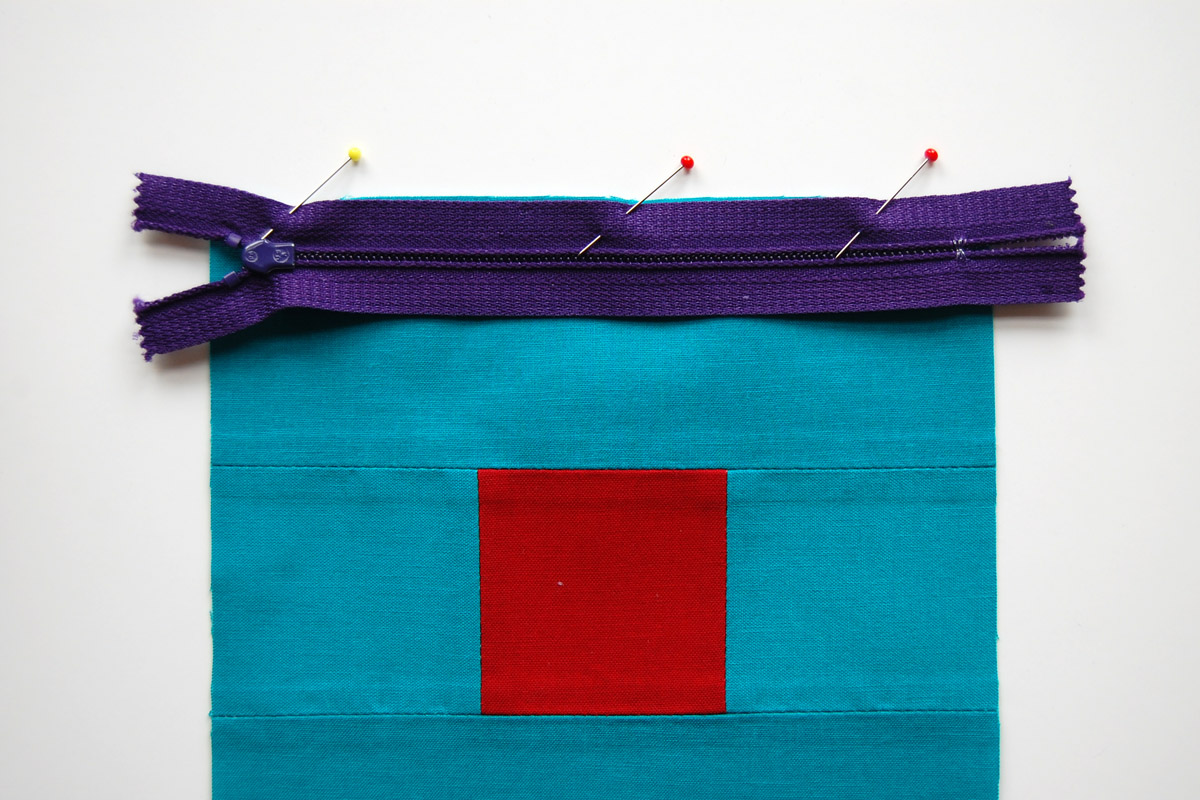
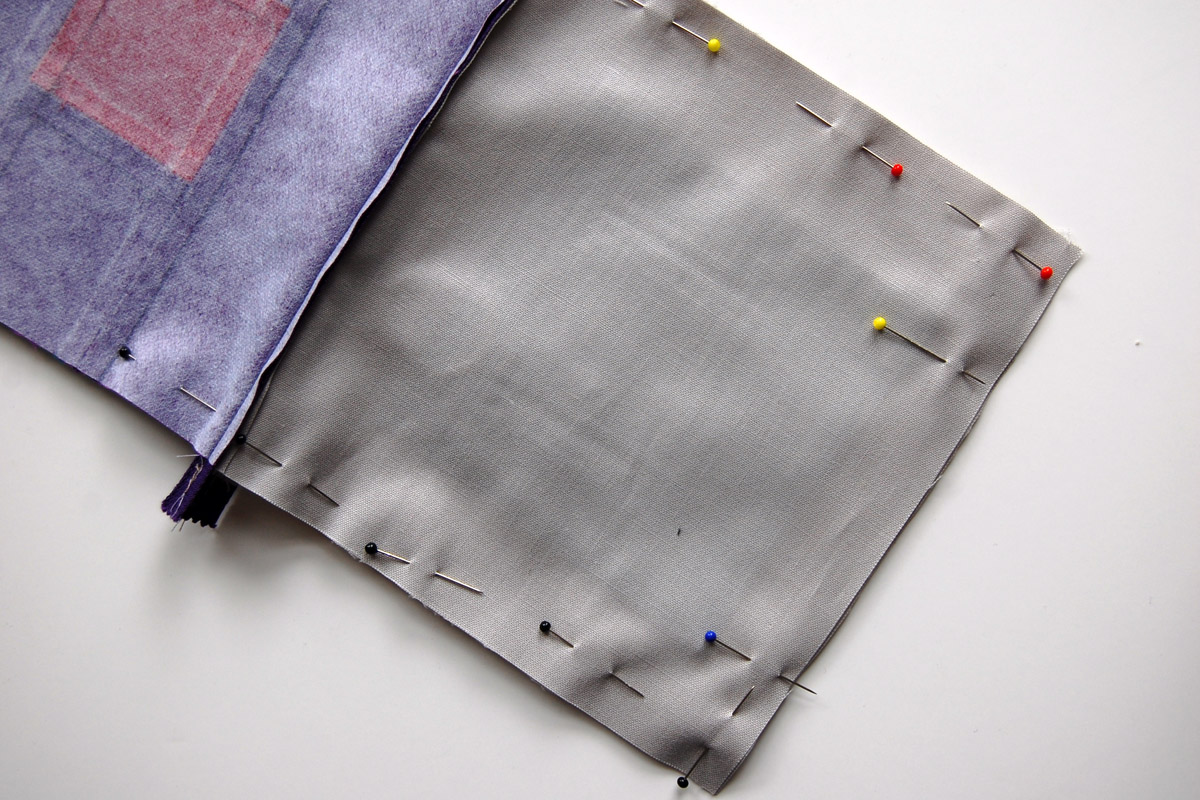
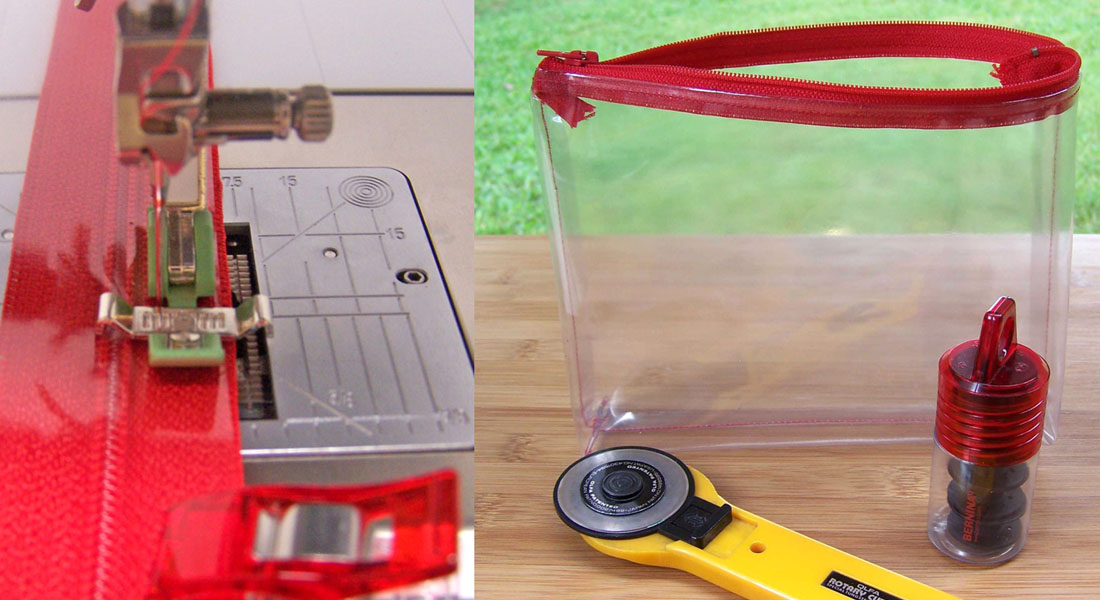
5. Attach the zipper. Start with one of the interfaced patchwork blocks right side up on your work surface. Place the zipper right side down, top edge even with the raw edge of the patchwork block. Pin in place.
Take one of the pouch lining pieces and carefully line it up (right side down) with the top edge of the zipper. Make sure that the lining edges are matching up with the patchwork block below. Carefully remove the pins one at a time, and re-pin through all layers.
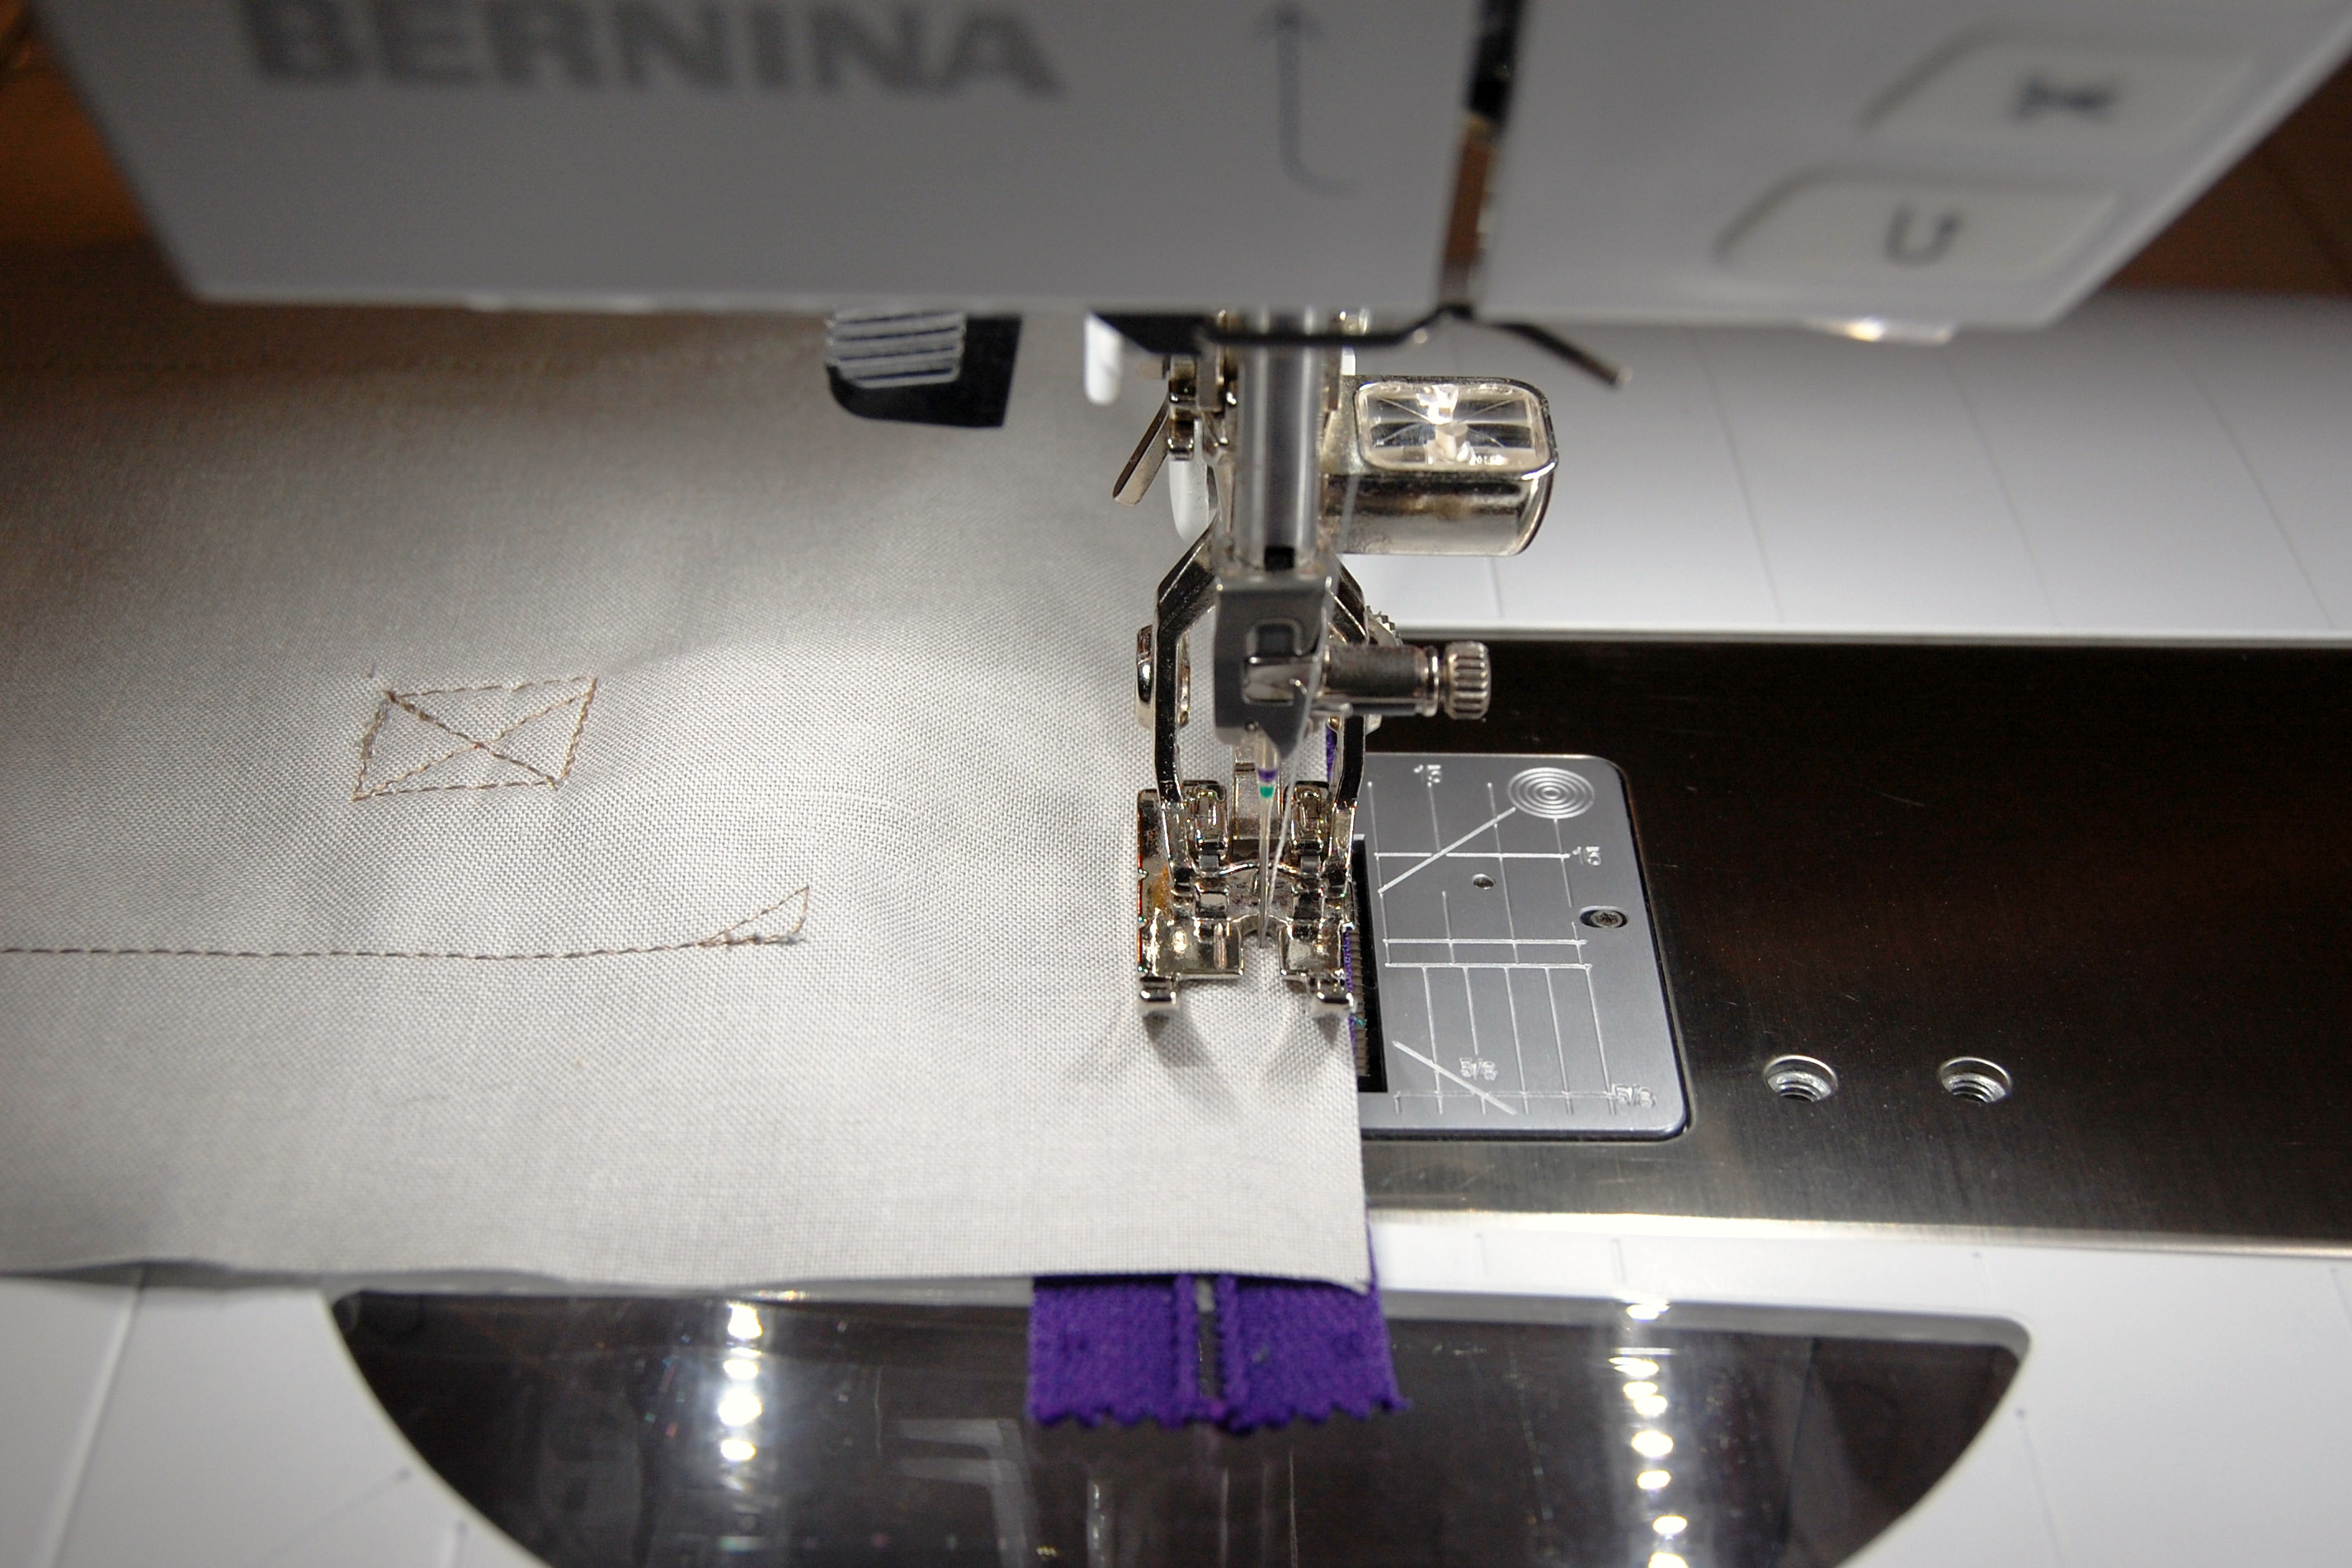
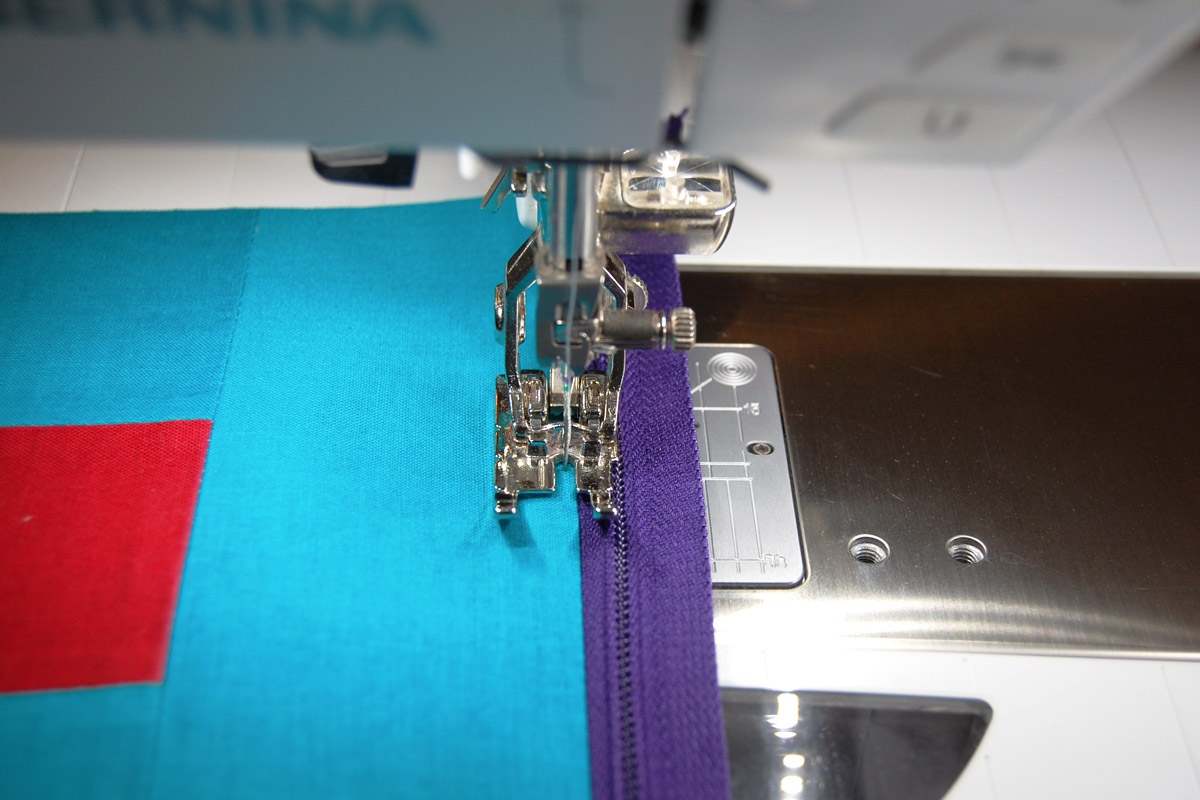
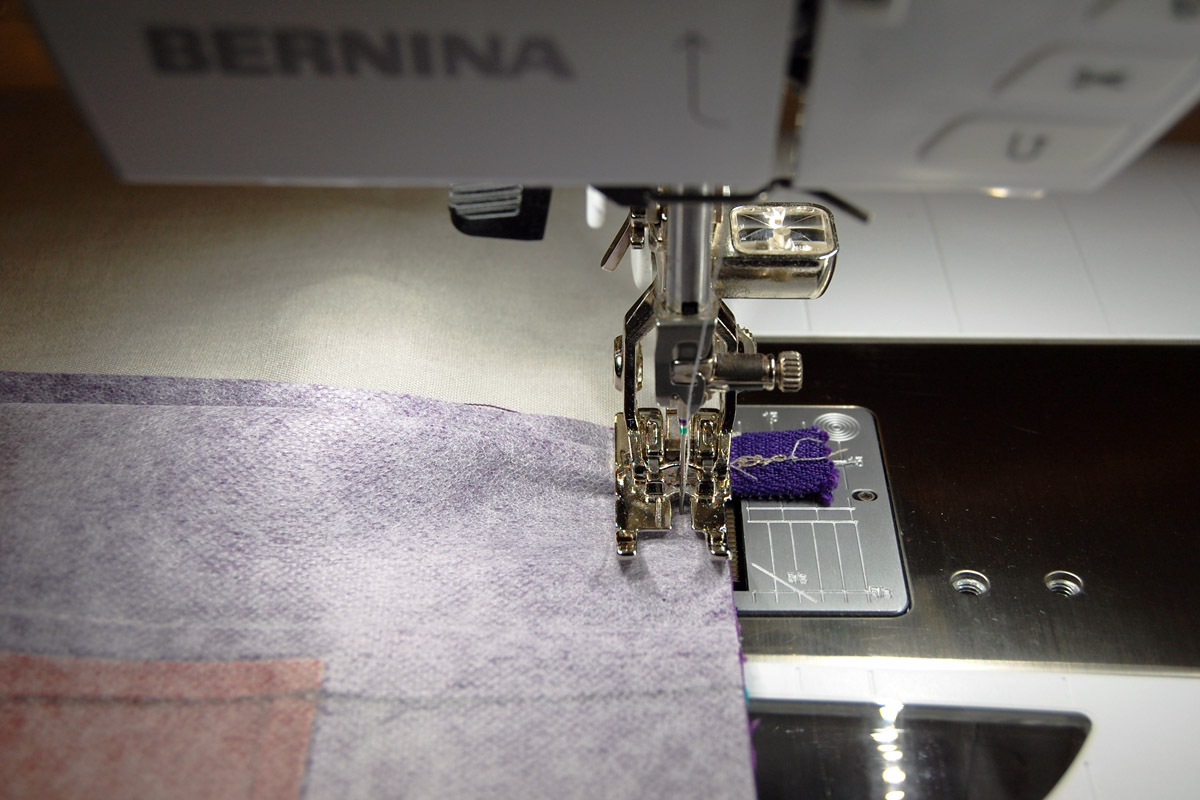
At the sewing machine, stitch the zipper in place with a quarter inch seam. If the zipper pull gets in your way, stop with the needle in the down position, raise the presser foot, and unzip the zipper pull to move it out of the way to continue stitching.
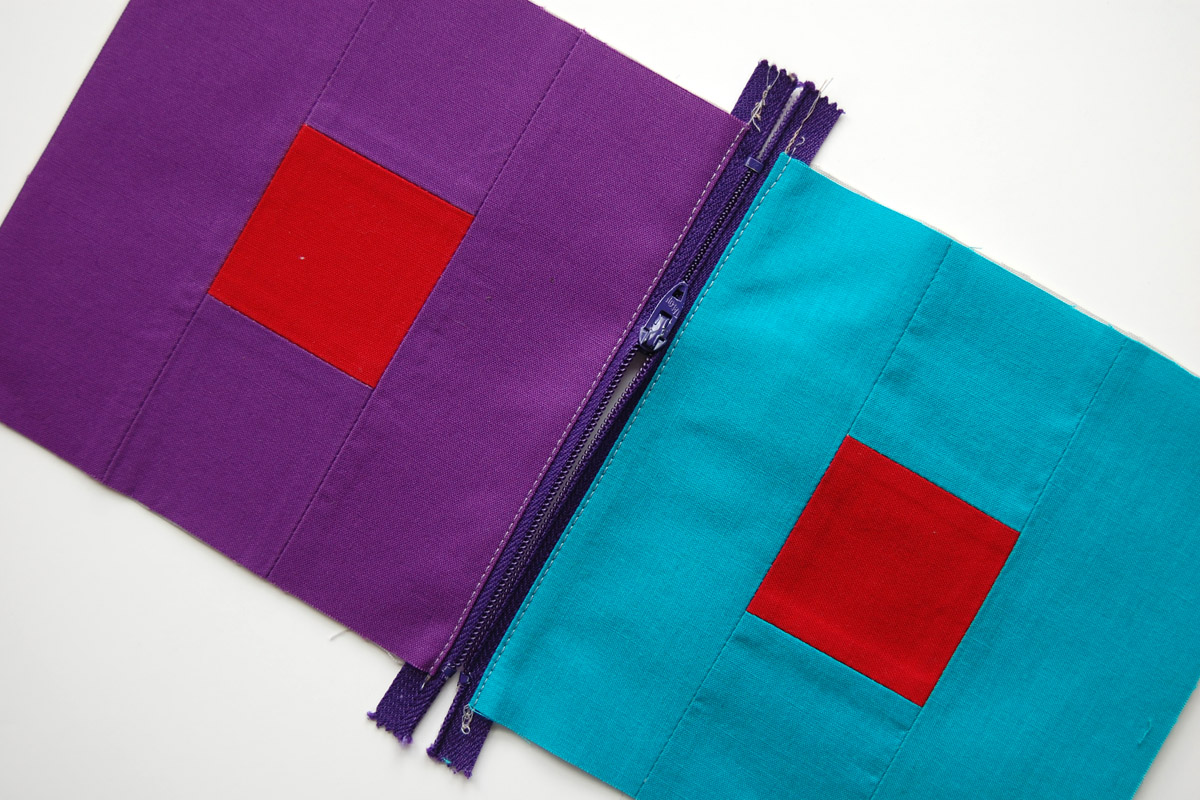
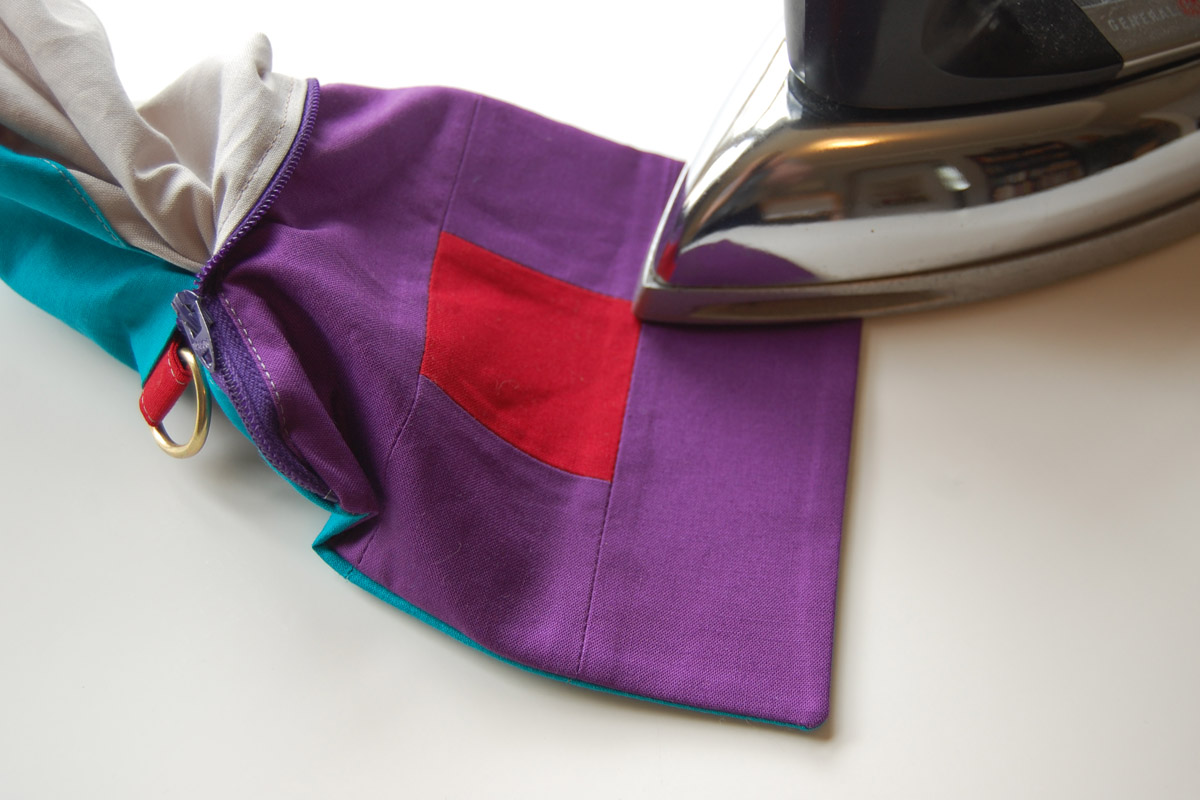
After stitching the zipper seam, press the seam open.
Topstitch the pressed seam close to the edge, using the tip above to move the zipper pull out of the way if needed.
Sew the zipper to the other side of the pouch. Begin with the last patchwork block and place it face up on your work surface. Next, align the other side of the zipper right side down on the top edge of the block. Be careful to match up the sides of the already sewn portion with the block below so they are even when stitching the pouch together. Pin in place.

Carefully align the last lining piece to the top edge of the zipper. Remove the pins one at a time, and pin through all layers. Finish sewing as in the steps above, pressing seam open and topstitching to finish the zipper seam.

6. Sew the zipper pouch together. Before moving on to the next steps, be sure to open the zipper so you can turn the finished pouch inside-out after stitching.
Place the patchwork block pieces right sides together, and the lining pieces right sides together. Carefully match up the edges, and start to pin all the way around. Smash the zipper flat as you go, pressing the zipper in half so the teeth are facing up towards the patchwork blocks.
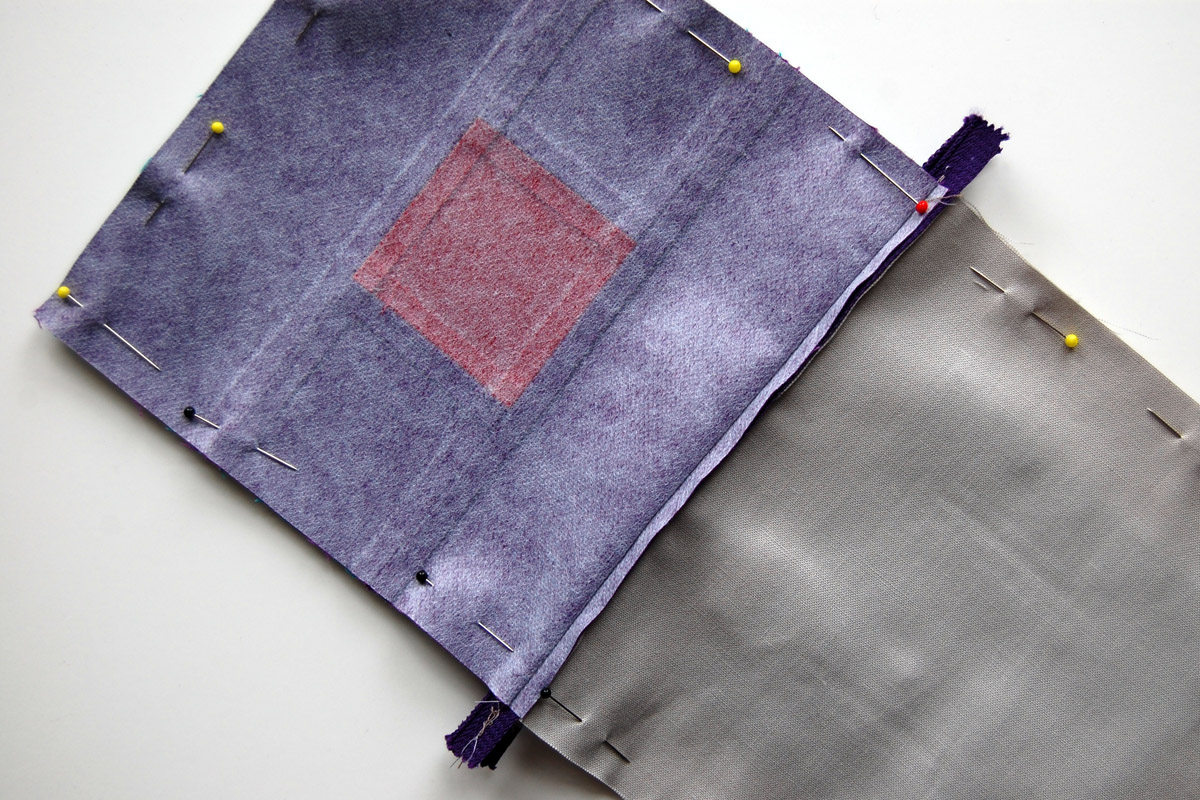
Be sure to leave open about 3.5″ along the bottom edge of the lining to turn the pouch inside out after stitching. I mark this opening with pins placed perpendicular to the fabric to remind me to stop at this point.
Stitch around the edges of the pouch with a quarter inch seam. When sewing over the zipper, slow down and sew carefully, backstitching over the zipper to create a strong seam.
After stitching, cut the extra zipper tape off to the seam allowance and trim fabric close to the stitching at each corner.
Turn the pouch inside-out through the opening in the bottom of the pouch lining. Use a point turner or blunt end of a chopstick to carefully push out the corners of the patchwork side of the pouch. Press the bottom edge and corners flat.
Stitch the opening in the lining closed either with a hand stitch or by topstitching with your sewing machine.
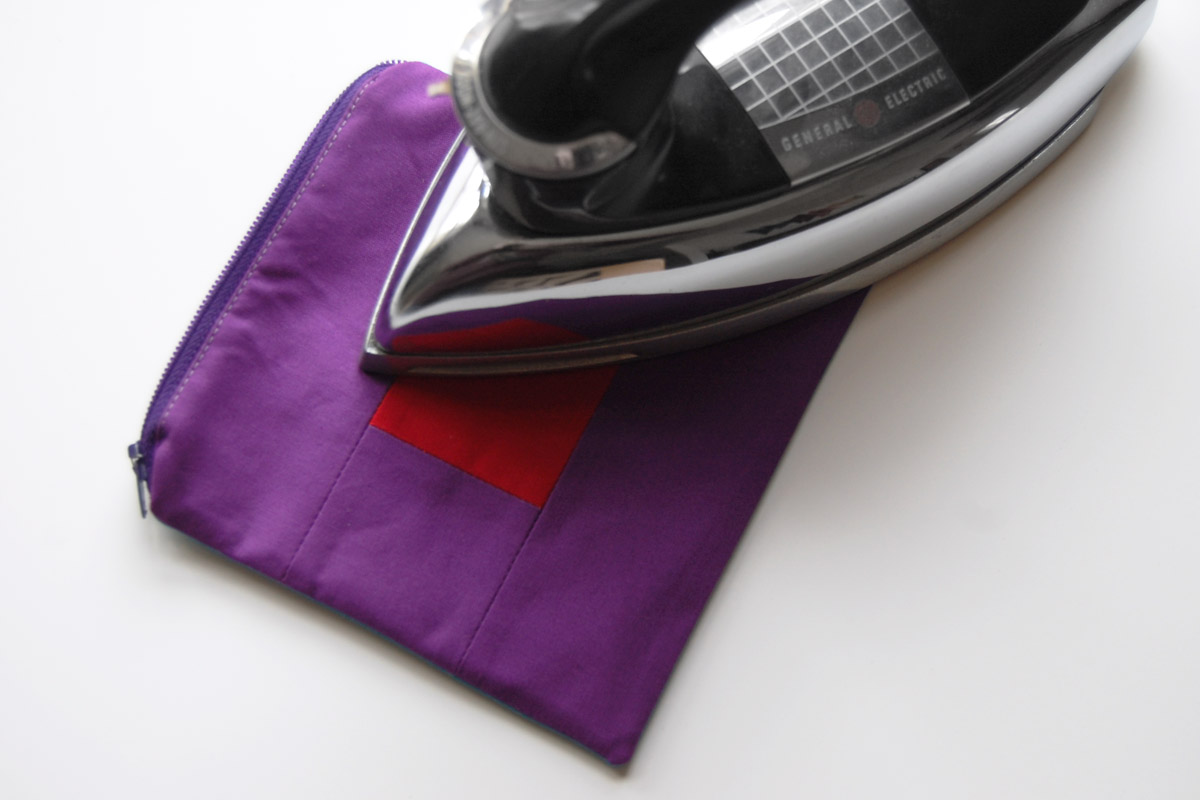
Push the lining down into the bag and give it one final pressing.
And you are ready to use the pouch!


