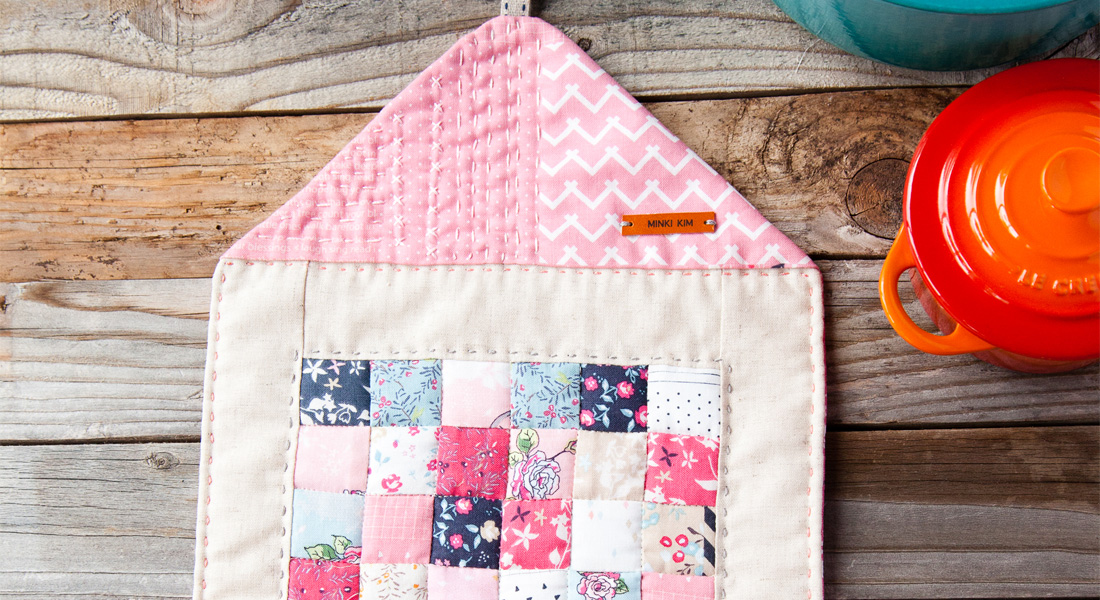
How to Make a Whimsy House Art Quilt
A charming wall-hanging from Jamie Fingal – artist, author, teacher, fabric designer, and curator of “Dinner at Eight Artists” with Leslie Tucker Jenison. Visit Jamie at her Twisted Sister blog at jamiefingaldesigns.com.
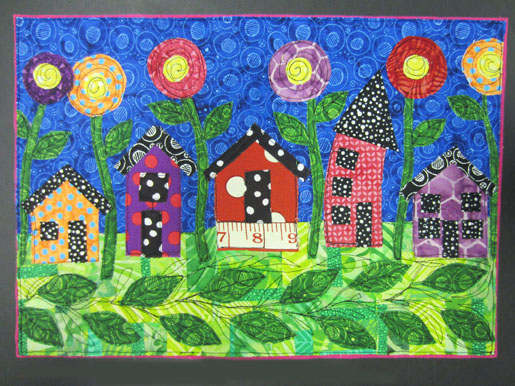
Have fun making this free-flowing whimsy house art quilt that teaches a little bit about design, color selection, and free-motion machine quilting. A delightful wall-hanging that will be the perfect gift for a friend or for yourself, to hang in your house or studio.
Finished size: 13-1/2″ x 9-1/2″
Supplies
- “Pre-fused” scraps
- 2 pieces of wool-blend felt (National Nonwovens)
- ½ yard black for the foundation
- ½ yard fun color for the back
- Black thread, 50wt
- Parchment paper or Goddess Sheet
- Mistyfuse, if you don’t have pre-fused scraps
Step 1) Prepare the fabrics.
I selected some coordinating colors of pre-fused fabrics to make this house quilt. Blue background and green landscape set the scene for this project. I chose colors that would pop when they came in contact with the blue sky. Leaves on the lower portion that stood out on the lime green landscape. House colors that popped on both the sky and the landscaping, and black and whites for roofs, windows and doors, because they are kinda fun!

If you do not have any fused scraps, Step 2 shows how to fuse fabrics.
Cut the black wool blended felt to 13.5 x 9.5. This is a horizontal project. This black piece will serve as your foundation.
Step 2) Make the landscape fabric.
Cut strips of your landscape fabrics to use for the “patchwork,” then cut them into smaller pieces.
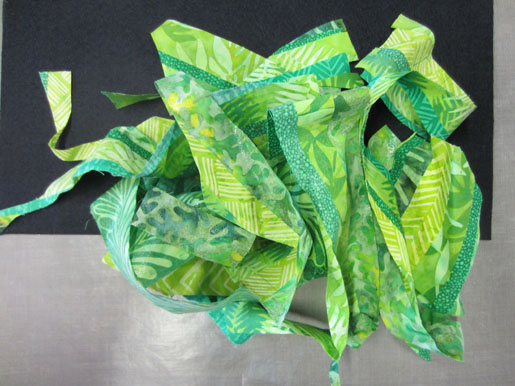
Collage the fabrics together on a piece of parchment paper or a non-stick sheet to create a block of patchwork for the landscape, being sure to overlap them for added stability. When you have an arrangement you like, fuse the pieces together.

Step 3) Build the background for the houses.
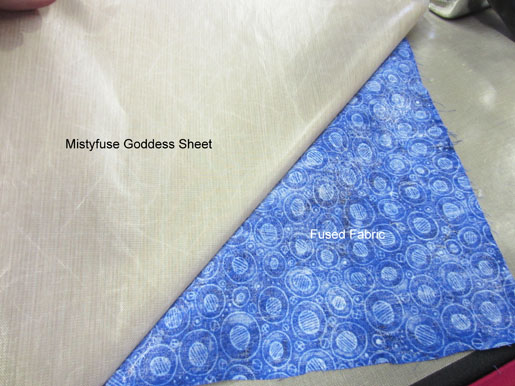
Fusing 101. I am using Mistyfuse, the lightest weight fusible that doesn’t change the hand of the cloth. This is a non-paper backed fusible, so this is where the parchment paper comes in. First step is the press your fabric, taking out all of the folds, so it lays flat.
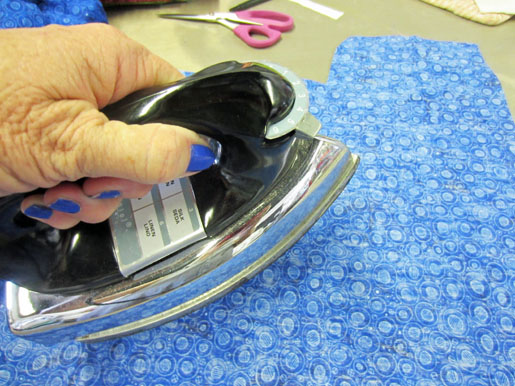
Lay your sky fabric right side down on your table, place a sheet of fusible over the top of the wrong side (with nothing going over the sides), then a layer of parchment paper on top. (I am using a Goddess Sheet, made by Mistyfuse). With a hot iron on the cotton setting, press the entire section of fabric in a circular motion, being careful to get all of the edges.
For this project, I used the black wool blended felt as my guide, to match up the width of it with the fabric.
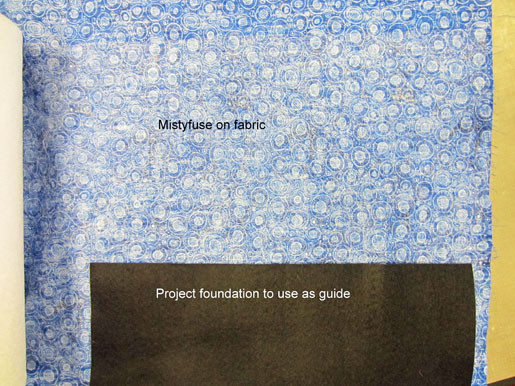
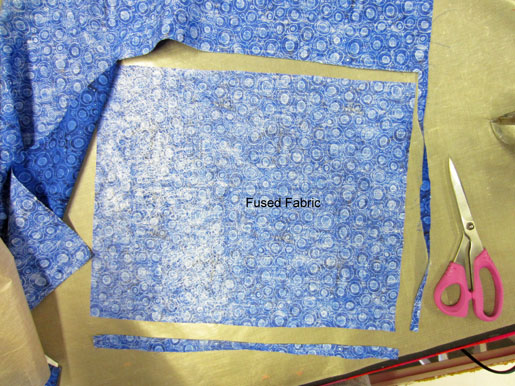
You can see how the fabric is bonding to the Mistyfuse by just gently peeling back the paper when it has cooled som (because you don’t want to burn your hands from the heat of the iron). If the surface is shiny, it is fused. If it looks lacey or pulls up, you need to press it again.
Trim the excess fabric – the parts that have no Mistyfuse on them.
Lay the blue background/sky fabric on the black felt and iron into place.
Cut a hill and valley on the upper portion of the landscape/ground fabric.
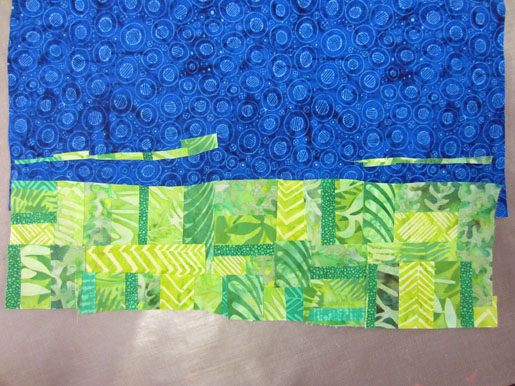
Then overlap the landscape over the blue background and press into place.

Turn the piece over and cut excess fabric from the back, using the felt as your guide.
Step 4) Construct the houses.
Using fused scraps, cut out houses. Think about selecting fabrics that compliment each other, and also “pop” when they come in contact with the sky and green landscape. I used black and white fabrics with small prints for the roofs, doors, and windows.
Cut out the houses, making them different and fun. Tall, short, fat, narrow. Have fun with it. Iron them into place.
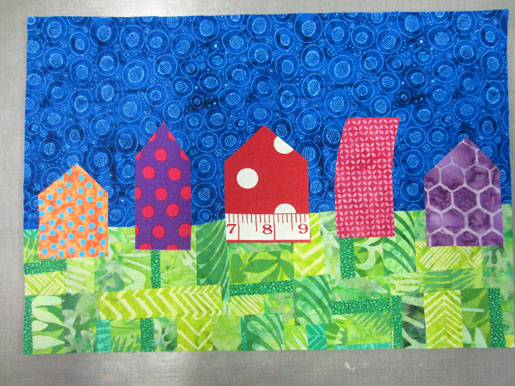
The roof fabrics are cut in strips and overlap at the top for extra security. Iron into place.
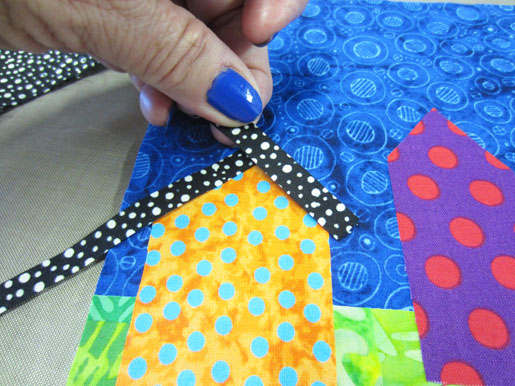
Cut the doors and windows, and press into place.

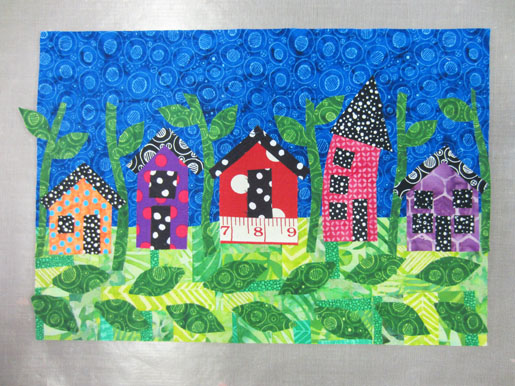
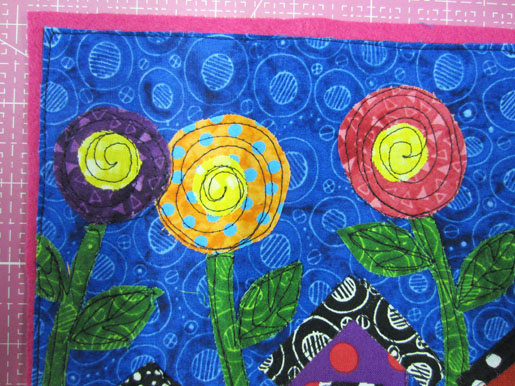
Step 5) Add the flowers.
Use the same idea of complimentary colors for the flowers, stems, and leaves. You want them to pop out when put against the blue sky.
Cut colorful circles for the flowers, place them on the background but DO NOT FUSE them in place yet.
The stems should be in proportion to the flowers. Choose a green that really shows up on the lower landscaping. Cut and place the stems, carefully placing them underneath the flowers.
An easy way to cut leaves is to cut them in multiples, folding the fabric in a fan-like way before cutting a leaf shape. You want to make sure that you have the right length for each leaf, plus the width that you desire. You make the fold the width of the leaves.
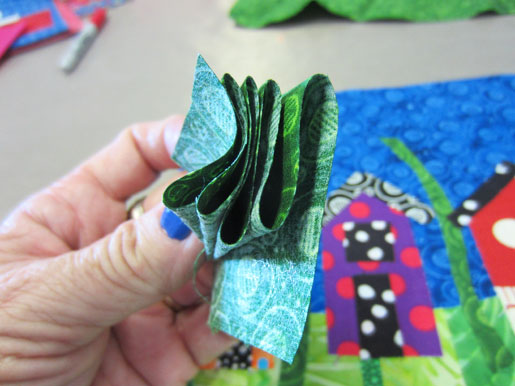
Cut leaves for the flowers and place them on the stems.
Cut a dozen or so larger leaves for the “vine” under the houses. Choose a green that really shows up on the lower landscaping. Fuse in place.
Press all of the stems and leaves into place.
Now you can add the round yellow centers to the flowers. This gives the piece a little zing! Press the flowers into place.
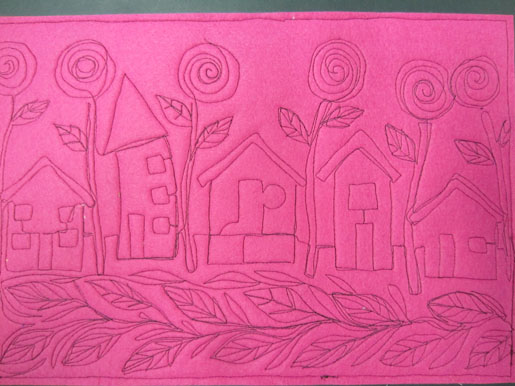
For the backing of this piece, cut another piece of wool blended felt about ½-1” larger than the foundation. I used a bright pink color for an added pop of color. Pin at the top to secure it before taking it to the sewing machine.
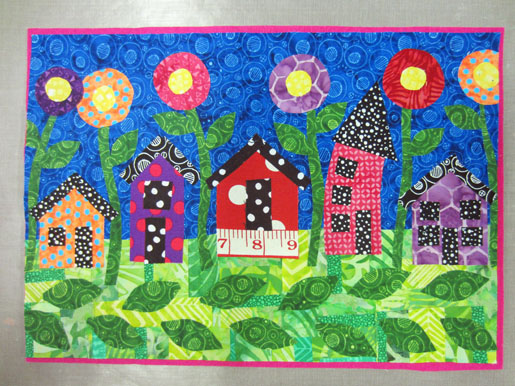
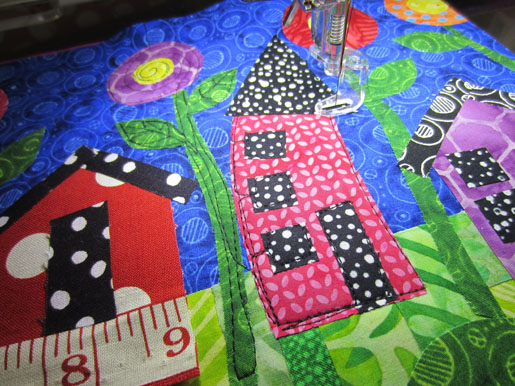
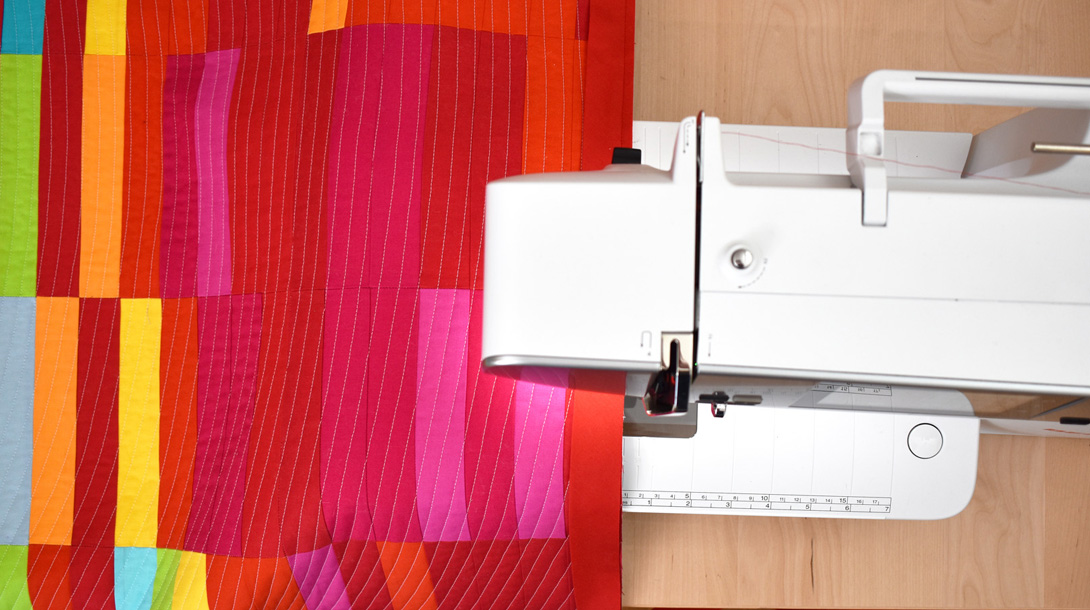
Step 6) Add free-motion quilting.
Free-motion quilting 101. This is a great way to practice, by letting the needle and thread be your pen, so to speak. Free-motion quilt around each house, roof, window, and door. This doesn’t have to be perfect. Outline the flowers, stems and leaves. You could be as simple as you desire, or rev it up and do some swirls inside the flowers. The leaves in the lower portion will help you get into the rhythm of free-motion machine quilting. Just enjoy yourself.
You can either sew around the entire edge of the piece to secure it on the sides, or zigzag it. Whatever floats your boat!
Take your quilt to the ironing board and press the front of it.
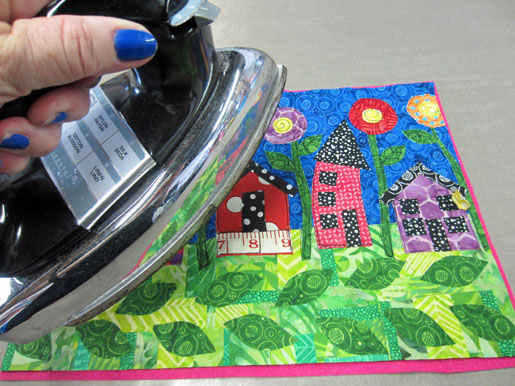
Using a rotary cutter, ruler and mat, trim the backing felt, so you can still see the color that you used. It’s about an 1/8th of an inch.


3 comments on “How to Make a Whimsy House Art Quilt”