How To Insert An Exposed Zipper
Zippers have a bad rap for being difficult to sew. Not so! Yes, there are a lot of steps, but each one is simple and straight forward. It’s just a matter of getting the right order of operations. Follow the steps below to add a great, modern and fresh detail to any garment—an exposed zipper.
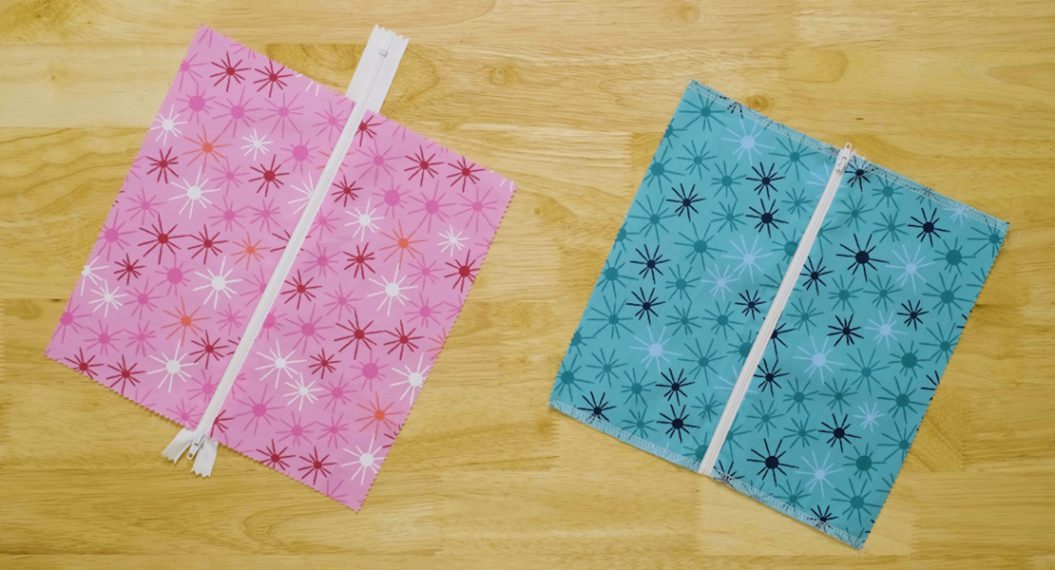
While exposed zippers can be applied where there is a seam or no seam, this tutorial demonstrates the method for without a seam.

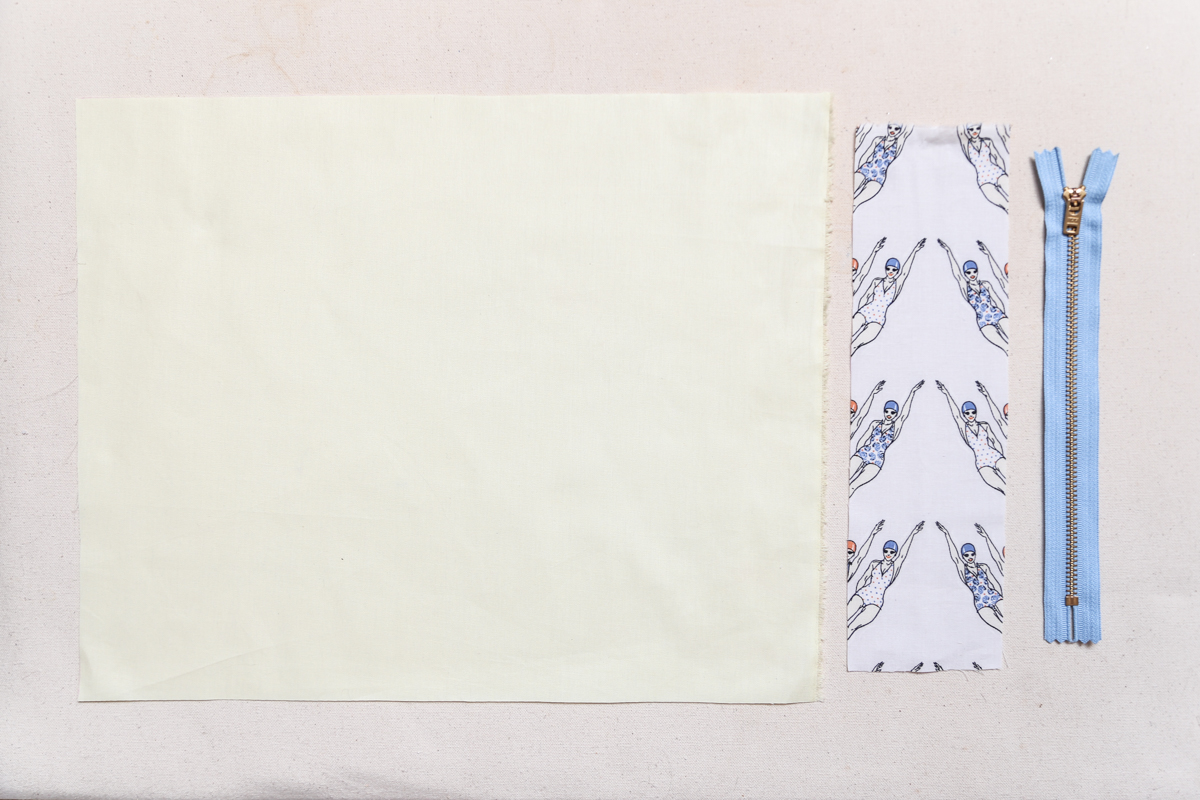
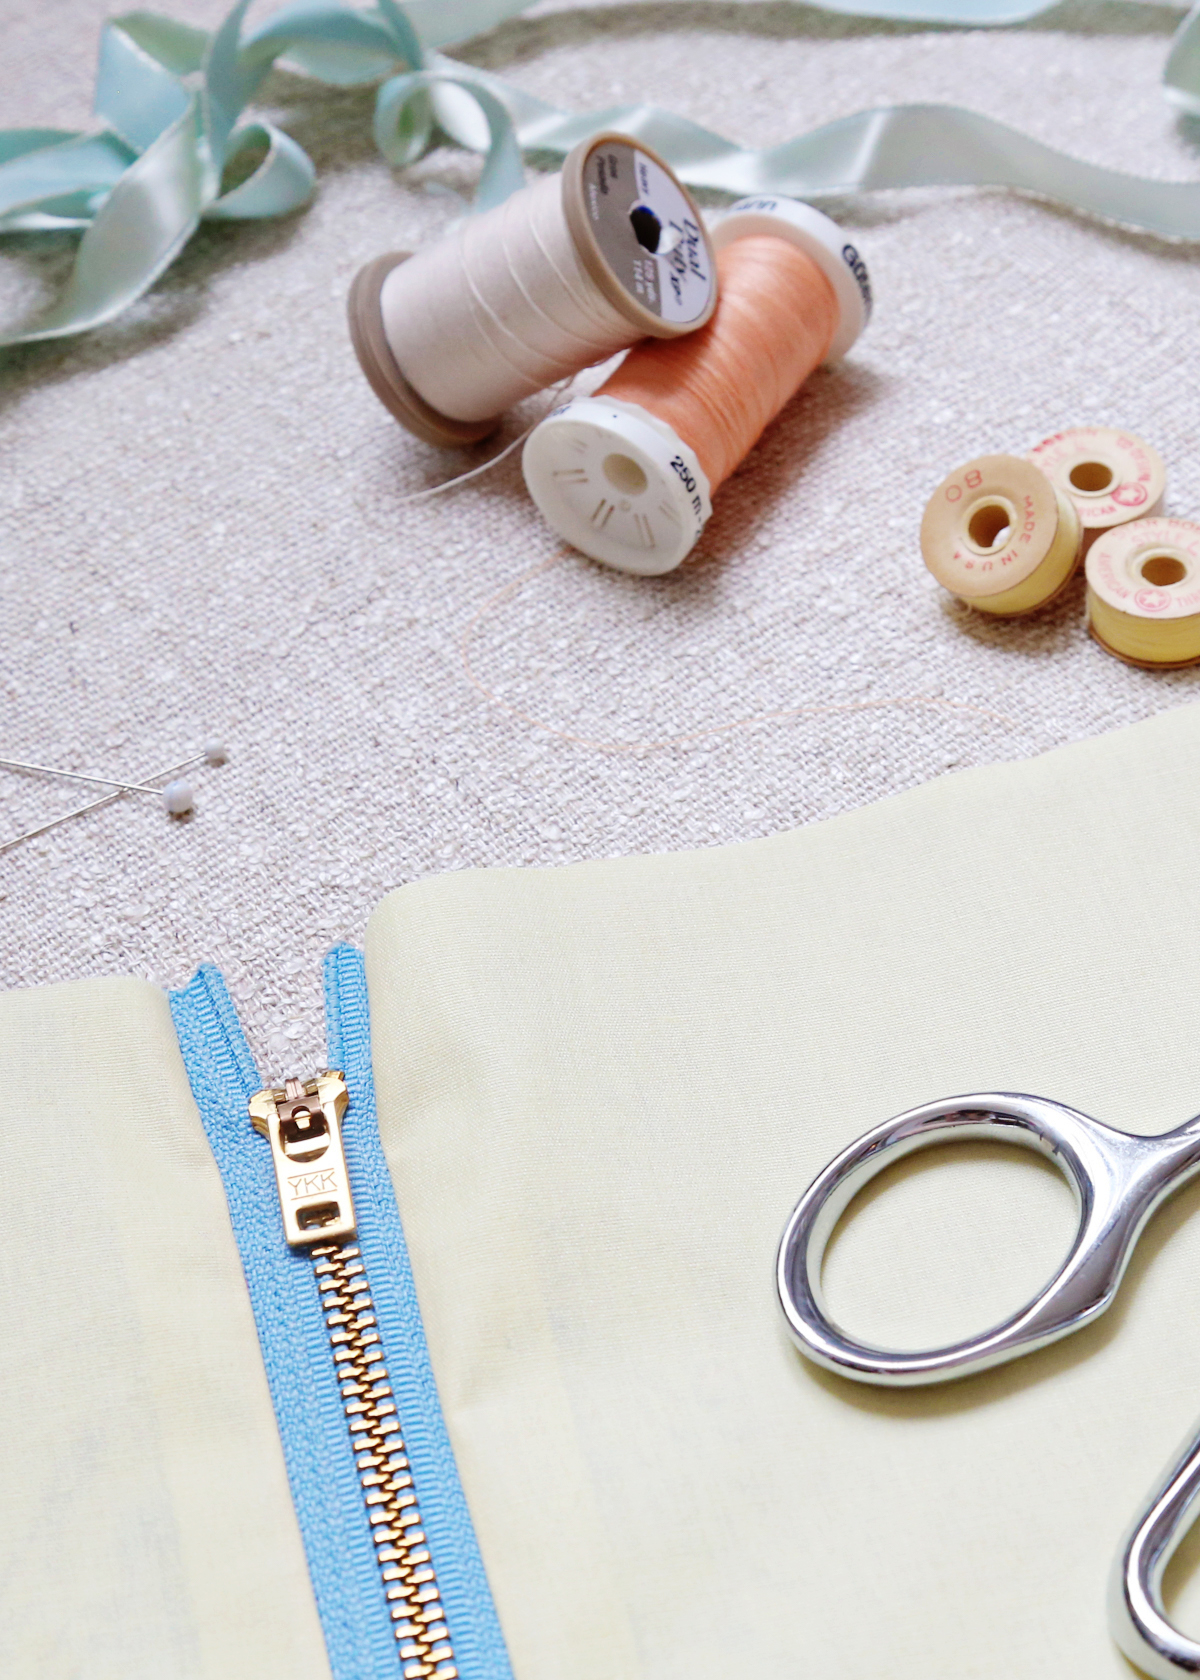
Materials to insert an exposed zipper:
- an exposed zipper, I’m using a 9″ YKK closed bottom
- firmly woven fabric for a stay
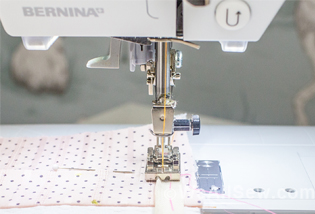
- your sewing machine, I sew on a BERNINA 560
- a zipper foot, e.g. the BERNINA Zipper foot #4
Let’s get started!
Step 1:
Before installing the exposed zipper, we’re going to sew a stay to the zipper opening. What is a stay? It’s a separate piece of fabric that will stabilize the area where the zipper is sewn. Stabilizing is important when sewing any kind of zipper, but especially important with an exposed zipper since it’s heavier and thus, weighs down a garment. Another term that could be used is a facing. An alternative is to use a fusible interfacing suitable for your fabric, but I find that a stay made with a sturdy woven fabric holds up better over time, especially if the garment is going to be washed often.
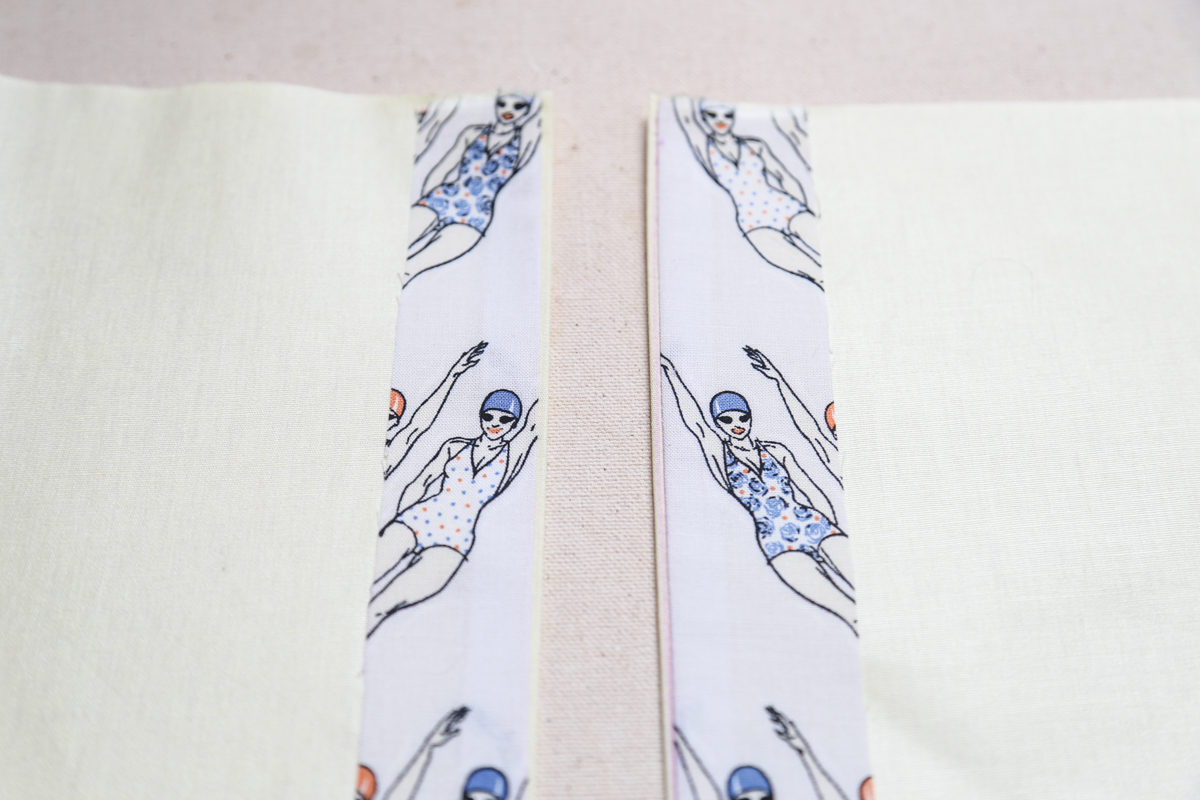
Cut a stay using a firmly woven fabric that is 3 ¼” (8 cm) wide and 2 ½” (6 cm) longer than zipper opening. (Note: for the sake of the tutorial, I did not finish edges of stay, but a few options are bias binding or serge/overlock).
In the image below, the “garment” is on the left, the stay is in the middle and the zipper is on the right.
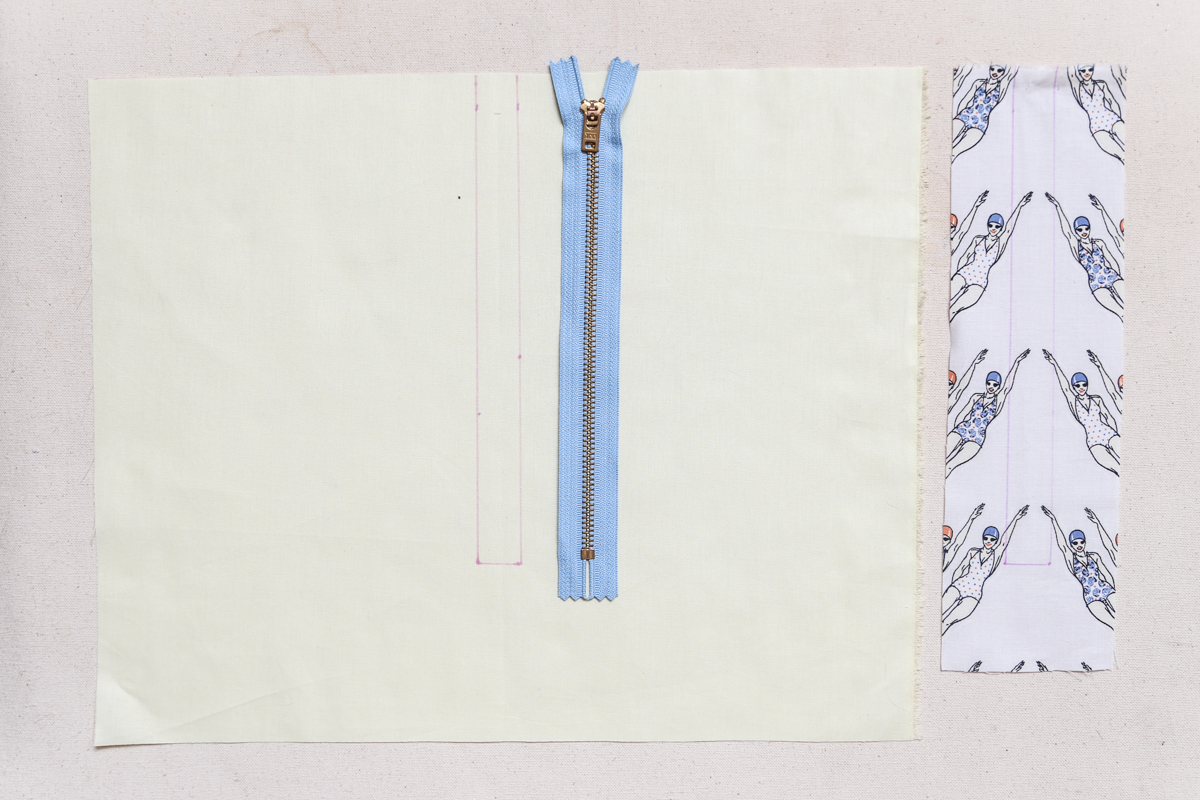
Step 2:
Using a pen or pencil, mark zipper opening on garment and stay that is equal to the half the zipper tape width plus 5/8″ (1.5 cm), which accounts for seam allowance at top. If you’re seam allowance is different (i.e. ¼″ or ½″), mark accordingly.
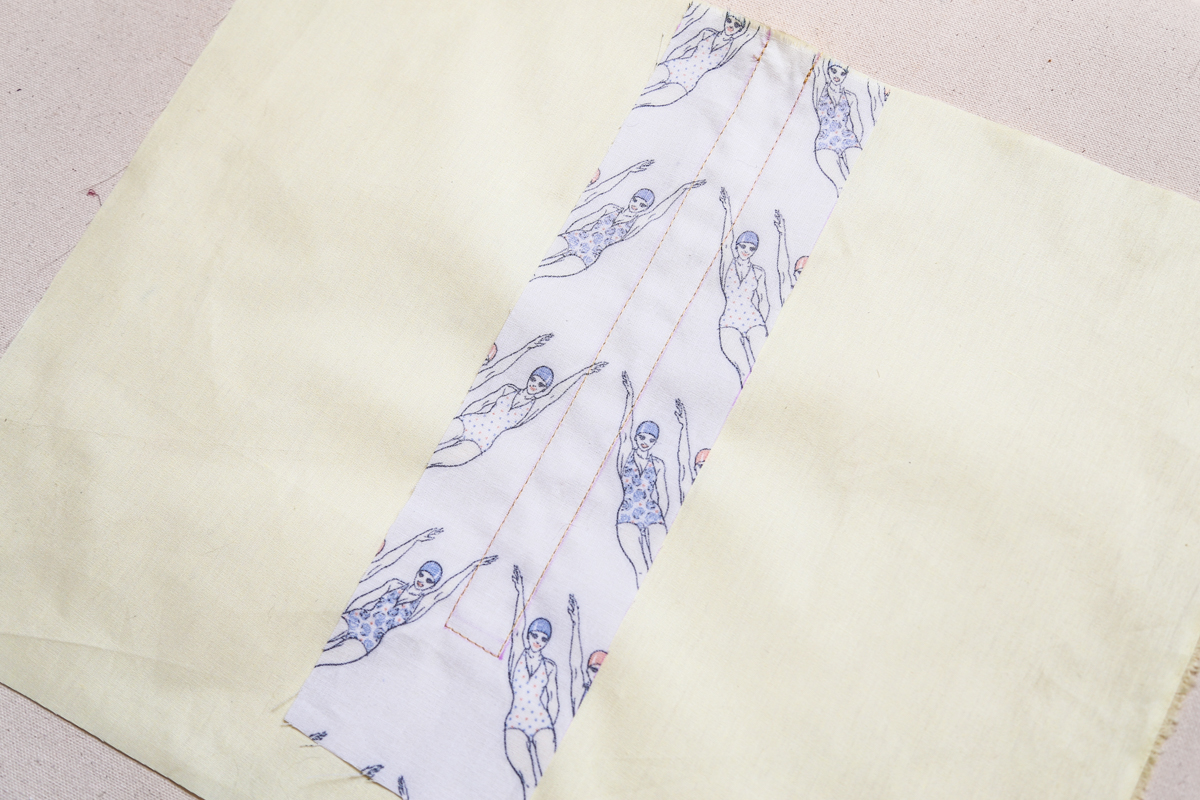
Step 3:
With right sides together, match rectangular marking on garment and stay and machine baste together. (Optional: reduce stitch length to 1.5 mm approximately ½” before and after bottom corner. This will reinforce the corners even more).

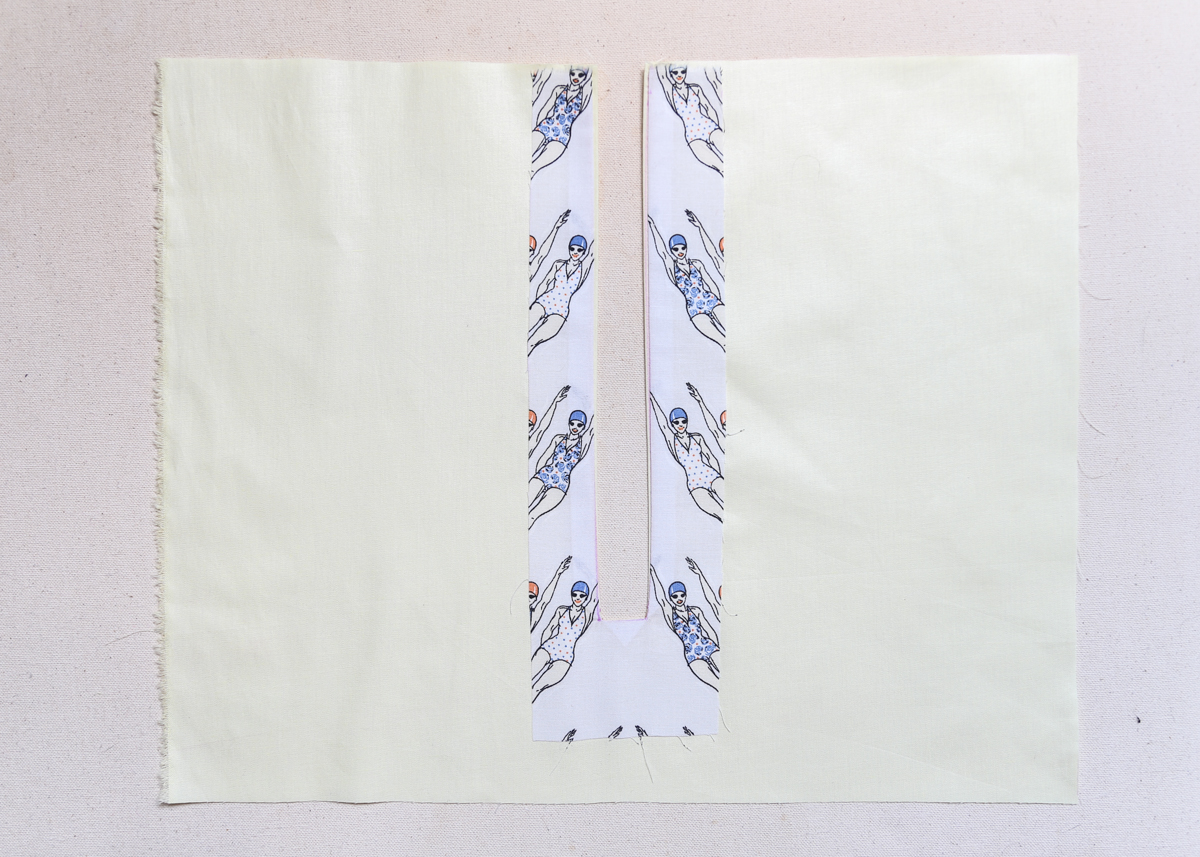
Step 4:
Cut down center to about ½″ above end, then cut diagonally into corners. Be careful not to cut through stitching!

Step 5:
Turn stay to inside and press, making sure that stay rolls to the inside just slightly.
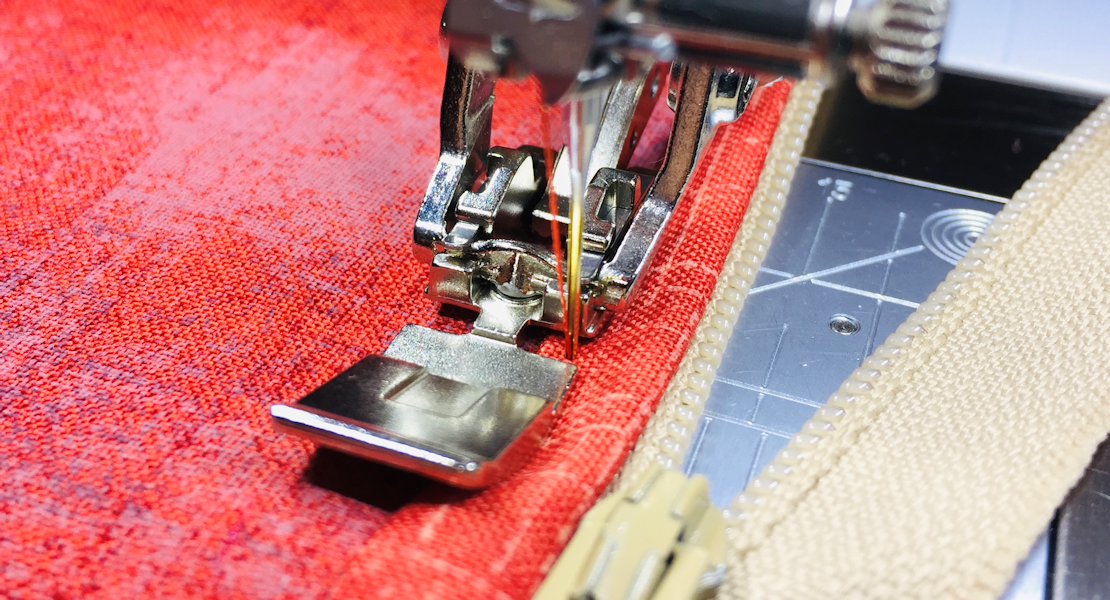
Step 6:
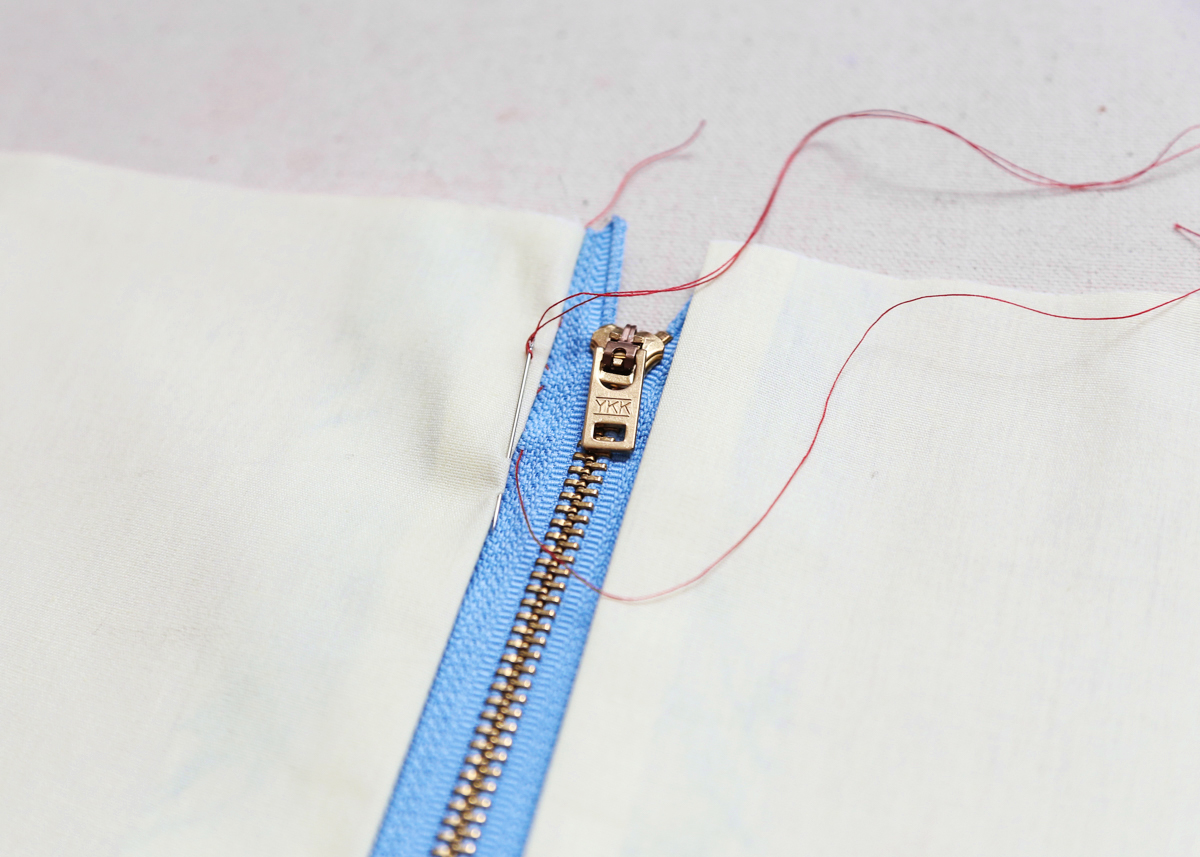
Center zipper underneath opening with bottom of zipper stop flush against bottom end of opening. Slip stitch in place. I found it easier to not use pins as it distorts the fabric.
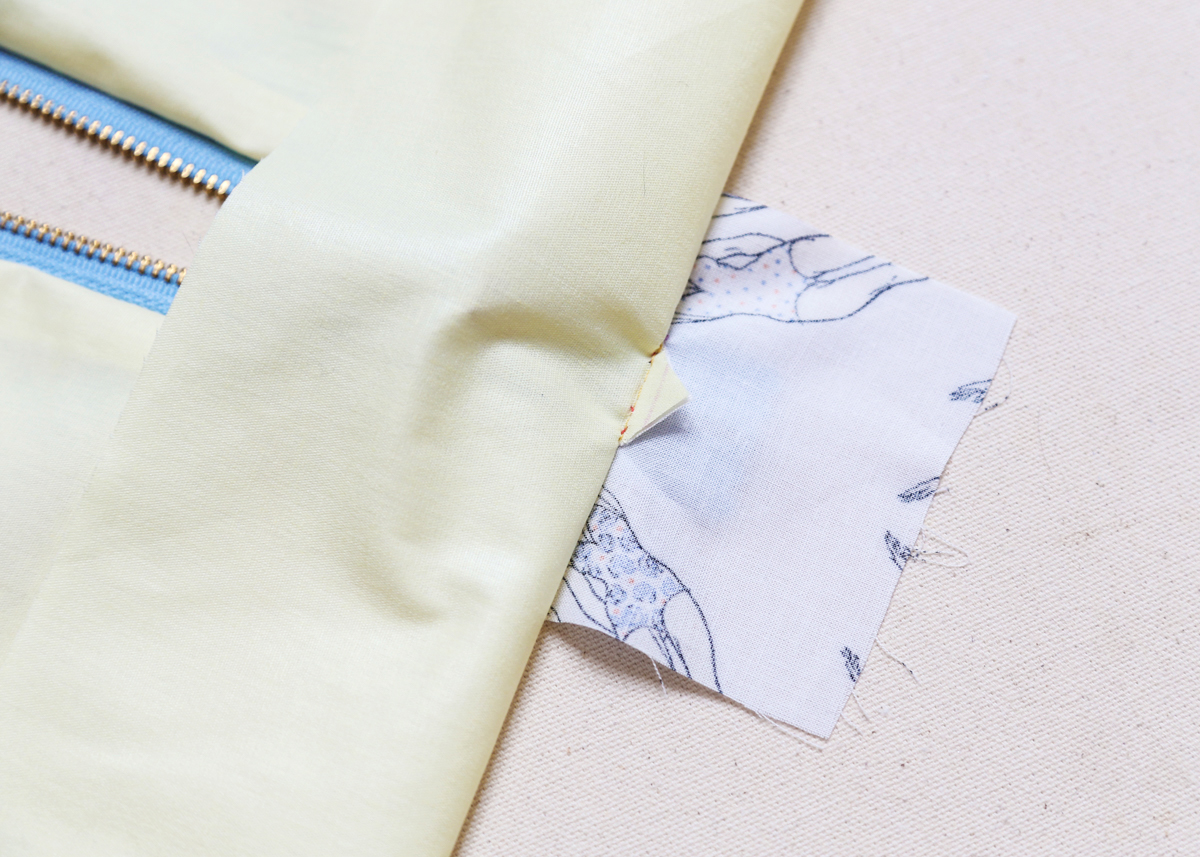
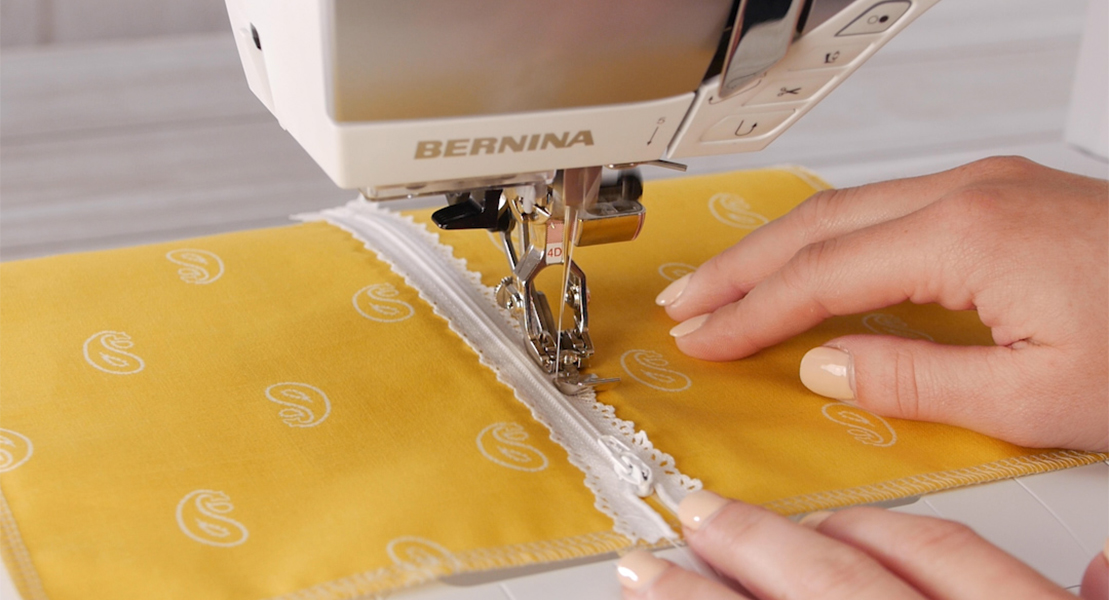
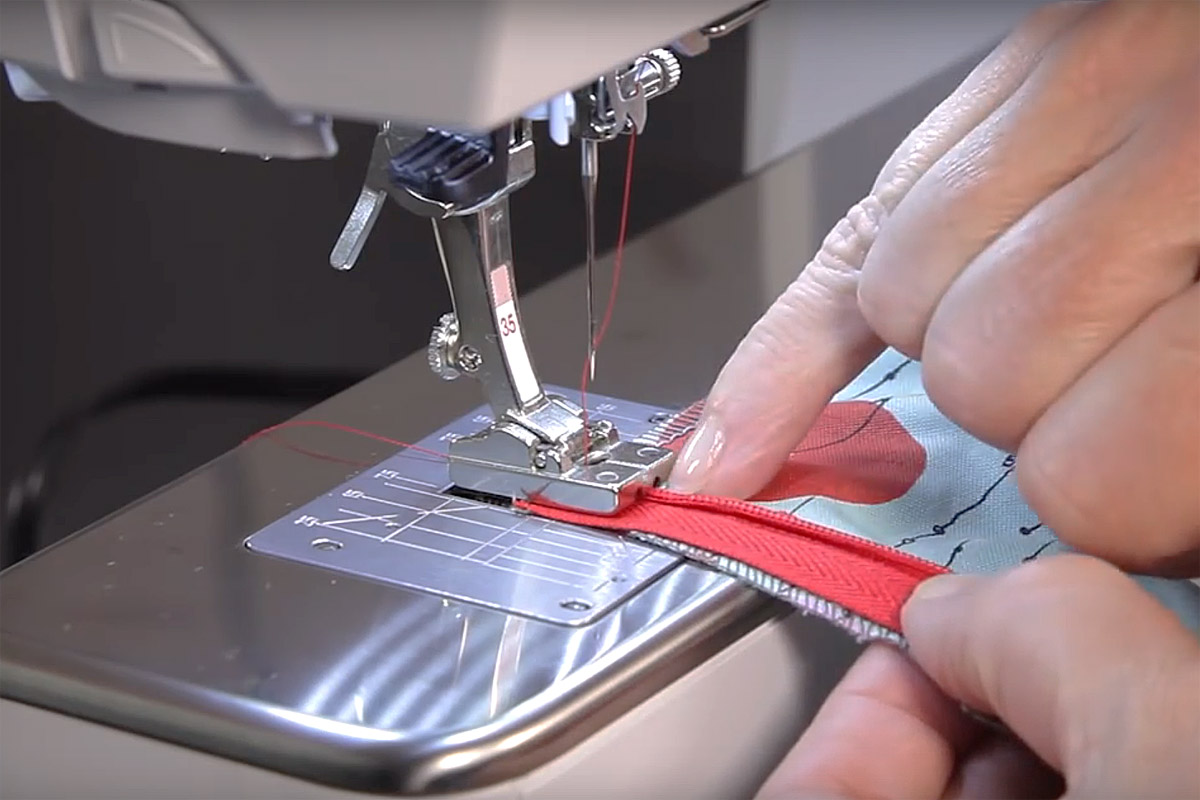
Step 7:
Raise the bottom part of the garment to expose the end of the zipper tape and the triangle of the fabric that is underneath. Using a zipper foot, sew across the base of the triangle through all layers.

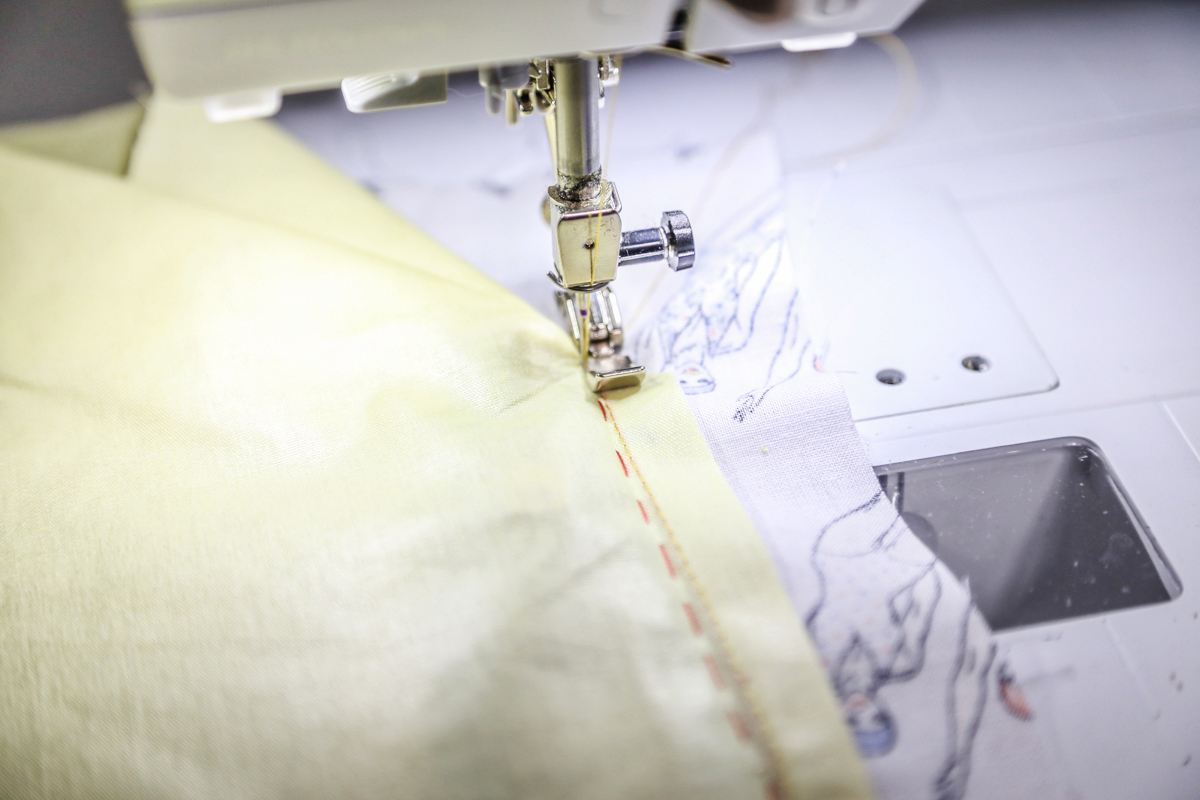
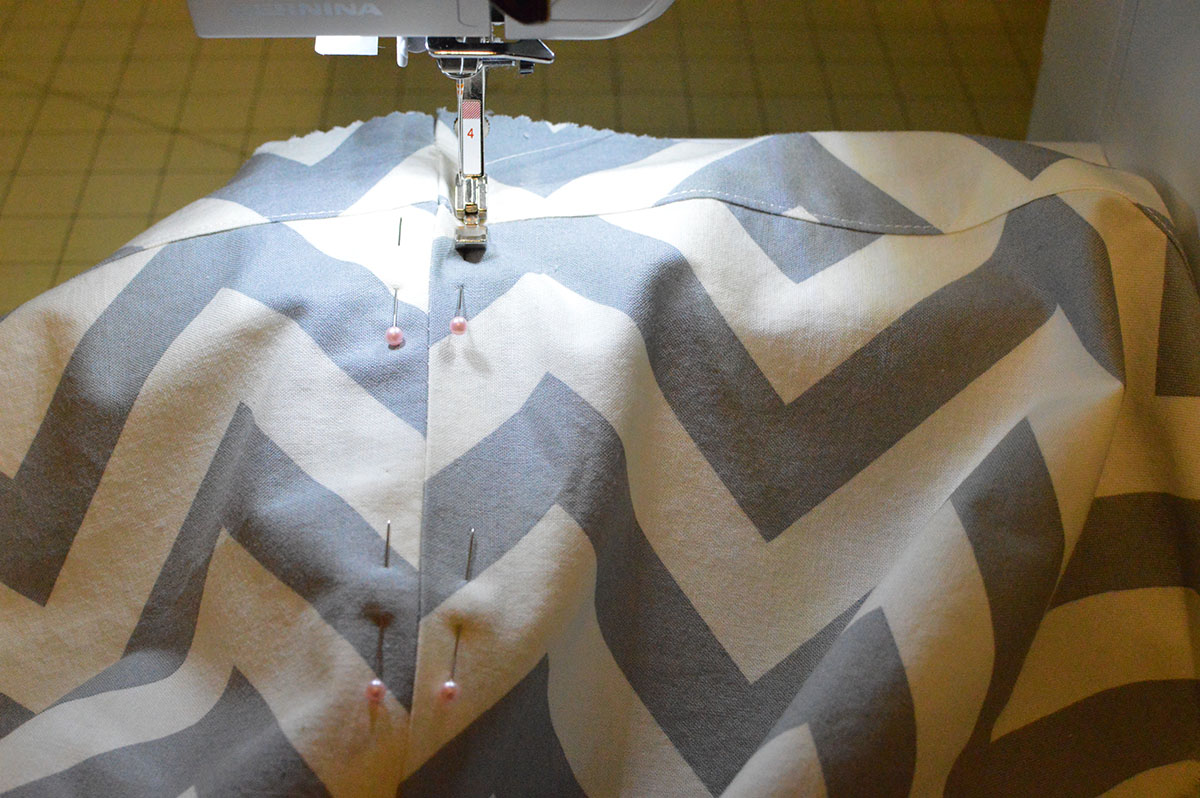
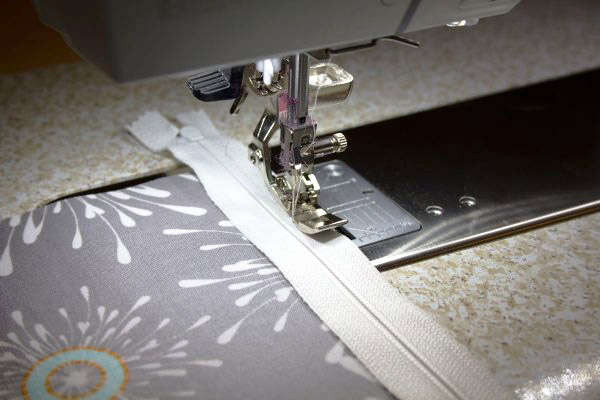
Step 8:
After, fold back one side of the garment and starting from the bottom, stitch the garment to the zipper tape along basting line. Repeat for other side. To finish, remove basting and press lightly on right side.
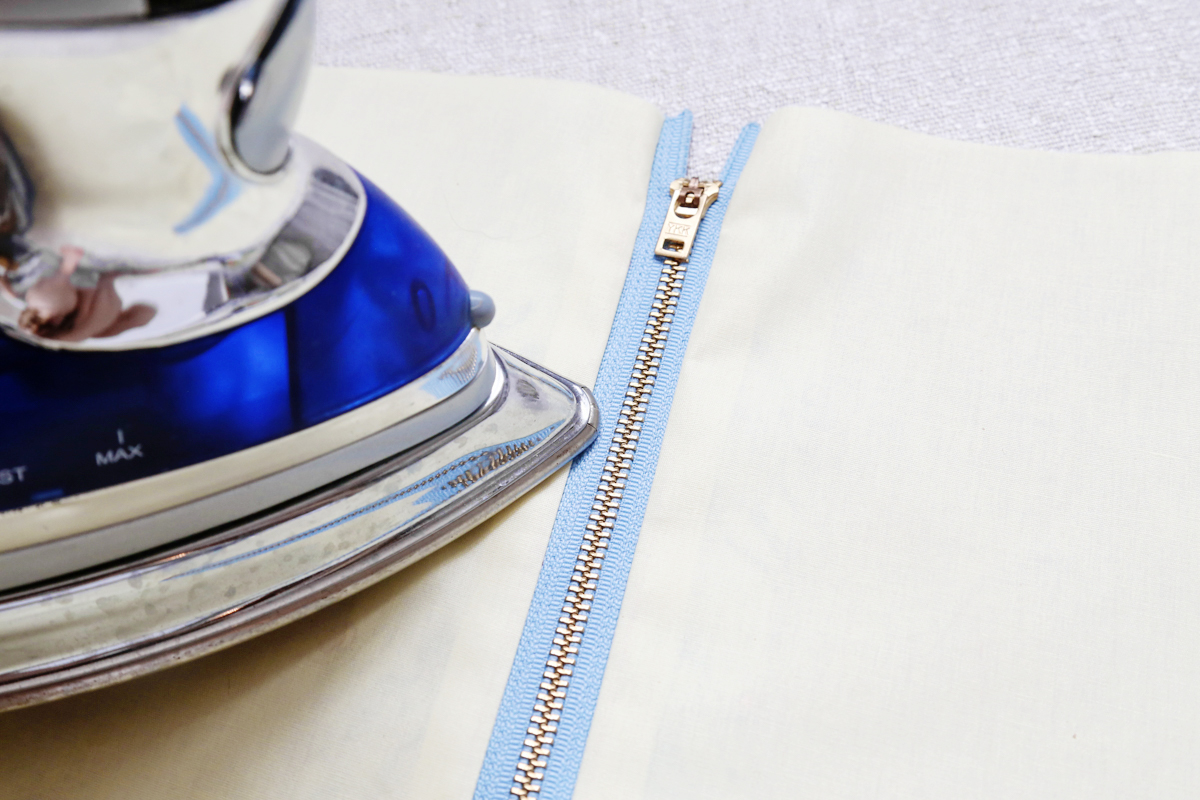

Et voilà, the exposed zipper is installed.


5 comments on “How To Insert An Exposed Zipper”
Great tutorial….although I read the measuring wrong….I think I can still make my zipper work
Clarification question on step 2… Is the opening that you mark half the width of zipper (tape and teeth) and 5/8″ longer than zipper teeth and stops?
Yes, that is correct.