Quilting Basics: The Importance of a Perfect Quarter Inch Seam
For quilters there has always been great debate over the definition of a “perfect 1/4 inch” seam. Before we talk about that, let’s look at how you want to set up your sewing machine.
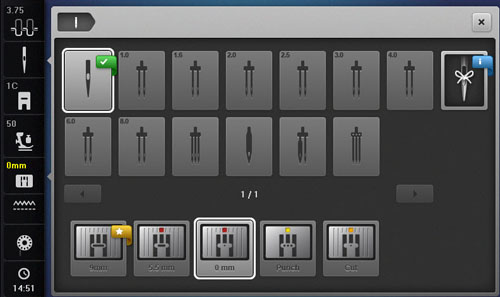
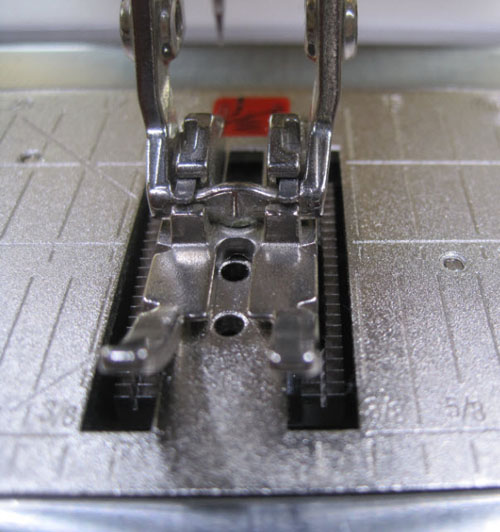
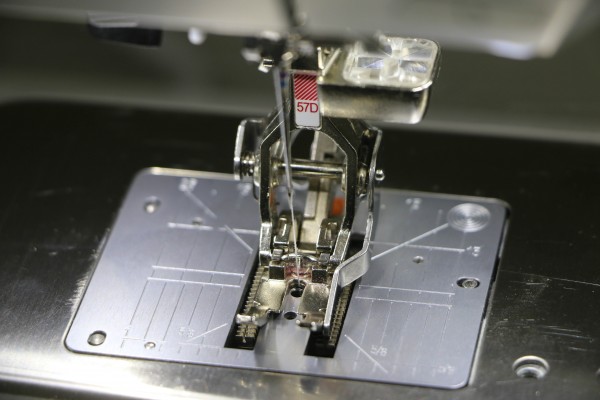
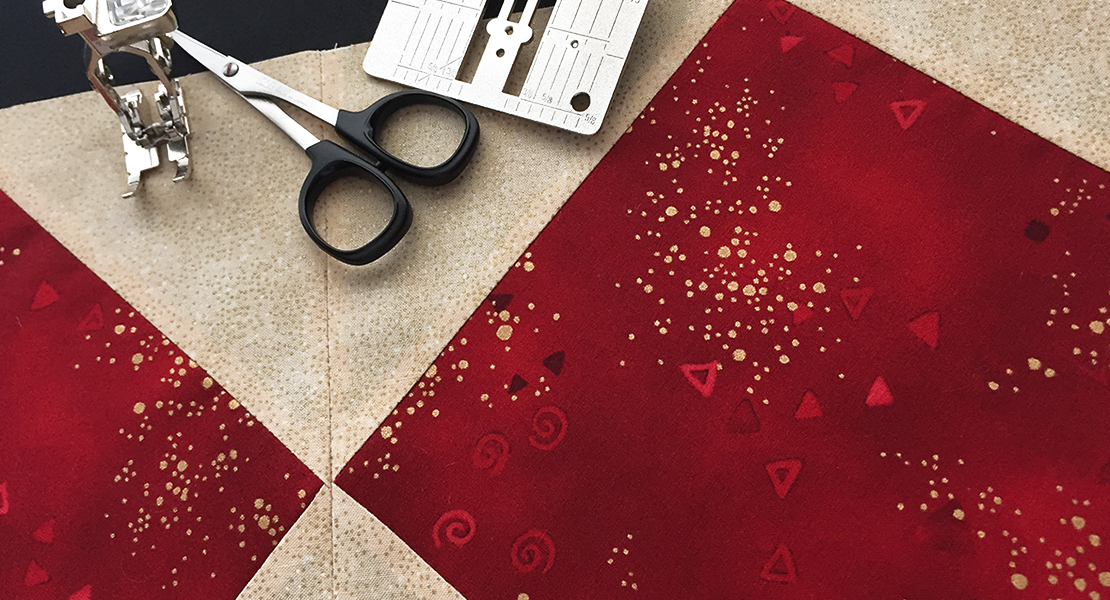
You will always get the best stitch by using a straight stitch throat plate. As you put the stitch plate on the machine, take note of the markings and locate the small mark that is the ¼” mark. It will be visible in front of the foot.
If your machine has a security program, be sure to select the straight stitch throat plate to avoid breaking needles.
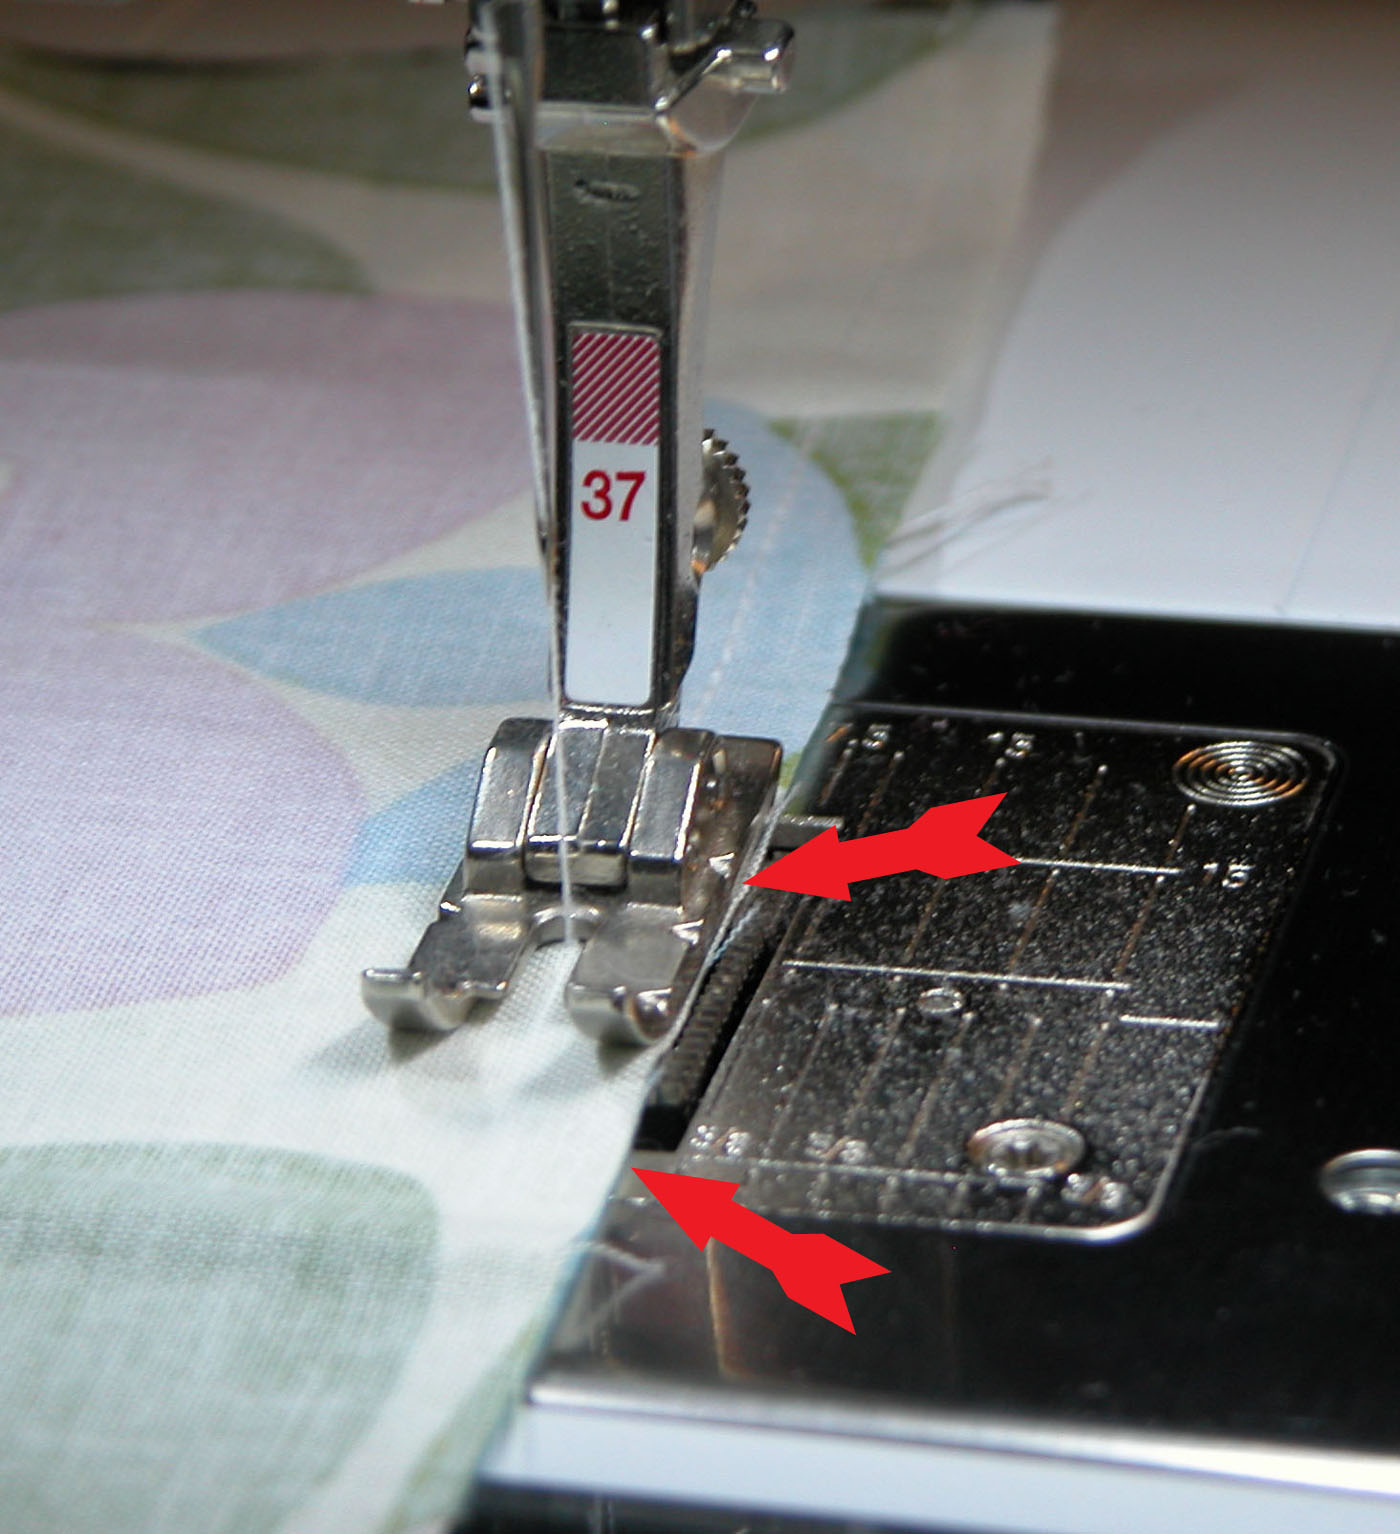
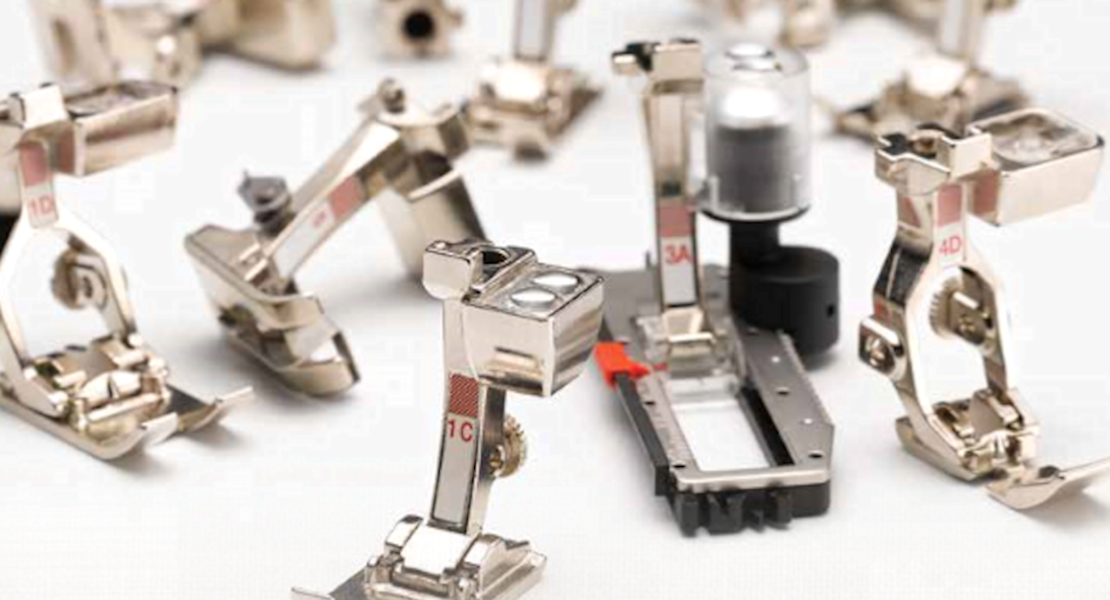
Attach the Patchwork Foot #37/#37D or Patchwork Foot with Guide #57/#57D.
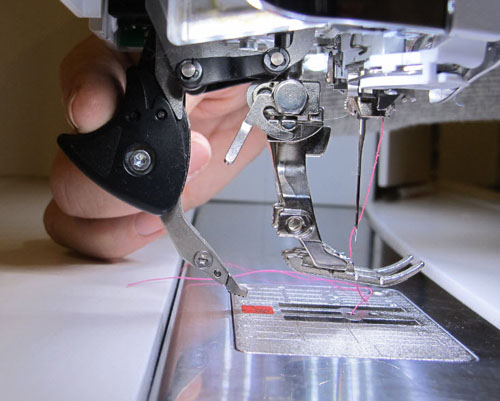
If using a Dual Feed foot engage Dual Feed.
Now, let’s talk about that perfect ¼” seam. Because the thread used to sew the seam actually lives in the seam and takes up a little room, you need to make the seam slightly less than ¼”. You have probably heard references to a “scant quarter.” So the “perfect quarter inch” seam is actually sewn as a “perfect scant quarter inch” seam.
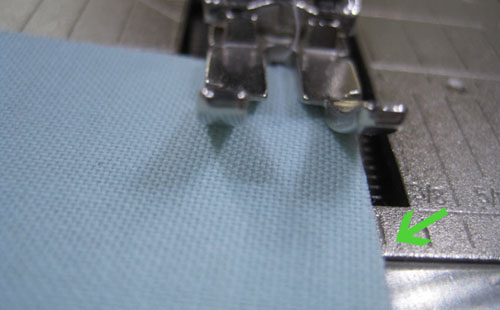
Place the edges of the fabric pieces together. Place the fabric under the foot so the edges are just covering the single hole in the throat plate. The edges of fabric that will form your seam should be just inside the quarter inch mark on the throat plate in front of the foot.
As long as you can see that mark and you haven’t covered it with fabric, you will be stitching the perfect scant quarter inch
Tip: Don’t watch the side of the foot when guiding the fabric; watch the ¼” mark on the throat plate in front of the foot.
We’ll have more Quilting Basics tips from Nina McVeigh here on WeAllSew every month or so – stay tuned! Jo
What you might also like
4 comments on “Quilting Basics: The Importance of a Perfect Quarter Inch Seam”
-
-
I’m not sure which machine (or machines) Nina used, but I can see that the foot in the photo has the dual feed attached at the back, so it’s one of the 7 Series or 8 Series models. But the quarter-inch Patchwork Foot #37 is the same for all models aside from the dual feed bracket, and the same tips apply to all machines. For me, watching that little line on the stitch plate is the key to perfect 1/4″ seams, on all the machines I’ve used. Jo
-
-
Pingback: WeAllSew « https://weallsew.com
-
Would have loved those markings on the throat plate! I guess my Virtuoso 150 is old. Still loved though!
Leave a Reply
You must be logged in to post a comment.








Which machine is this please?