7 Sewing Tips from an Award-Winning Quilter
Helpful advice from Frieda Anderson, art quilt maker, fabric dyer, author, teacher, and award-winning quilter. She works mostly with her own hand-dyed silks and cottons, and takes inspiration from the nature around her: “Everyday I walk in a little woods near my home with my dog George. Much of what I see there appears in my work.” Visit Frieda at her Friestyle blog.
The basics are so important!
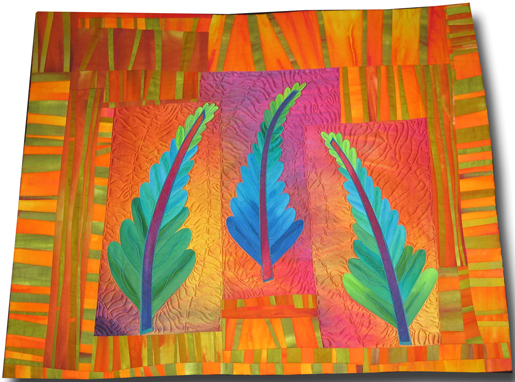
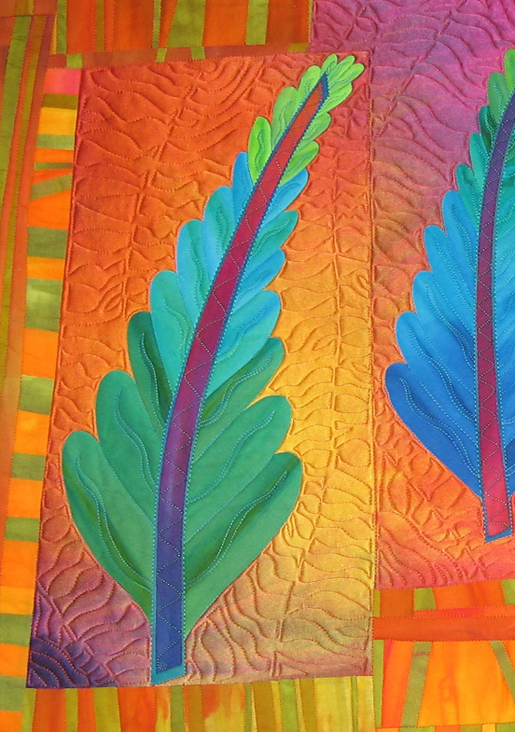
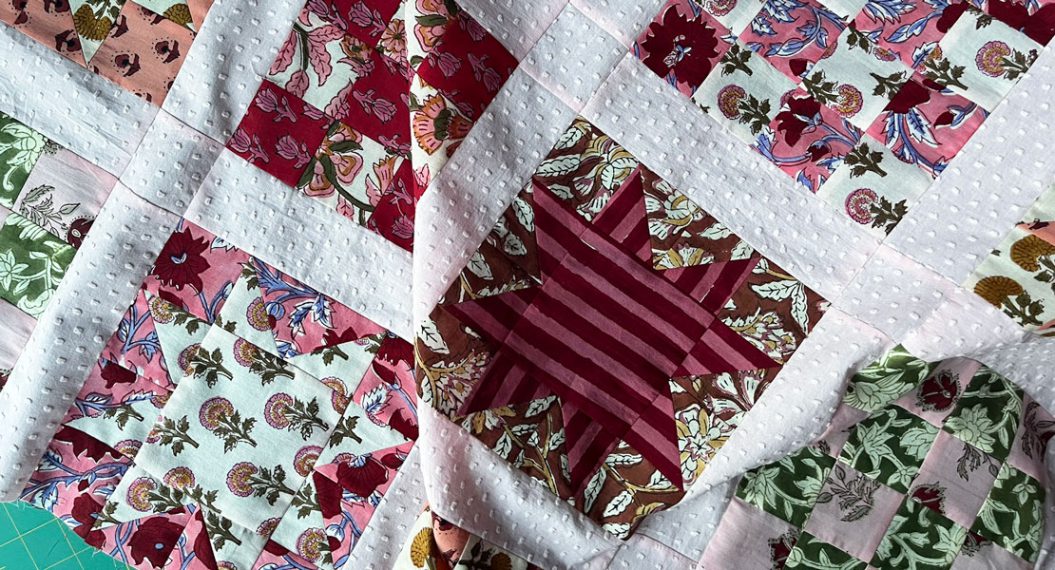
Recently I started quilting a large wall piece I intend to enter in a juried show.
As I sat down to begin quilting, I did a few things in preparation before starting.
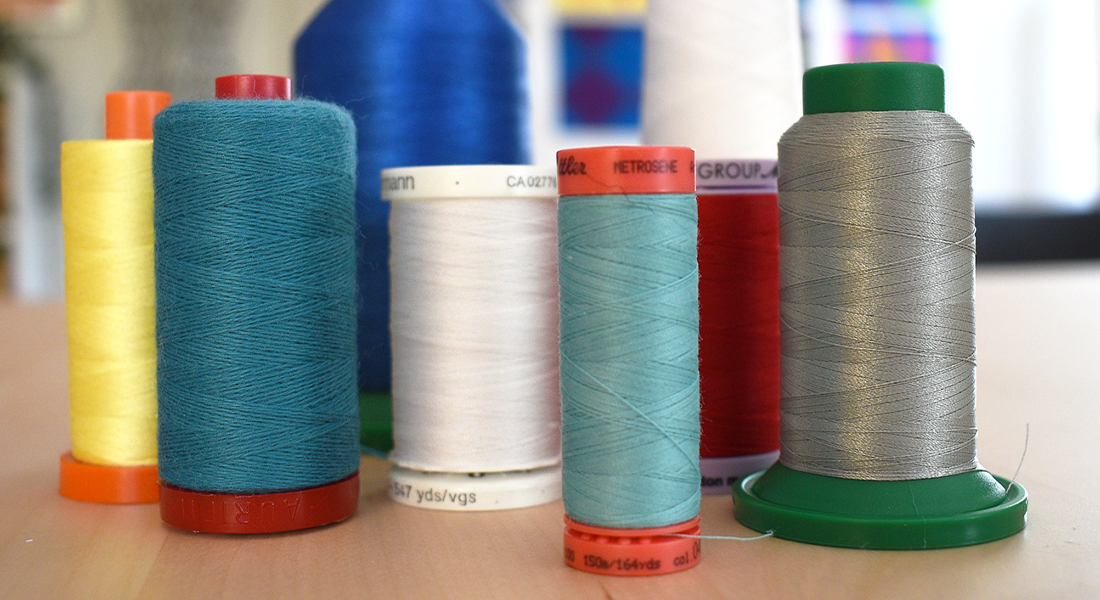
1) First I decide on the thread I’m going to use for my free-motion machine quilting. I like to use lots of different colored threads and types of thread, and I have a large thread collection.
2) Then I choose the correct needle to go with that thread. Using the right needle for the right thread choice is, in my mind, critical.
When doing machine quilting, you want to use some type of “sharp shank” needle to quilt with. There are several choices you can make depending on your thread choice.
I was using silk thread to machine quilt my wall piece, so I chose a Micro-tex needle because it is designed to work best with silk and monofilament threads.
Had I decided to use rayon or polyester threads, I would have chosen an Embroidery needle, and if I had chosen to use cotton thread, I would have chosen a Quilting needle. Each of these needles has been specifically designed to work the best with each of those different types of thread. But they are ALL “sharp shank” needles designed to pierce through multiple layers of fabric and batting.
Using the right needle for the right job makes machine quilting so much easier. And we all want our machine quilting to be easy and not a chore. Who wants to struggle when they are doing this final important step in the process of creating their artwork? And, by the way, I think of all quilts as works of art. We are each investing our time, creative spirit and individual choices into our quilts, which makes them works of art.
There are a few more things I do before I actually start quilting that are just good practices to fall into.
3) I change to a single needle throat plate when I start machine quilting. The single needle throat plate – also called a straight stitch throat plate – keeps the fabric from feeding down into the machine while you are quilting like some double needle throat plates do. It is my preferred plate to have in my machine when I am piecing as well.
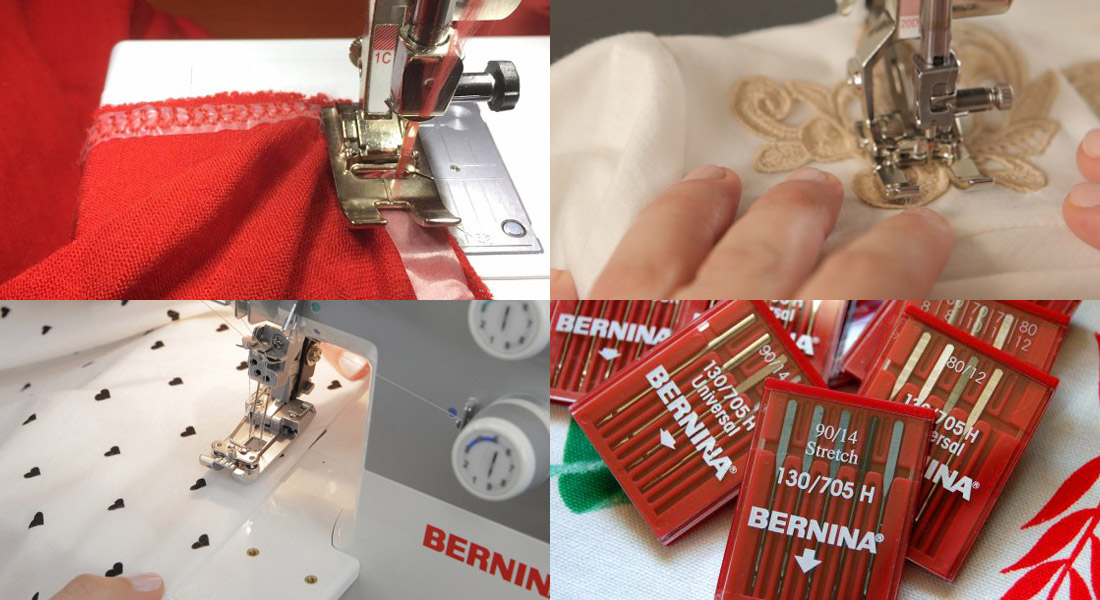
On of the great things about my BERNINA sewing machine (a B 750 QE) is that when I have this throat plate installed, it won’t let me do a zigzag stitch, so no more broken needles!
4) I clean out the throat plate area. This is so easy to do on our BERNINA machines because the throat plate just pops off and on. I use a small stiff brush to clean the lint away. Then I take the time to add oil to my machine. Remember, it’s suggested that our machines should be oiled after every bobbin change. OK, I’ll admit it, I don’t always oil after EVERY bobbin change, but just about, and my machine hums along beautifully.
5) I also like to use the best presser foot for the task at hand. When I am not using the BERNINA Stitch Regulator I do my free-motion machine quilting with Free-motion Embroidery Foot #24, an open-toed, round, metal foot. This leaves the smallest area of foot to see around and makes free-motion quilting easy.
If I am doing any straight stitching on my quilted pieces, I use Patchwork Foot #37D with the BERNINA Dual Feed on my BERNINA 750 QE. This dual feed foot makes it easy to keep the fabric from puckering as I do my straight stitching. I especially use this when I am doing stitch-in-the-ditch to anchor my quilts. If your machine doesn’t have this feature, a walking foot – such as BERNINA 3-Sole Walking Foot #50 – is your best bet to keep all the fabric from moving as you quilt through all those layers.
6) I also make sure that I start with a full bobbin when I begin to work, and, while I am at it, I wind multiple bobbins so that when – and that is a LONG “when” with my new B 750 Quilters Edition machine bobbin – that bobbin runs out, I can just pop in a new one and keep going.
7) DO NOT forget to change that needle! Needles have a life span of only about 8-10 hours’ worth of sewing time. SO CHANGE THAT NEEDLE.
Bonus Tip: I keep a small plastic lidded container in the drawer next to my sewing machine where I discard all my old needles. When it fills up, I throw it in the trash. It is just a small thing to help keep all those sharp pointy things away from any critters that might go digging in the trash.
Always remember, if you are not having fun, don’t do it. Quilting should be fun, and doing a few basic preparations will help you have fun with your quilting.
Frieda Anderson – award winning quilter.


