Rulerwork: BERNINA Heart Ruler
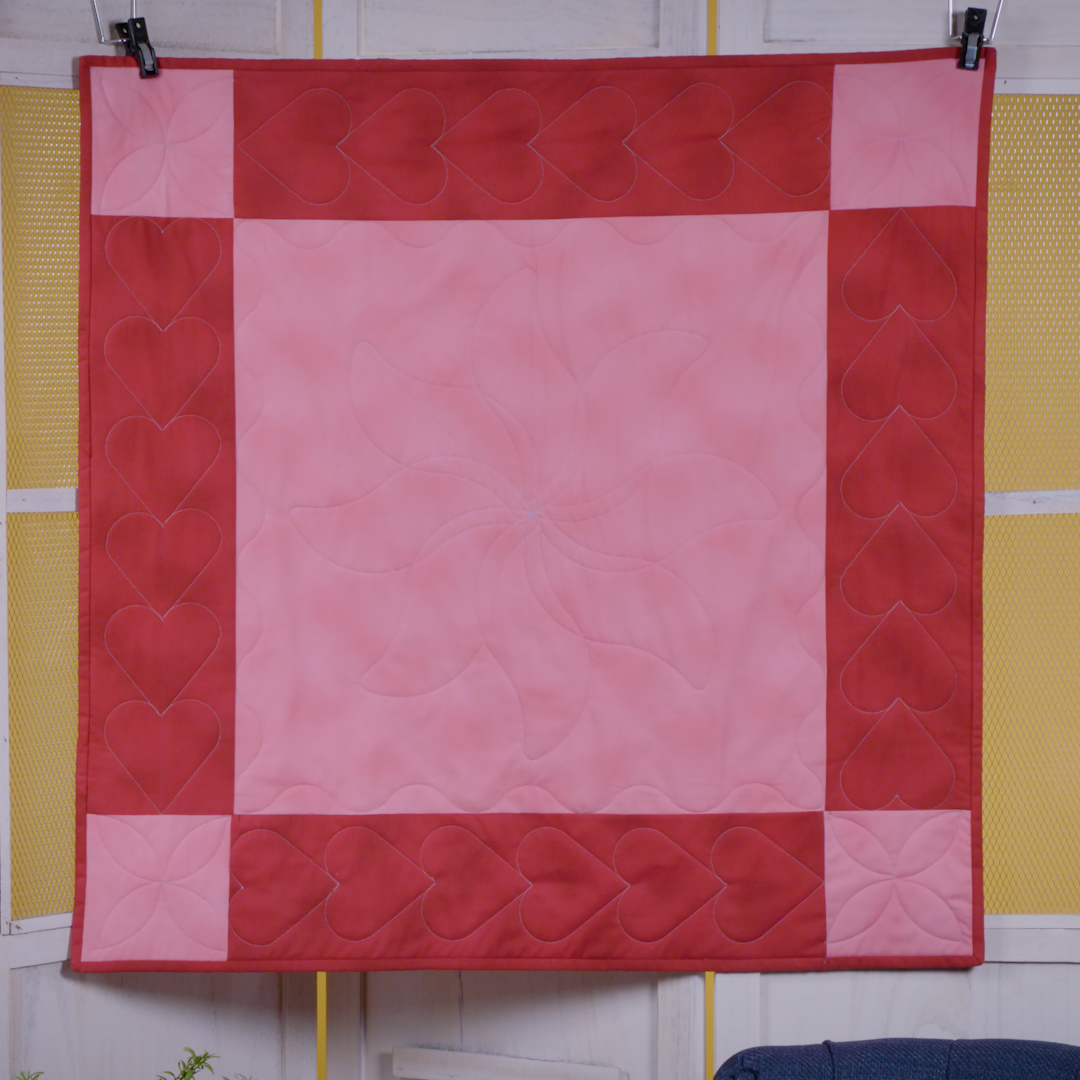
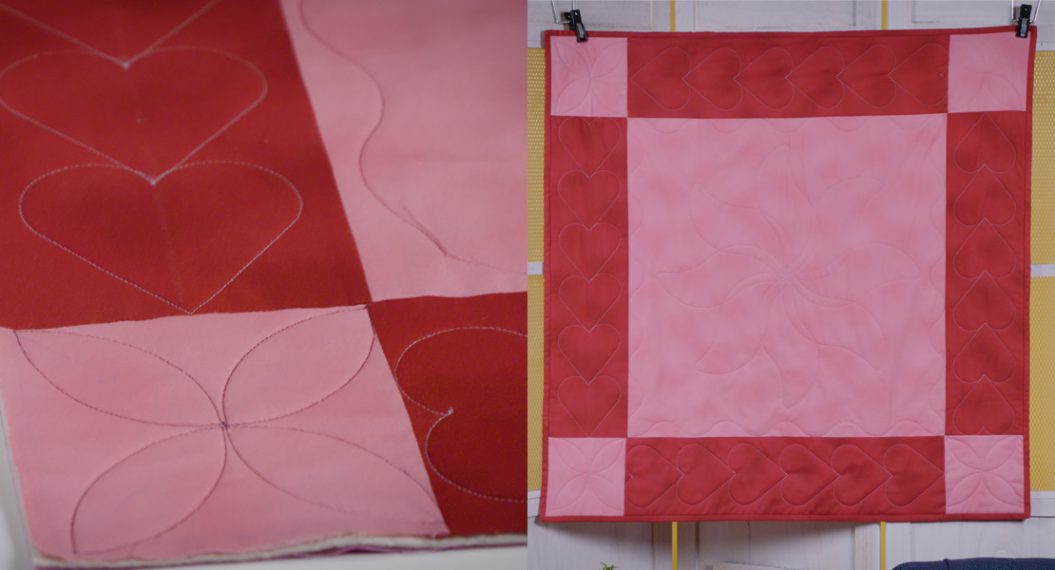
The BERNINA Heart ruler is the perfect ruler for creating a single heart motif or a running heart border. This versatile tool will allow quilters to quilt a heart with a point at both the valley and the tip in 4 different sizes – 1”, 2”, 3” and 4”. Take a look at the stunning border and I’ll show you how easy it is use the Heart ruler.
Supplies
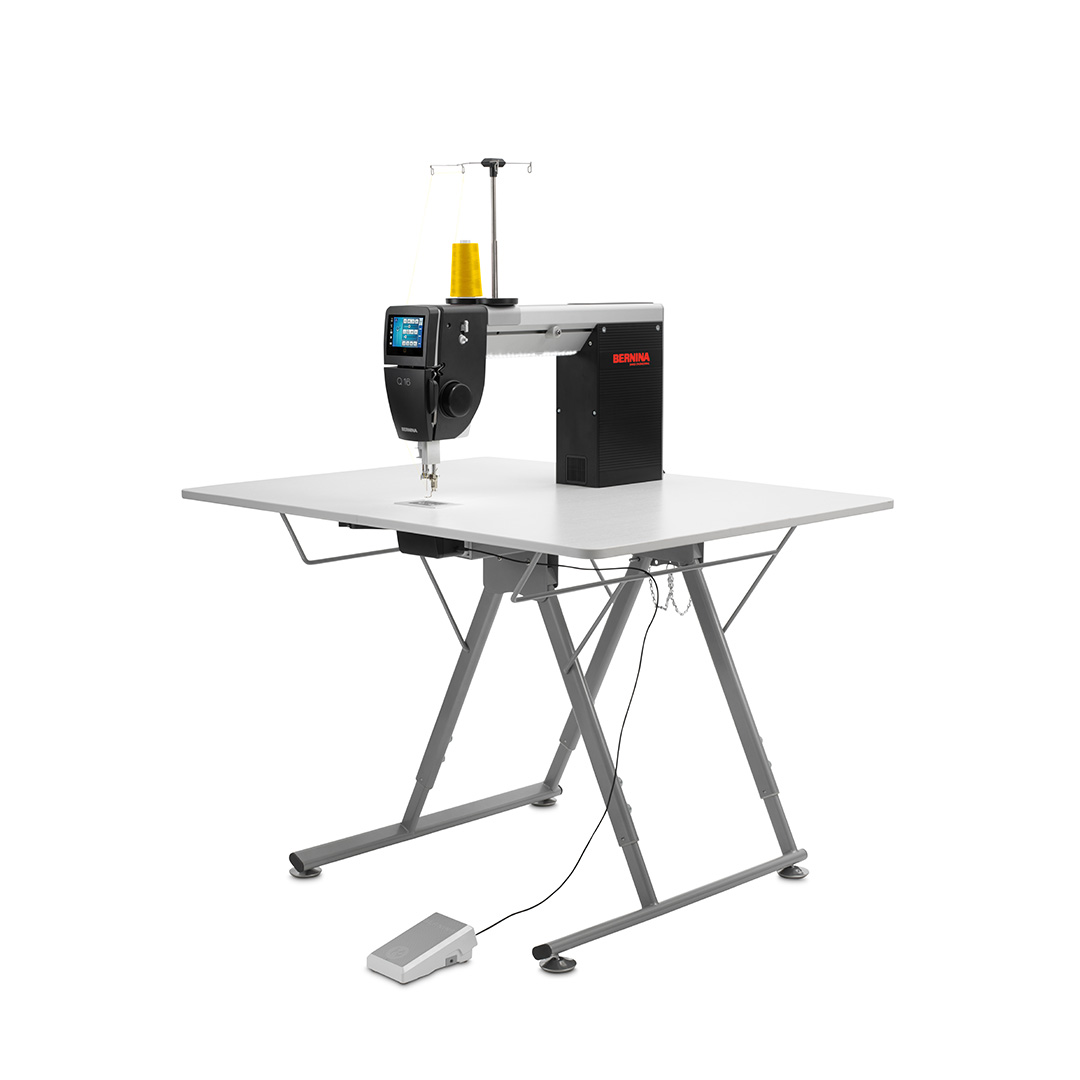
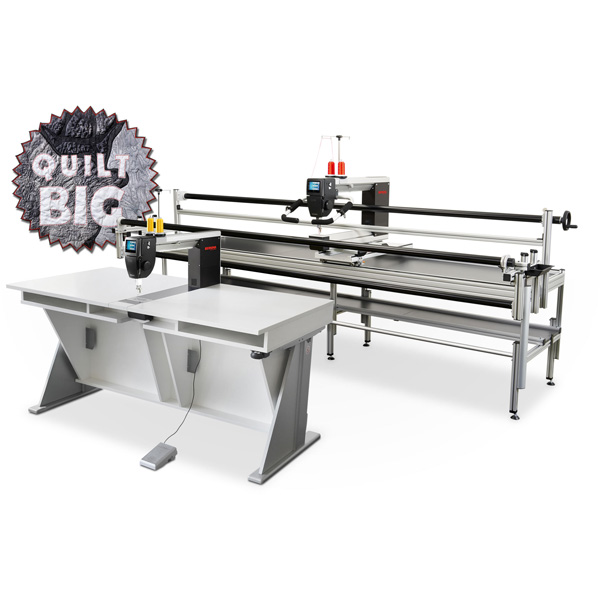
- BERNINA table model Q 16, Q 16 PLUS or Q 20
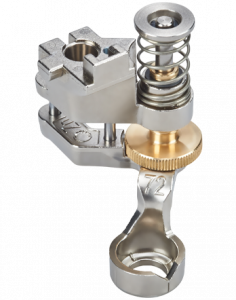
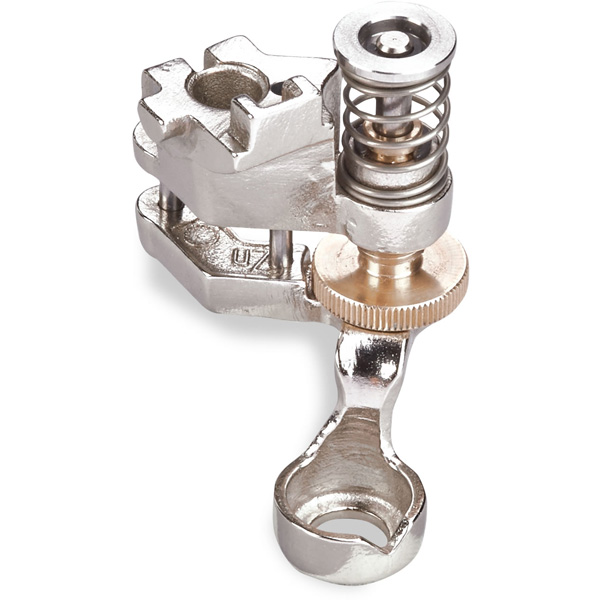
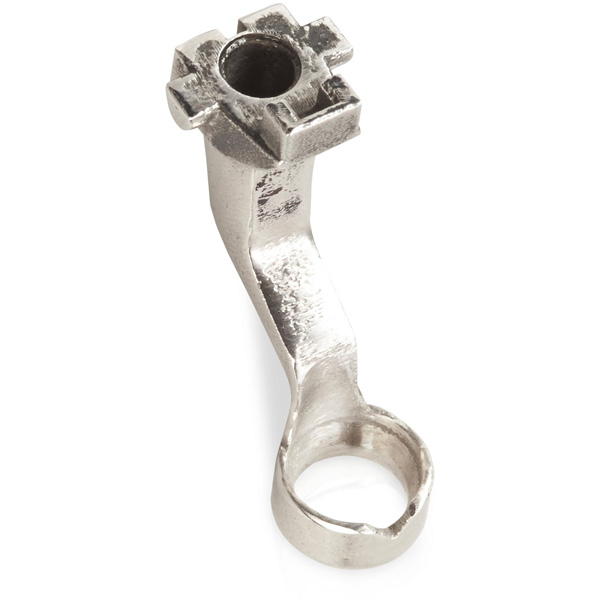
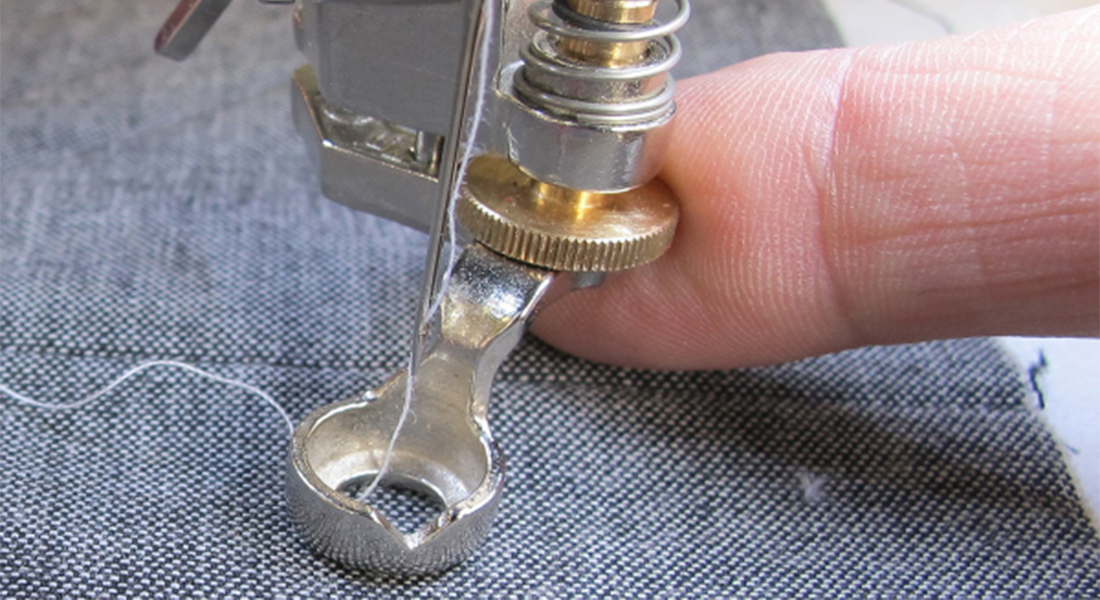
- Ruler Foot – Ruler Foot #96 , Adjustable Ruler Foot #72 or Adjustable Ruler Foot with Slit #72S
- NOTE: The #96 foot can only be used on the BERNINA Q Series longarms. The #72 and #72S can be used on both the BERNINA longarms and domestic sewing machines.
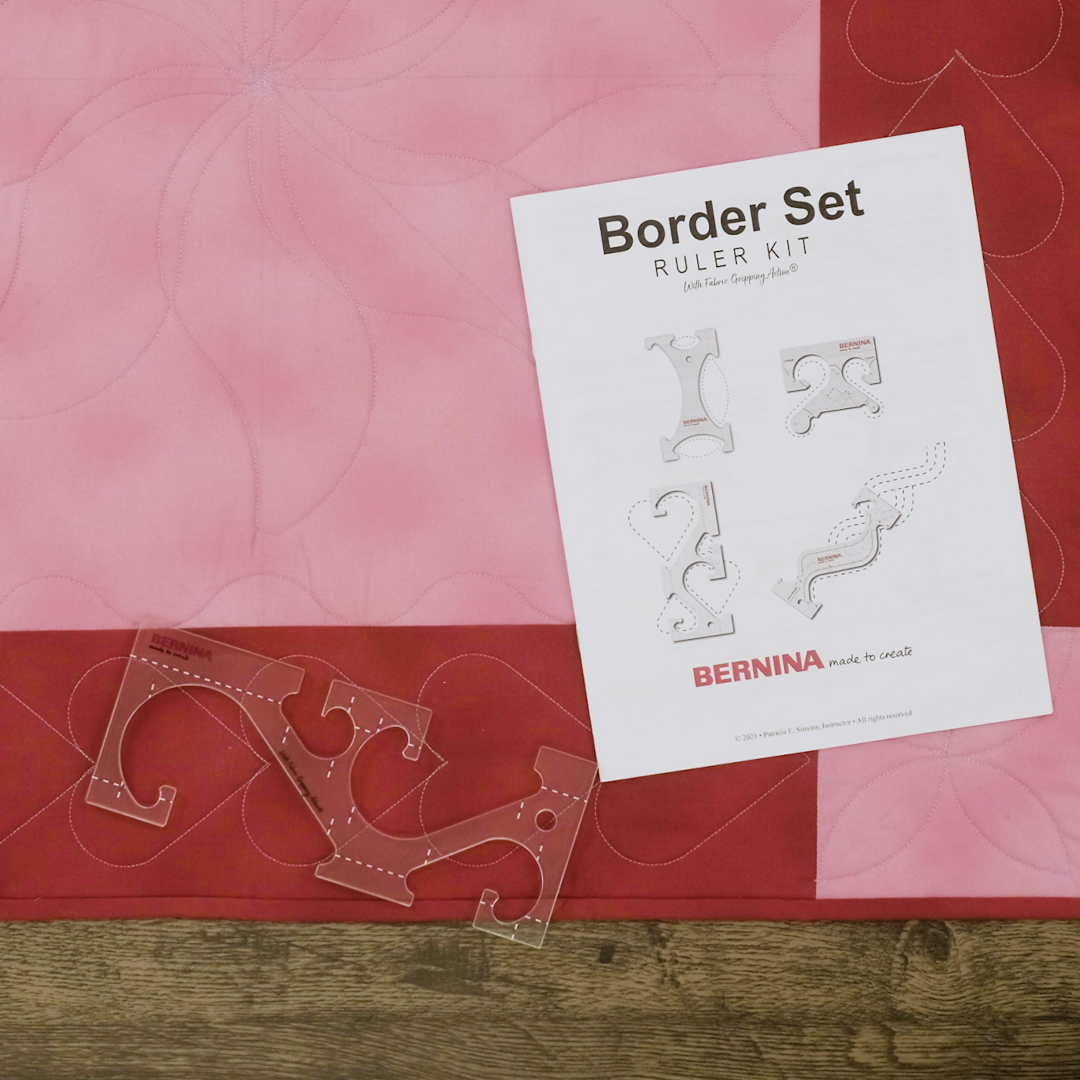
- Heart ruler from Borders Ruler Kit (4 piece set)
- Backing, batting and pieced top (see below for instruction)
- New 90/14 Quilting Needle and thread of choice (40 wt or 50 wt)
- Quilting gloves – optional
- Marking Pen and Straight Edge
Creating the table topper in this example is super simple. Here are the measurements and assembly instructions. I chose fabrics and thread to highlight the quilting but you could use any fabrics you desire.
To piece the table topper you will need two fabrics: pink tonal and red tonal. Cut the following pieces:
- Pink: 1 (21-1/2”) square and 4 (5-1/2”) squares
- Red: 4 (5-1/2” x 21-1/2”) rectangles
Join a red rectangle on opposite sides of the pink 21-1/2” square to make a center section, press.
Stitch a pink 5-1/2” square on each end of the remaining two red rectangles to make two border strips.
Join the border strips on opposite sides of center section to complete; press.
For smaller projects such as this, spray basting the backing, batting and top together works great to prevent shifting and puckers while quilting.
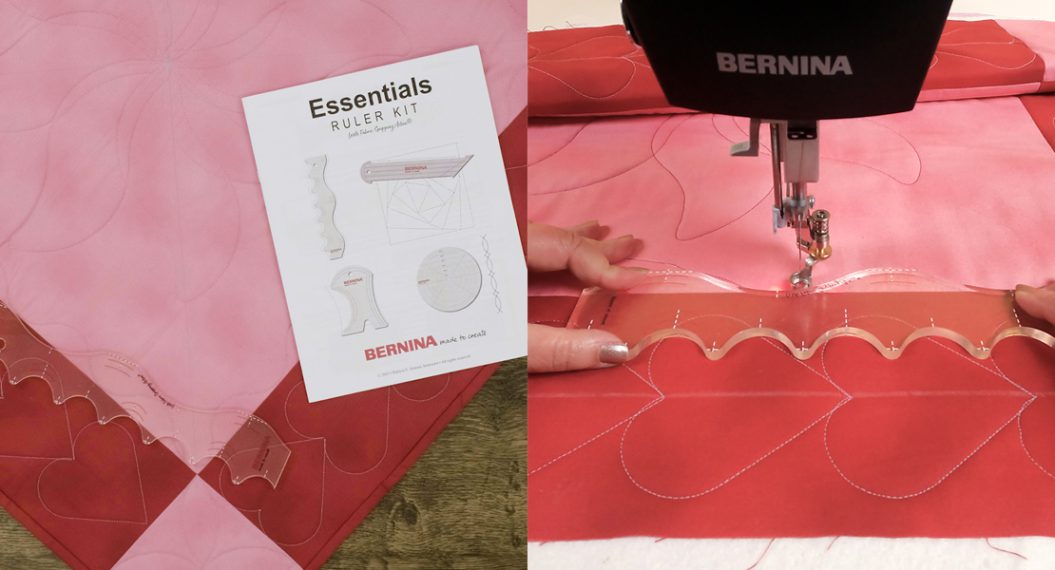
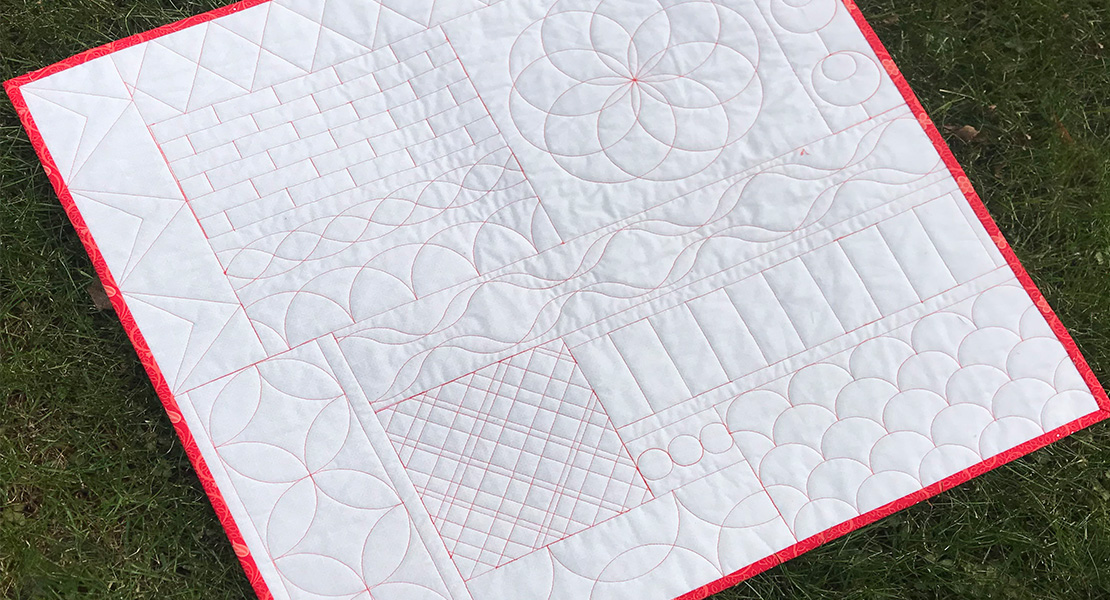
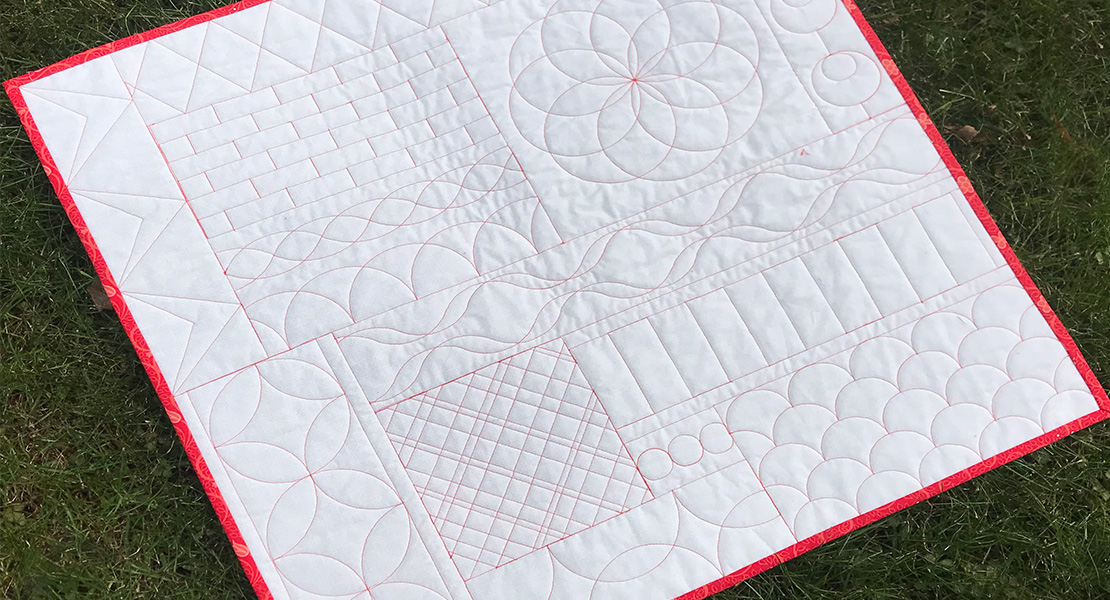
BERNINA’s Border Ruler Kit comes with 4 different rulers and an informative instructional manual giving a variety of ways each ruler can be used. In addition to hearts, rulers in this kit can be used to quilt waves, cables and pointed leaves.
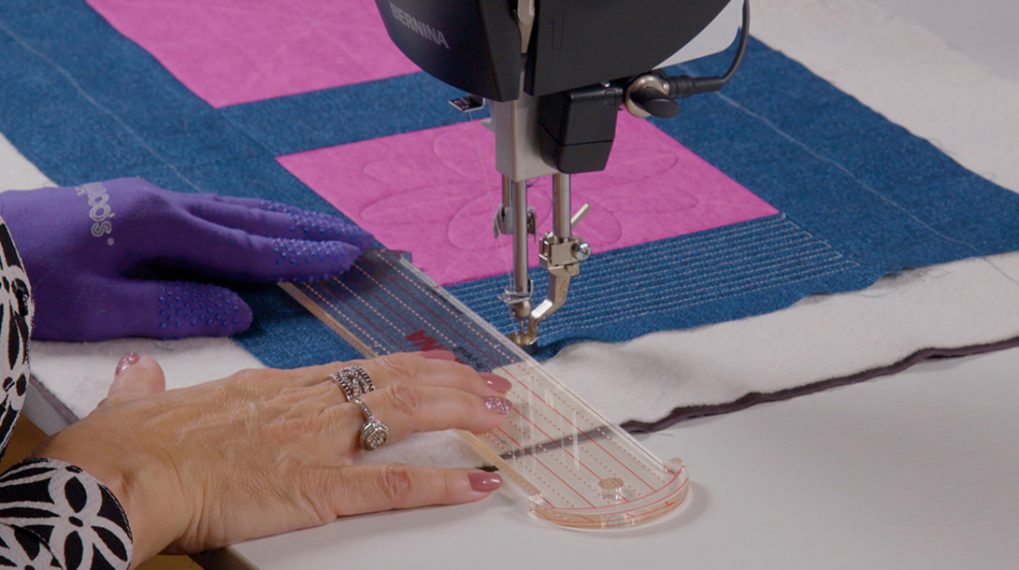
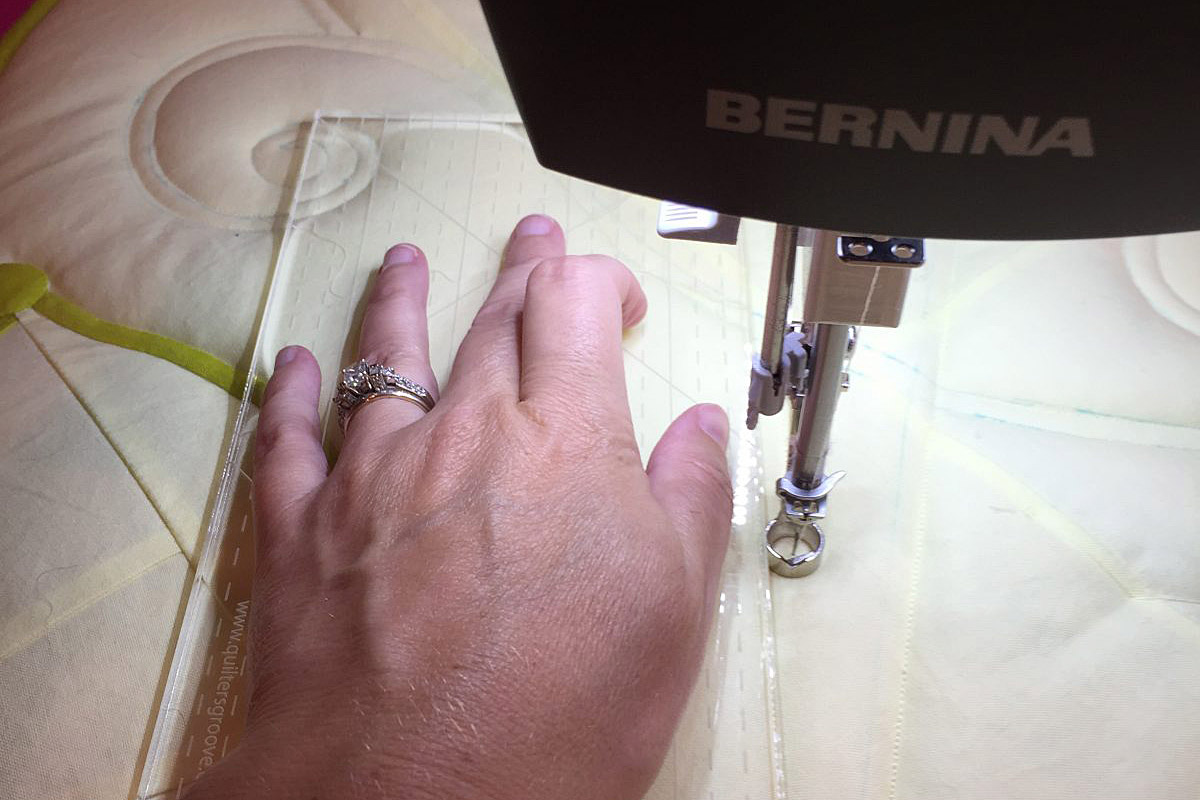
BERNINA ¼” thick rulers have fabric-gripping technology to help keep them in place while you stitch. Marked guidelines make it easy to align your ruler for repeating motifs.
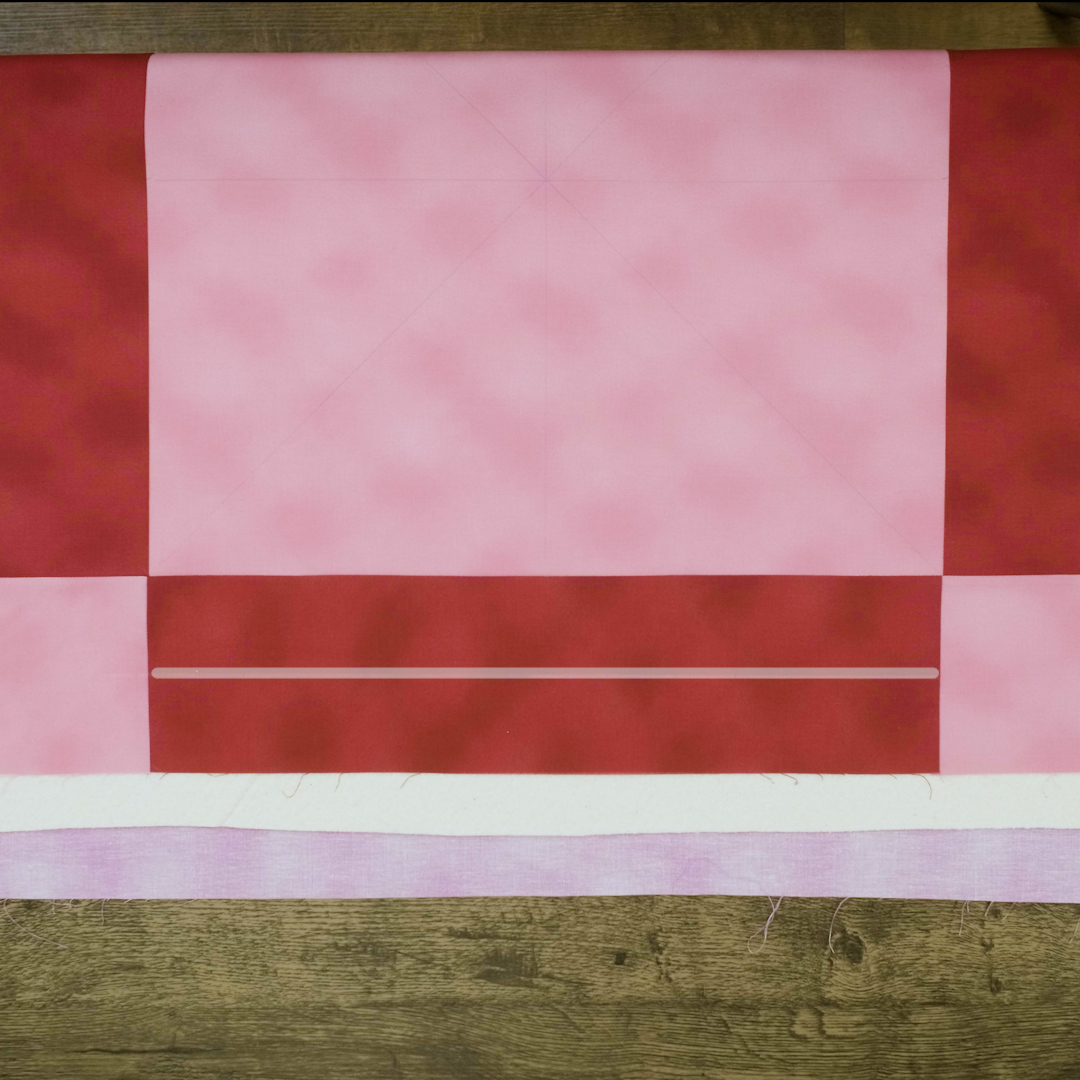
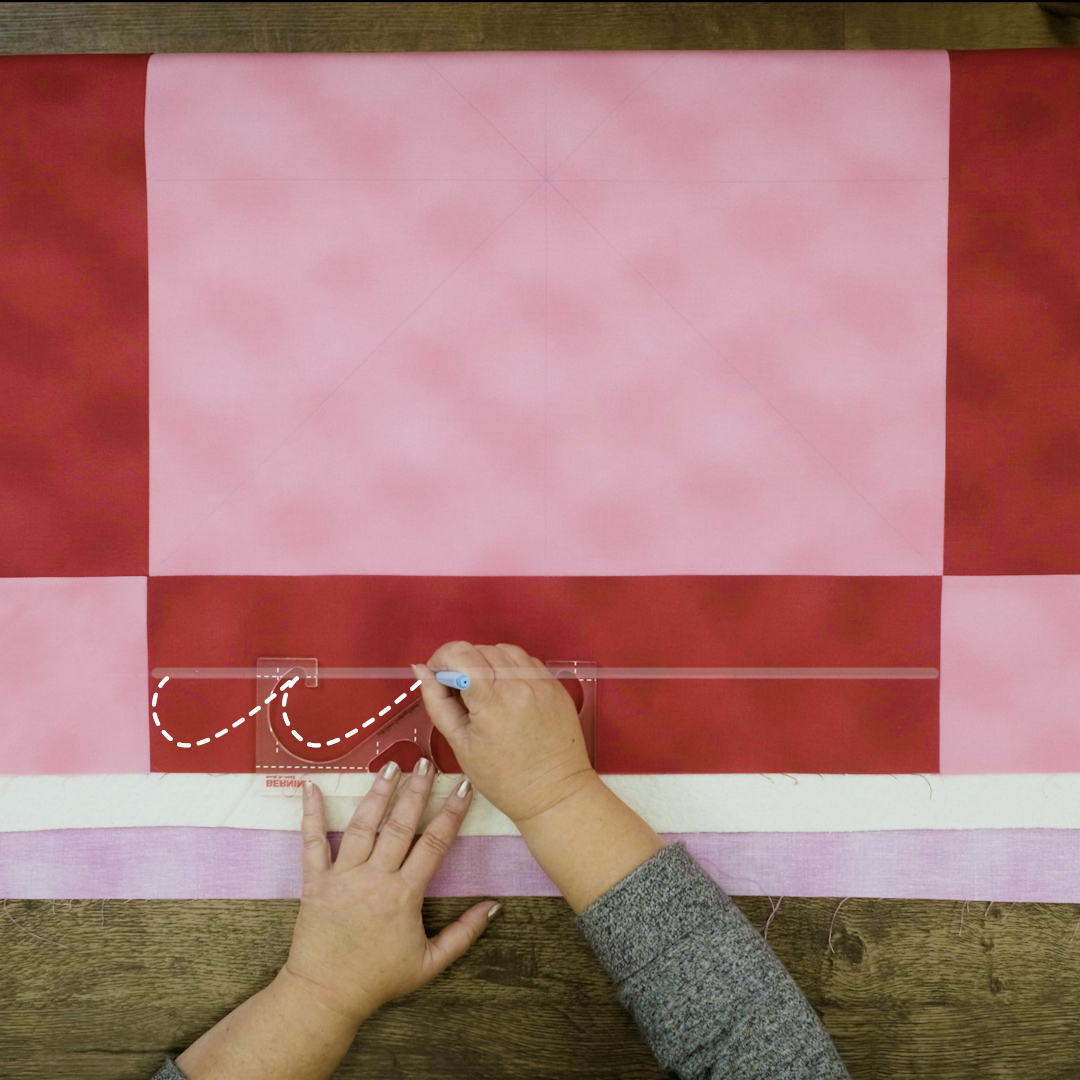
To quilt the running heart design, the first step is to mark an orientation line lengthwise down the center of the border section using a straight edge and a marking pen. Remember to factor in the ¼” seam allowance on the outer edge when determining the center line placement.
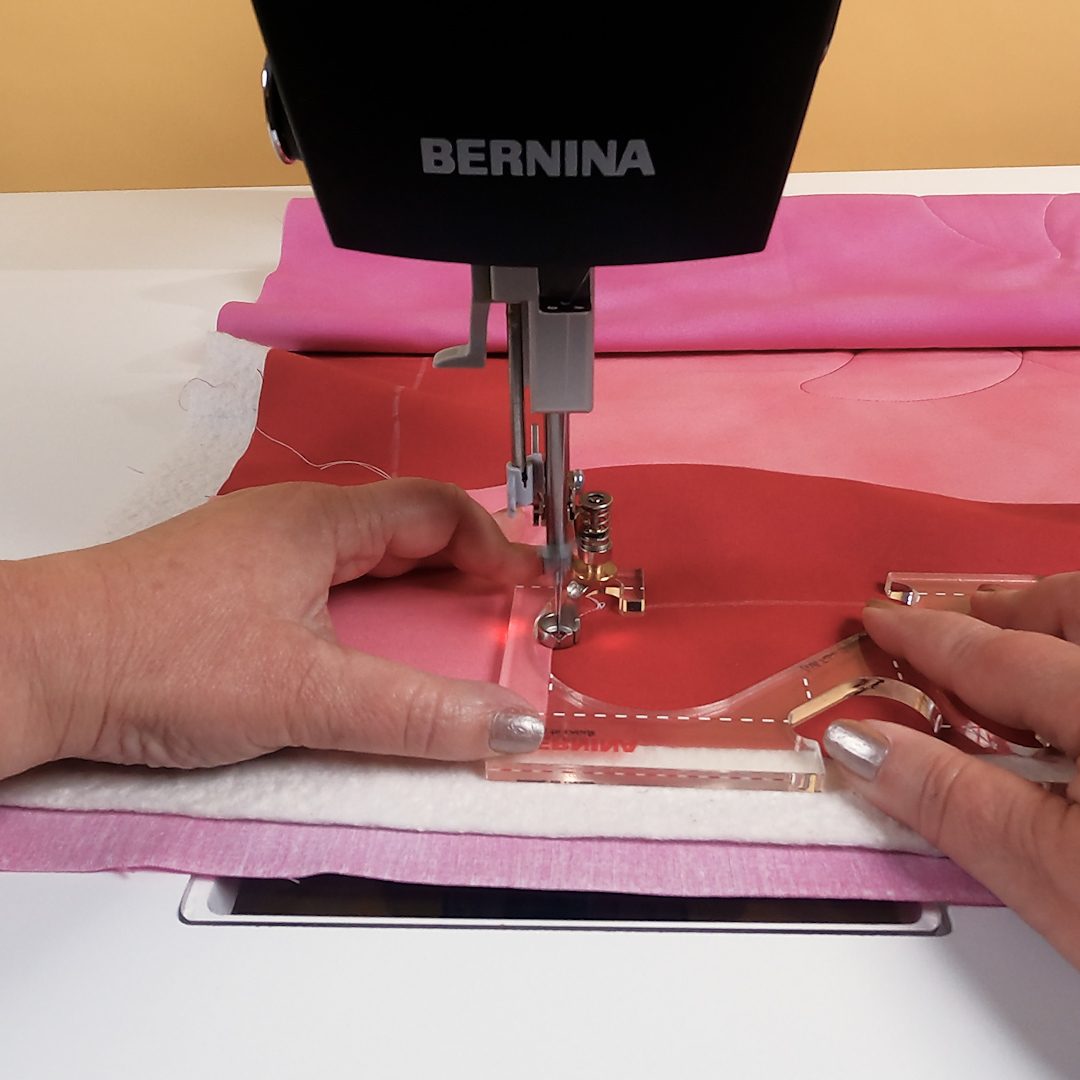
To find the starting point, align the orientation lines on the ruler with the left border seam and the marked center line. Bring the bobbin thread to the top and secure.
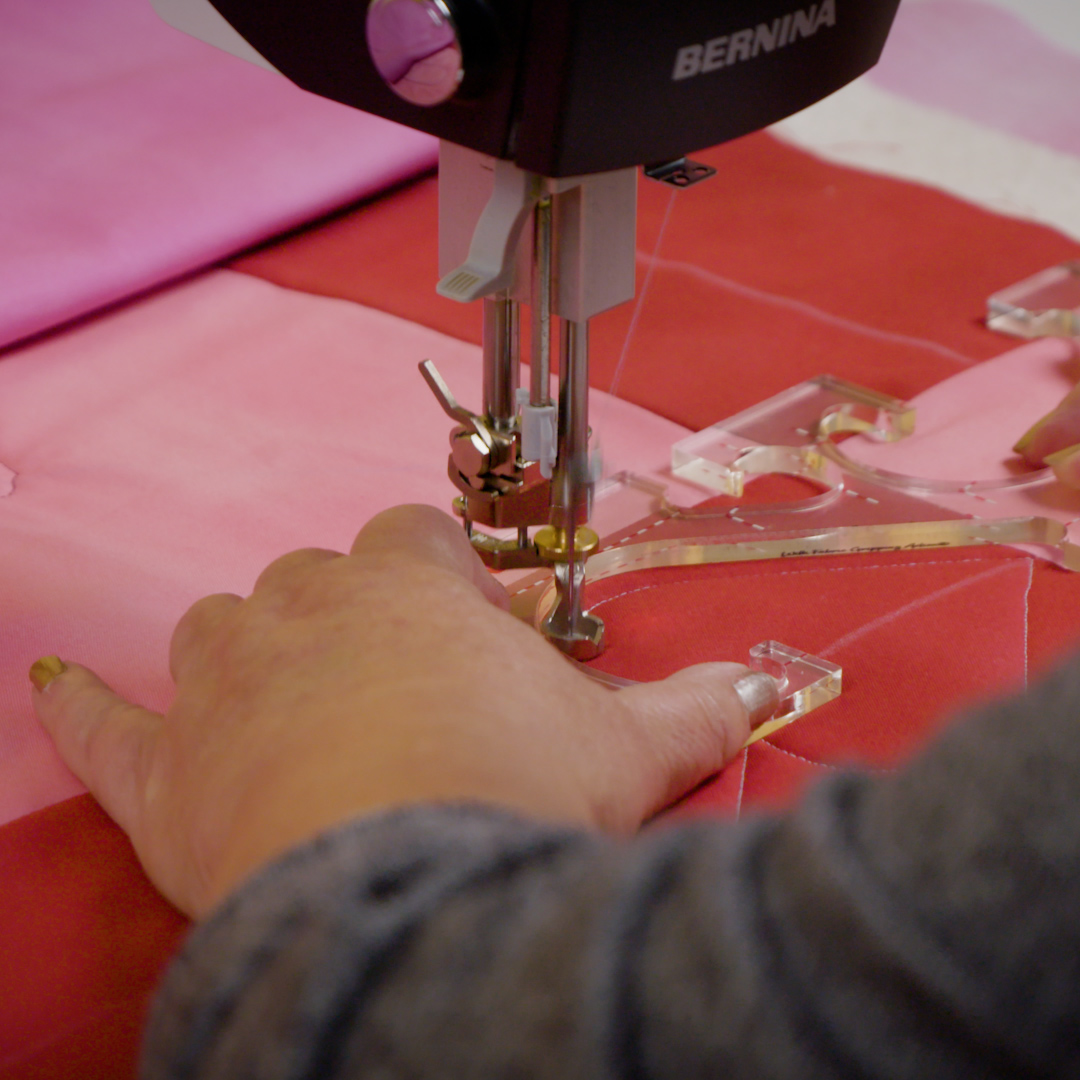
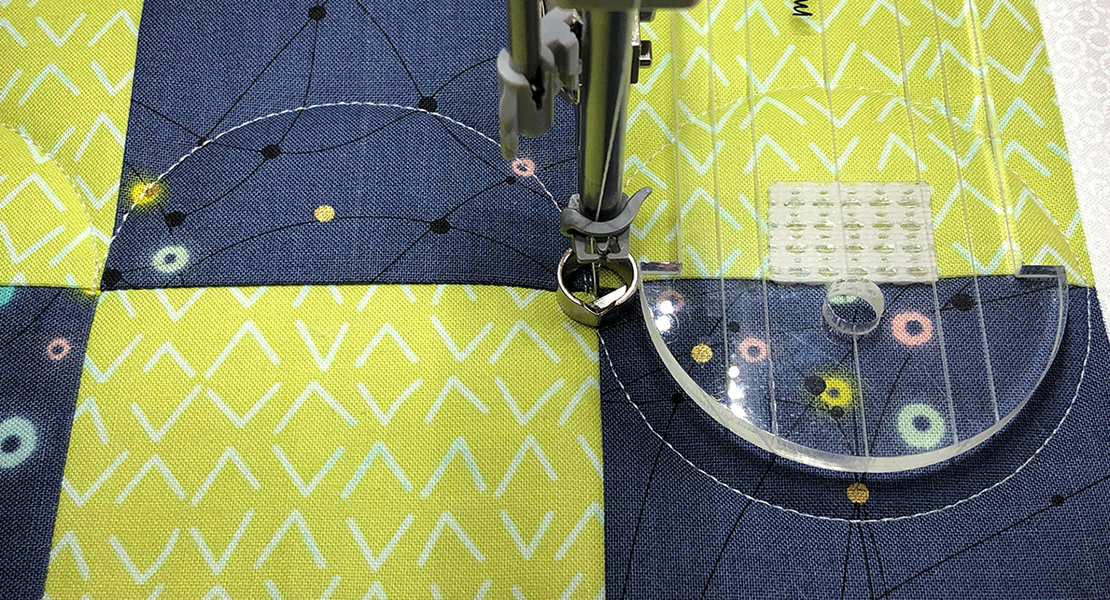
With the presser foot lowered, bring the ruler against it and begin stitching around the ruler.
When you get to the bottom tip of the heart, stop with the needle down and reposition the ruler so the “valley” of the next half-heart is aligned with the tip of the just-stitched half-heart.
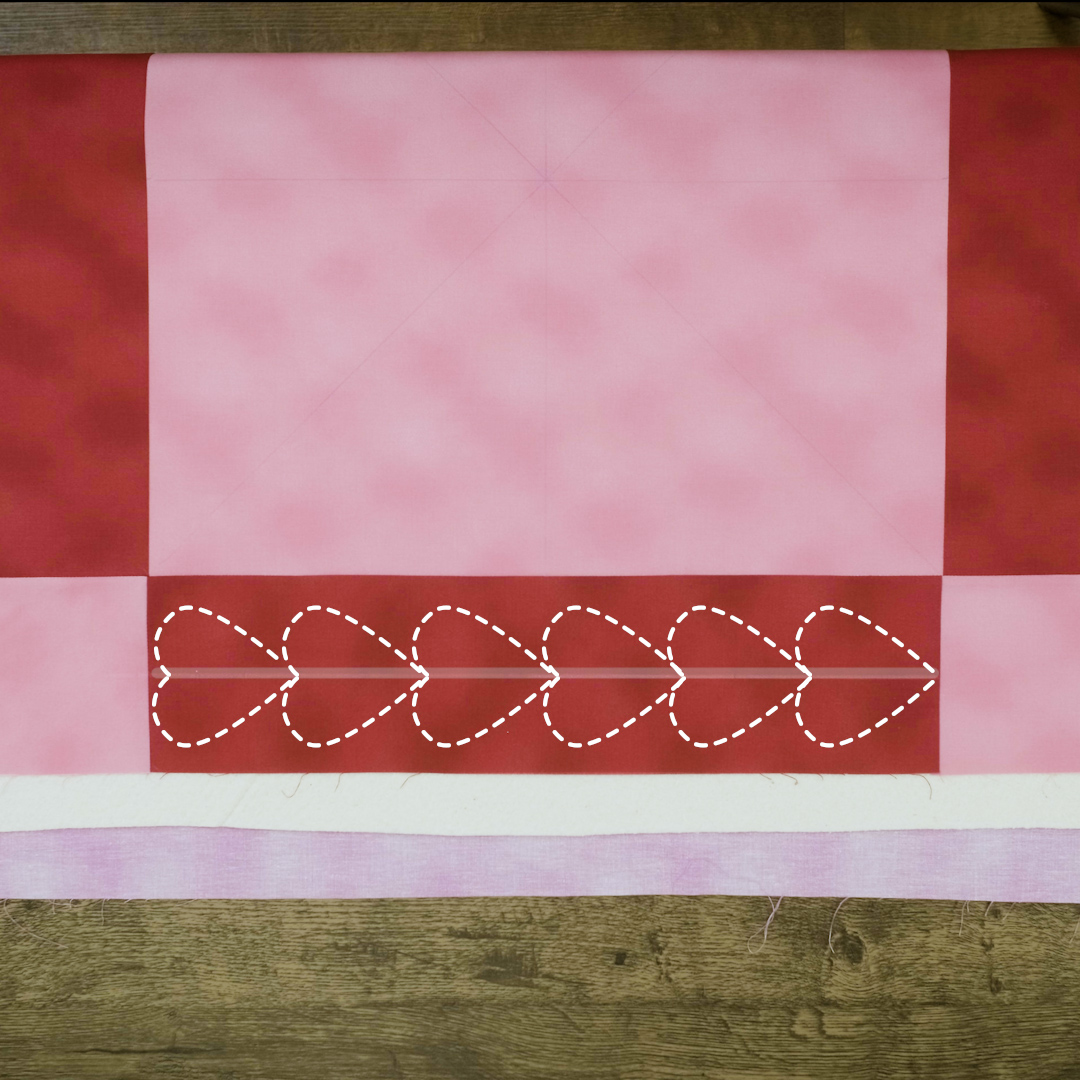
Continue stitching each half-heart shape in the same manner along one side of the drawn center orientation line. When you reach the bottom tip, flip the ruler over and then stitch from bottom tip to top “valley”.
Continue quilting the second side of the running heart border by repositioning the ruler along the marked center line until you have all 6 hearts quilted to create the border design.
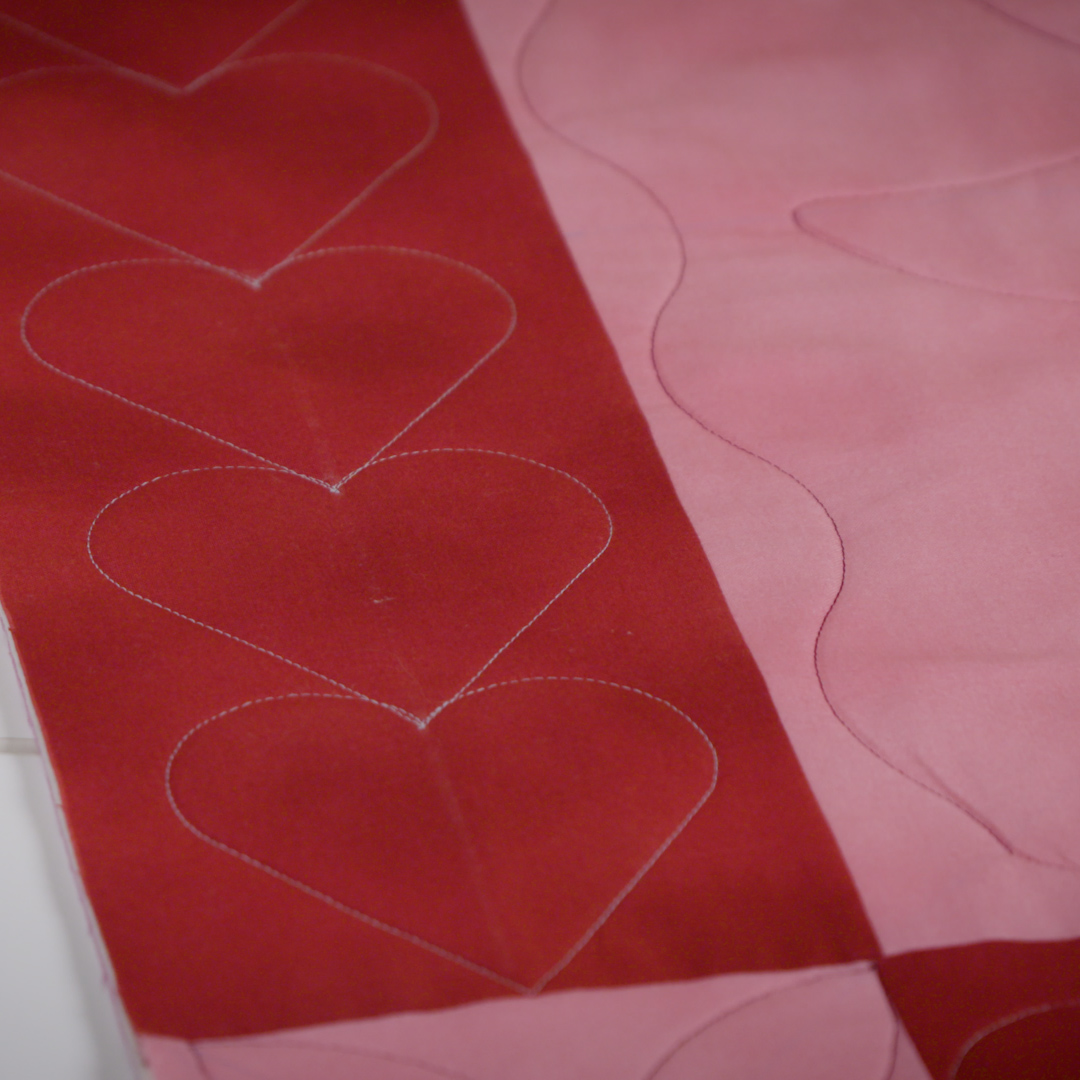
When finished you have this beautiful running heart design that is the prefect compliment for the border and super easy to quilt using the BERNINA heart ruler.
If you are new to rulerwork, it takes a bit of time to establish the happy balance between too little and too much pressure of the ruler against the fence of the presser foot. You don’t want to “drift” off the foot by using too little pressure, but if you use too much pressure it will be difficult to move the ruler and quilt. Stay as relaxed as possible. Take a break, if needed and take a deep breath. It gets easier with practice!
