Sewing an Athleisure Set, Part Two

Welcome to part two of the Sewing an Athleisure Set series! We will begin by sewing the Danika Top, followed by the Serena Skort.
If you missed Part One, you can find it here.
Note: Seam allowances are 1/2″ unless otherwise specified.
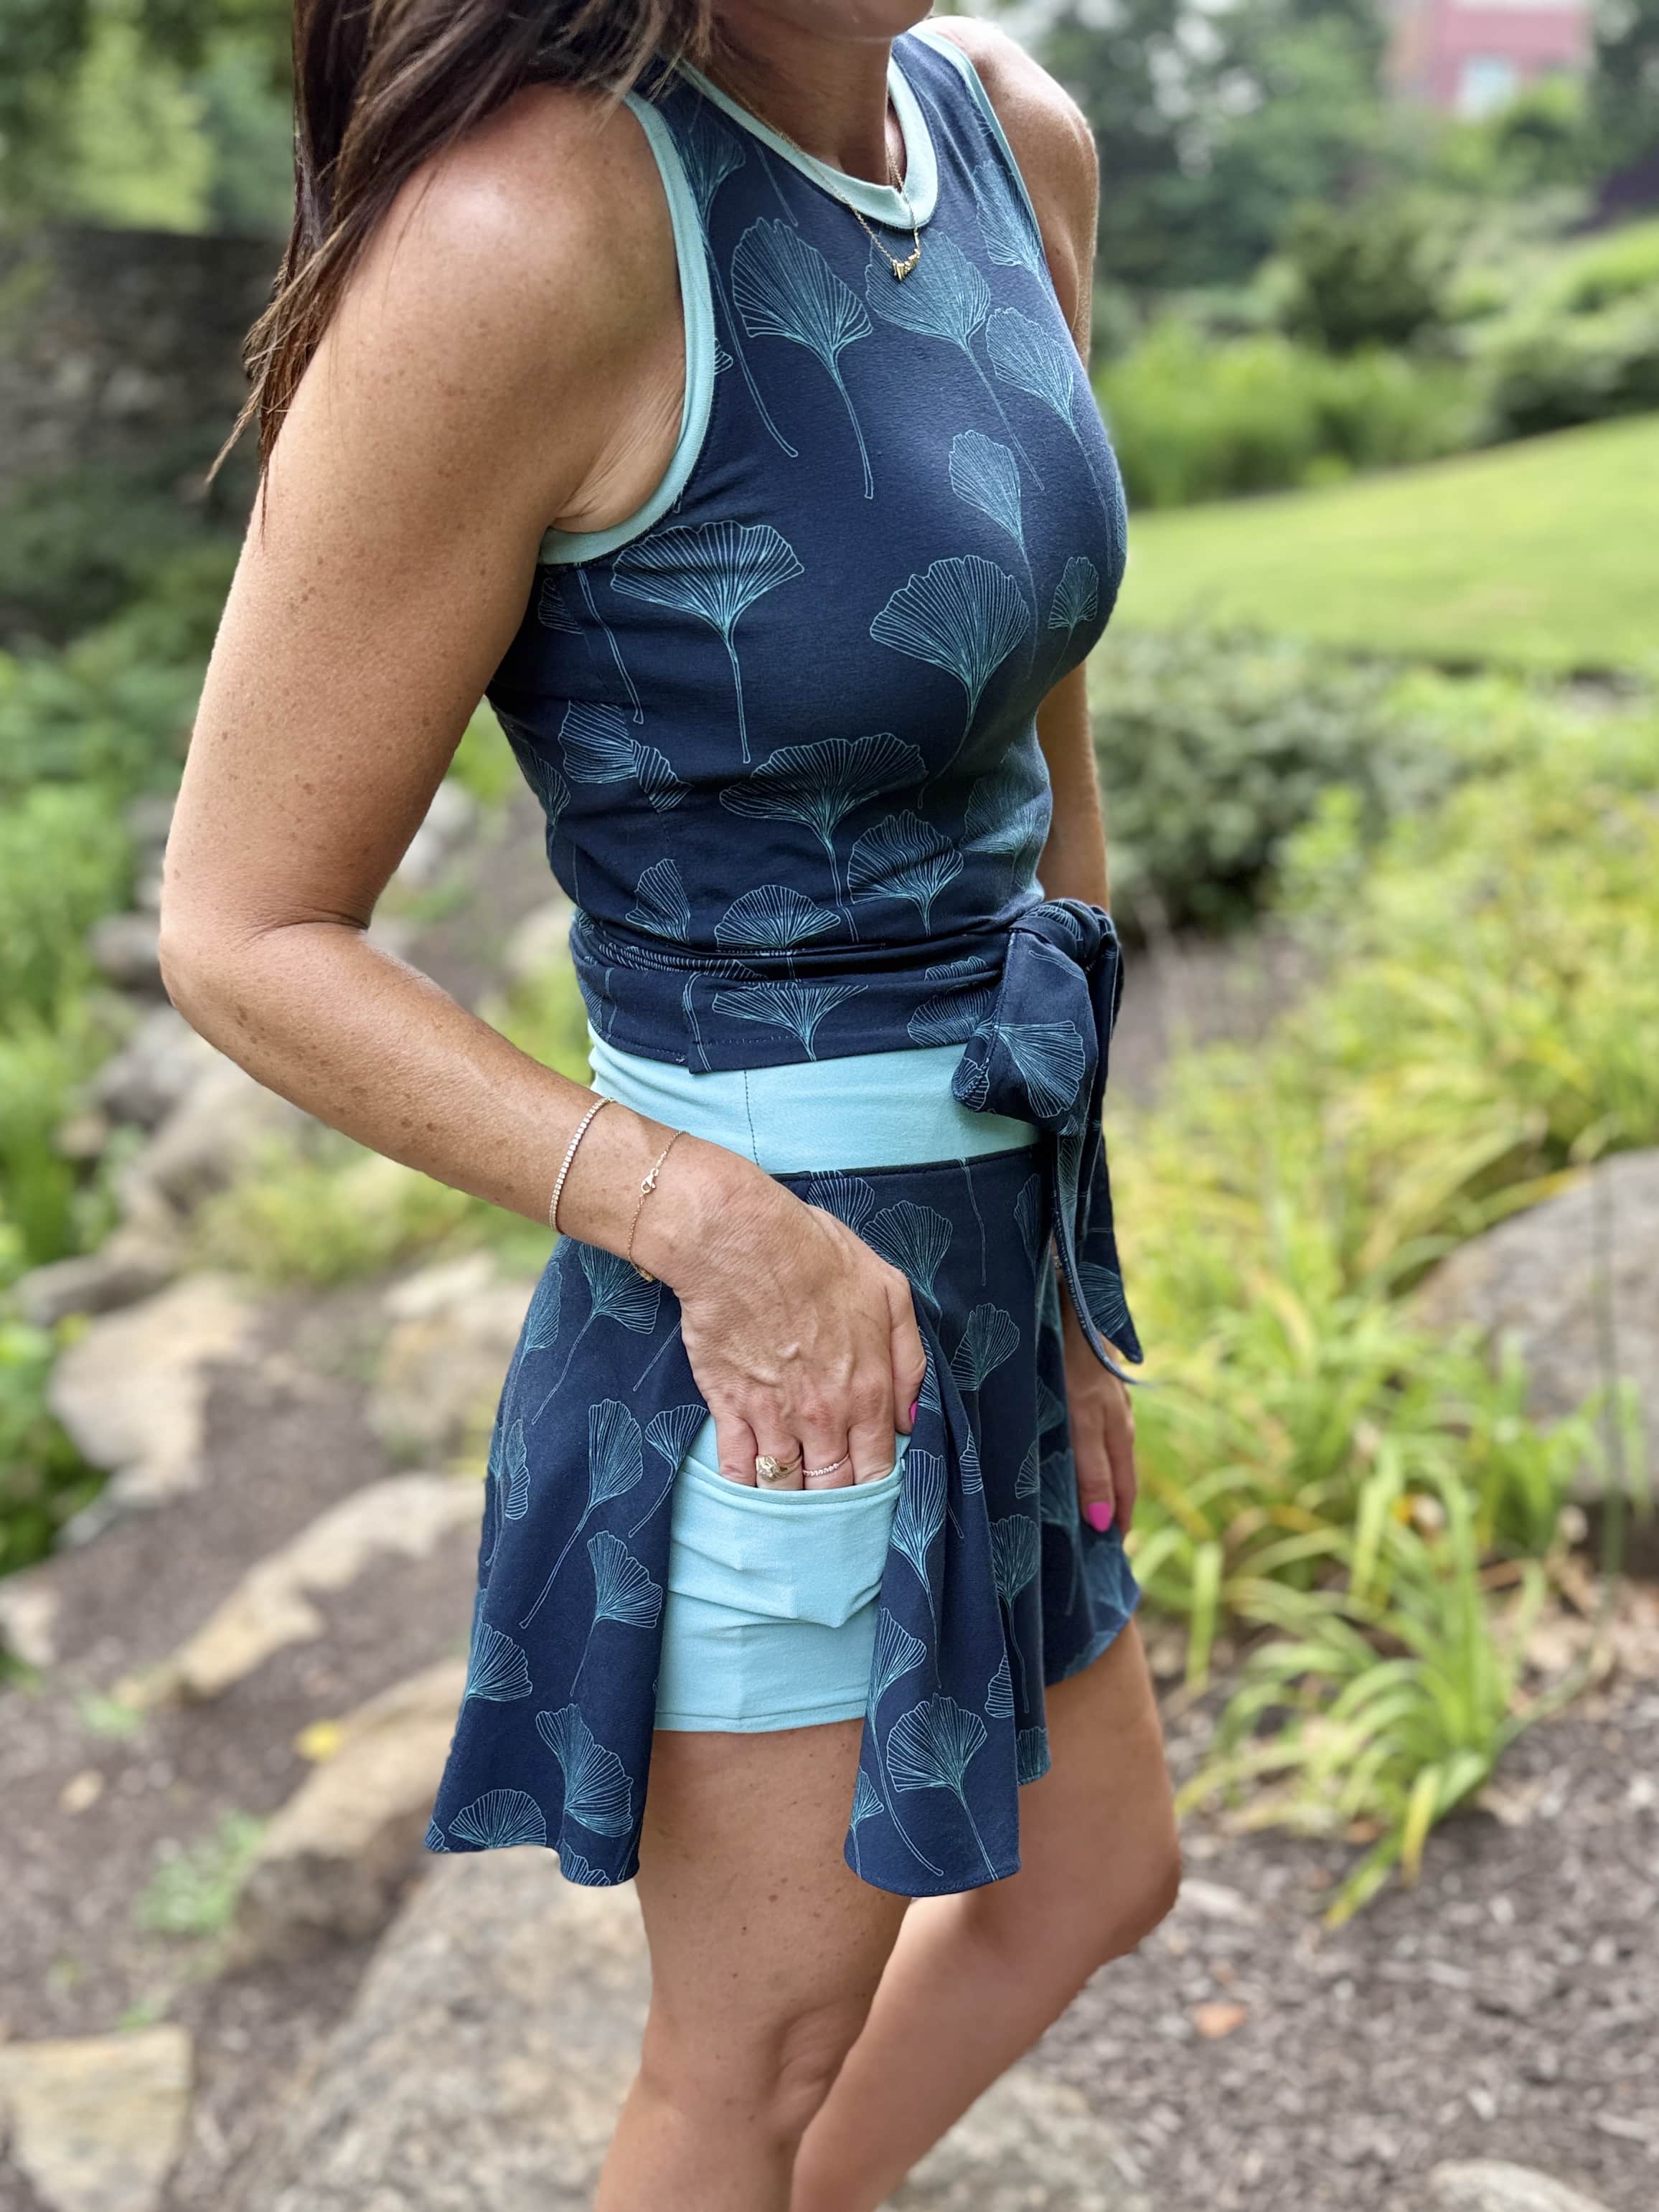
Constructing the Danika Back Bodice
Locate the 4 tie-back pieces. Place the main and lining tie-back pieces right sides together and stitch along the top and bottom curve. The upper top and side seam will be left open.
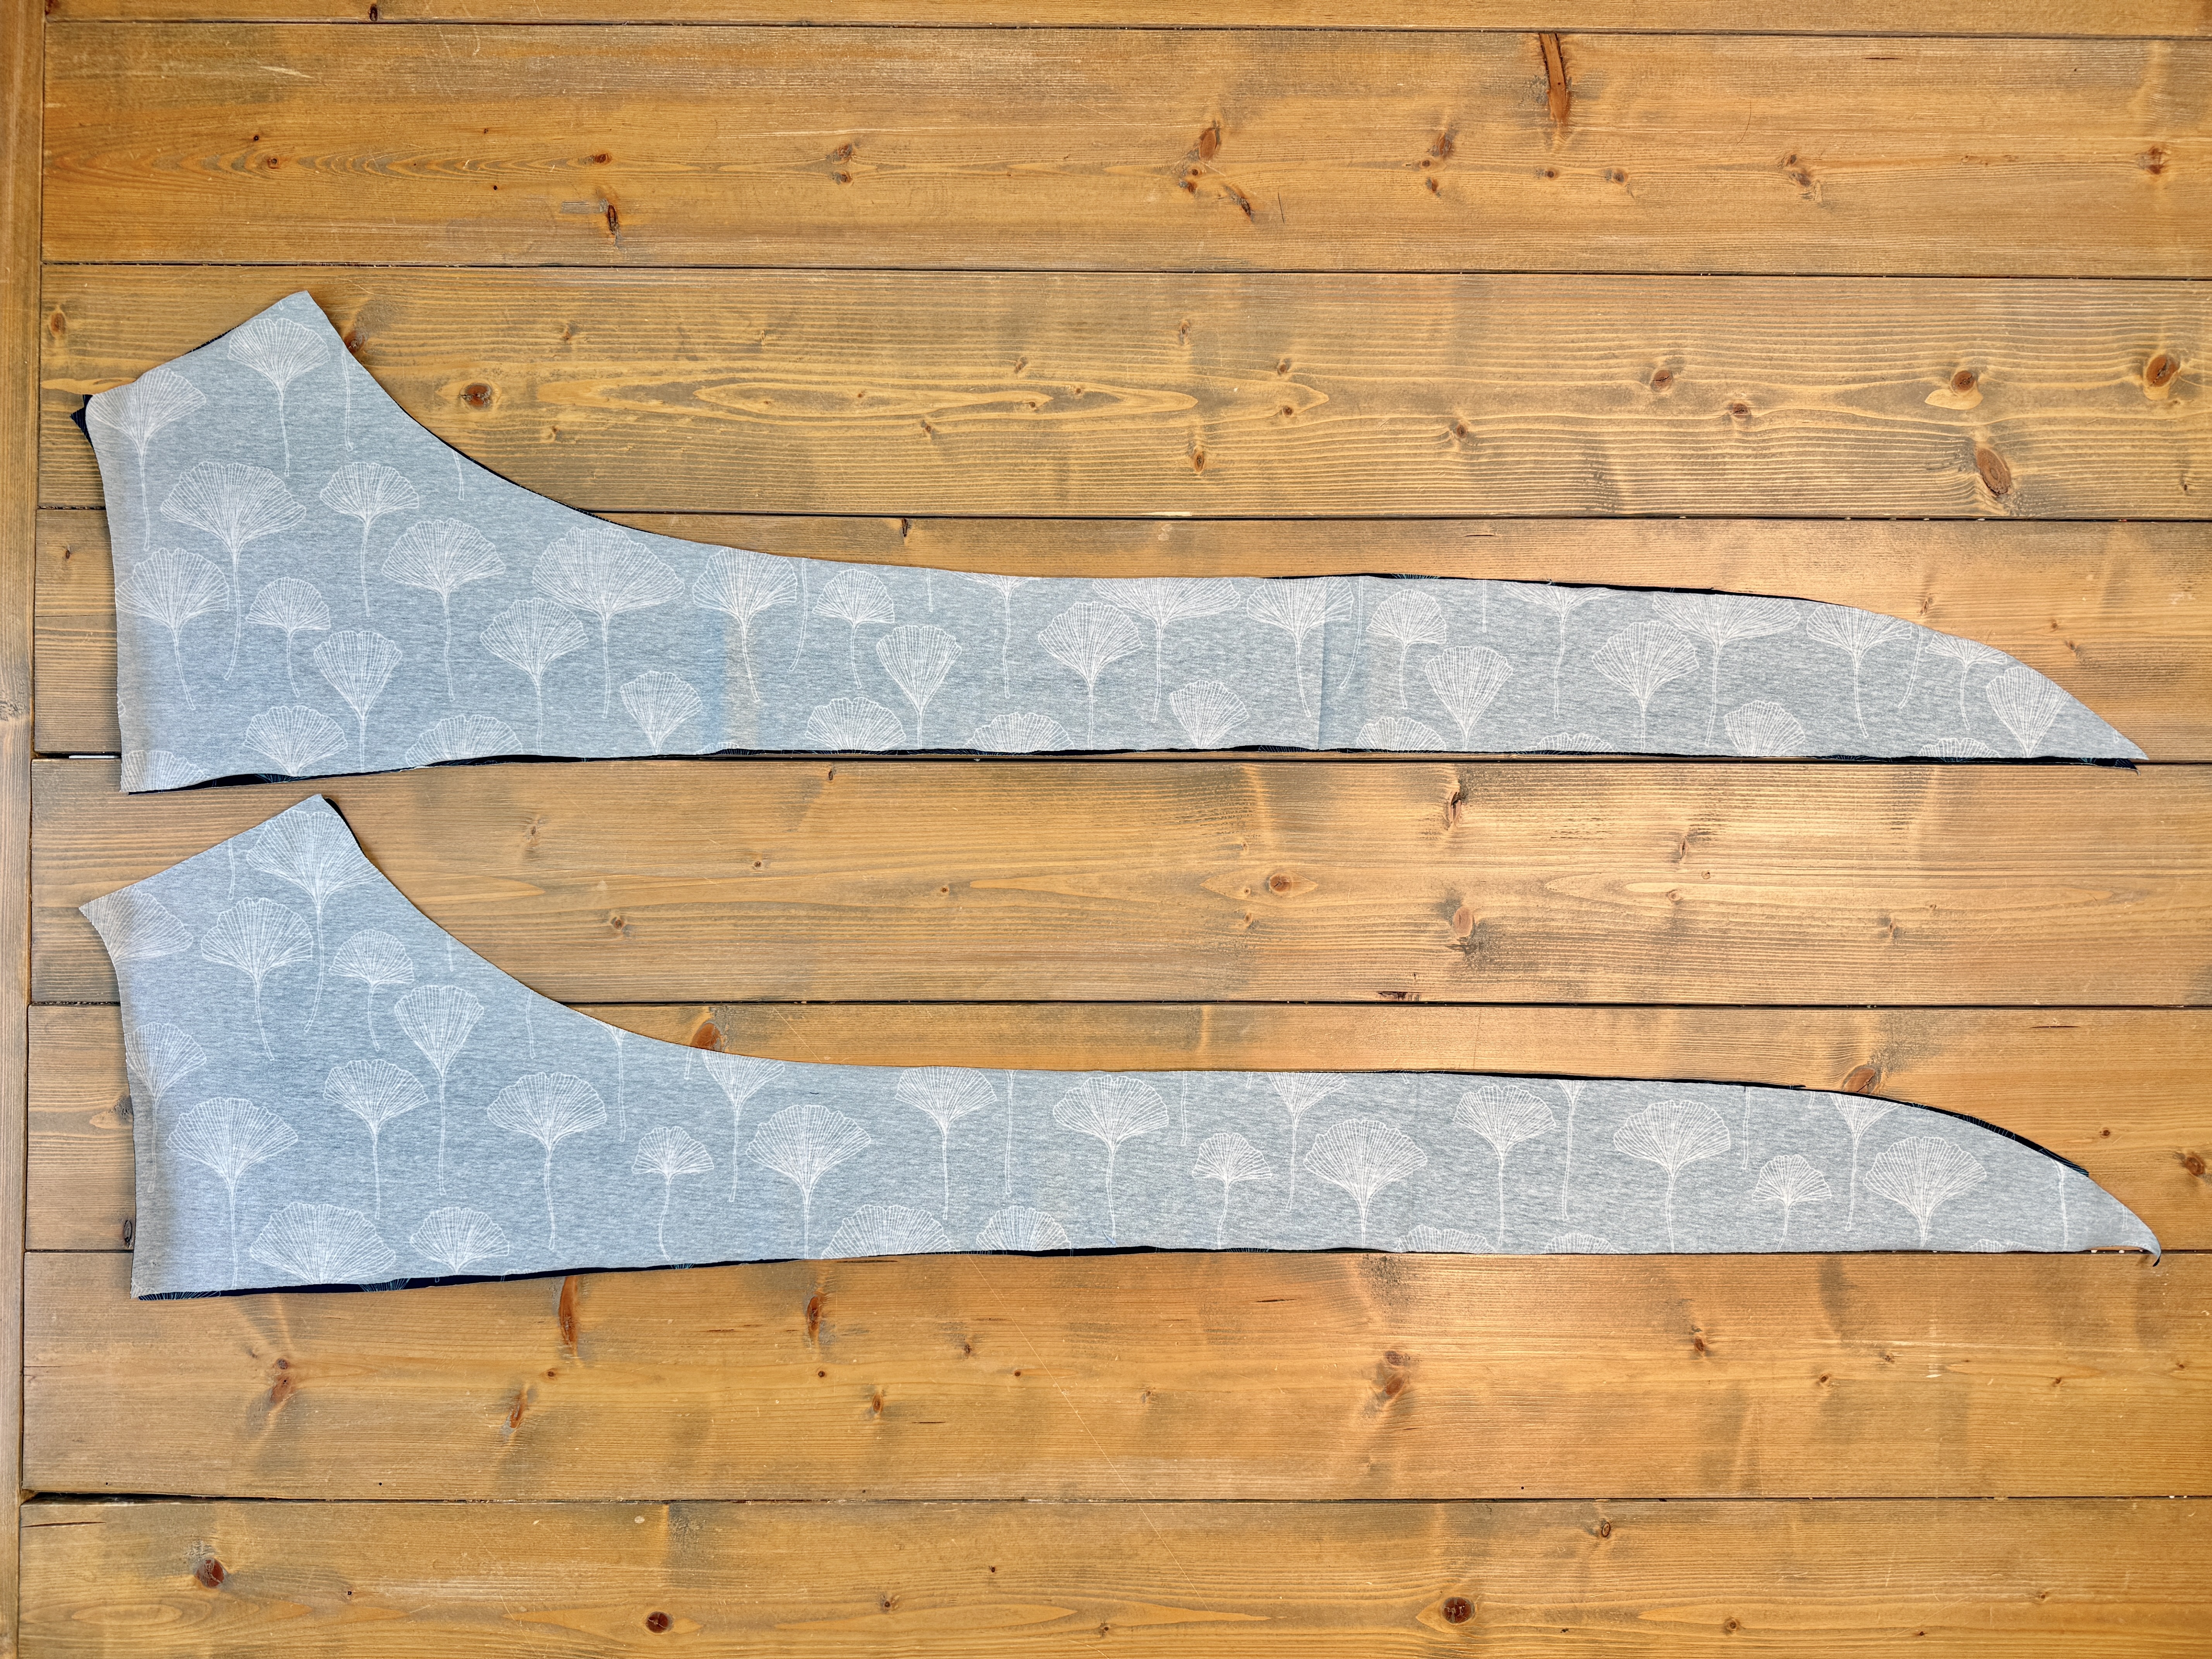
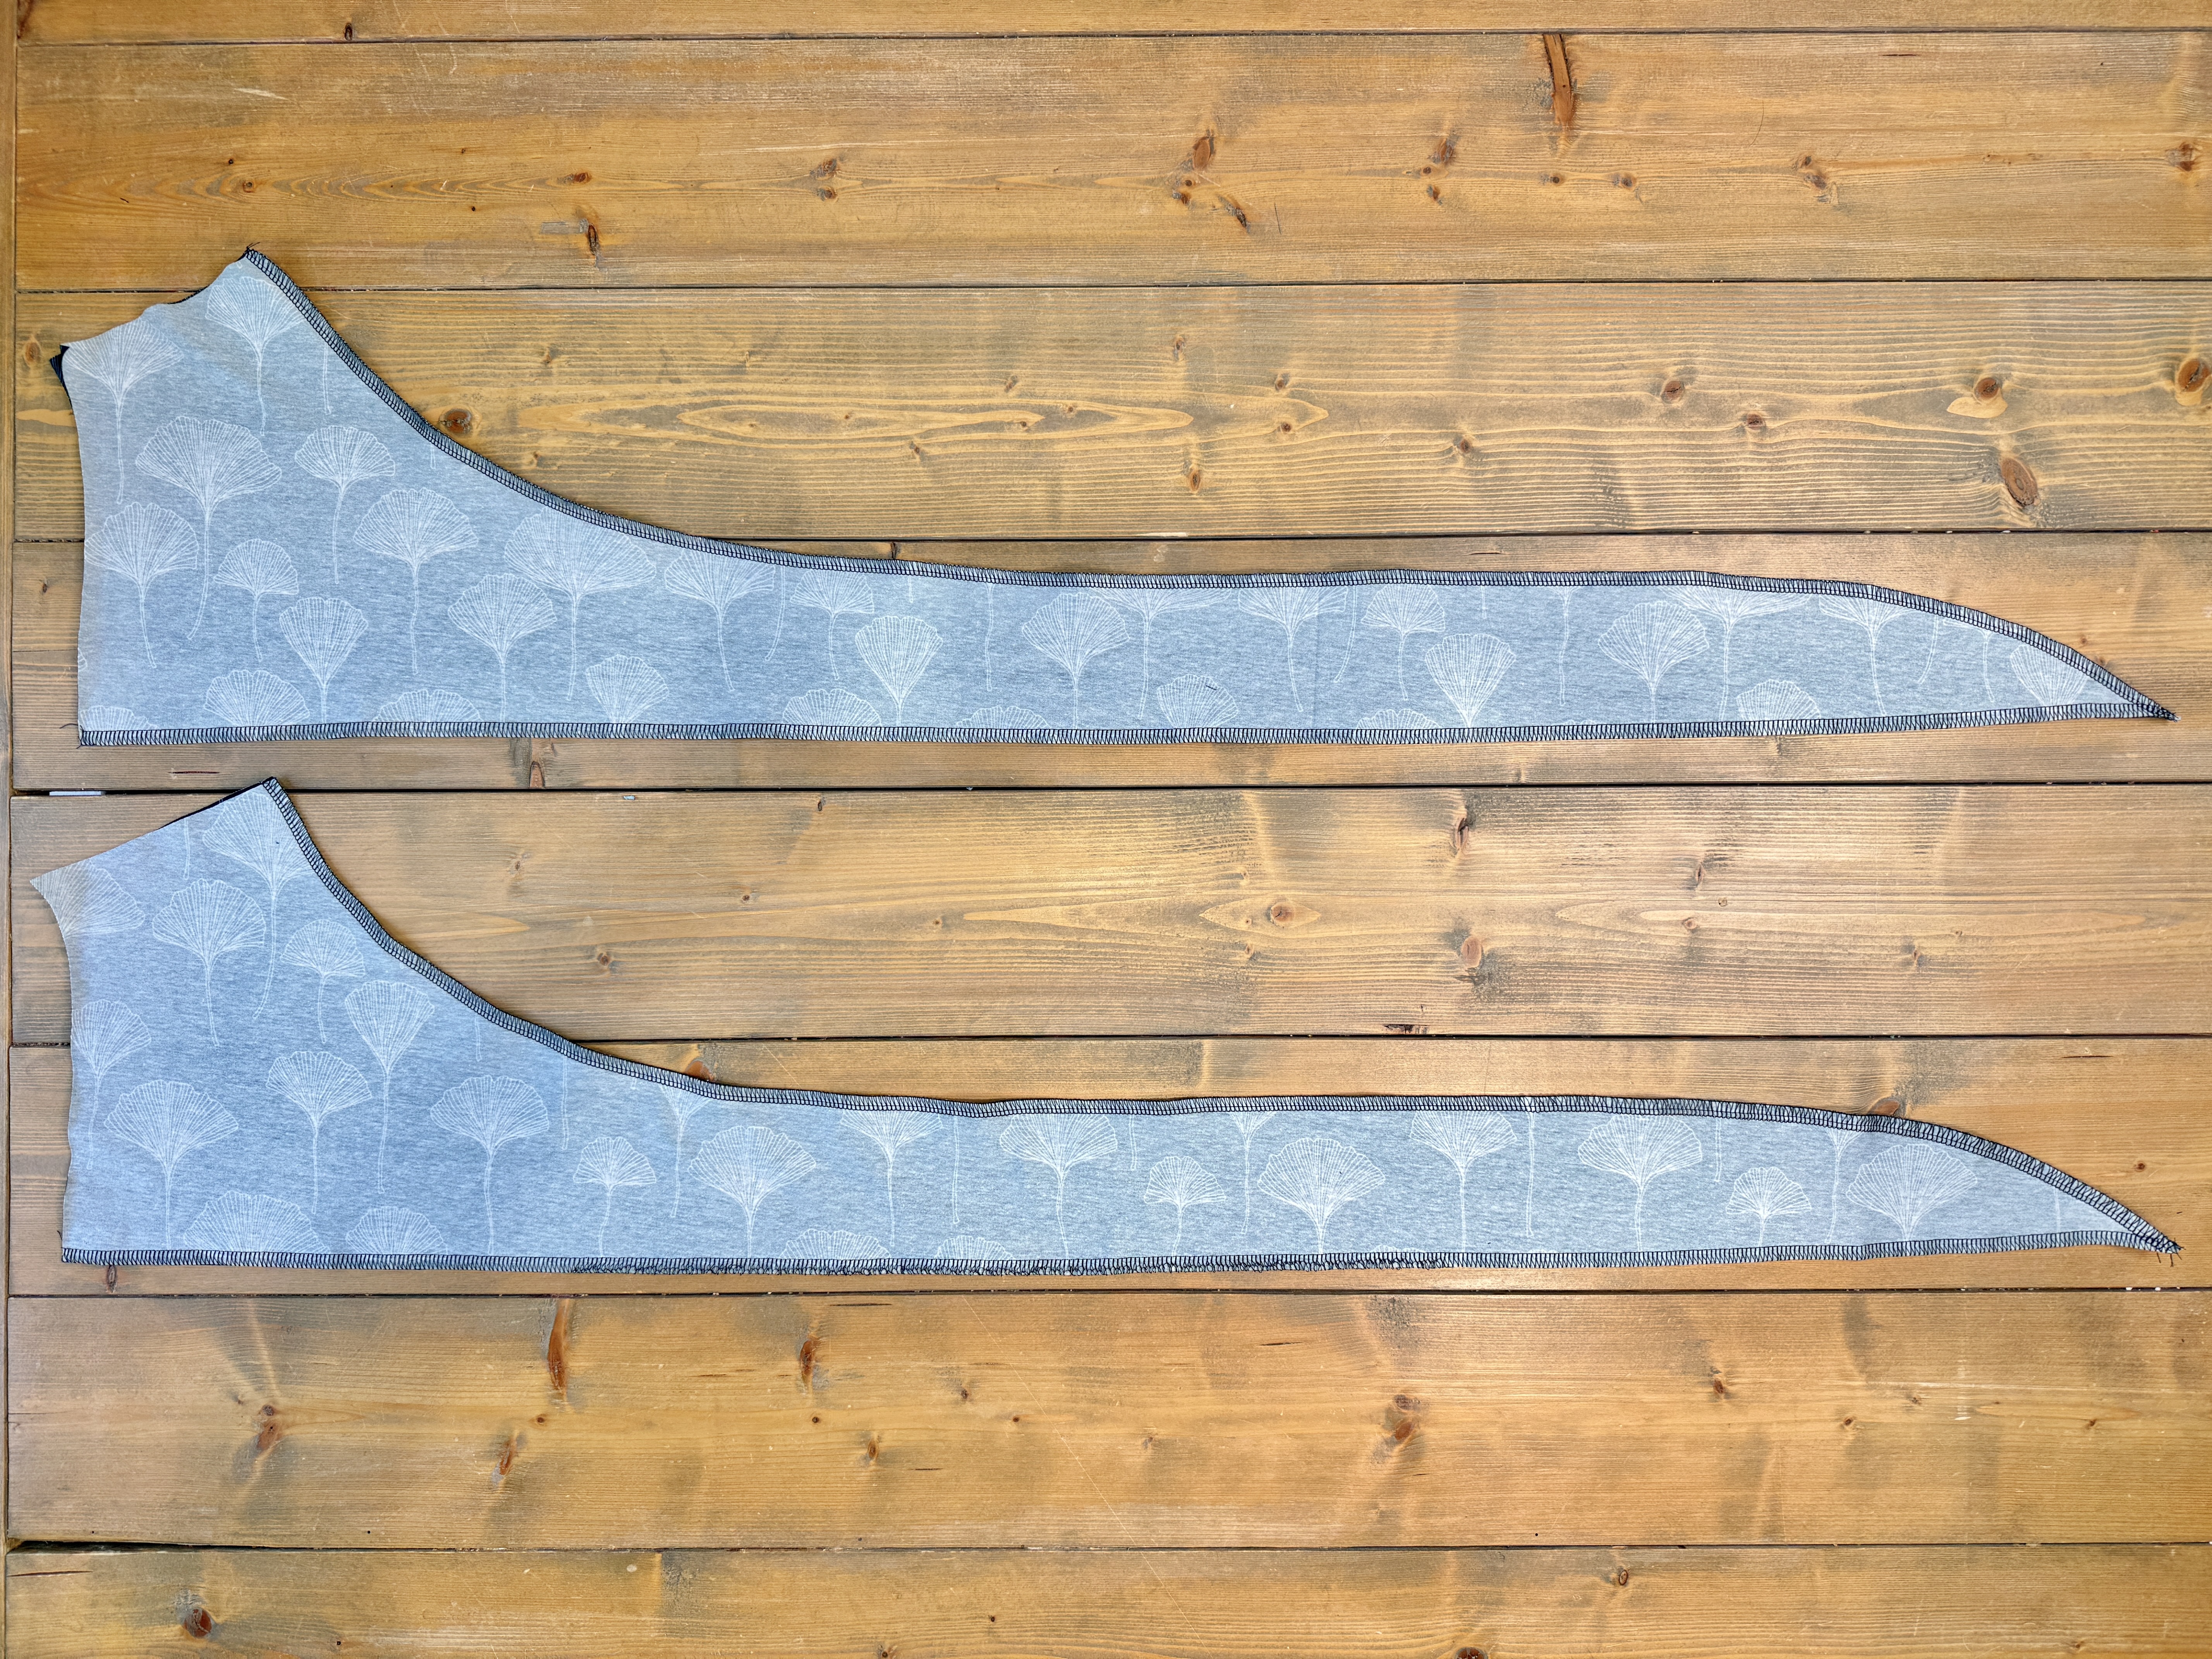
Clip into the point, and turn the tie pieces right sides out. Press flat.
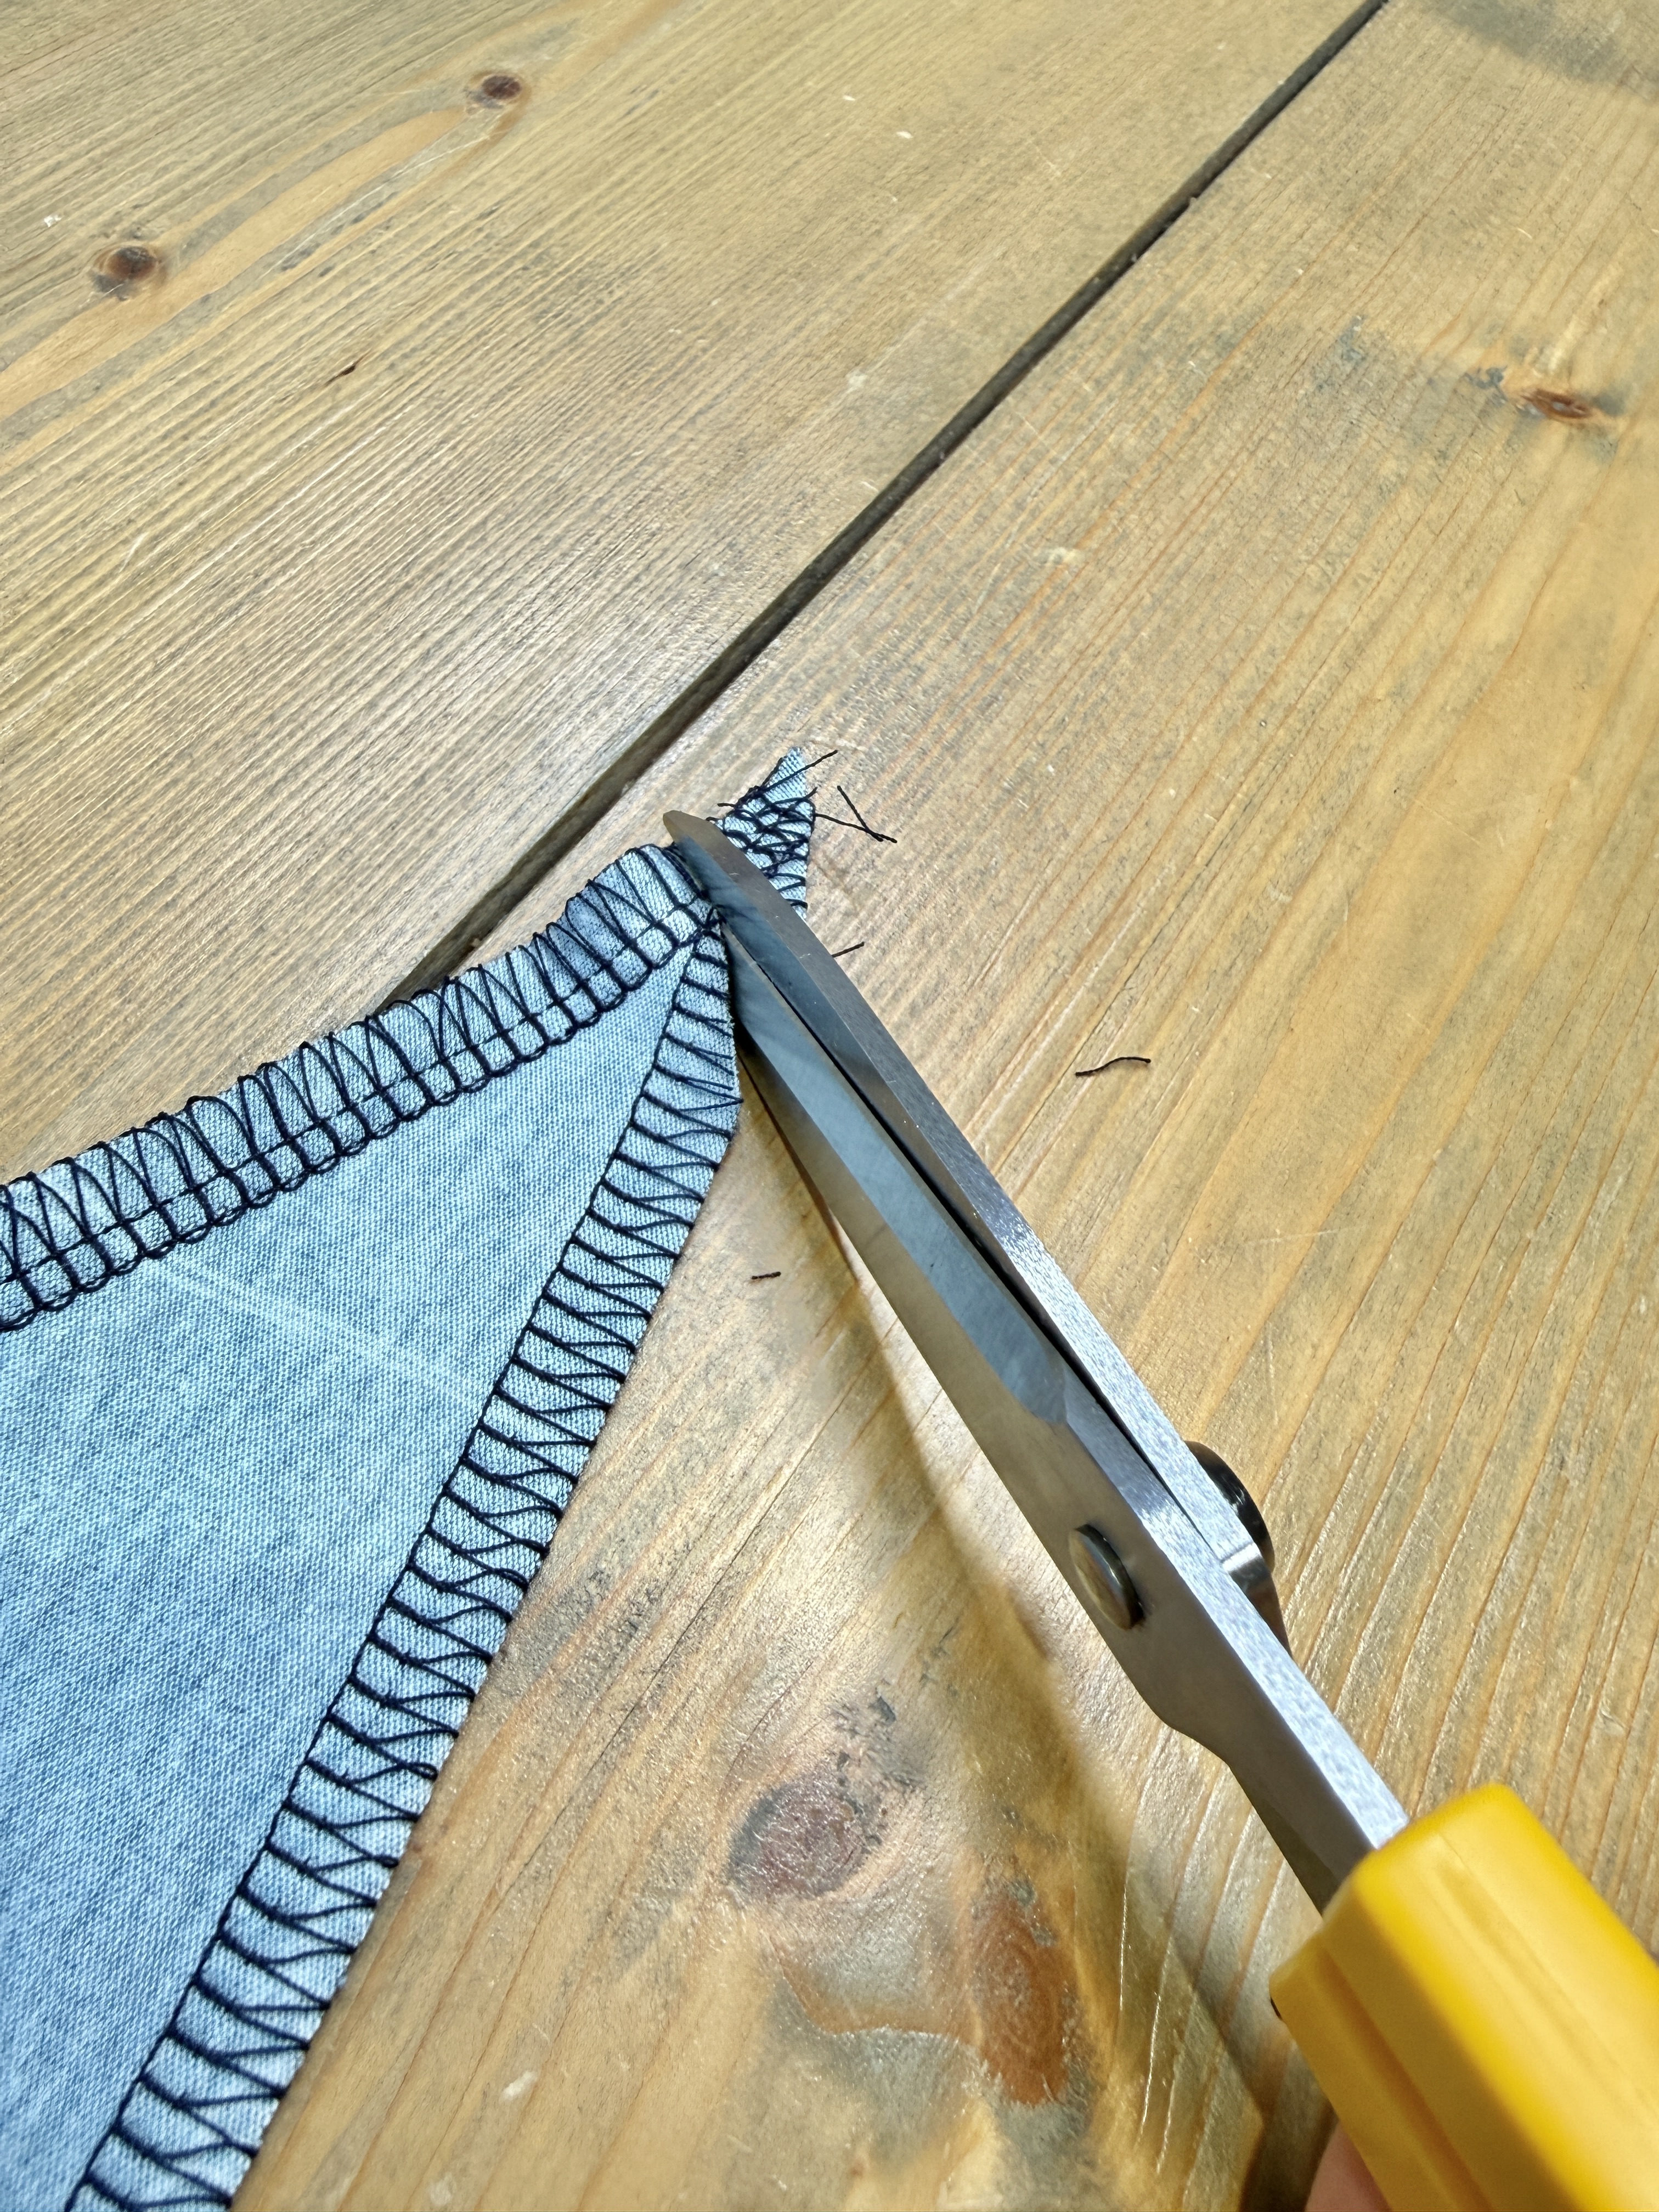
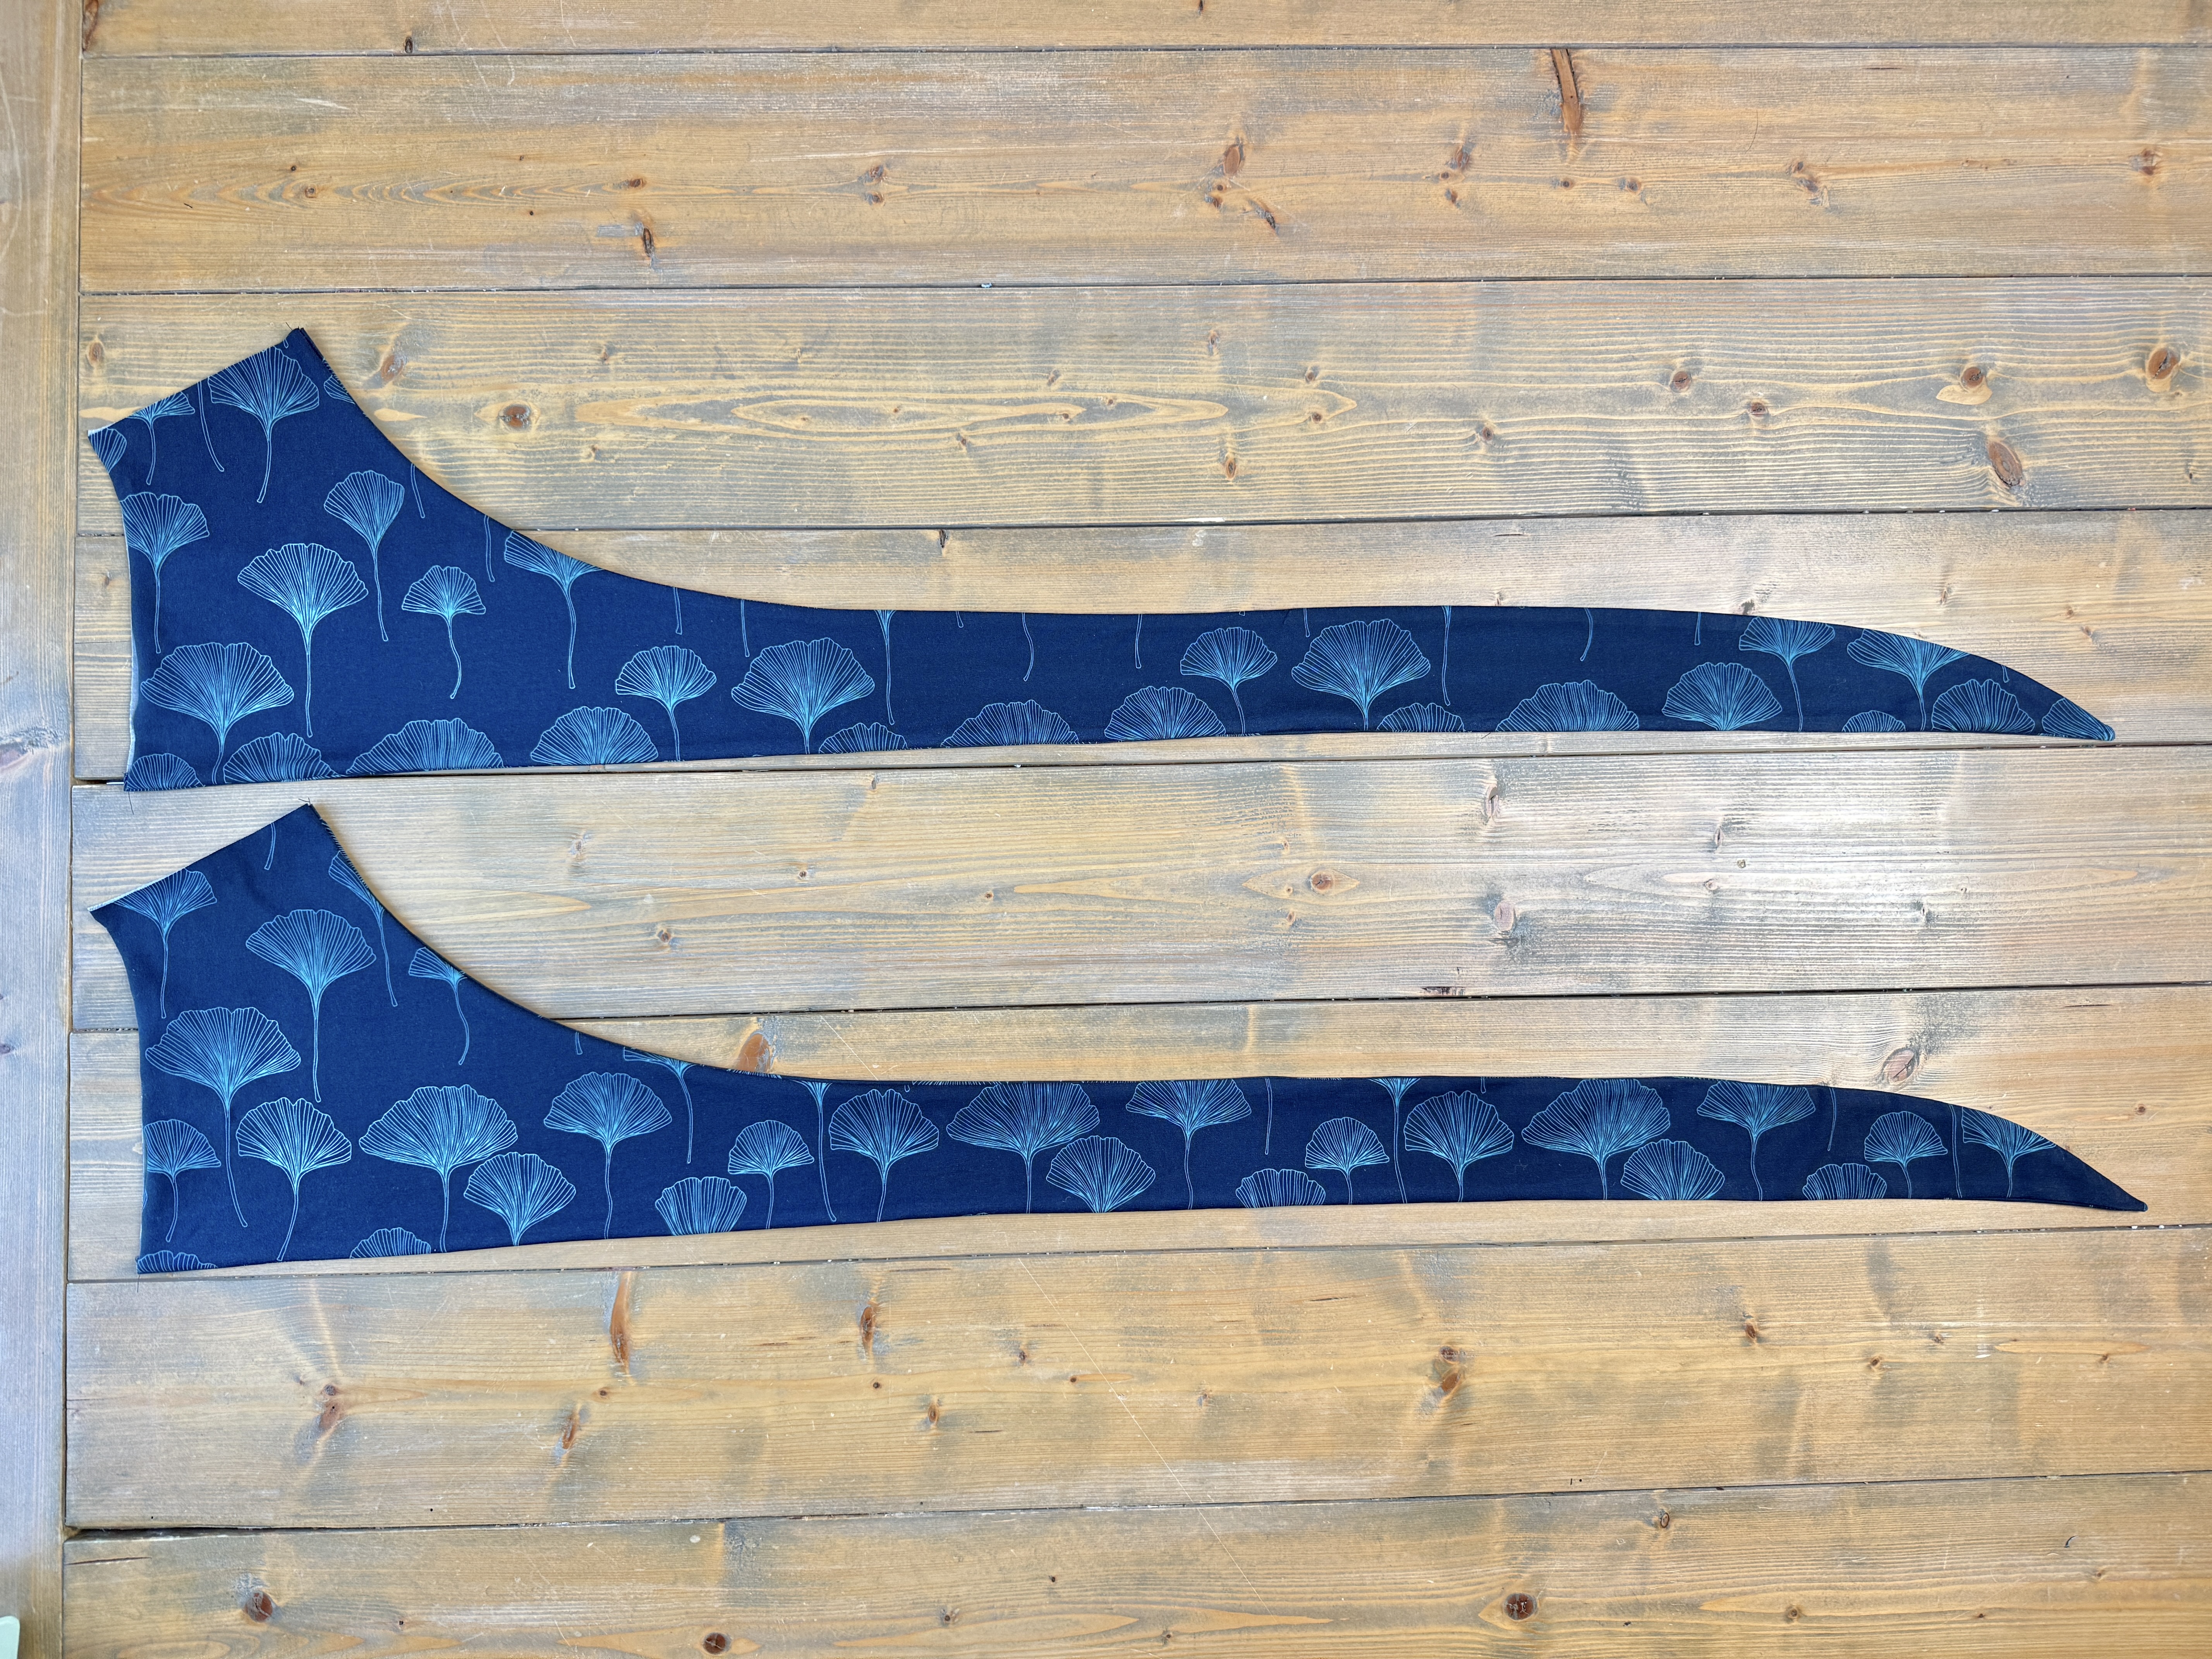
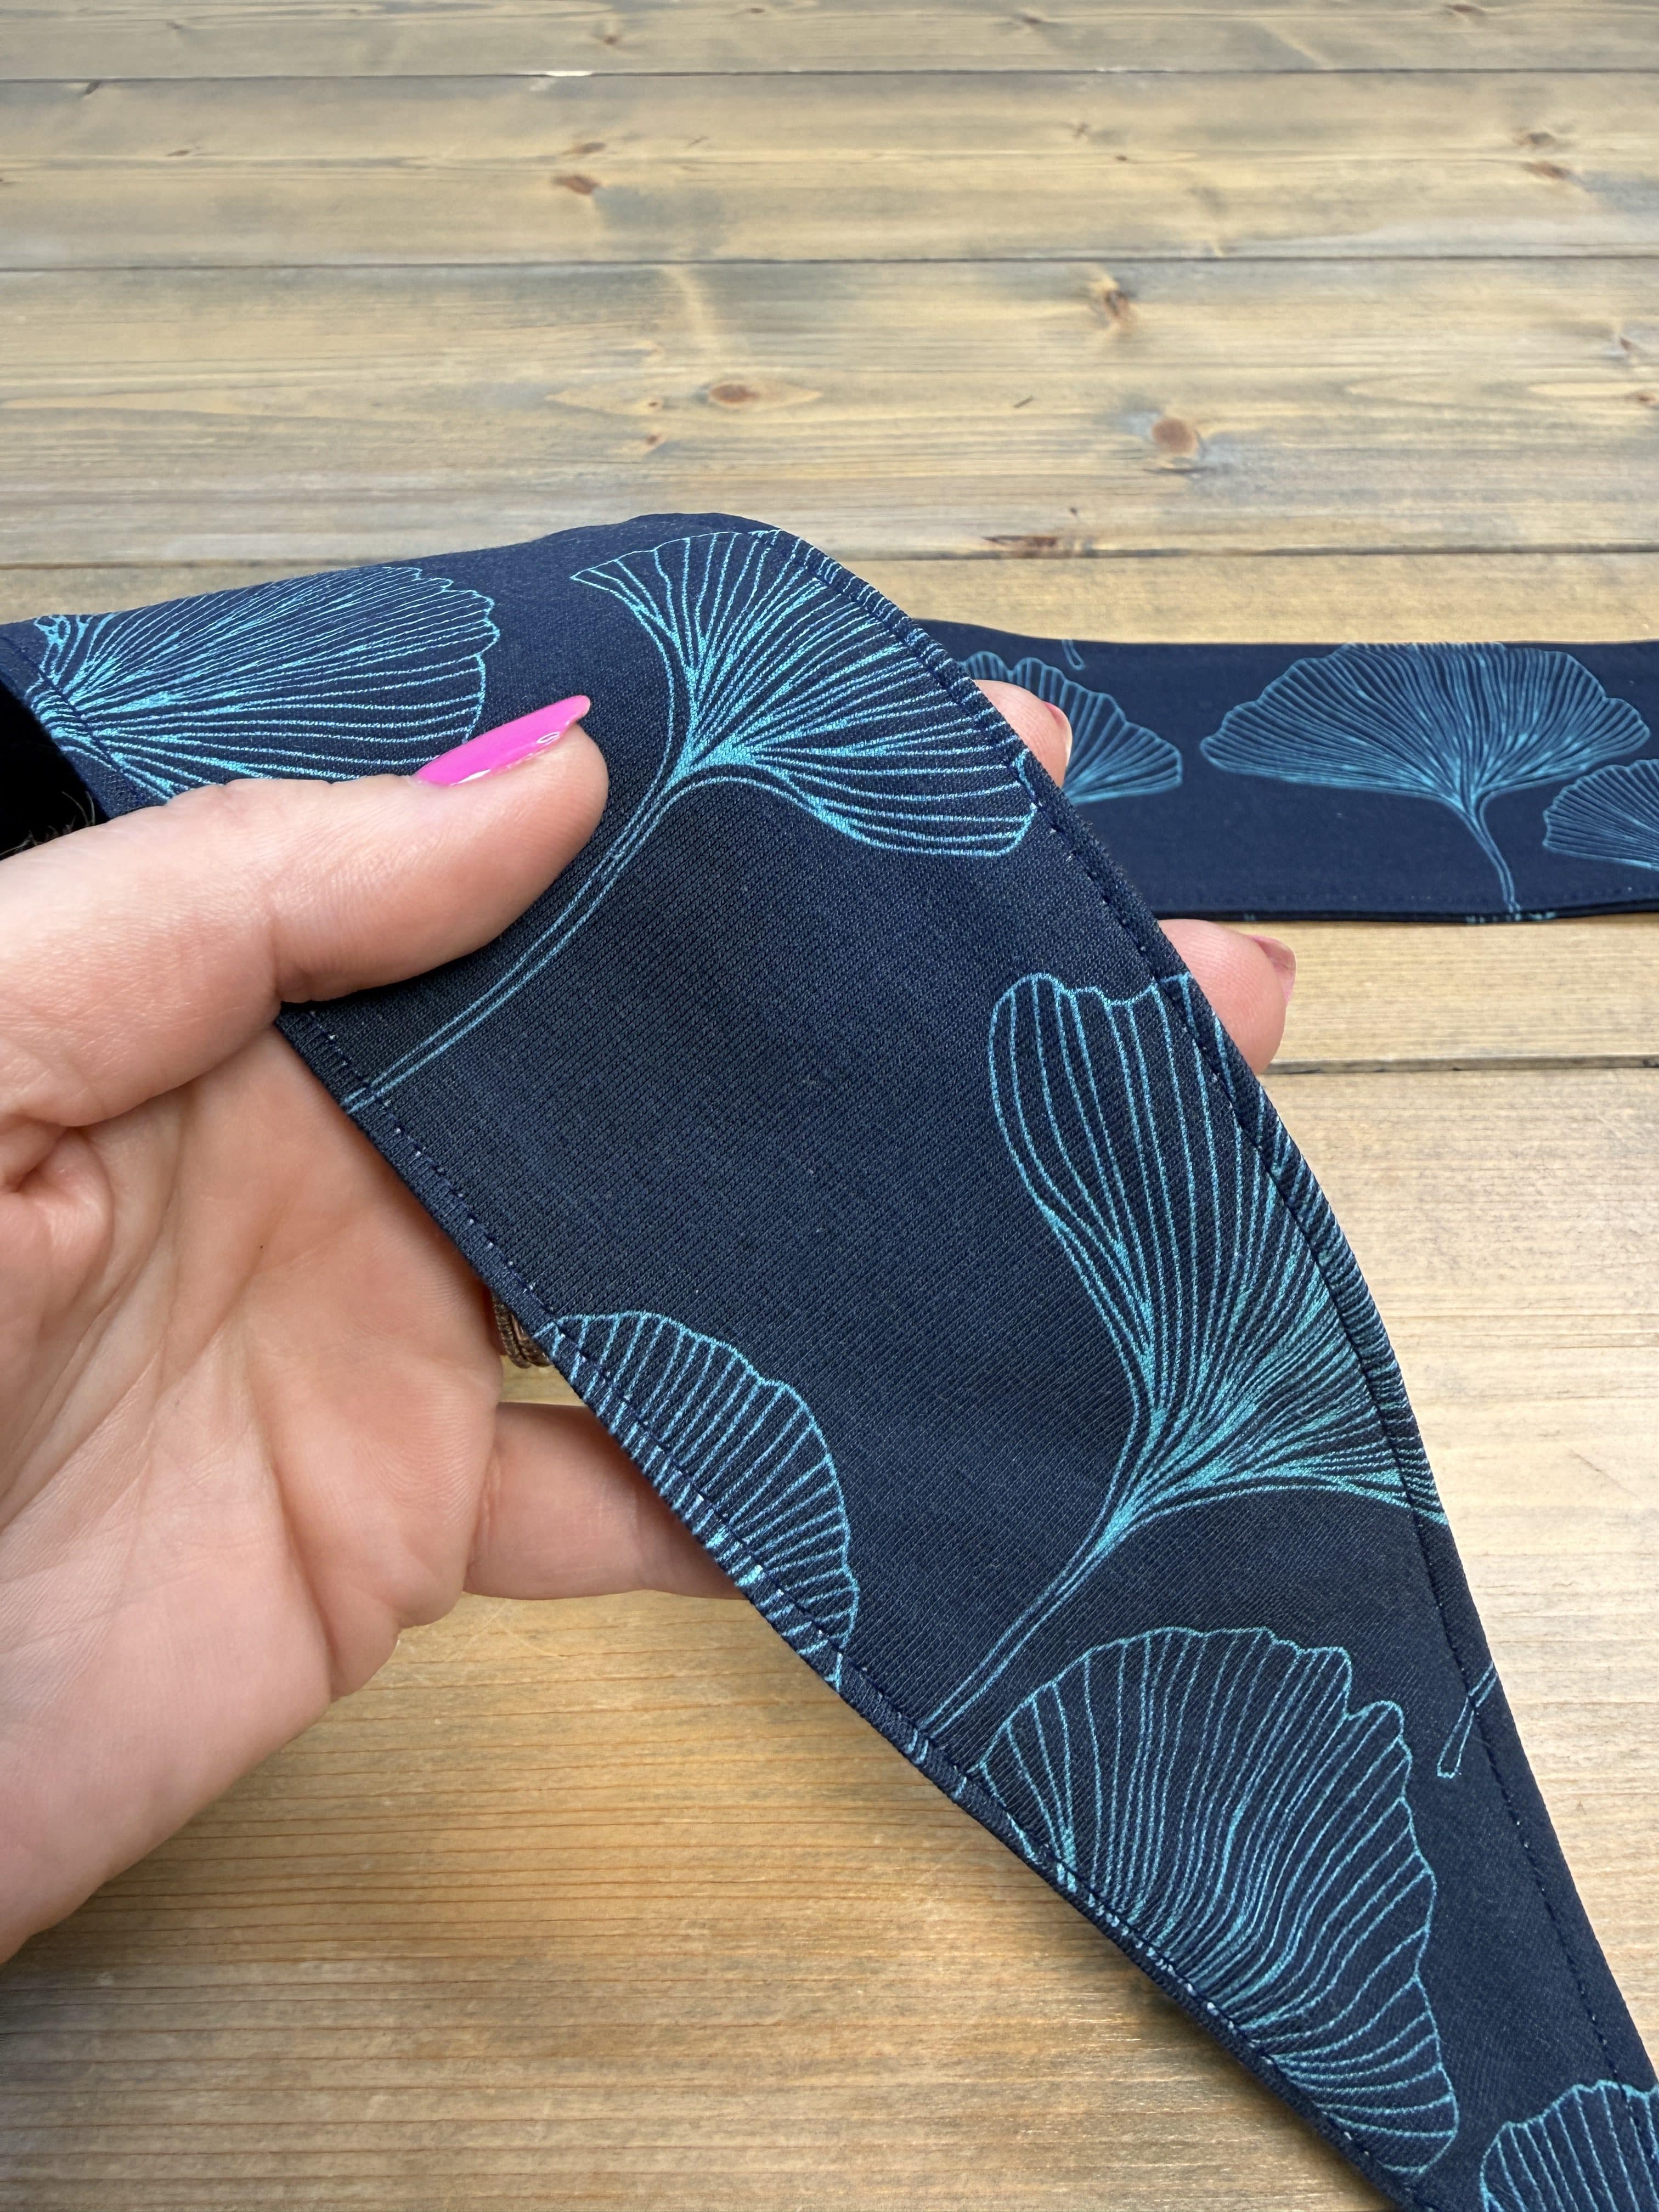
If desired, top stitch along the previously sewn seams.
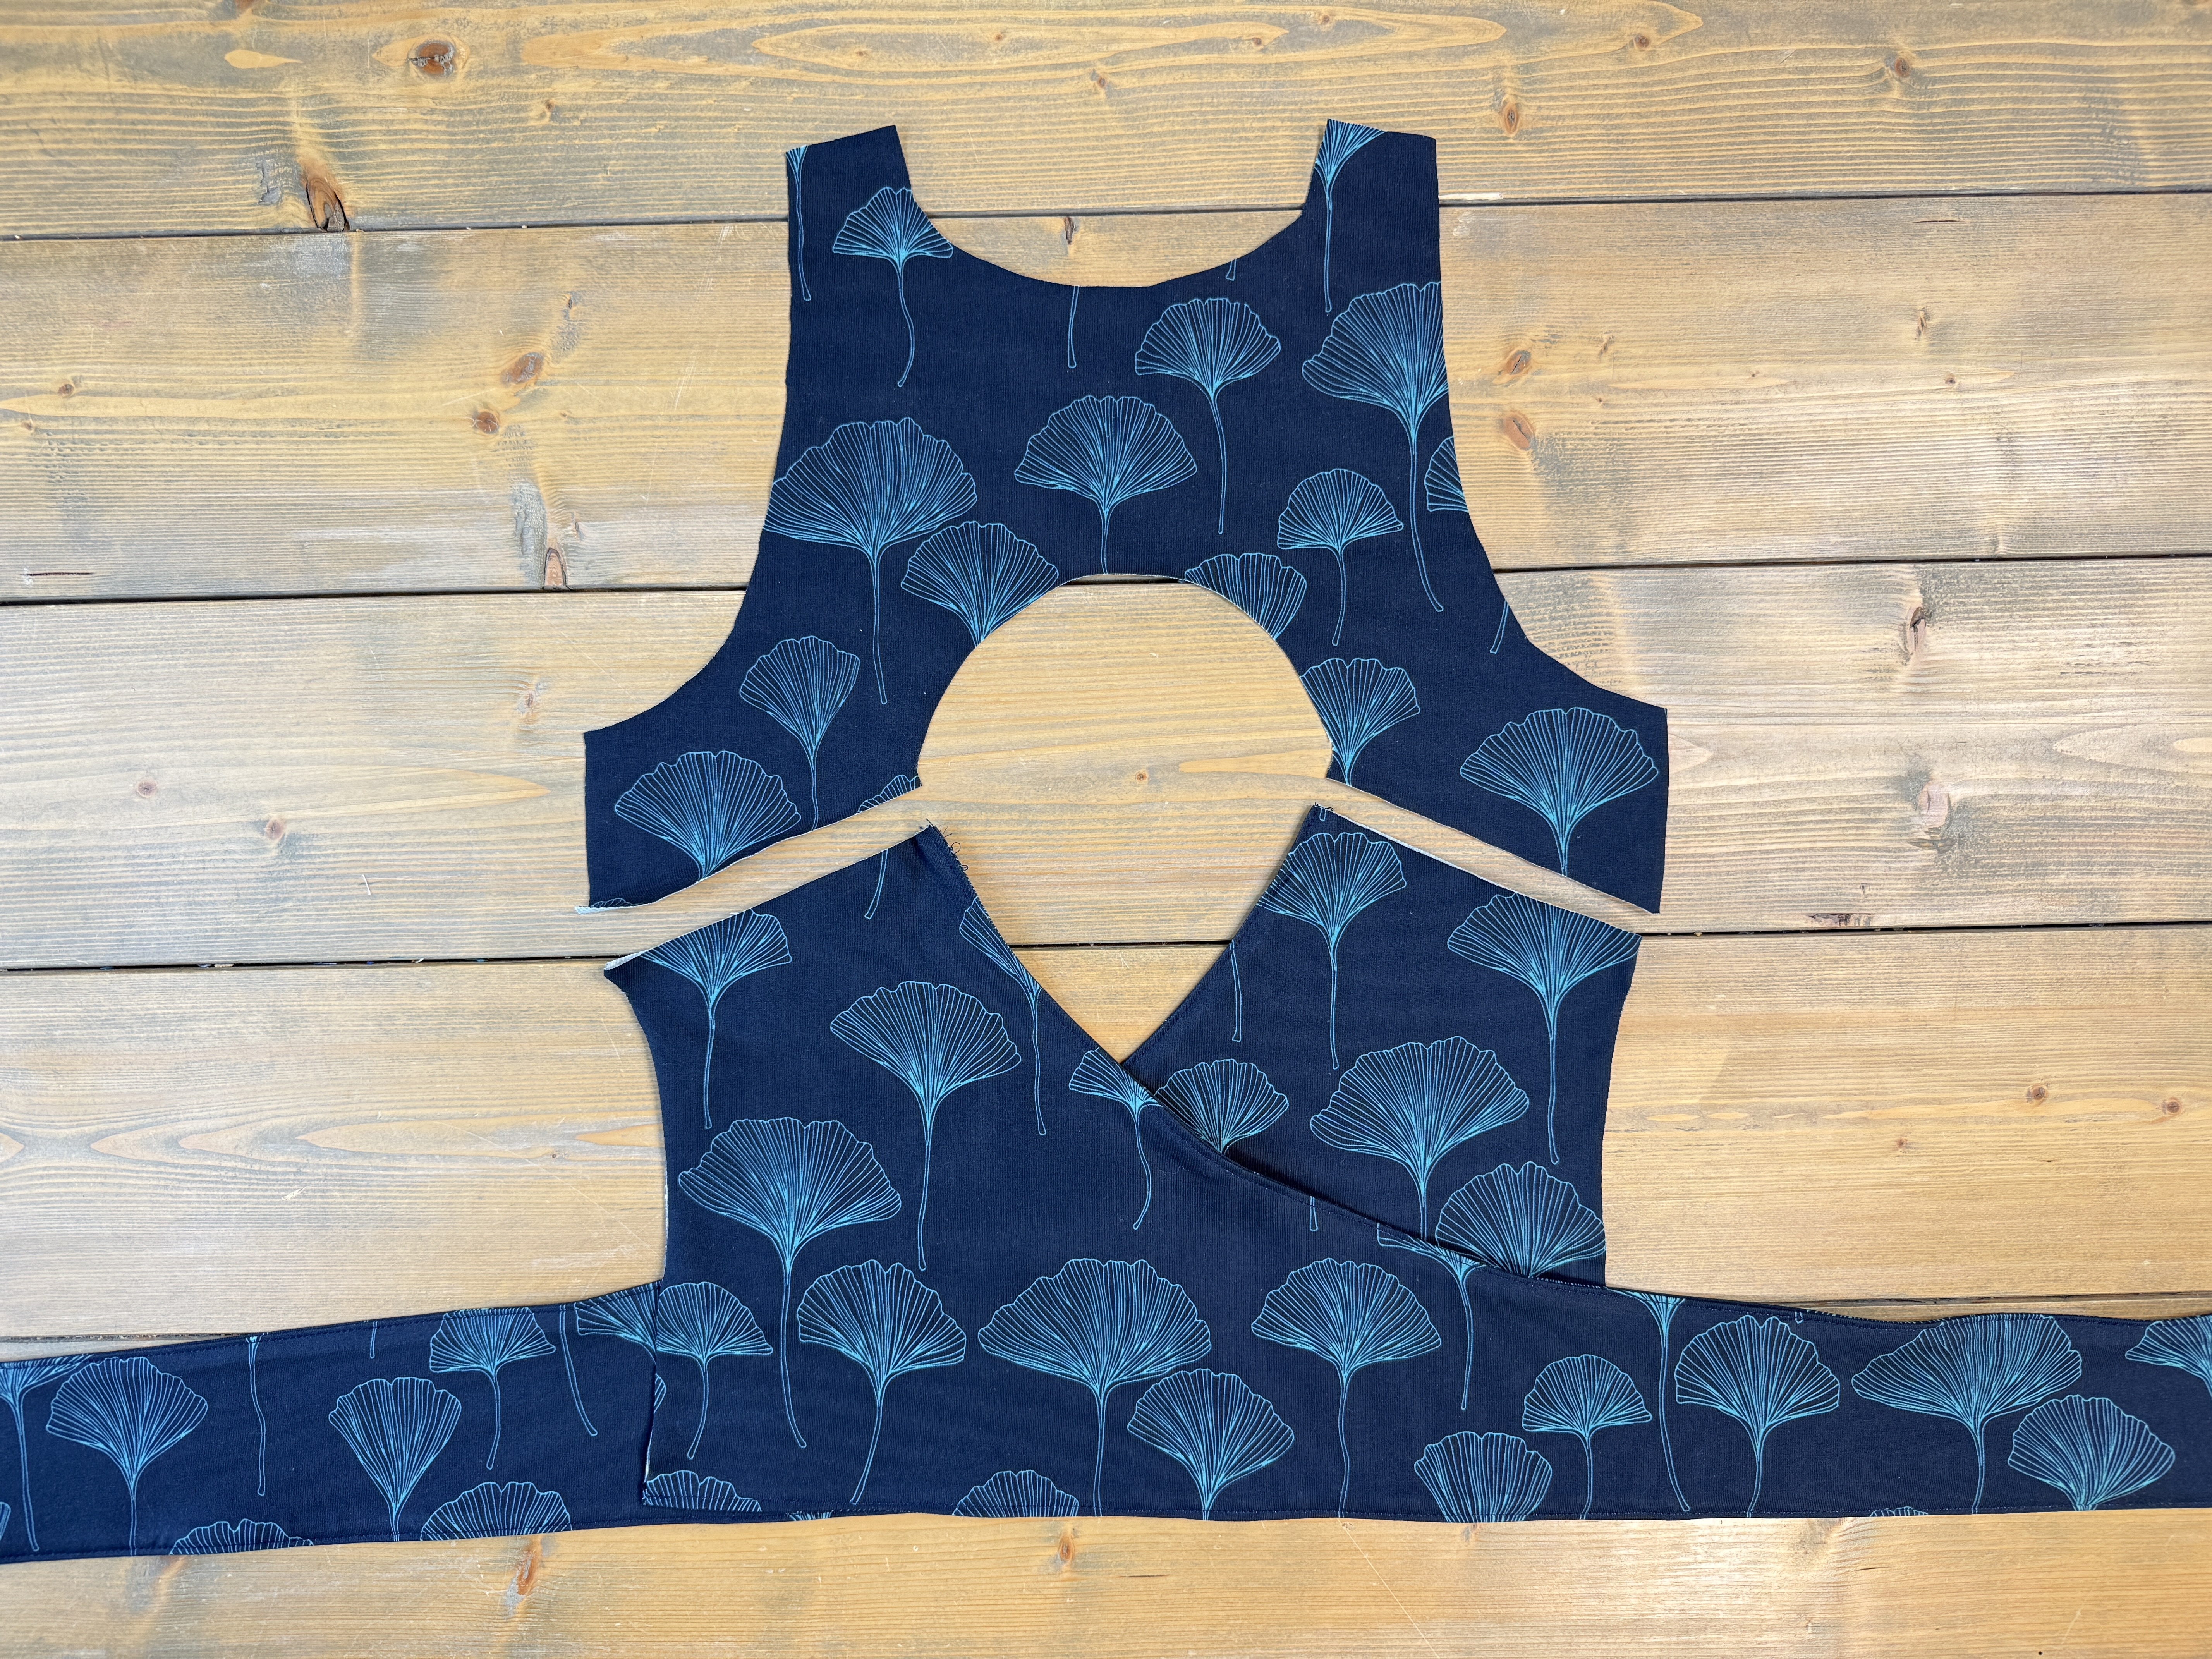
Locate the upper back pieces. Place the main upper back piece right sides up. Place the tie pieces right sides together, lining up the straight back seam by the keyhole. It is advised to baste the tie pieces in place.
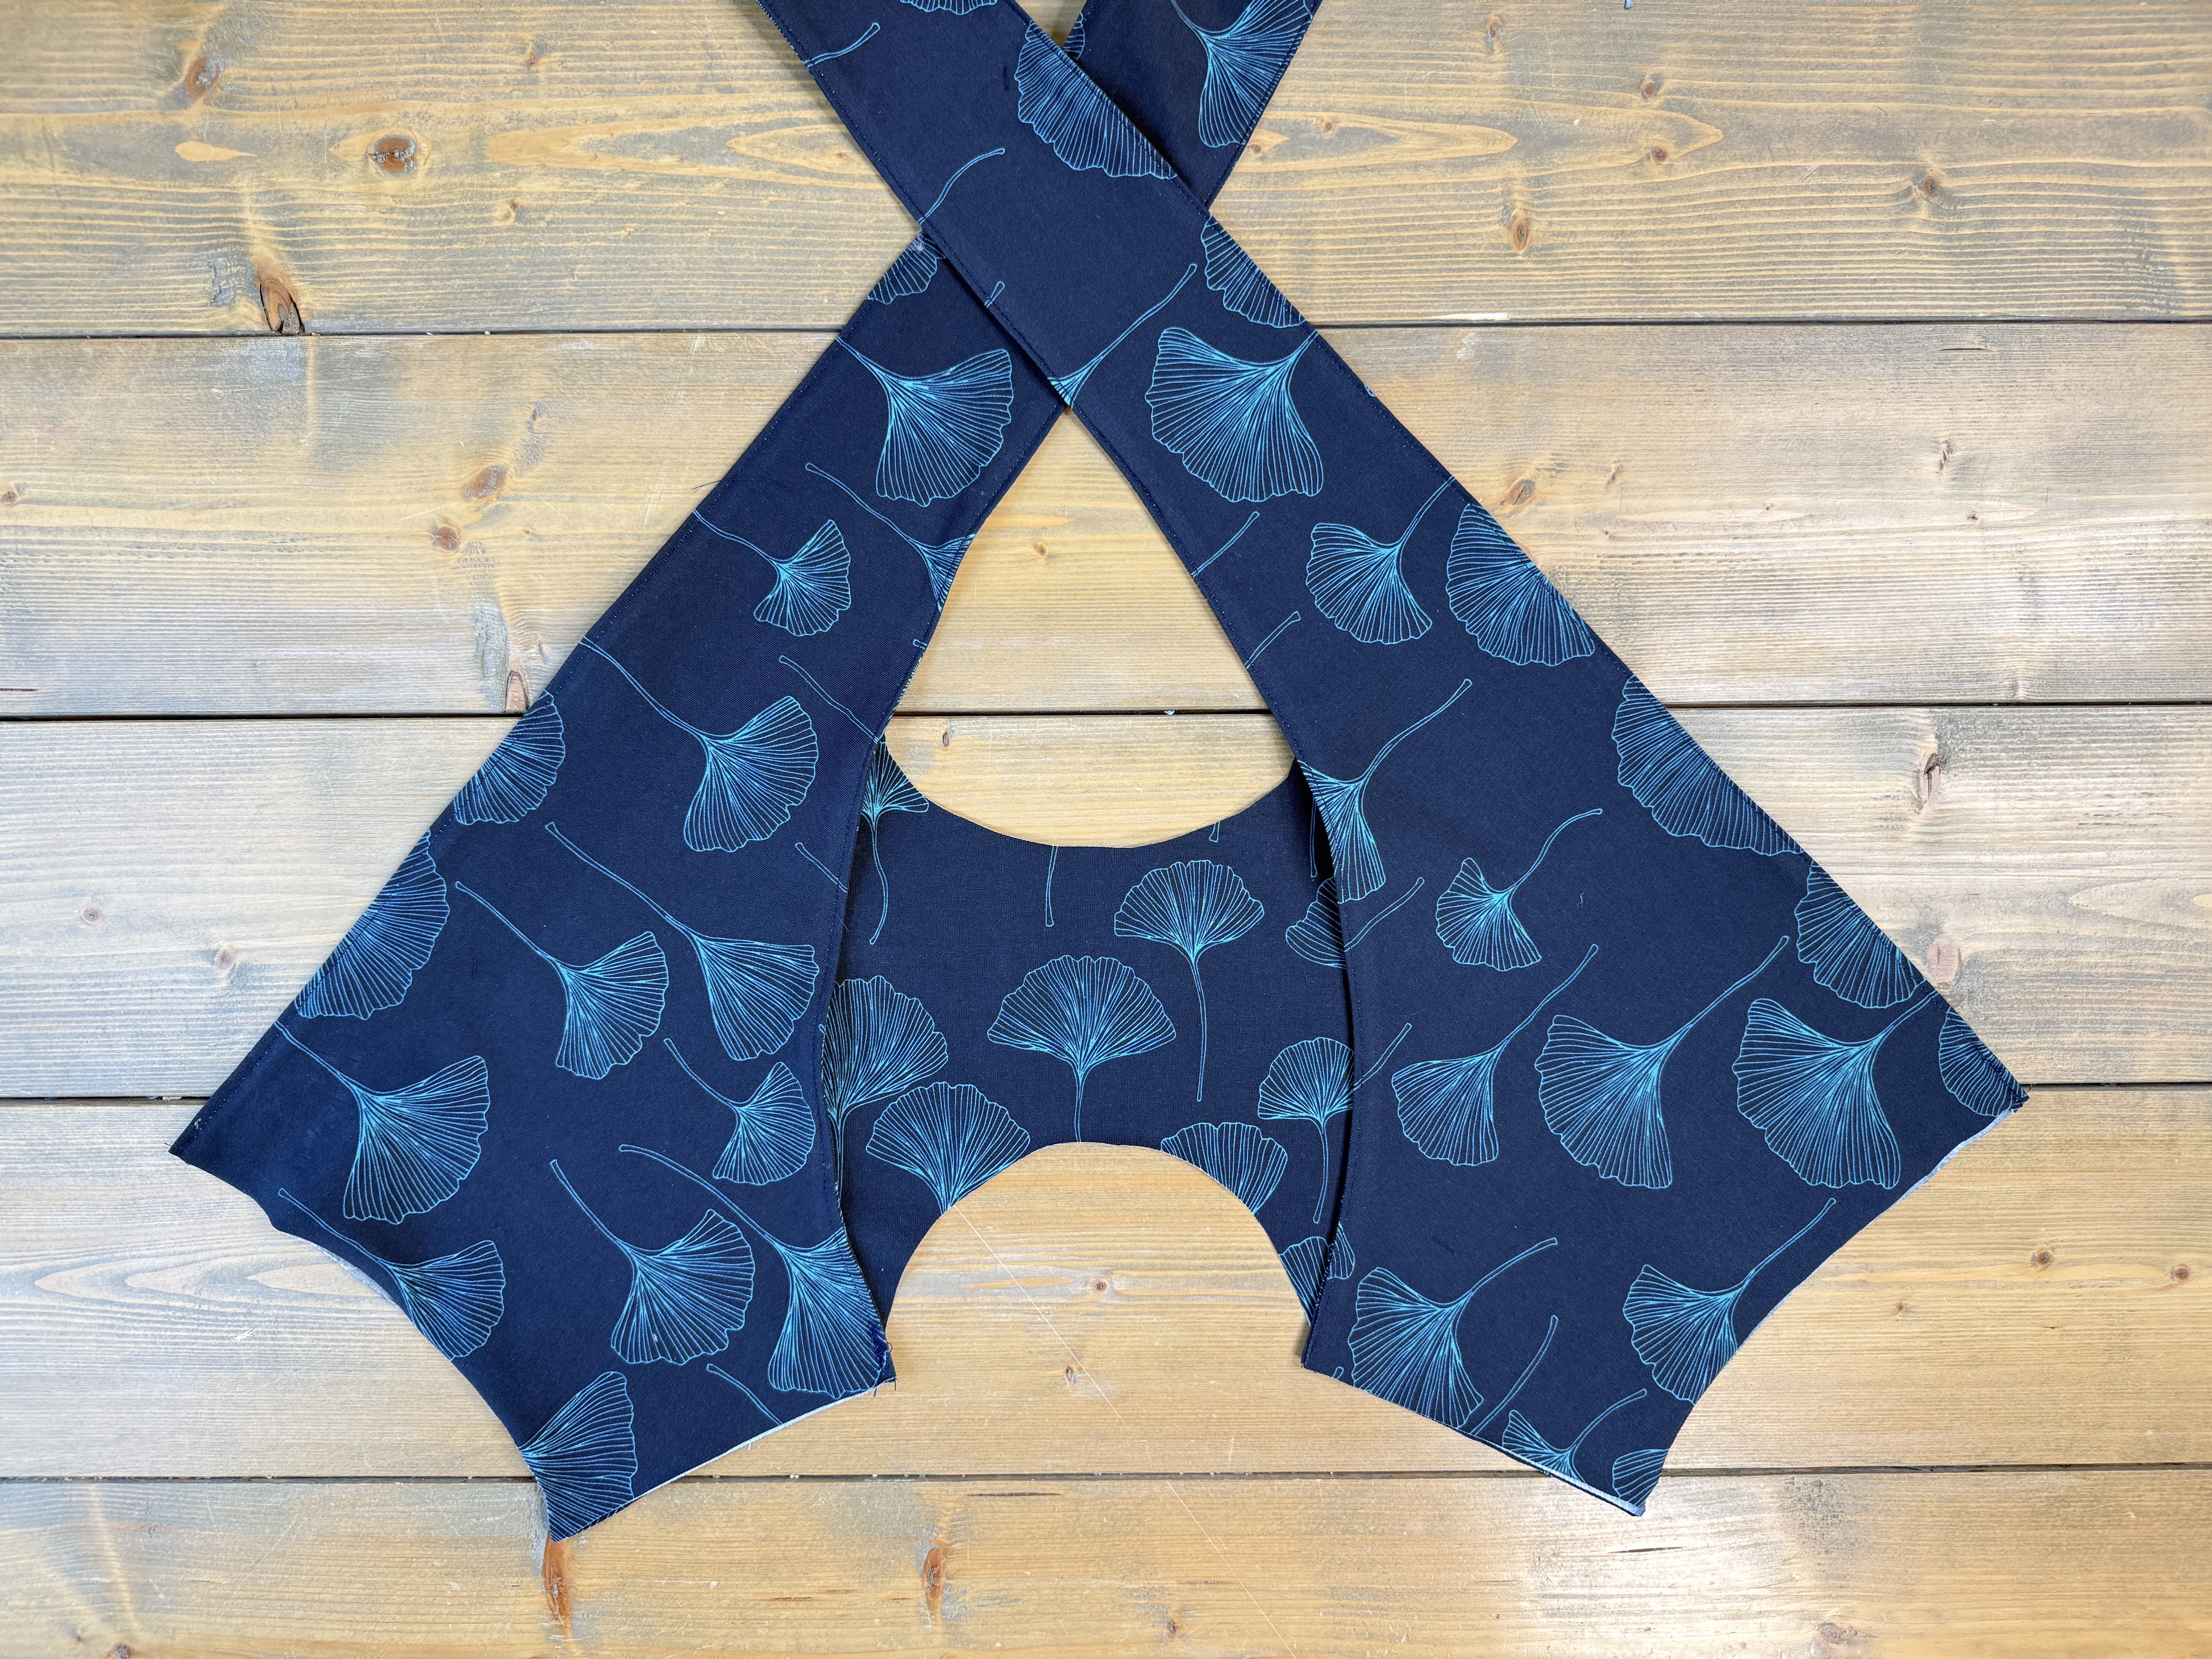
Place the upper back lining piece right sides down on top of the basted seam. Align the keyhole curve and pin it in place. The tie pieces will now be sandwiched between the upper back main and lining pieces along the straight edges. The keyhole curve will only have the upper back pieces aligned. Note: When pinning the keyhole curve, ensure the tie pieces are out of the way.
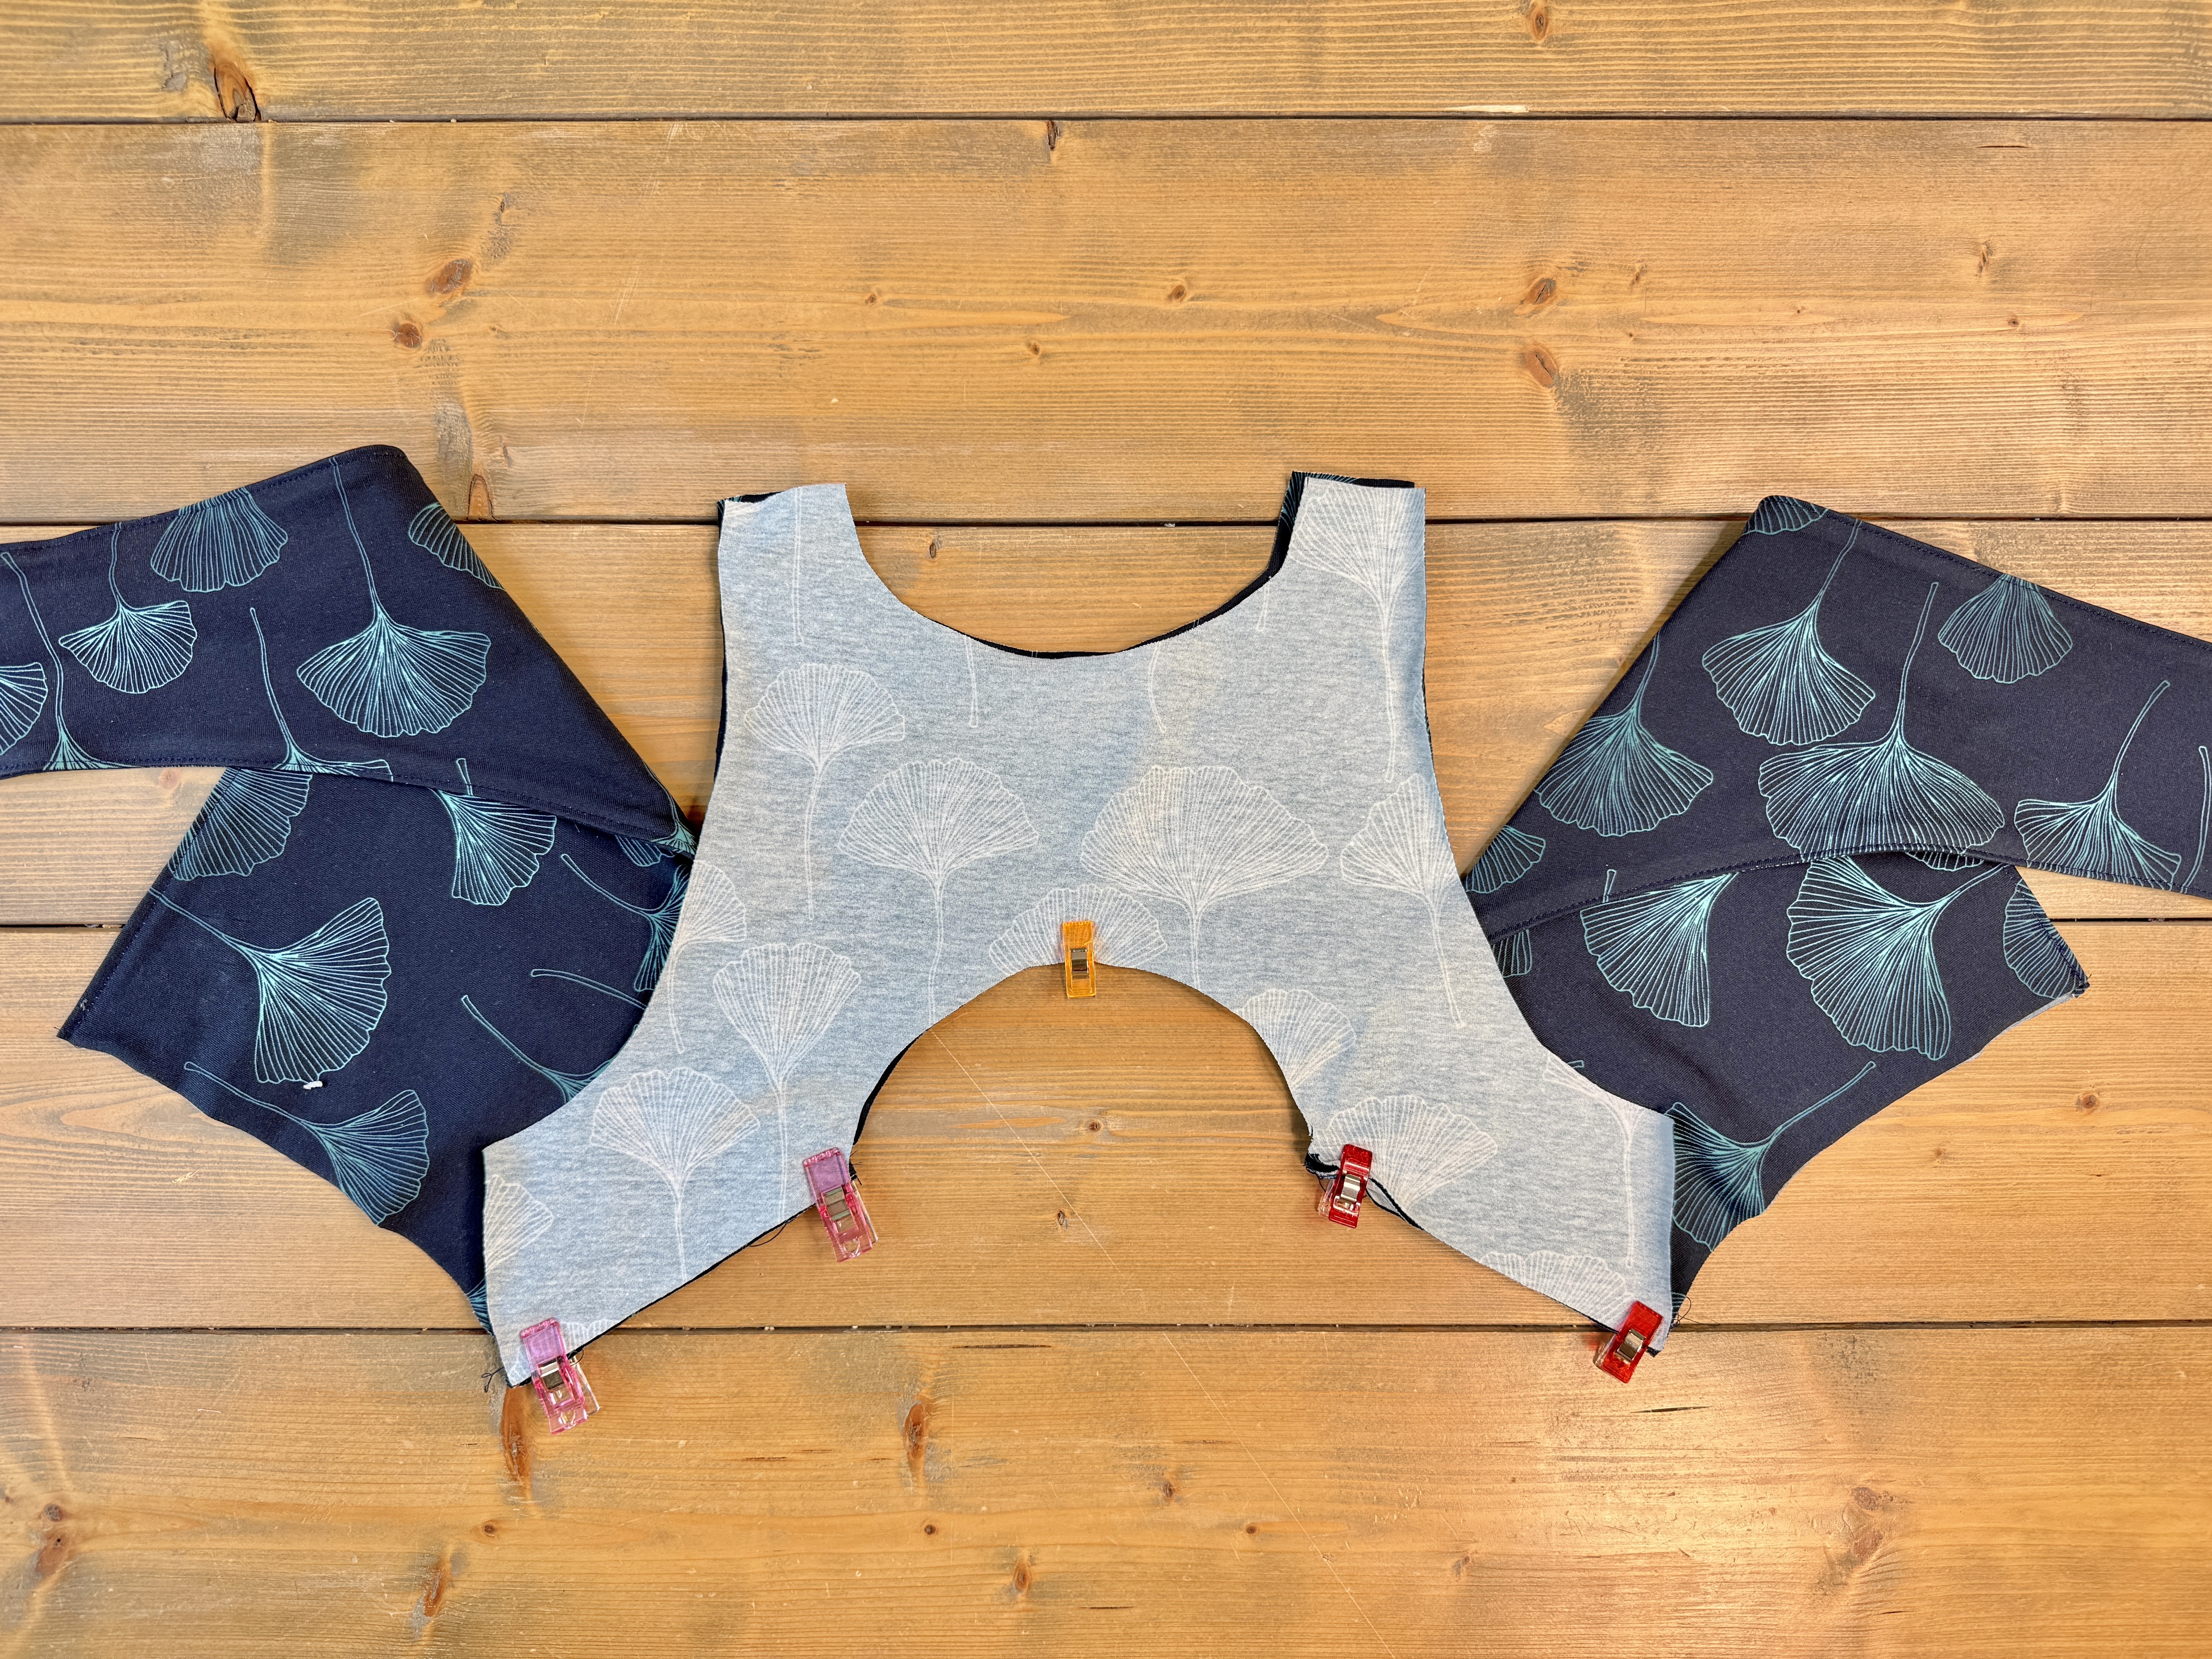
Stitch along the straight edge at the normal 1/2” seam allowance, and then stitch across the keyhole curve at a 1/4” seam allowance.
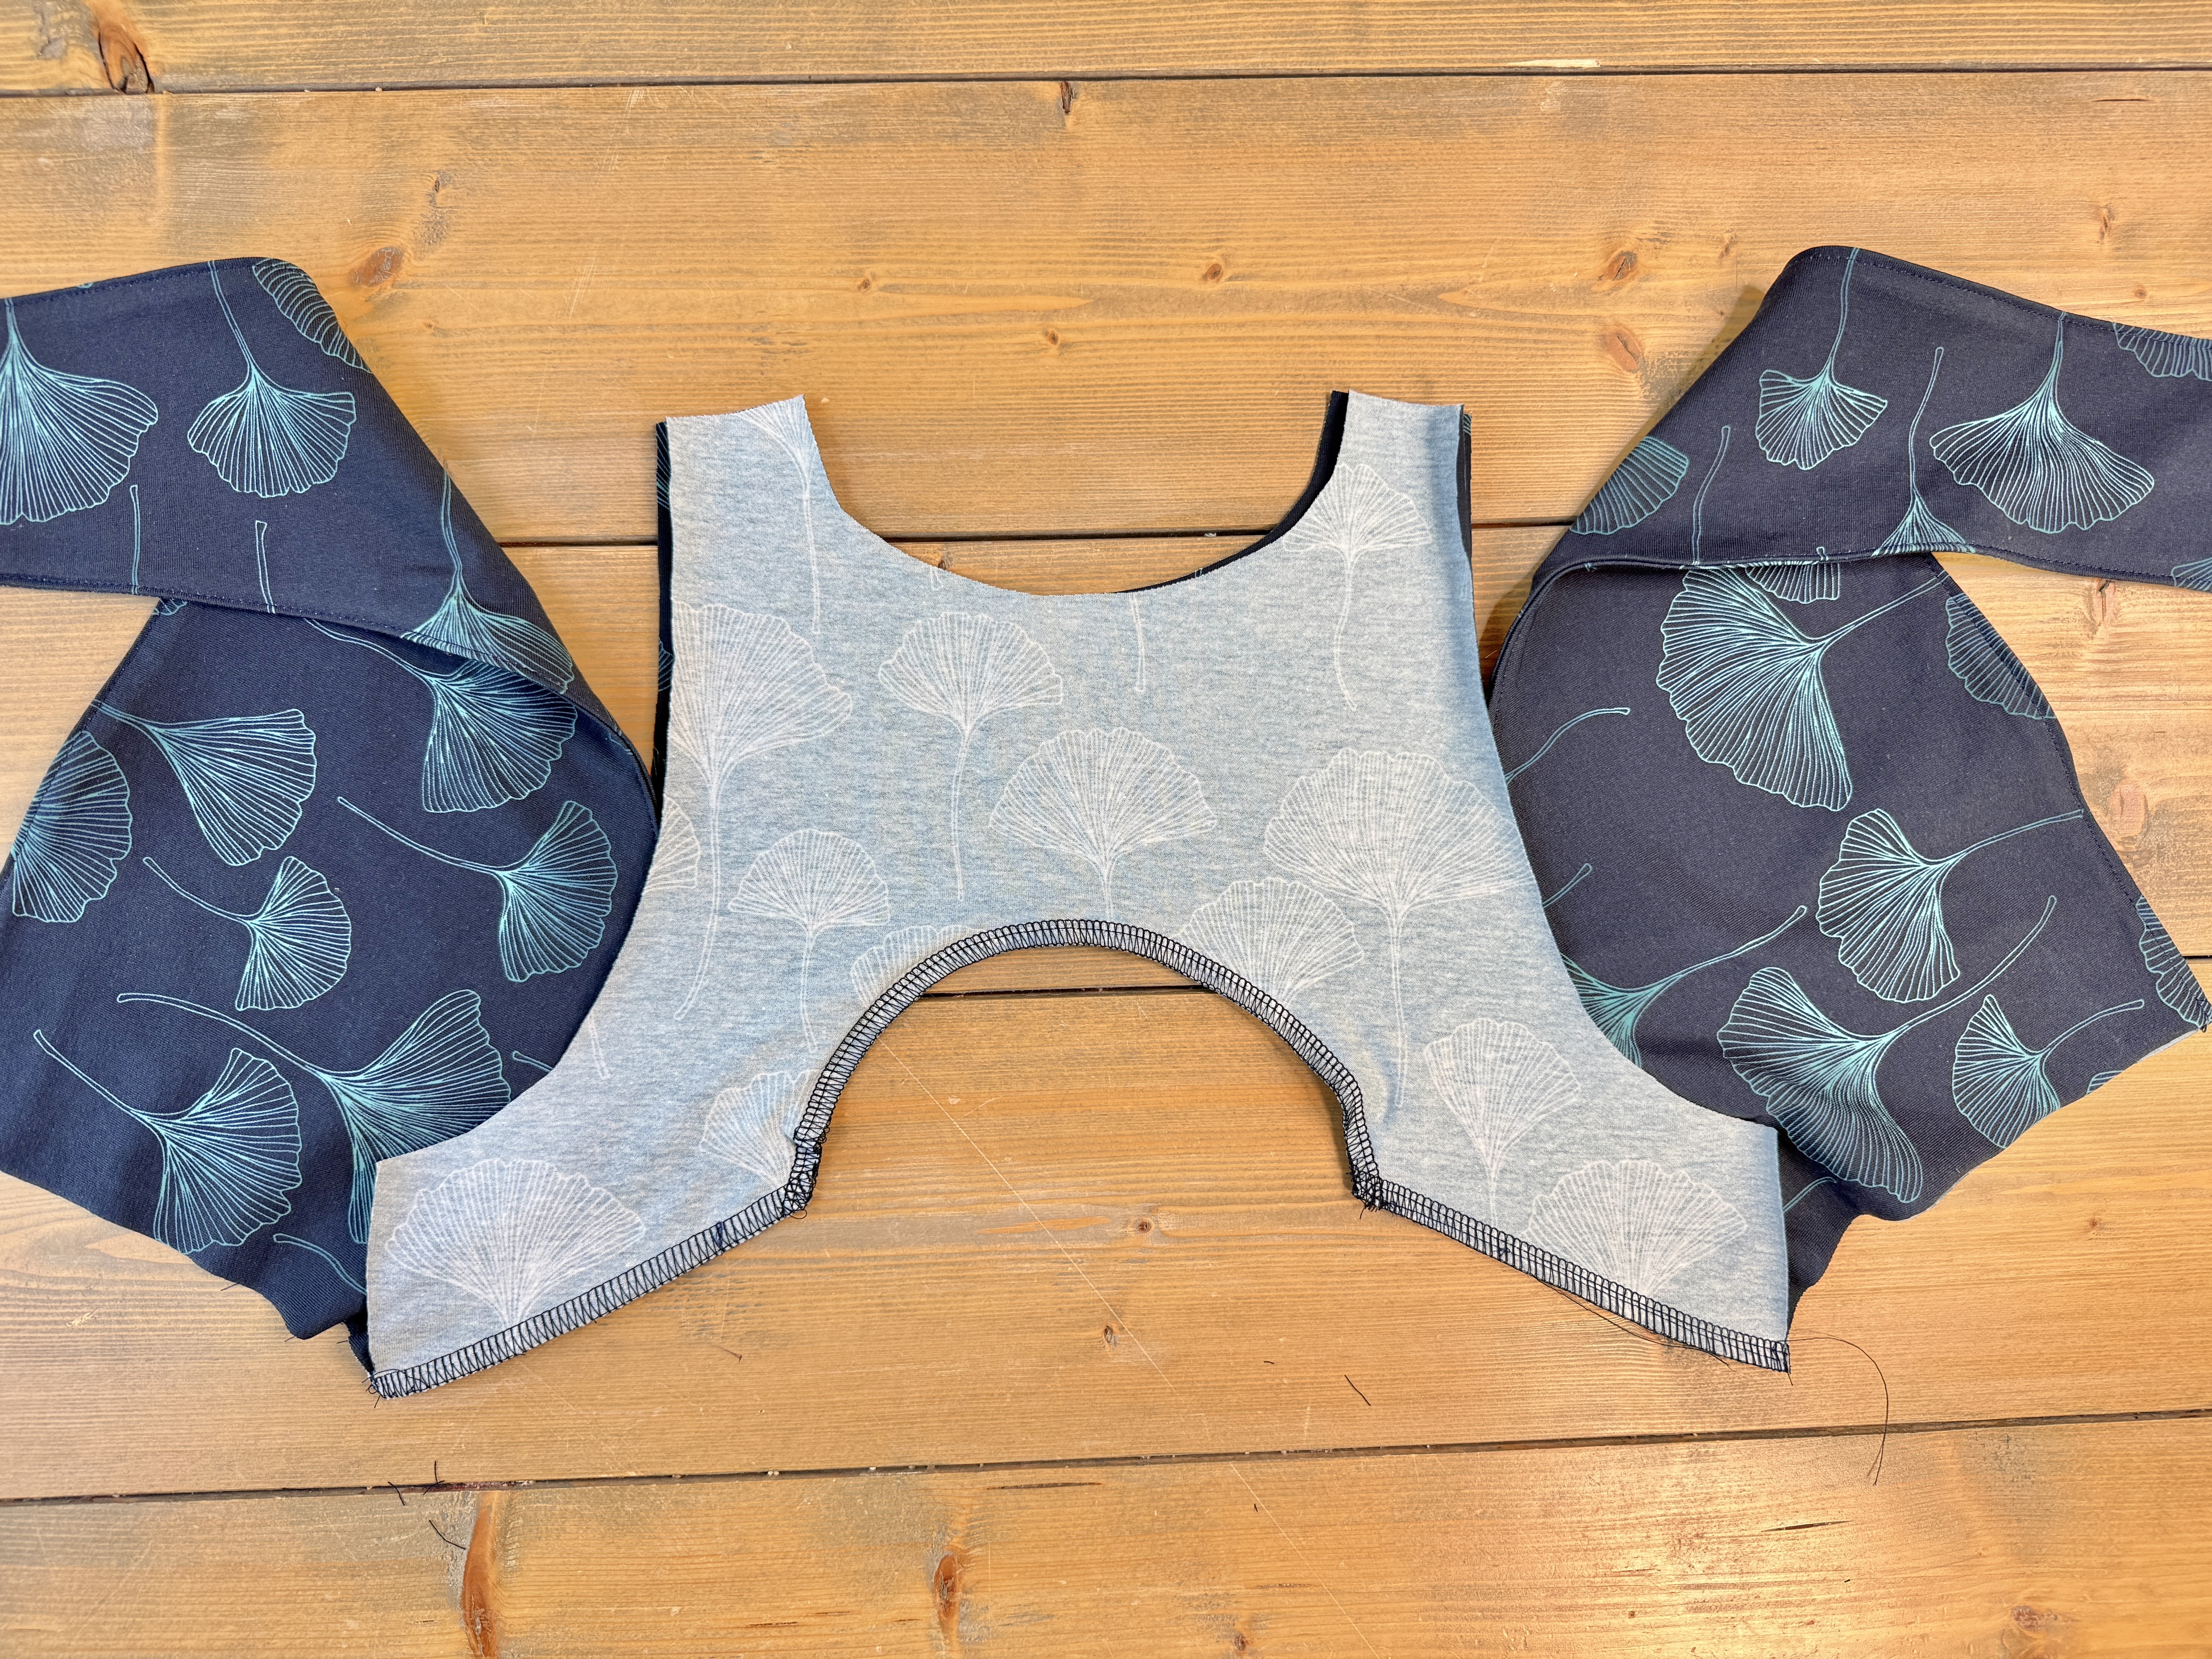
Turn right sides out and press the seam flat. Flip the back main up, aligning the entire top edge with the upper back lining piece. The main and lining should be wrong sides together.
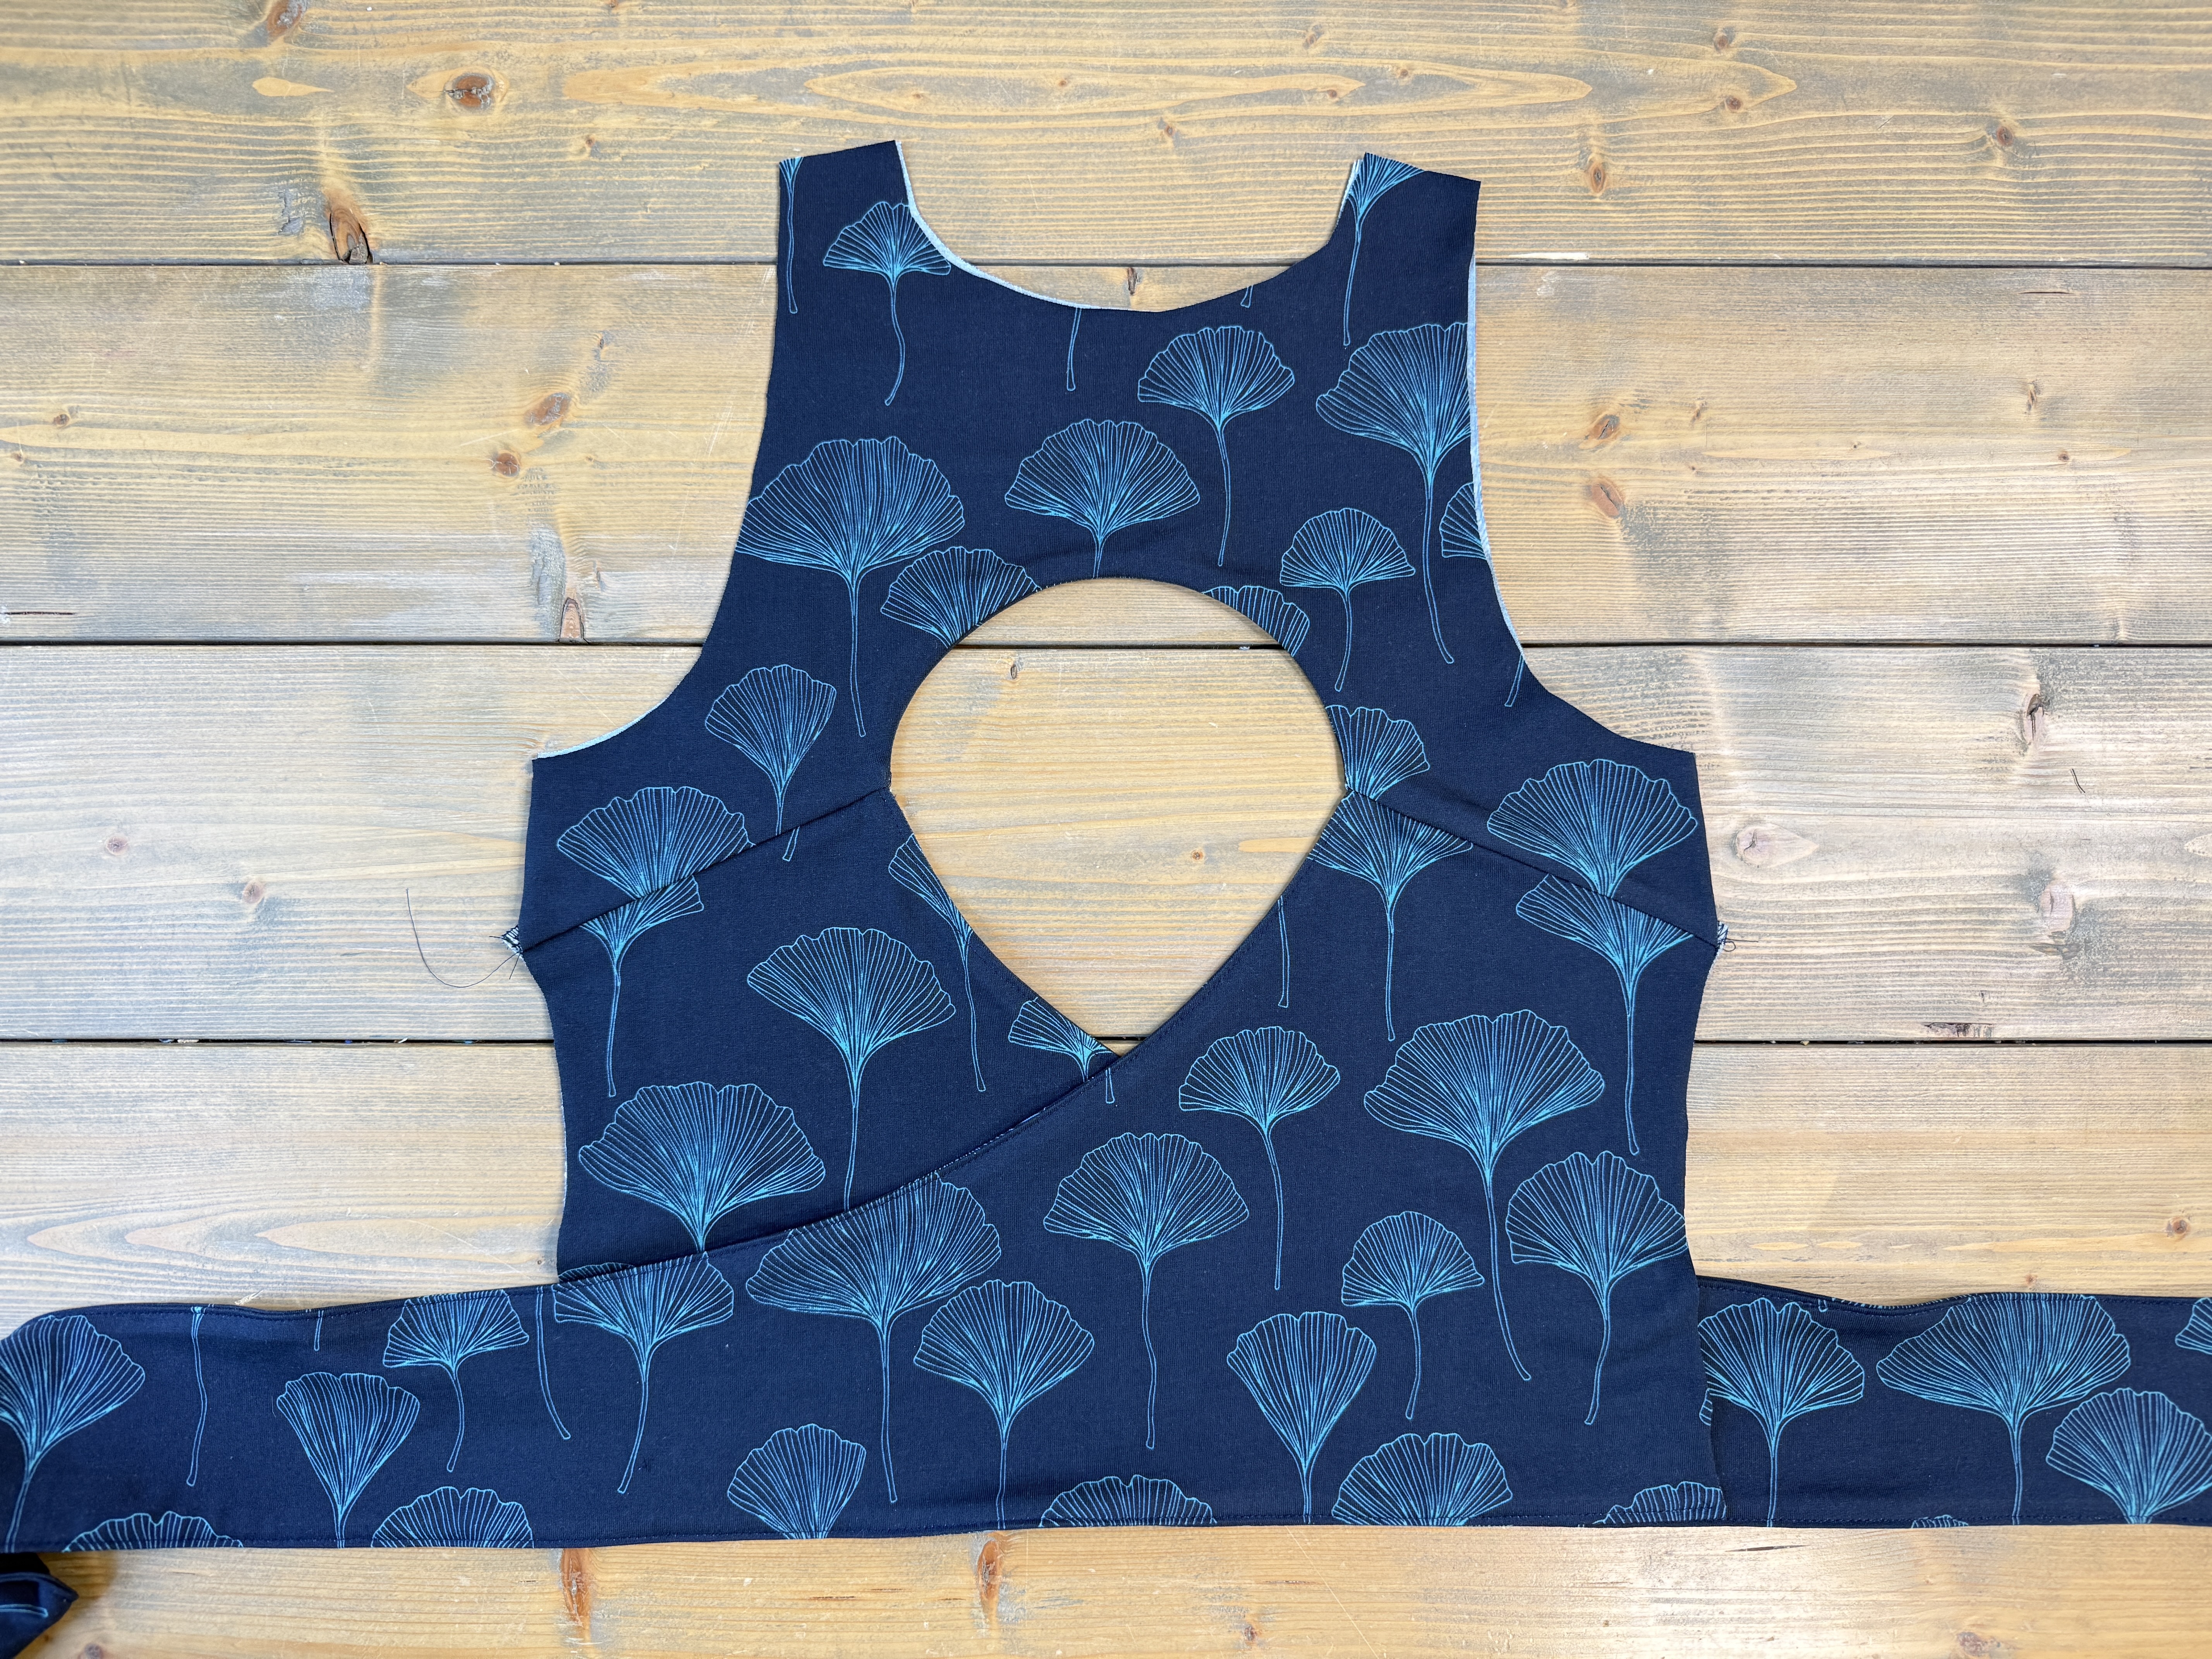
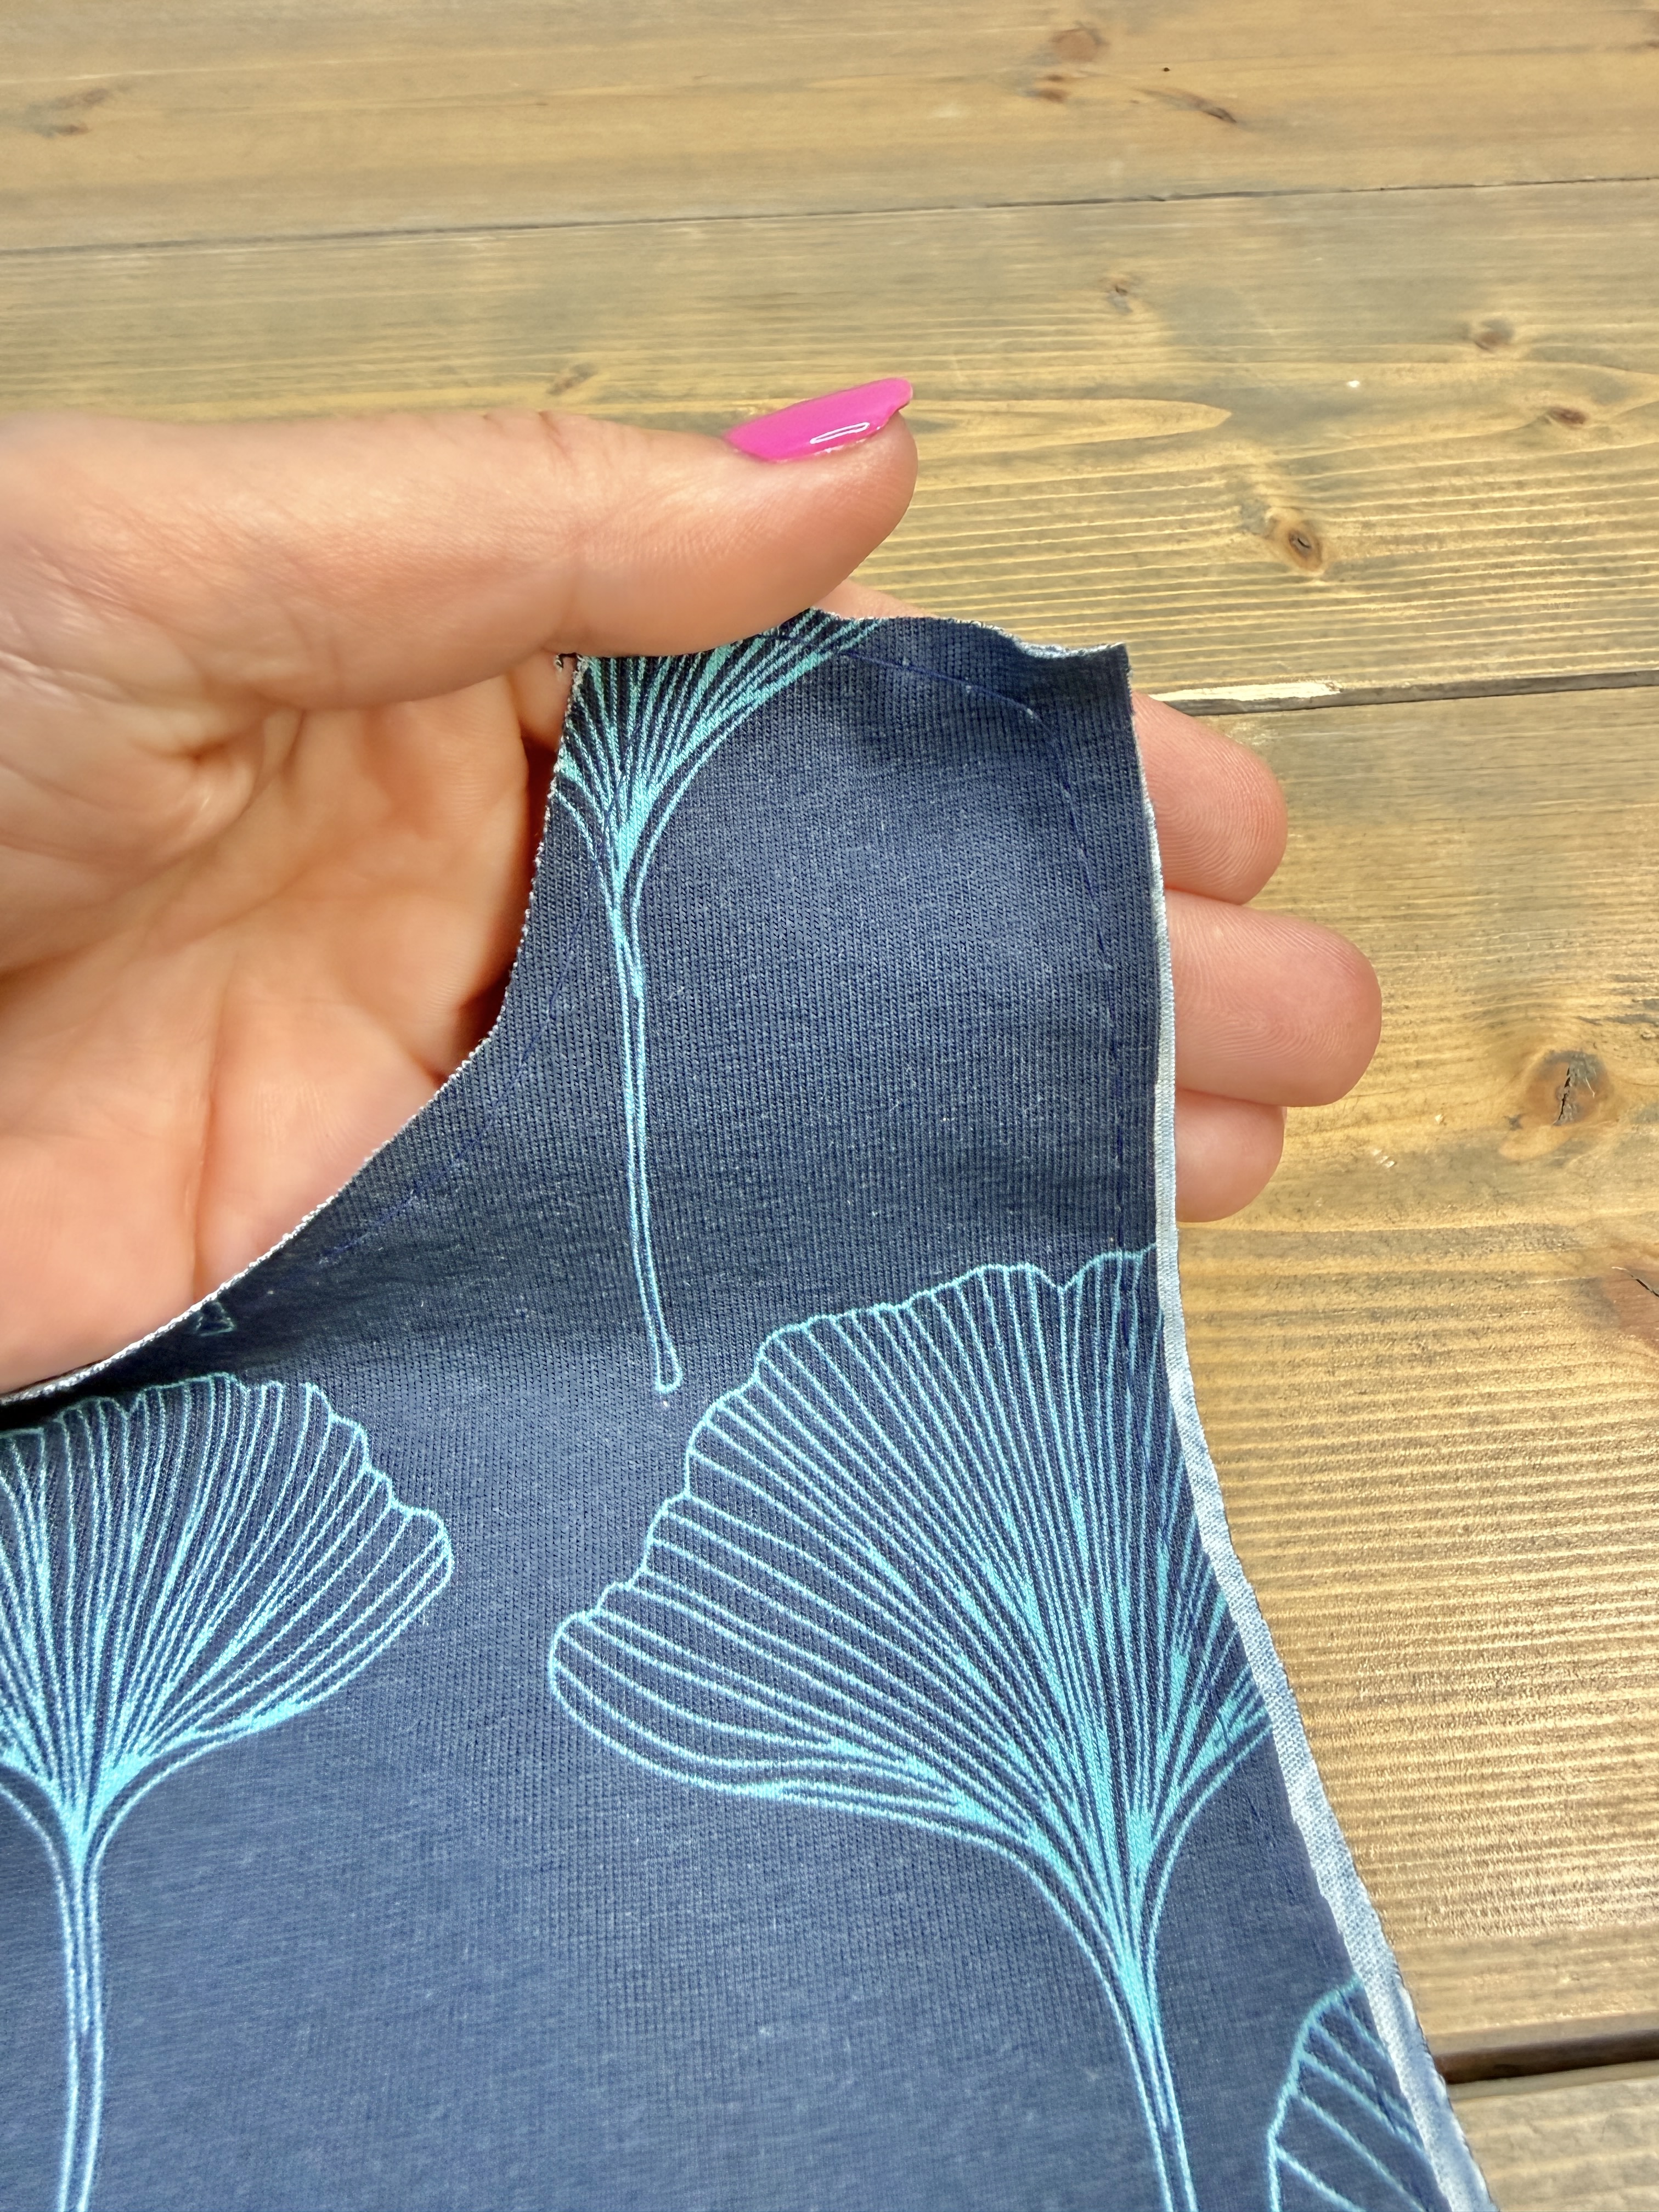
Baste in place across the top edge.
Constructing the Danika Front Bodice
Locate the front piece and place it right sides together with the back piece, aligning the shoulders. Stitch together and press the seam allowance toward the back.
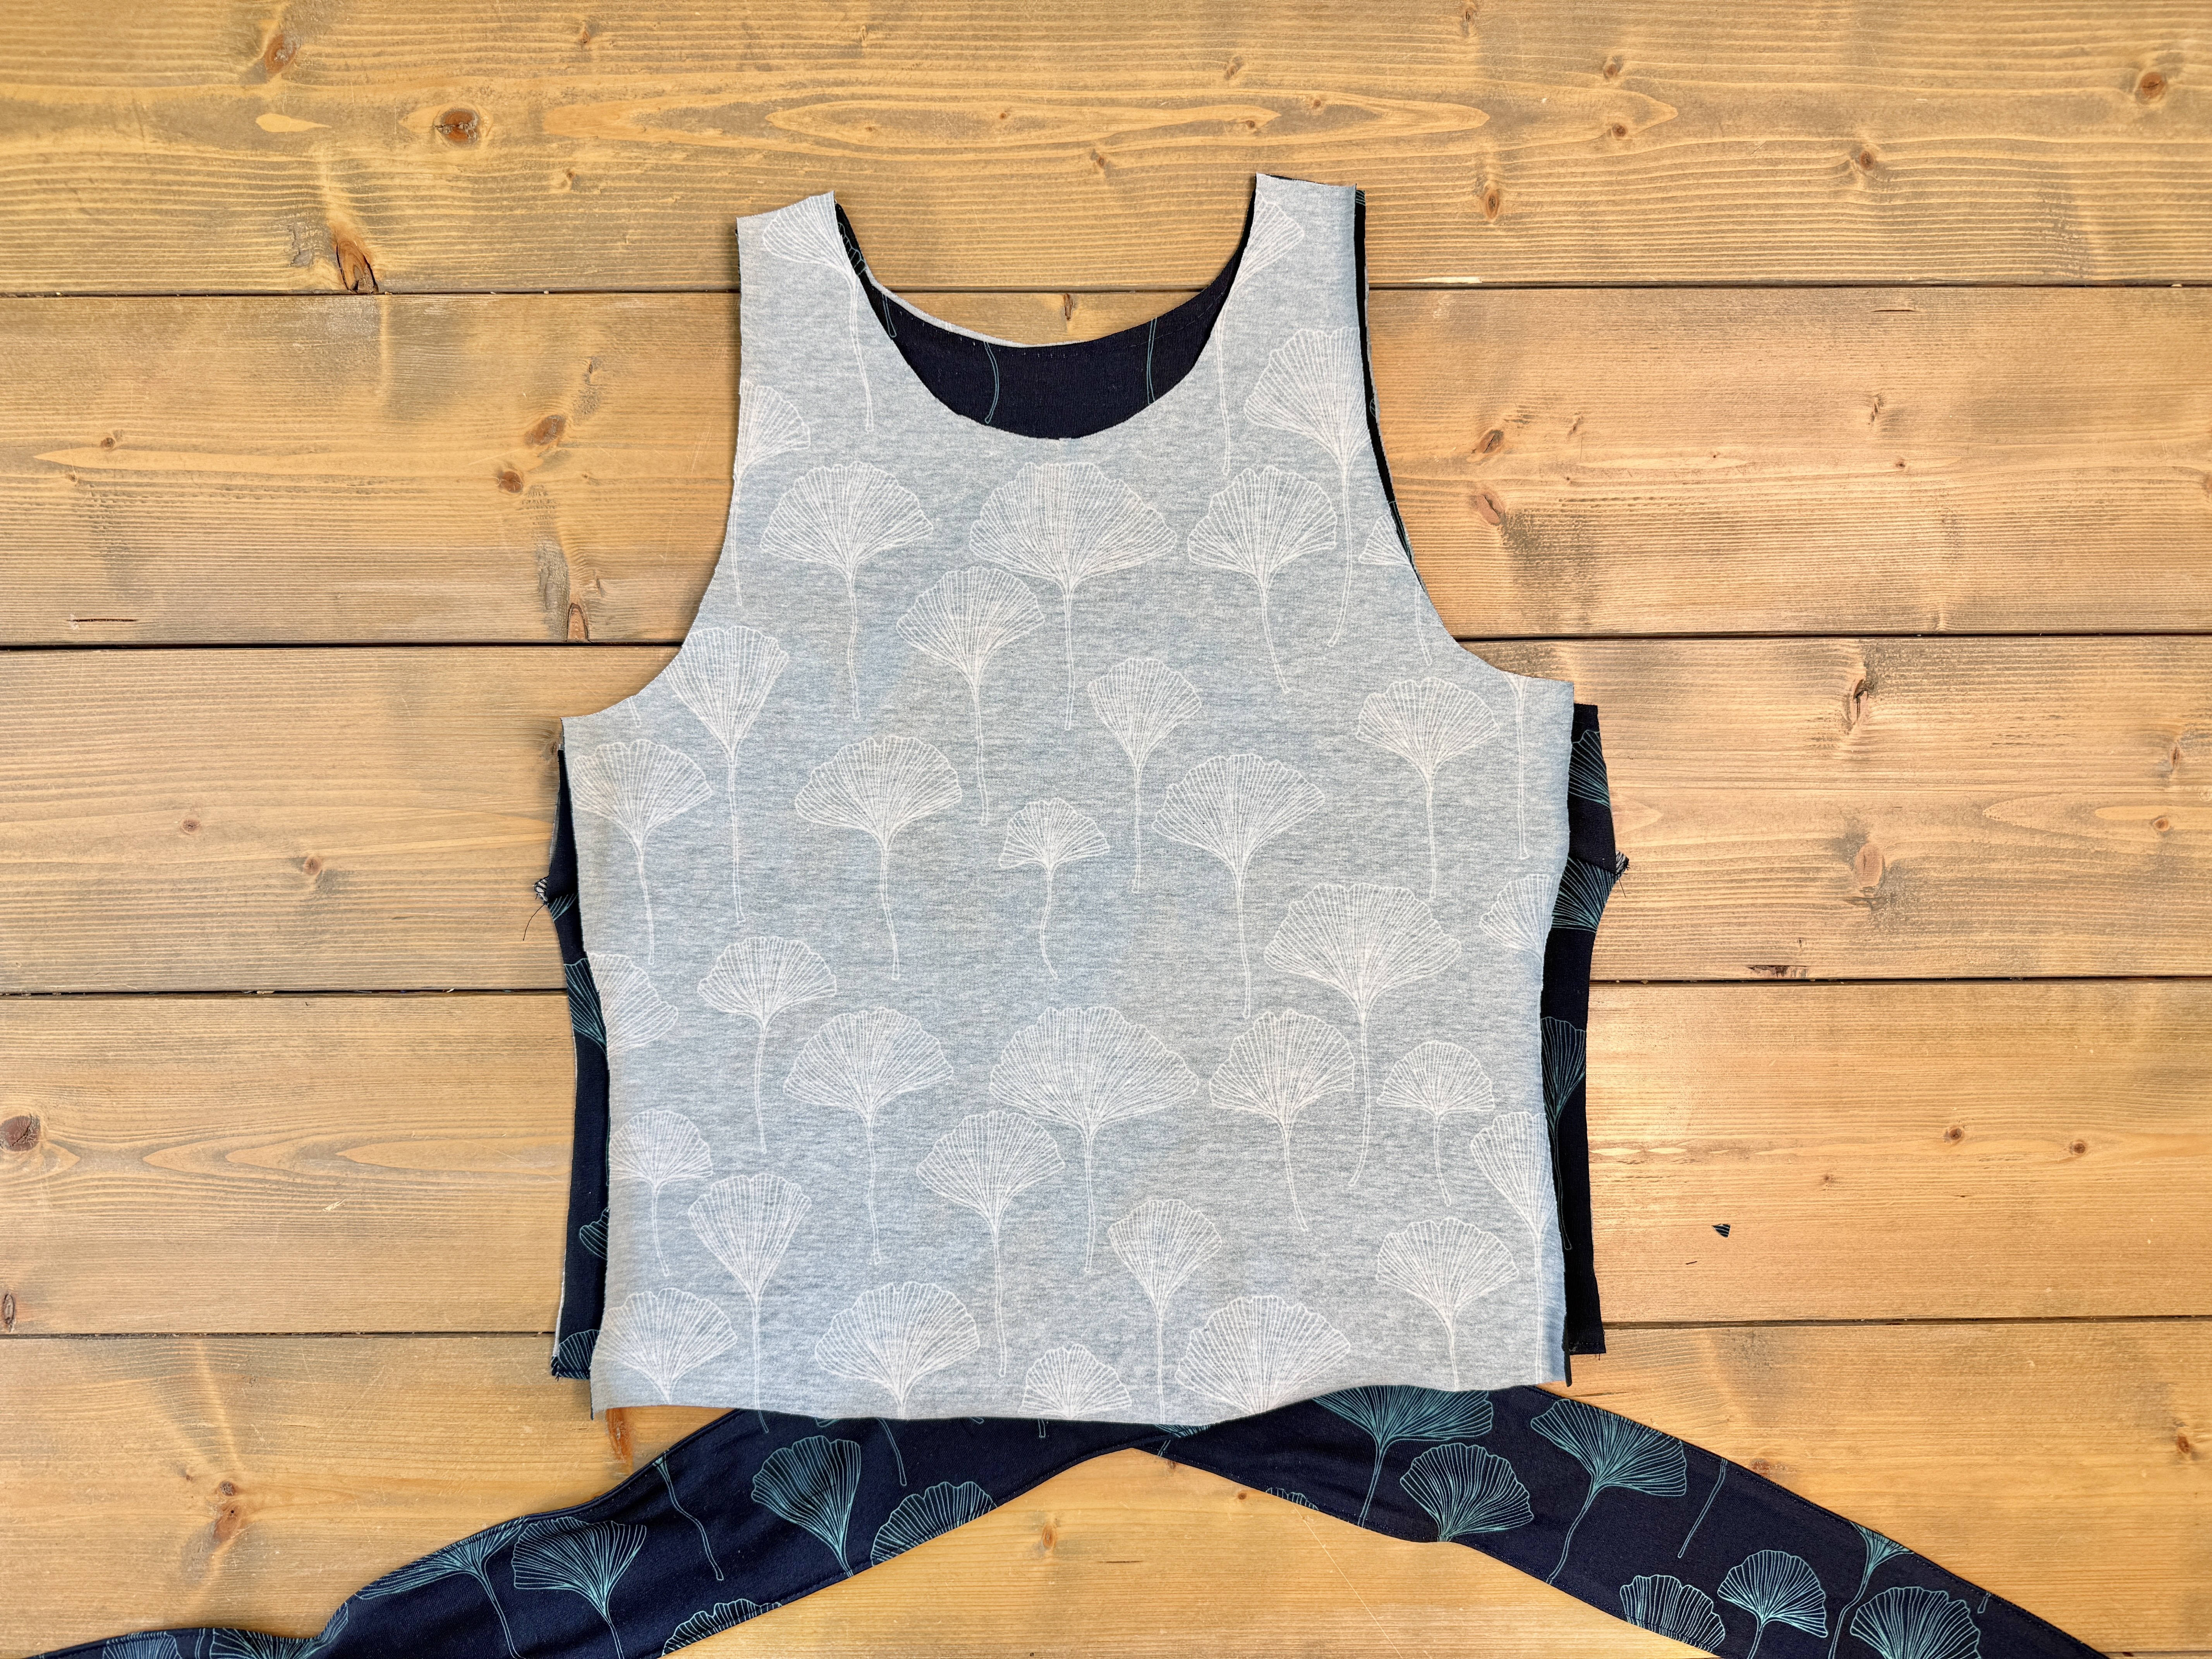
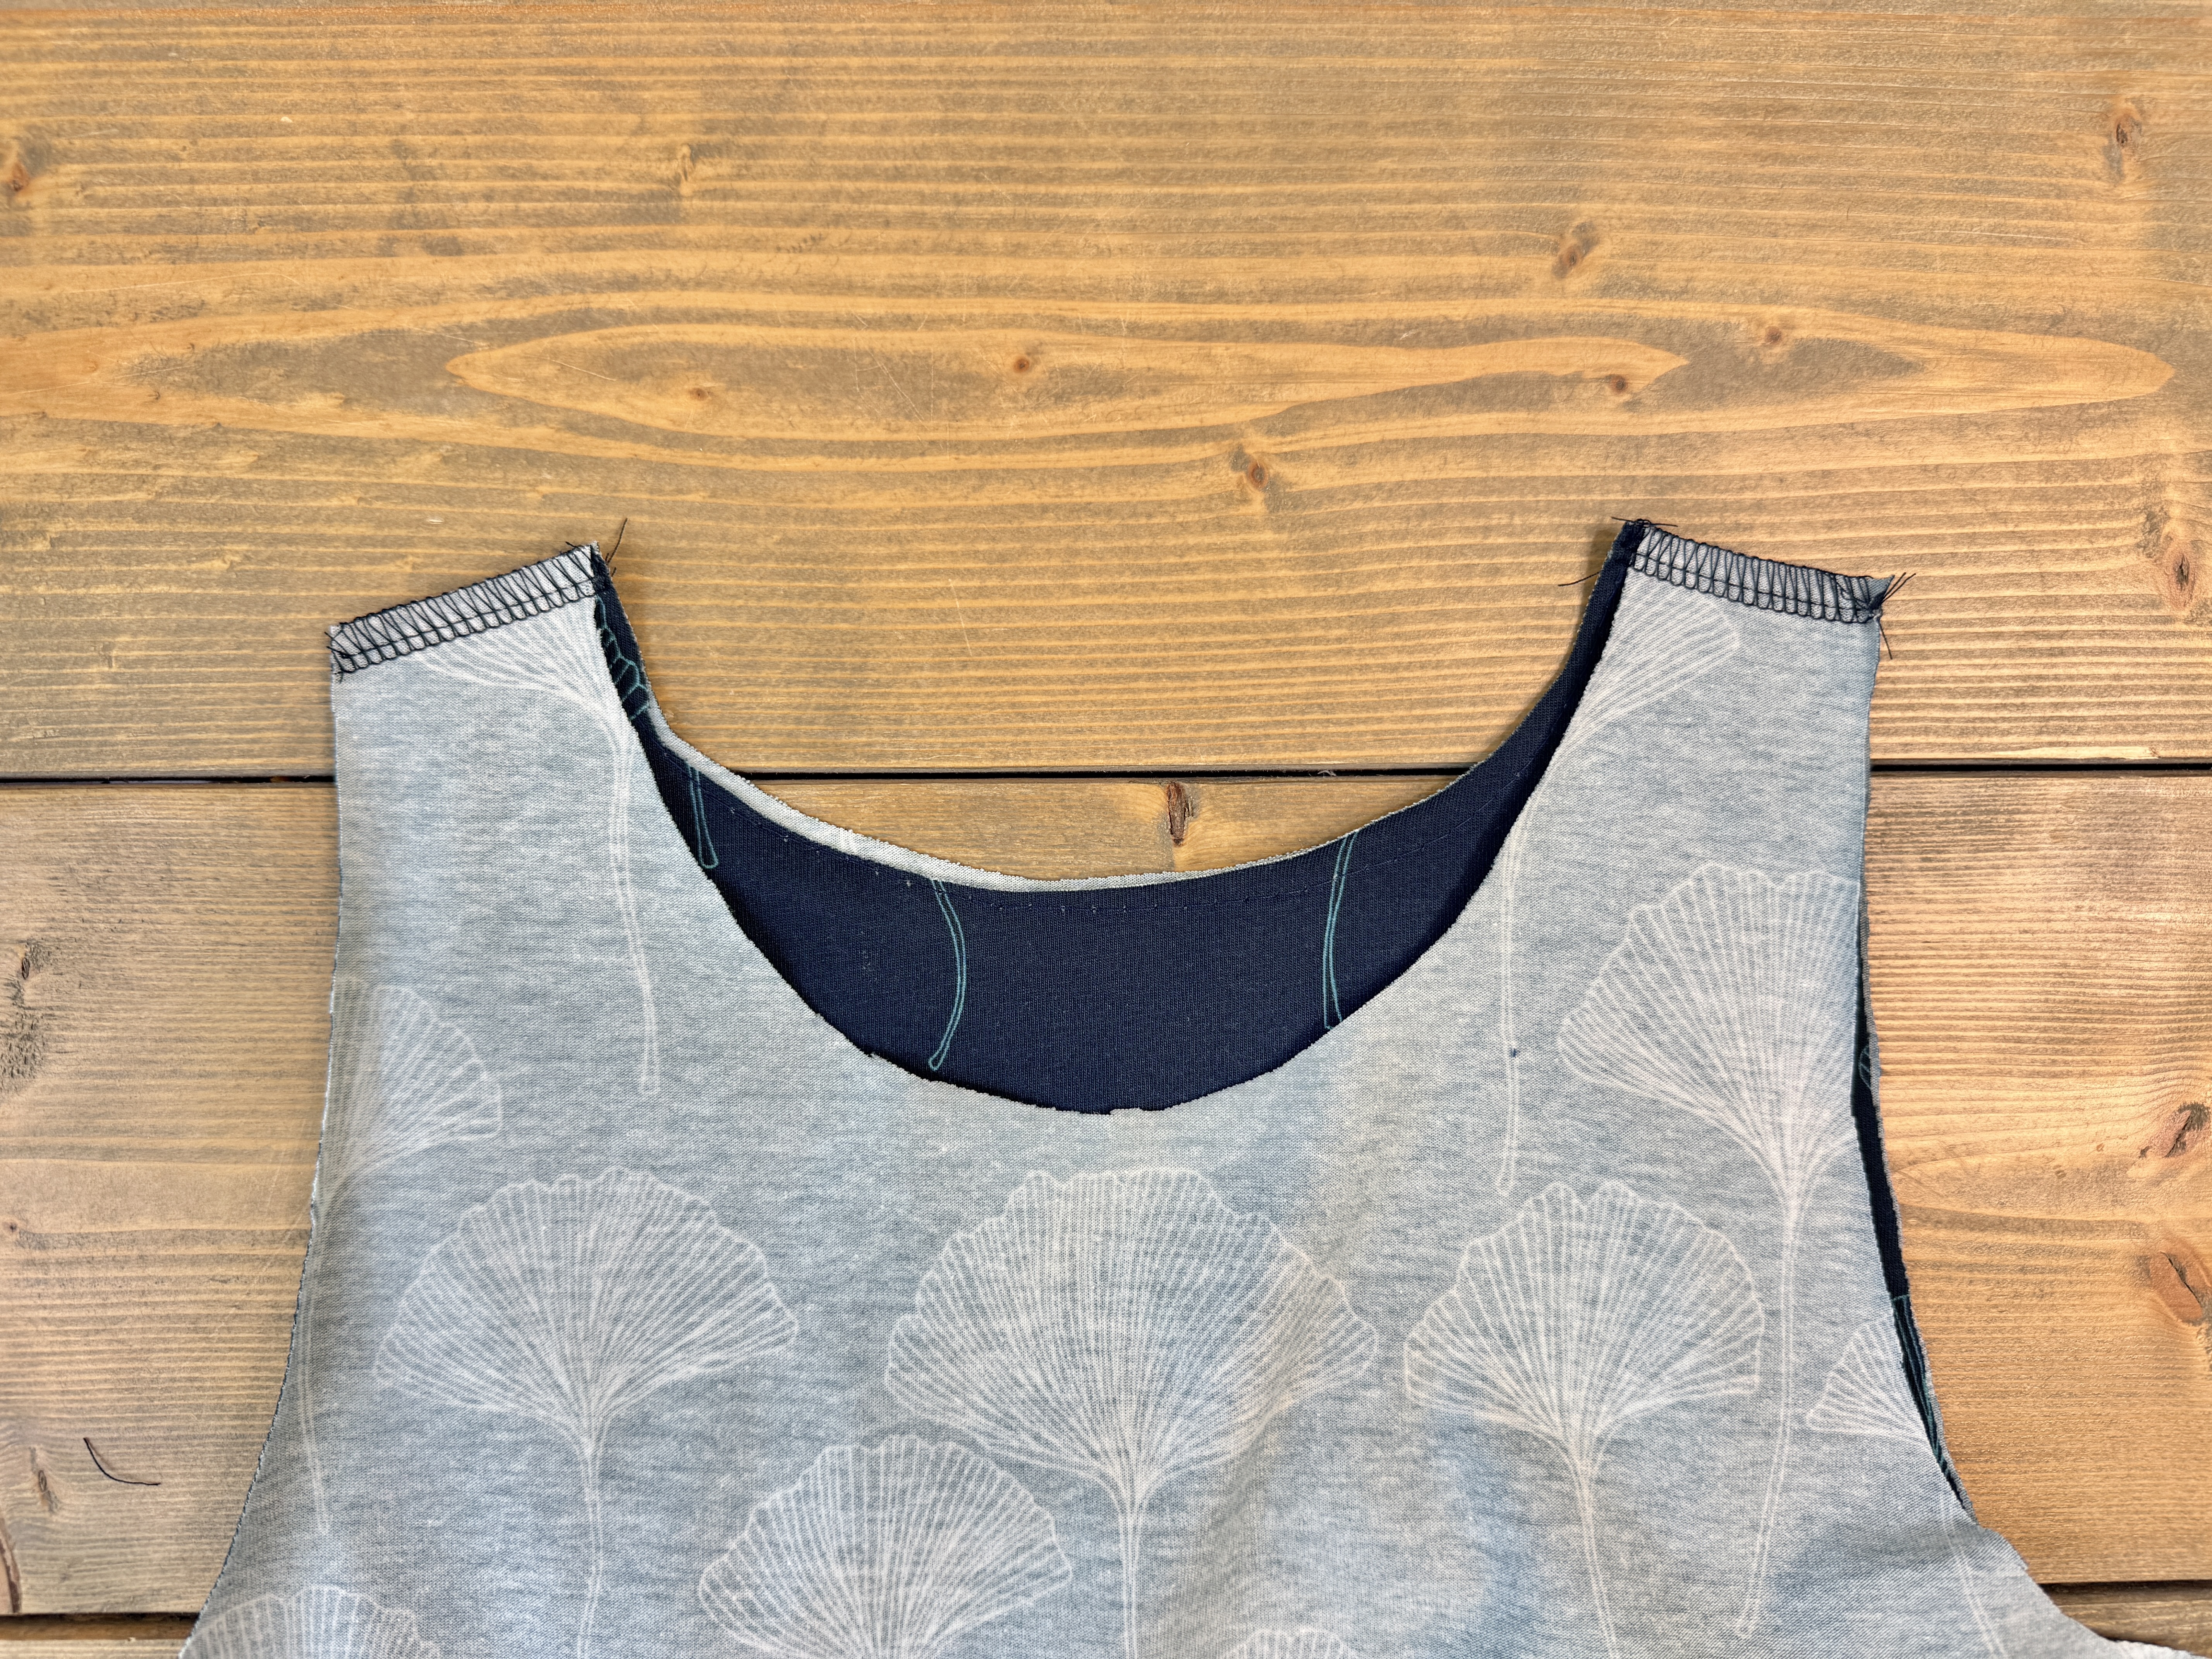
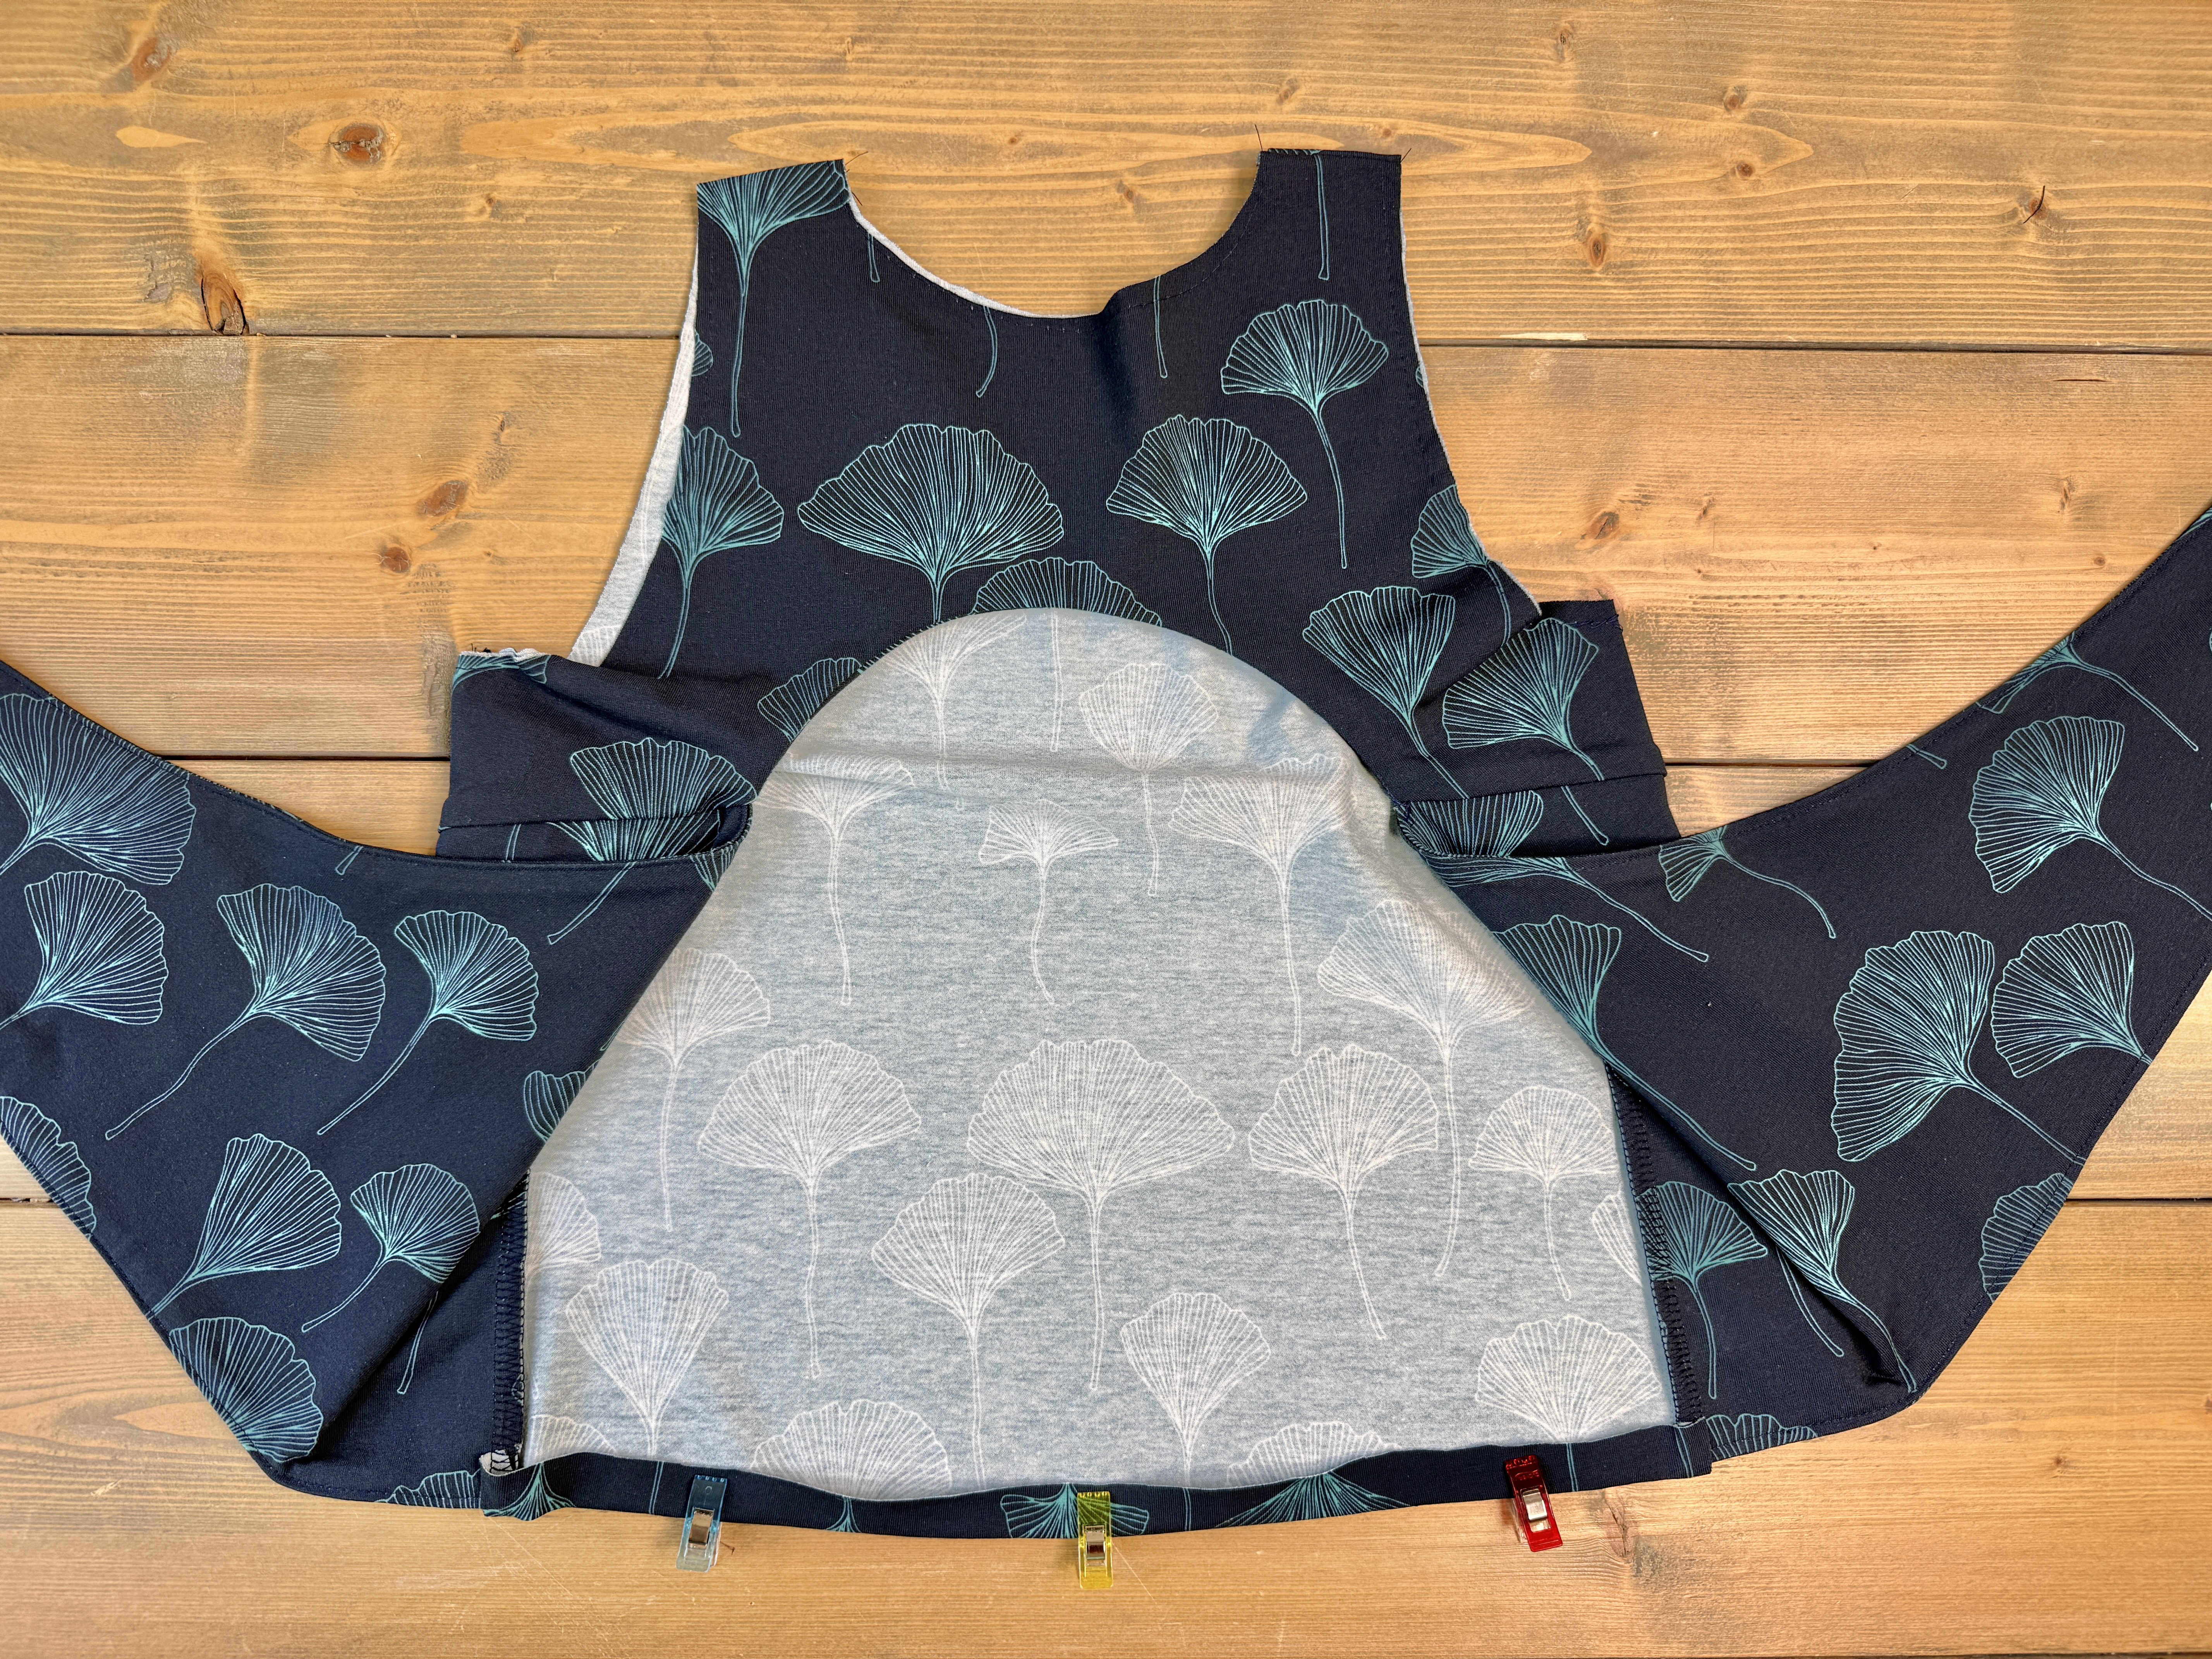
Align the side seams and pin together. The front bodice will extend 1/2” longer than the back ties.
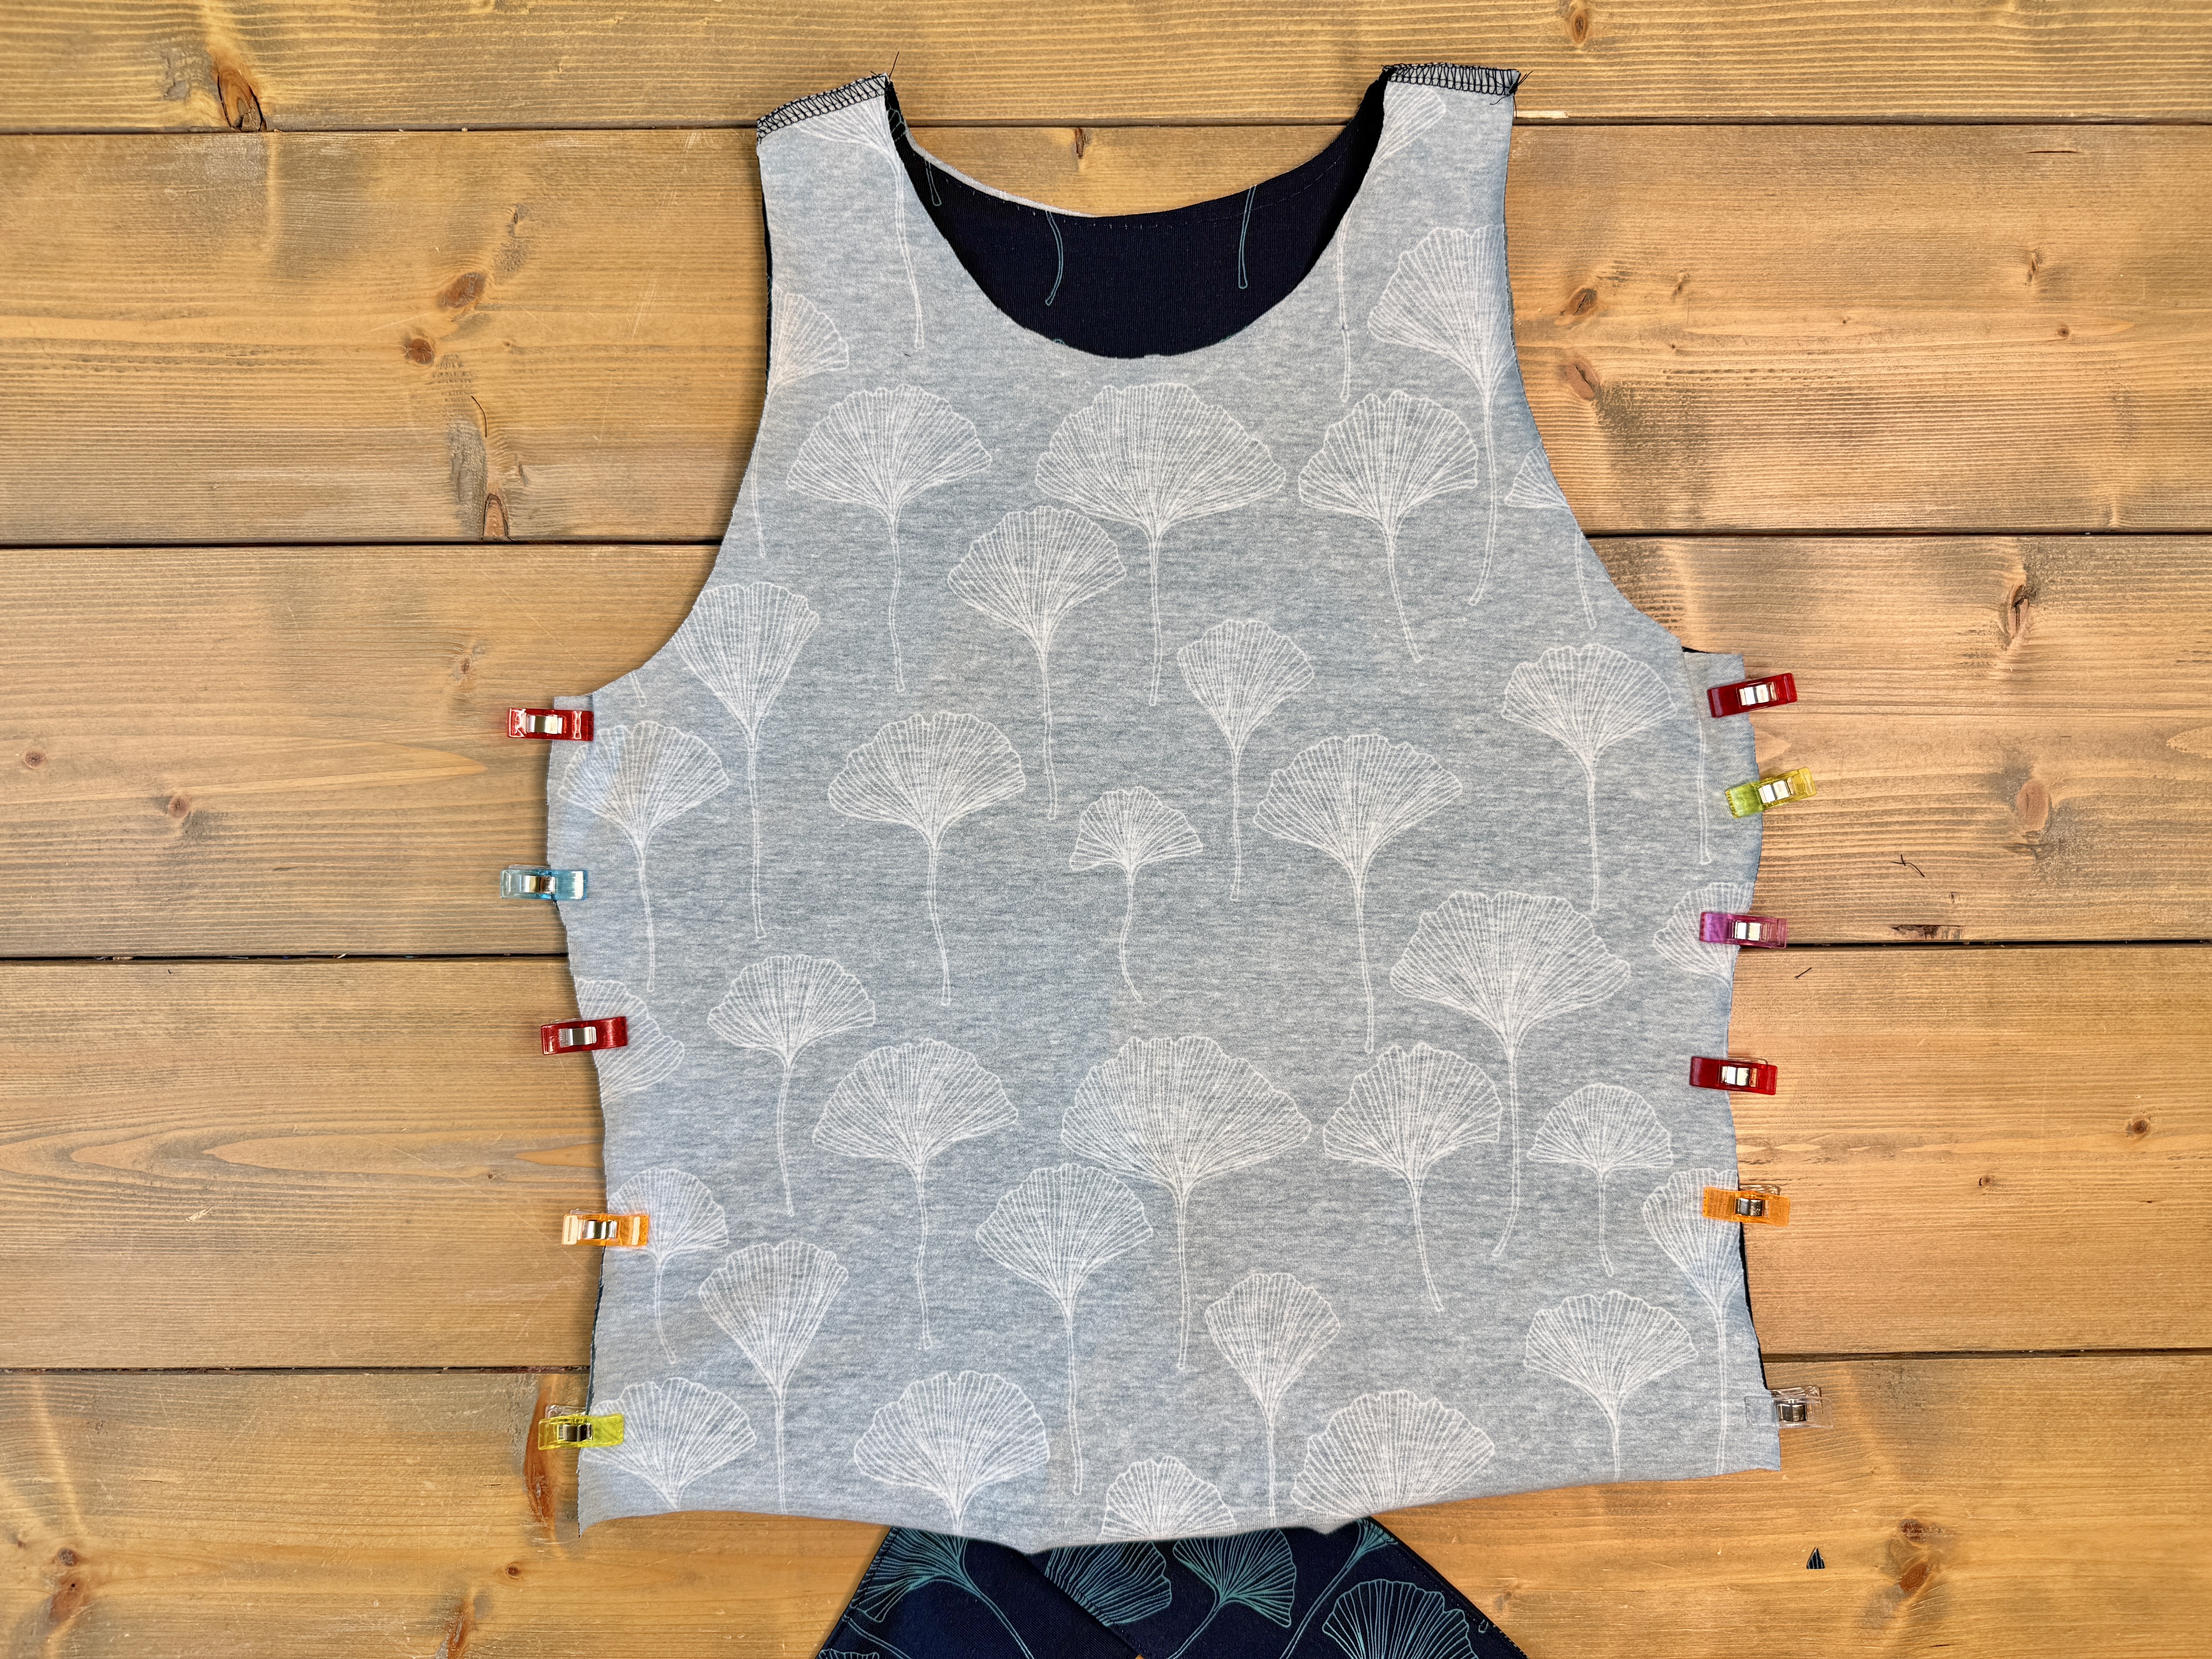
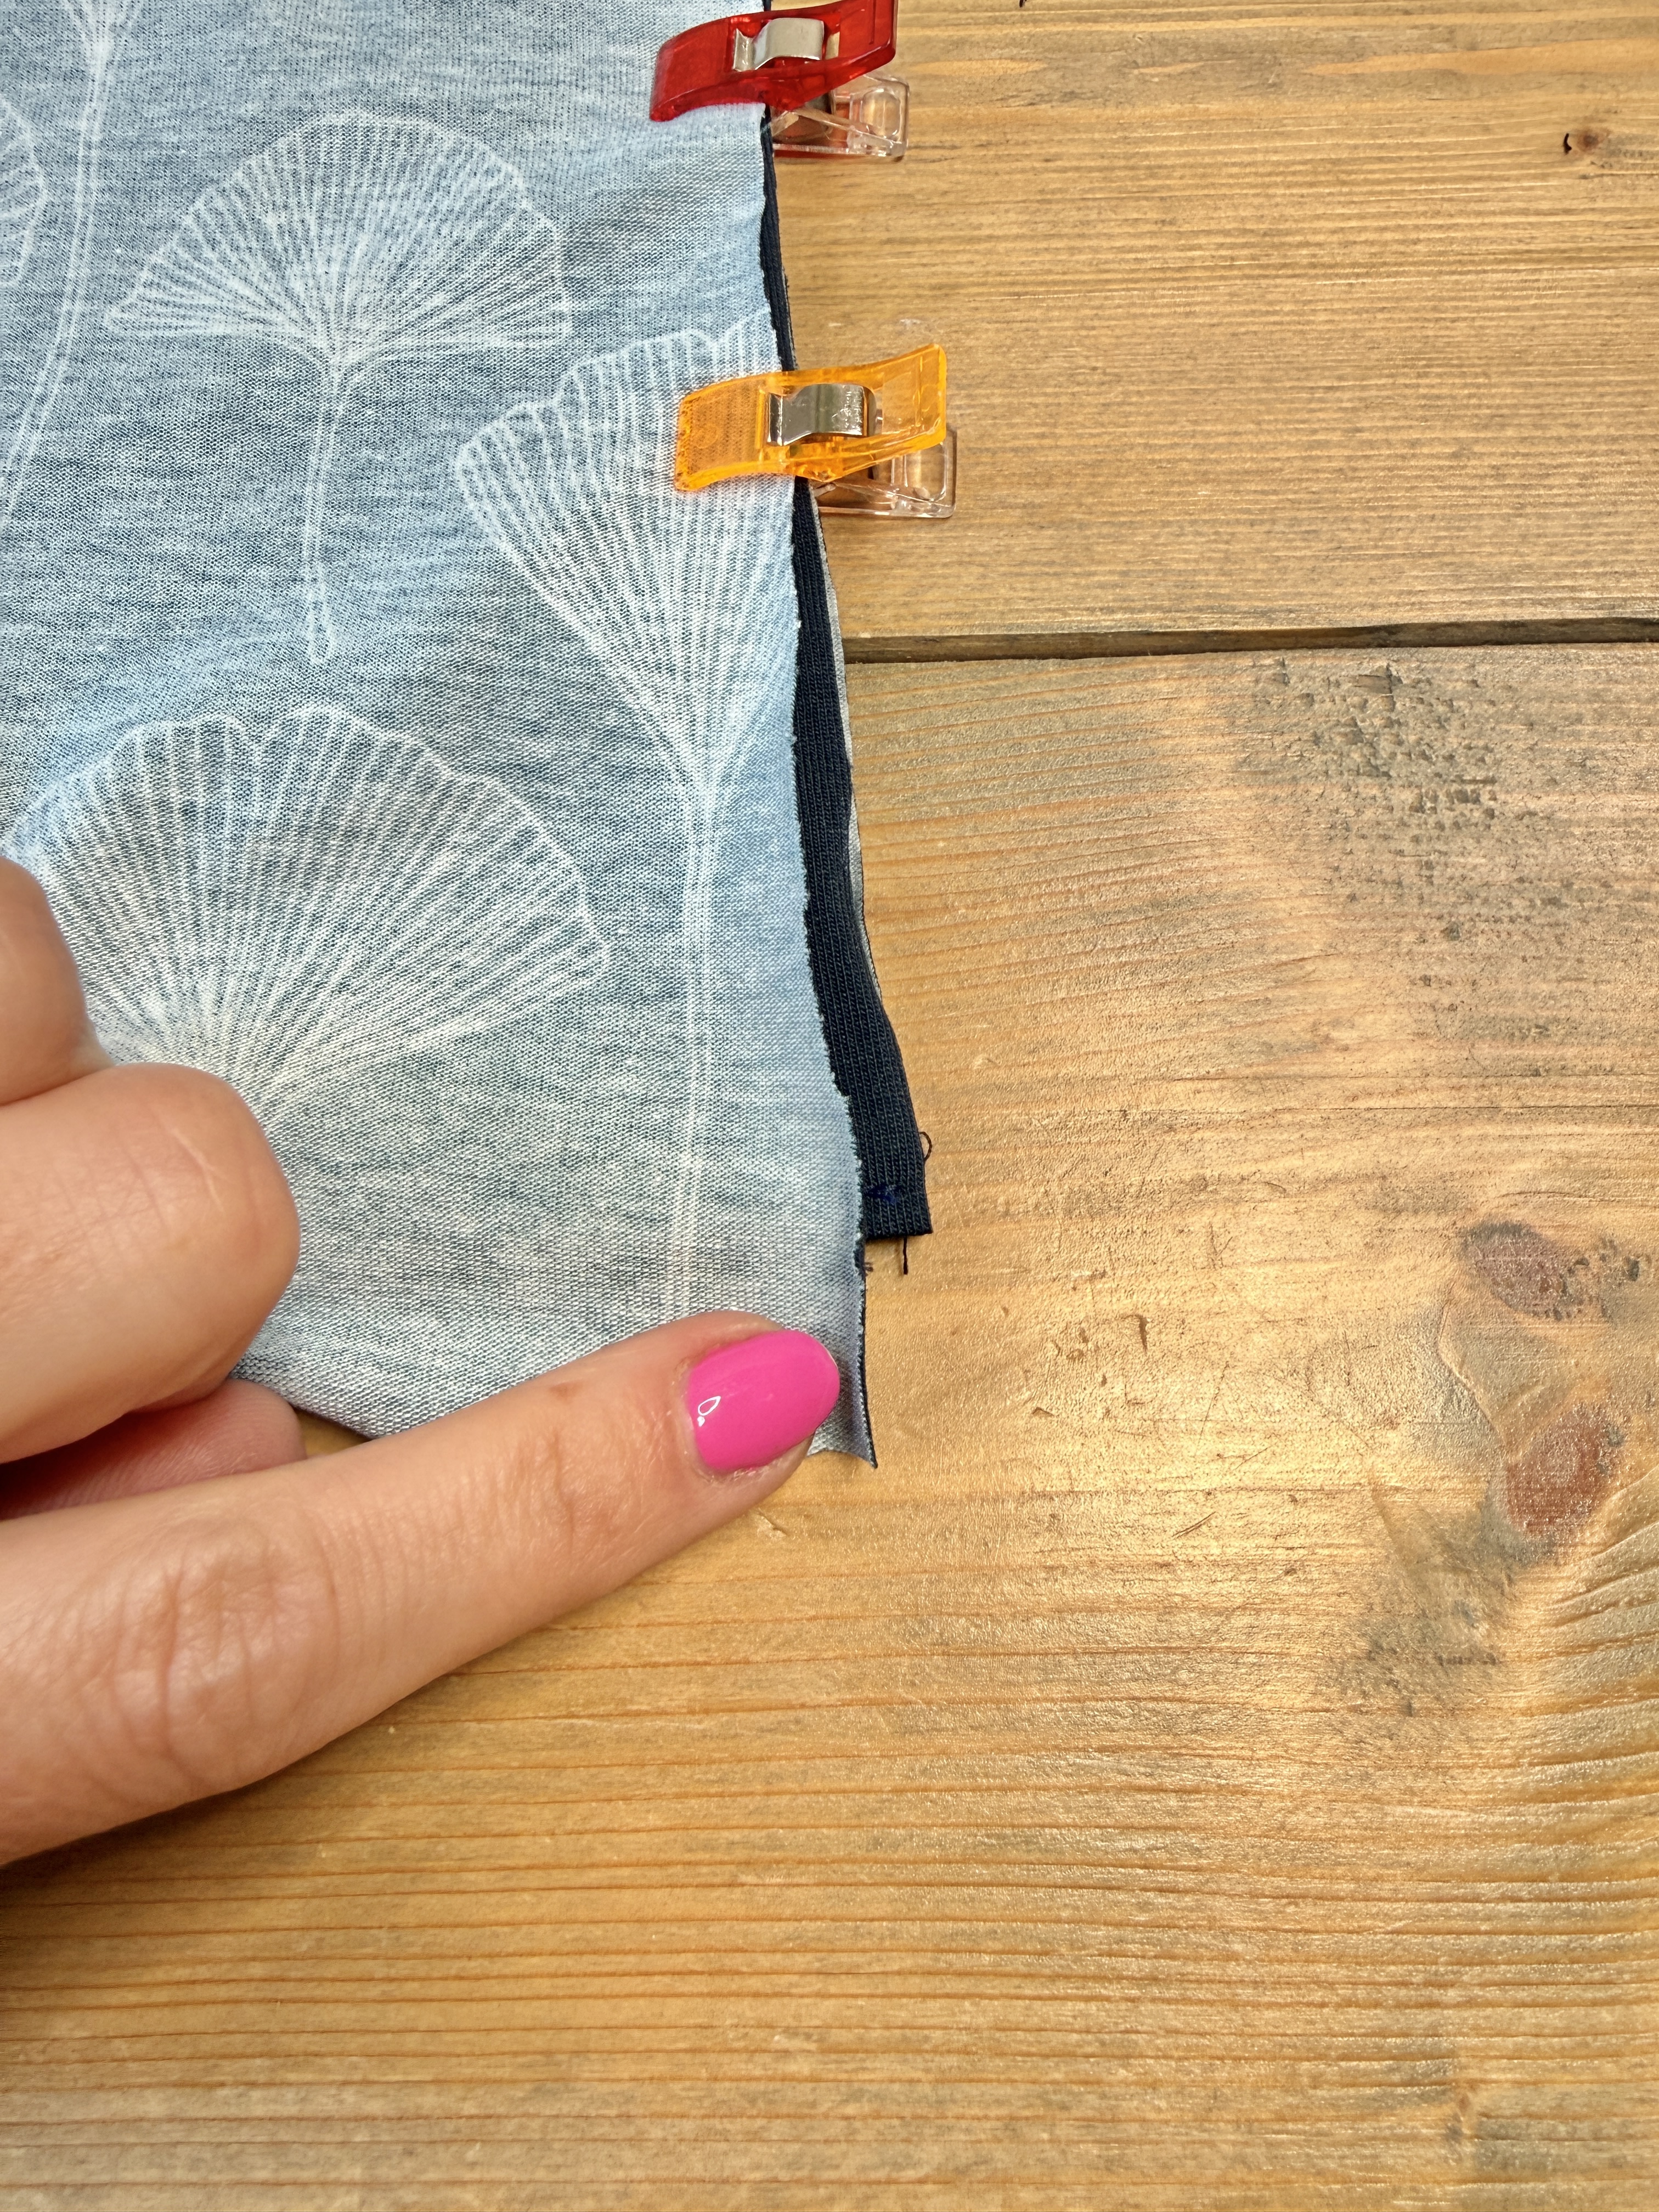
Flip the extra 1/2” seam allowance from the front over onto the back bodice. It will sandwich the back ties. Pin in place.
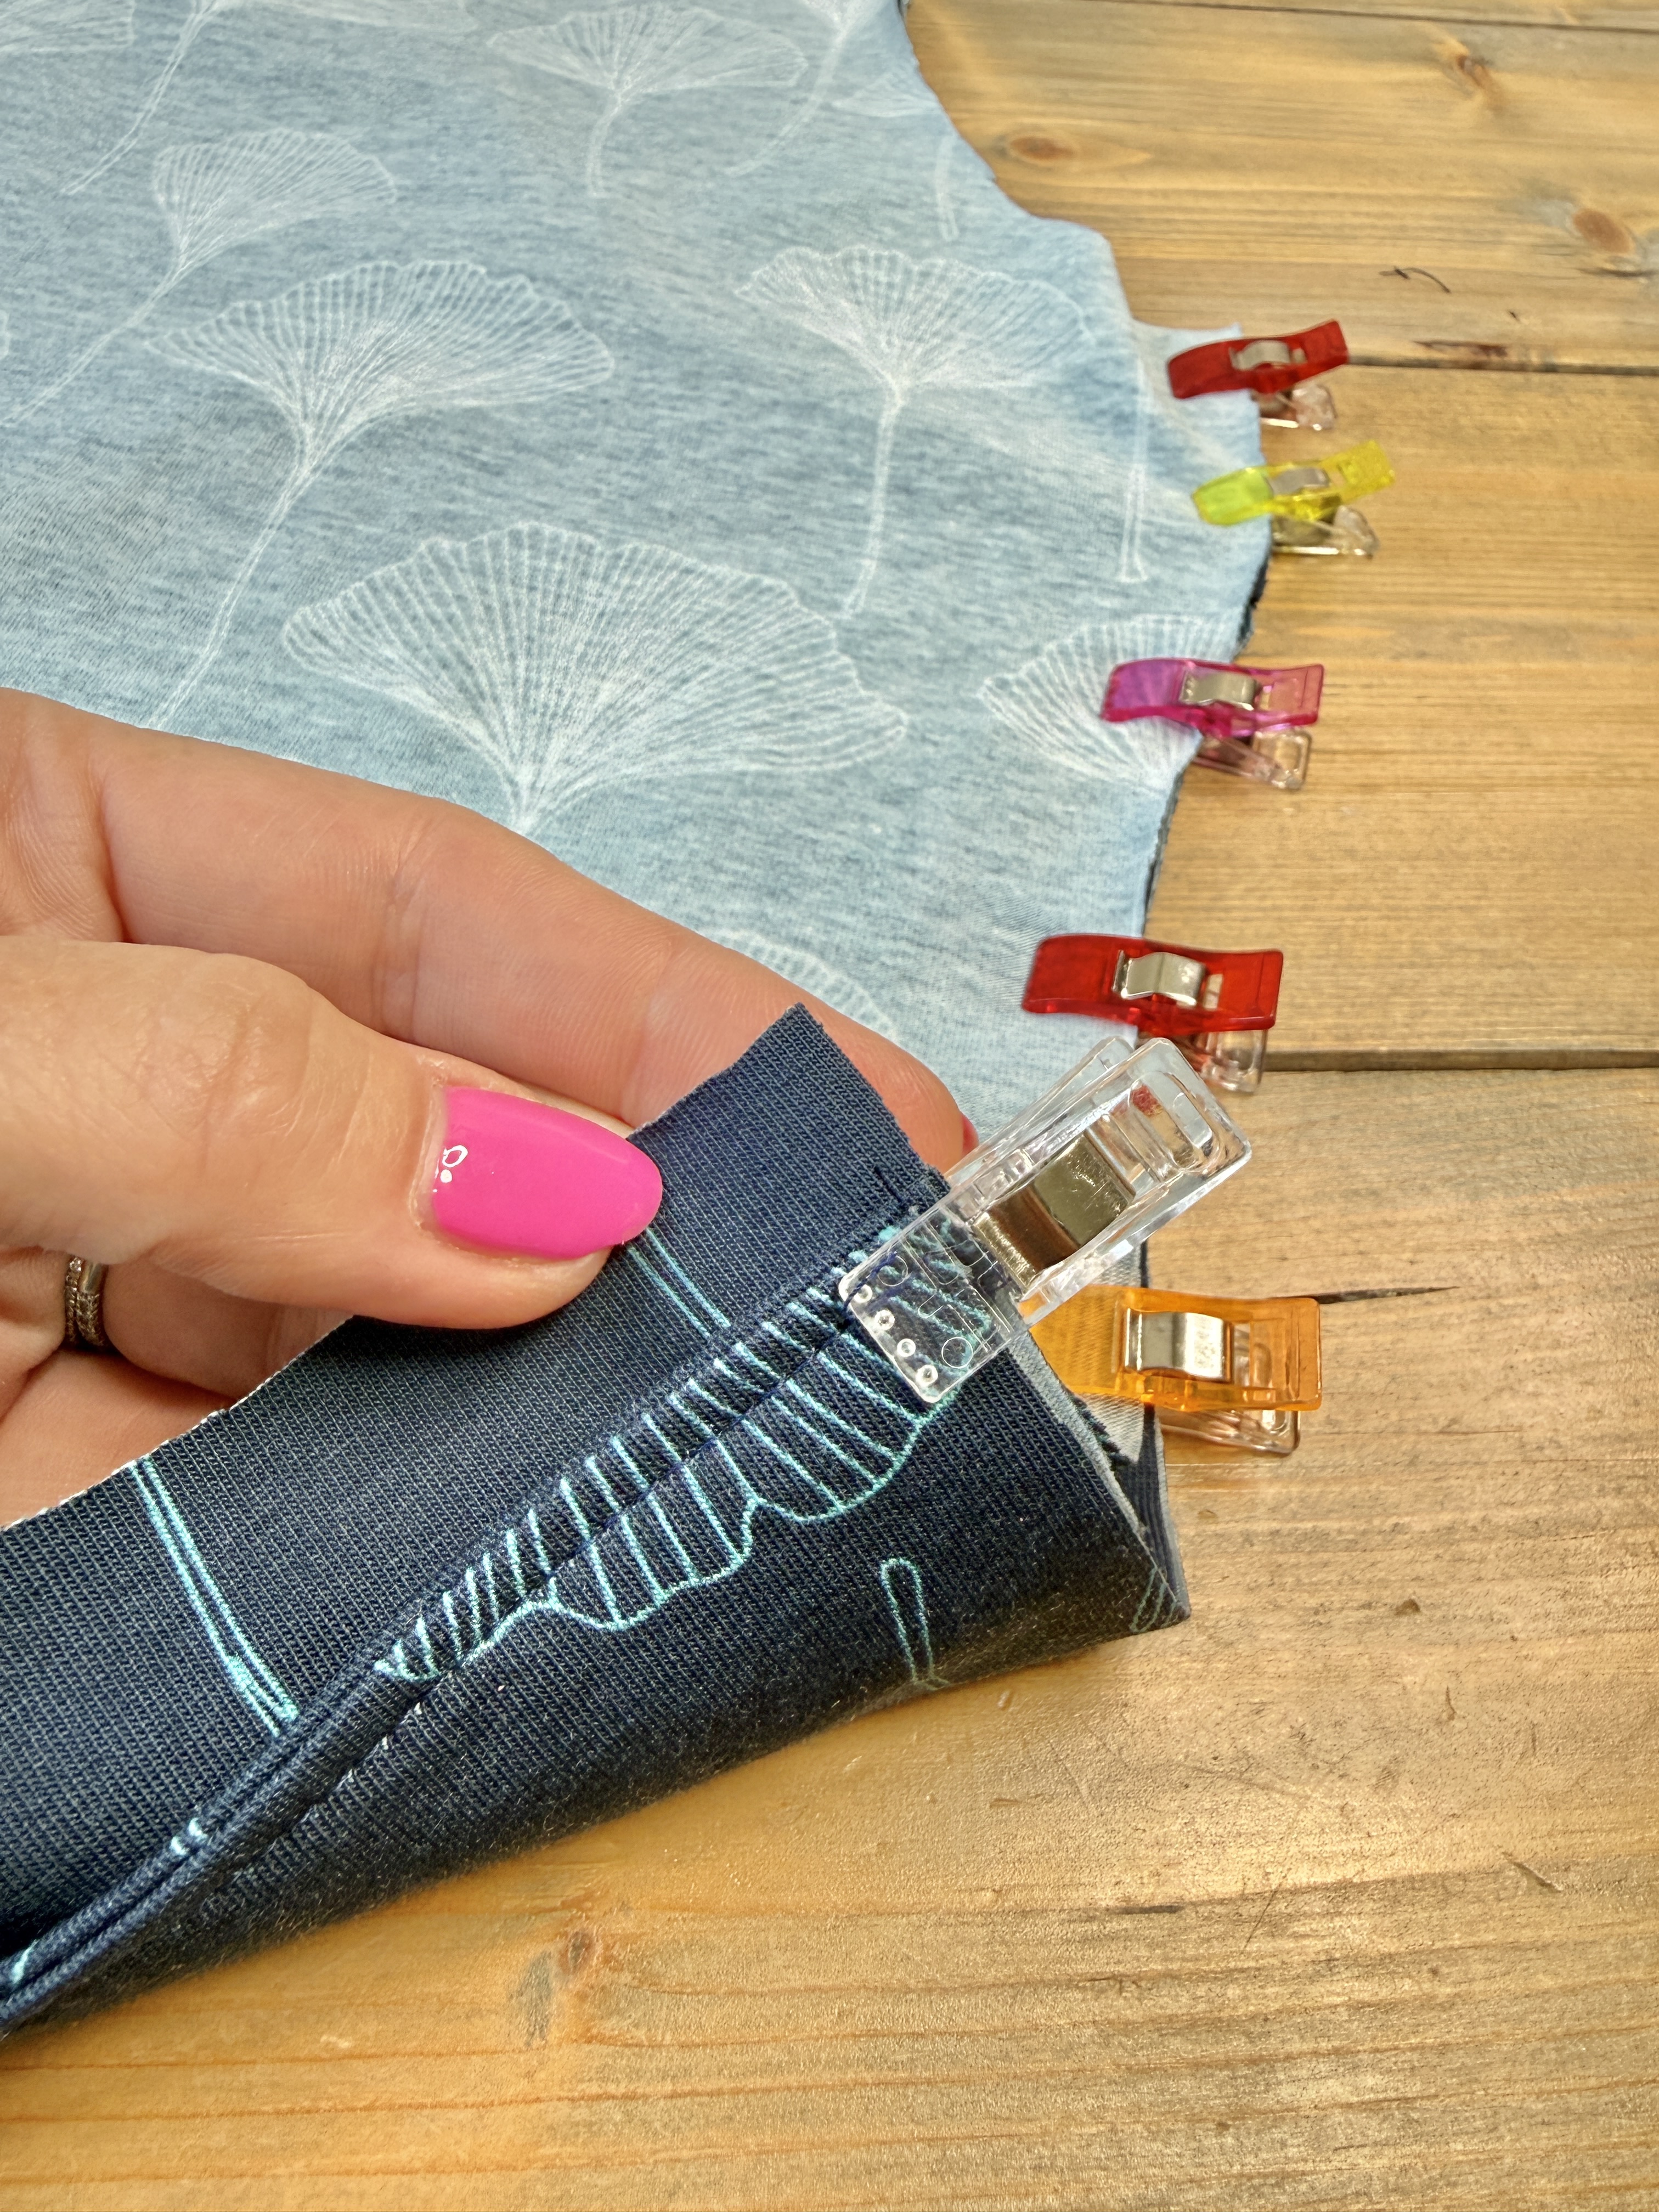
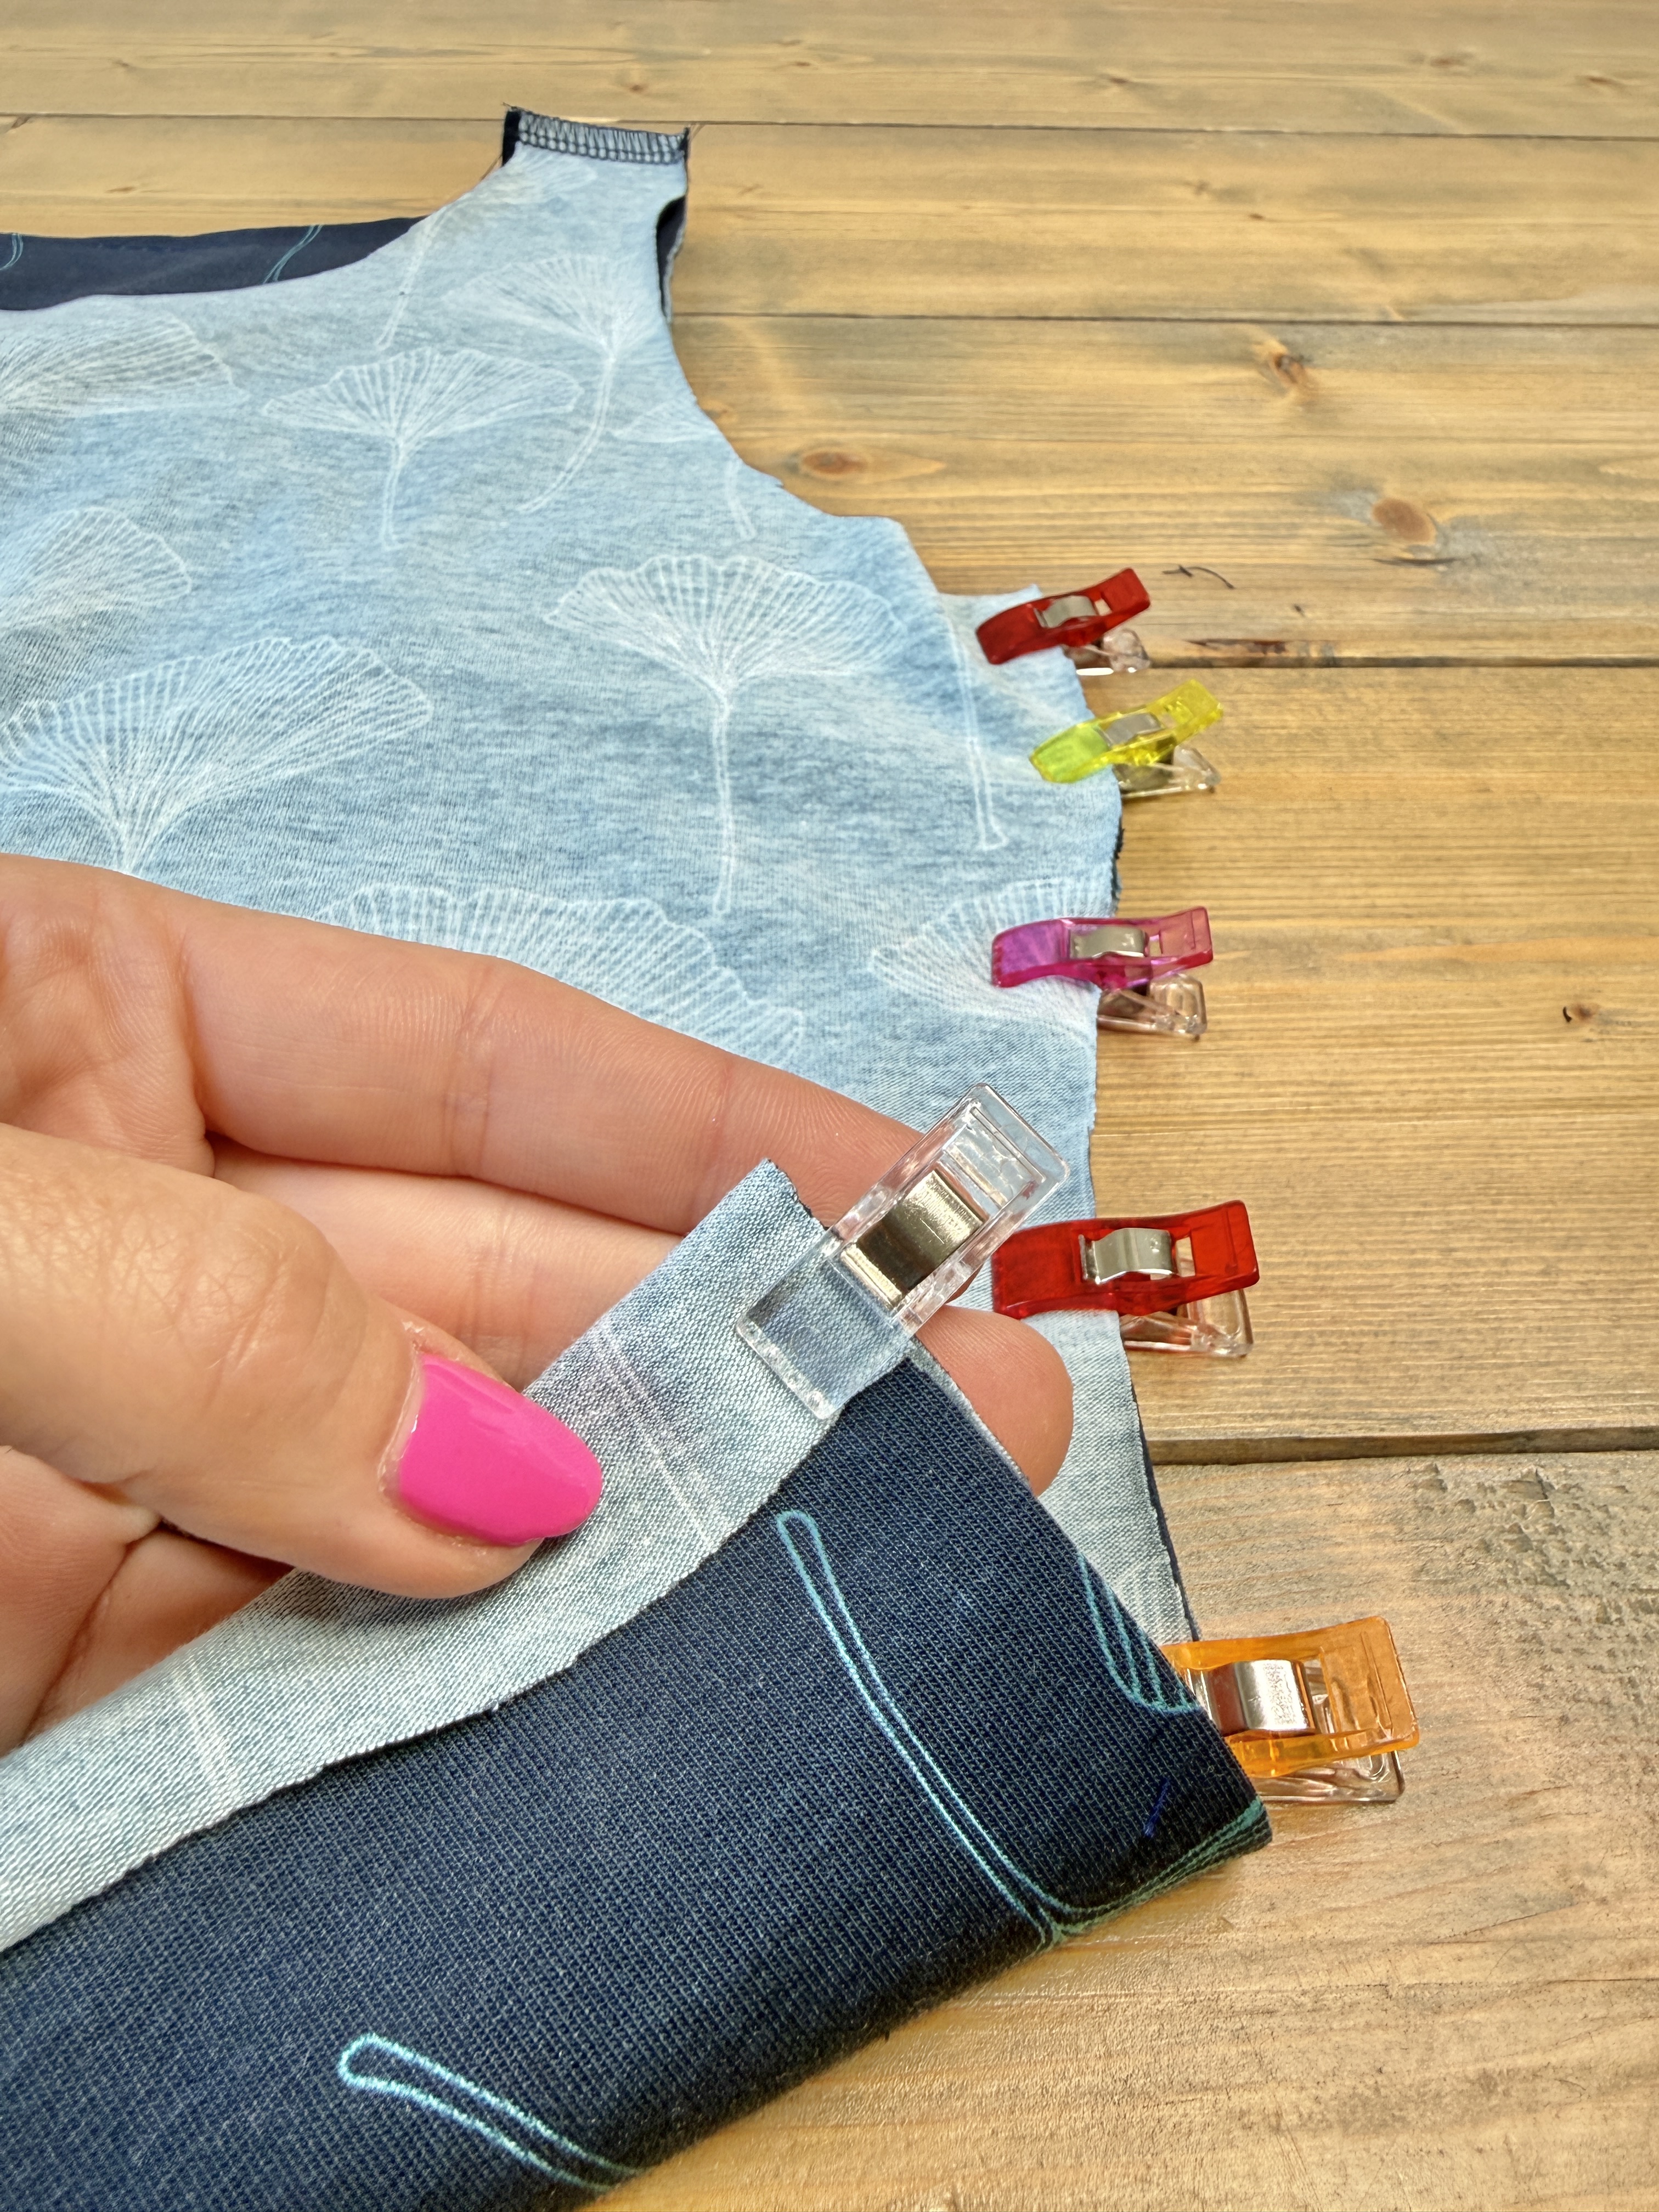
Stitch the side seams from sleeve edge to the hemline. Flip right sides out and press.
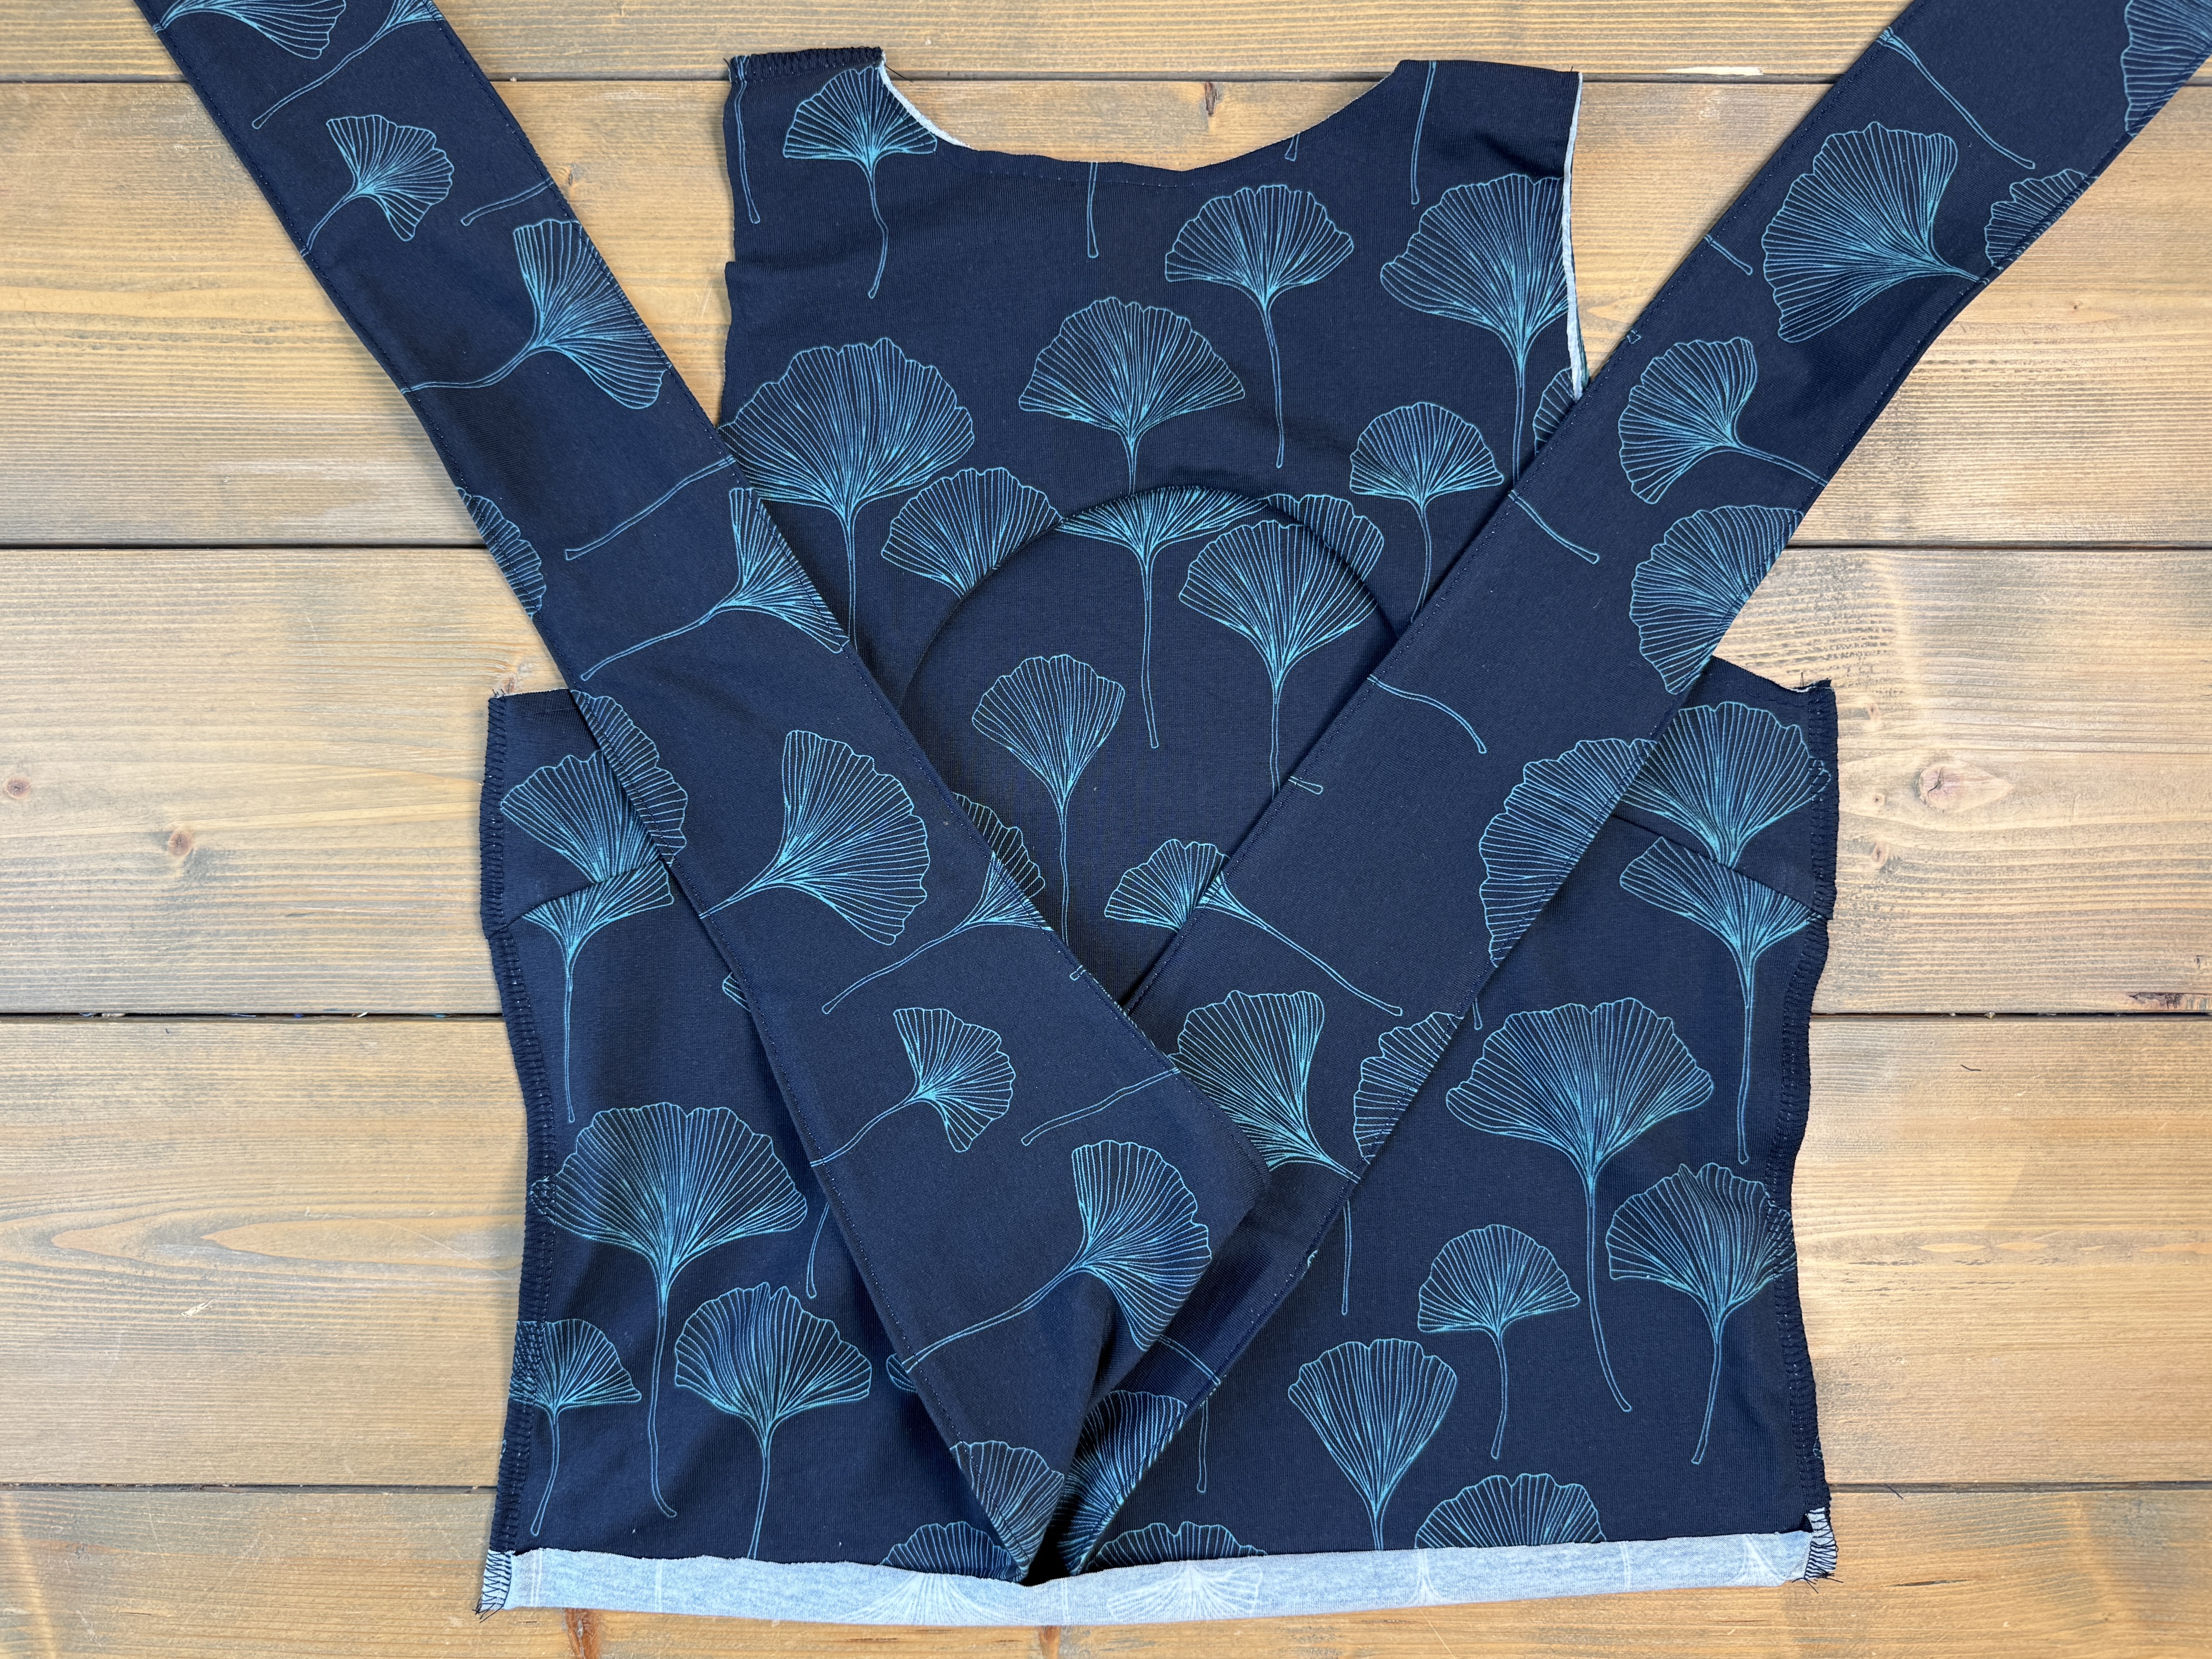
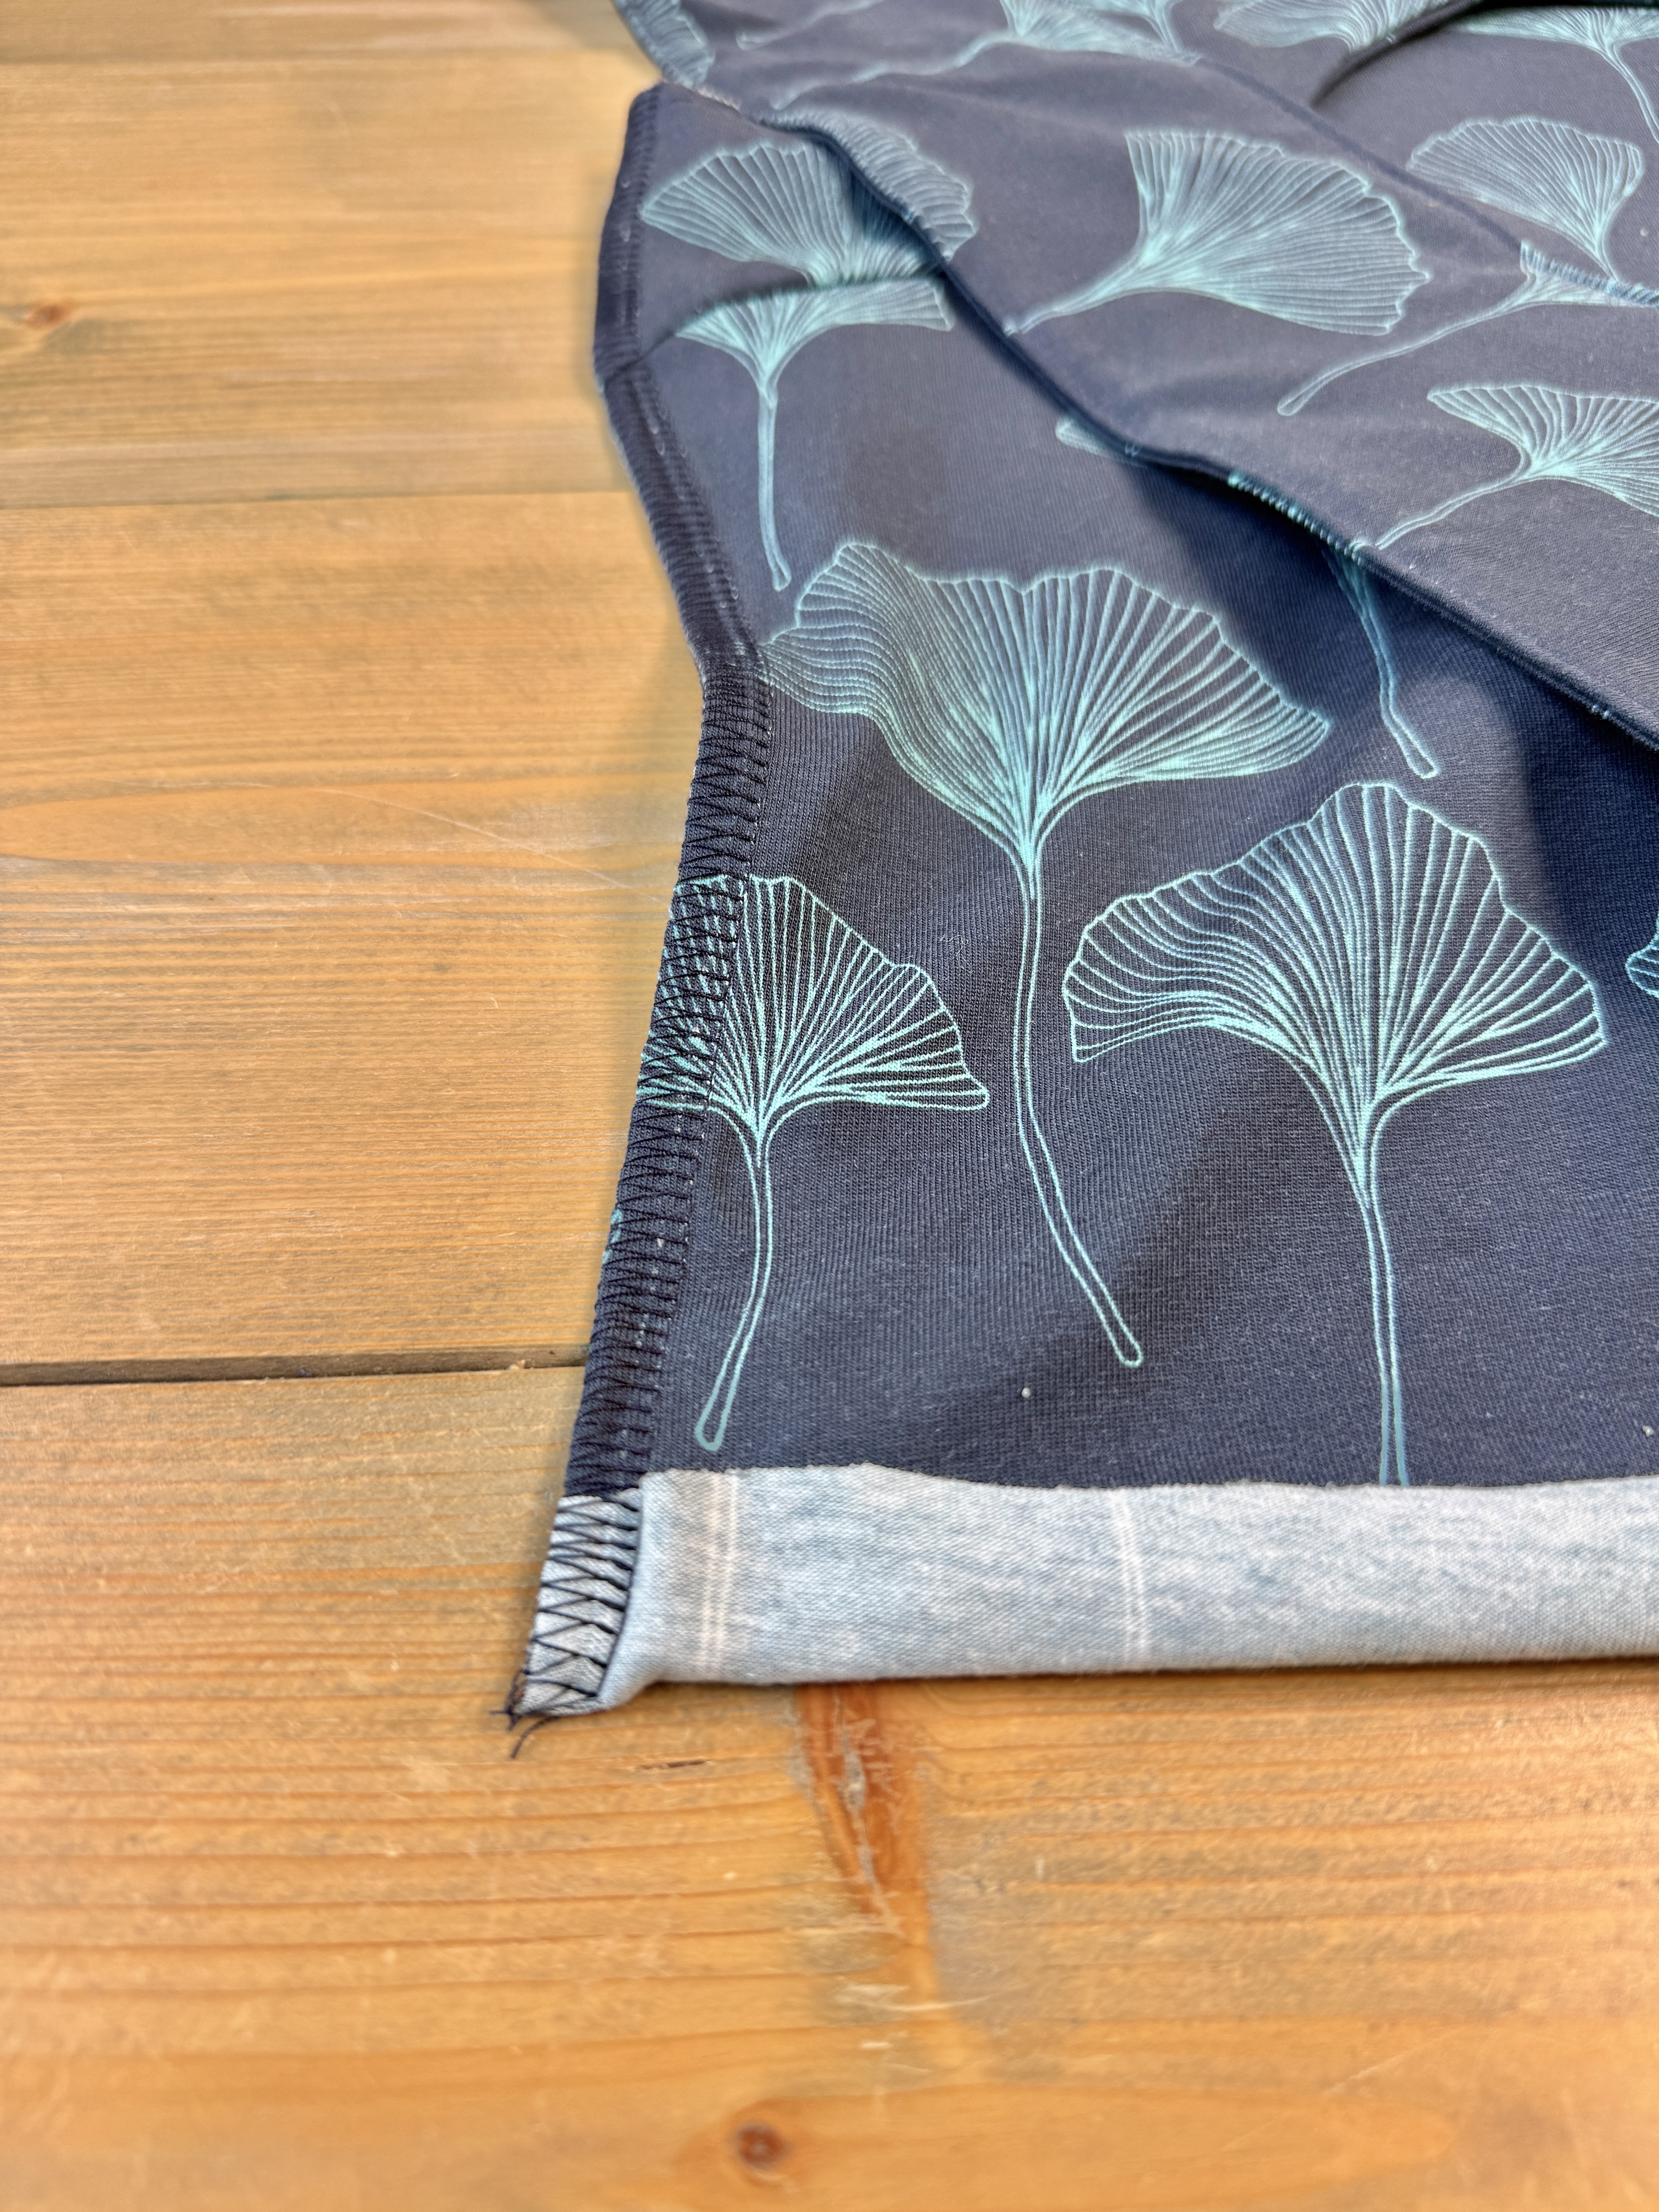
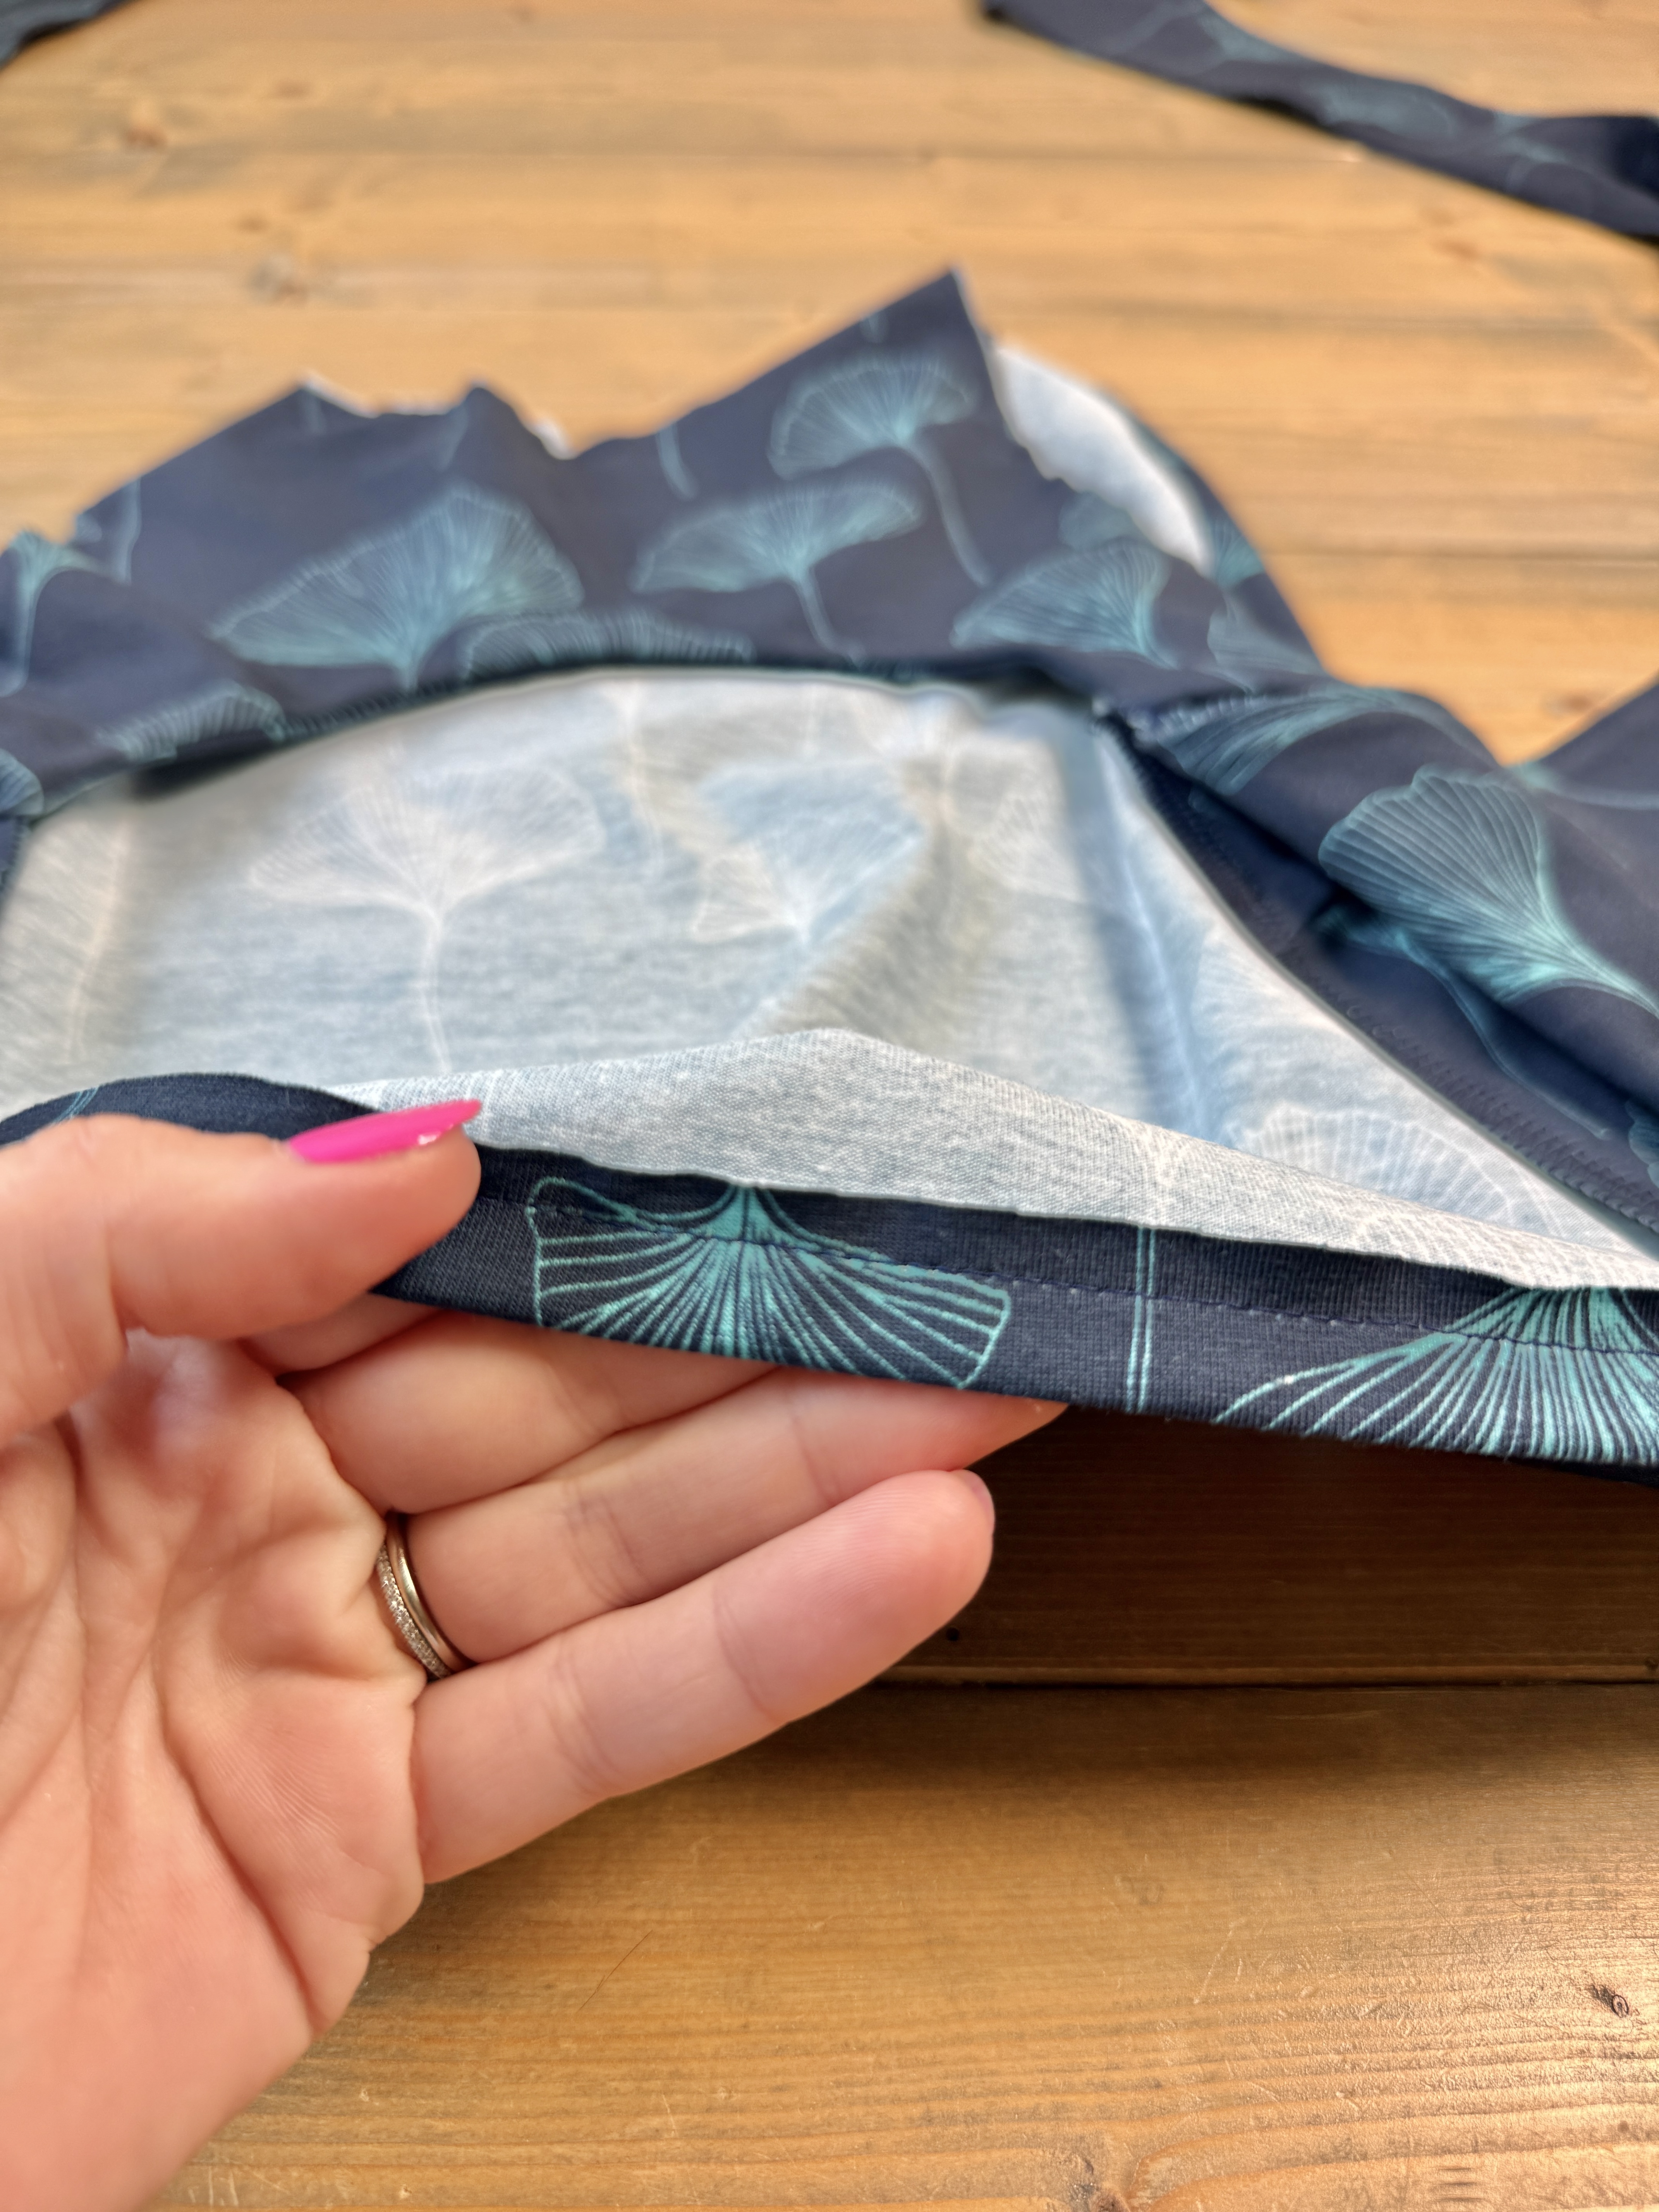
Press the unhemmed front bodice up 1/2” towards the wrong side. Hem in place.
Constructing the Danika Bands
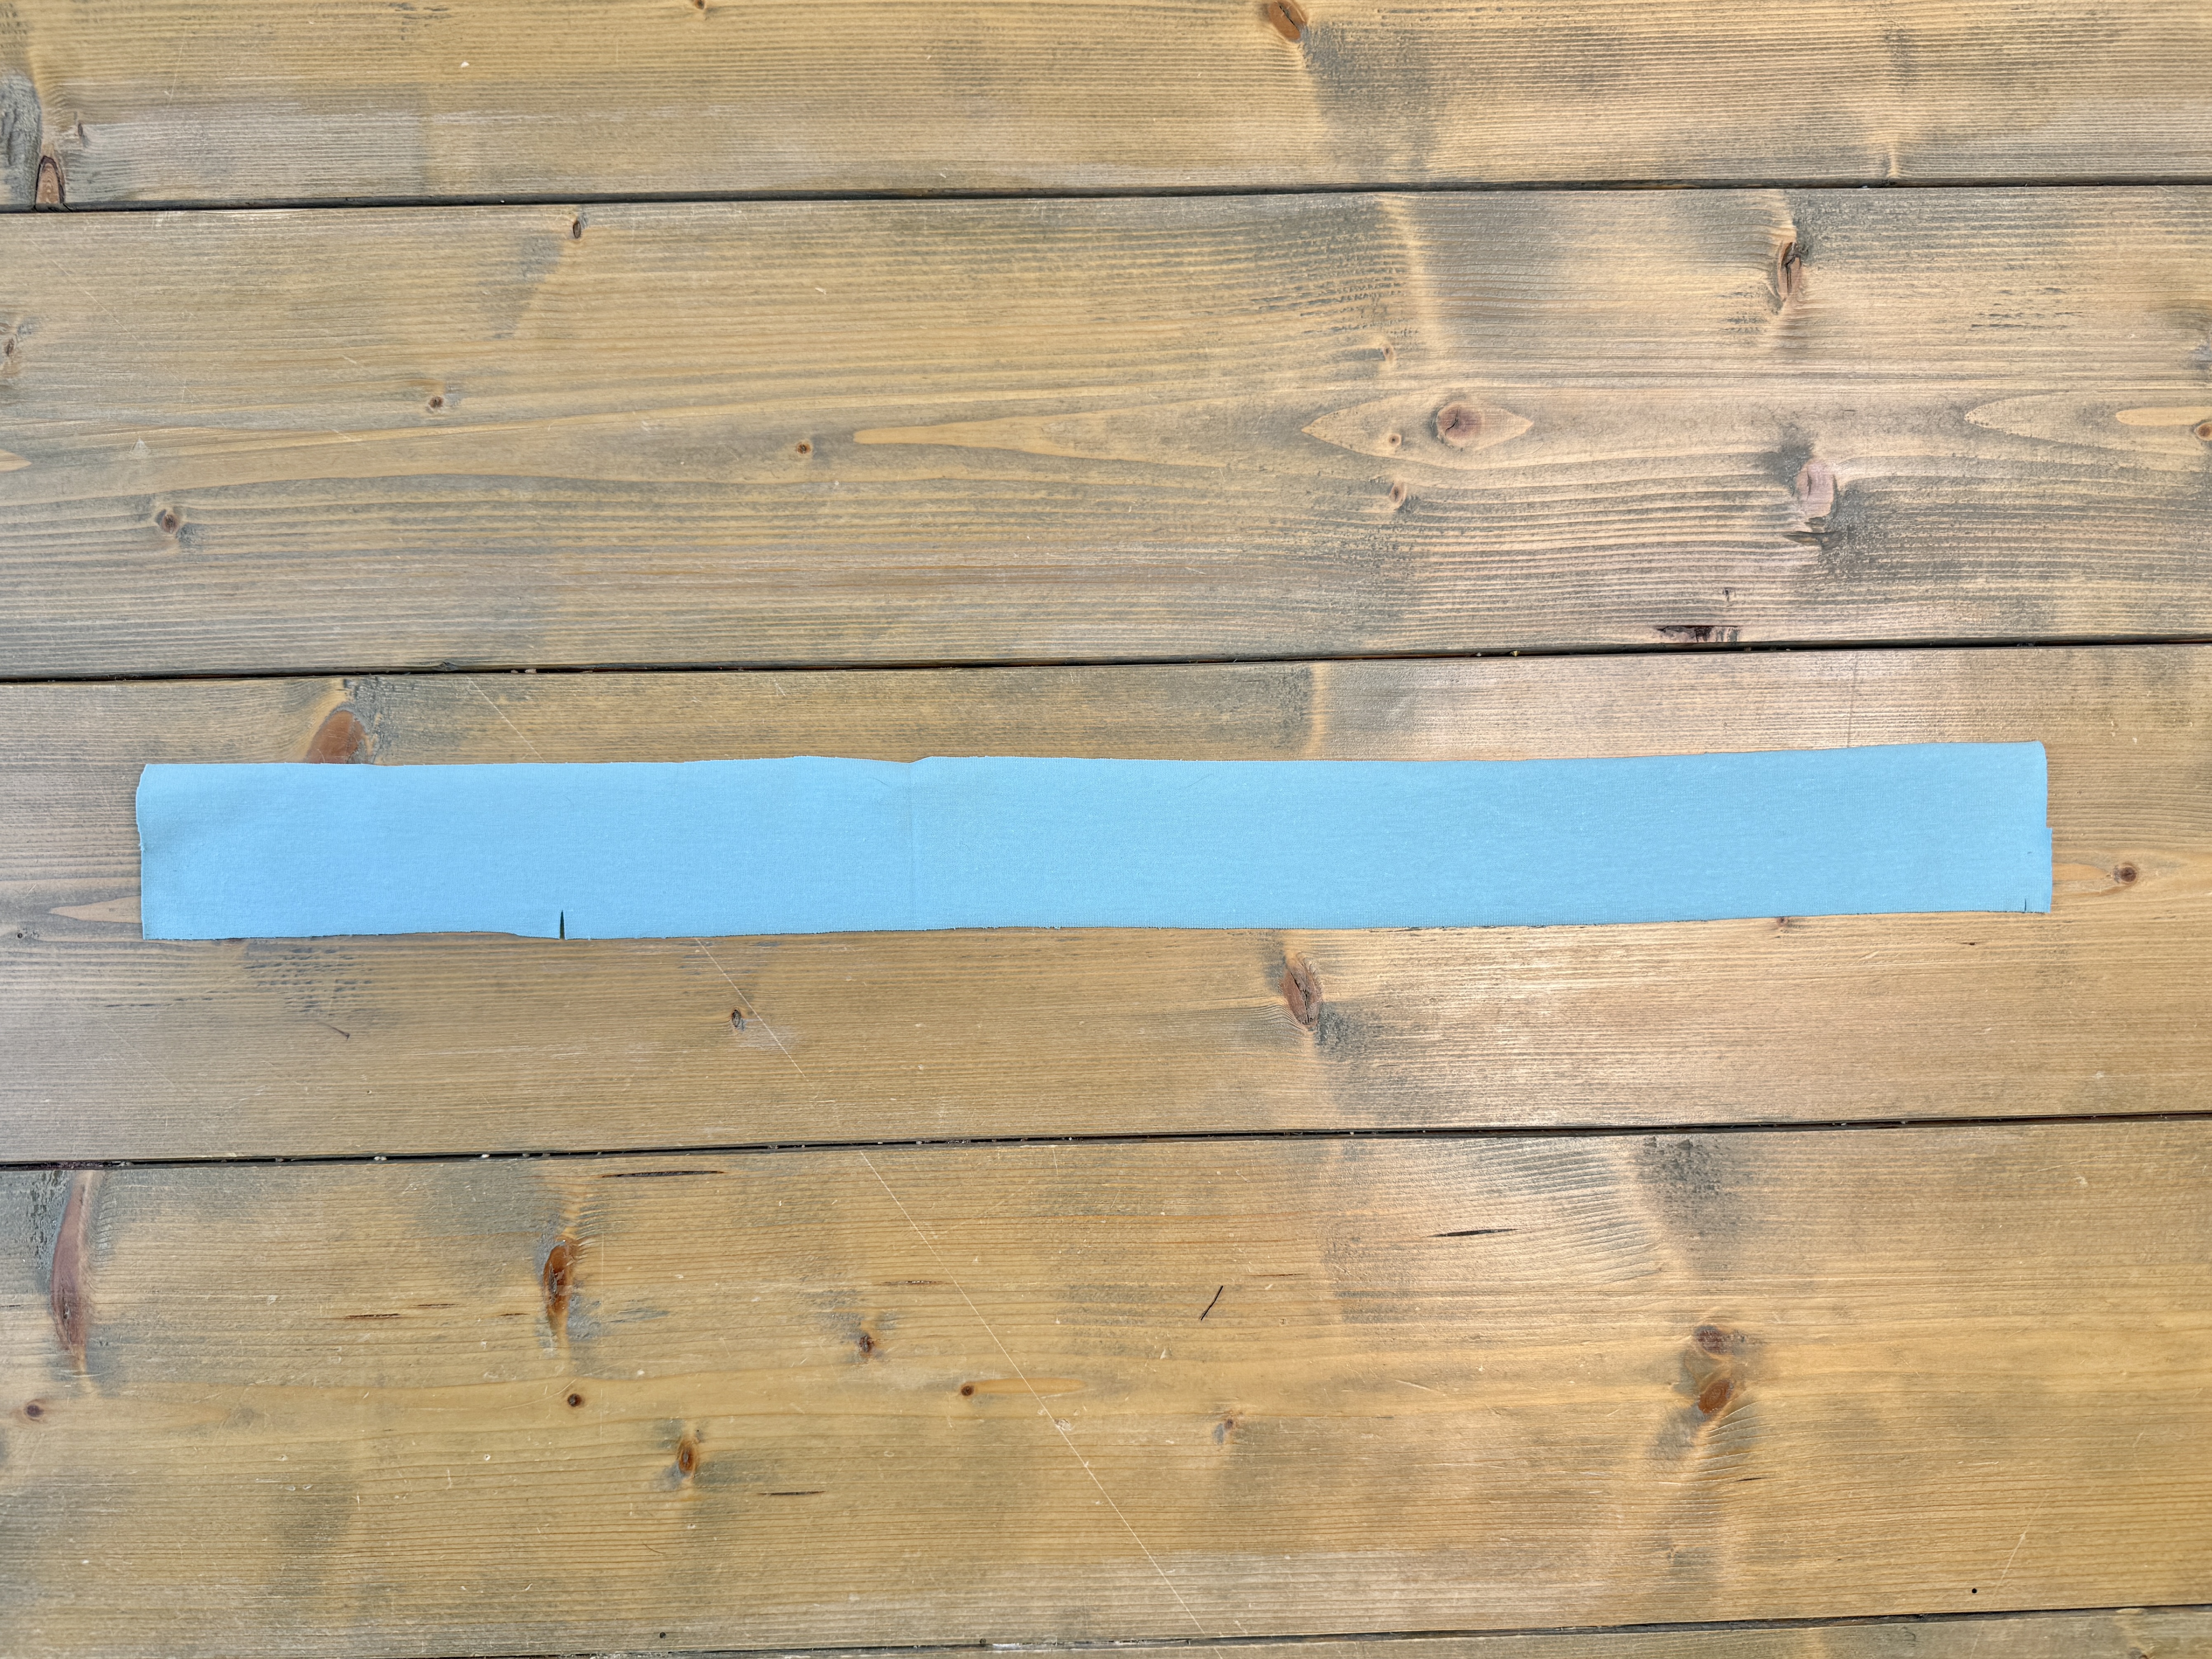
Locate the neckband piece. Fold the neckband in half right sides together widthwise. Press. Stitch along the short edge to create a loop.
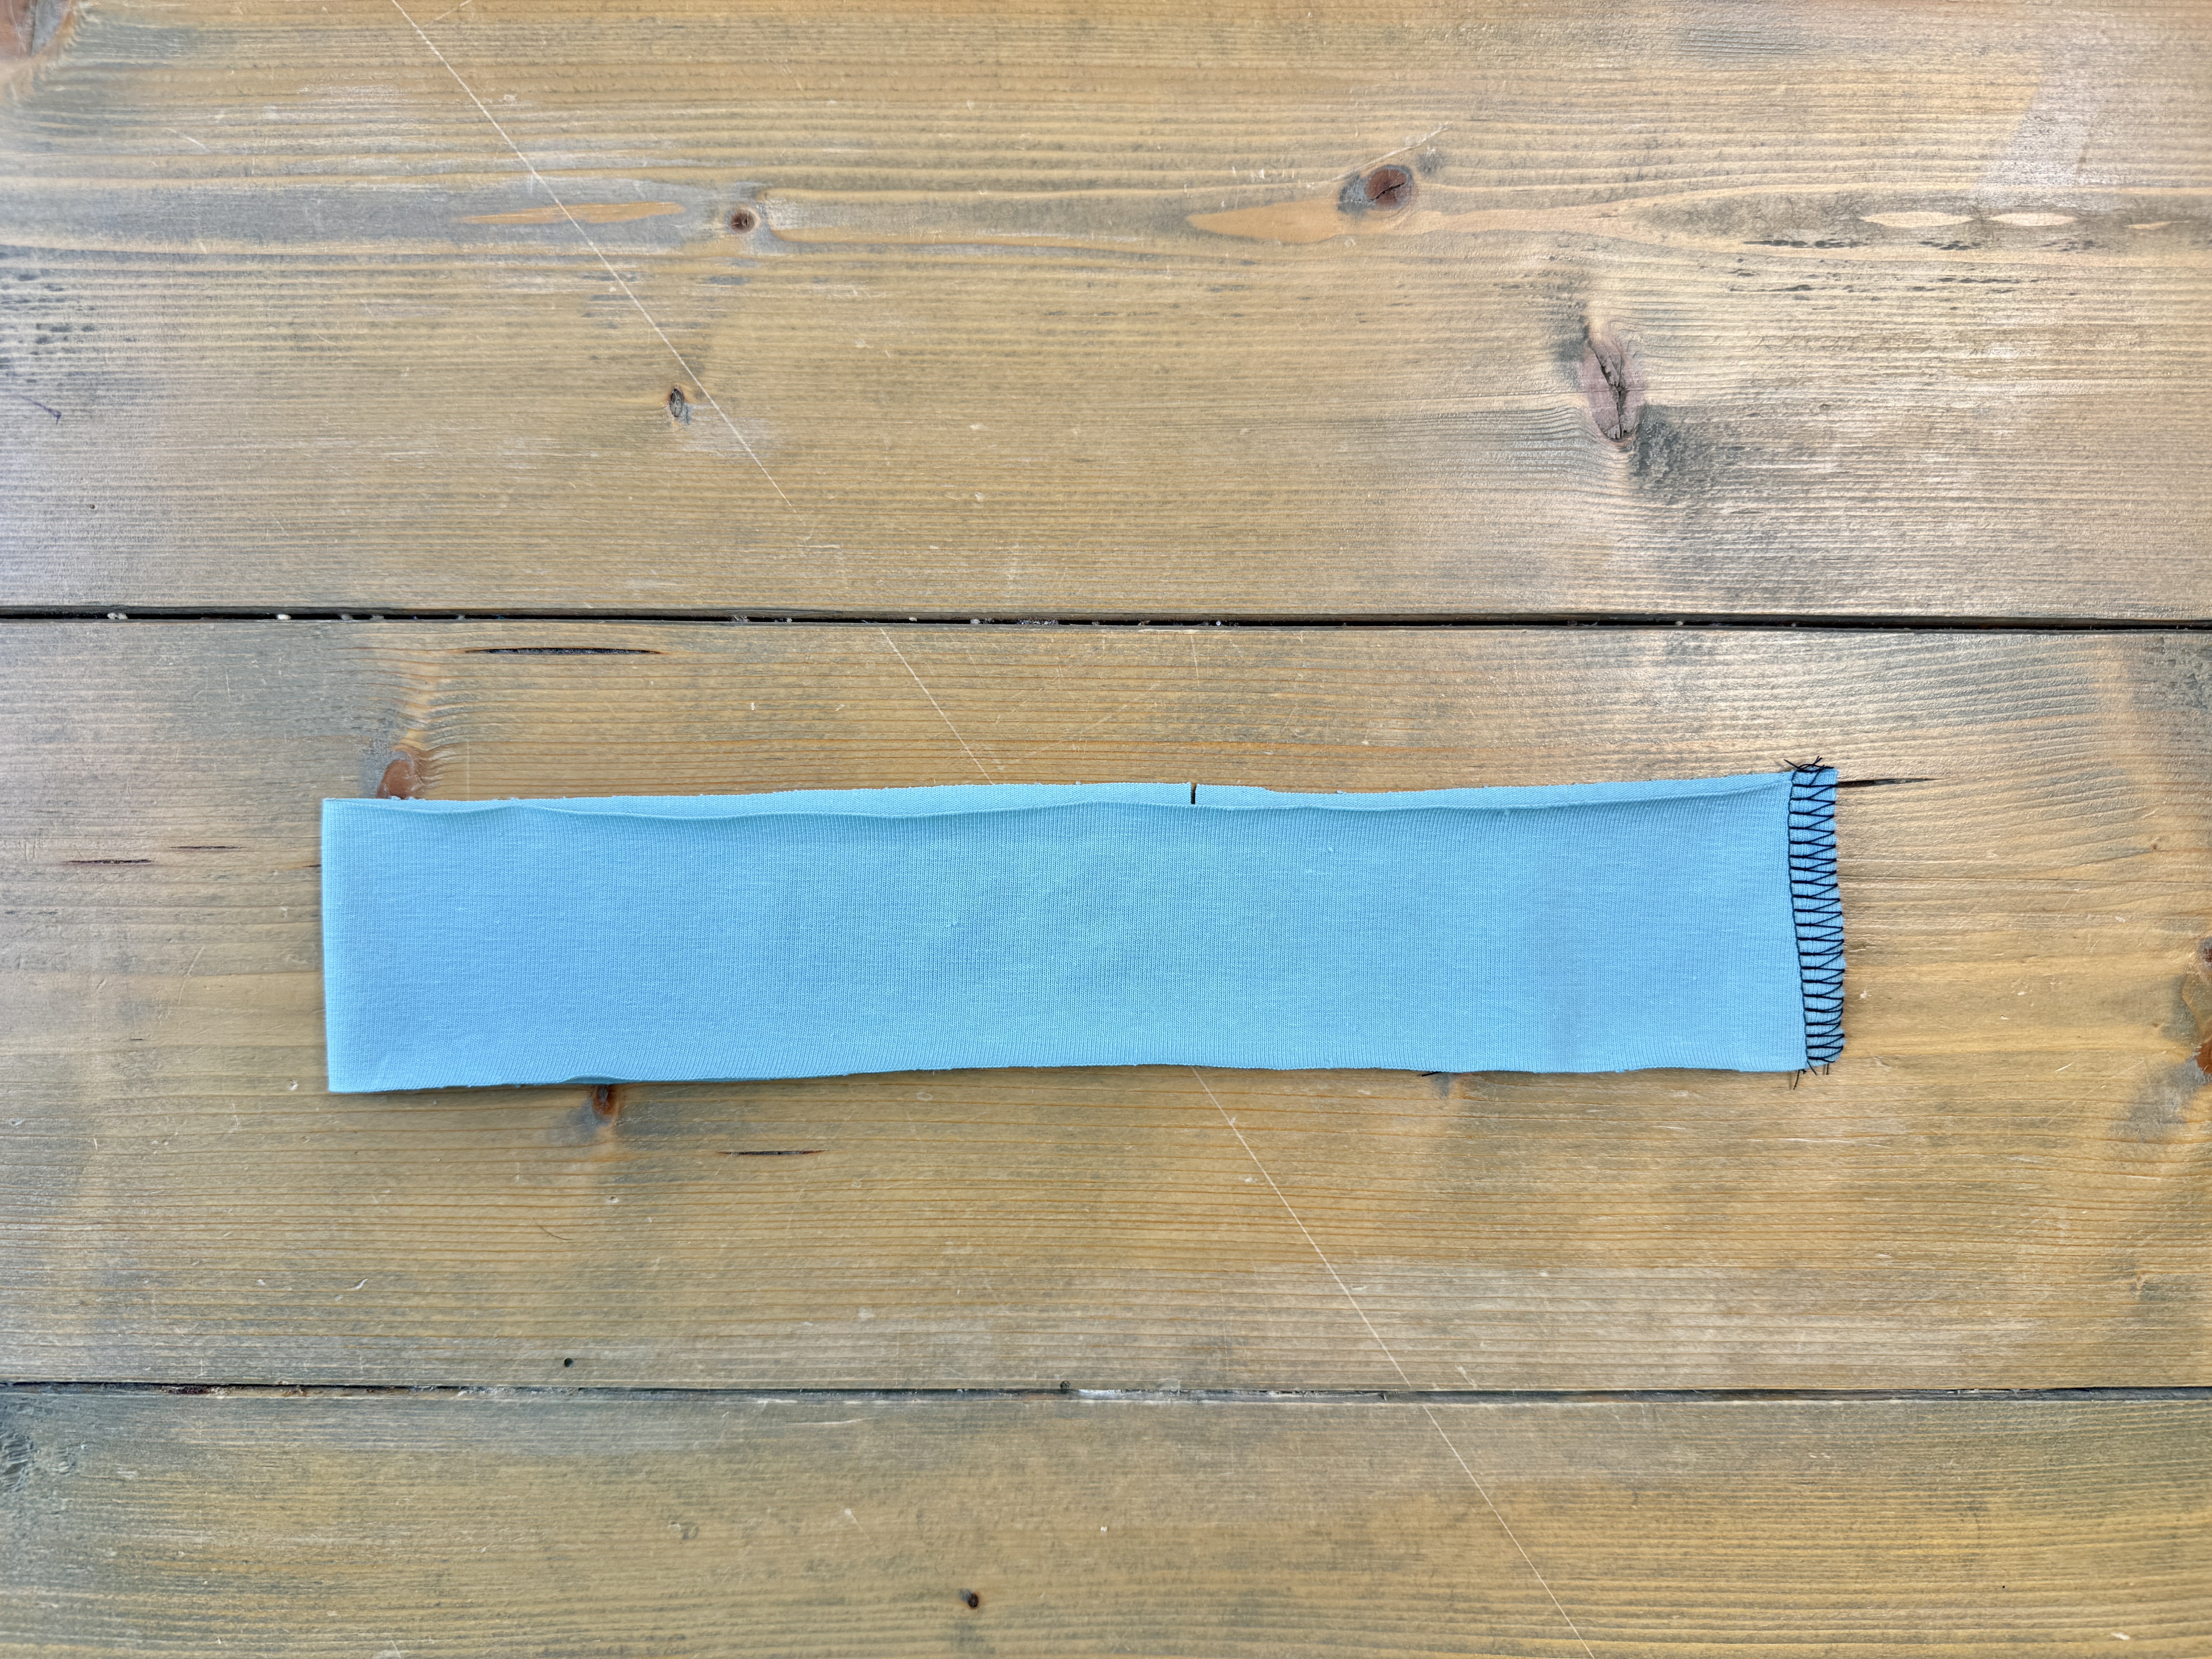
Fold the neckband lengthwise with wrong sides together. Press.
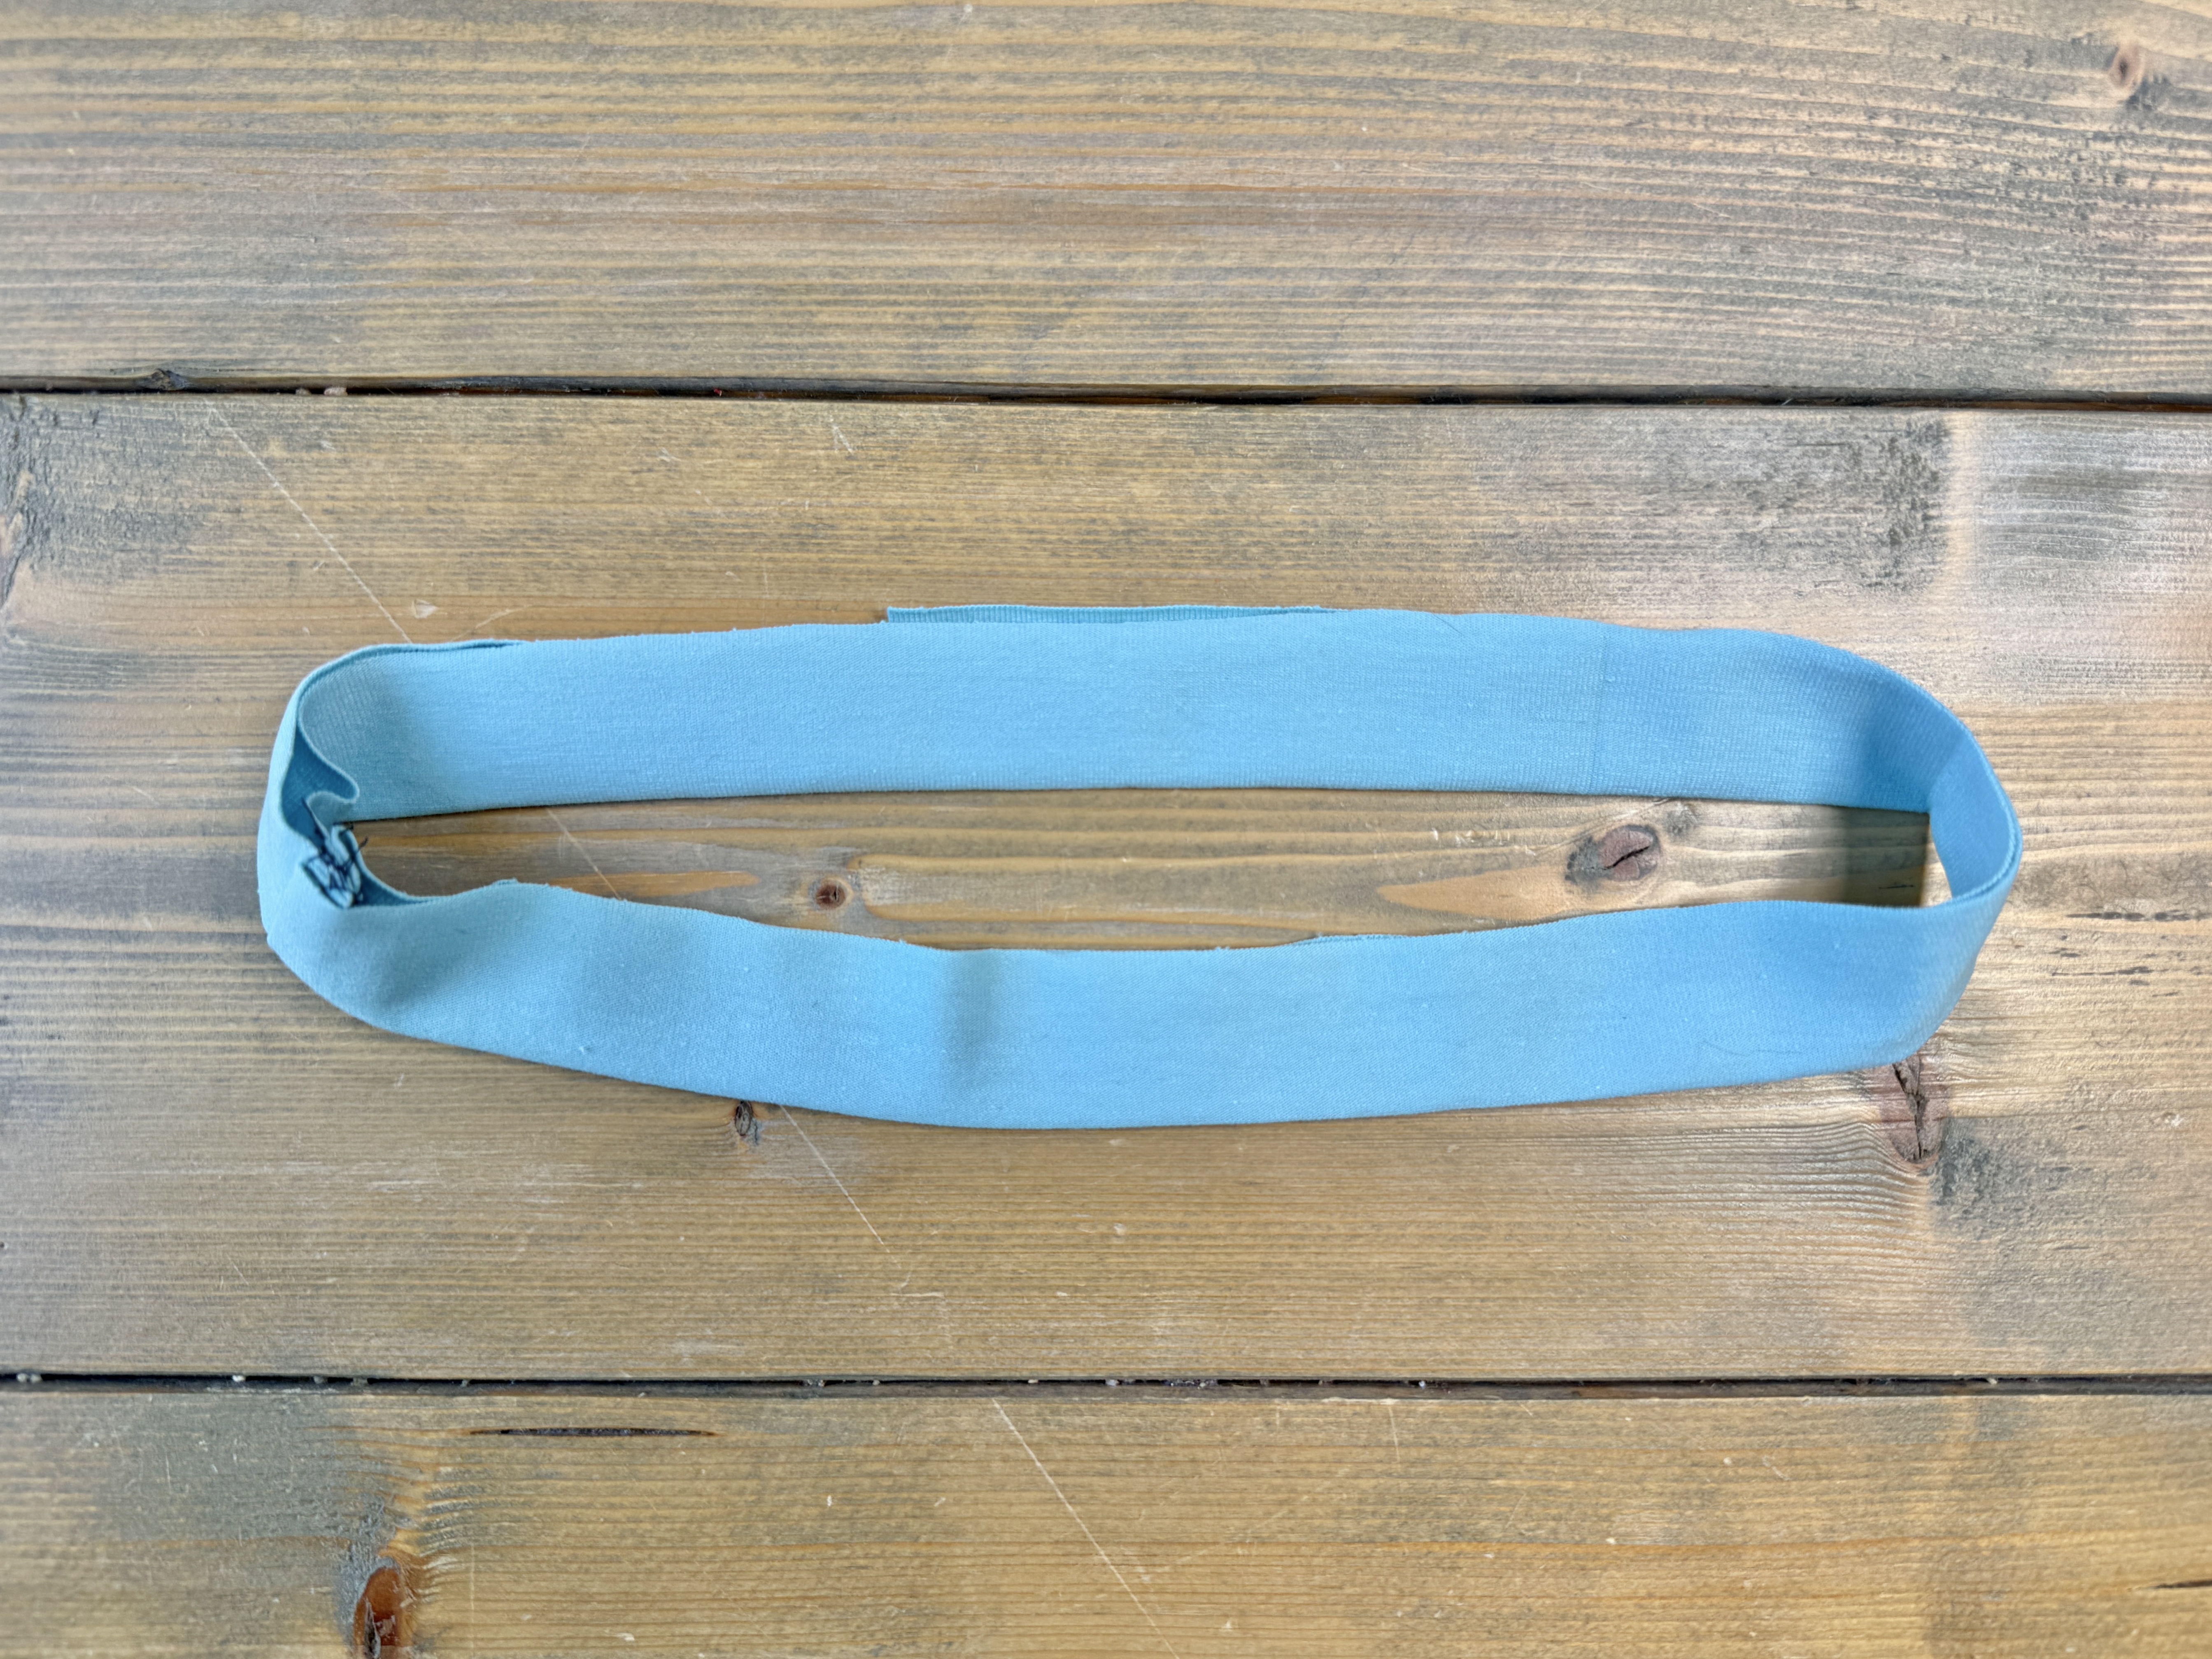
Quarter off the neckband and the neckline on the bodice. Match the quarter points of the neckband to the quarter points of the bodice, right sides together. Pin together.
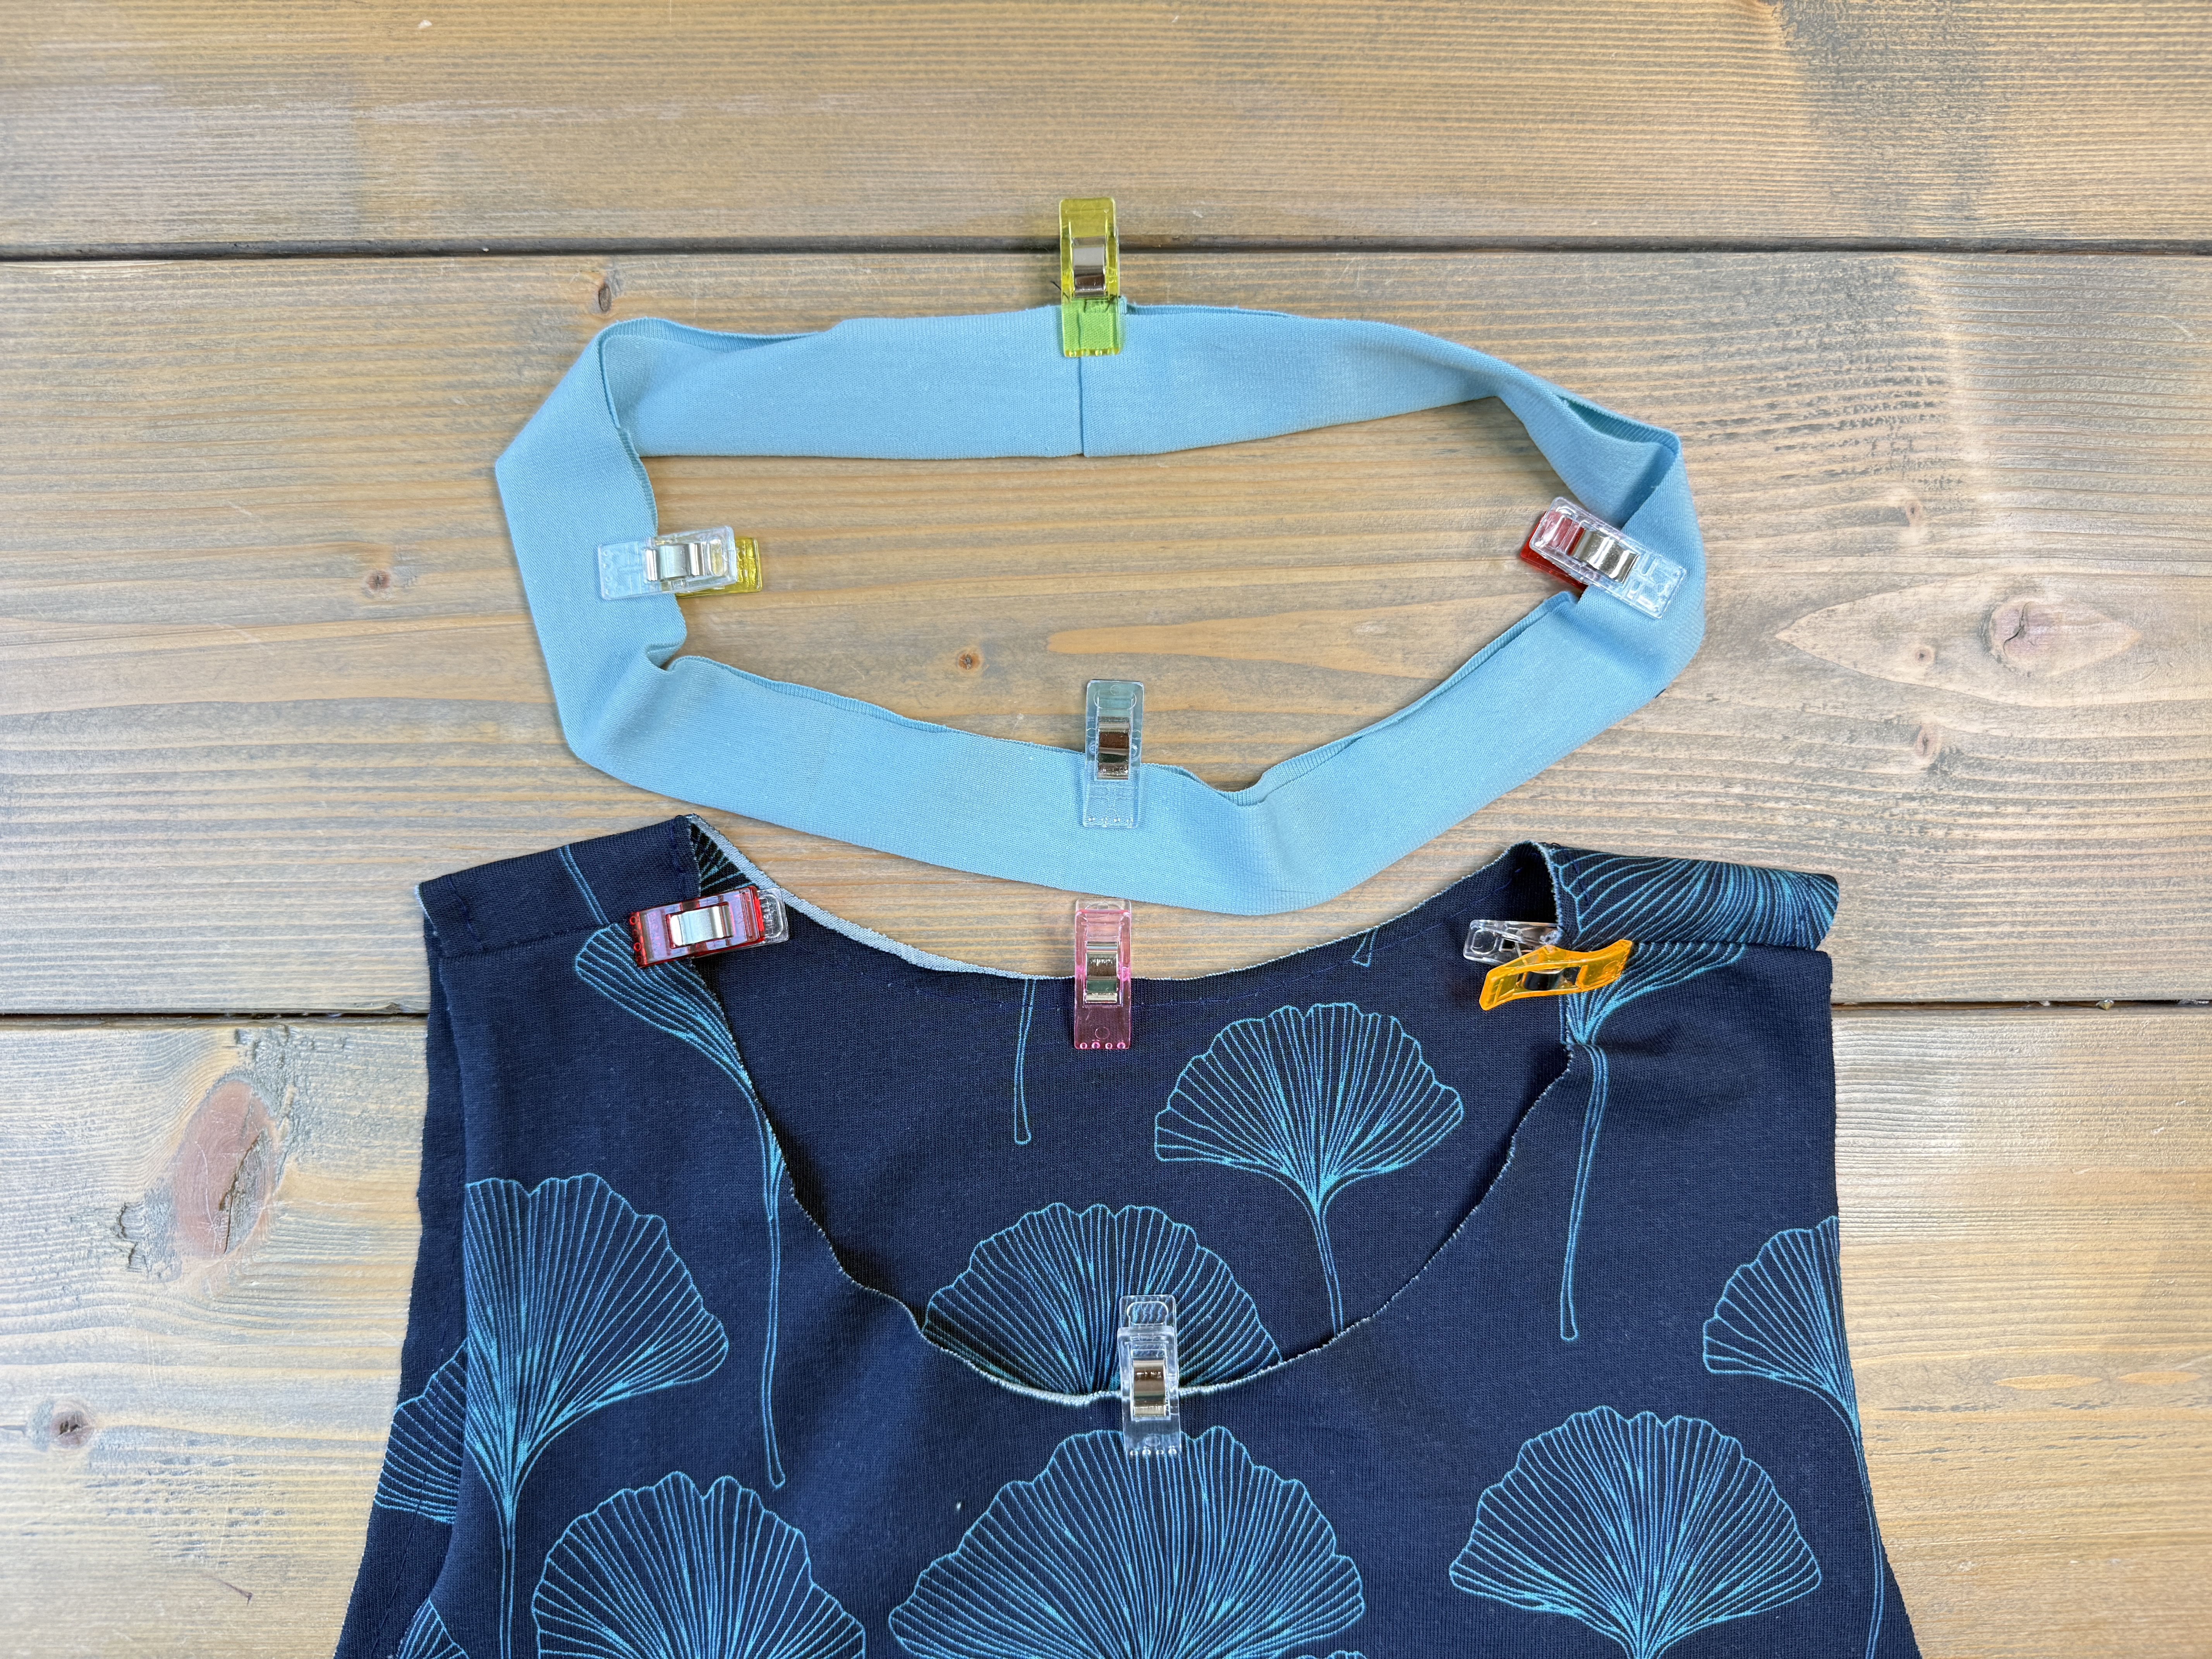
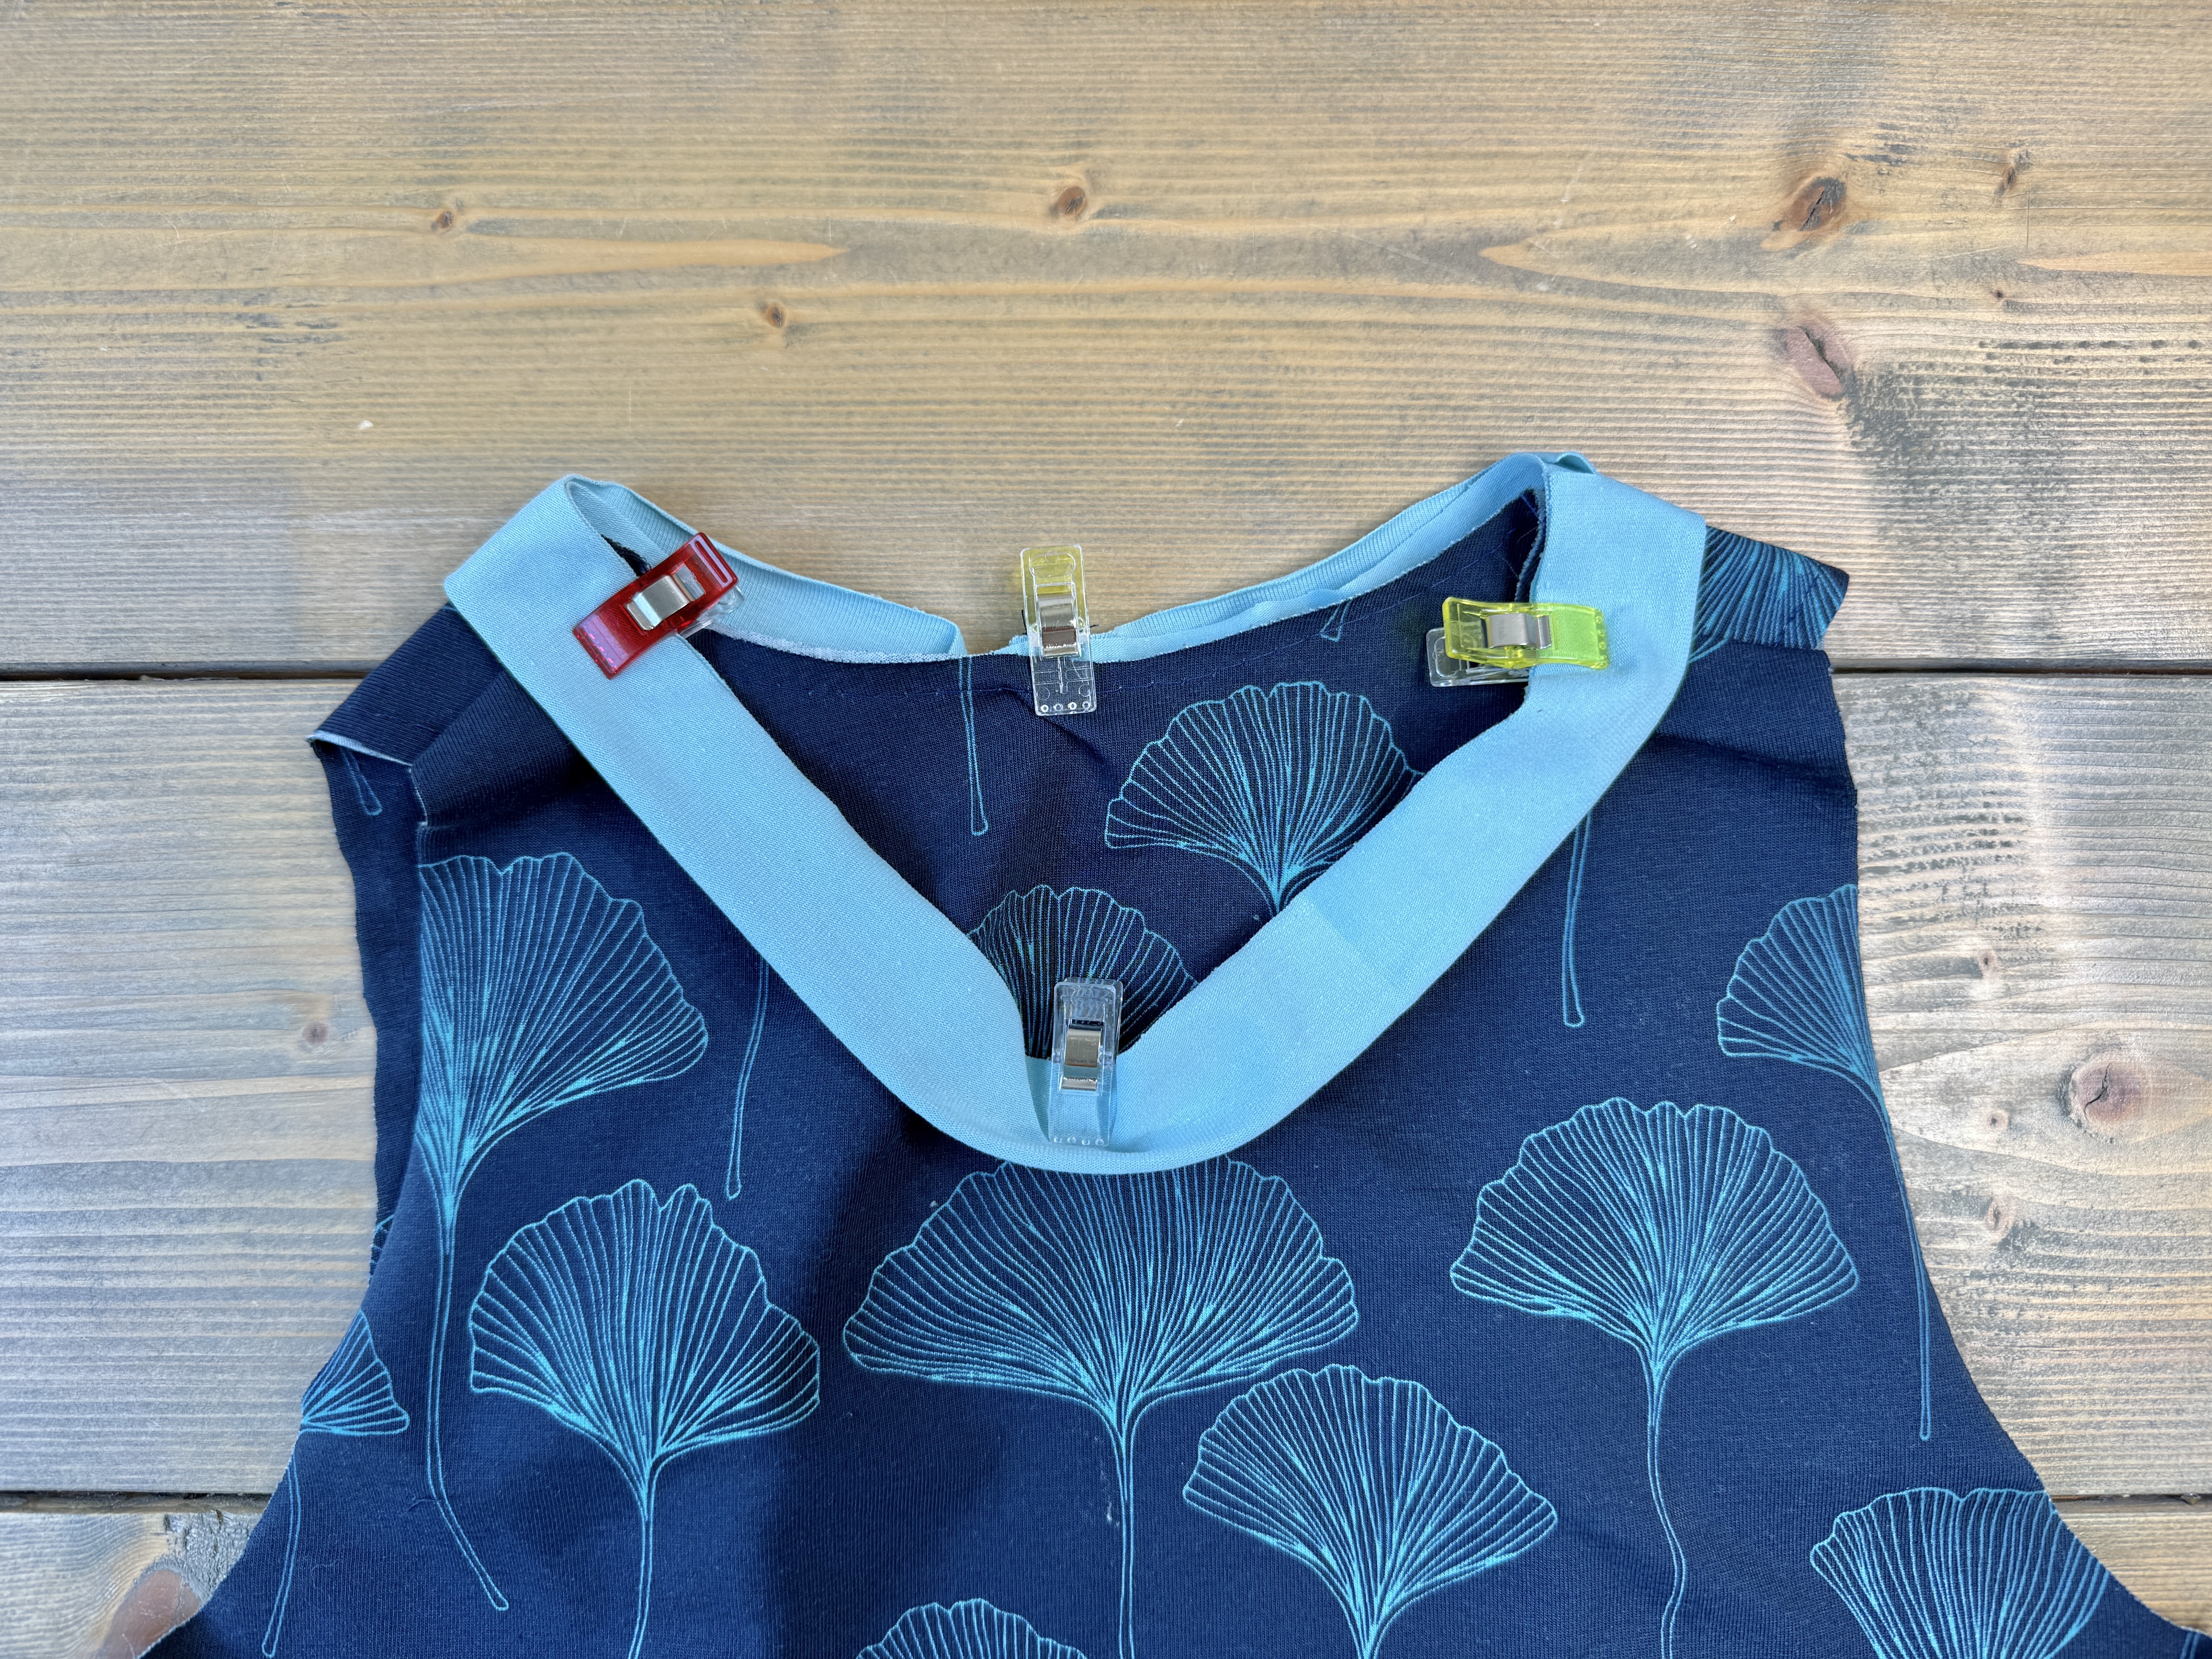
While slightly stretching the neckband to fit the neckline opening, stitch the two together.
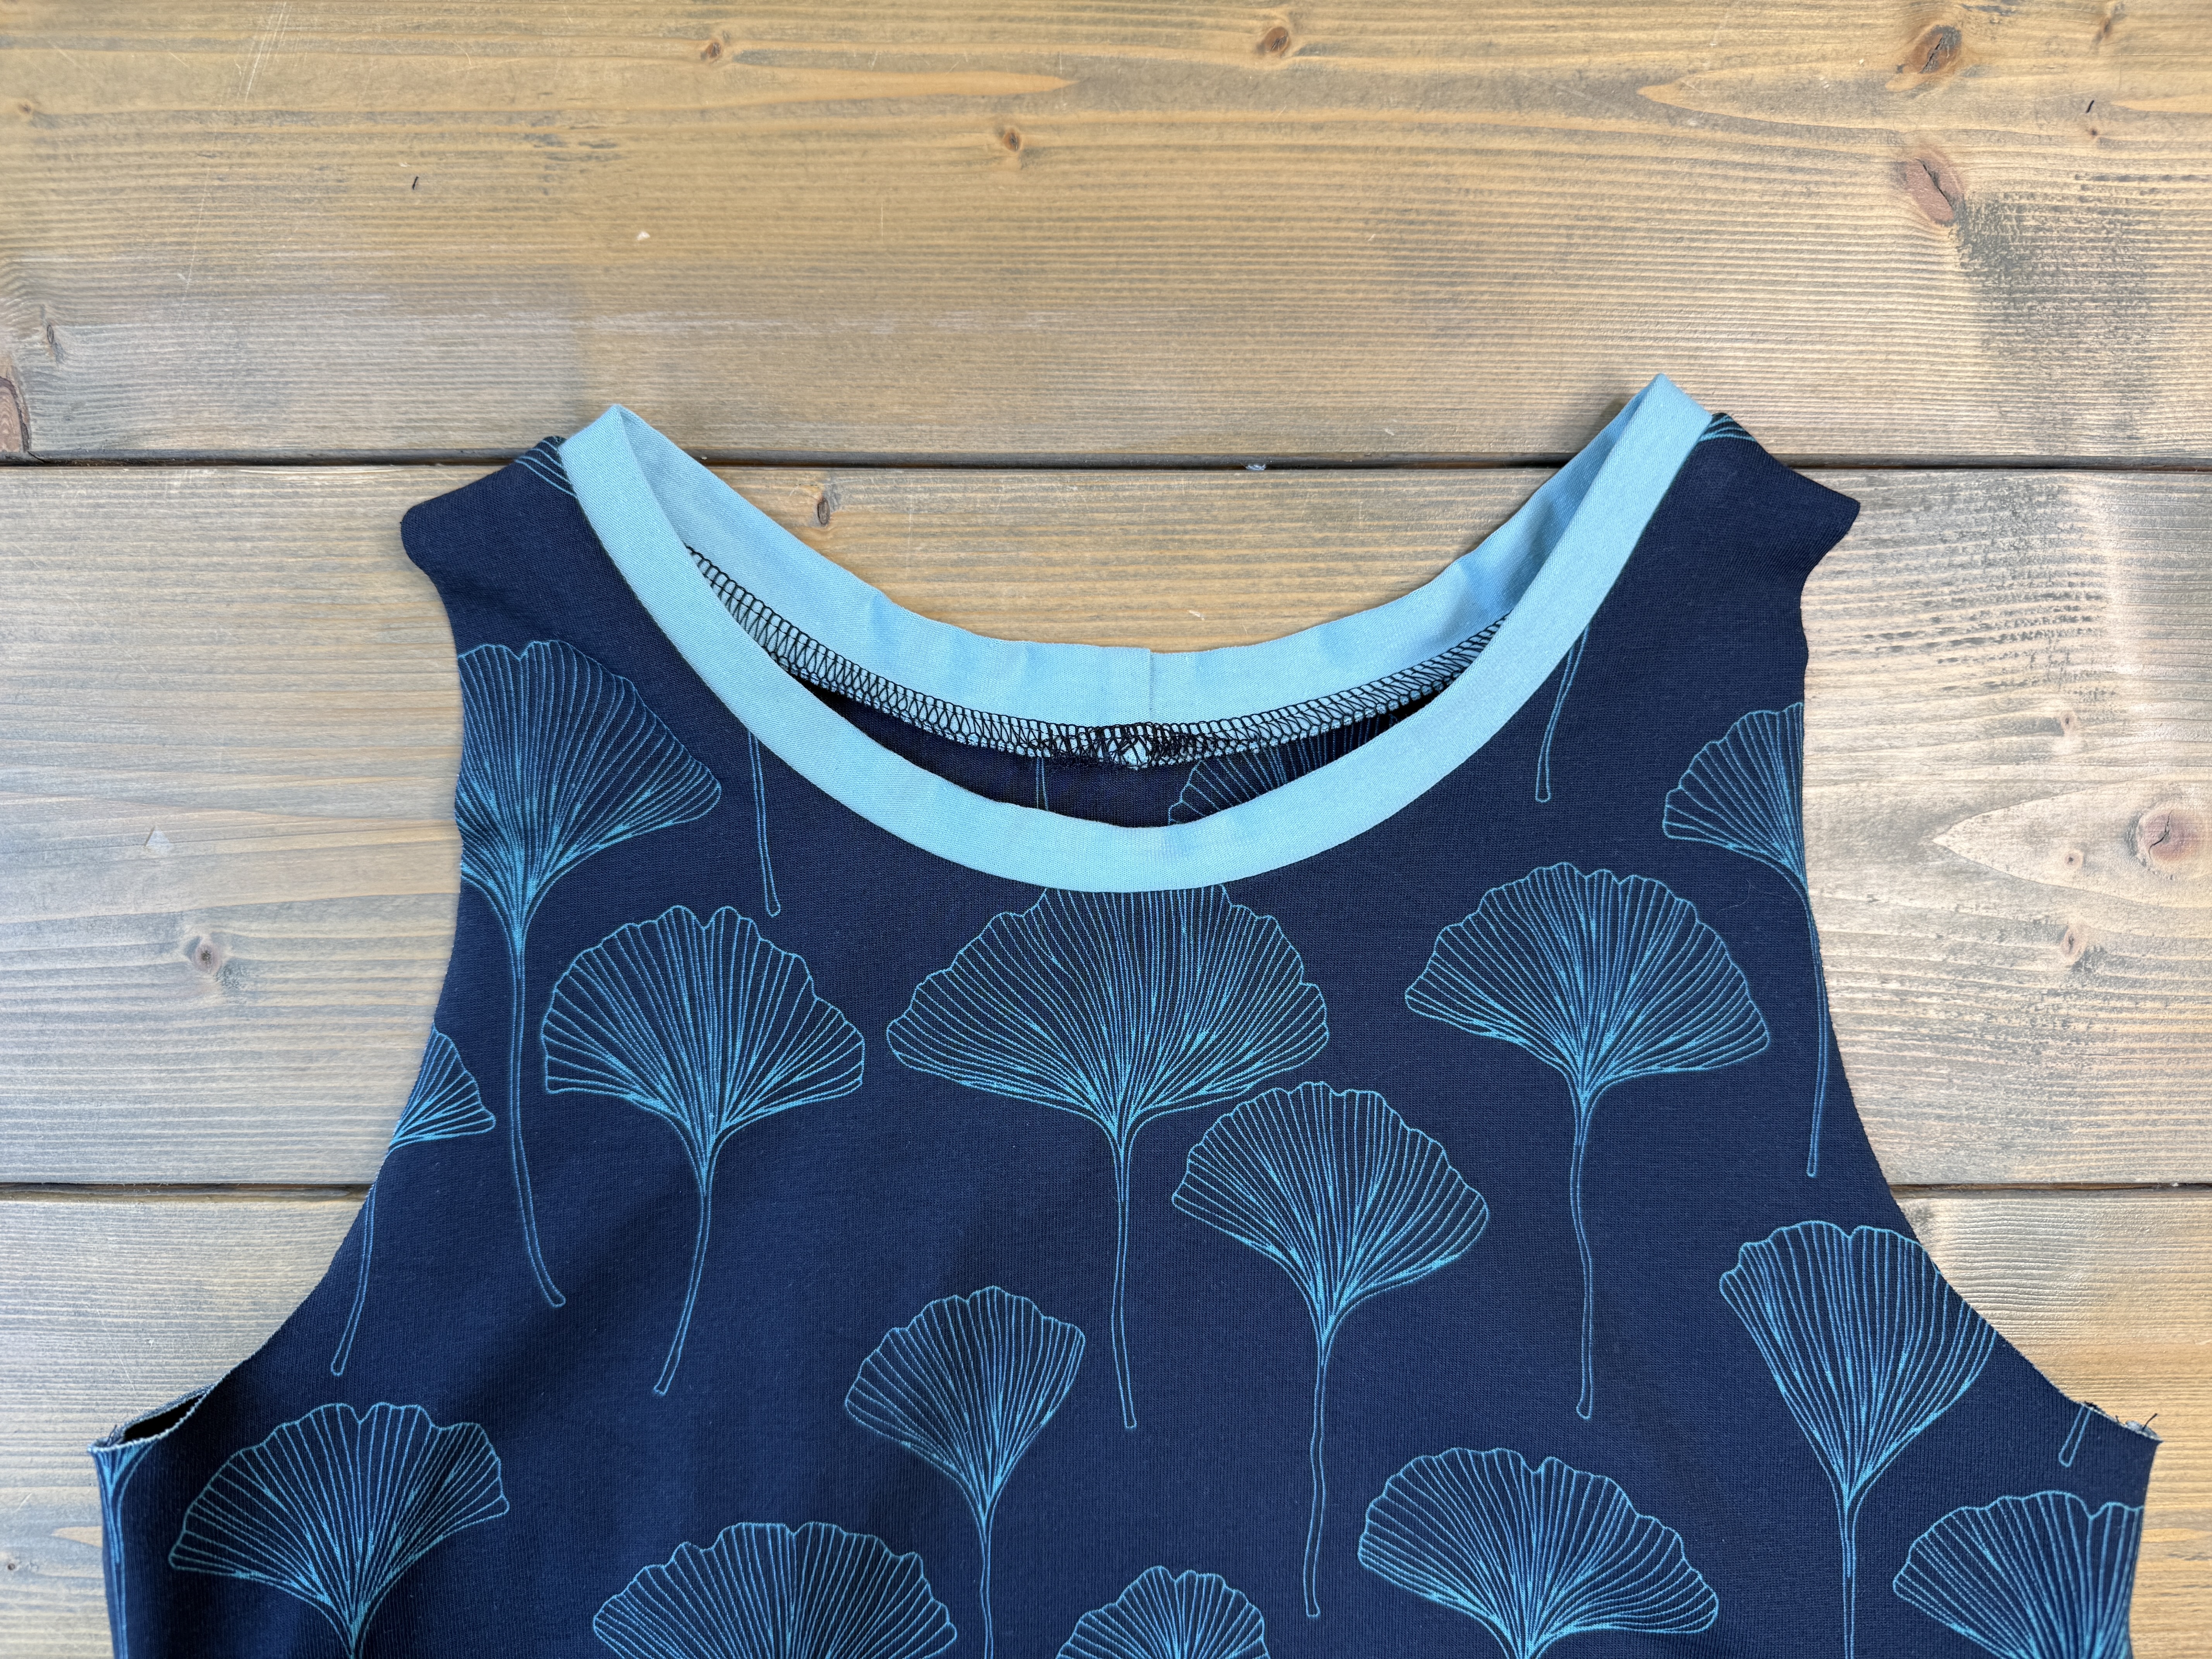
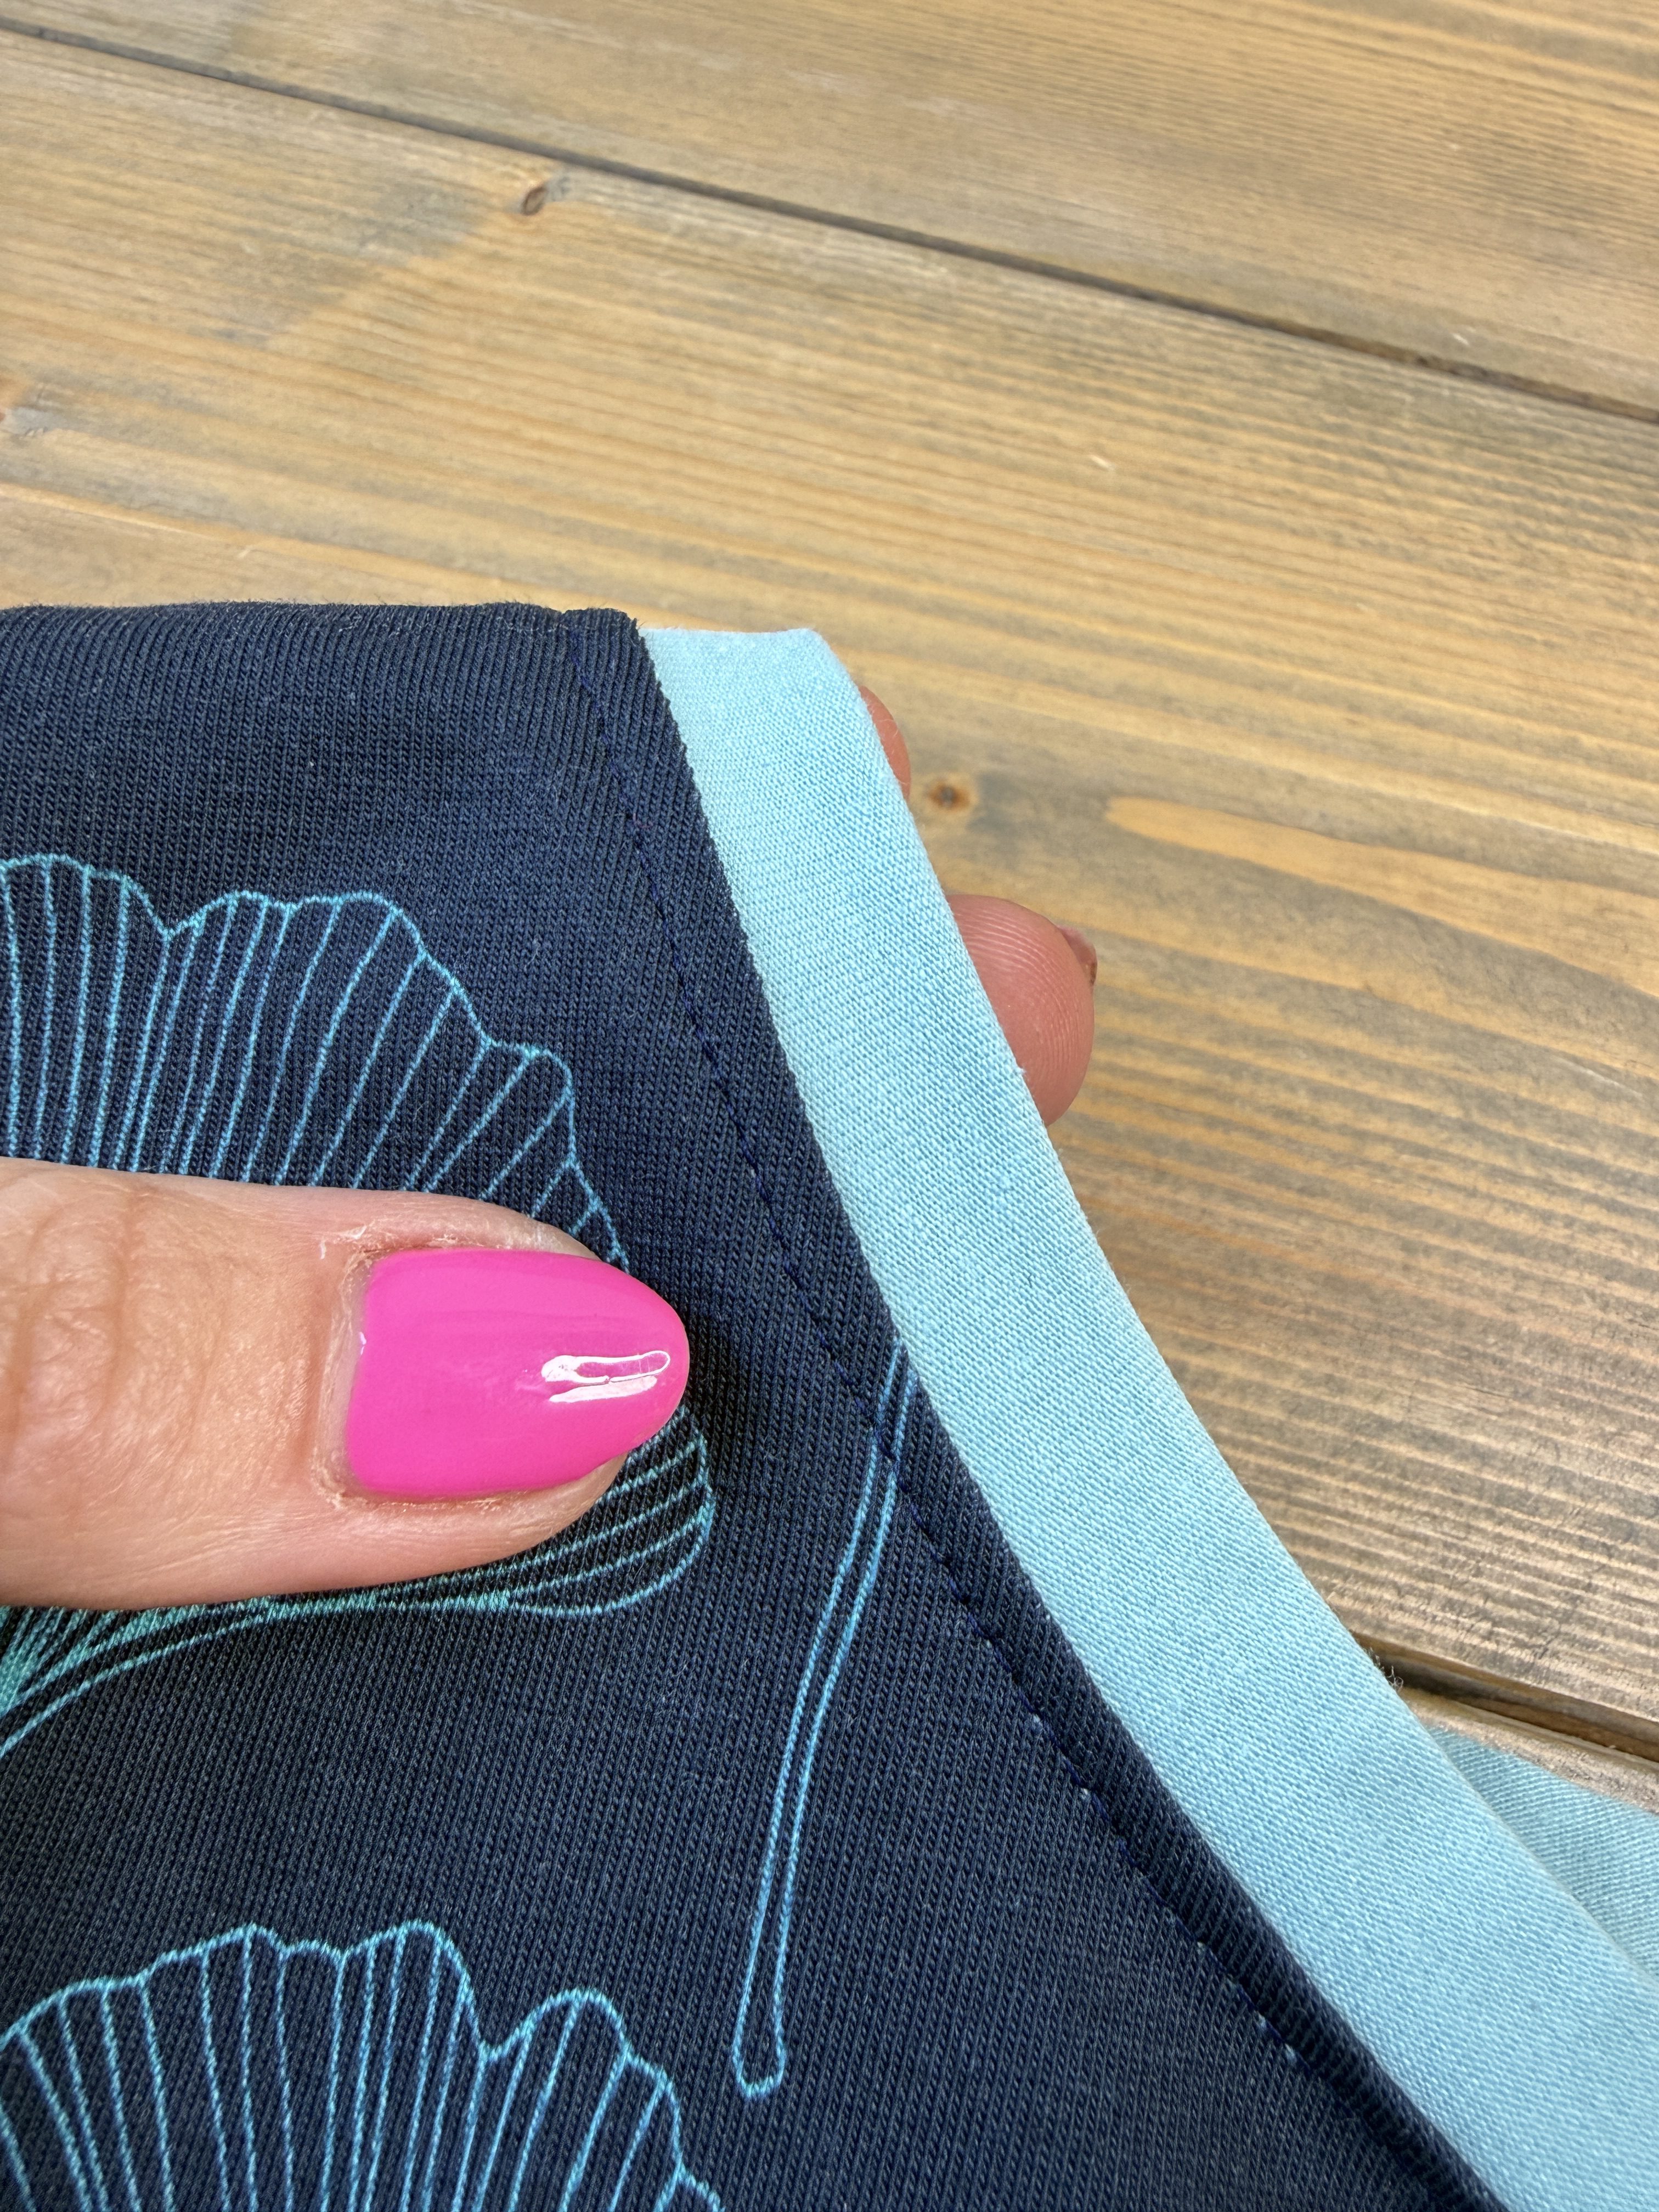
Press the neckband seam allowance towards the bodice and press flat. If desired, topstitching can be done around the neckline.
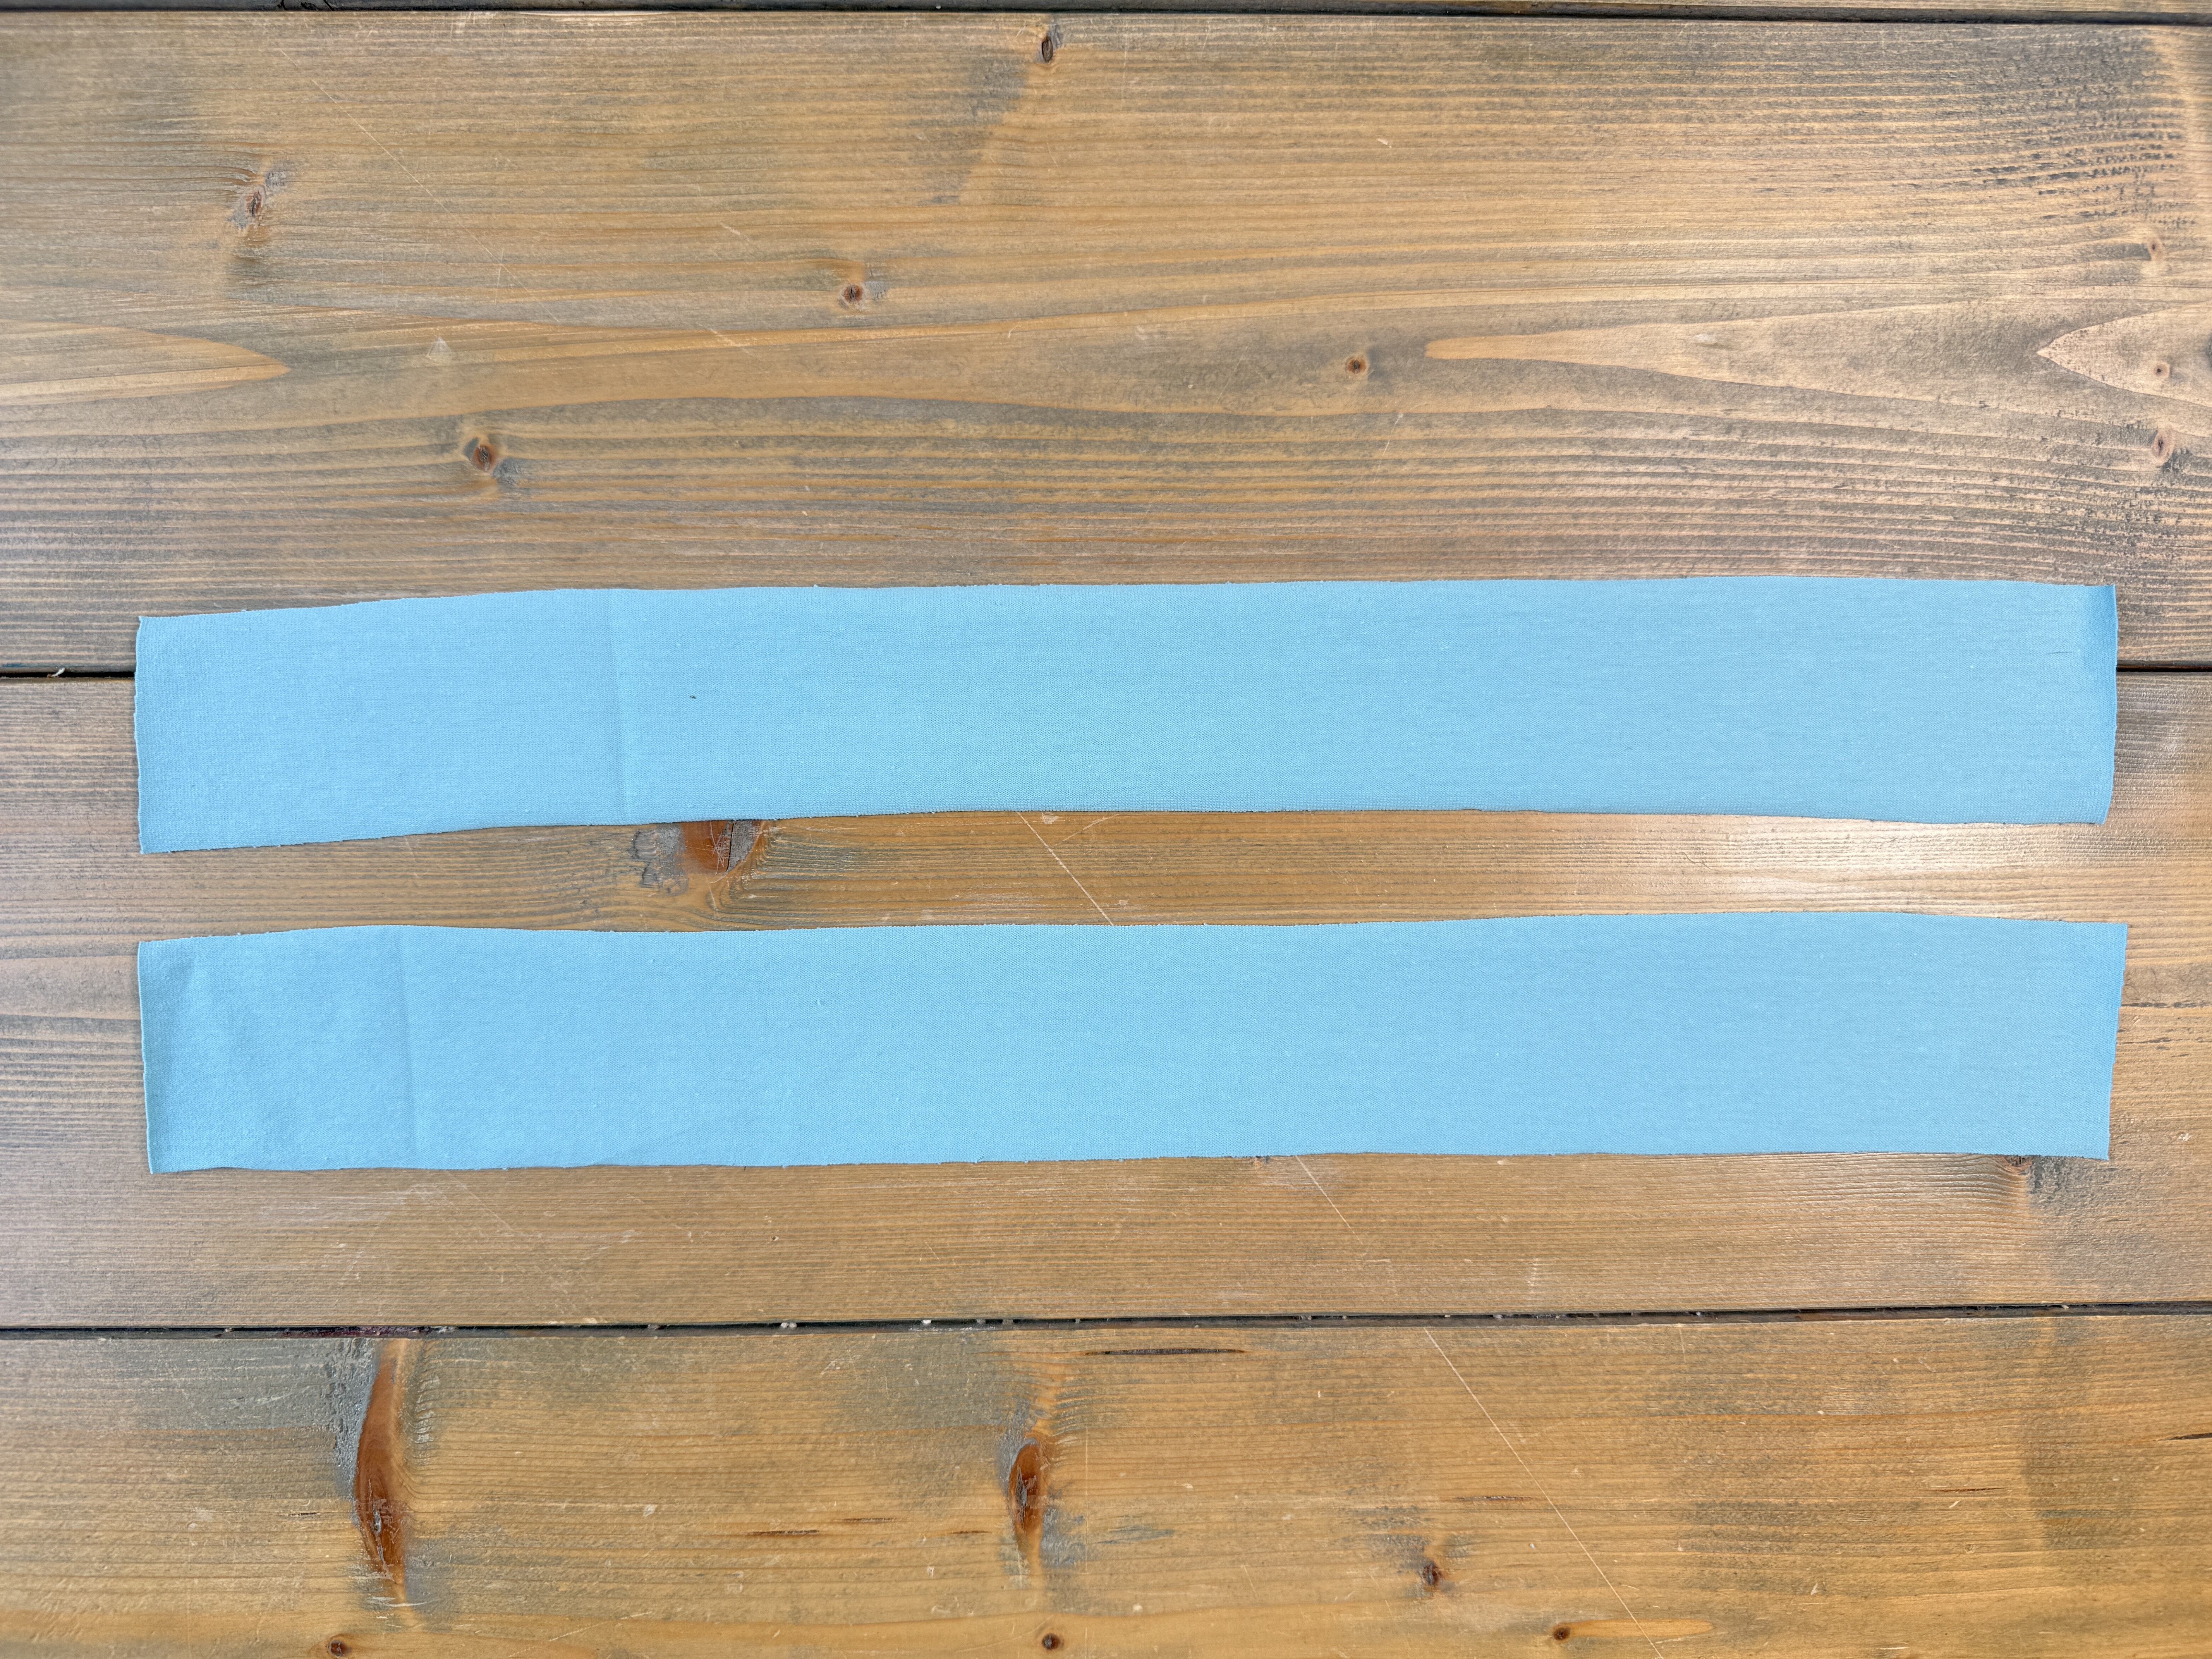
In the same manner, fold the armbands right sides together widthwise, aligning the short raw edges. Stitch along the short raw edges.
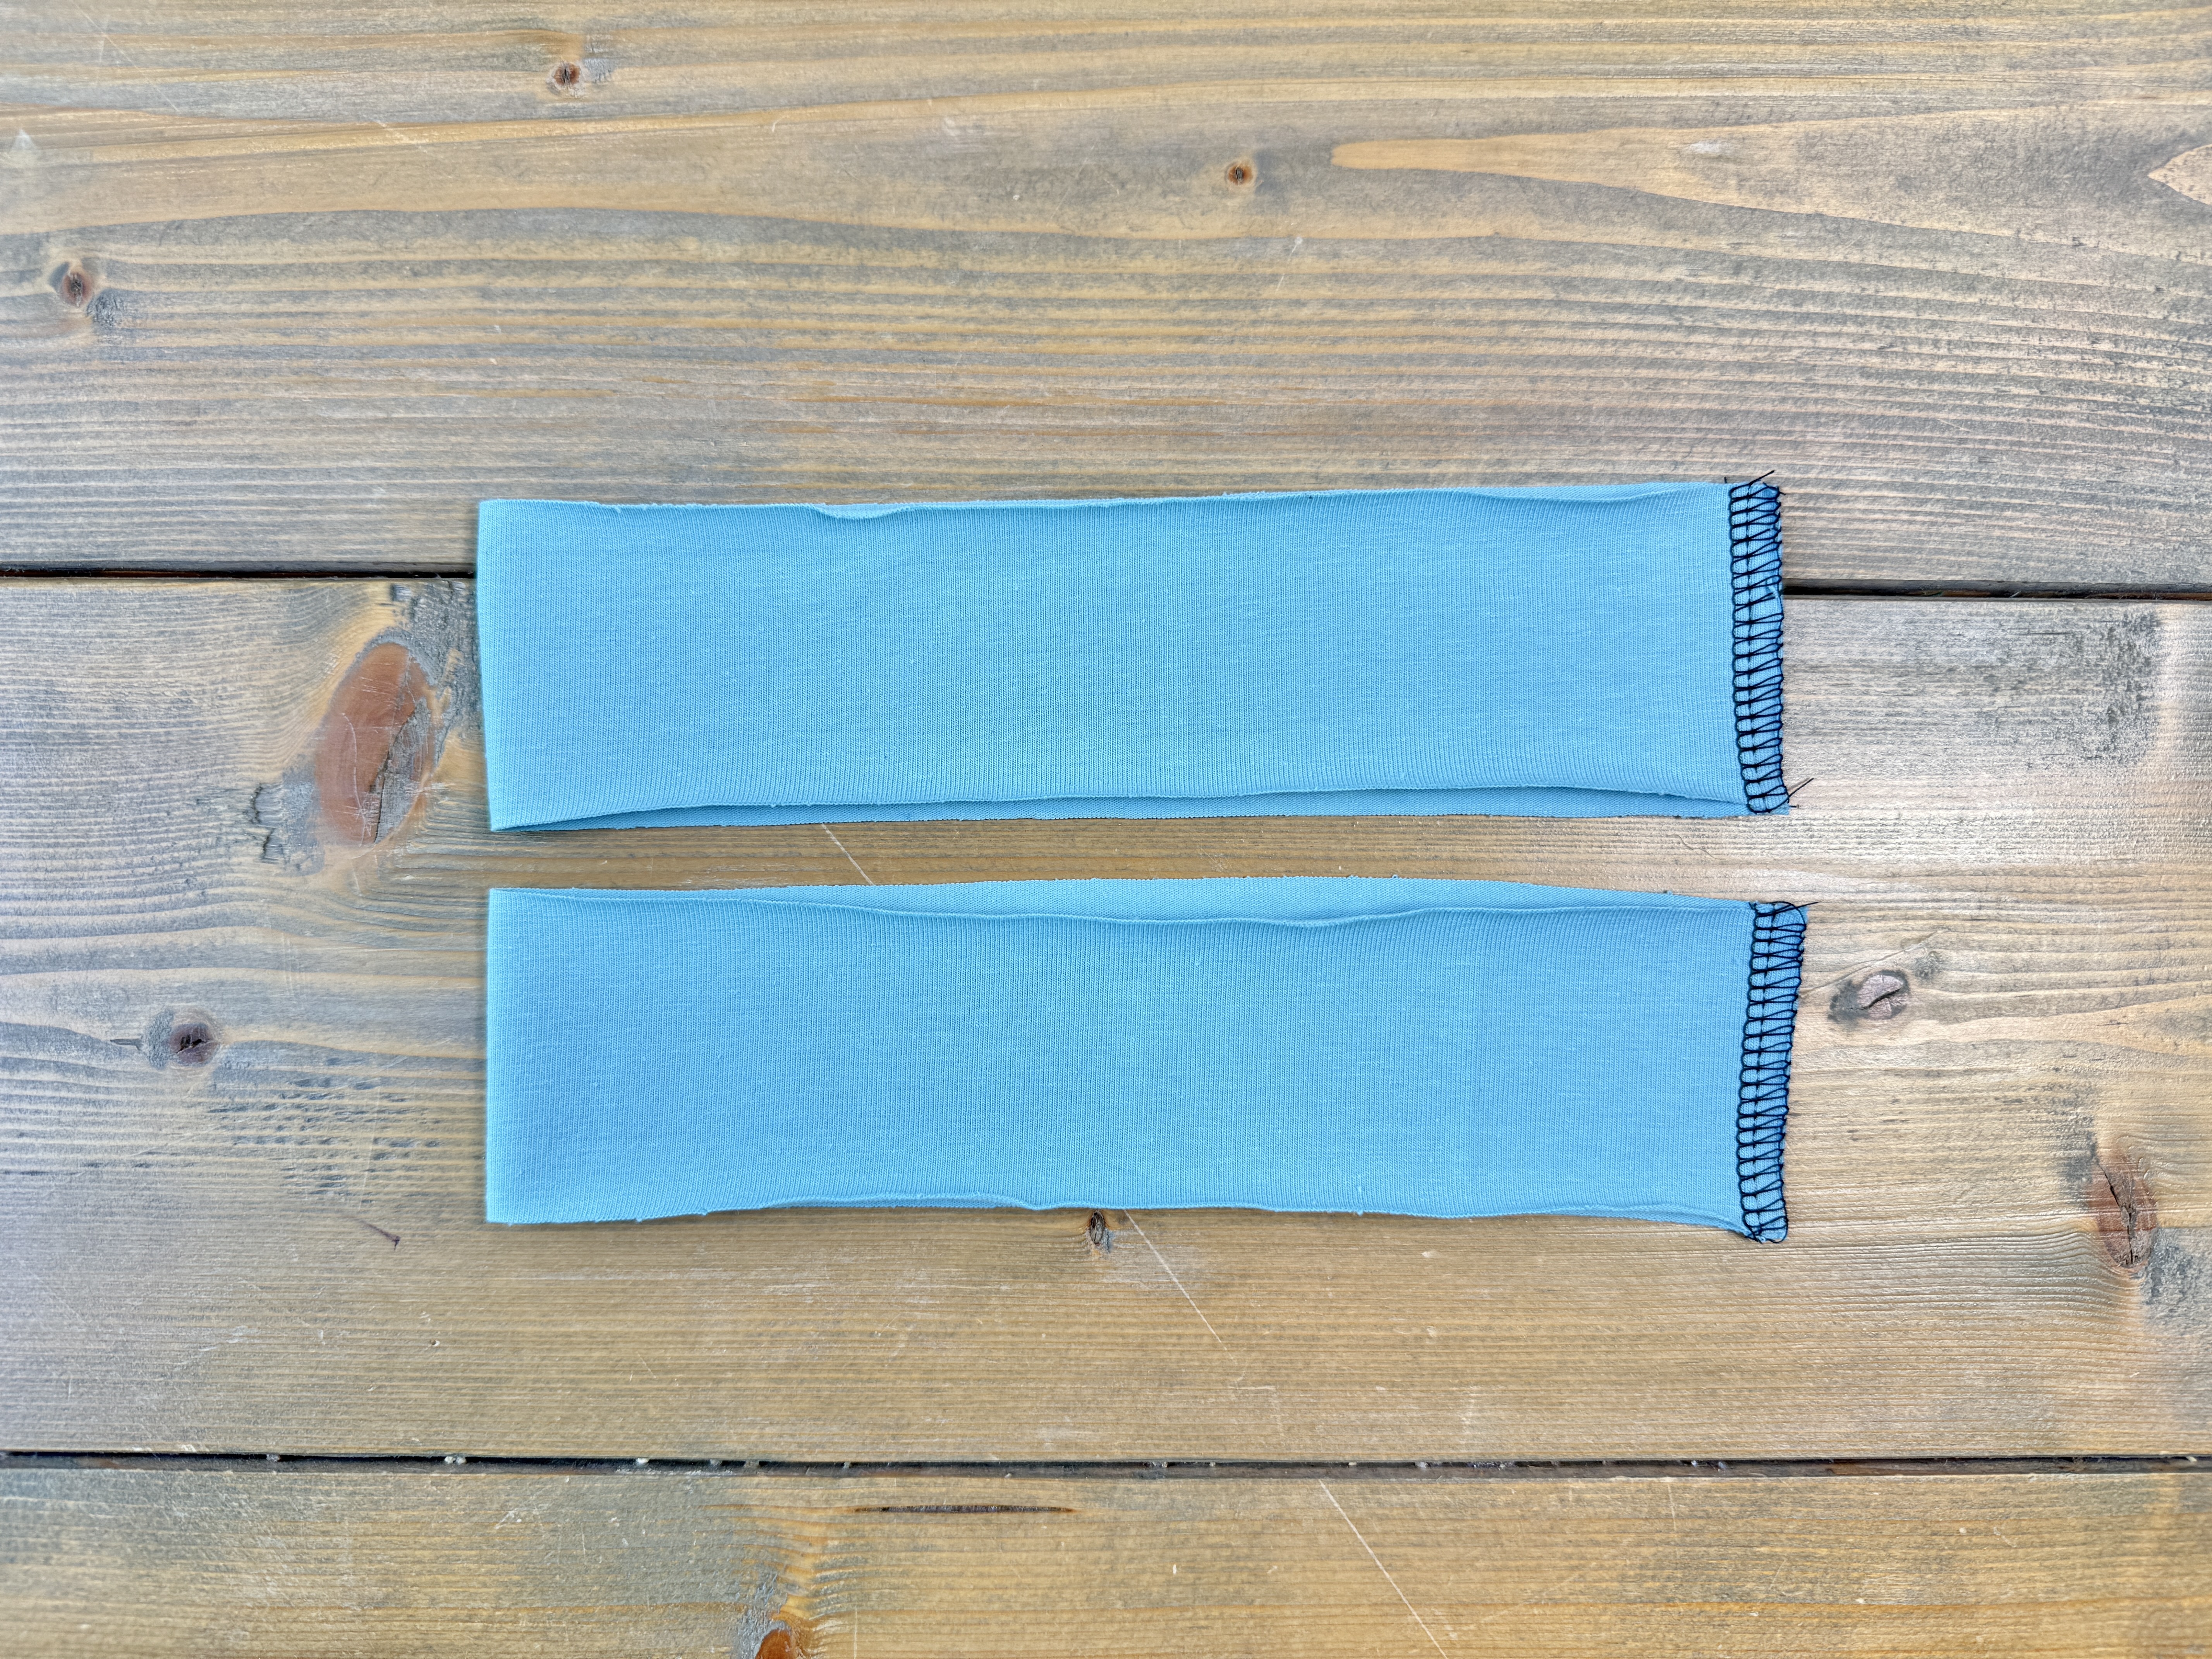
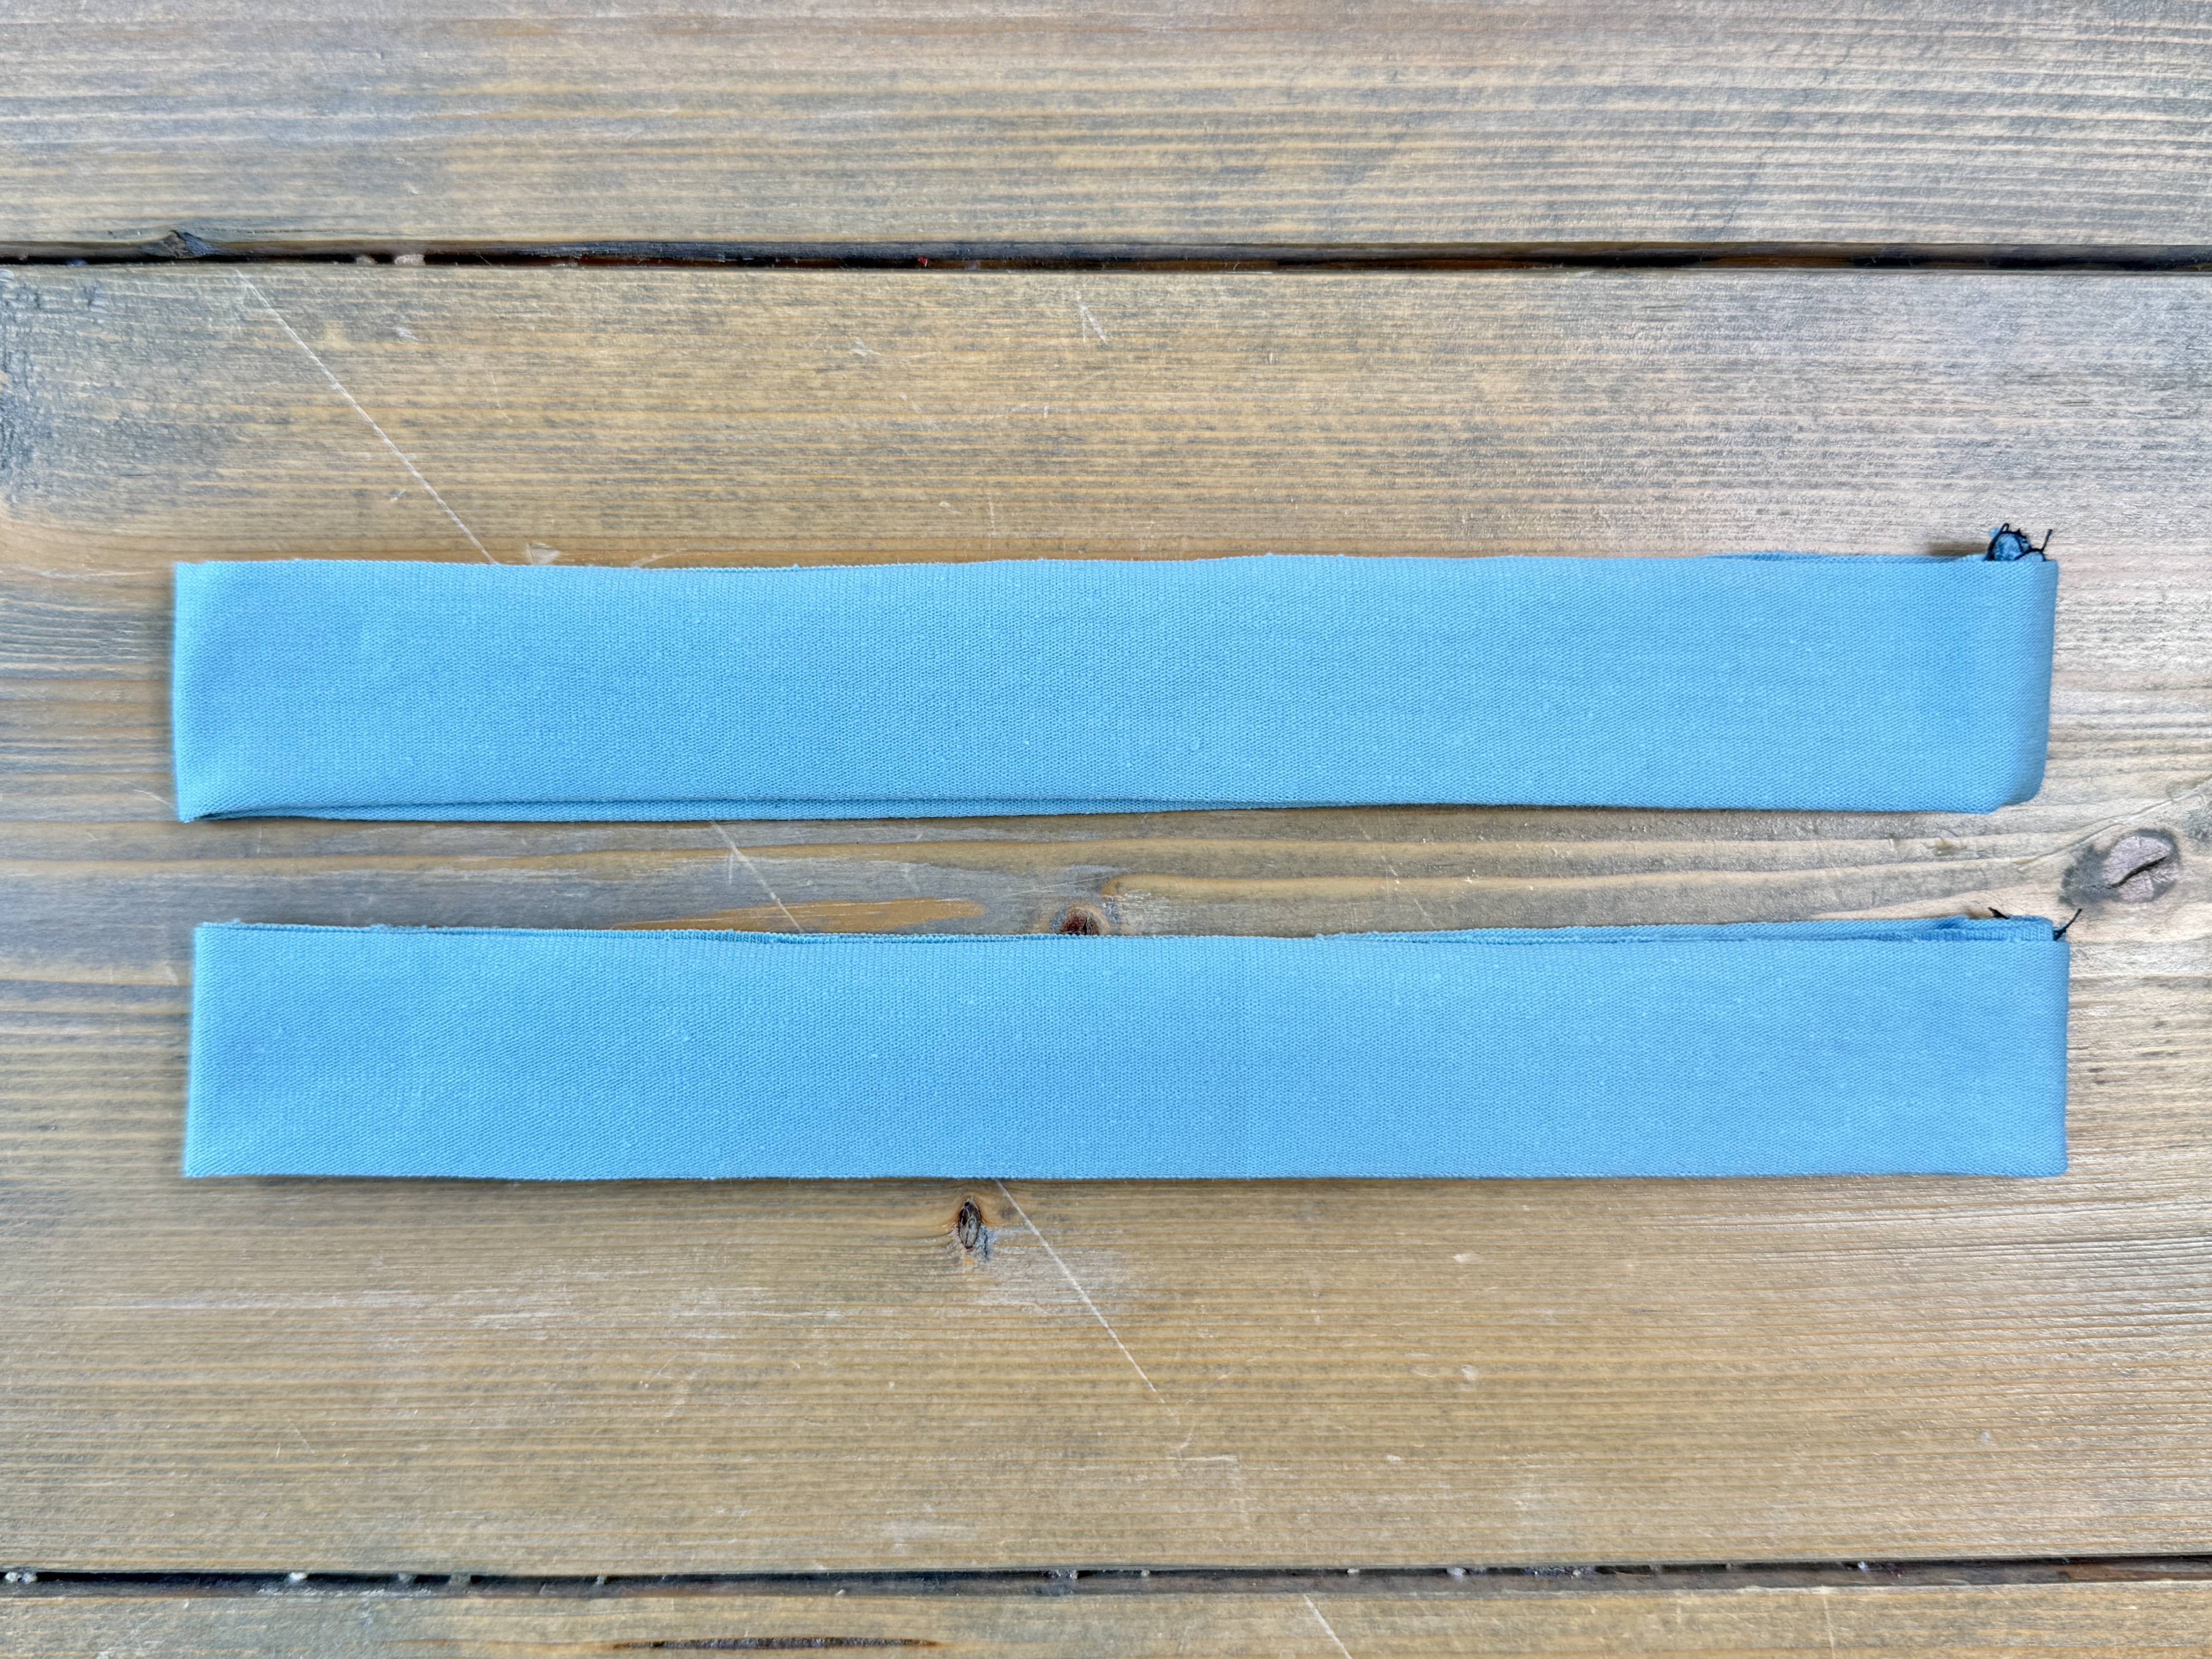
Fold the armbands in half lengthwise, wrong sides together. Press flat.
As we did with the neckband, quarter off both the armbands as well as the armscye openings. Match the quarter points and pin together.
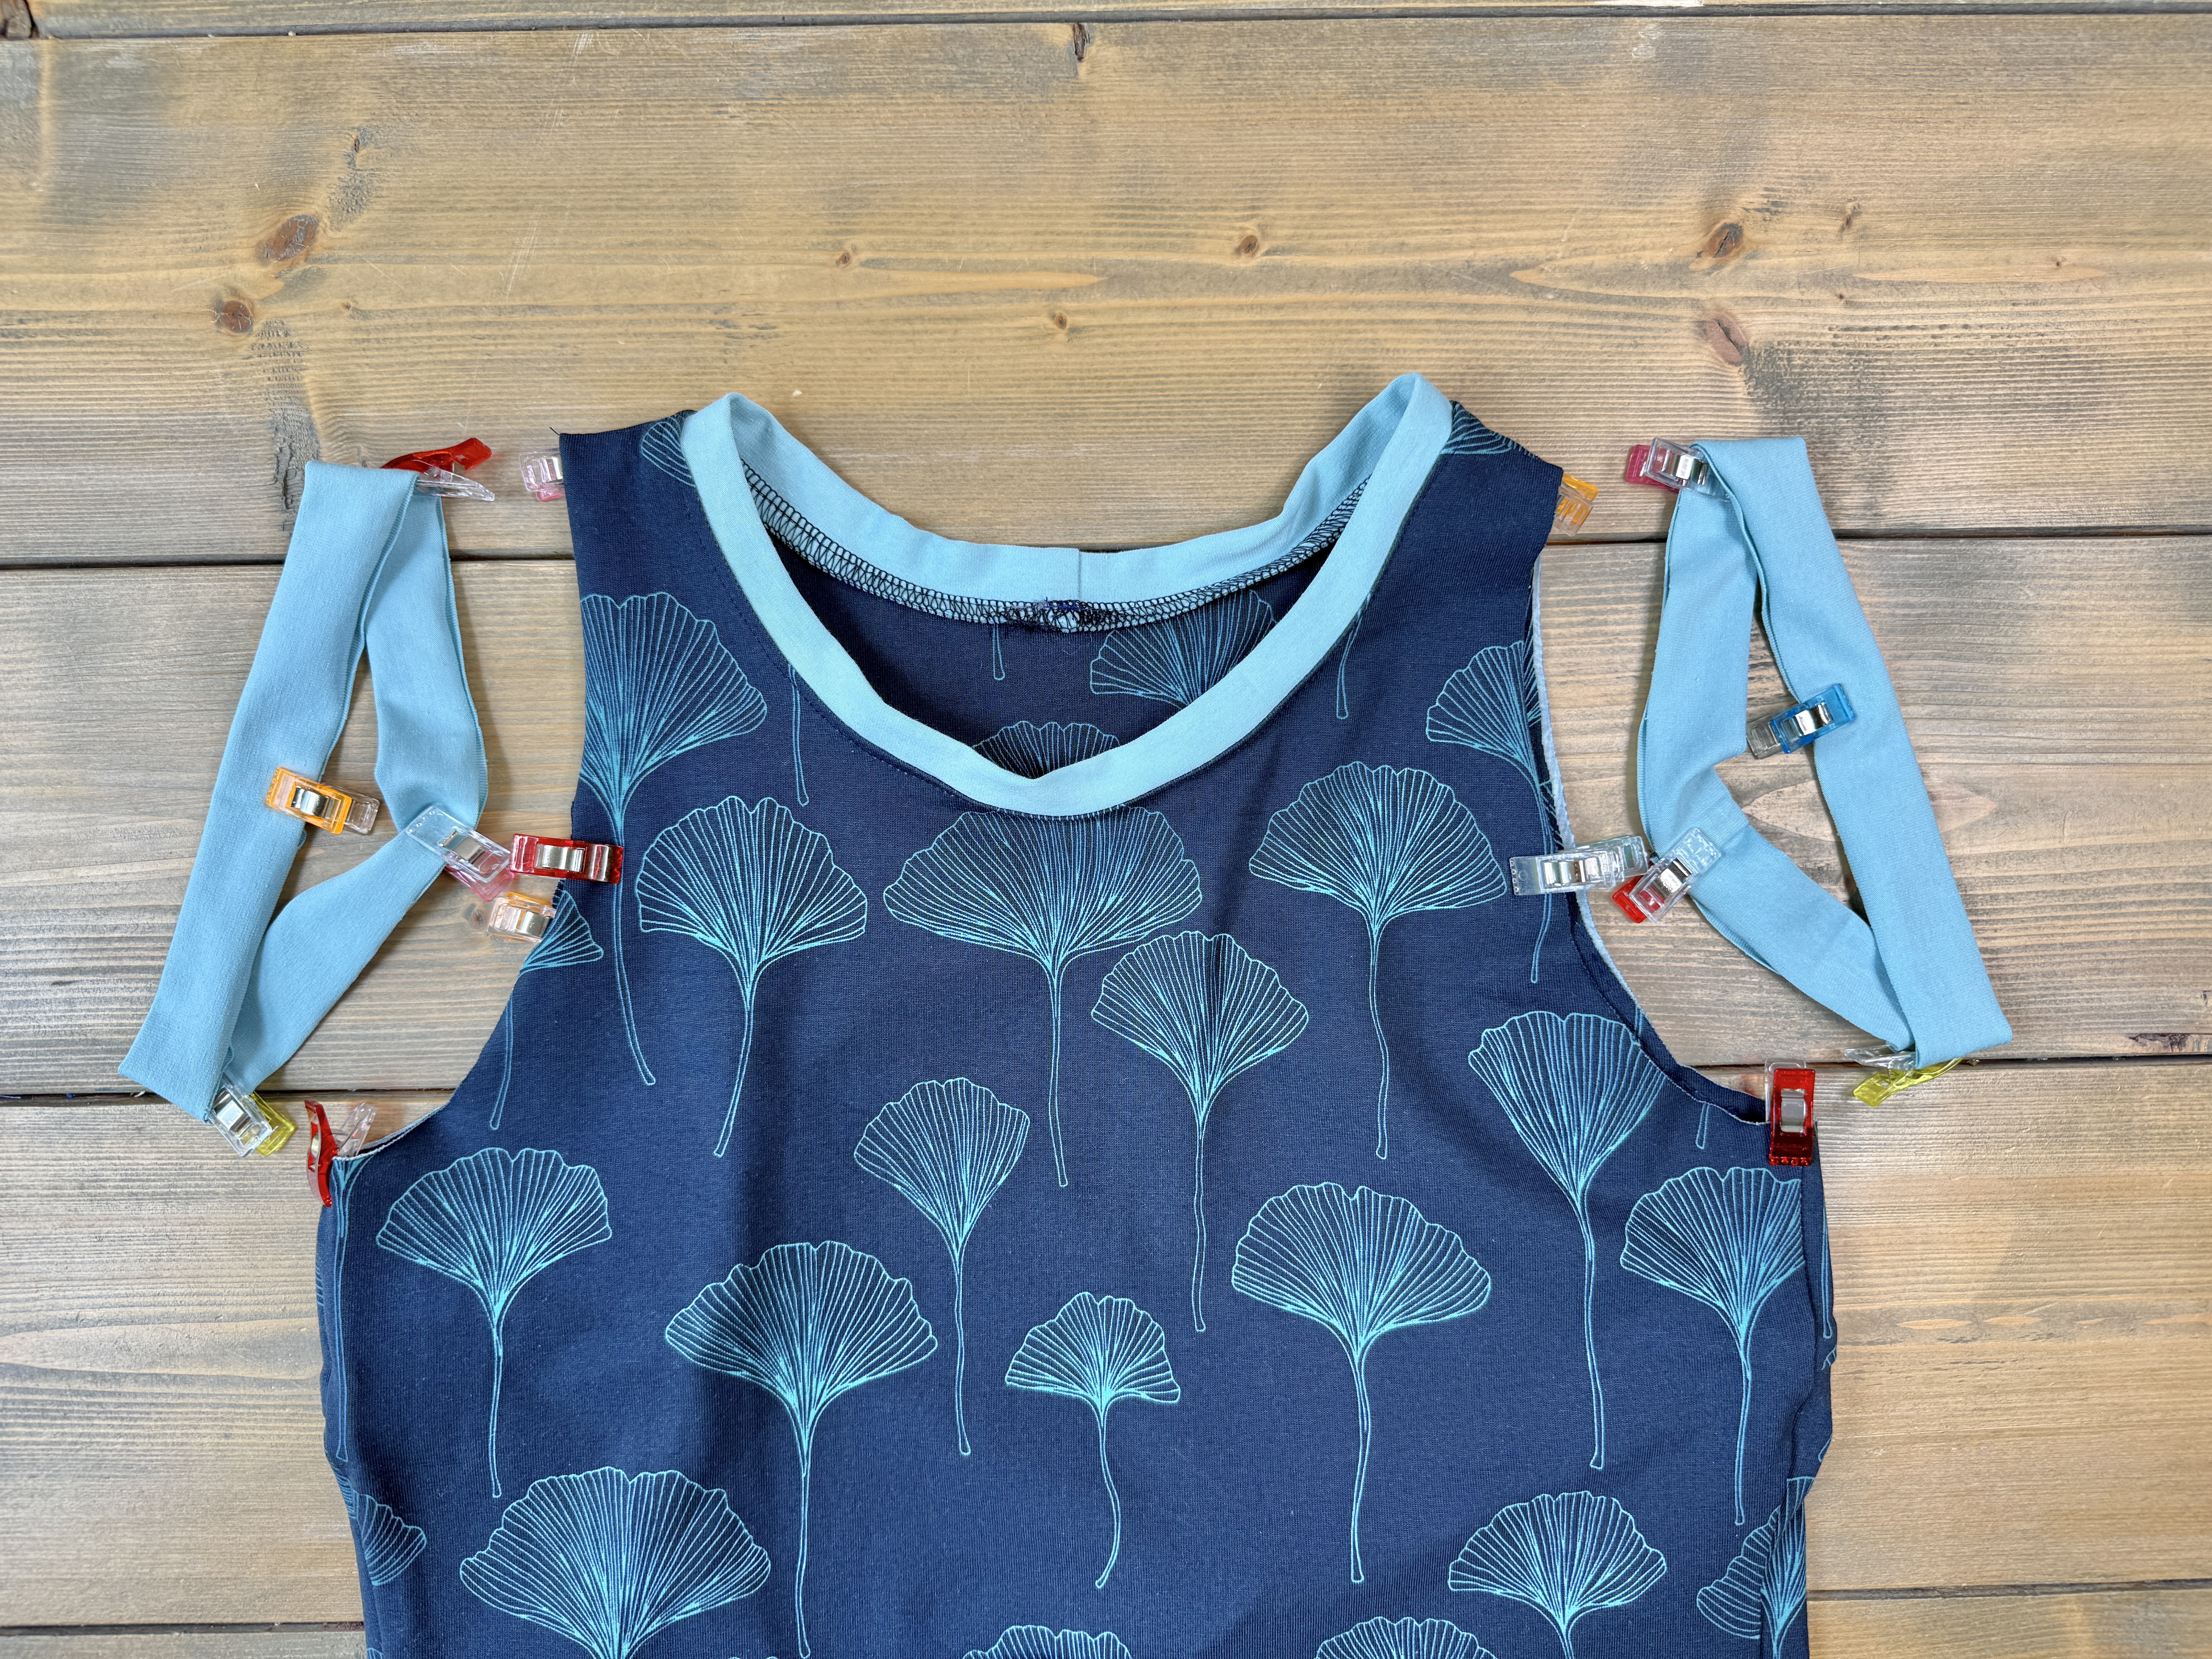
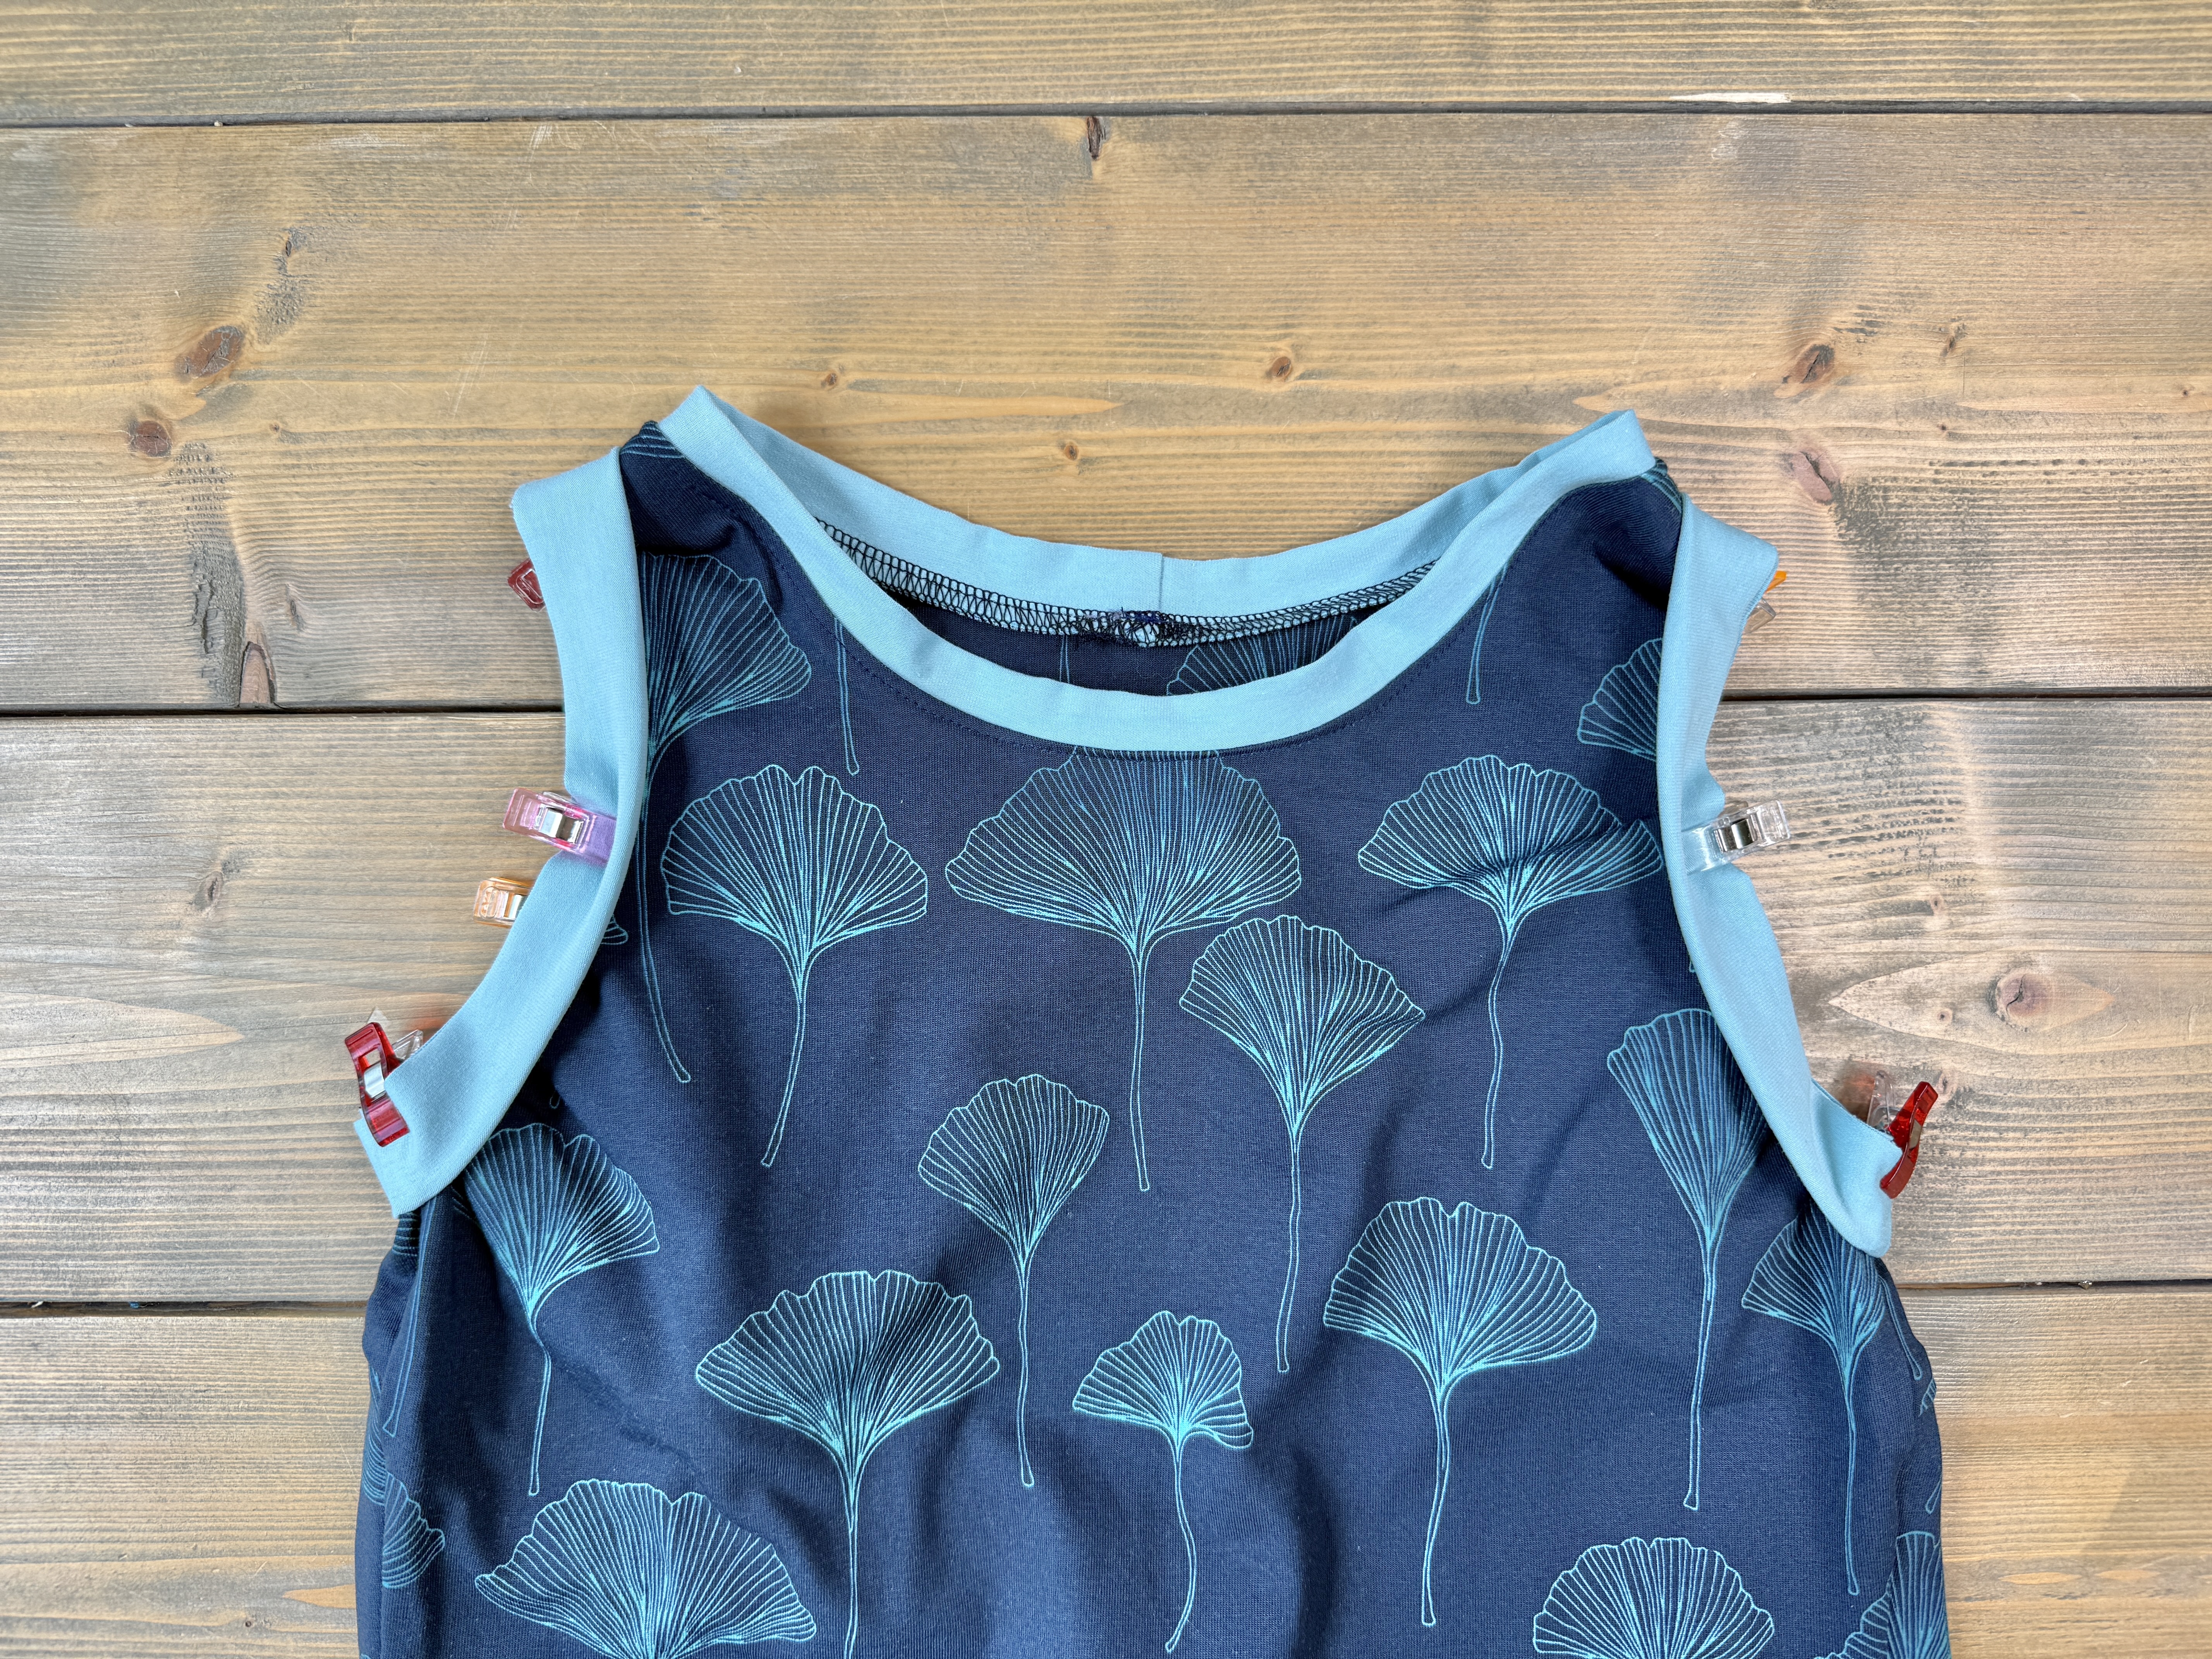
Stitch around the armscye, slightly stretching the armband as you go.
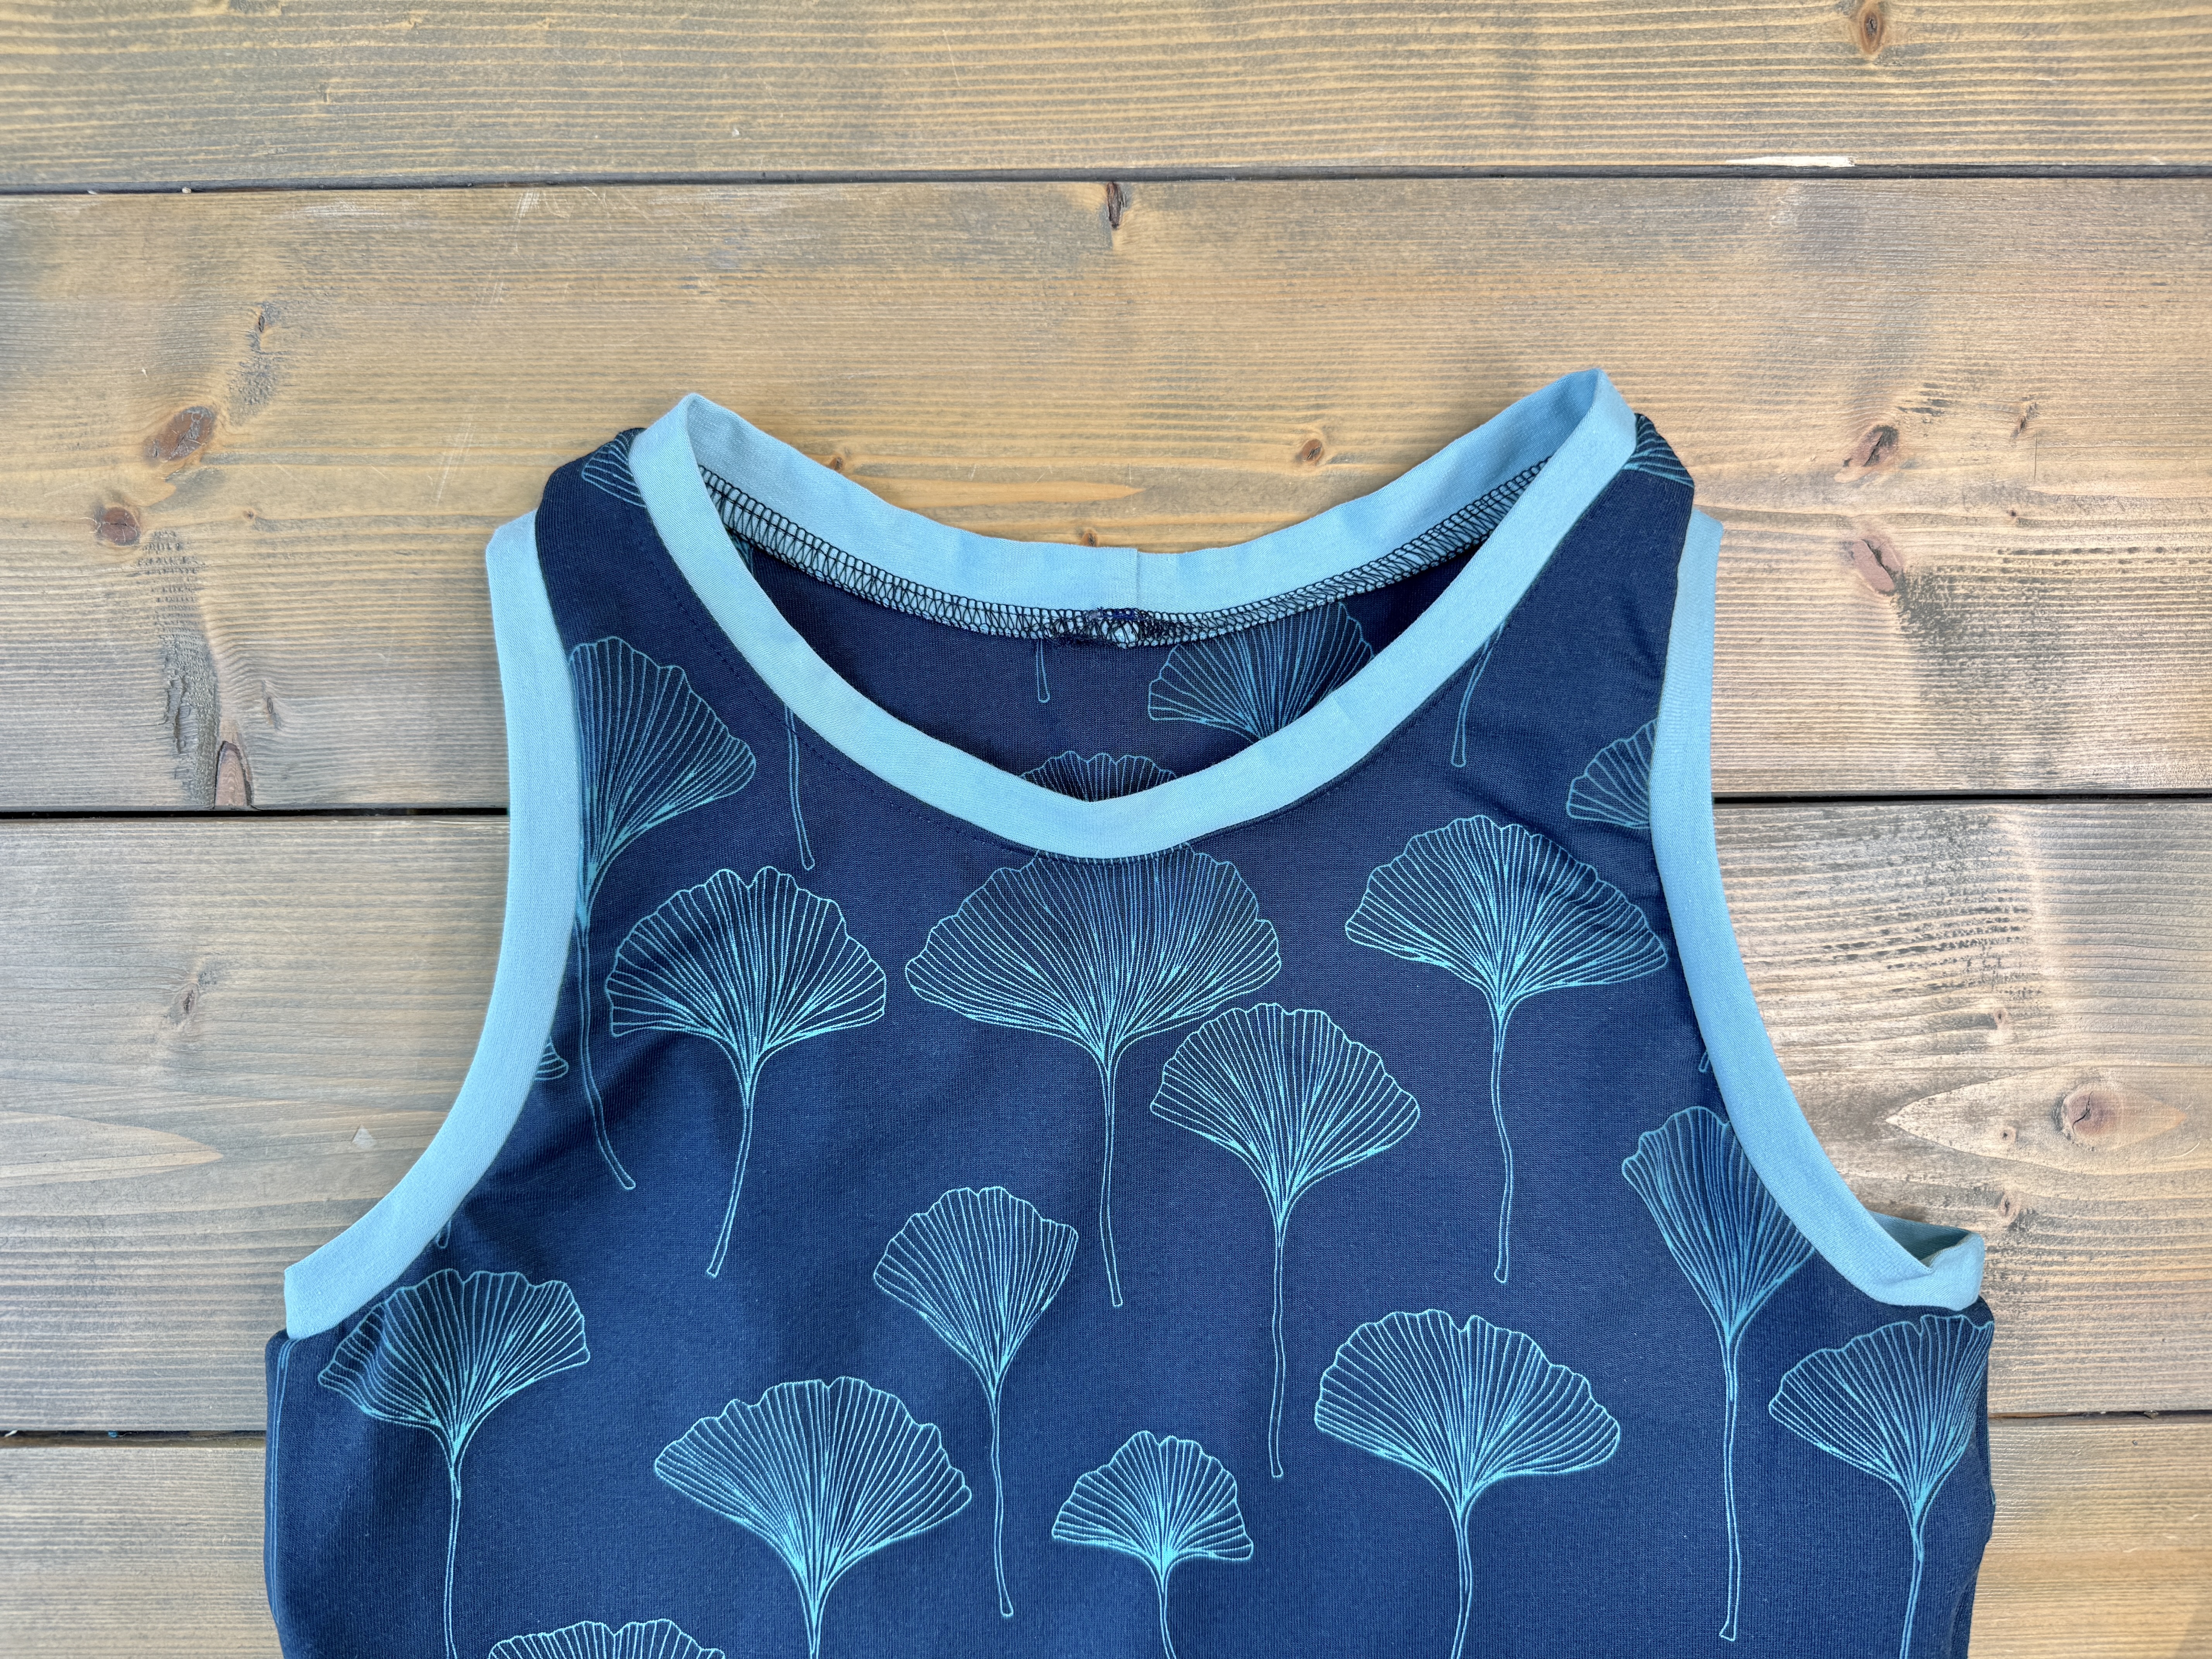
Press seam allowance towards the bodice. Topstitching can be done here if desired.
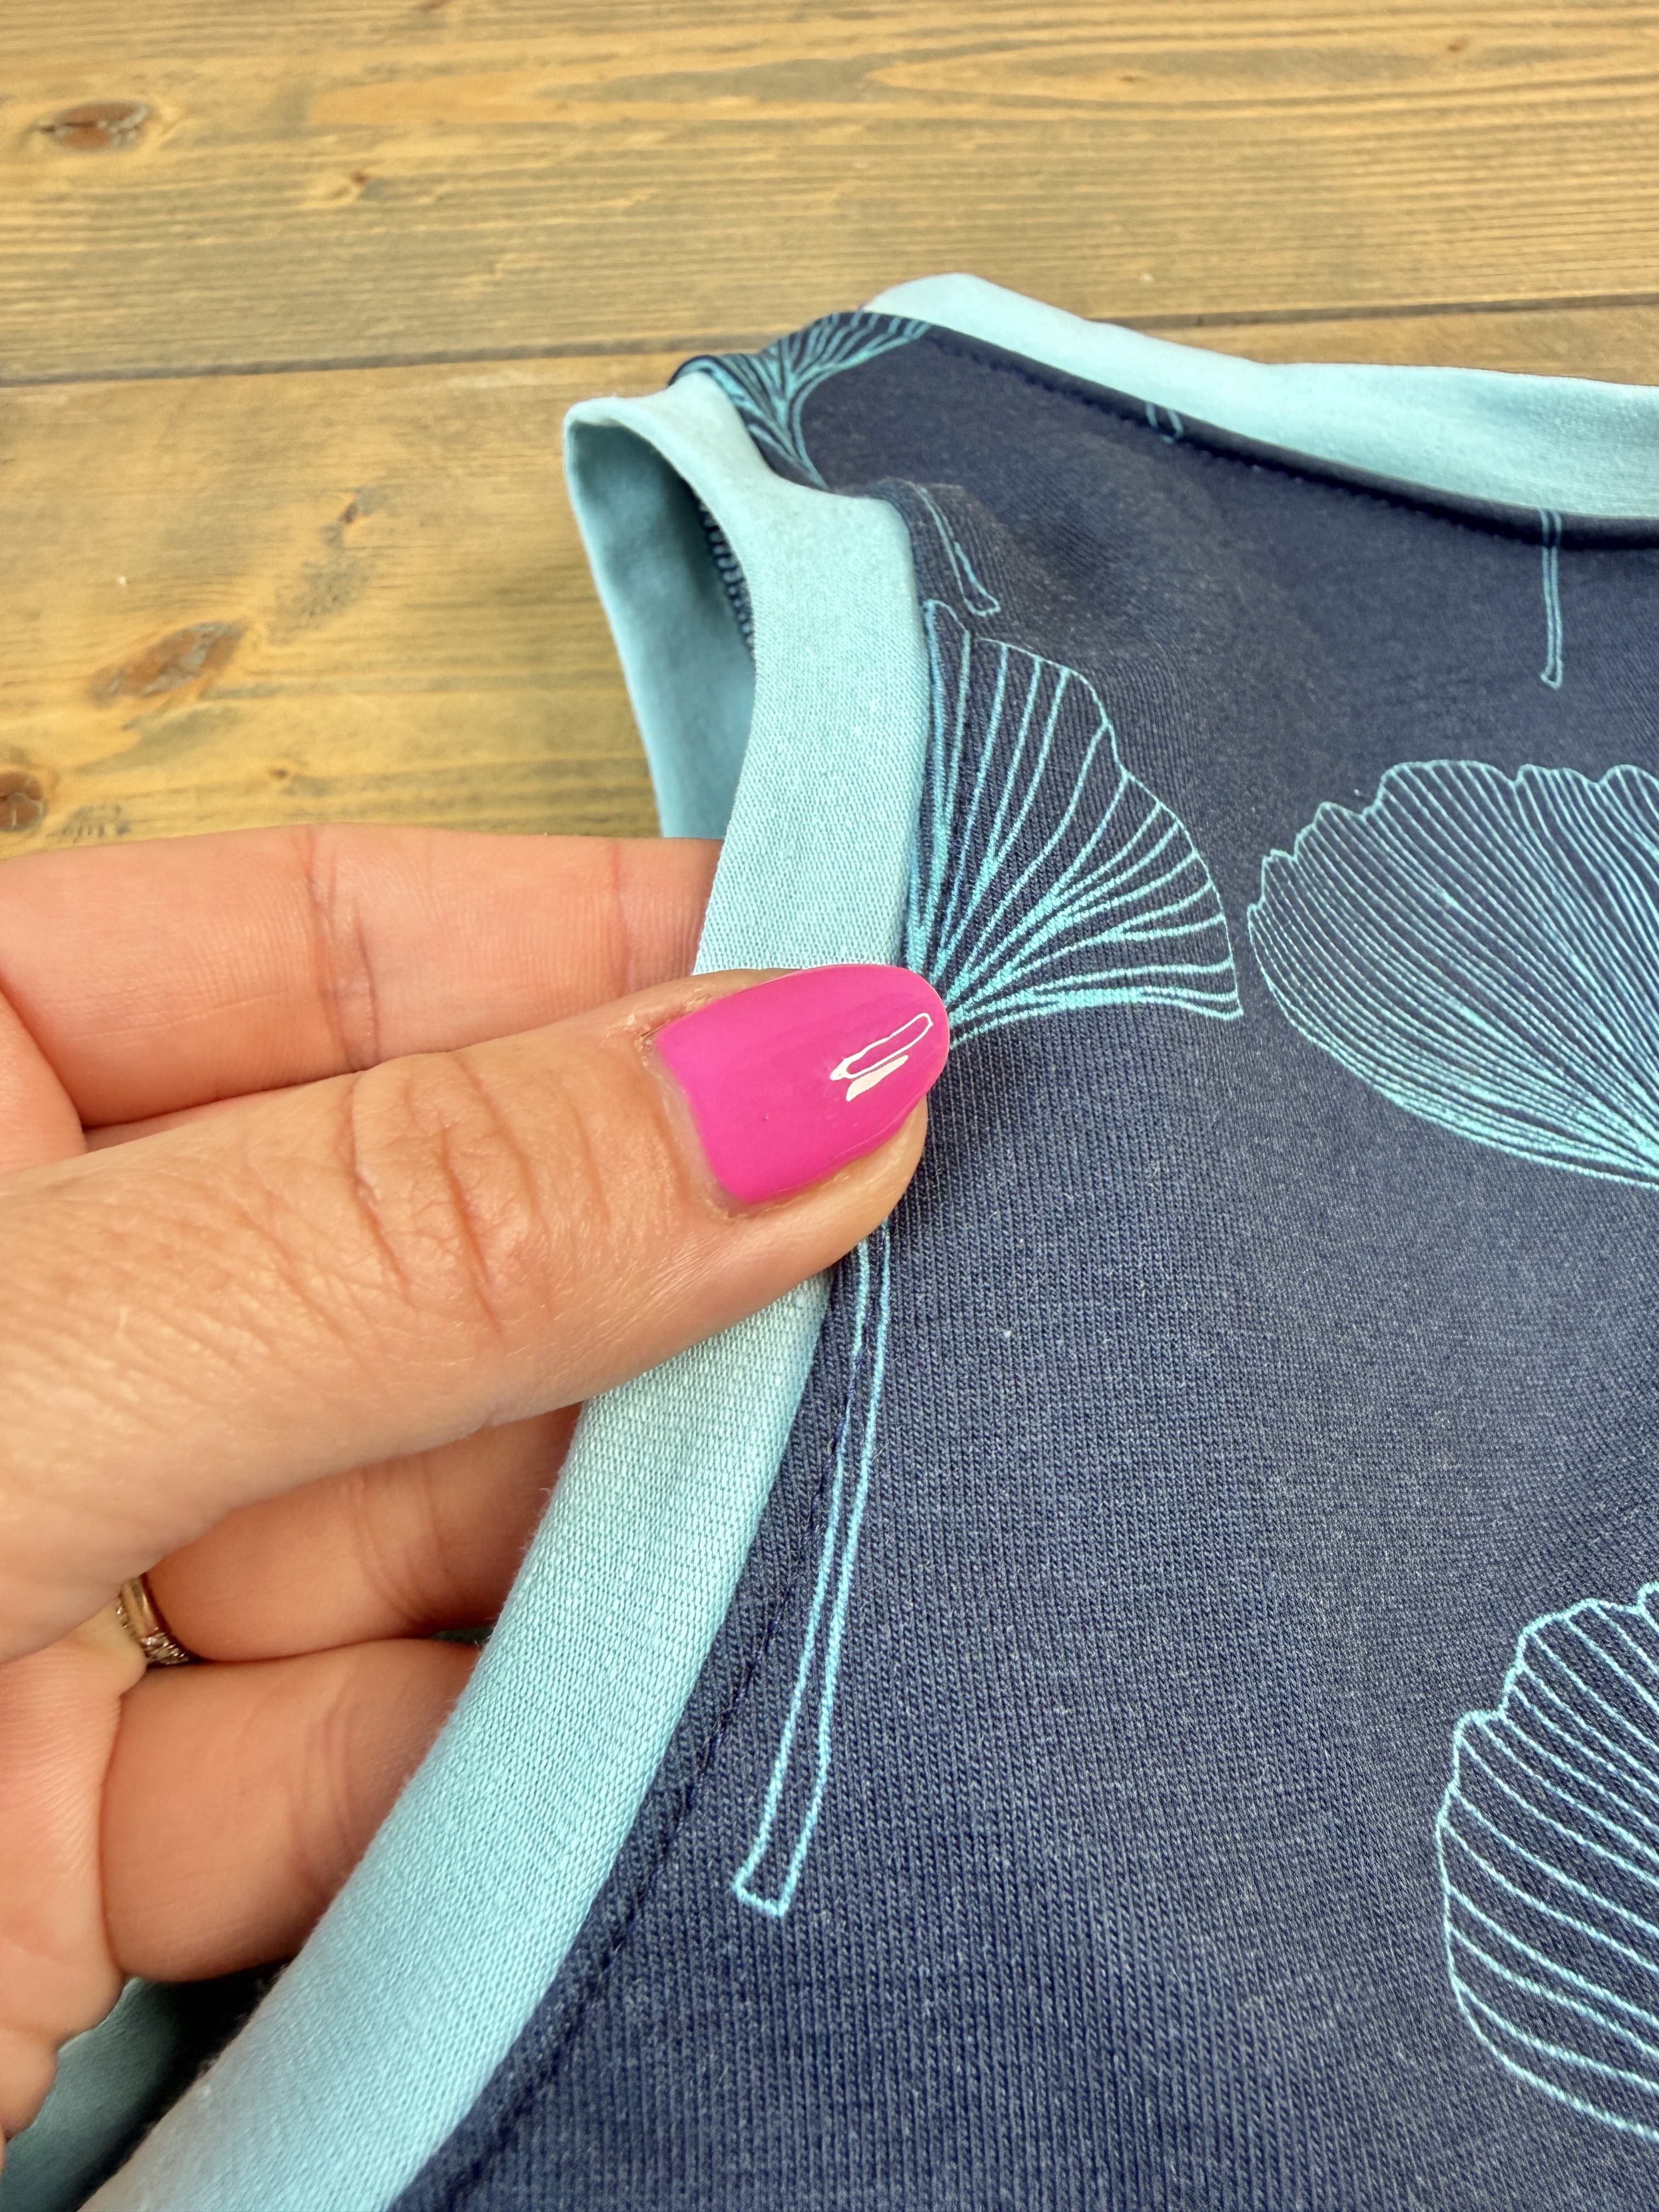
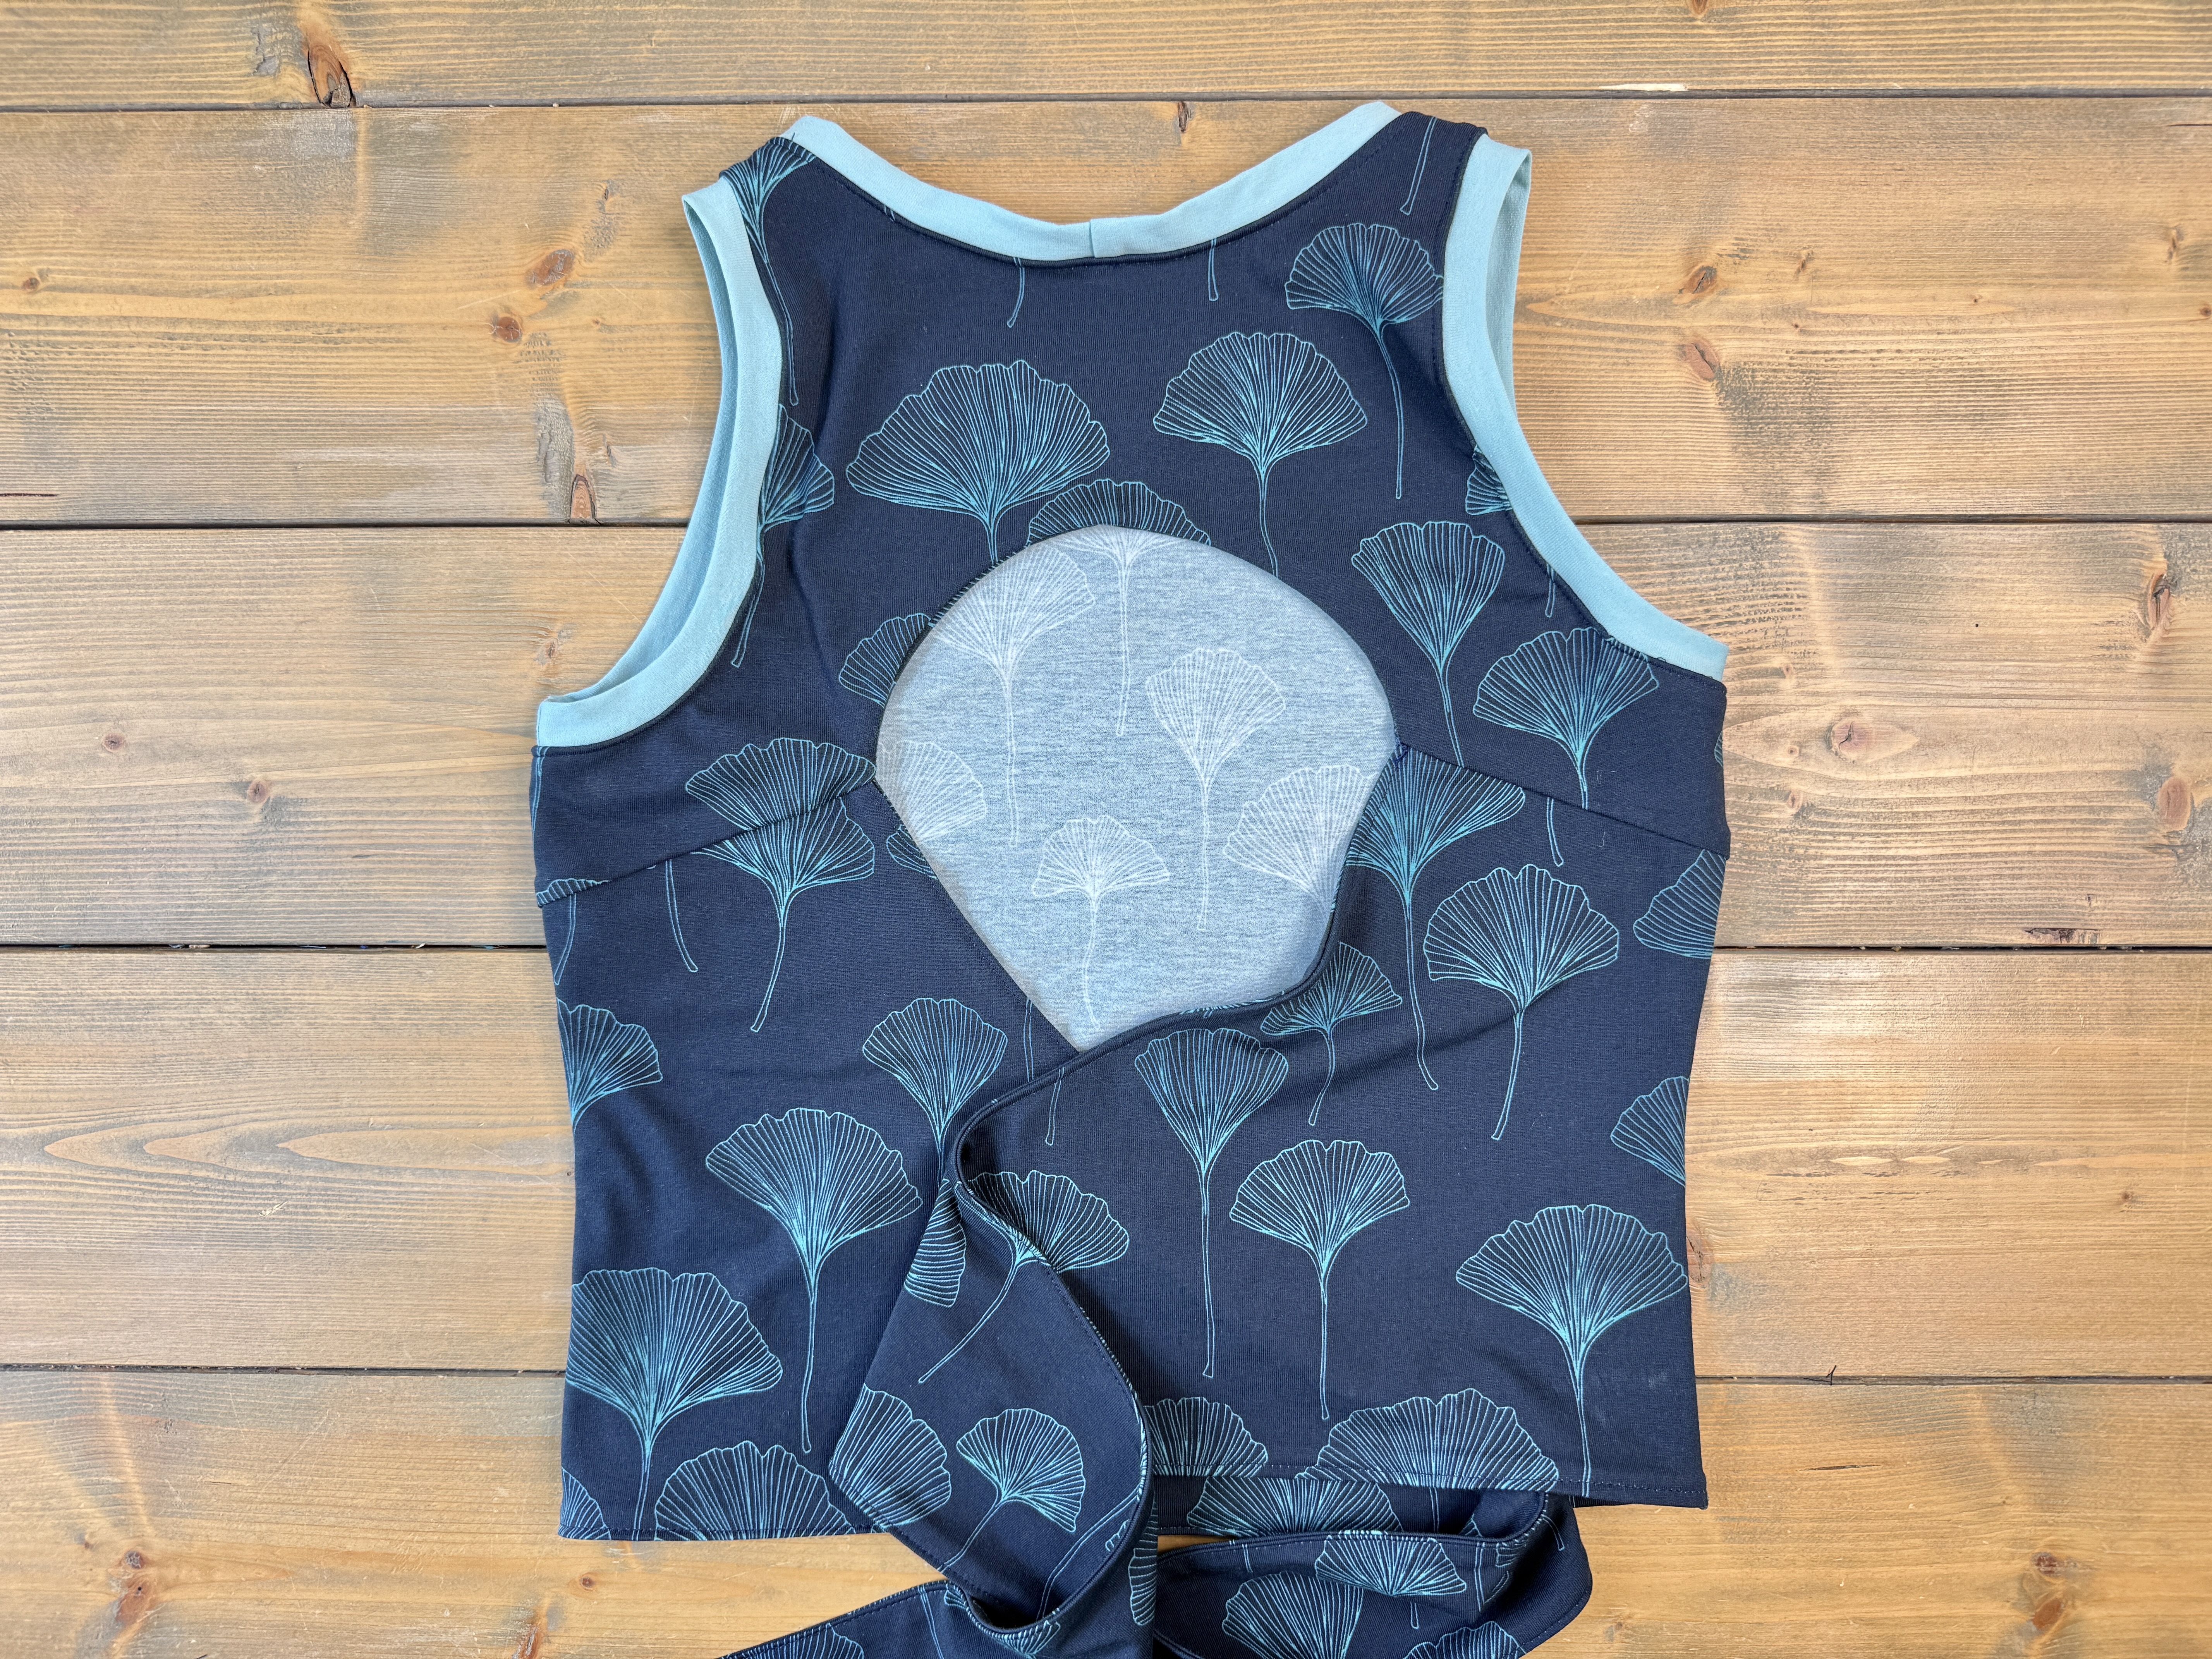
Give your top a final press and try it on for fit!
Used Products
What you might also like
One comment on “Sewing an Athleisure Set, Part Two”
Leave a Reply
You must be logged in to post a comment.

This looks lovely and I would love to make it.
Problem number one:
No place to buy fabric. Where did you get yours for this sample?