Sewing a Kaleidoscope of Freestanding Embroidered Butterflies

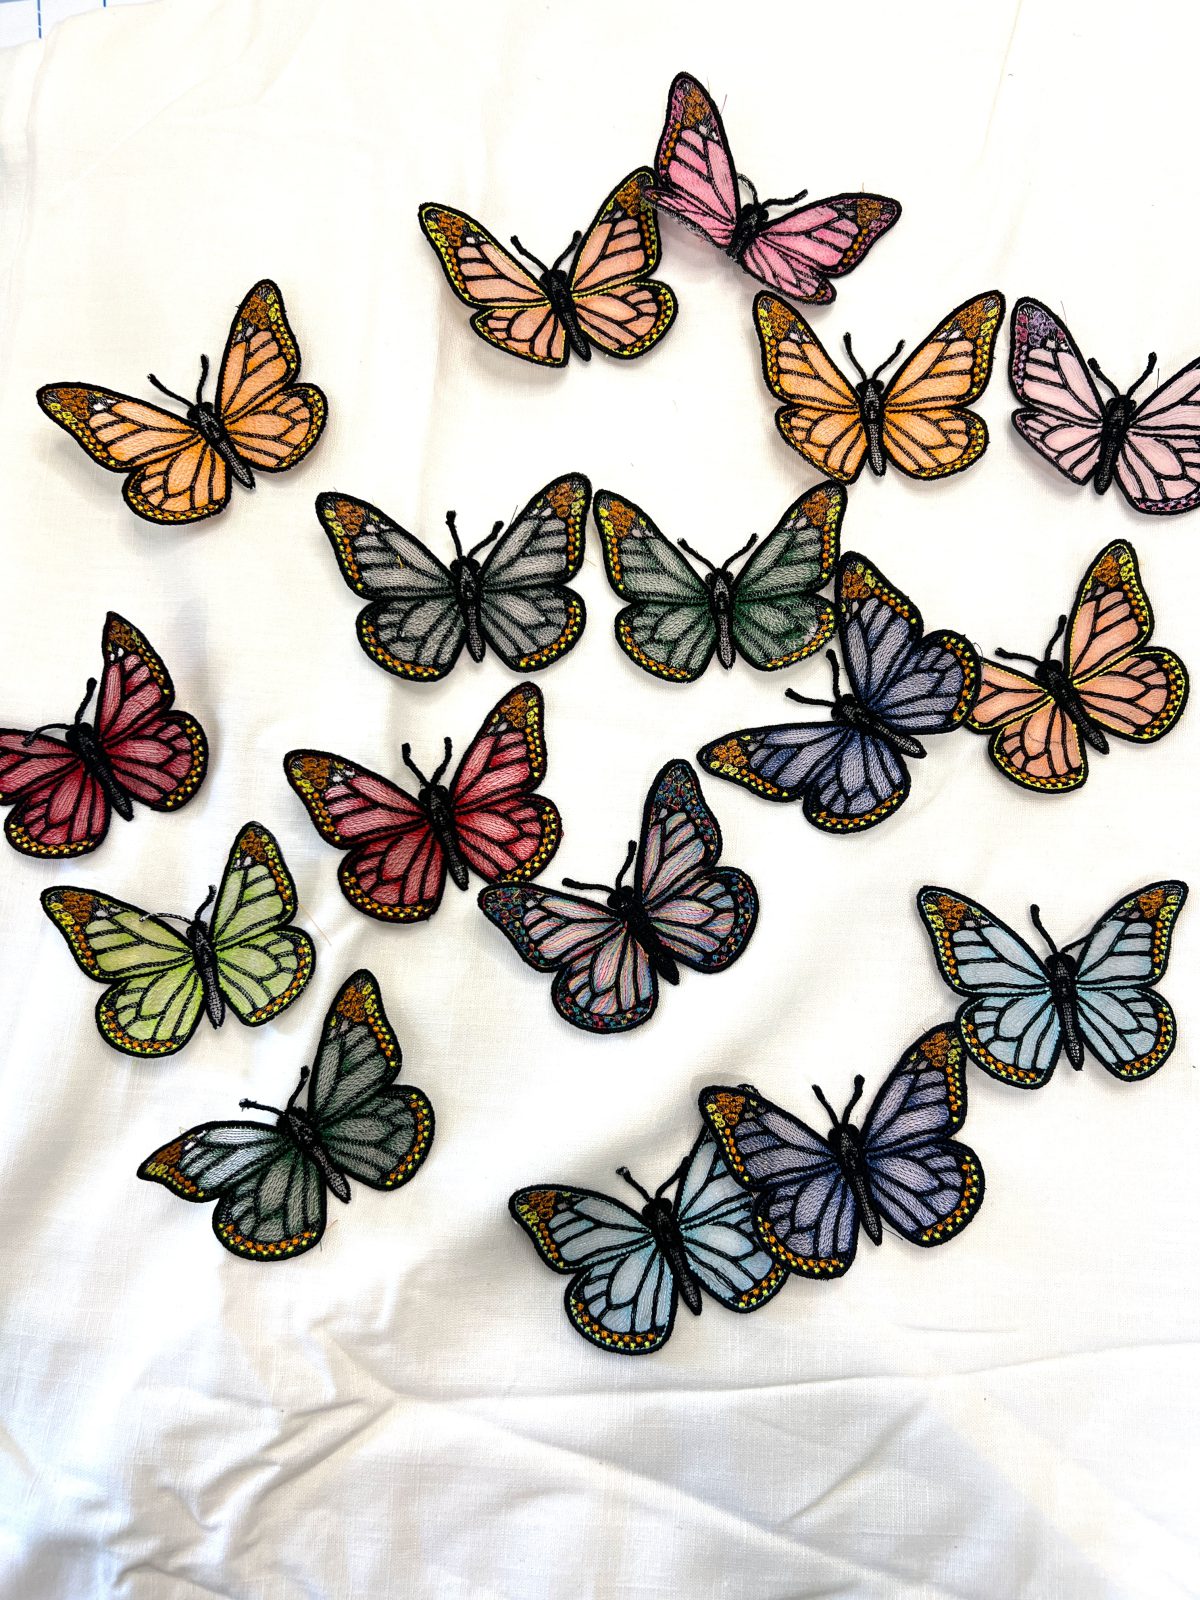
Colorful freestanding embroidered butterflies in pink, orange, blue, green, purple, and red arranged on white fabric.

Learn how I created colorful freestanding embroidered butterflies using OESD embroidery designs, sheer fabric, vibrant thread, and machine embroidery! I first saw these embroidered butterflies on the OESD site; I knew I needed to make them for a project!  There are quite a few different styles to choose from, and I knew with my extensive embroidery thread collection, I could make some really pretty and colorful butterflies!

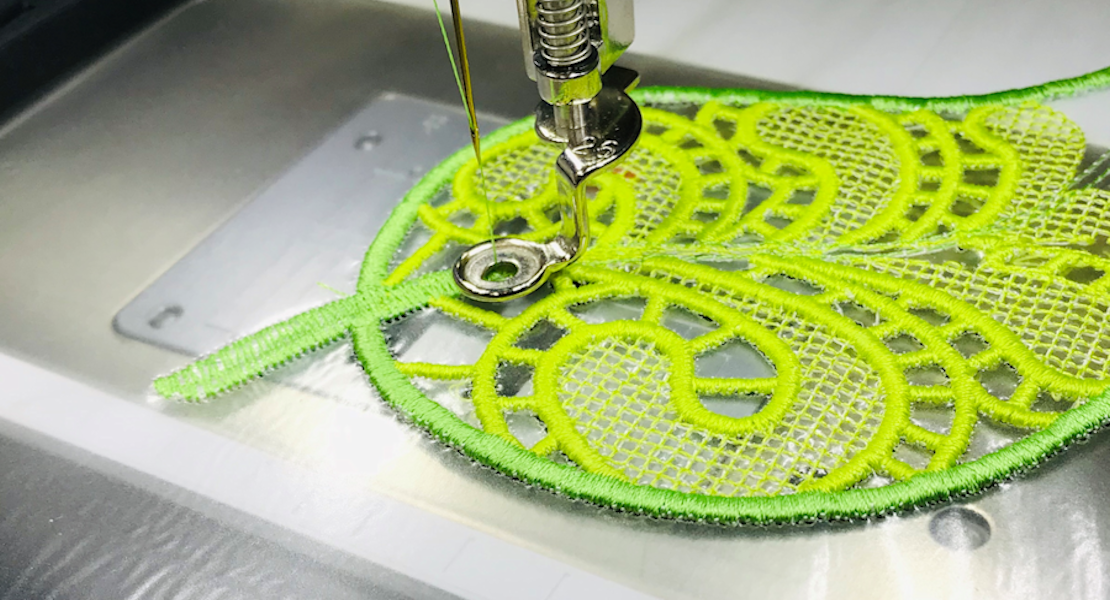
For these butterflies, I used the OESD Luminous Freestanding Butterflies embroidery collection. The collection includes six butterfly designs made using a freestanding lace technique. The butterflies are really easy to make, great for a beginner just getting into embroidery, and don’t take long to embroider at all! With only a few supplies, you can easily make these freestanding butterflies!

Materials Needed To Embroider Butterflies

  • OESD AquaMesh WashAway
  • Sheer organza or tulle 5” x 5”
  • Tape
  • Embroidery Needle Sharp 75/11
  • Embroidery Thread

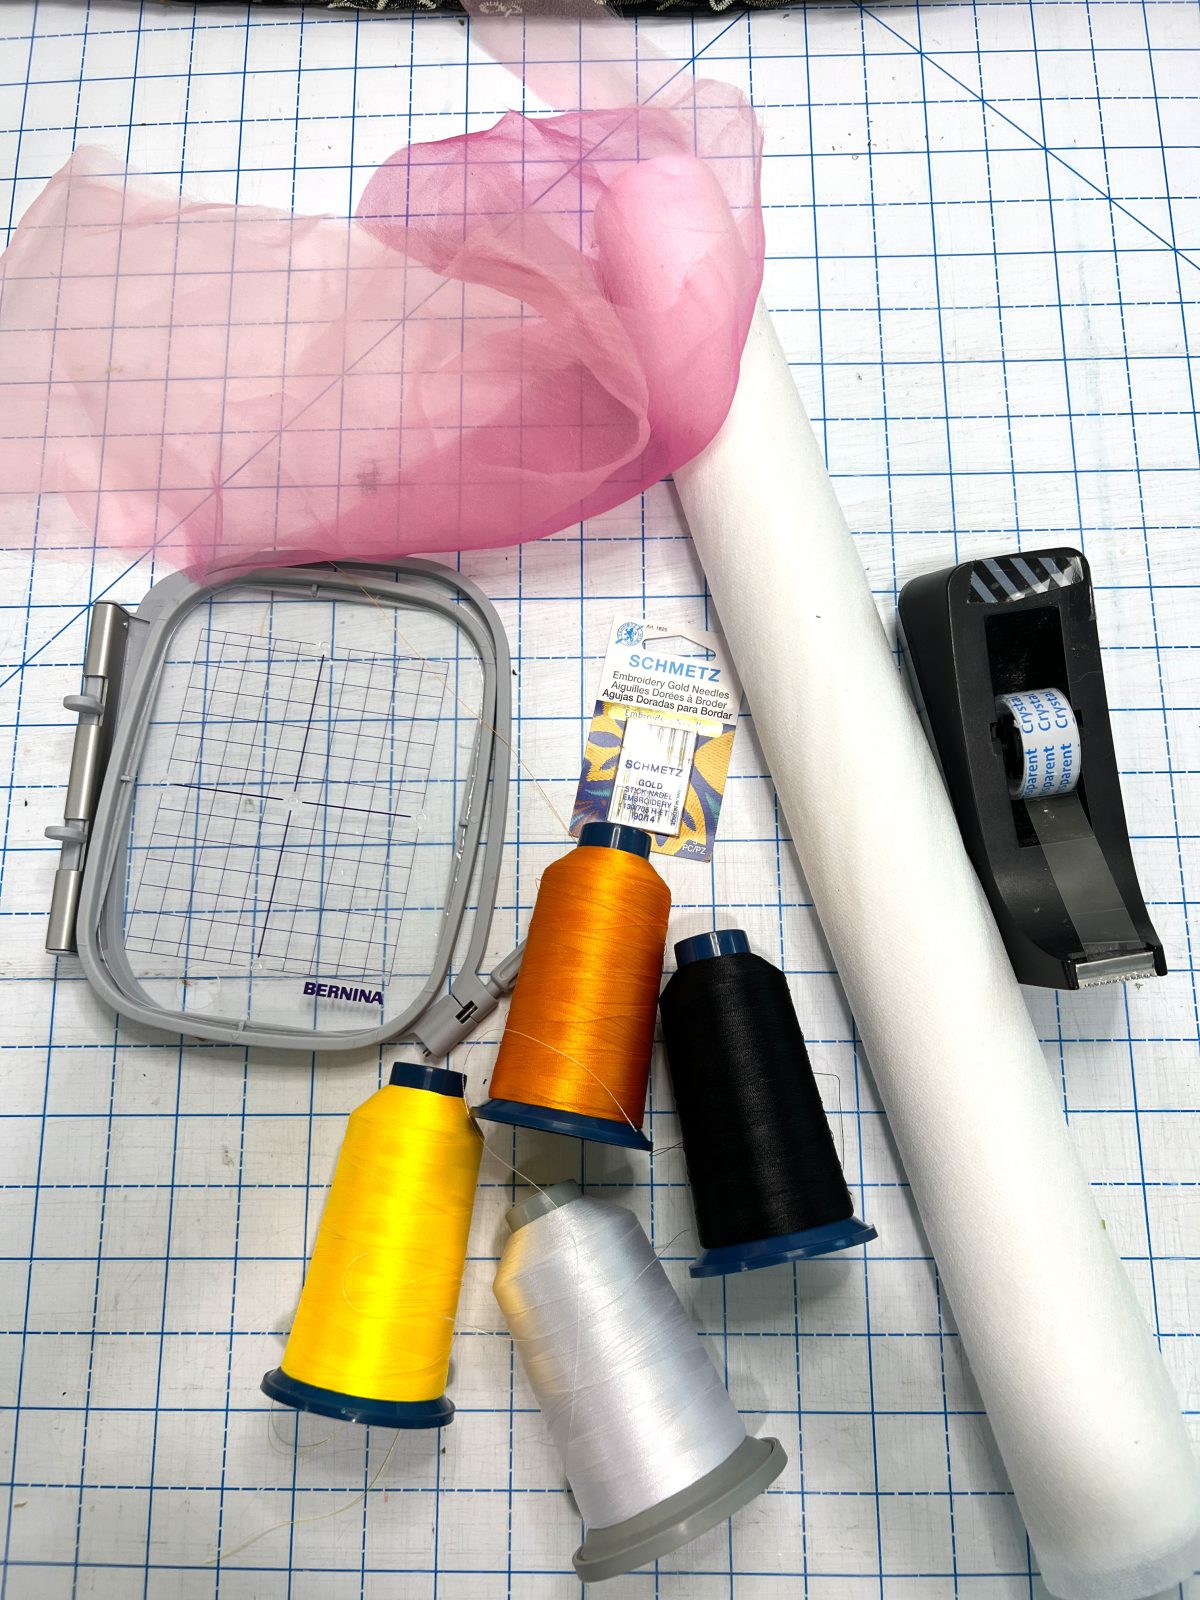
Machine embroidery supplies including pink tulle, white stabilizer, an embroidery hoop, embroidery needles, and colorful spools of thread arranged on a cutting mat.

How to Embroider Butterflies

Step One: Cut the Appliqué Fabrics

Cut the applique fabrics 1/4”-1/2” larger than the templates that are included at the end of the instructions.

Step Two: Hoop the Stabilizer

Hoop one layer of AquaMesh for all designs.

Step Three: Load Your Designs

Load the selected design into the machine.

Step Four: Thread Your Machine

Thread the machine per the thread chart.

Step Five: Prepare the Bobbin

Match the bobbin thread to the upper thread.

Step Six: Attach the Hoop

Place the hoop on the machine.

Step Seven: Sew the Placement Stitch

Stitch Machine Step 1, the Placement Stitch.

Step Eight: Remove the Hoop

Remove the hoop from the machine, but NOT the project from the hoop.

Step Nine: Lay the Hoop Flat

Place the hoop on a flat surface.

Step Ten: Position the Appliqué Fabric

Place the applique fabric, right side up, completely covering the placement stitch.

Step Eleven: Tape

Tape in place to secure.

Step Twelve: Attach the Hoop

Return the hoop to the machine.

Step Thirteen: Tackdown

Stitch Machine Step 2, Cut Line and Tackdown.

Step Fourteen: Remove the Hoop

Remove the hoop from the machine.

Step Fifteen: Lay the Hoop Flat

Place the hoop on a flat surface.

Step Fifteen: Trim Fabric

Trim the excess fabric as close to the cut line as possible.

Step Sixteen: Stitch

Return the hoop to the machine and stitch the remaining machine steps per the thread chart.

Step Seventeen: Match Bobbin Thread

Match the bobbin thread to the upper thread.

Step Eighteen: Remove Project From Hoop

When the design is complete, remove the project from the hoop and trim the stabilizer 1/4”- 1/2” outside the design.

Step Nineteen: Rinse

Rinse in warm running water until the design is only slightly tacky.

Step Twenty: Let Dry

Place right side down on a non-stick surface to dry. Parchment paper or a cooling rack will prevent curling. Dry completely.

Step Twenty-One: Press

Once dry, press right side down.
Make It Your Own with Color

My favorite part of this project was choosing the colors. Instead of making every butterfly identical, I wanted them to feel like a whole colorful collection. I pulled out bright pinks, oranges, yellows, blues, greens, purples, reds, and variegated thread colors. I also used black thread for the outlines and bodies, which really makes all those colors pop. This is also a great project for experimenting with thread combinations. You can make the butterflies realistic, completely fantastical, monochromatic, rainbow-colored, or whatever you want!

Creating Freestanding Embroidery

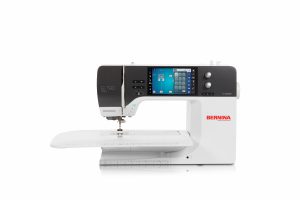
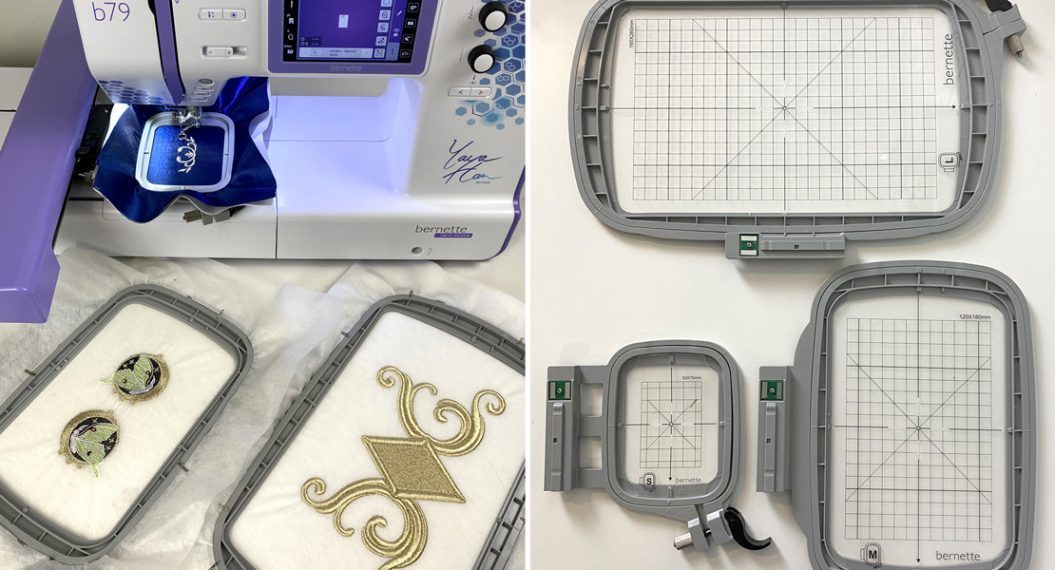
What makes these butterflies especially fun is that they aren’t simply embroidered onto a finished piece of fabric. They’re designed as freestanding embroidery, so once everything is finished, you have an individual butterfly that you can actually pick up and use as an embellishment.  OESD designed the collection specifically as freestanding lace, with sheer fabric helping support the embroidery and giving the wings additional color and structure. I gathered my embroidery hoop, stabilizer, tulle, embroidery needles, and plenty of colorful thread before getting started. Then it was really a matter of letting my B 790 PRO do its thing while I switched colors and watched each butterfly slowly come to life.

And yes, this is one of those embroidery projects where you will probably tell yourself you’re only making a few and suddenly you have an entire kaleidoscope of butterflies covering your sewing table!

The Details Make Them Special

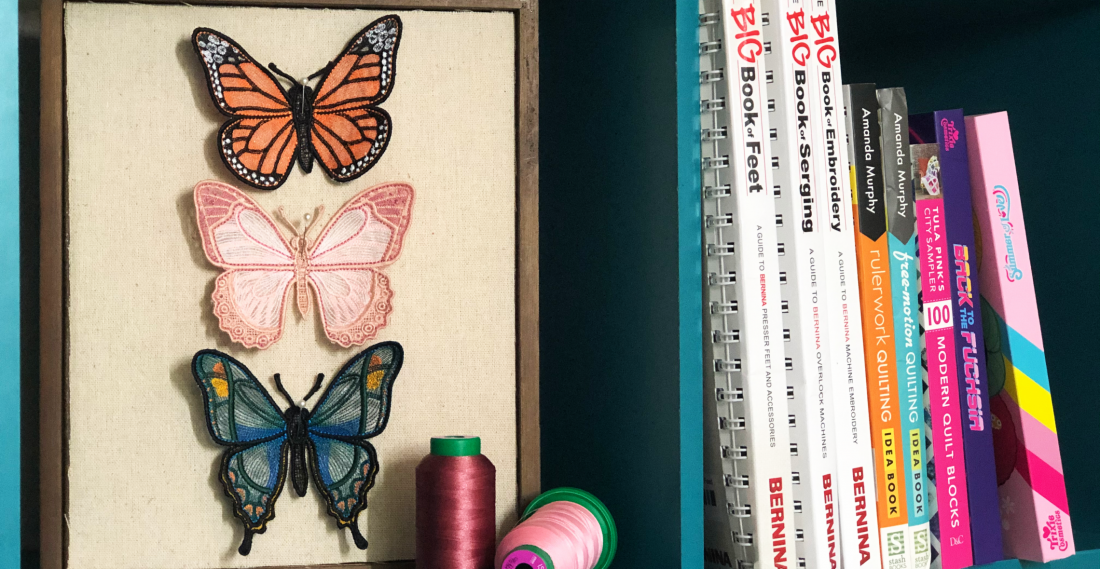
Once they were all finished, I loved seeing them together!  The black embroidered outlines give the wings that classic butterfly look, while all of the different thread and fabric colors make each one feel unique. Some are soft pink and peach, others are bright red or lime green, and I especially love the blue, lavender, and multicolored versions. Because they’re freestanding, you can also gently shape the wings instead of having every butterfly lie completely flat. That little bit of dimension makes them feel even more special.

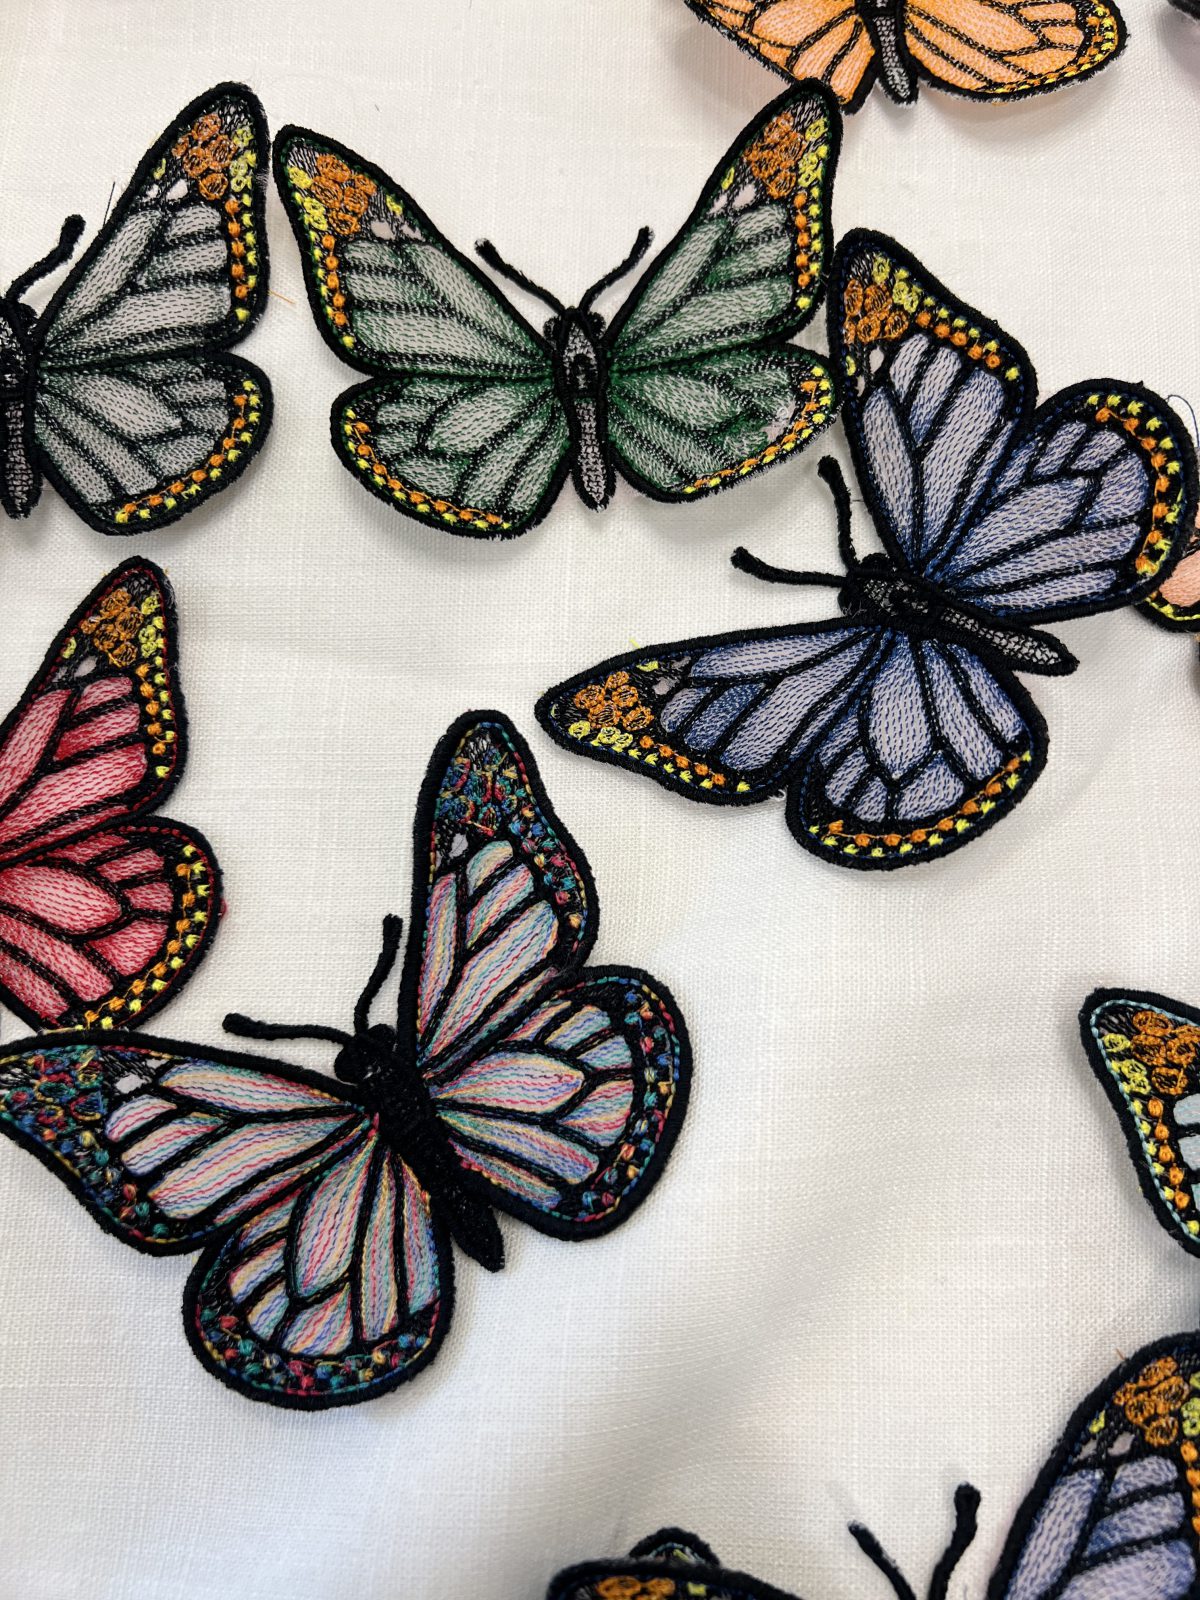
Close-up of colorful freestanding embroidered butterflies with black stitched outlines and detailed green, blue, pink, orange, and multicolored wings arranged on white fabric.
A closer look at the colorful stitching and intricate details of these freestanding embroidered butterflies.

So Many Ways to Use Them

Now comes the fun question: what do I make with all these butterflies?!

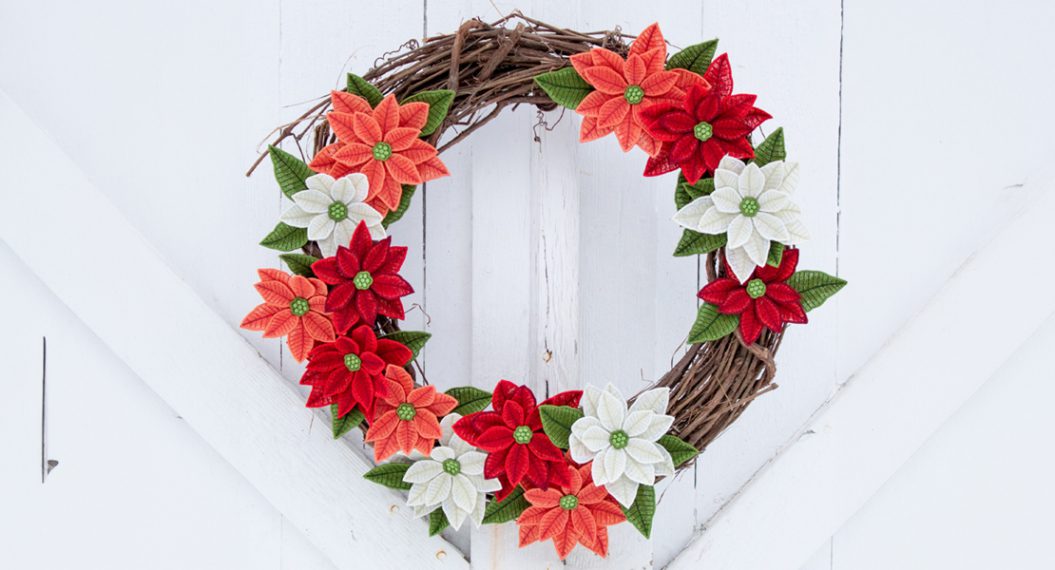
I could see these being beautiful sewn onto a jacket, dress, caftan, duster, tote bag, or even incorporated into a larger textile art piece. They would also make gorgeous dimensional decorations for wreaths, floral arrangements, table settings, wall art, or spring and summer décor. OESD specifically designed the collection with decorative uses in mind. I especially love the idea of clustering several of them together on a garment so it looks like a group of butterflies has landed directly on the fabric. I did this for another project coming soon, and I love how it turned out! BERNINA embroidery is such a fun way to combine sewing, technology, color, and textile art, and projects like this remind me just how much you can create with thread, a little imagination, and a BERNINA!

Print this page

What you might also like

Leave a Reply