How to Make a Spool & Scissors Pincushion

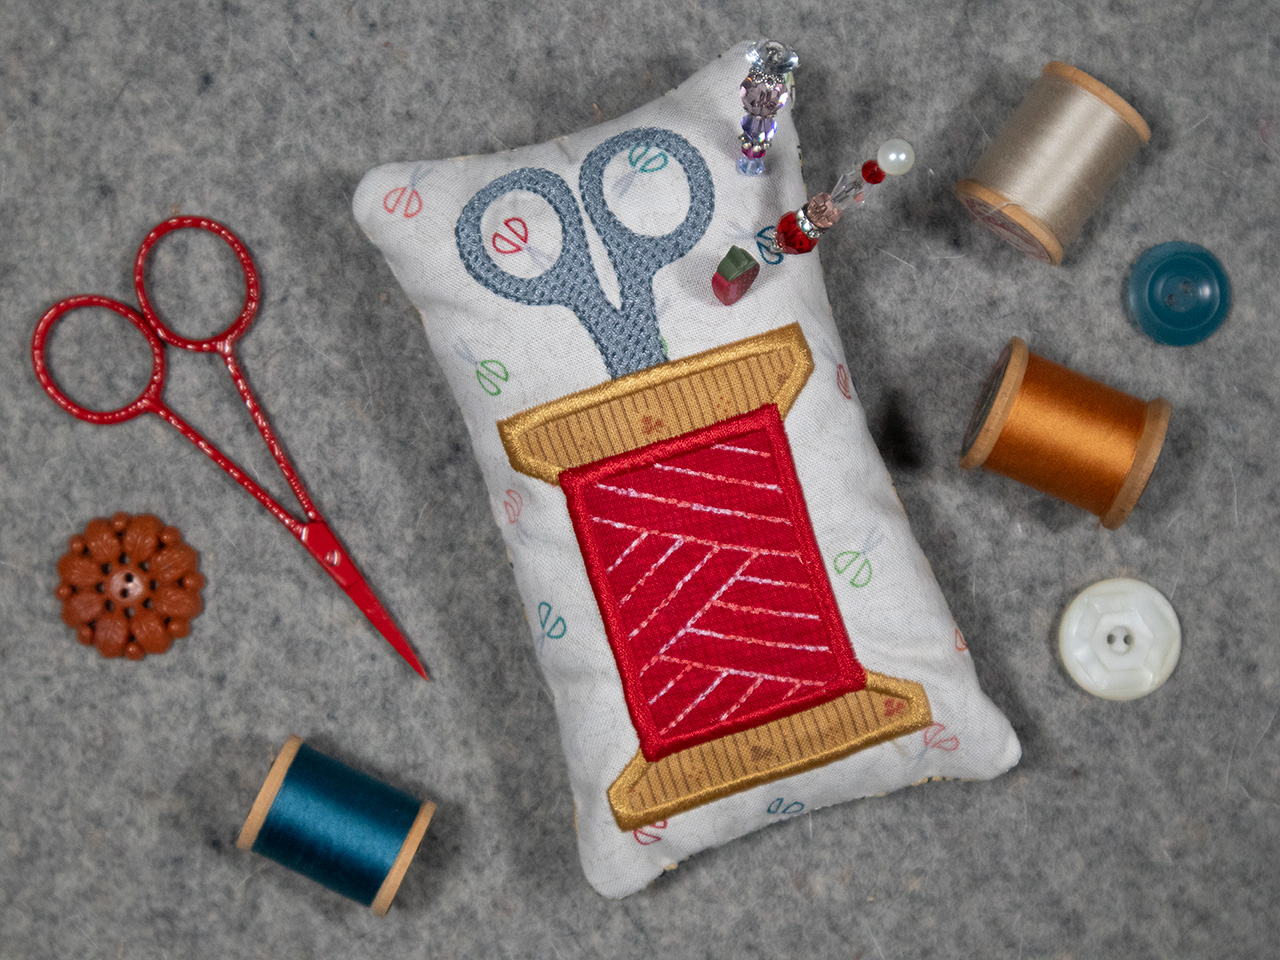
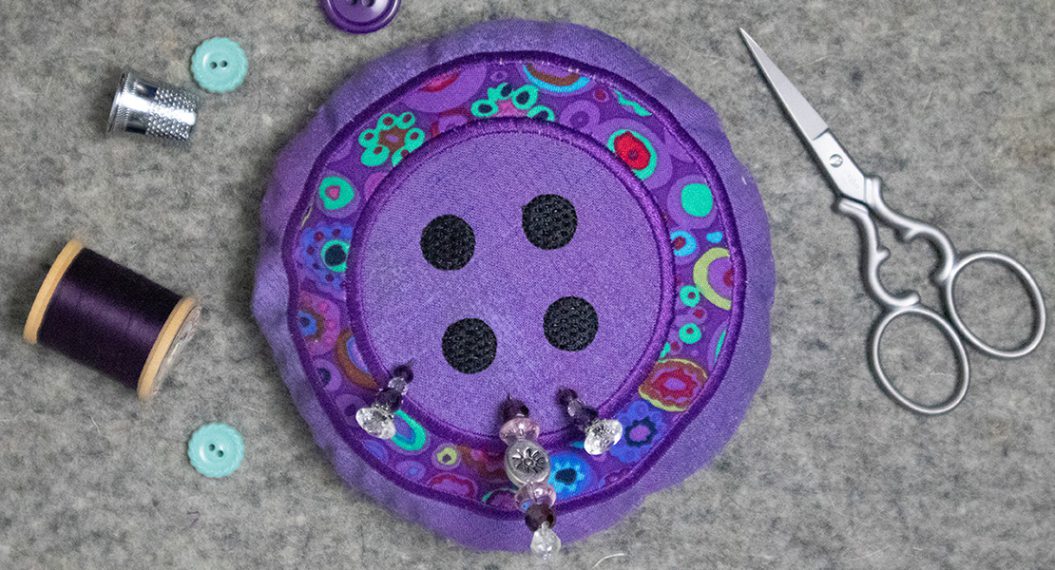
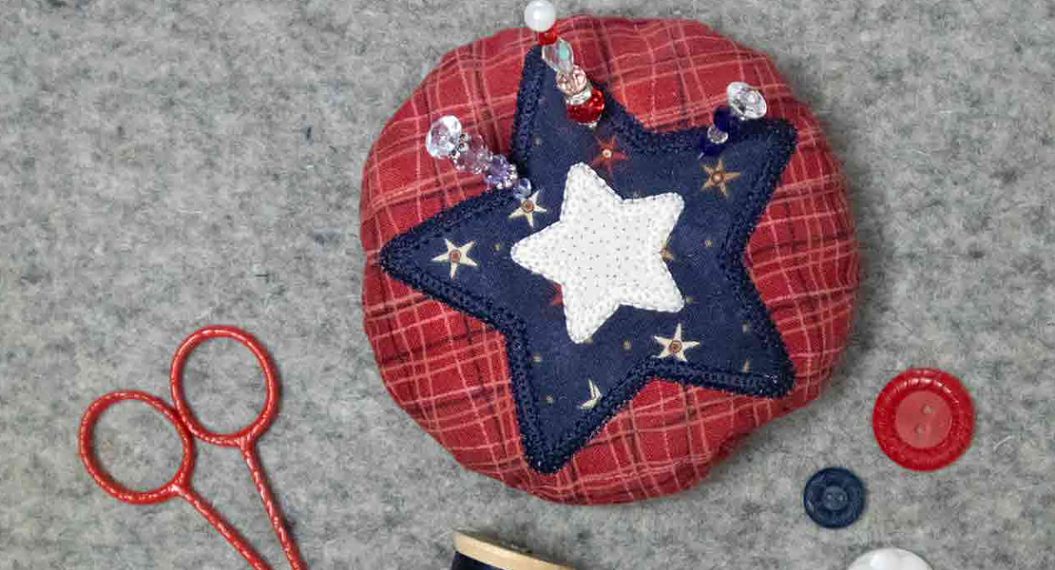
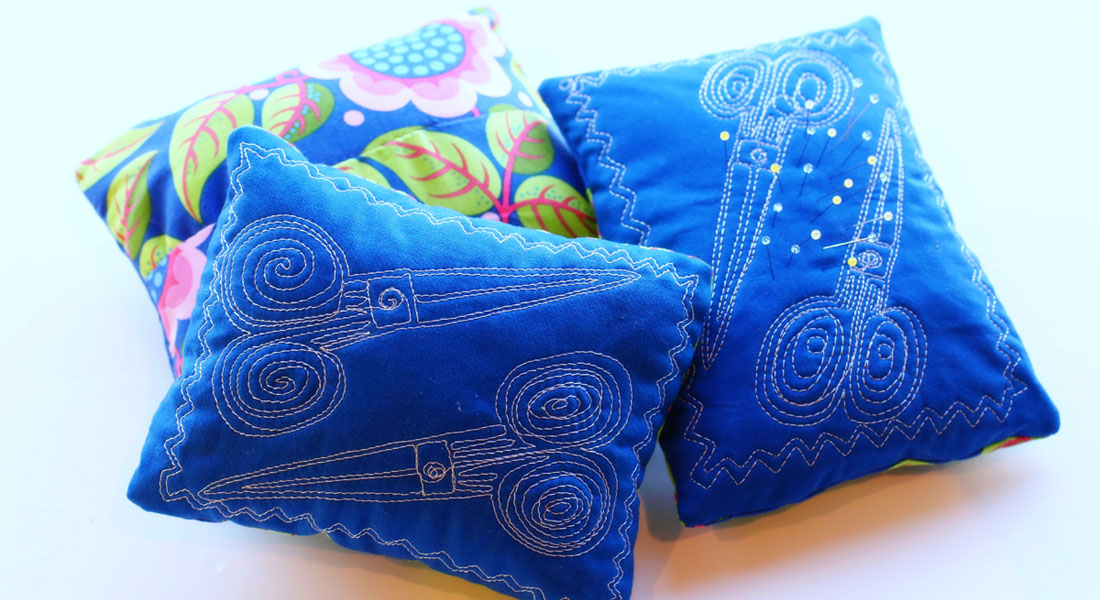
The Spool and Scissors Pincushion is the fourth design in a series of in-the-hoop pincushions I’ve created for WeAllSew. This fun project is stitched and assembled almost entirely in the embroidery hoop, with just a few inches of hand sewing needed to finish it after stuffing. It’s also a great project for learning and practicing machine appliqué embroidery techniques. Let’s get started!
Machine Setup
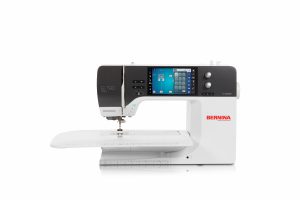
- BERNINA 790 PRO
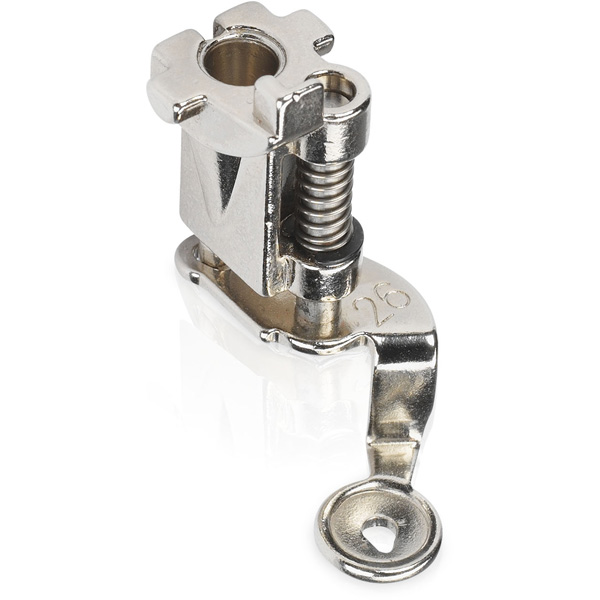
- Embroidery Foot #26
- Straight Stitch Plate
- Large Oval Hoop
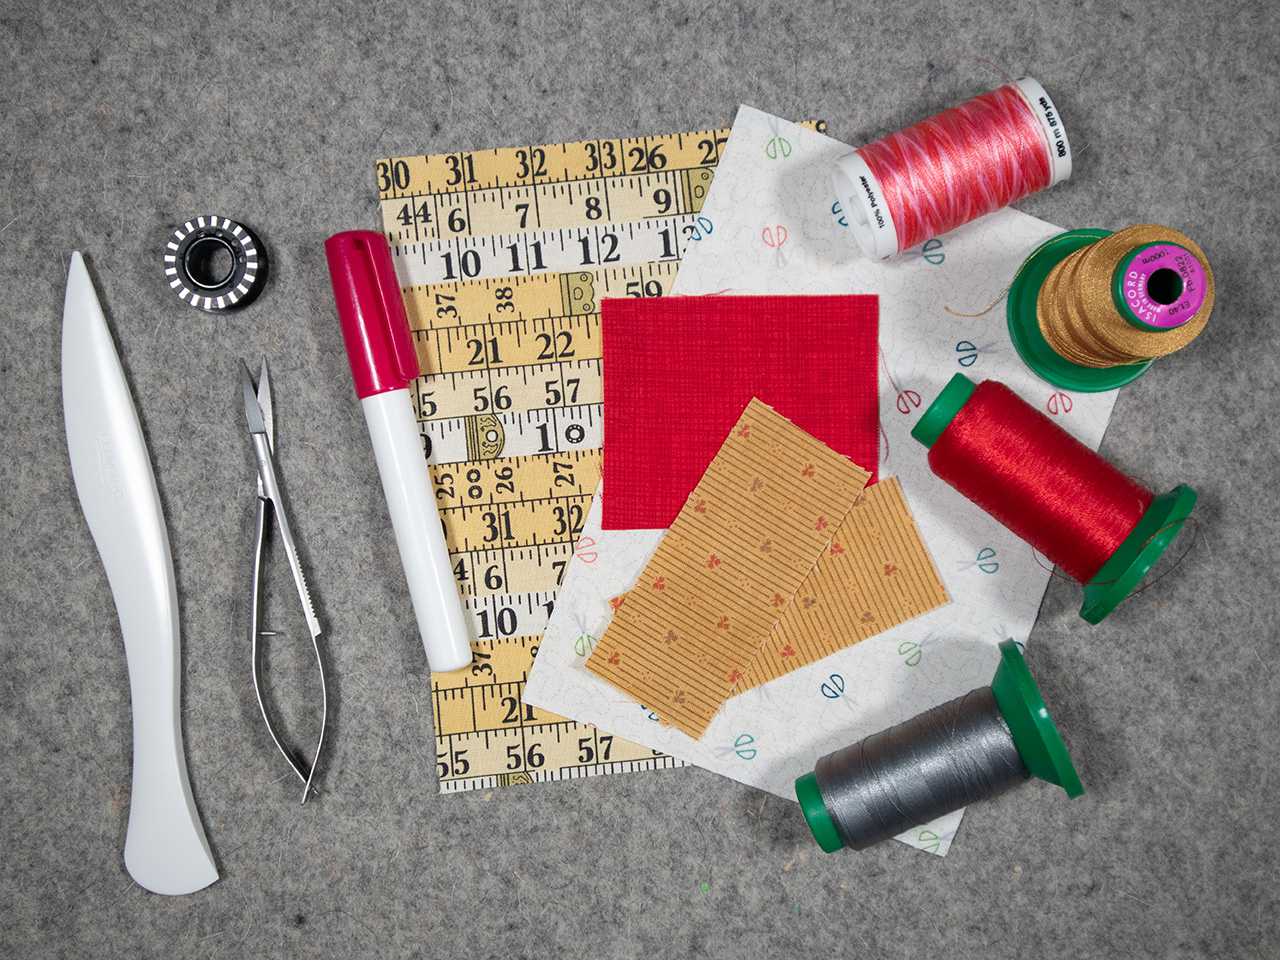
Supplies Needed to Make the Pincushion
- 80/12 Embroidery needle
- 40wt Embroidery Thread (various colors)
- 60wt Bobbin Thread
- 50wt Cotton Thread
- Fabric Glue Stick
- Small Curved Embroidery Scissors
- Fabric Scissors or Pinking Shears
- Point Turner
- Tear-away stabilizer (I used OESD StabilStick)
- Choose your favorite filler for the Pincushion: Poly-fil, Poly- pellets, Walnut Shells
- Iron and Pressing Surface
Fabric Needed
- Front 5” x 7” rectangle
- Two 1½” x 3 ½” rectangles for wooden top and bottom of spool
- One 2 ½” x 3” rectangle for thread on spool
- Back 5” x 7” rectangle

Steps to Sew the Pincushion
Hoop the tear-away stabilizer sticky side up, making sure the stabilizer is secured all around the hoop.
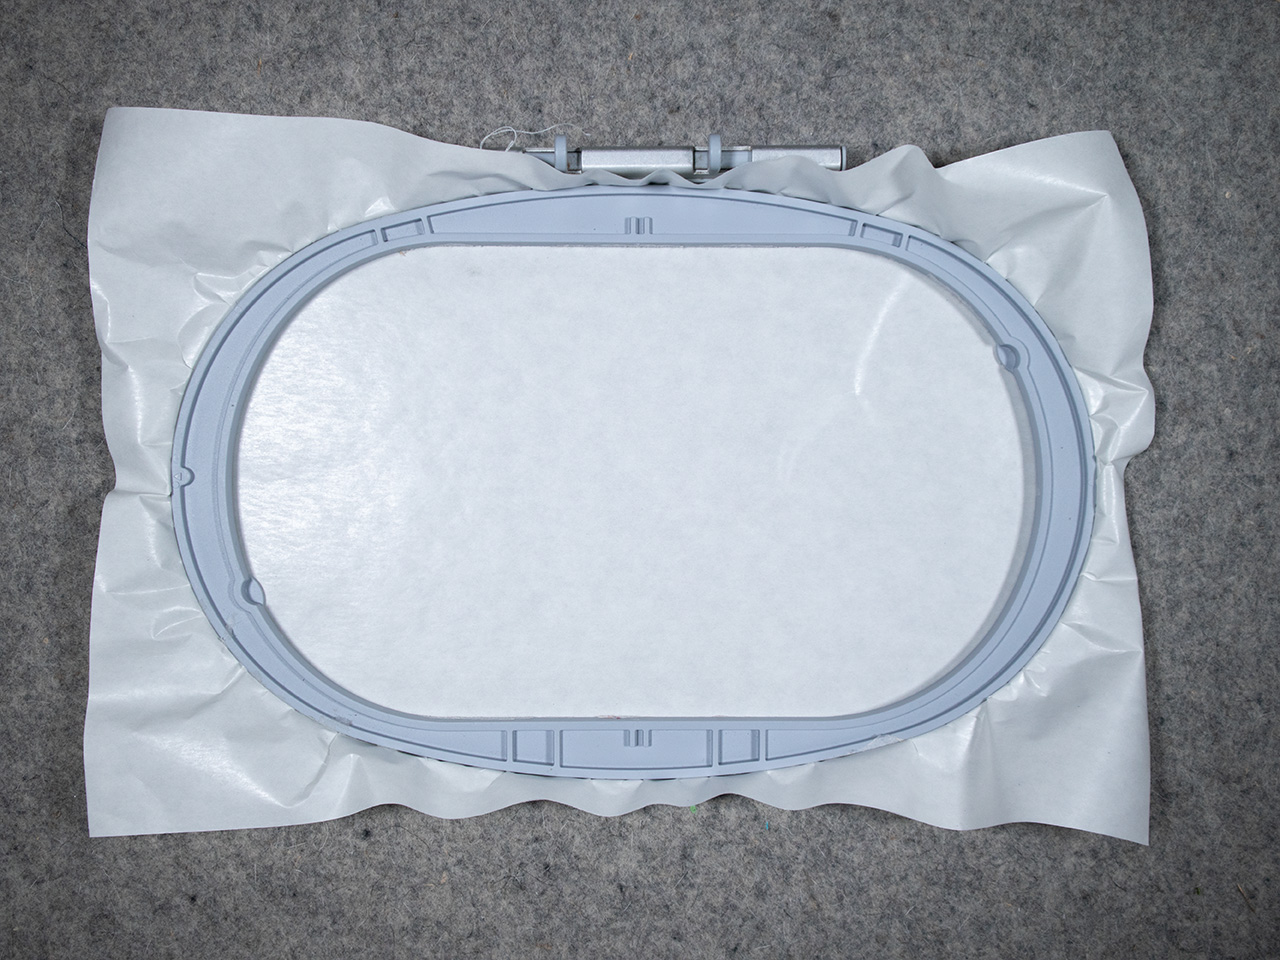
Score the inside of the hoop and remove the top sheet of the stabilizer. The stabilizer should be sticky side up in the hoop.
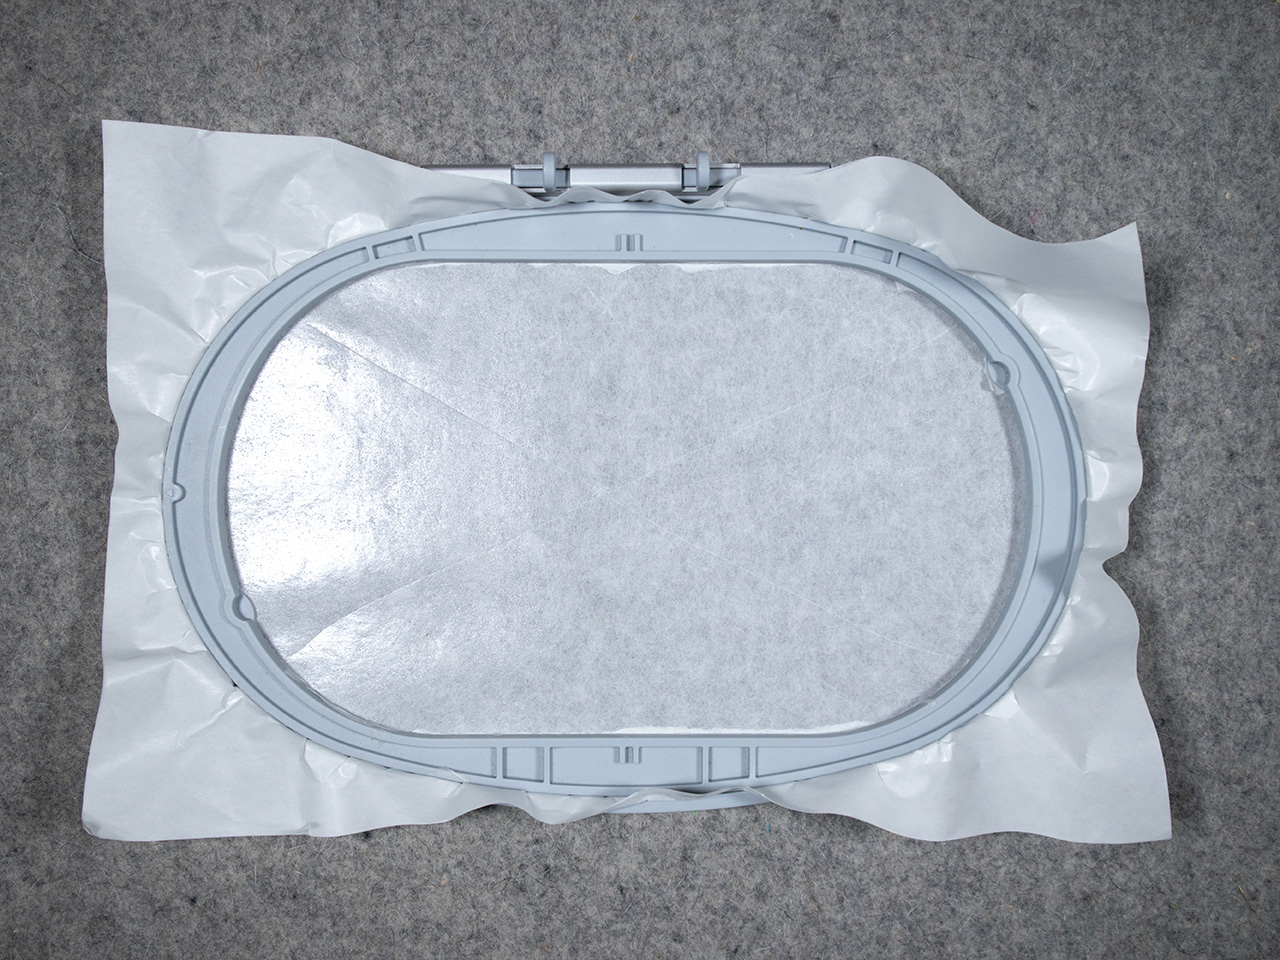
Center the 5” x 7” rectangle within the hoop on the sticky stabilizer.
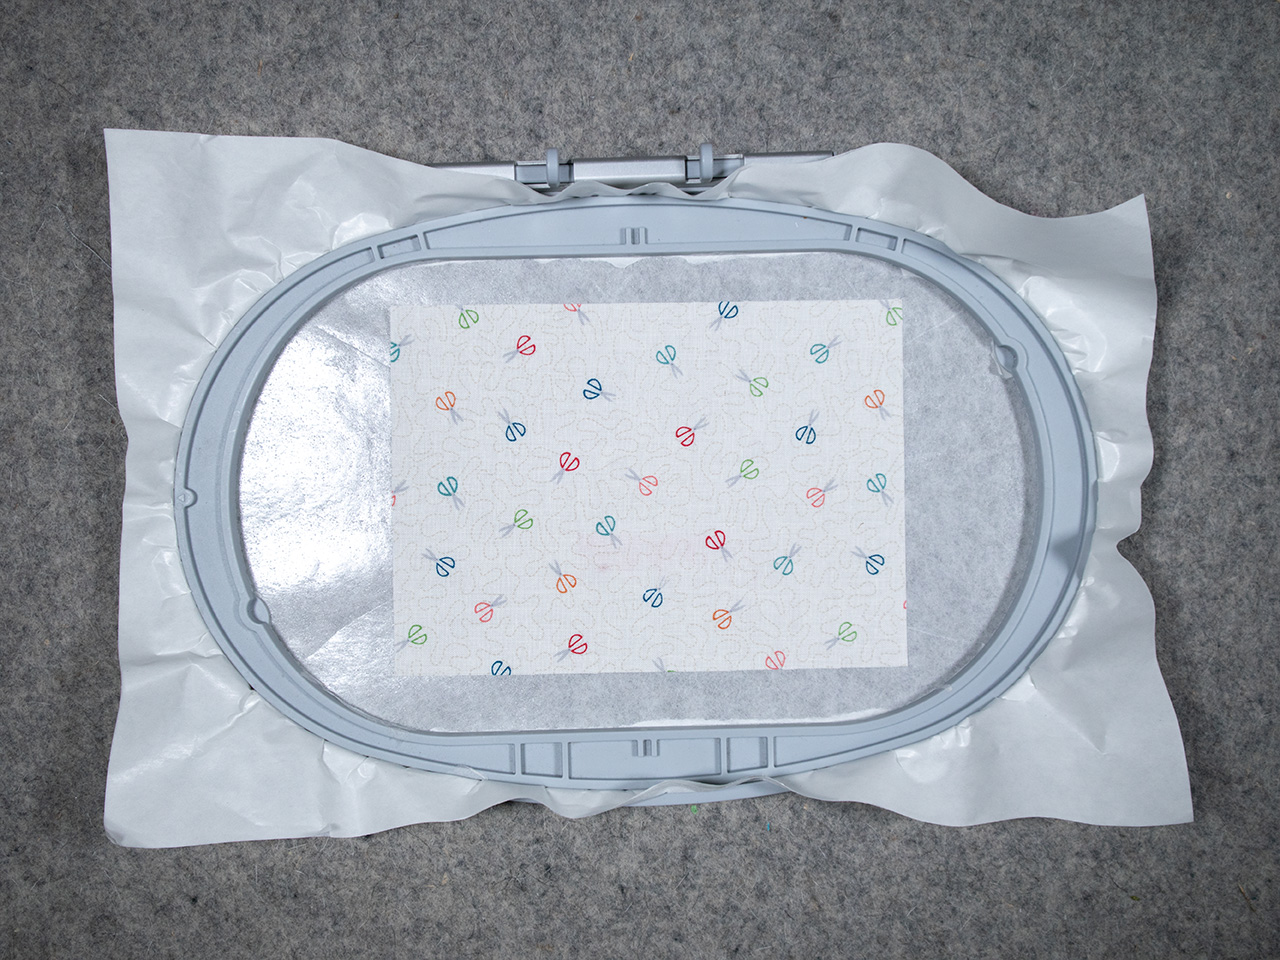
Note: If you are using a non-sticky tear-away stabilizer, use the basting box option on your machine to secure the fabric to the stabilizer.
Place hoop on the embroidery machine and stitch the rectangle shape.
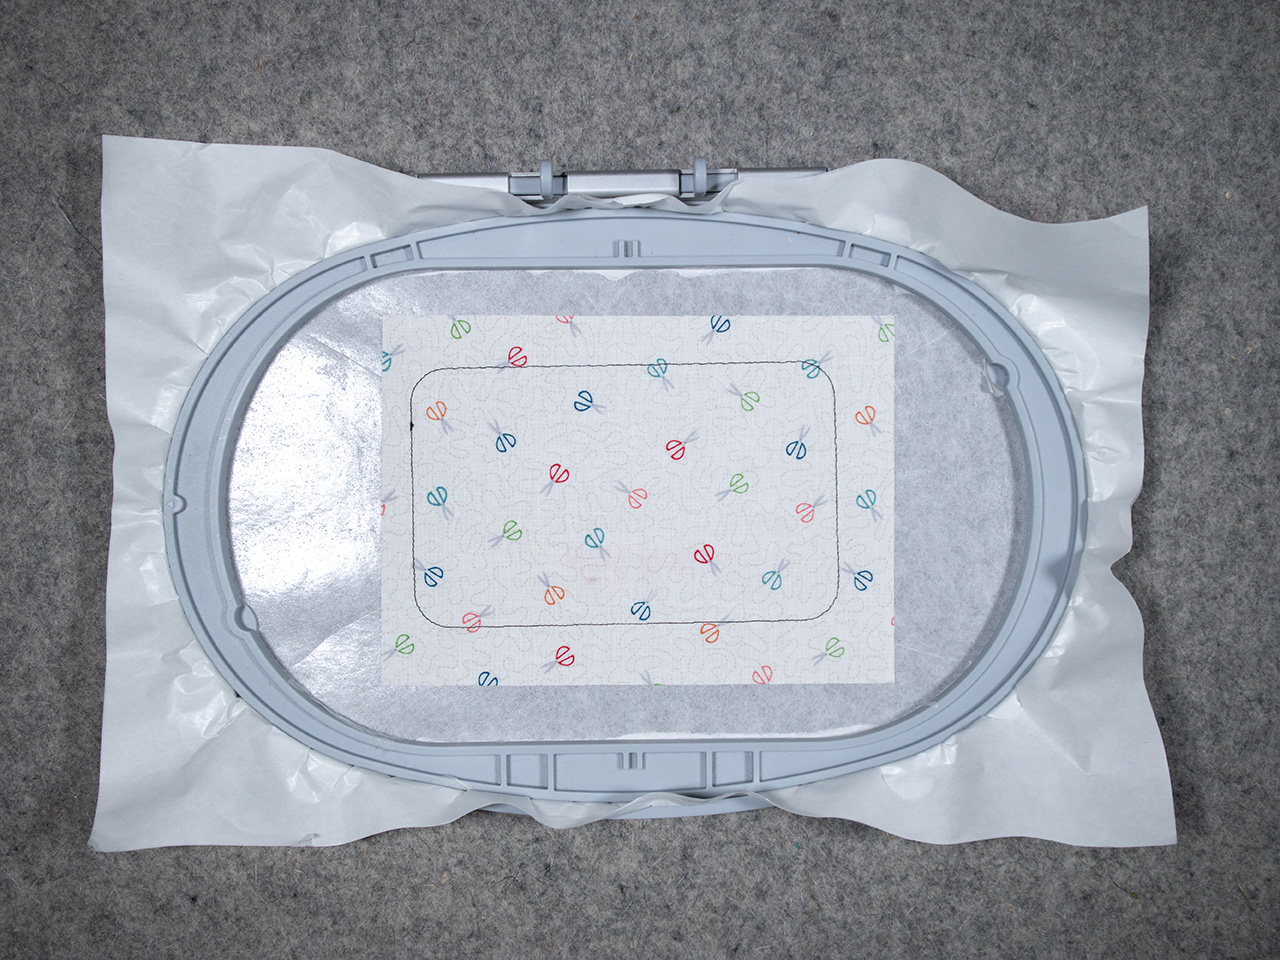
Keeping the hoop on the embroidery machine, stitch the placement stitch for the thread fabric.
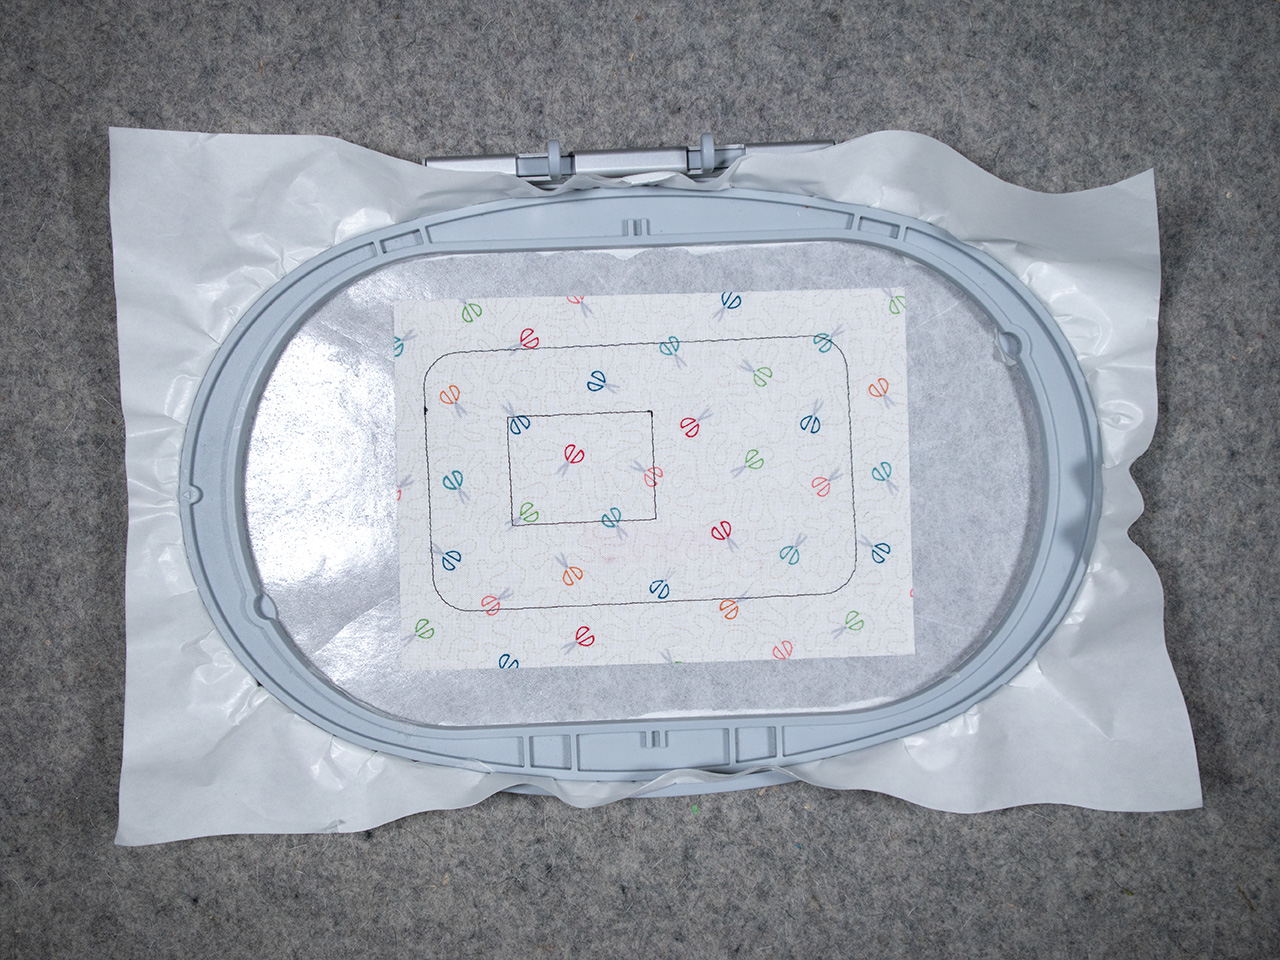
Remove hoop from the embroidery machine. Using a fabric glue stick, glue the 2 ½” x 3” rectangle thread fabric in place.

Return hoop to embroidery machine. Stitch the cutting stitch.
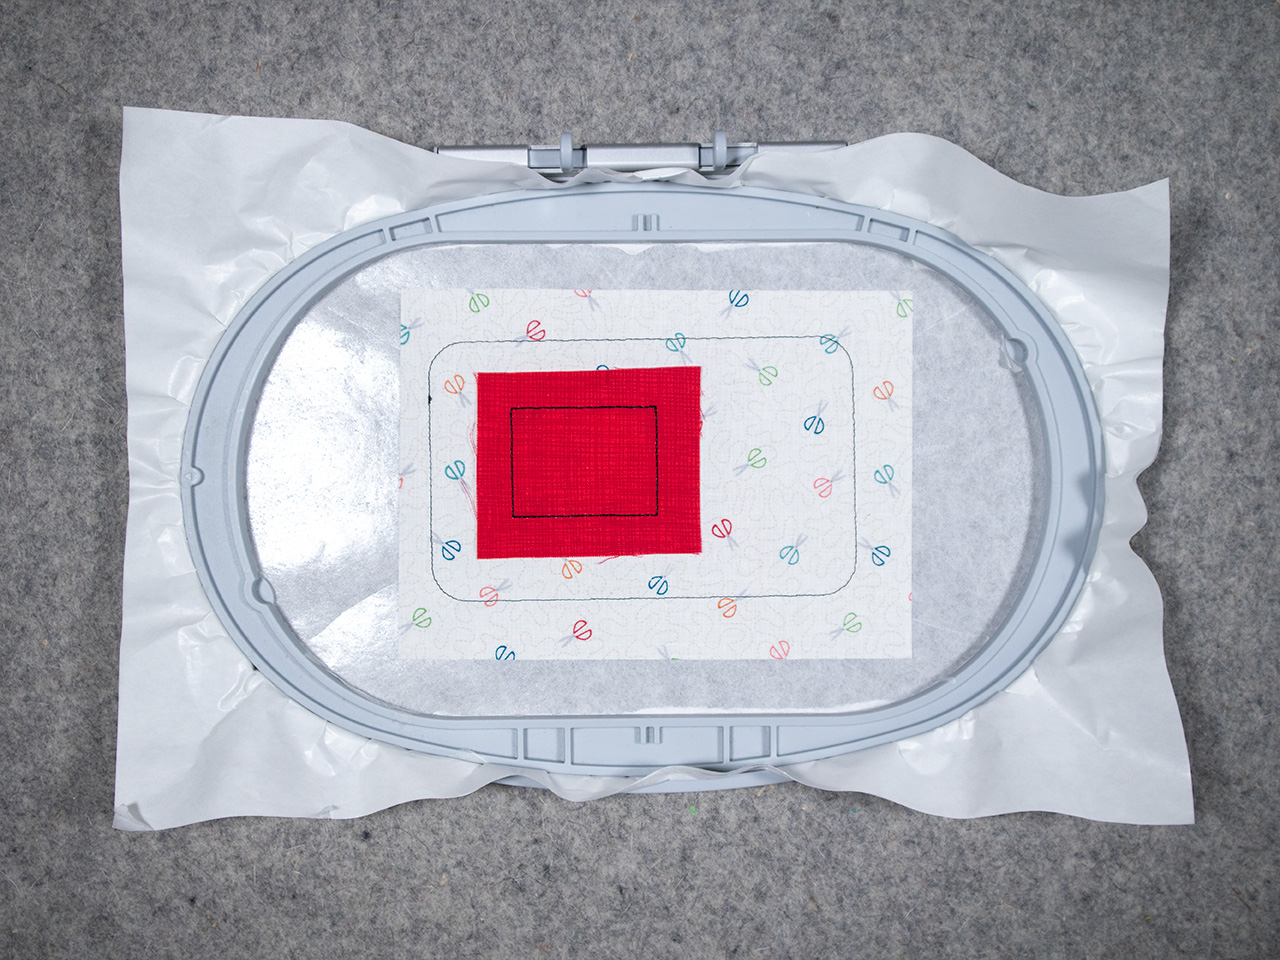
Remove hoop from the embroidery machine. With small, curved scissors, trim the rectangle fabric right up to the cutting stitch.
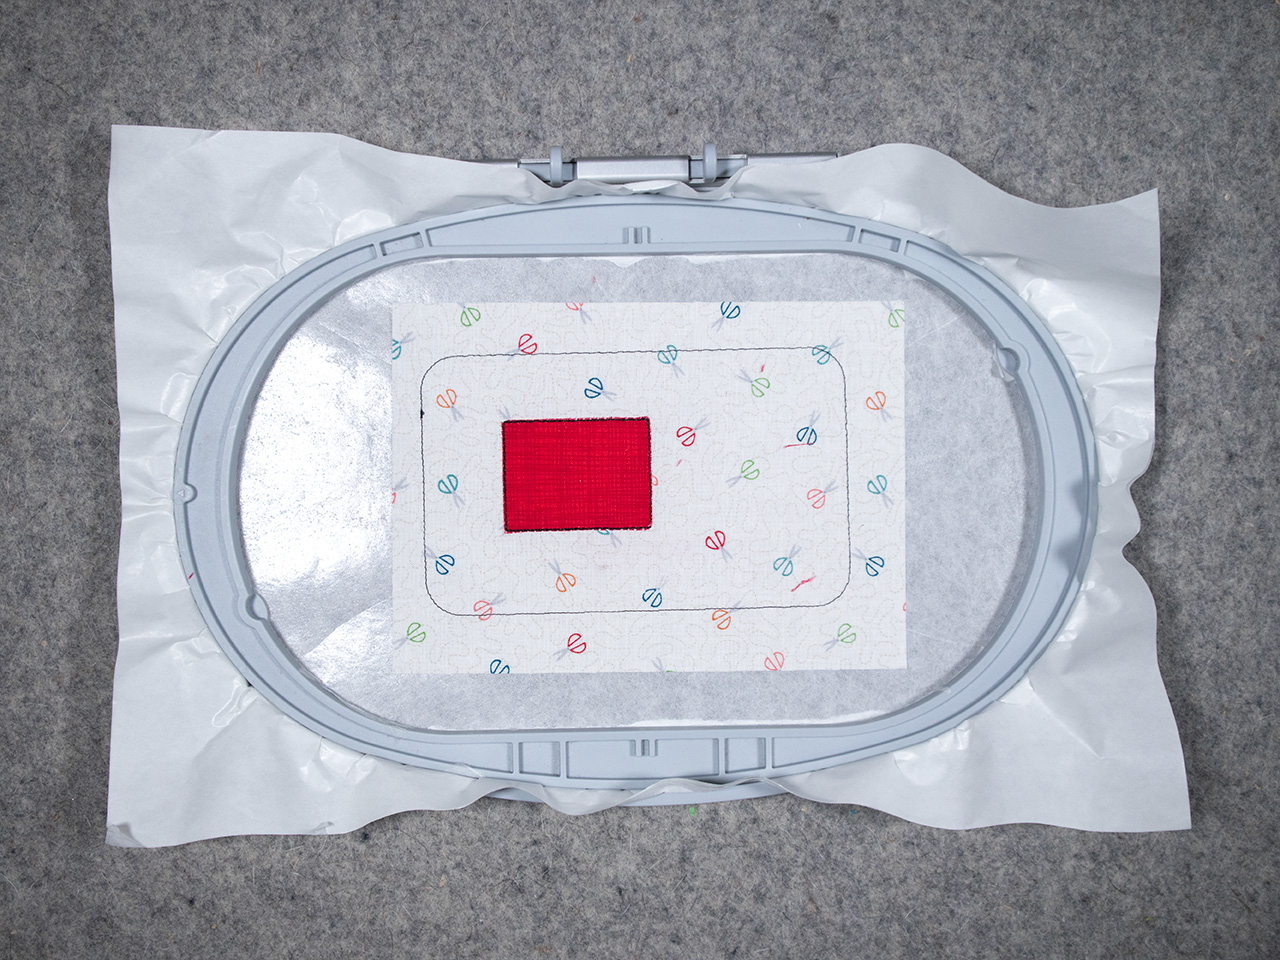
Place the hoop on the embroidery machine and stitch the placement stitch for the top and bottom of the spool.
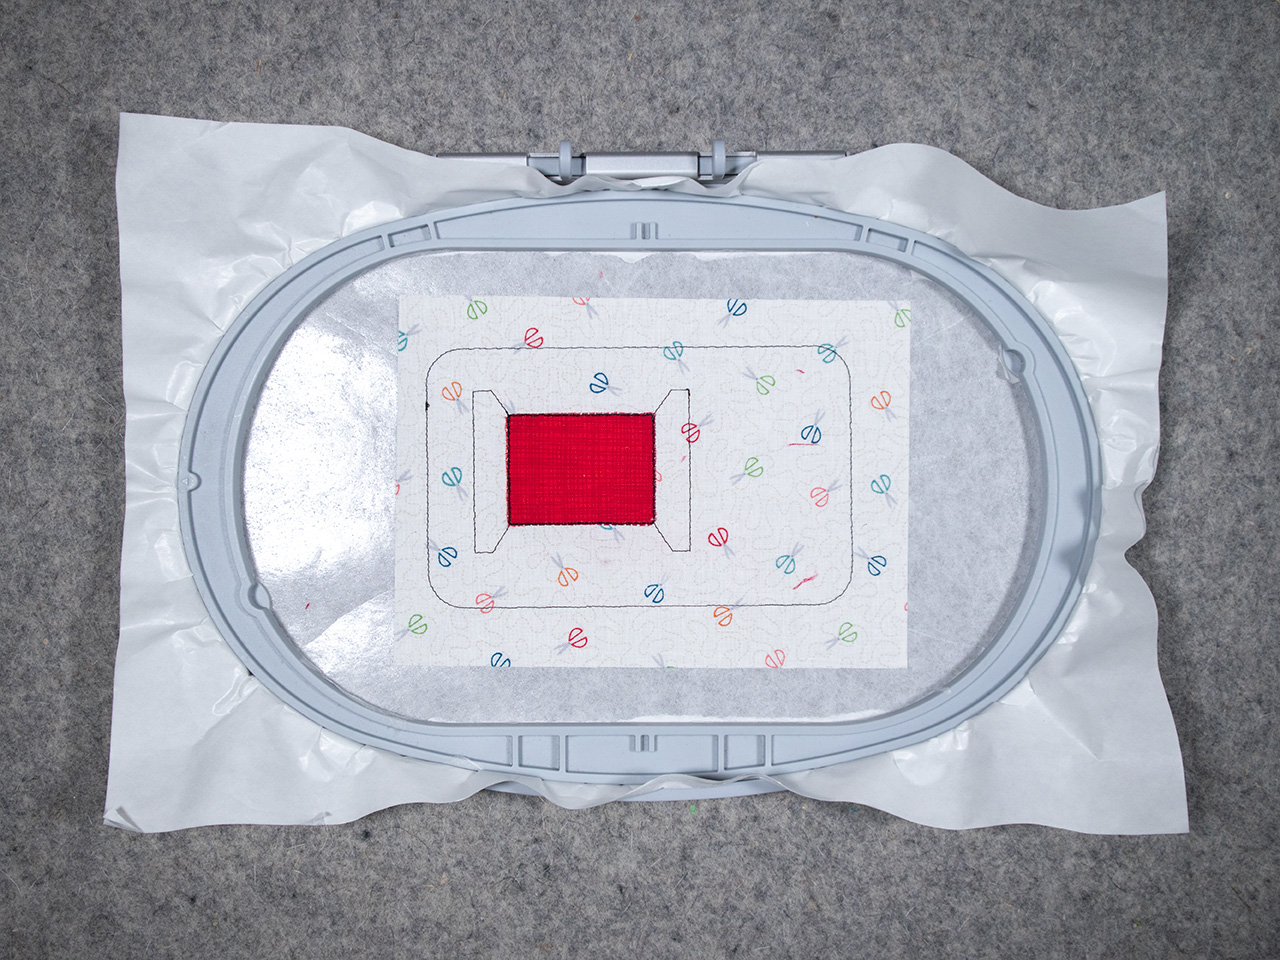
Remove hoop from the embroidery machine. Using a fabric glue stick, glue the 1½” x 3 ½” rectangles in place.
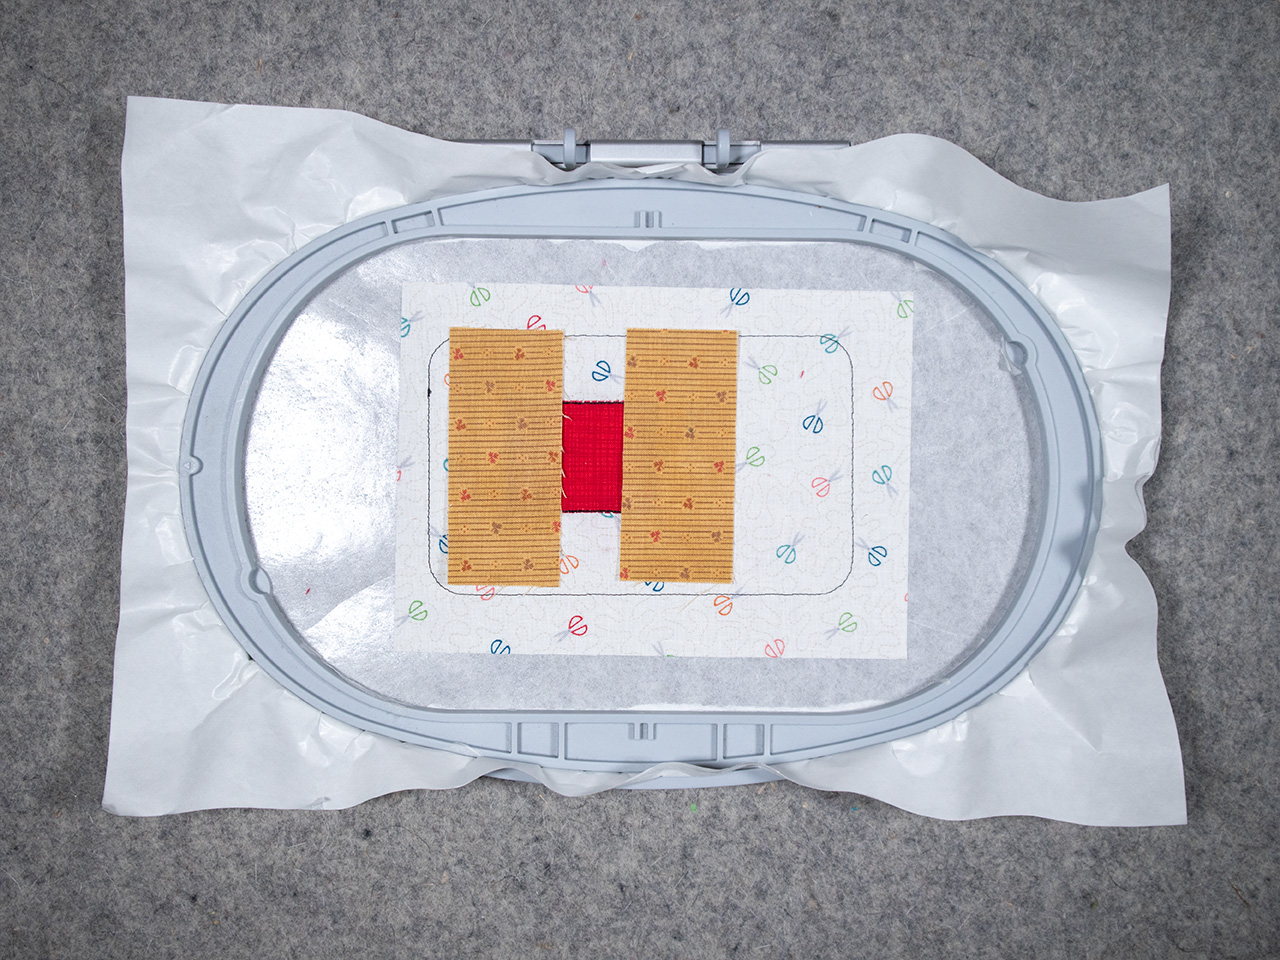
Return hoop to embroidery machine. Stitch the cutting stitch.
Remove hoop from the embroidery machine. With small, curved scissors, trim the spool top and bottom fabric shapes right up to the cutting stitch.

Return hoop to embroidery machine. The machine will now Step Fill stitch the scissors on top of the spool.
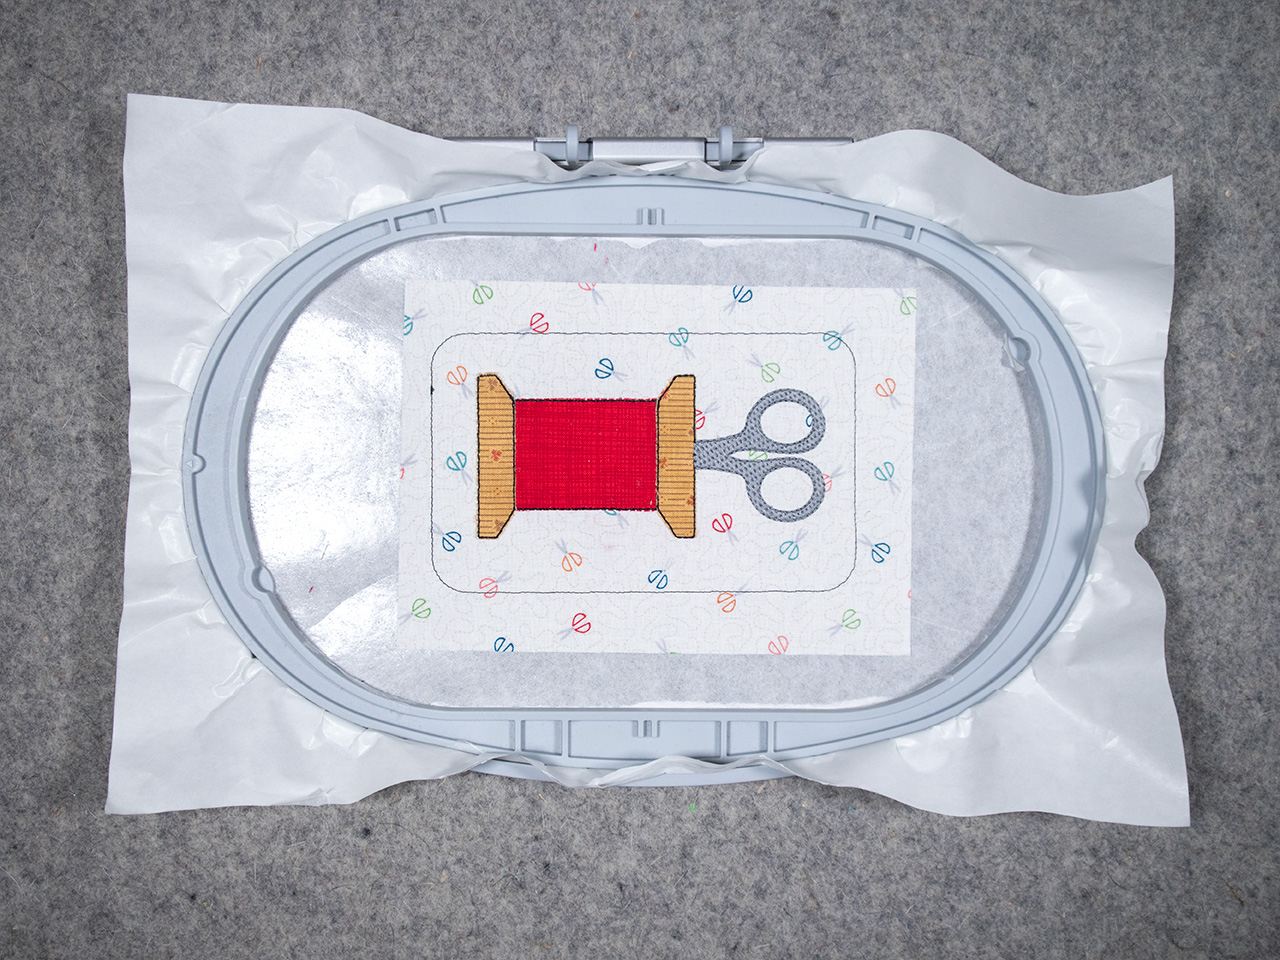
Keeping the hoop on the embroidery machine and changing thread, the next step will stitch the “thread” on the spool fabric. I used a variegated embroidery thread for a fun effect.
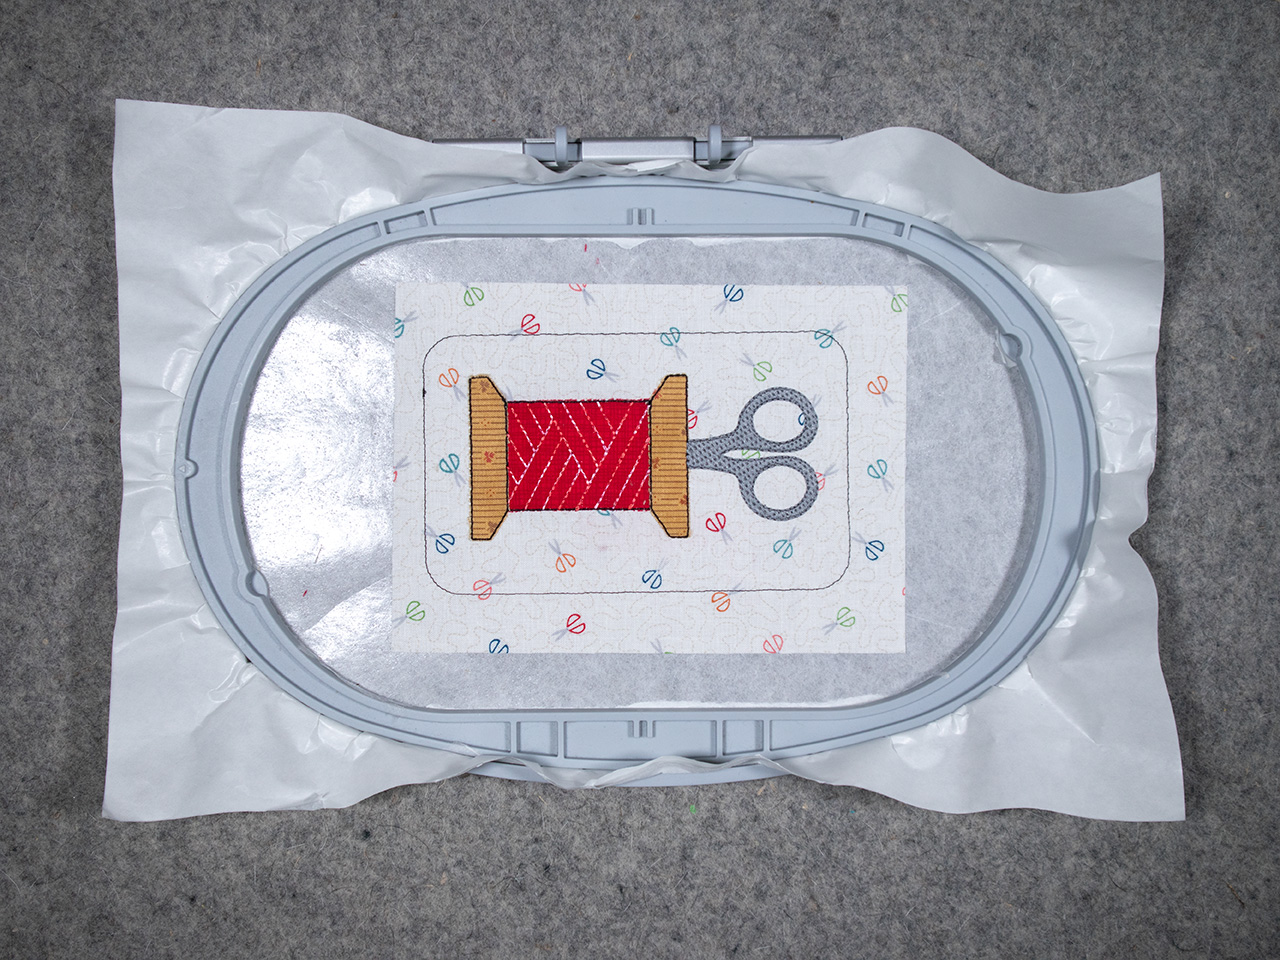
Keeping the hoop on the embroidery machine and changing thread, stitch the satin stitch of the top and bottom of the spool.
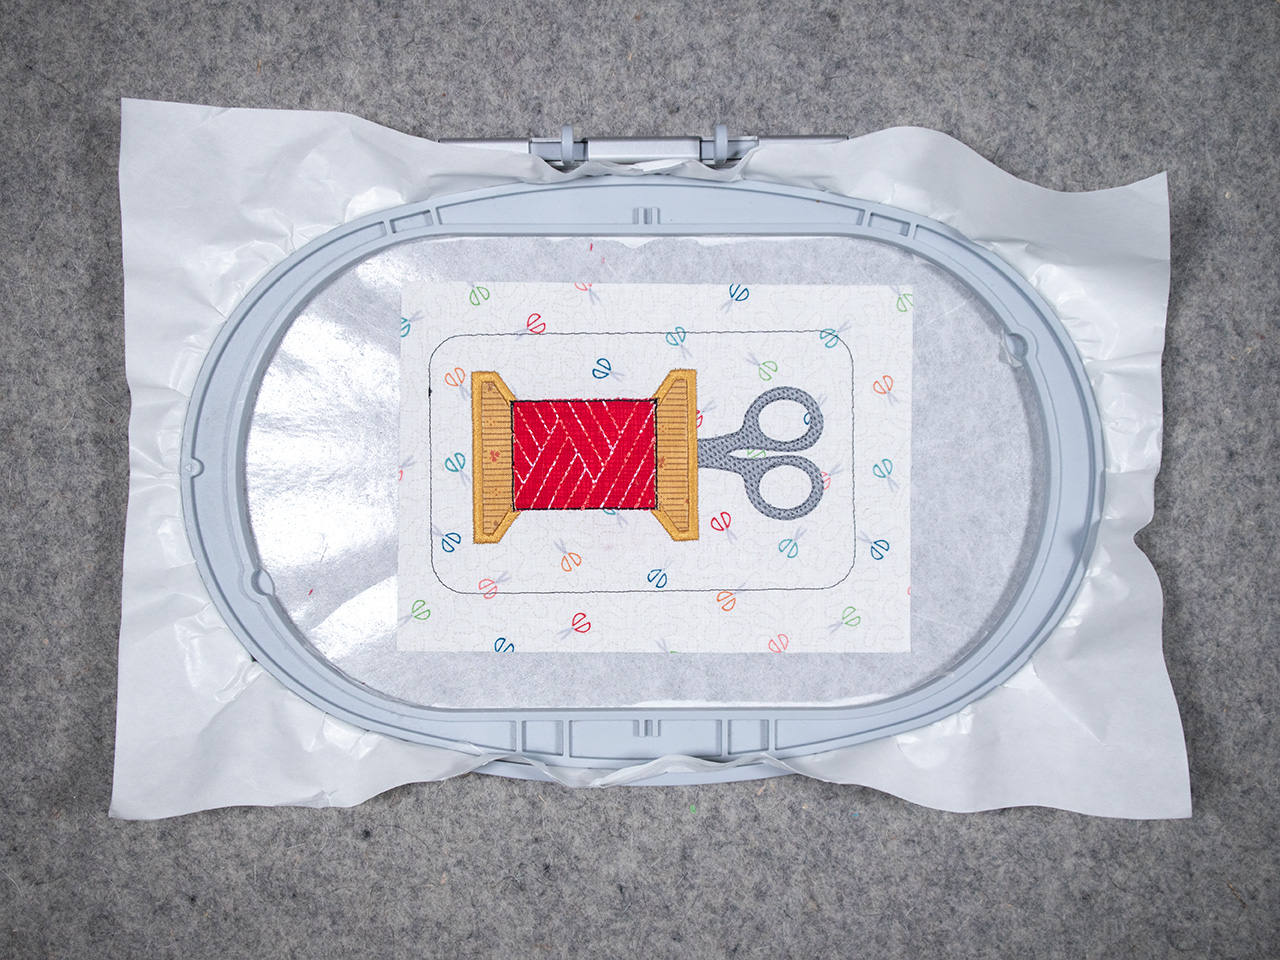
Keeping the hoop on the embroidery machine, change the thread and satin stitch the spool of thread.
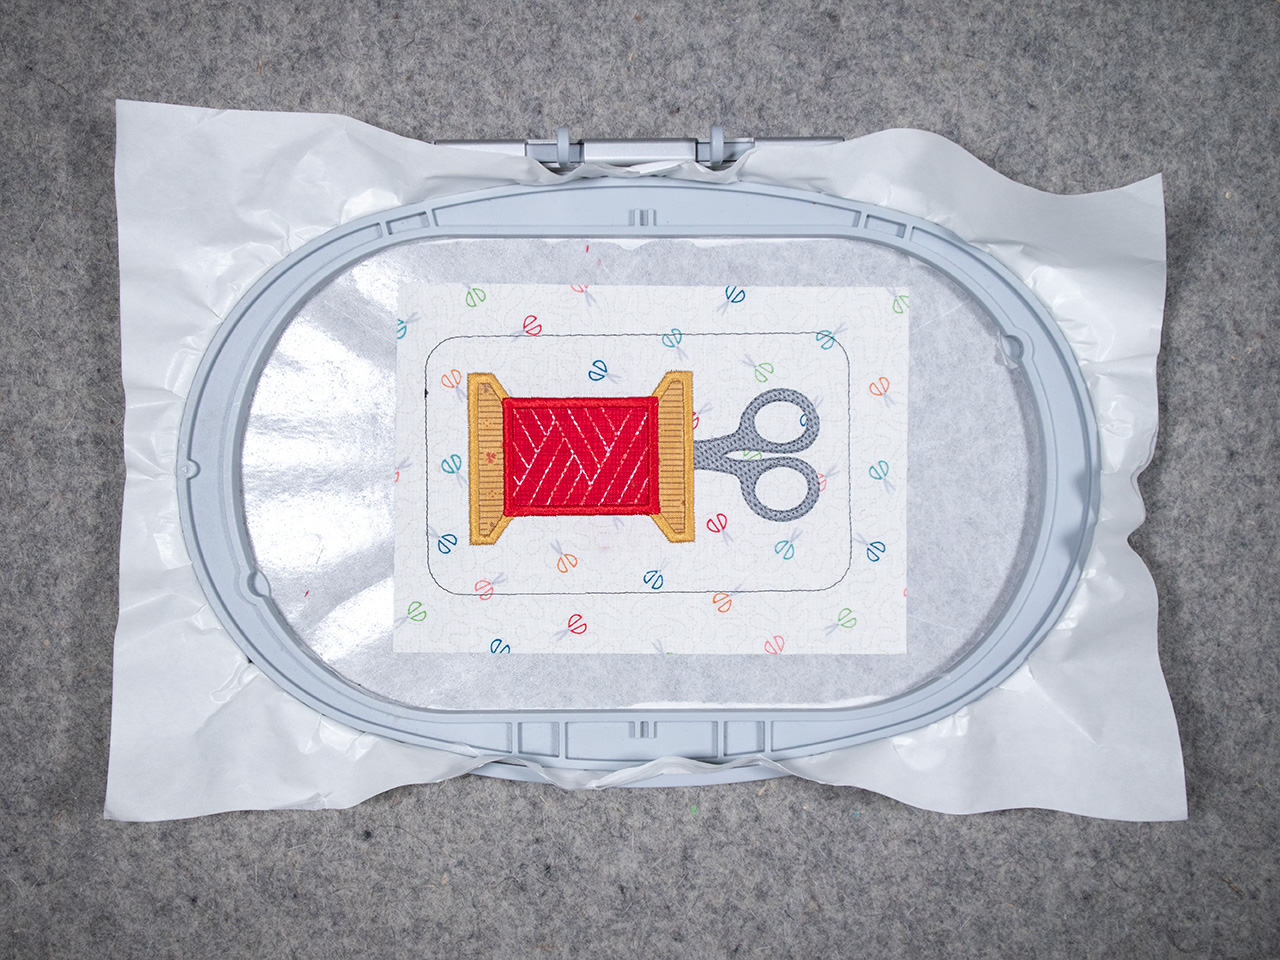
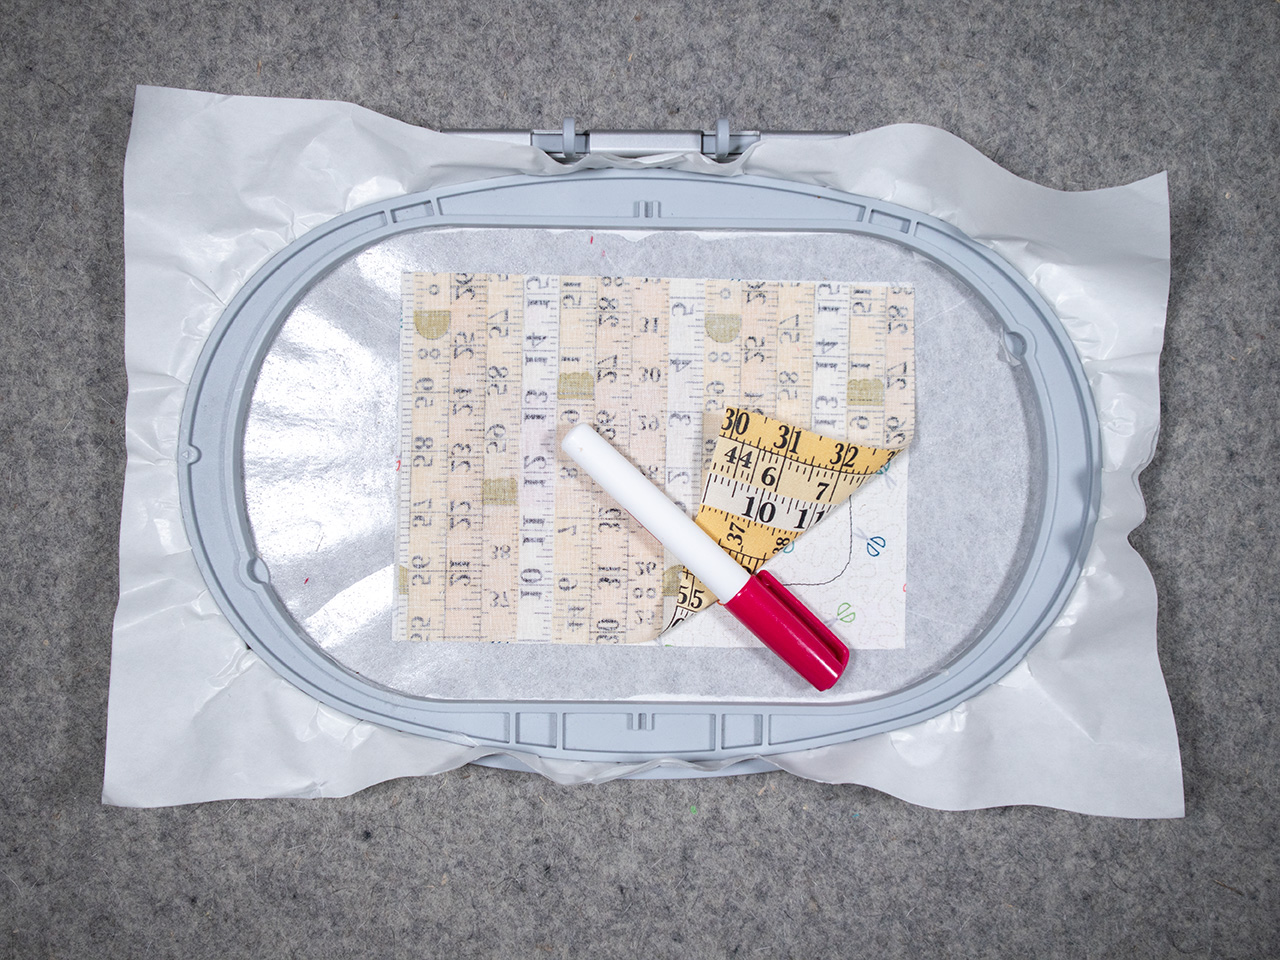
Remove the hoop from the embroidery machine. With a fabric glue stick adhere the backing fabric with a dab in the four corners of the 6 ½” square. The right sides of the fabrics together.
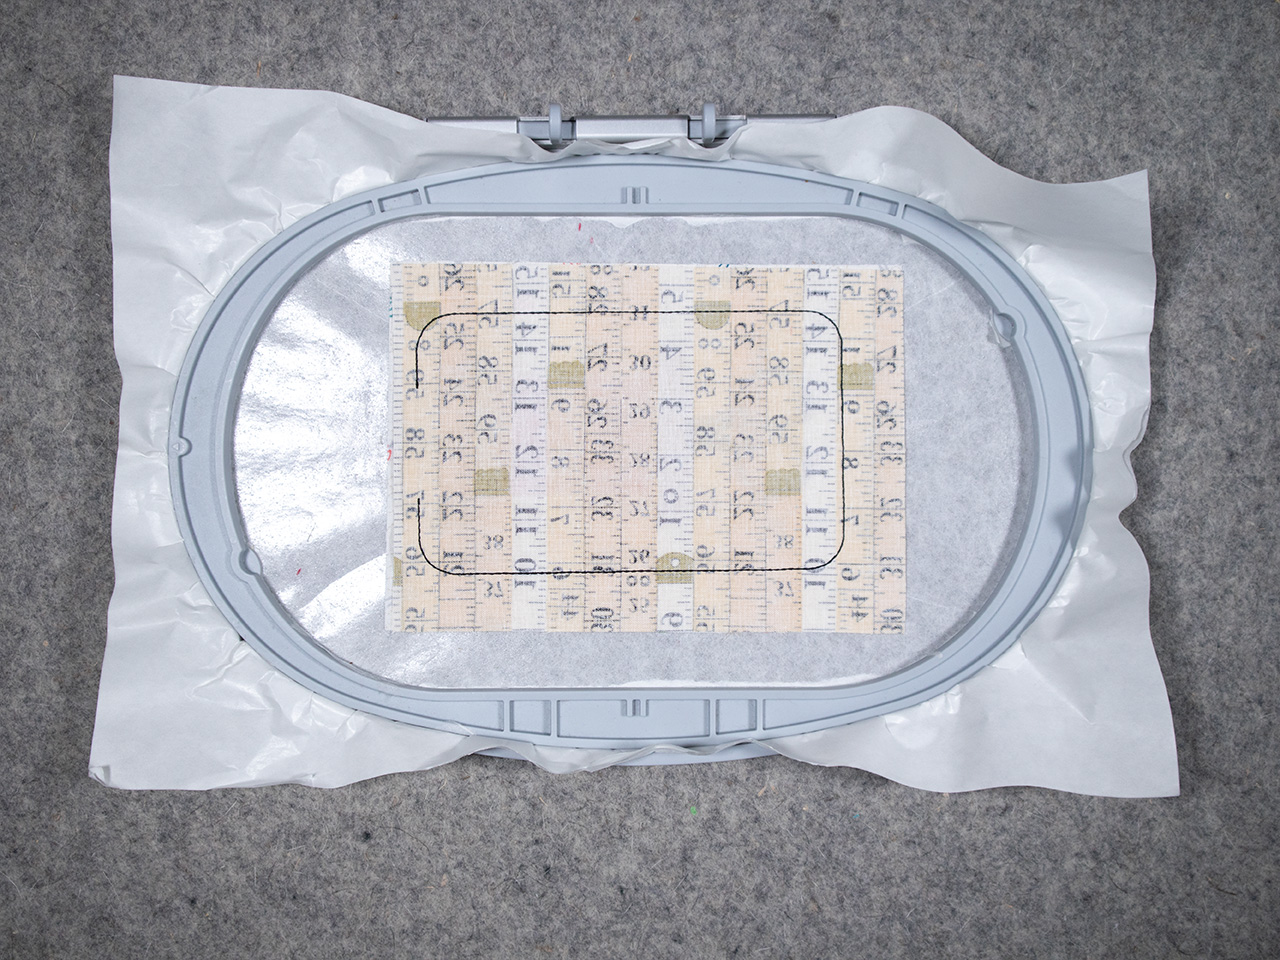
Return the hoop to the embroidery machine and stitch the two pieces of fabric together. There will be an opening at the bottom of the pincushion to turn right sides out.
Remove the hoop from the embroidery machine and remove the fabric from the stabilizer. With fabric scissors or pinking shears, trim ¼” from seam line all the way around. I used pinking shears.
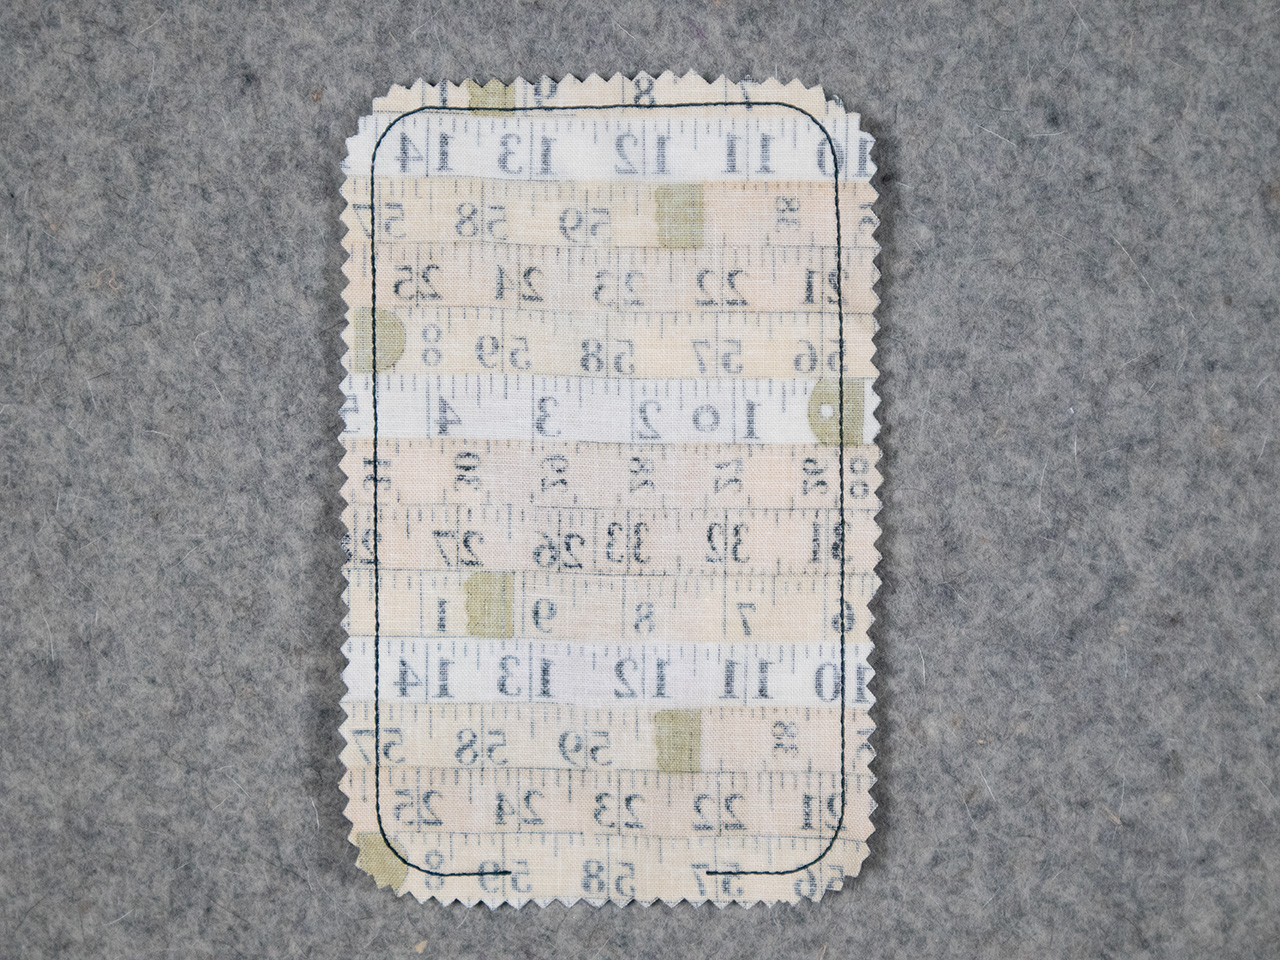
Gently turn the pincushion inside out. Use a point turner to ease the curve. Fill the pincushion with your favorite filling. I used walnut shells. Any filling would be perfect. After filling the pincushion, slip stitch the small opening together with 50wt cotton thread and a sewing needle.
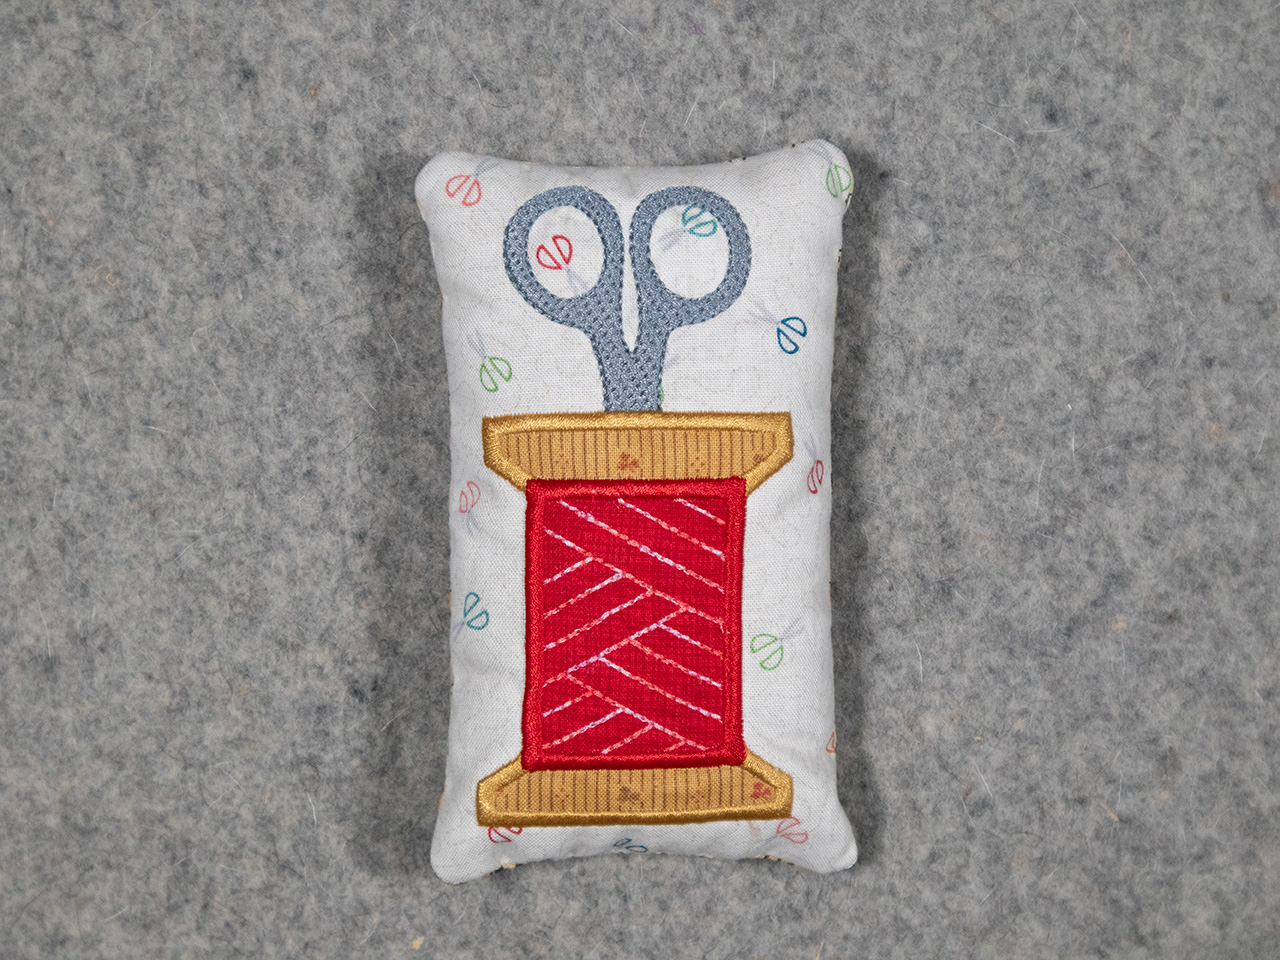
Enjoy and display your pincushion beside your BERNINA machine. Maybe make some pincushions for your favorite friends. If you like this stunning pincushion, check out my website lunchboxquilts.com. There you will find many projects using machine embroidery applique quilts and projects. Keep watching for more We All Sew projects as I am creating the next pincushion in the series for you.
Happy Stitching!
Angie