BERNINA Sews a RARE Bear
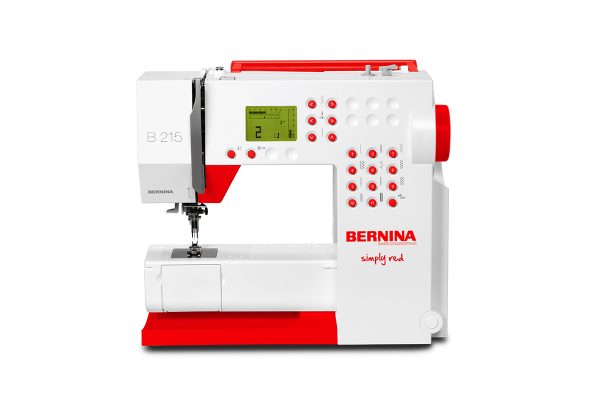
When CEO and Founder of RARE Science Christina Waters (RARE Science is a nonprofit organization that accelerates cures for kids), approached BERNINA for a sewing machine to raffle off at A Beary RARE Affair, her request launched more than just a machine giveaway. It was decided that BERNINA had to do something more.
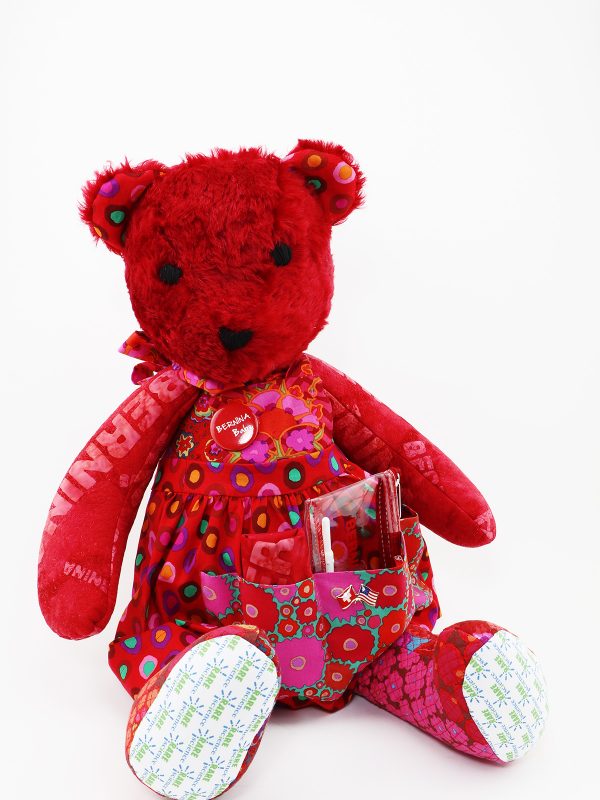
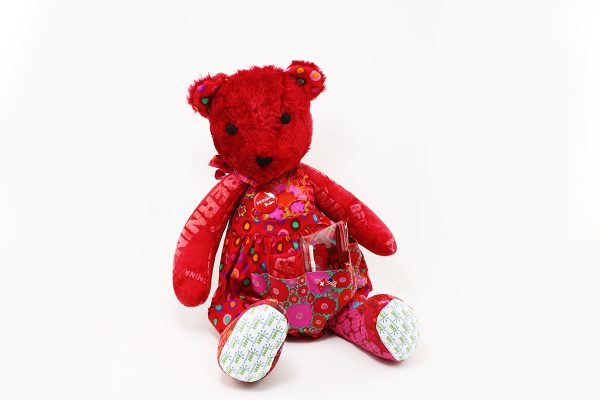
To enhance the BERNINA 215 Simply Red sewing machine, Connie Fanders, Director of Education at BERNINA USA, took it upon herself to make a RARE BEARnina to be raffled off along with the sewing machine during the International Quilt Festival November 3-6.
For those of you that have never heard of or been to Houston International Quilt Festival, it is a huge convention where quilt makers, quilt lovers, sewing enthusiasts, quilt shop owners and staff, sewing industry manufacturers and distributors and many more gather. It’s fun and intense and always inspiring. Amongst the various classes, lectures and shopping opportunities there always seems to be charitable sew-alongs where attendees can put their creative energy towards a good cause. This year is no exception. Friday, November 4, RARE Science is sponsoring A Beary RARE Affair in support of children with rare disease. If you happen to be there during this time, get a ticket to the Beary RARE Affair for a chance to win the BERNINA Simply Red sewing machine along with the RARE BEARnina. The Beary RARE Affair event will connect quilt enthusiasts with their favorite Sewlebrities, and have everyone in the room sewing and stuffing for this very worthy event. You can read more about RARE Science at WeAllSew in our Support the RARE Bear Army post.
Another fun RARE Bear initiative is the Sewlebrity RARE Bear auction featuring quilters such as Alex Anderson, Ricky Tims, Sue Nichols and Karen Bernstein (just to name a few). The online silent auction is open from November 2 through November 6, 2016.
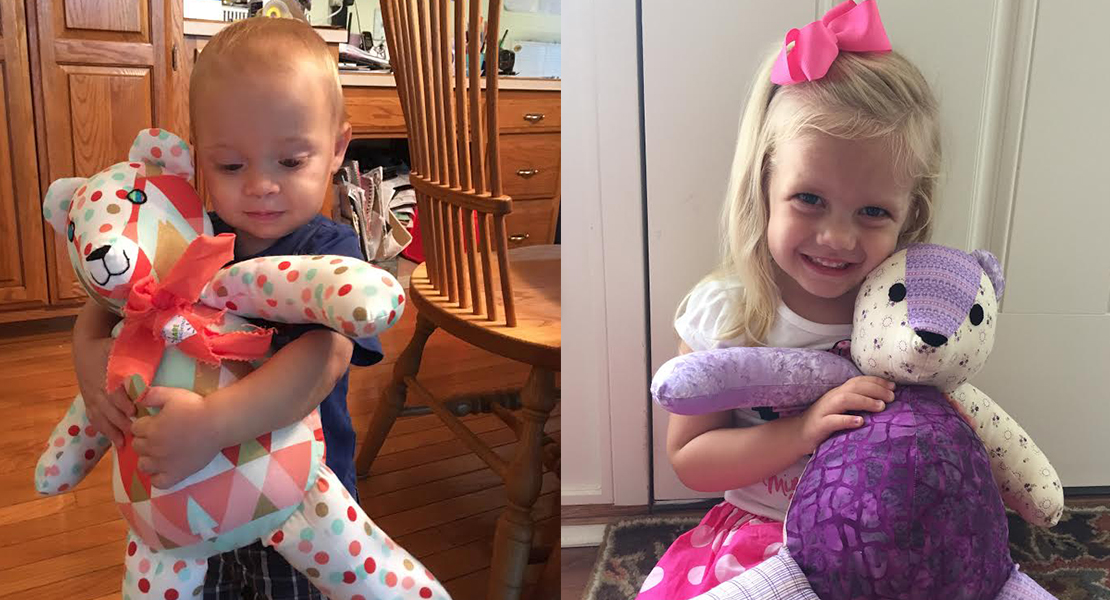
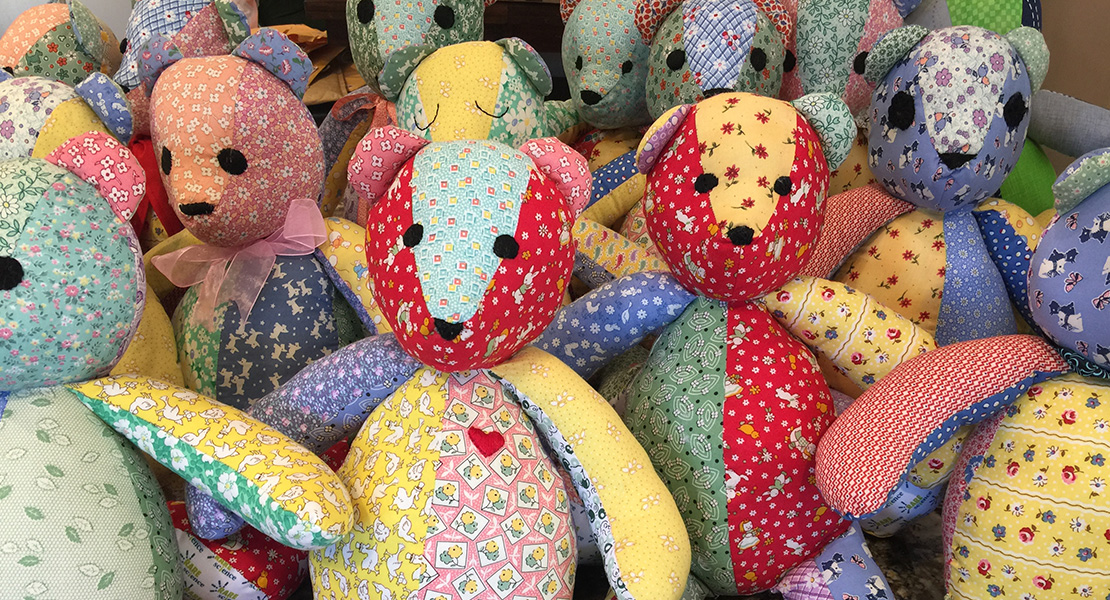
For any of you who are interested in making a RARE Bear for a special rare child, you can find the instructions on the RARE Science website. The tutorial takes you through the steps:
- Assembling the head
- Sewing the belly together
- Attaching the feet to the legs
- Securing the legs to the tummy
- Precise placement for the serialized RARE Bear tag on the back seam of the bear
- Fixing the arms to the body
- Attaching the head
Enhanced RARE BEARnina instructions
If you are looking to make a very special bear like the one Connie made, here are some techniques she used to bring her BEARnina to life!
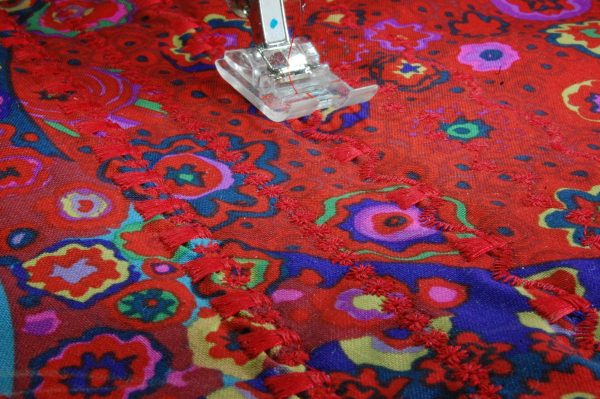
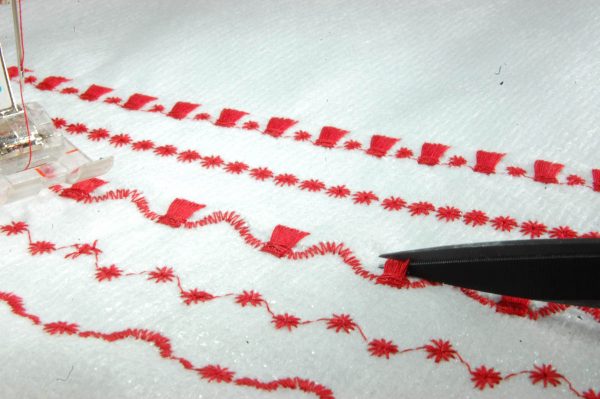
Start out with some BEARnina body embellishment. You’ll need to embellish your cut-out bear pieces before sewing them together. For the first application you’ll need to use Embroidery Foot with Clear Sole #39 and your favorite decorative stitches. Some of the most unique stitches found on the BERNINA 880 model are the tassel stitches #1113, #1114 and #1115; which is what Connie used on the right side of our BEARnina’s belly.
These are easy to stitch with some heavy tear-a-way stabilizer under you fabric piece. Sew with matching or contrasting thread and once you have covered your piece to your satisfaction, turn it over and trim to make the tassels.
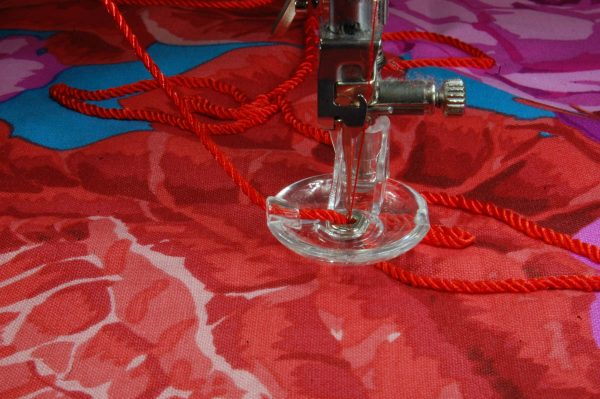
On the other side of the belly, Connie had some fun with the Free-motion Couching Foot #43. Once again stabilize the material that you wish to embellish with free-motion couching, and begin. This is a free form technique, which means you have the freedom to place the yarn wherever you like. Connie used LaEspiga Nylon cord, a product normally used for macramé, but perfect for embellishing our stylish Bear.
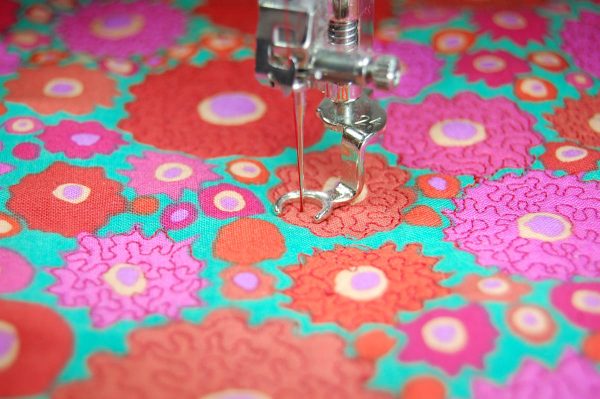
Other ways to embellish the bear pieces are with quilting. Connie’s Bear has micro-stippling on the body back and both arms. Whether you choose to use the BERNINA Stitch Regulator or the Free-motion Embroidery foot #24, you will enjoy this therapeutic technique. Make sure that you use a thin batting under your bear pieces for all of the quilted pieces.
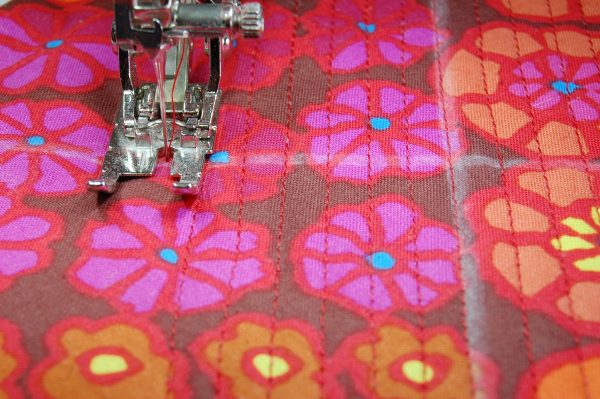
If you want to practice using a straight line quilting by doing some tiny cross-hatching, use the Walking Foot #50 or the Patchwork Foot #97D.
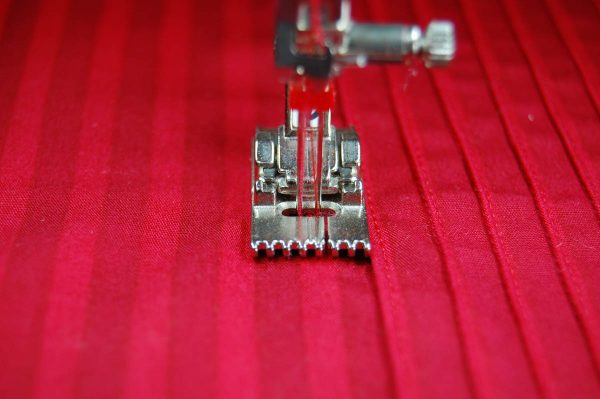
Finally, on an un-stabilized piece of material much larger than your bear’s back, draw a straight line down the middle (Connie used a striped pattern which made drawing the registration line unnecessary). This will be your first stitching line, if you choose to create a pintucked bear piece. You will need to pre-pintuck the piece before it is cut out because the process of pintucking shrinks the material down a bit. Attach a 3mm twin needle and the 7-Grove Pintuck Foot #32 for fine pintucks, thread your bobbin for embroidery and stitch. It’s like magic how the ridges are formed.
Once your pieces are embellished, follow the steps to complete your bear.
