Canvas Advent Calendar Tutorial
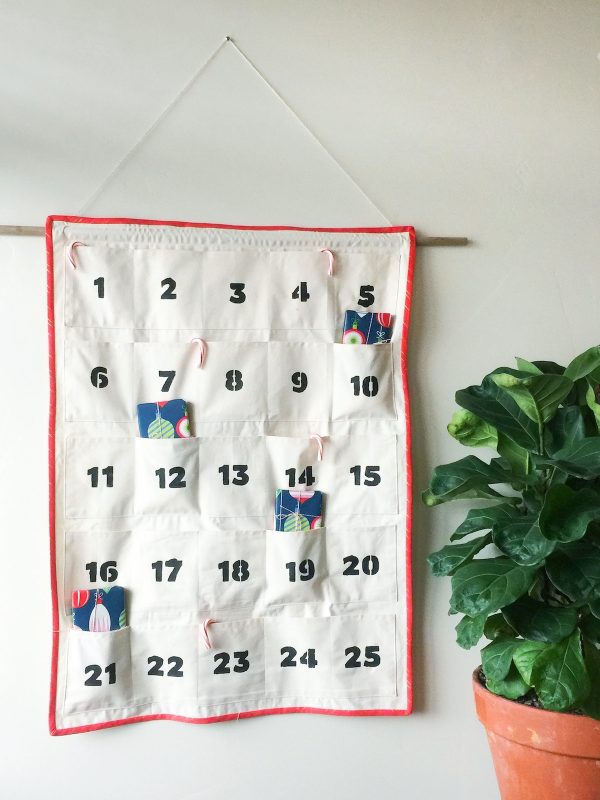
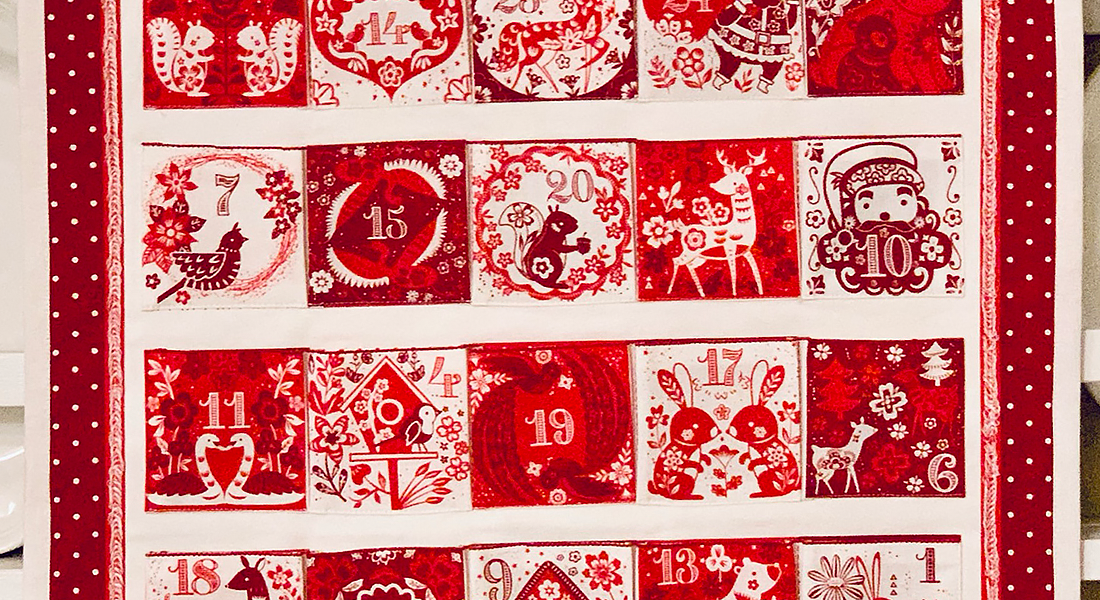
Hey everyone! Sara from The Sara Project here, and back with festive holiday tutorial to share with you. I love counting down to Christmas each year, and what better way than with a handmade advent calendar! This easy and quick tutorial will walk you through each step to create your very own advent count down in just one evening. Let’s get started!
Materials to Make an Advent Calendar
- Sewing machine (I use a BERNINA 560)
- Reversible Pattern Foot #1, #1C, #1D
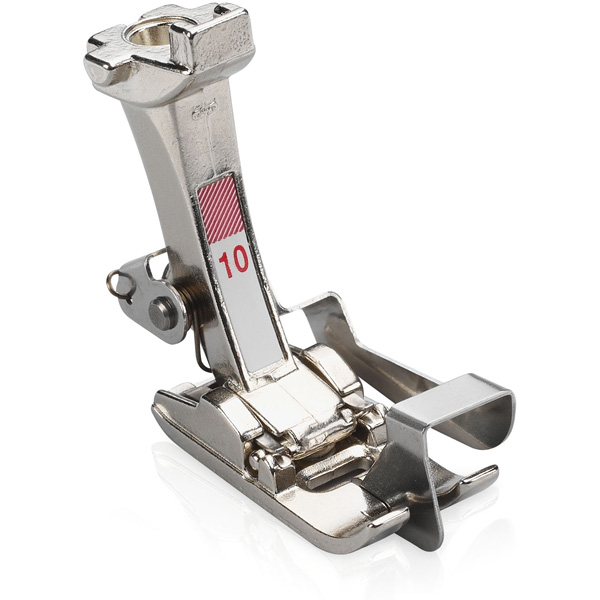
- Edgestitch Foot #10, #10C, #10D
- 2 yards canvas (I picked some up at my local Joann Store)
- ½ yard binding fabric ( I used this)
- Matching thread for canvas and binding
- Water soluble disappearing ink marking pen
- Ruler
- Acrylic paint (black)
- 1 1/2″ number stencil
- Twine
- Wooden dowel
How to Sew an Advent Calendar
First, we need to cut out all of our canvas pieces for the calendar. Here’s what you need to cut:
-1 rectangle 27″ wide x 37″ long for the main calendar piece.
-5 rectangles measuring 7″ wide x 26″ long for the pocket strips.
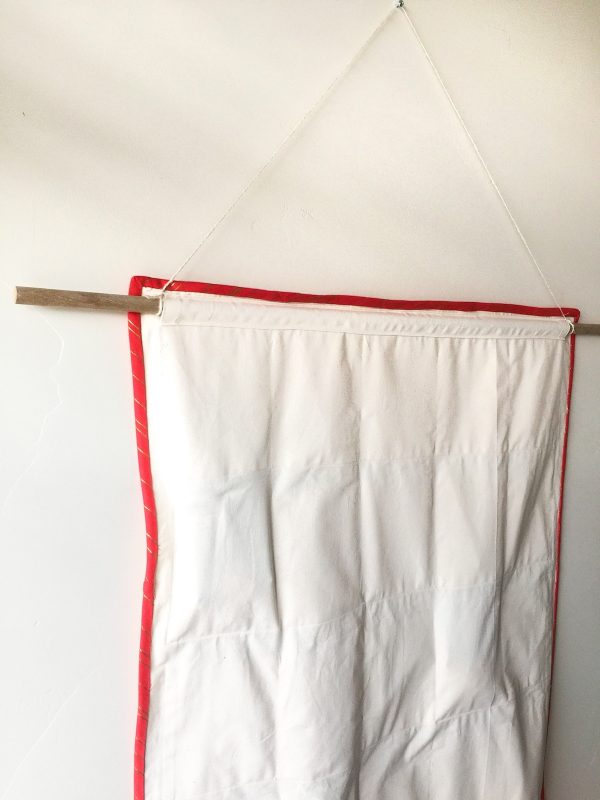
-1 rectangle measuring 26 1/2″ wide x 2 1/2″ long for the wooden dowel loop.
Now, let’s put it all together.
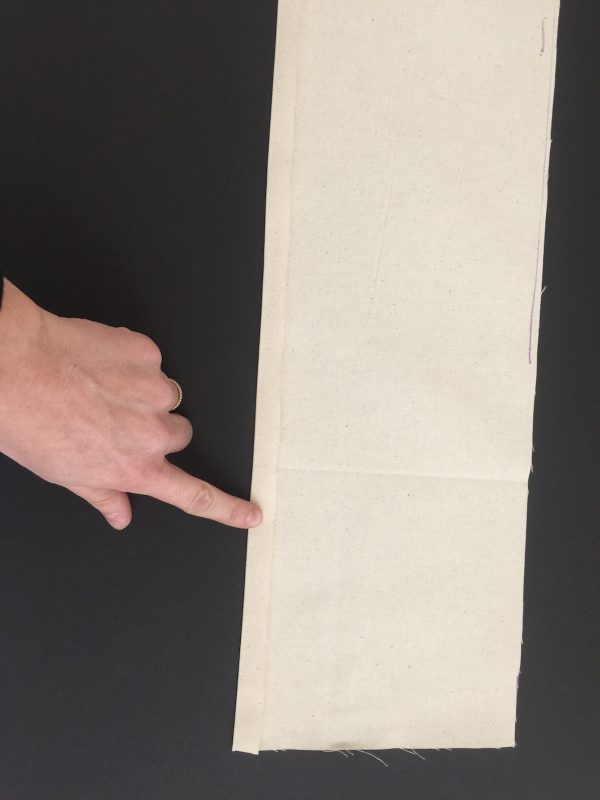
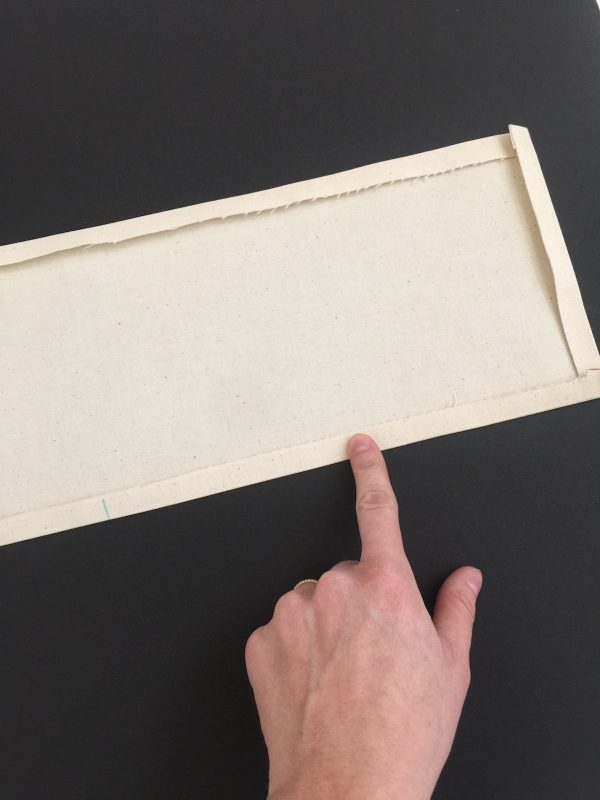
1. Fold one long edge of the pocket strip pieces in at 1/2″, and iron.
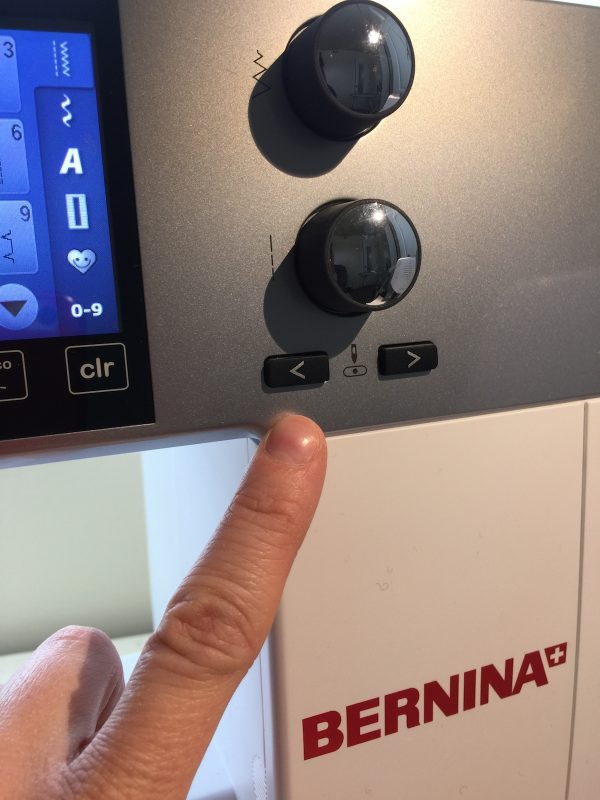
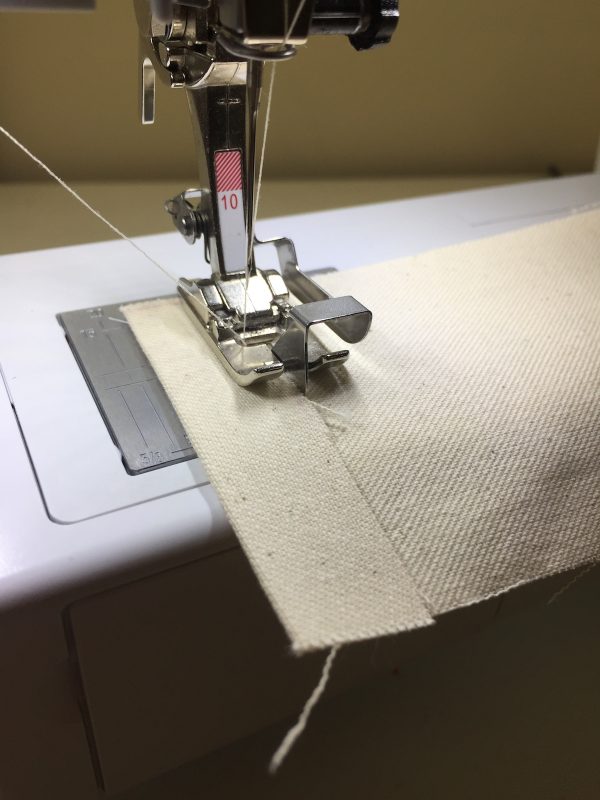
2. Move your needle over to the left 2-3 spaces, and attach Edgestitch foot #10.
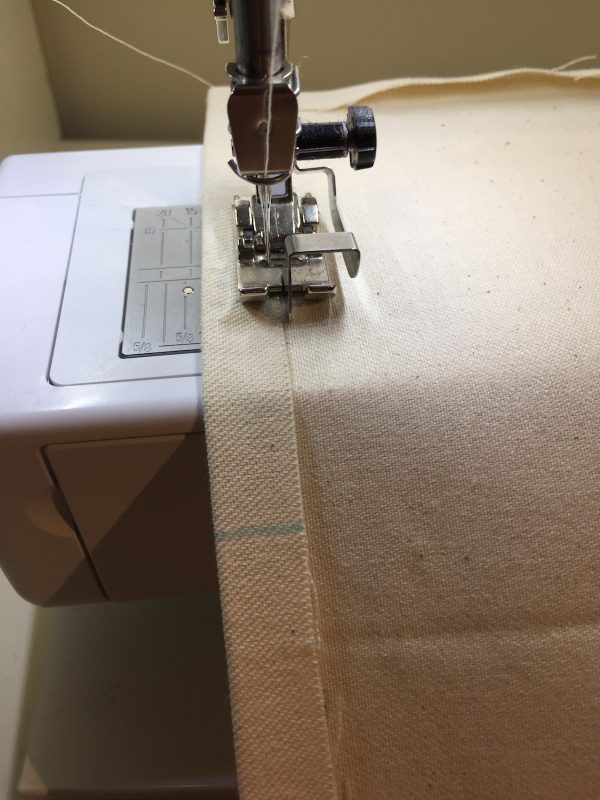
3. Sew along the folded edge to finish.
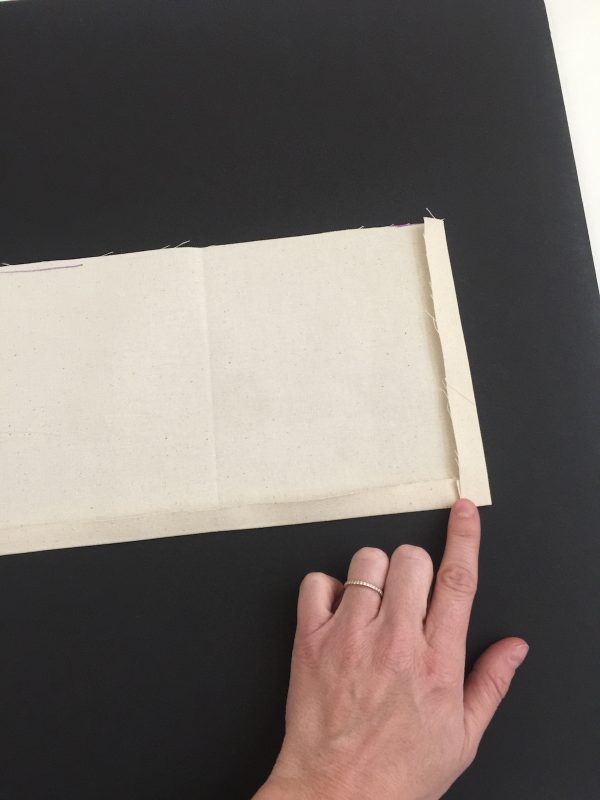
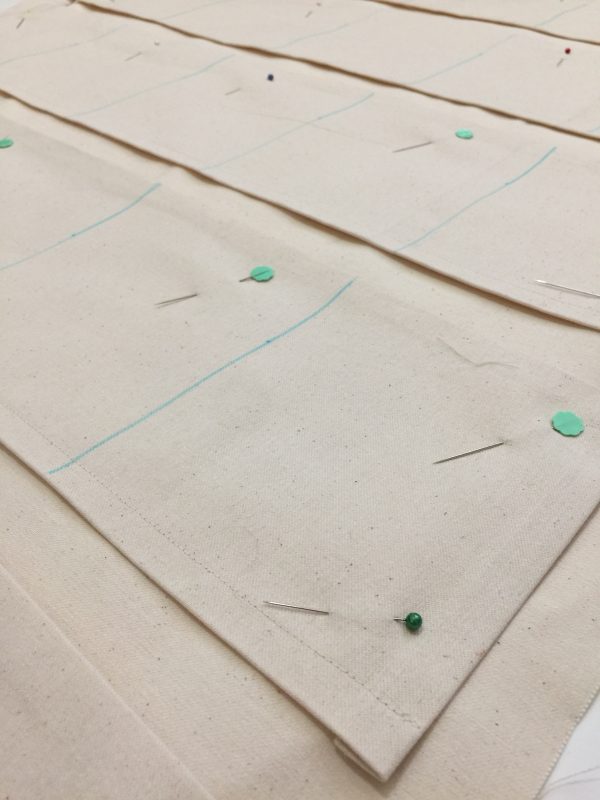
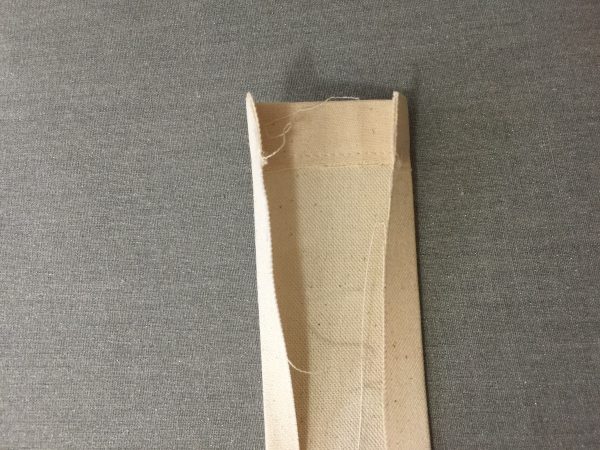
4. Now fold the other three edges of each pocket strip in at 1/2″, iron. (Please note one long edge should be sewn, not shown below).
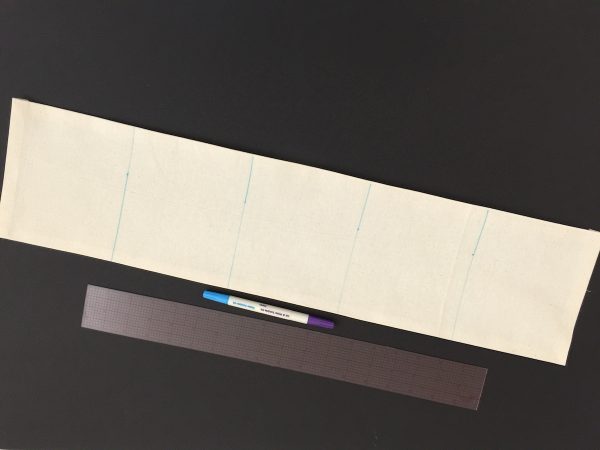
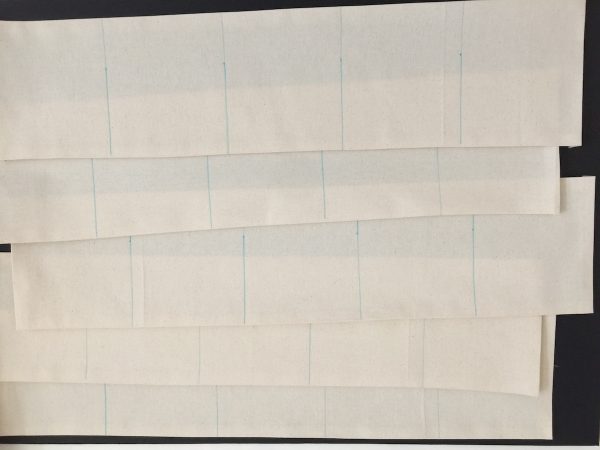
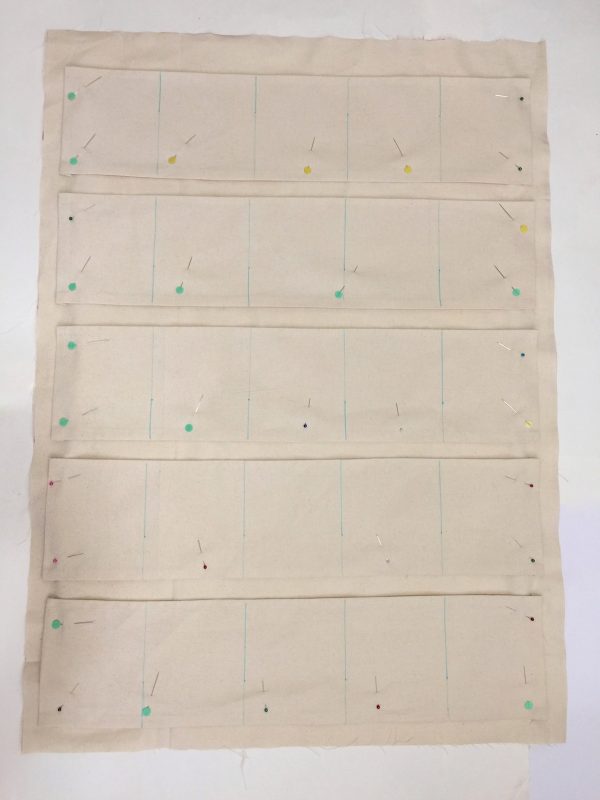
5. Using your water soluble marking pen and a ruler, draw 4 vertical lines every 5″ along each pocket strip to create 5 spaces per strip.
6. Place each pocket strip on top of the calendar piece.
I spaced mine starting at 2 ¼” from the top, then 1″ apart for each row and about 1″ from each side. Pin in place.
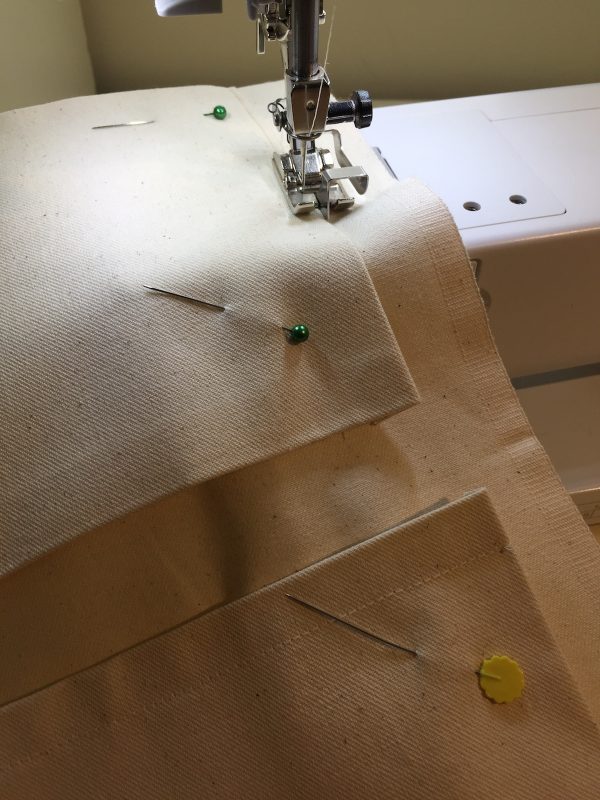
7. Edgestitch around the two side edges and bottom edge of each pocket strip, attaching them to the calendar.
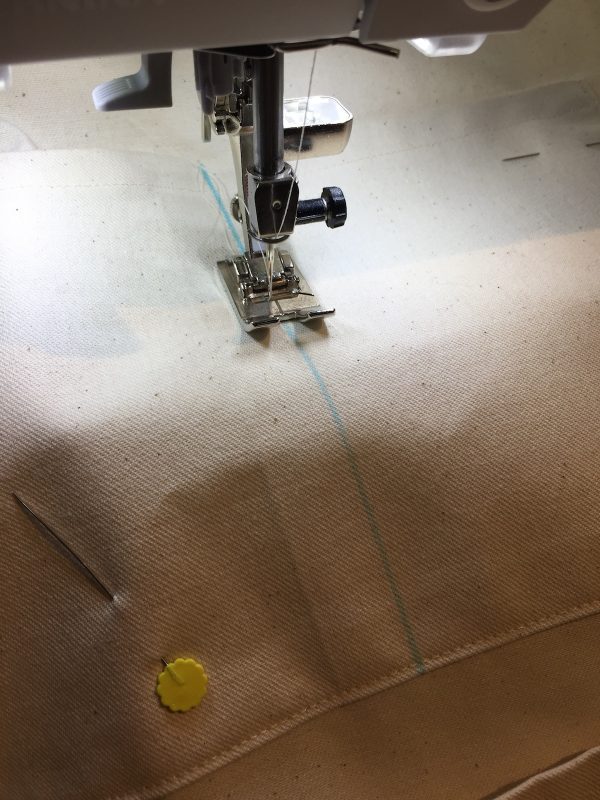
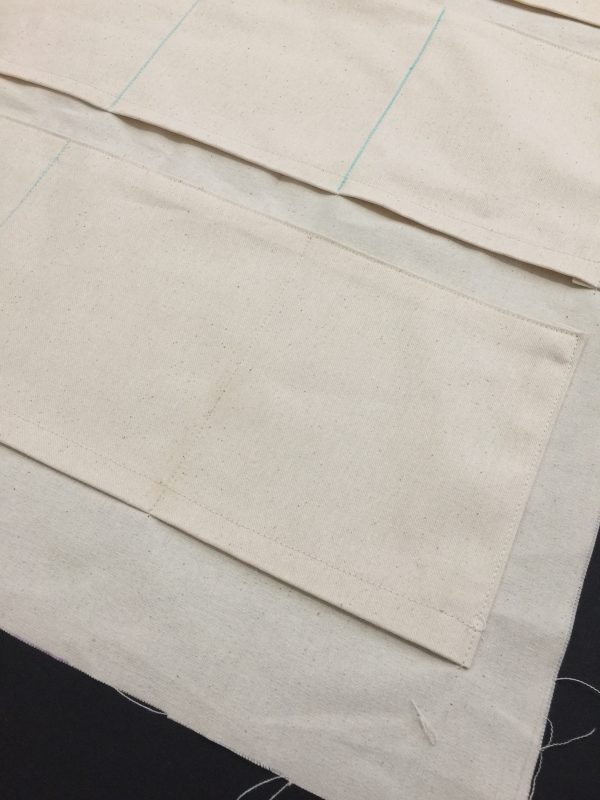
8. Using the Reverse pattern foot #1, sew directly down each vertical line to create the individual pockets.
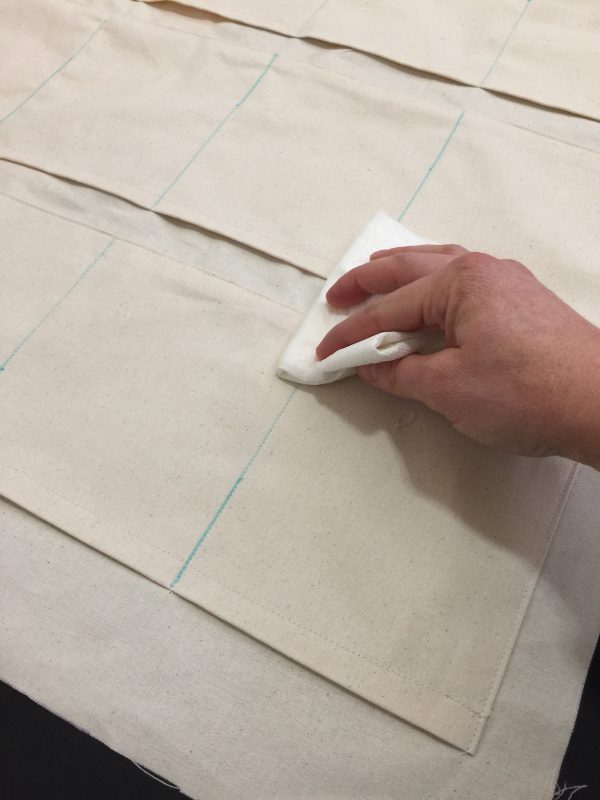
9. Using a damp cloth, gently remove all of the pen marks.
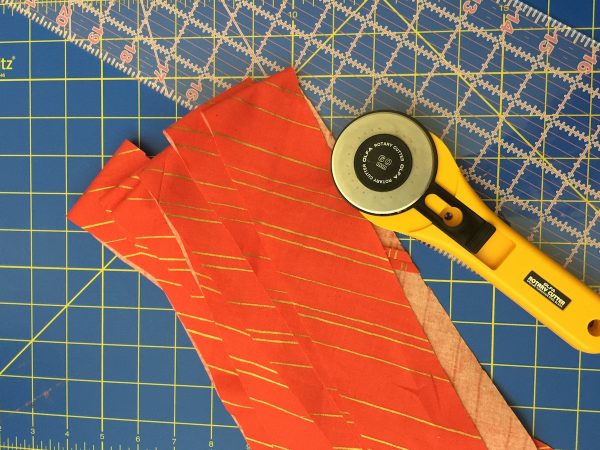
10. Now we need to cut our strips of binding. I cut mine at 2 1/2″ wide and 138″ long. You will need to cut multiple strips and sew them together to create the needed length. I also cut my binding along the bias to play with the striped pattern on my fabric.
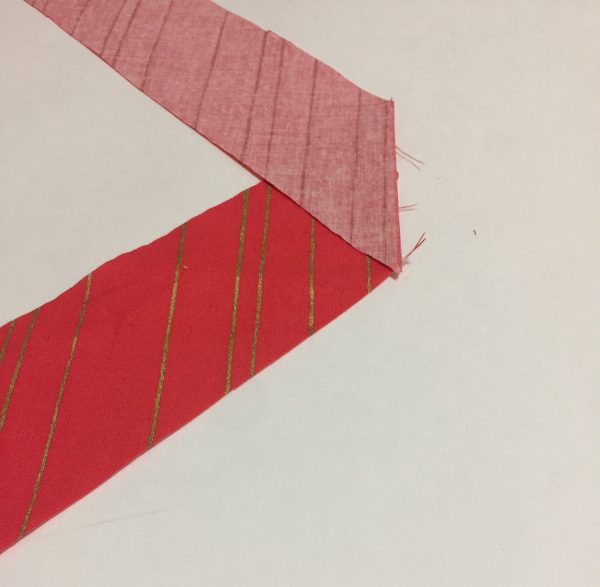
11. Sew binding strips right sides together until you reach the needed length.
12. Iron out the binding piece, and fold in half wrong sides together. Iron.
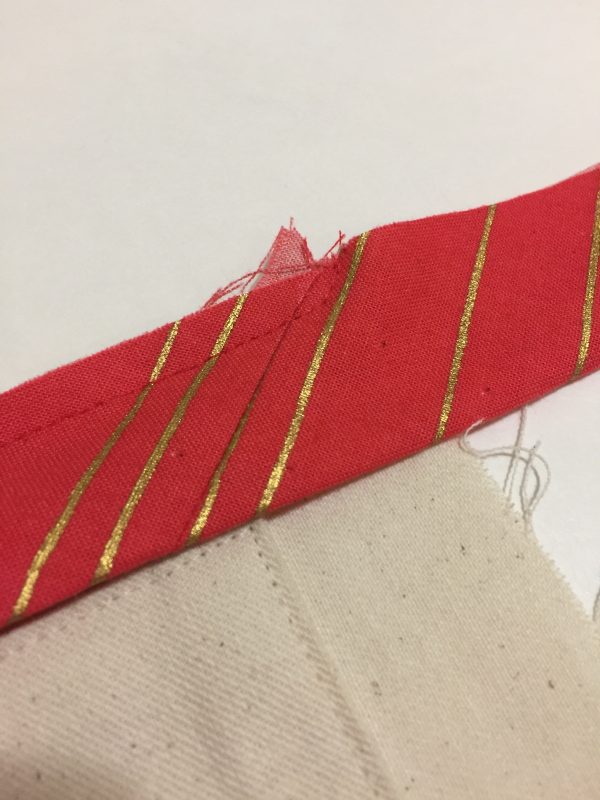
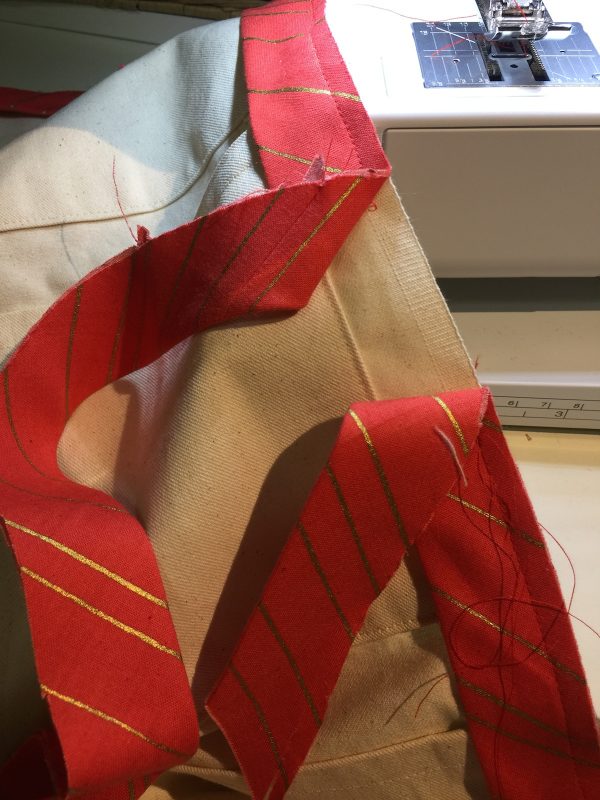
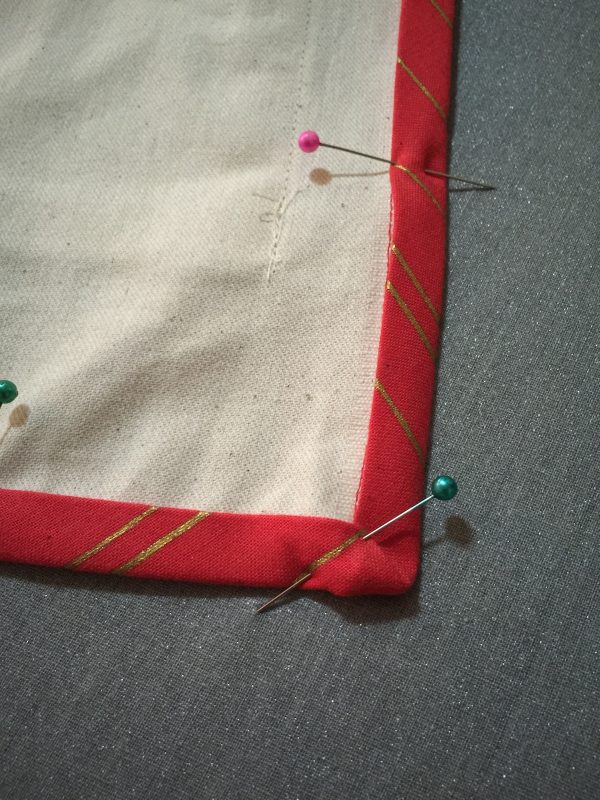
13. Pin the raw edge of the binding along the raw edge of the calendar. Begin sewing at 1/4″ down one side, making sure to stop at 1/4″ from the corner. Sew off the corner at a 45 degree angle.
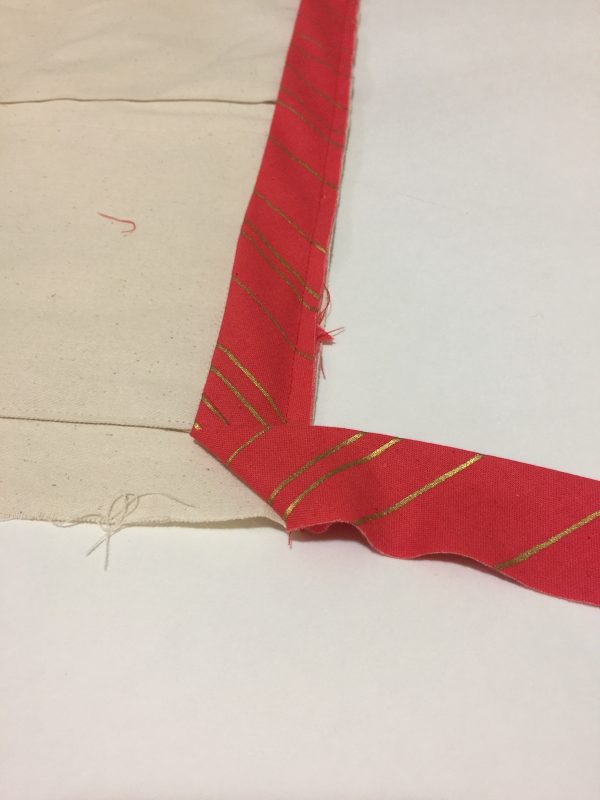
14. Now, fold binding away from the calendar at a 45 degree angle.
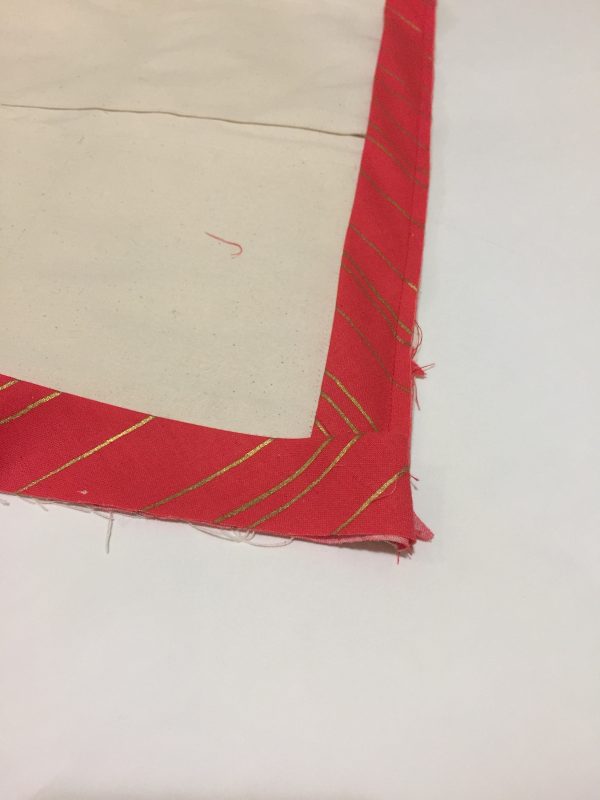
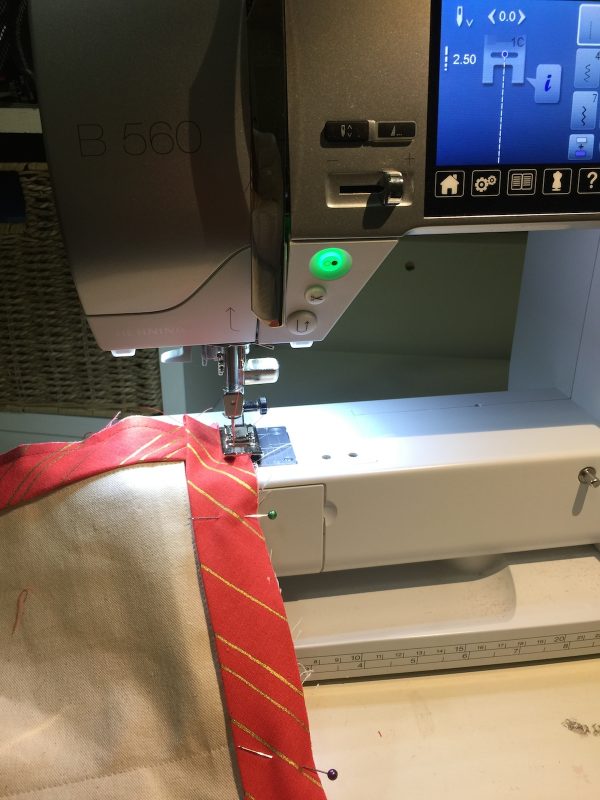
15. Fold the binding again, this time towards the calendar at a 90 degree angle. Pin and continue sewing until you reach the next corner, repeating above steps for all corners. Make sure to stop three inches or so from the other binding end.
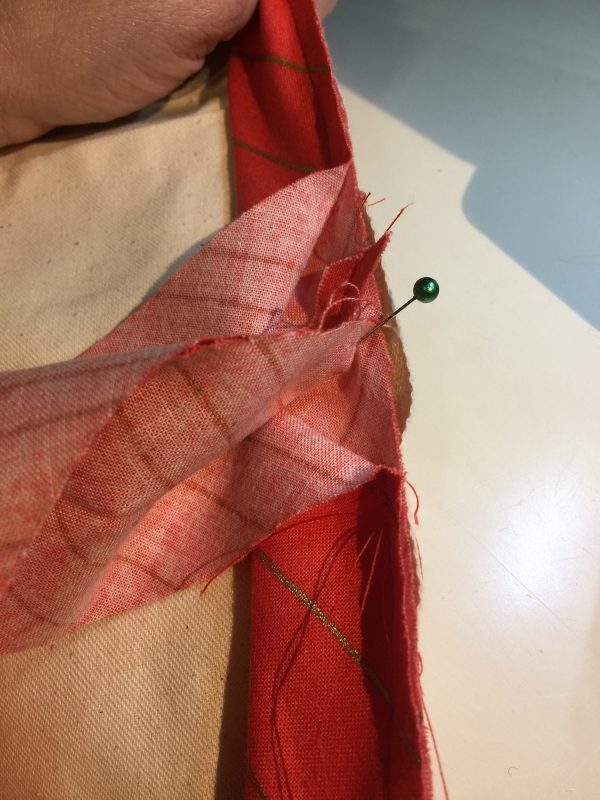
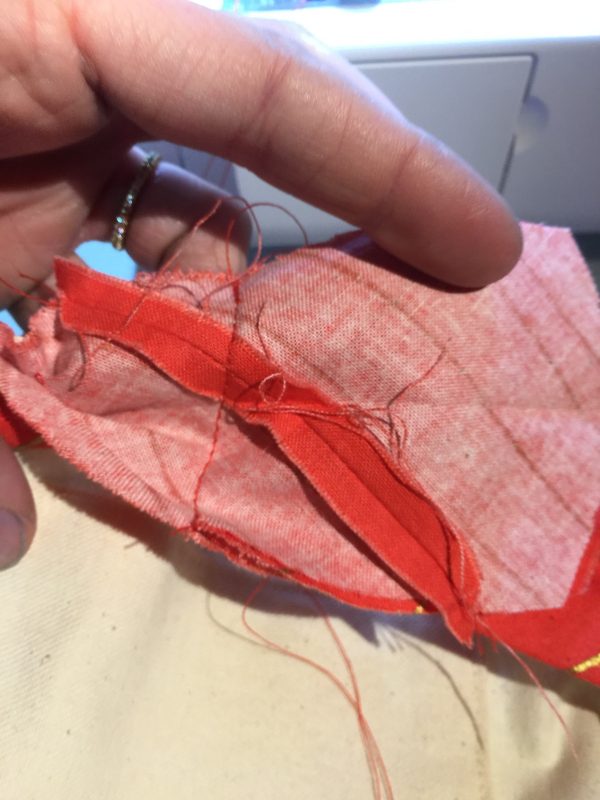
16. Match up the remaining three inches of binding so it sits flush with the calendar. Mark with a pin.
17. Sew a straight line to connect to binding end together. Trim seam allowance.
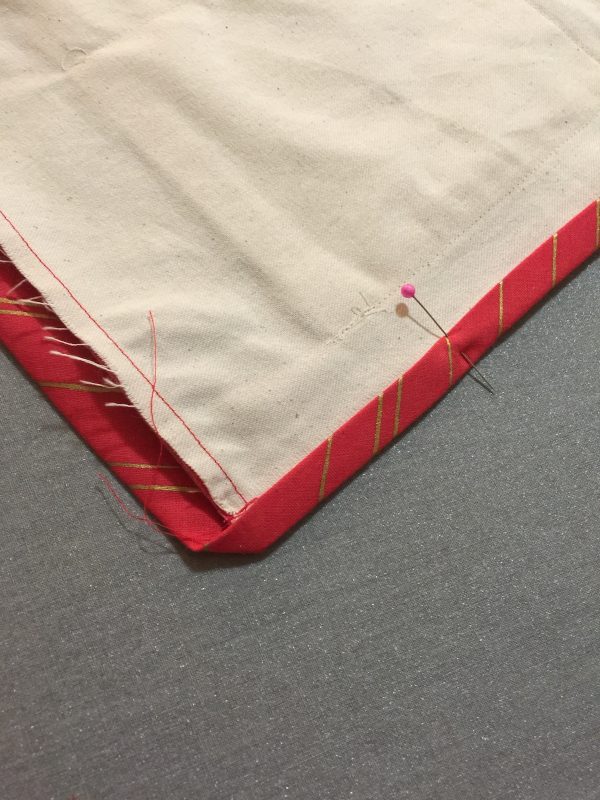
18. Fold binding in half once more, pin, and continue sewing along the edge to finish attaching the binding.
19. Iron the binding along the top side of the calendar. Fold the binding over to the backside, just barely covering the stitch line along the back. Pin in place.
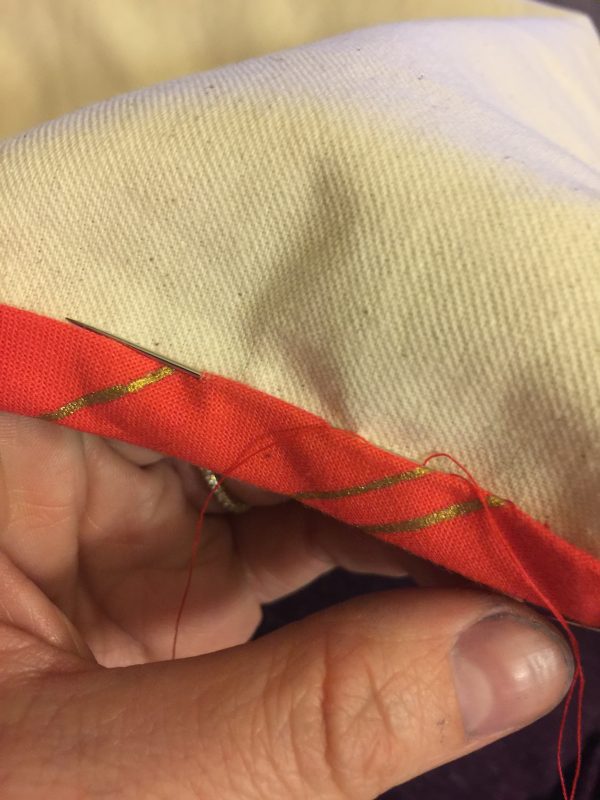
20. Using a slip stitch, hand sew the binding to the back of the calendar.
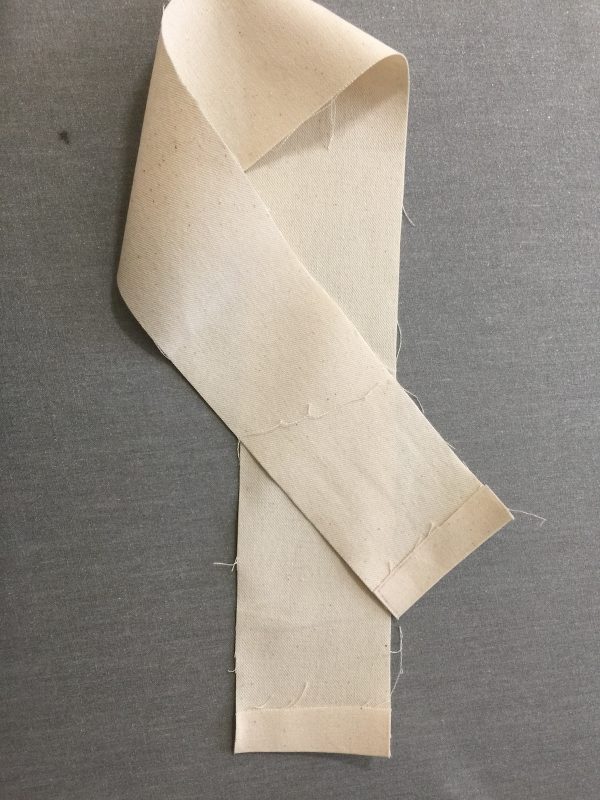
21. Now we need to prepare the back loop for the wooden dowel. Start by ironing the short sides of the loop piece in at 1/2″. Iron.
22. Using the Edgestitch Foot #10, sew along the edge of each side to finish.
23. Now fold the two long sides in at 1/2″, iron.
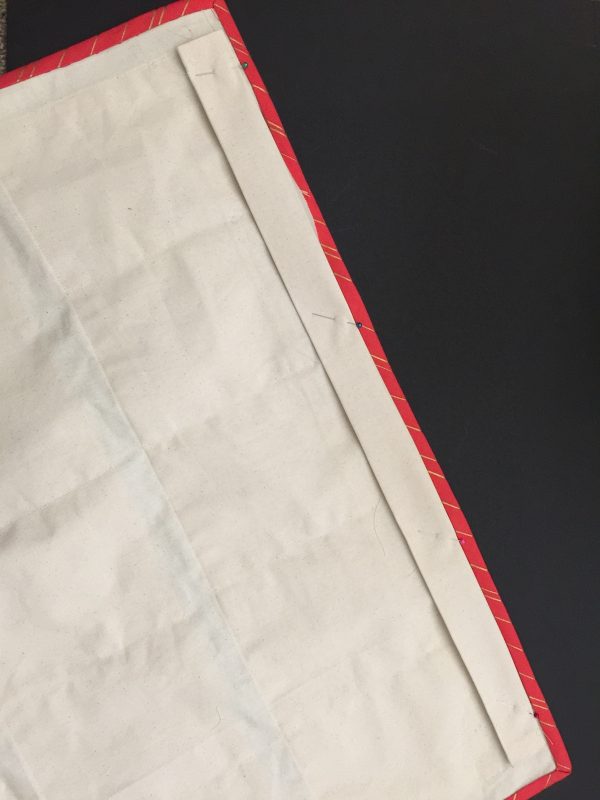
24. Lay the loop on the backside of the calendar along the top edge, just under the binding. Pin in place.
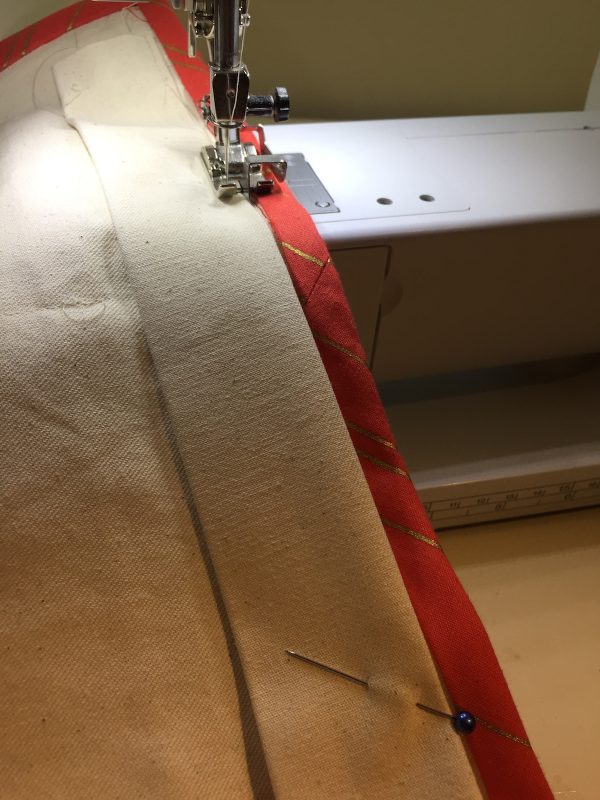
25. Edgestitch along the two long sides to attach the loop to the calendar.
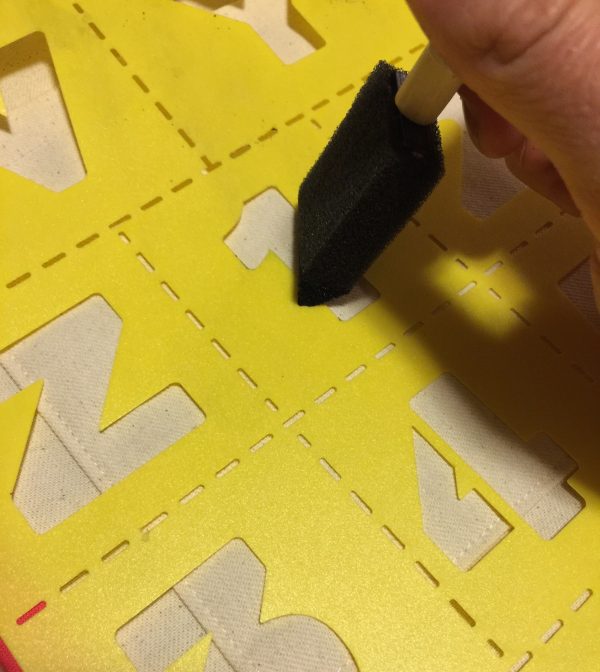
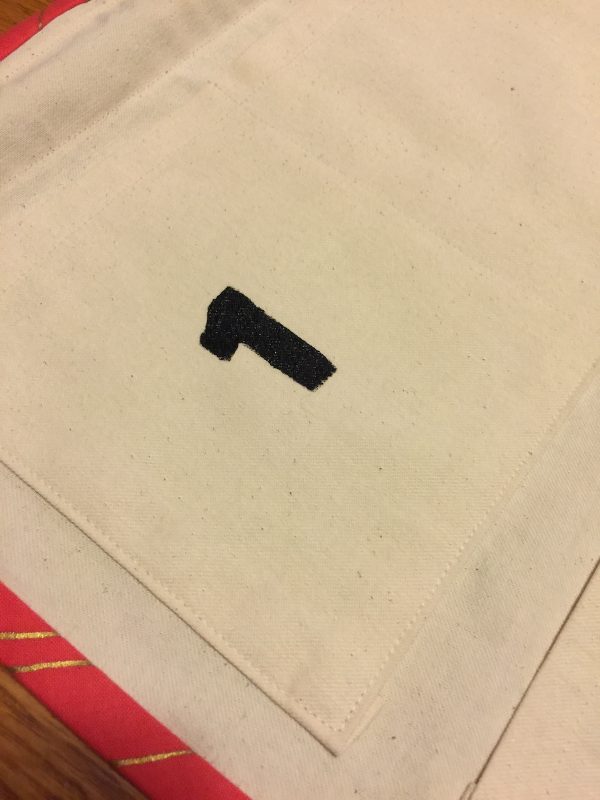
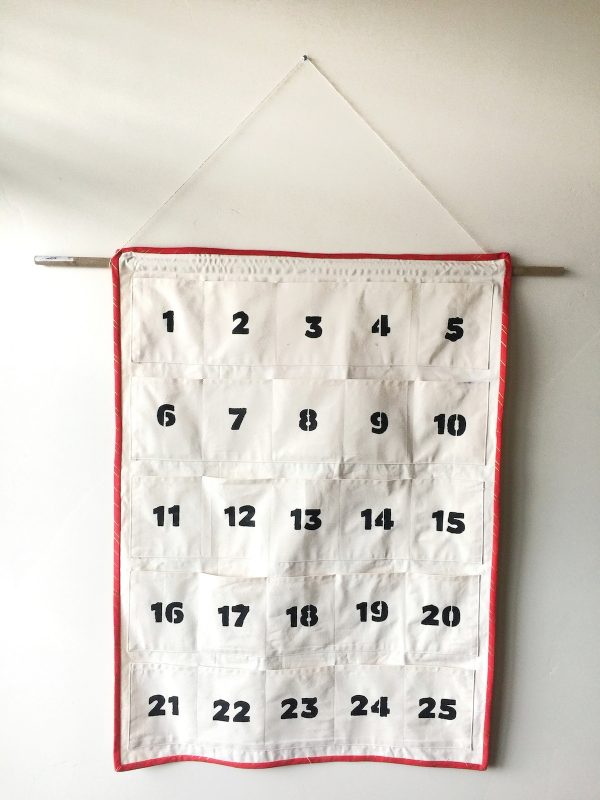
26. Now it’s time to paint the numbers 1-25 onto each pocket. Using acrylic paint, a sponge brush and number stencils, gently dab the paint onto each stencil. Take your time! I would suggest painting one number on at a time for all double-digit numbers (10-25), and letting them dry before adding the second digit.
27. Once the paint is dry, insert the wooden dowel through the back loop. Cut a piece of twine to your preferred length, and tie each end to either ends of the dowel. It’s ready to hang!
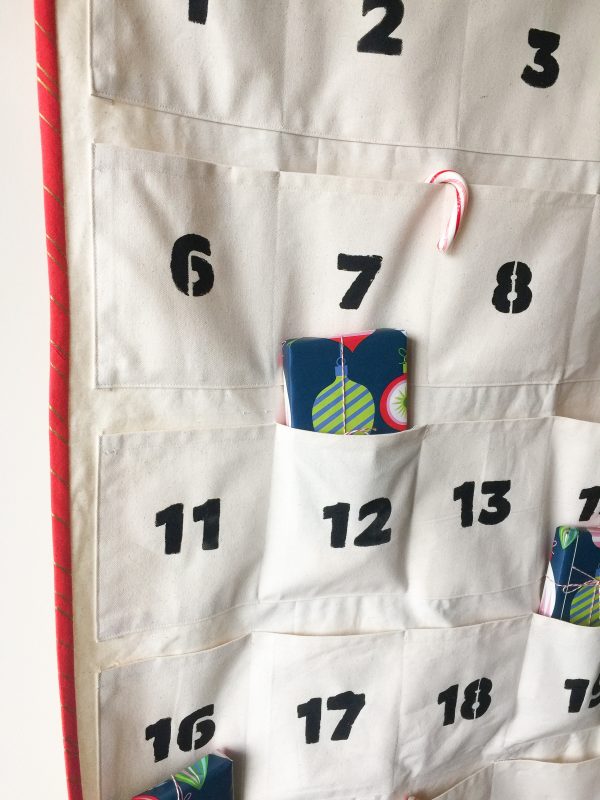
Now just fill each pocket with treats, gifts or holiday inspired activities for your loved ones to enjoy!
Thanks for reading along, and happy holidays!
What you might also like
2 comments on “Canvas Advent Calendar Tutorial”
-
-
Your shared idea for the advent calendar was a timely one. I needed to make one for my grandchildren. I followed your instructions (the pictures helped a lot) but substituted dark maroon cotton twill fabric instead of the white canvas. I decided to use variegated thread to embroider the numbers on my embroidery machine, The calendar took more than an evening to complete because of that. It was fun to do and now thinking of what to put in the pockets. Thank you so much.
Leave a Reply
You must be logged in to post a comment.














I love this idea!! Thanks for sharing. I plan on embroidering the numbers instead of using paint.